
A Fun Painting + Printables
 Here we go with another installment of Inspired by DIY! If you want to take a look at what I did for the previous challenges, you can go here for the colorful cement planters and here for the romantic flower arrangement.
This month other bloggers and I are finding inspiration in Miles Redd, a designer that is all about bright colors and exotic details. I love his vibrant style and wish to replicate it in my small home (some of the examples where I have tried to use a lot of color in my home are here, here and here.) I wonder if I should do something like that for my next One Room Challenge. I might tackle my bedroom in the Fall and I want lots of color in it.
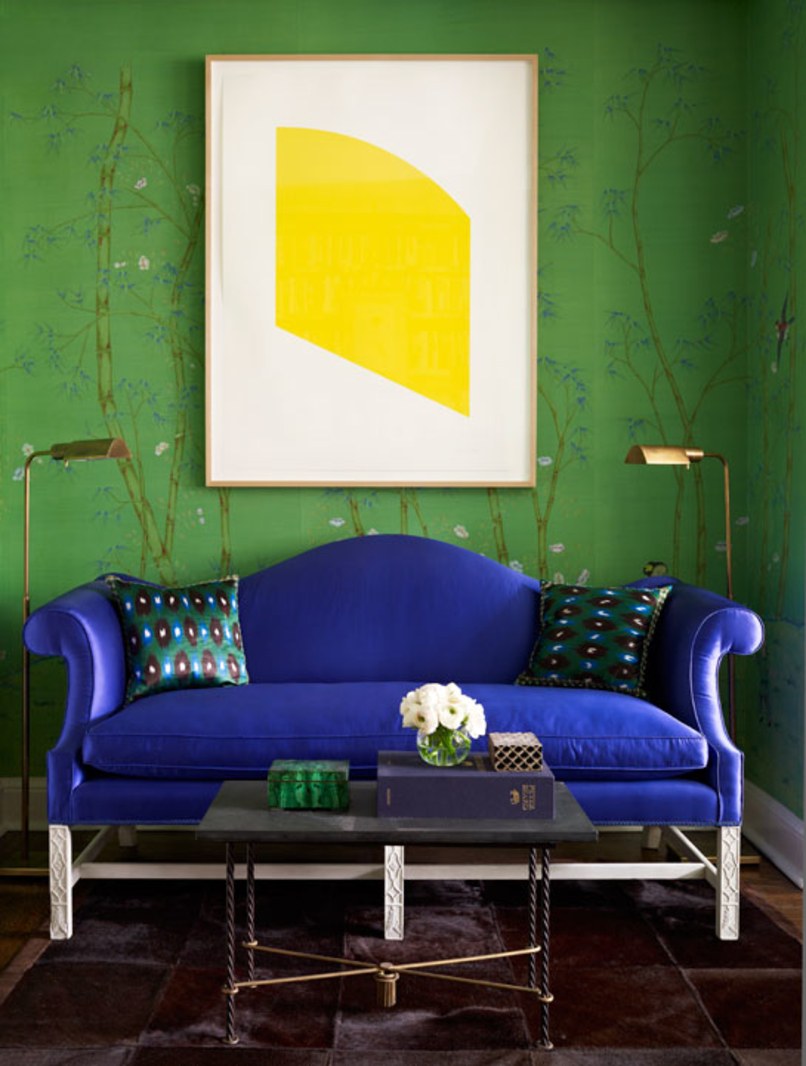
Back to the challenge, when I was searching for images to get inspired for this project, I found this one of Miles Redd’s home in Architectural Digest:
L-O-V-E!!!!!
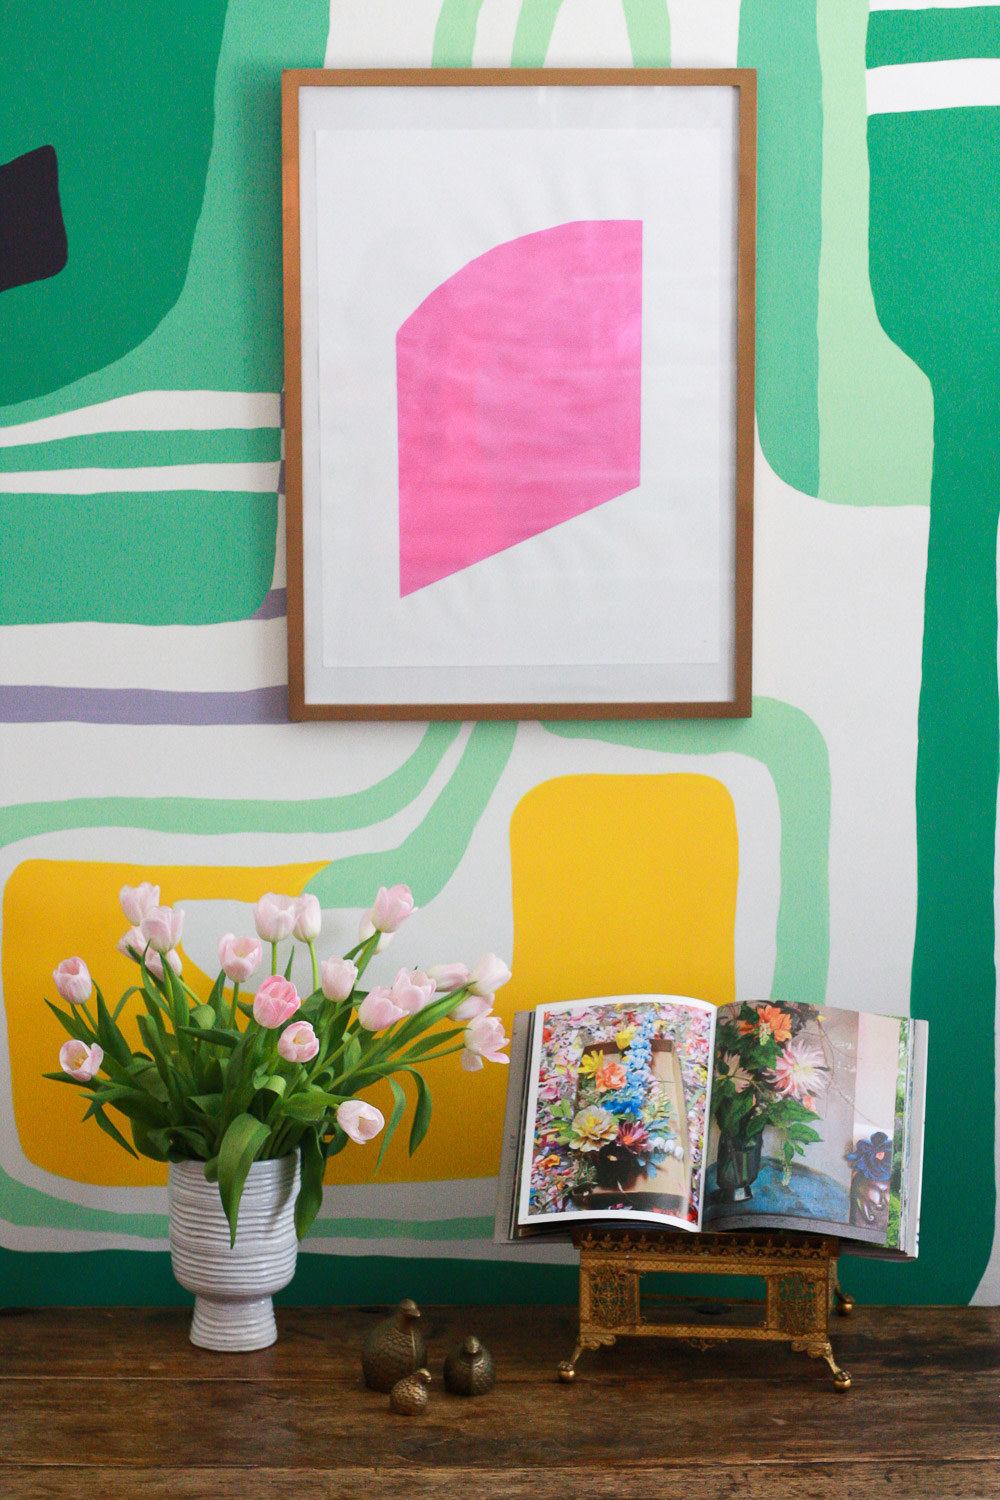
Everything about this image is amazeballs, don’t you think? But what caught my eye was that simple piece of art: colorful, modern, and attention grabber. It adds THE touch to this space that makes it absolutely unique so I thought “ I NEED THAT IN MY LIFE” (yes, I usually scream in my head).
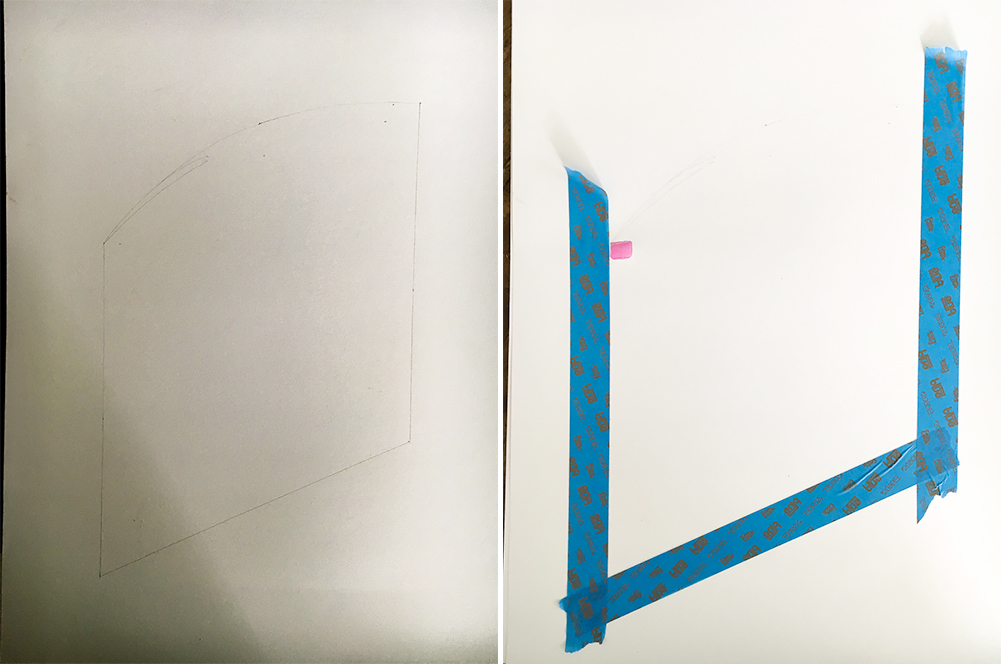
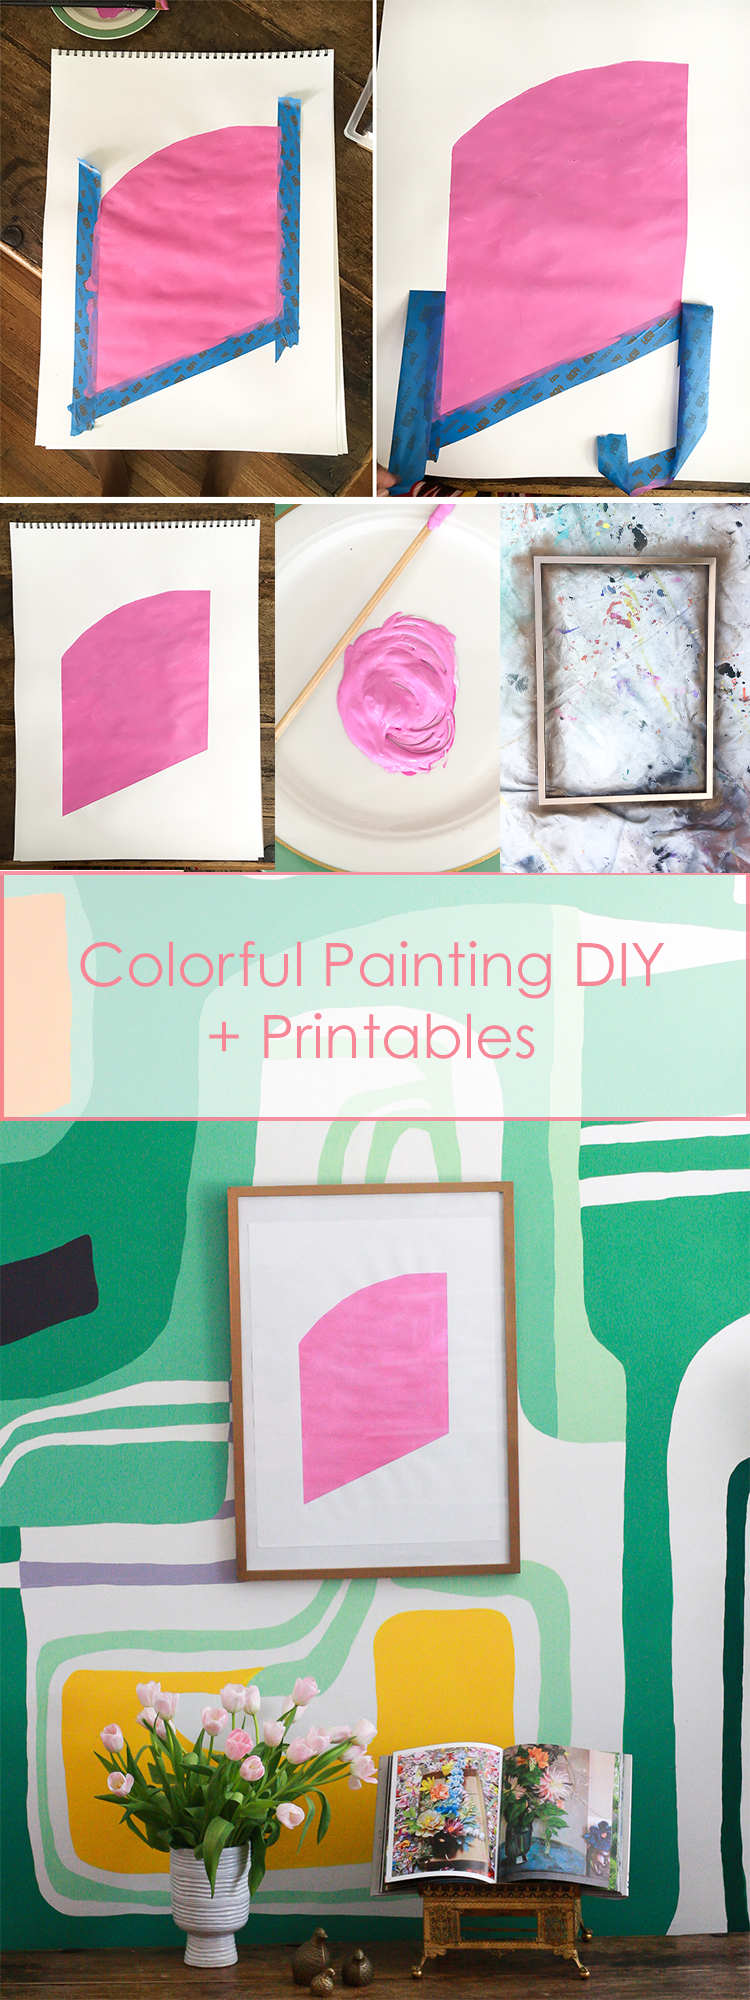
I have been trying my painting skills lately, you can see the proof here and here, so I thought I could tackle this project. To start with, I did a version of the painting in Photoshop to make sure all my lines were aligned correctly. I also decided to make a mirror version of the original painting and change the color to PINK!
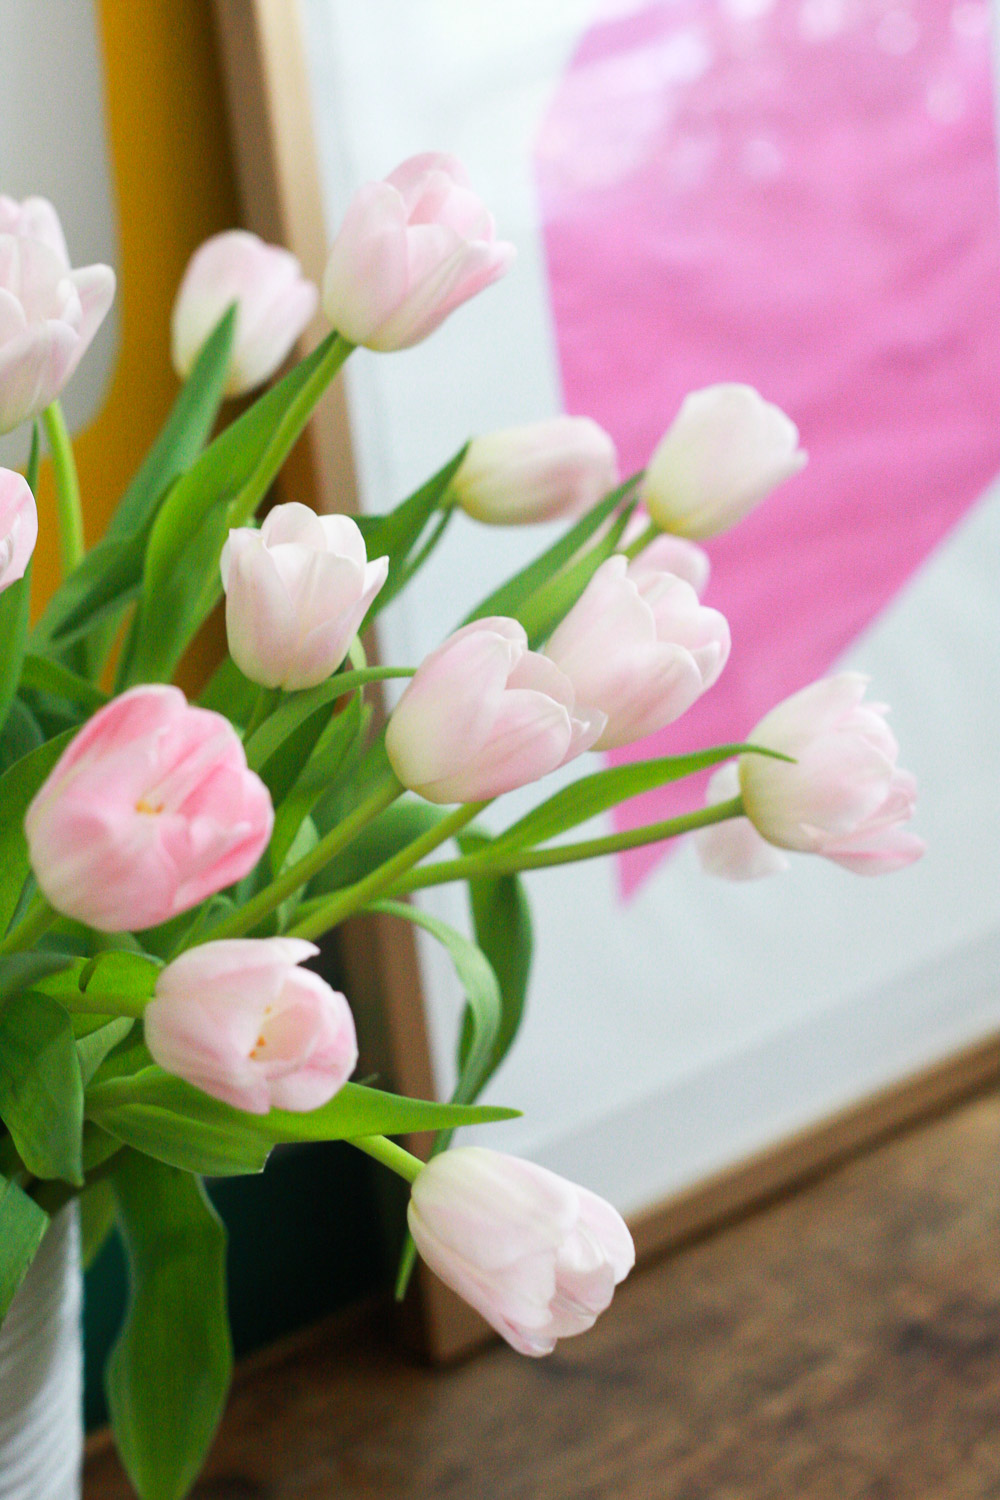
I have always wanted to add art in front of our mural in the living room, but I hadn’t found exactly what I wanted until I saw this.
Here is how I did it
Modern Colorful Painting
Difficulty (1-5): 1 Time: 1 hour Cost: $15-20
Materials
- Printable with painting’s shape. Here is one of 8.5 x 11 in and here is one of 18 x 24in
- Acrylic or oil paint. Any color you choose
- Thicker painting paper for acrylic or oil
- Small brush
- Blue tape
- Wooden frame.
I couldn’t easily find a large golden frame for my 18 x 24 in painting. I didn’t want to drive far to get it, so I bought a wooden one and painted it. I think Ikea has large golden frames if you need.
Materials to transform a large wooden frame into a golden frame:
- Sandpaper
- Gold spray paint
Instructions
1) Print your printable that outlines this painting (see links for printable above, under materials). If you choose to do a size 18 x 24in painting like I did, you will need to get the printable printed at a printing shop unless you have a HUGE printer. For the straight lines, use blue tape.
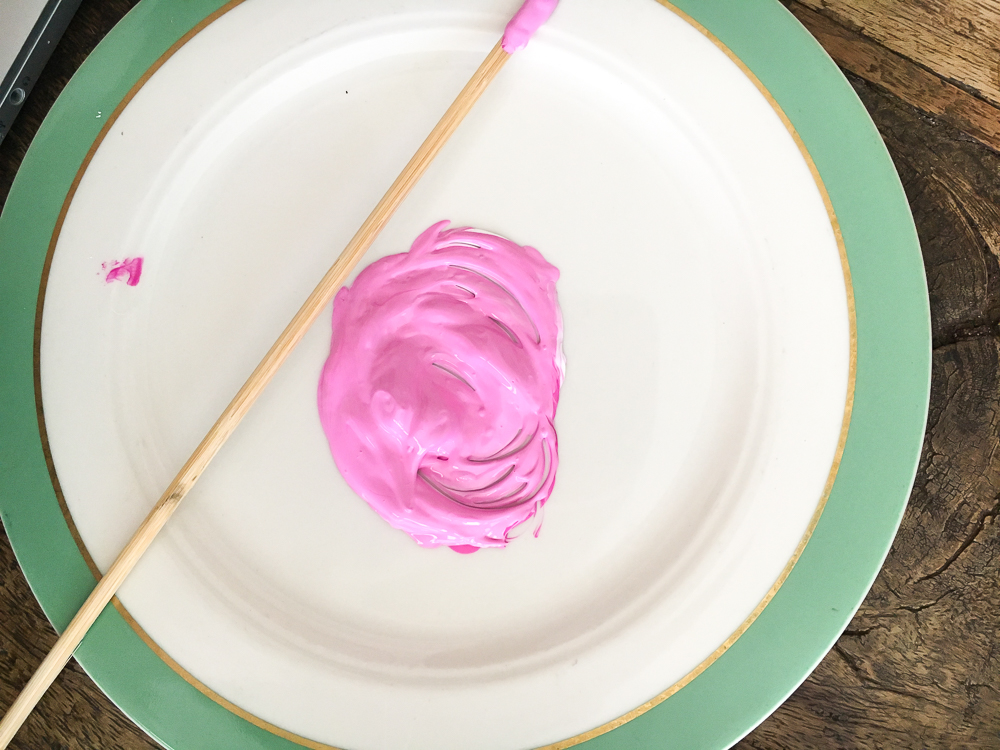
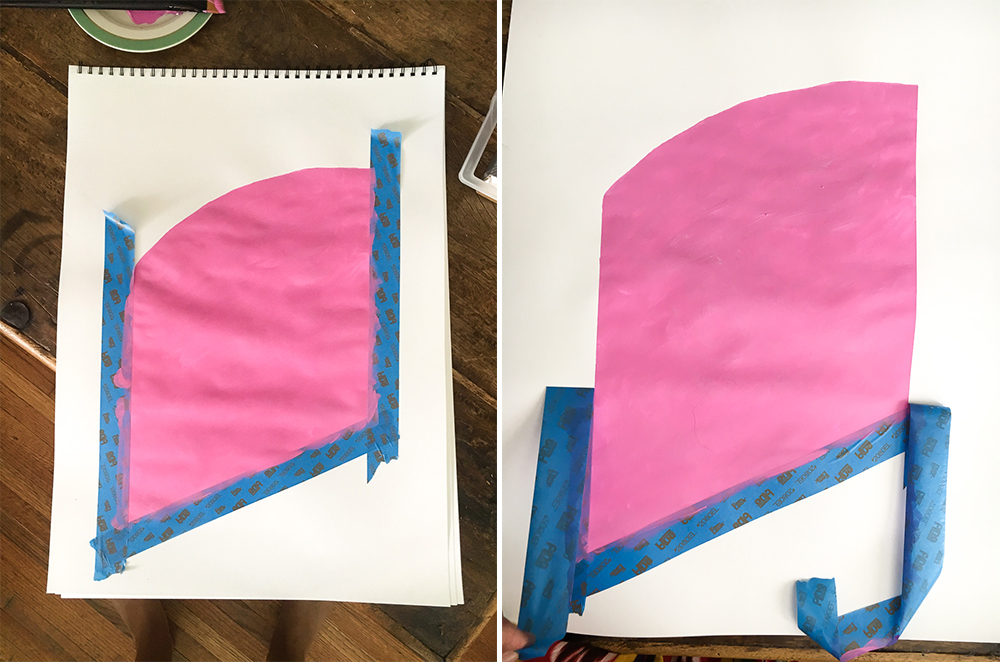 2) Paint inside your lines with the color you chose.
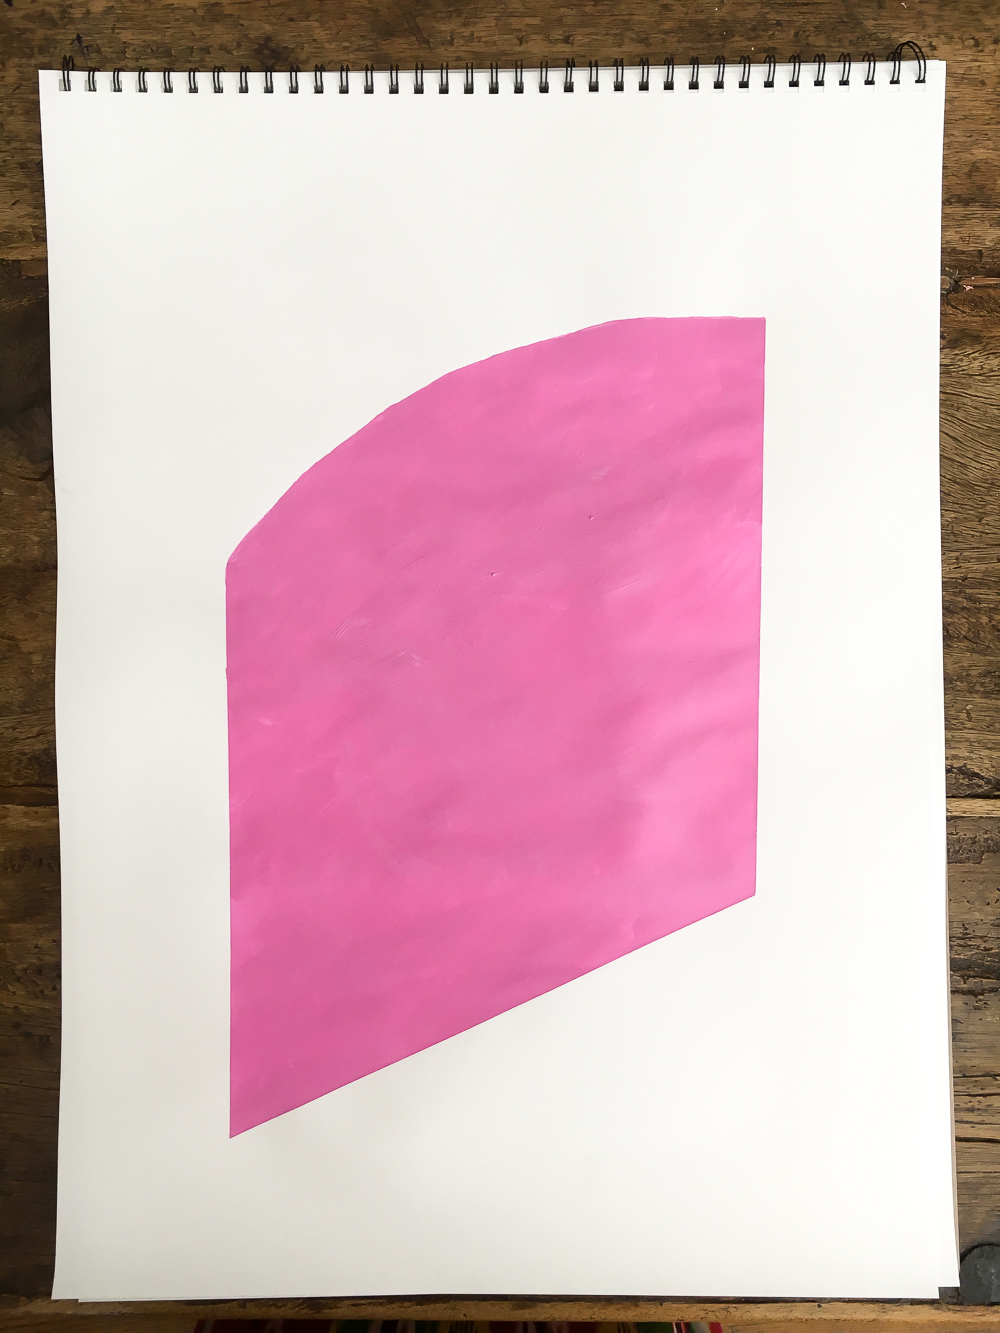
3) Frame your painting
Instructions to create your golden frame from a wooden frame (paint attaches better to wood than plastic):
1) Sand the frame with sand paper and spray it with gold paint. Remember to not aim directly to the frame when you first press the spray button, this will help to avoid applying excessive paint and drips.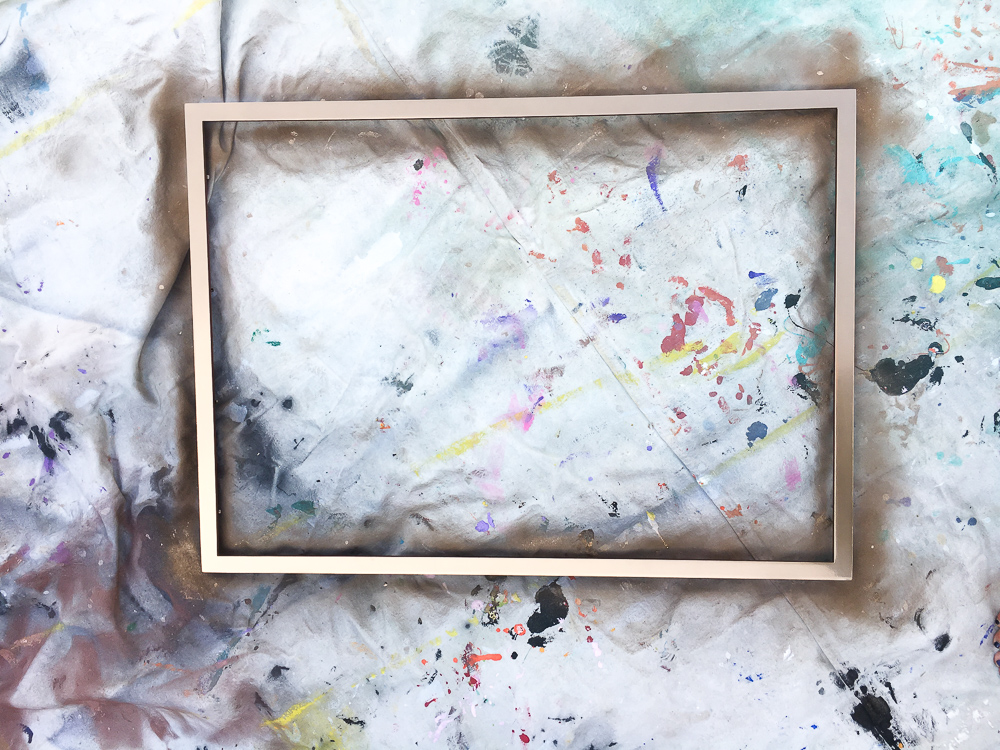 The result:
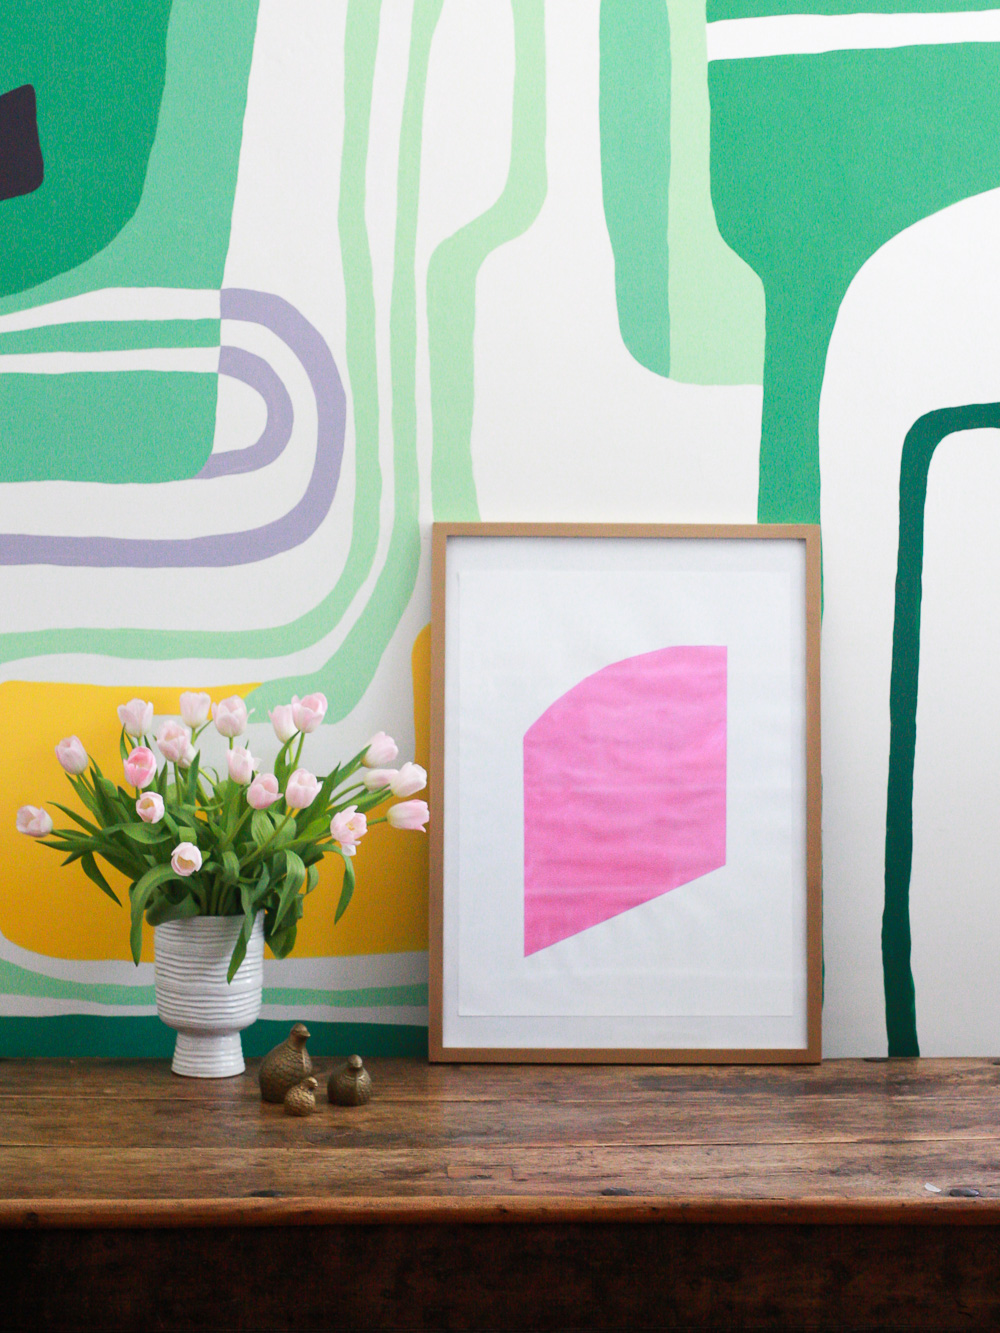
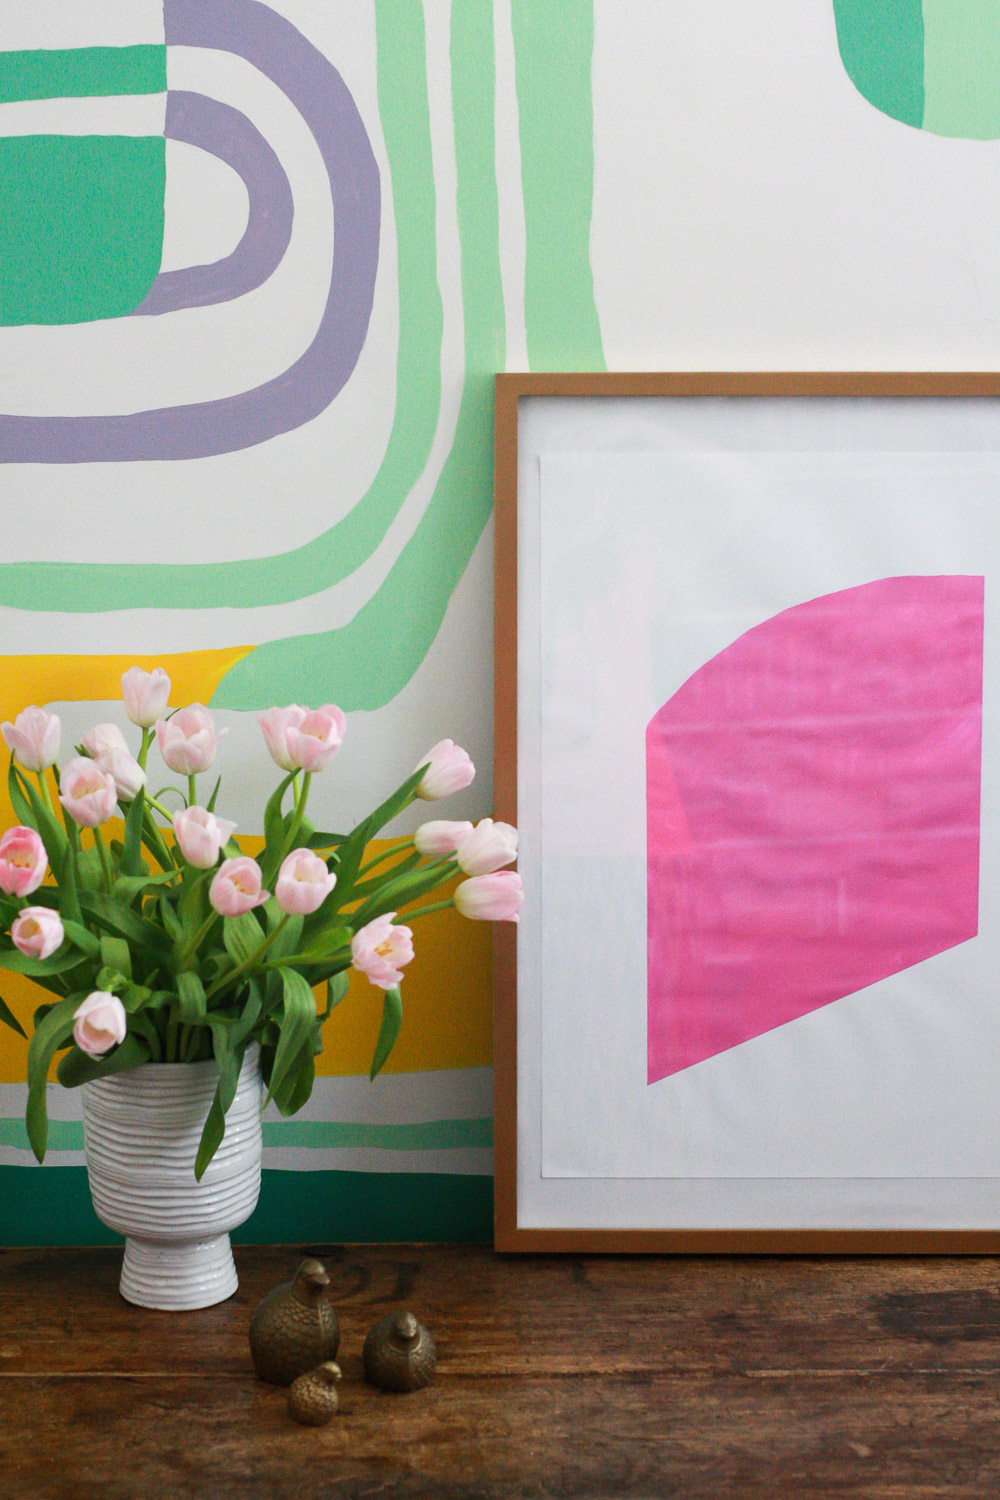
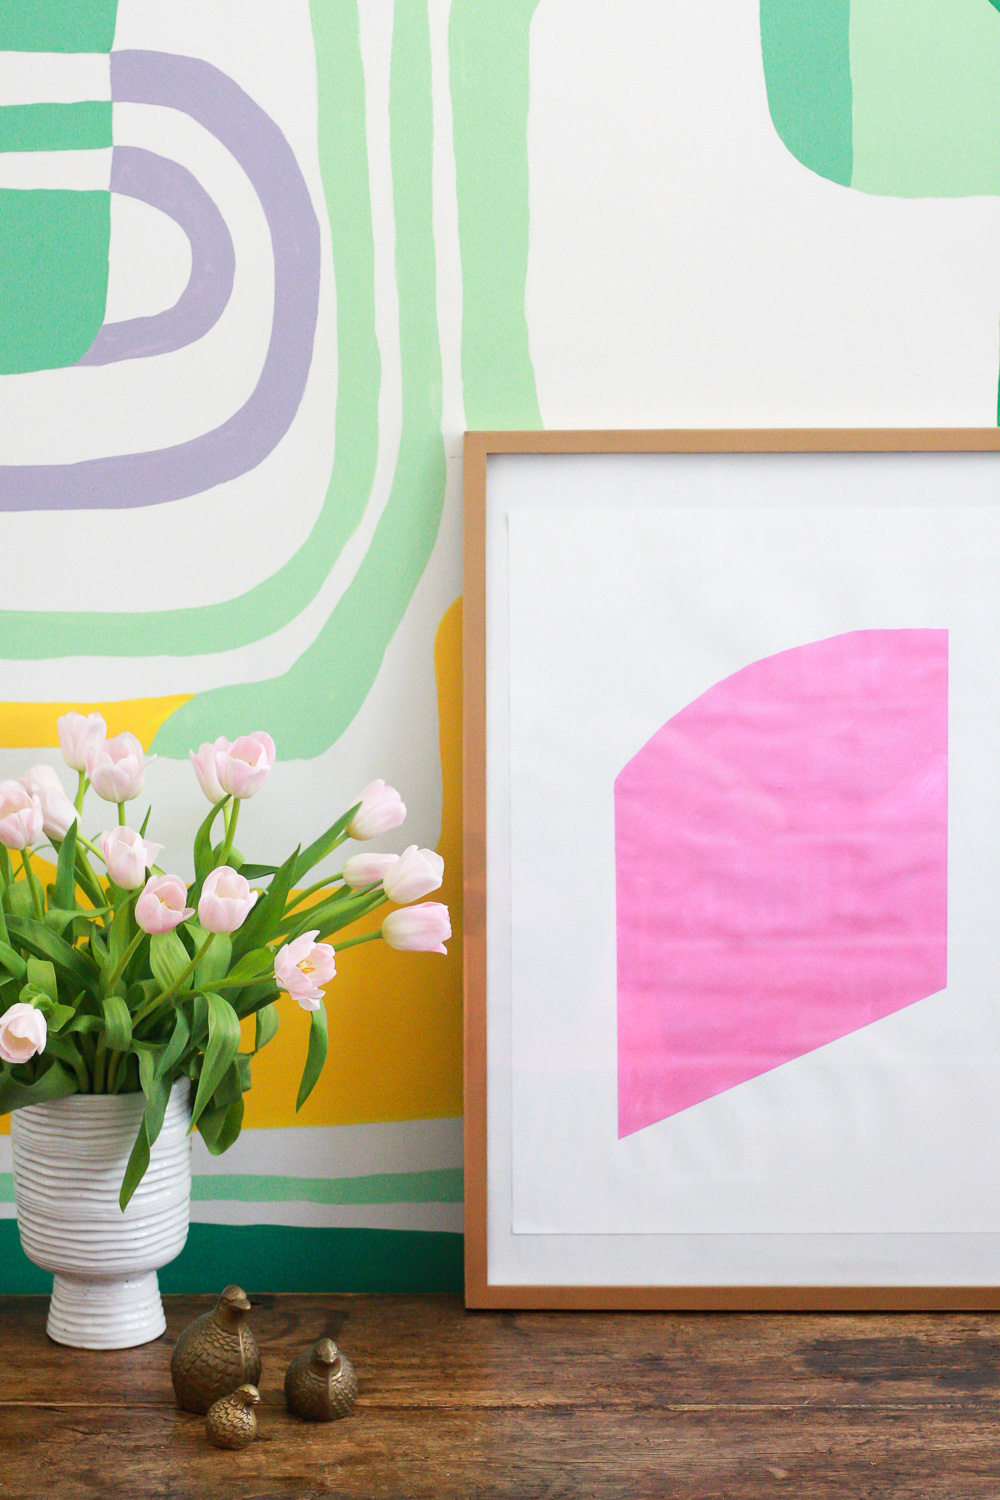
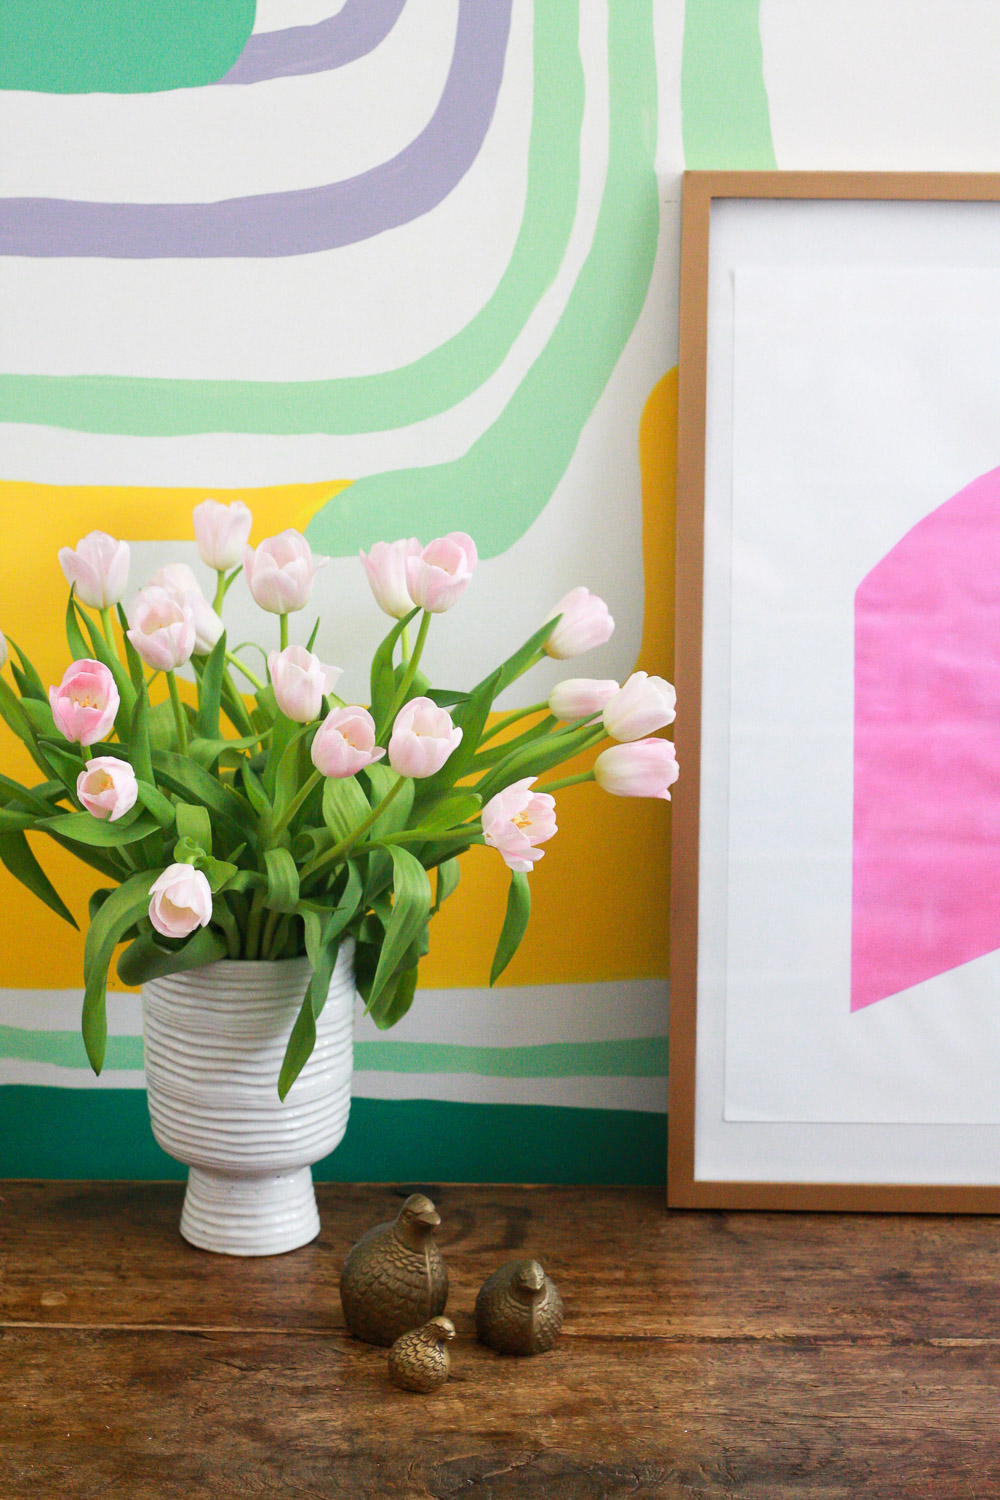
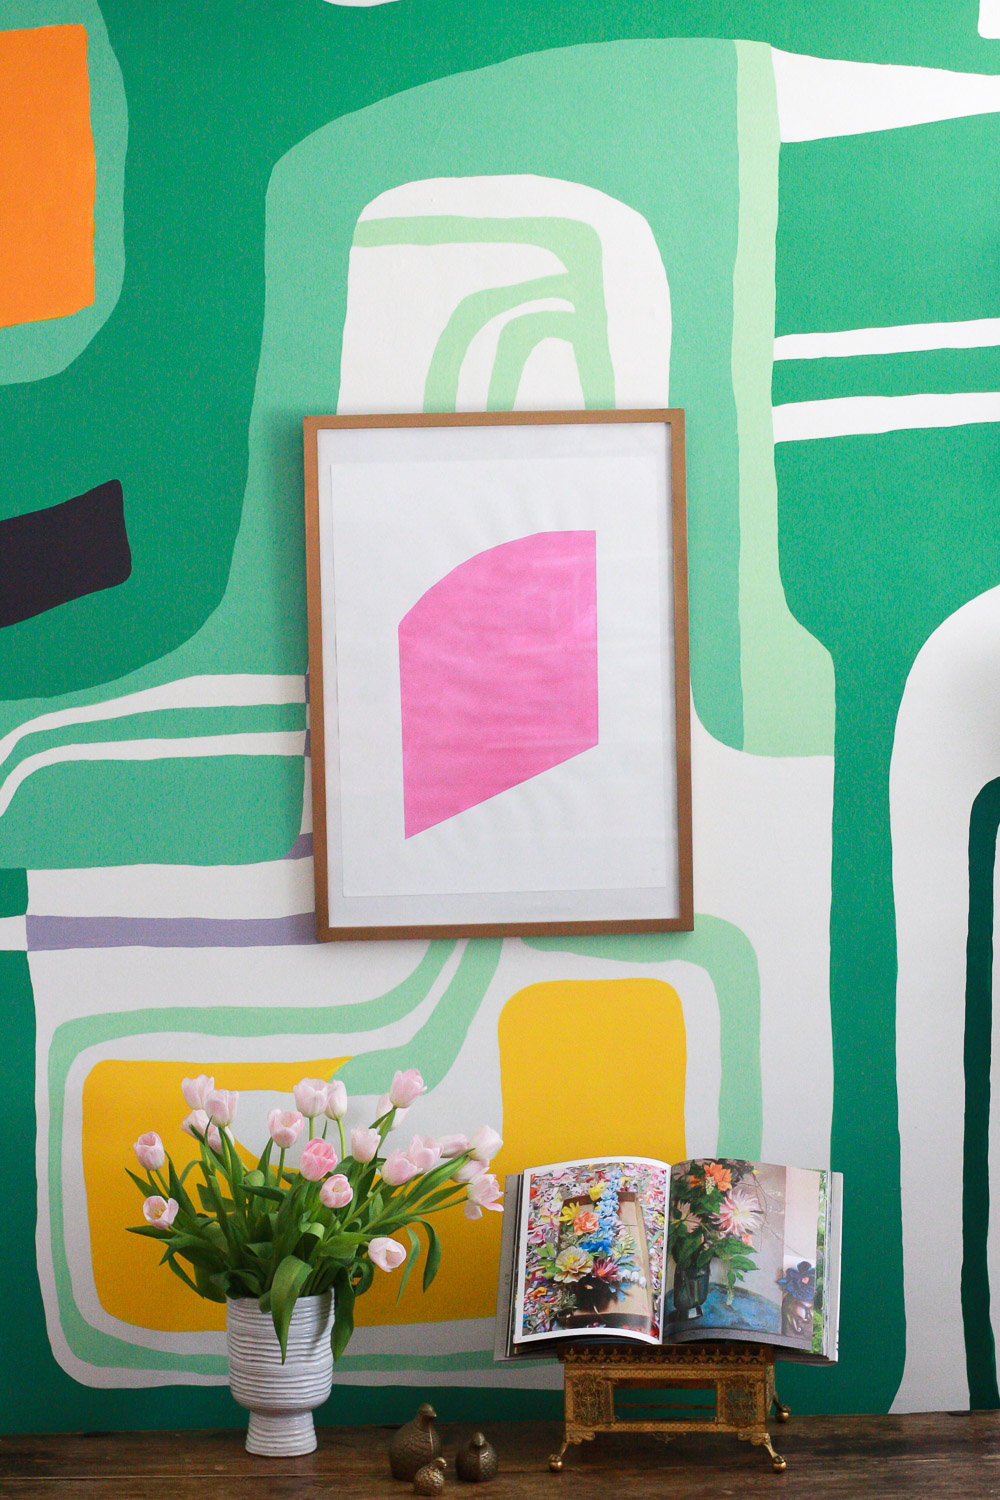
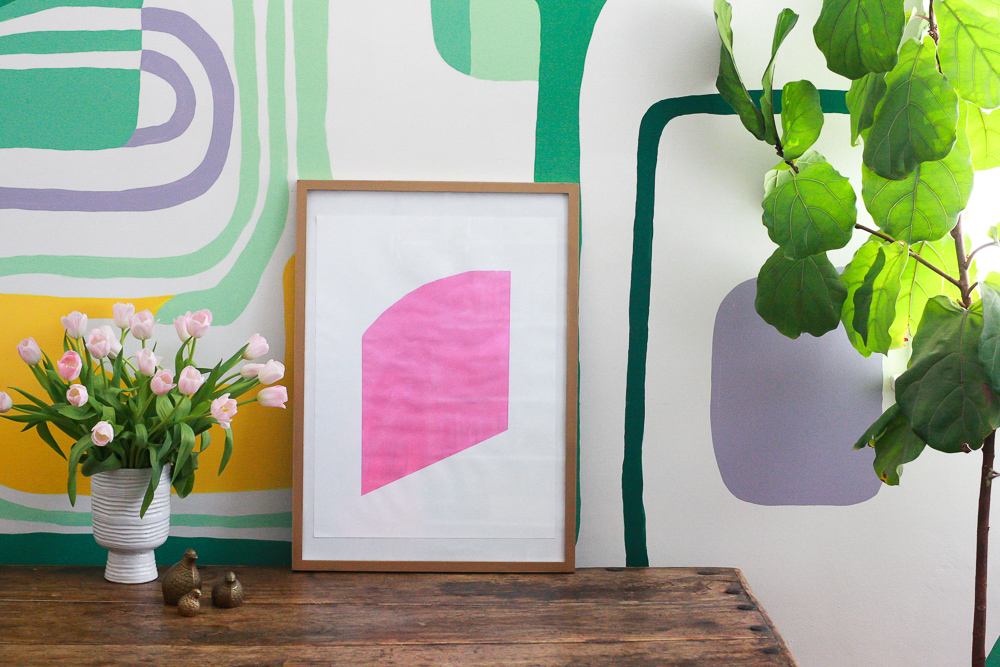
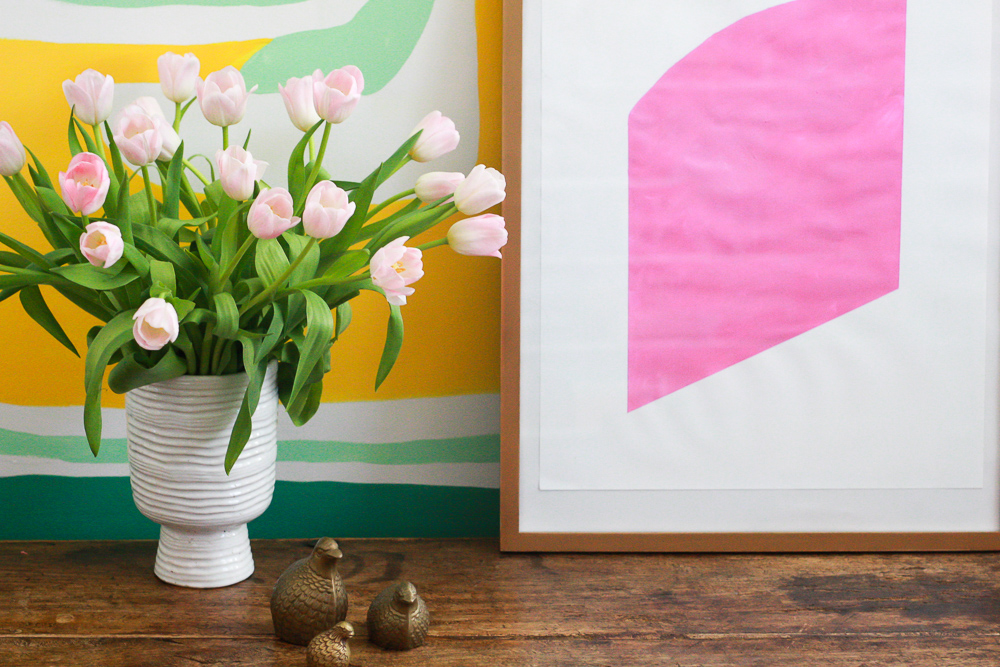
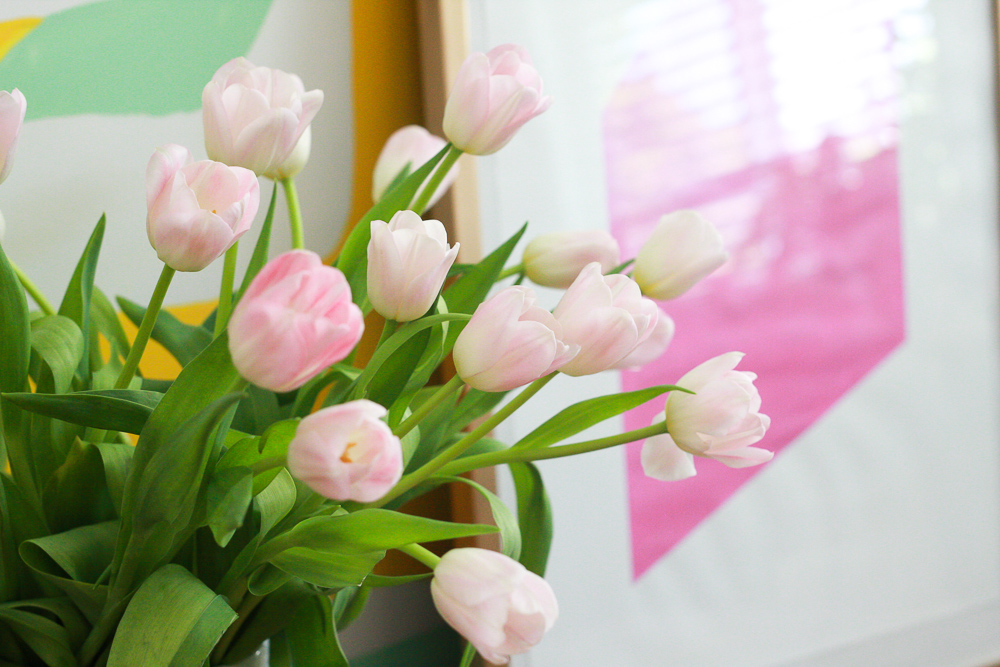
I think it makes the mural wall look a lot more fun, don’t you think?
I hope you liked it.
Before you go, I wanted to thank the hosts of this challenge Jess from Domicile 37 and Kathryn from Up to Date Interiors. Thanks ladies for organizing all of this!
Now, check out the projects of my fellow bloggers in these links.


Very cool piece of art, Mila! I love it against the mural so much!!
Thanks, Emy! It was so easy to do. I love this “Inspired by DIY” challenges. They helped me to get new things done.
It’s the perfect art for your mural wall – not too busy and it adds a fun new color! Love the pink!
True. I was worried because the mural is already so busy. Thanks!
It’s perfect. Honestly. I couldn’t imagine a painting that could go with that outstanding wall and still hold it’s own. This is it. Great job, Mila 🙂
Though, had to add – I think I prefer it leaning over hanging for some reason? Something to do with it matching the flowers next to it I think.
I agree about the art leaning on the wall… the only issue is that my living room is so small, I can’t have that table next to the mural. My new thing is to have art just leaning on the wall around the house… it is nice and easy to change around.
Ah, can’t have the table next to the mural – it all makes sense now 😉
It’s a good look. And definitely easy to change around, especially if you have different sized prints.
I LOVE that you used the word amazeballs in your post. I thought I was the only one who said that?! We should be friends 🙂 For real though, I would have never thought to tape off the three sides of the painting, or map it out on photoshop first! Great ideas!
I love the word amazeballs so we can totally be friends! thanks!
It’s perfect for that wall! I also LOVE the bookstand.
I am so happy you noticed the bookstand. It is a vintage piece I inherit from my dad. It is from a church.
I am so happy that you recreated that piece of art from A.D. and that mural wall is on my list of top ten favorite things I’ve ever seen !!
Diane! You are so sweet! I love to be on your Top 10 list! 🙂
Yes, I love that piece of art too! You did a beautiful job recreating the look!
I love that is simple and colorful. thanks!
Nailed it girl! I love the pink against your mural. Now I’ve gotta do something like this!
FREAKING ADORE THIS!!!! Mila you need to tell me about your wall. I love the pattern on it!!!
I did that wall for the ORC last November. It is a mural inspired by Roberto Burle Marx textiles.