
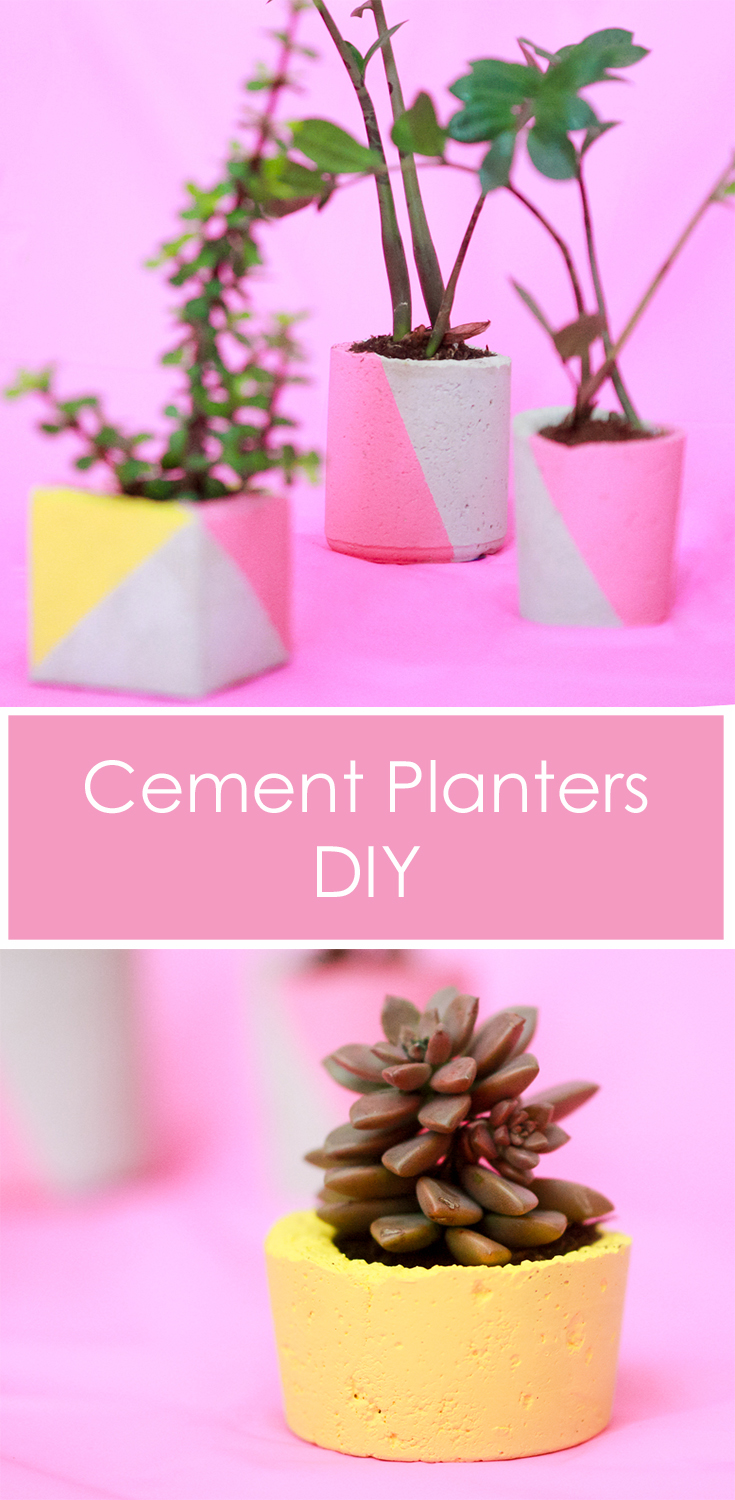
Wes Anderson Inspired Cement Planters
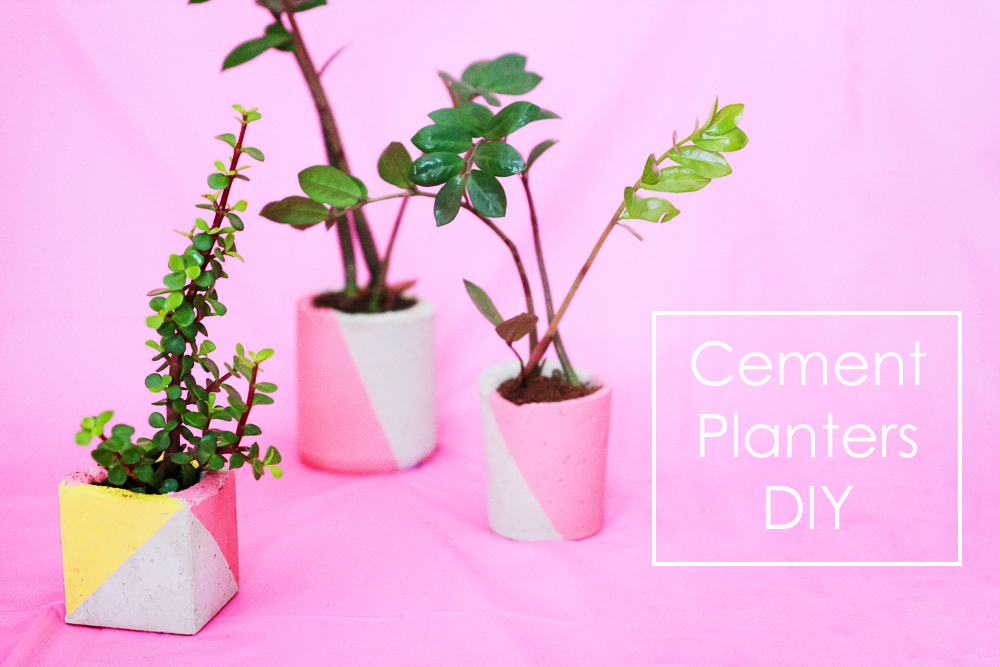 To my new beautiful cement planters: thank you for coming into my house to make it more appealing and for saving me hundreds of dollars in new planters! Also, thank you for being so easy to make and for looking good no matter what!
To my readers: I found the perfect project for you! It is easy, cheap, simple, fast and cute! Seriously, it is a no brainer. You need to try it!
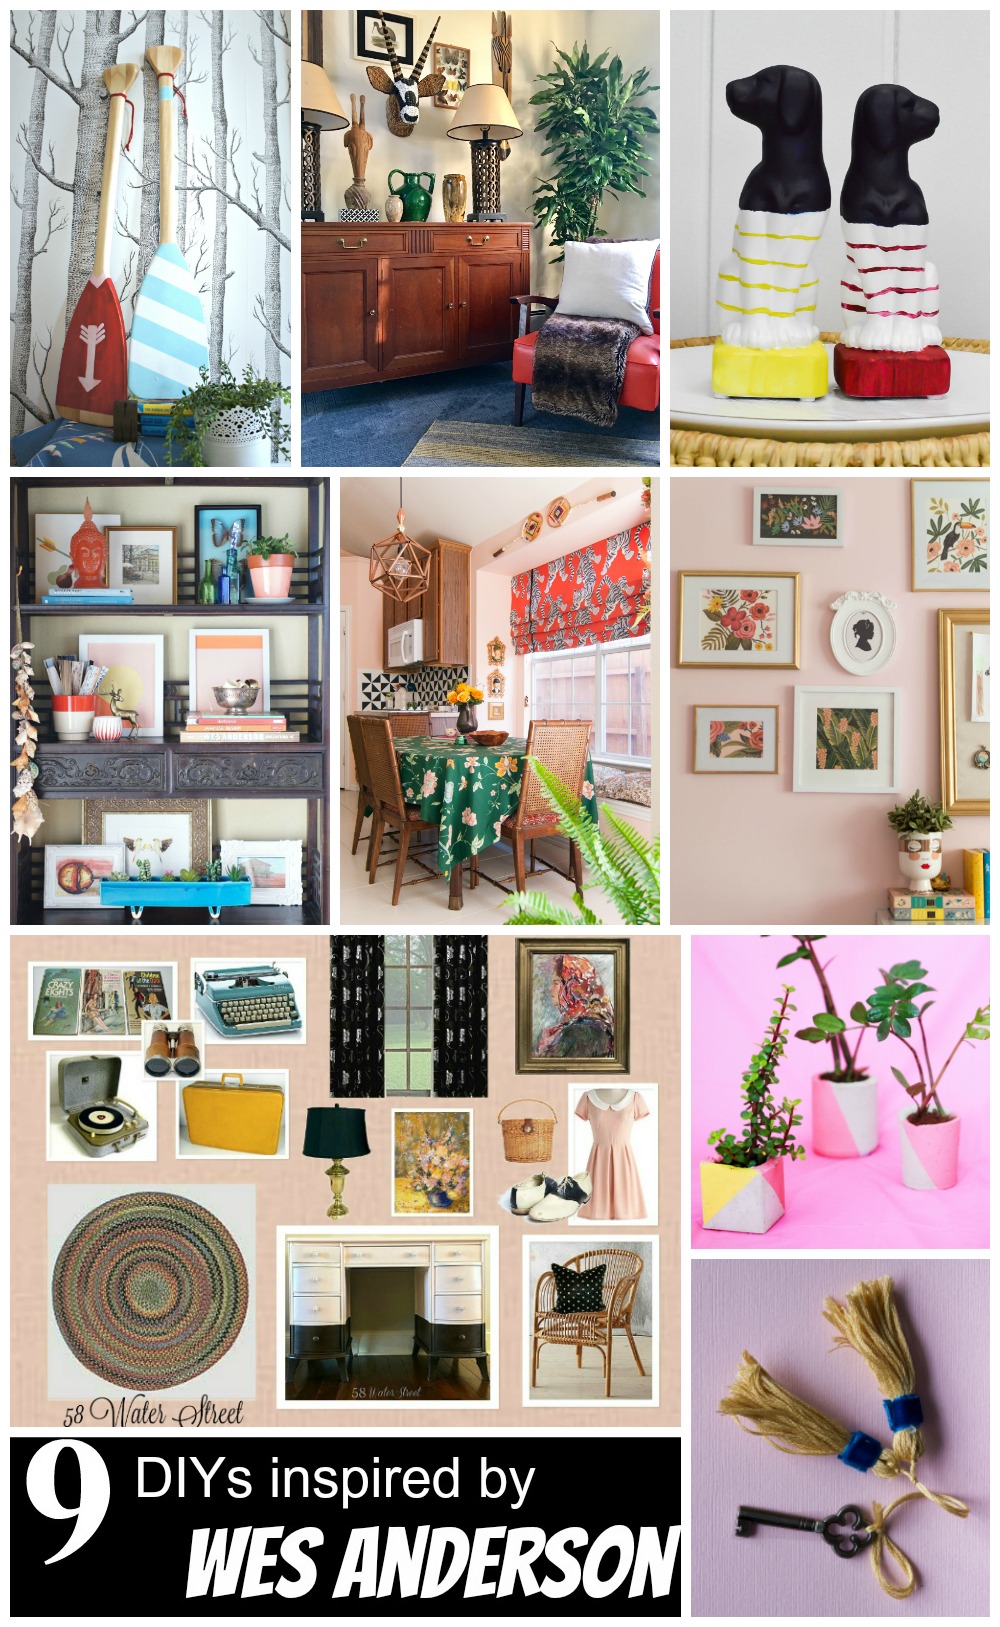
In case you are wondering why I decided to venture out into the cement world of crafts and DIY projects, I will give you the answer: I was invited to participate in a challenge with other bloggers called “Inspired by DIY.” The challenge is simple. We come up a DIY project inspired by somebody’s work. This month, we chose Wes Anderson.
(Thanks, Jess from Domicile37 for hosting this challenge!)
I have wanted to make cement planters for a while, so I decided this was the perfect opportunity to give it a try. I am happy with the result and how easy the project turned out to be.
Let me walk you through the steps so you can make them, too.
To begin with, I want to share the image that inspired this project:
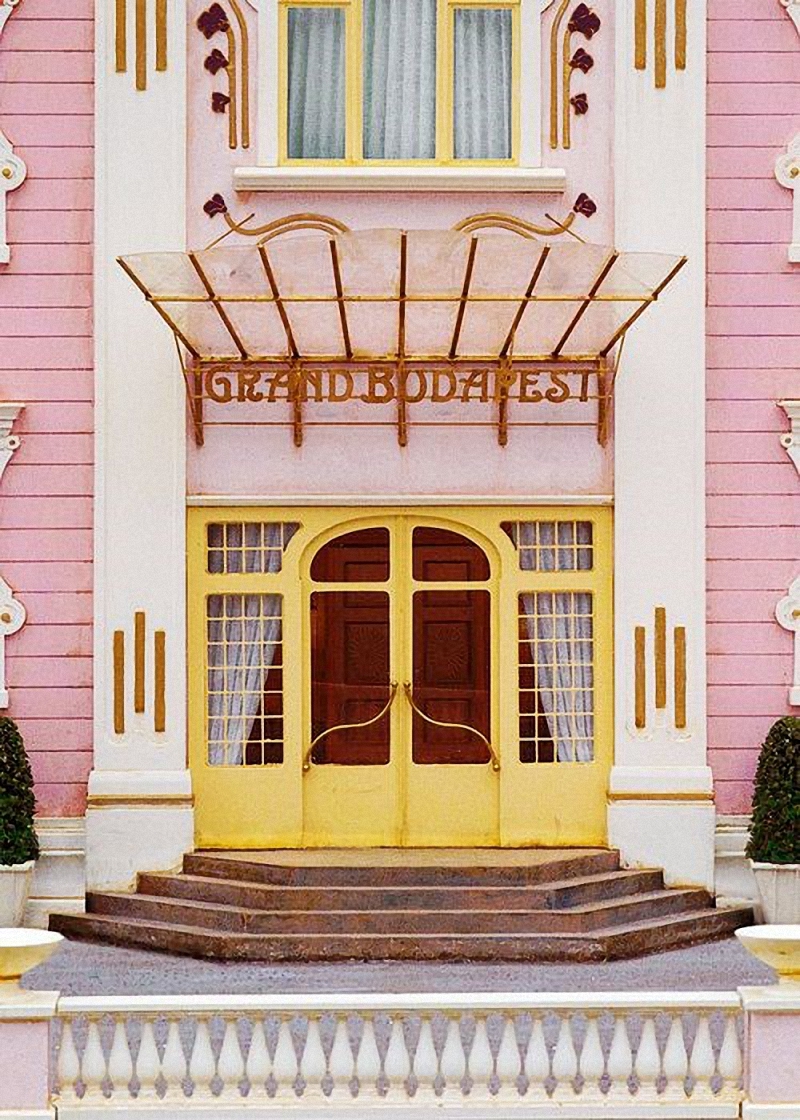
This is an image from Wes Anderson’s movie Hotel Budapest. I love the colors and decided to use similar tones for the planters.
Difficulty (1-5): 2 Time: 1 hour + 24 hrs for cement to dry Cost: $12
Materials
- Cement or Mortar. I used this mortar mix.
- Water
- Plastic containers – Any containers will do. I used yogurt, milk, sour cream, among others.
- Brush
- Paint – I used leftovers from samples of BEHR interior flat paint.
- Cooking Oil
- Plastic gloves
- Stick (to mix cement)
- Blue tape
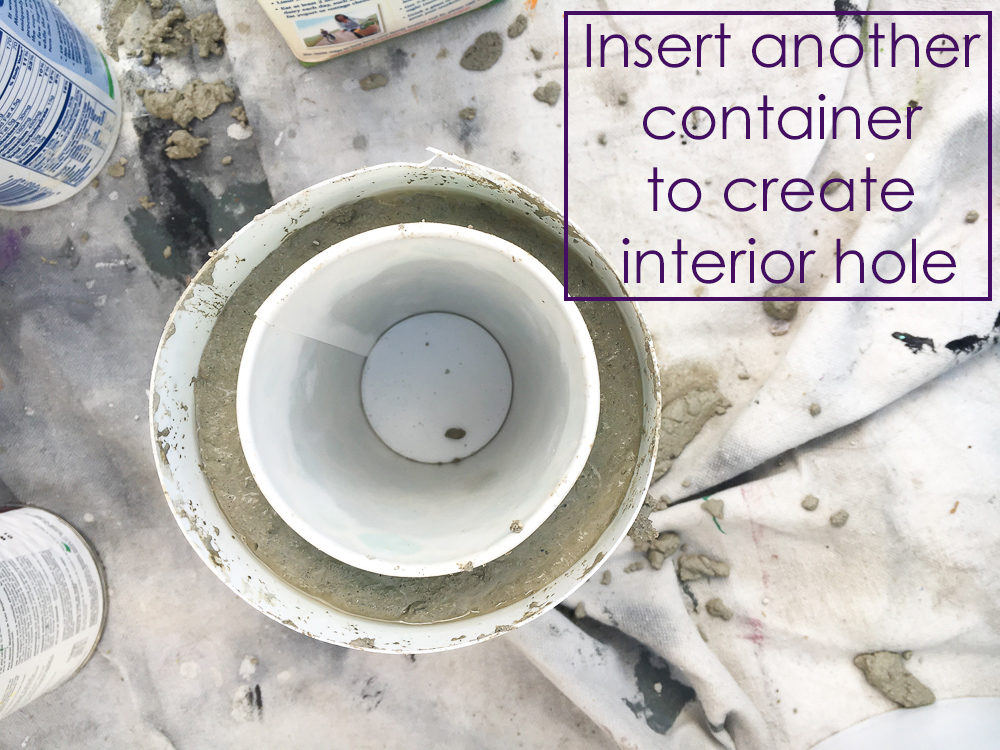
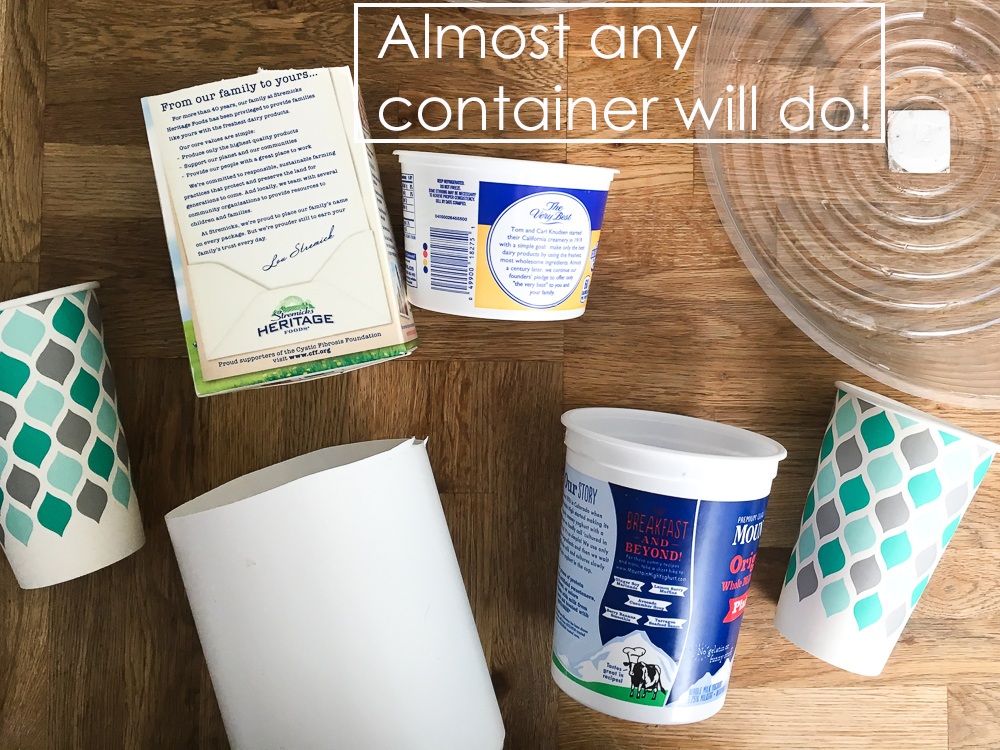 1) Prepare your containers. Decide how many planters you want to make. For each one of them you will need an exterior container to pour the cement mix in. You will also need an interior container to create the inside hole to place your plants. Make sure there is enough space between your exterior and interior container, this space will be the thickness of your planter walls.
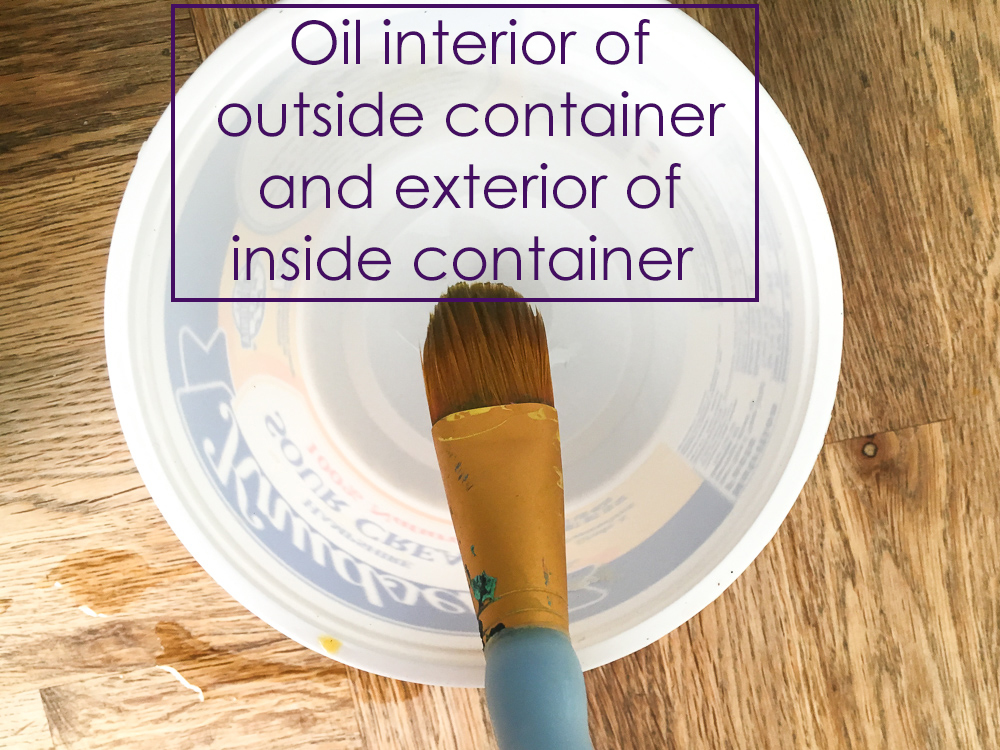 2) Oil the interior of outside containers and the exterior of your inside containers. This will help releasing containers after the cement dries.
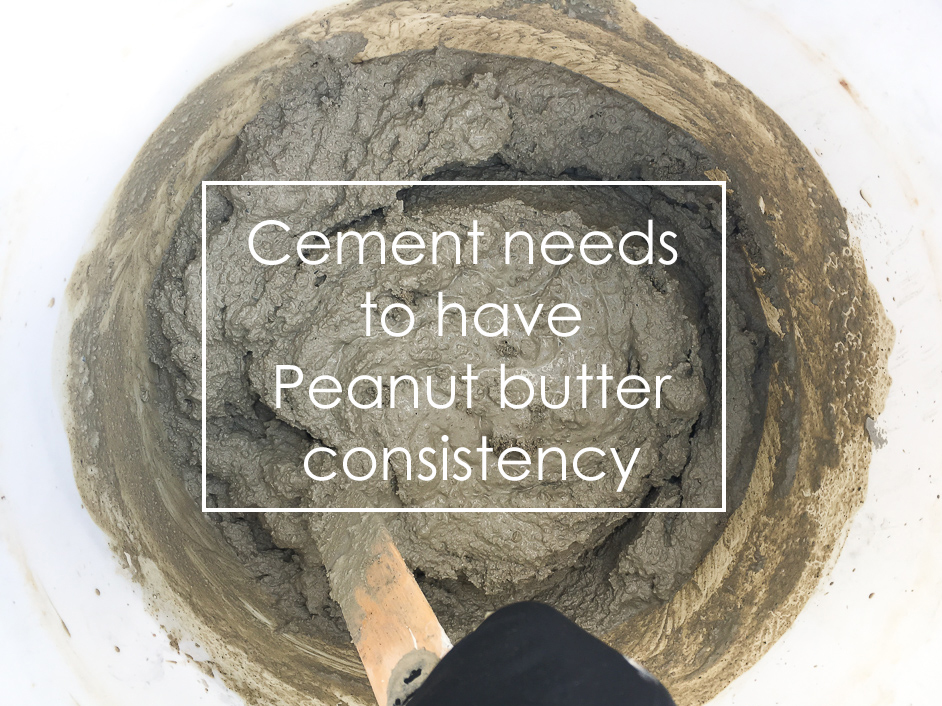
3) Prepare your cement mix. You will need approx. 1 measure of water per 4 measures of cement. Mix with your stick. You can also put your gloves on and mix with your hands. You need to achieve a peanut butter consistency. It is no problem if you make the cement a little bit runnier than peanut butter. This will help to create an even surface on the upper rim of the planter.
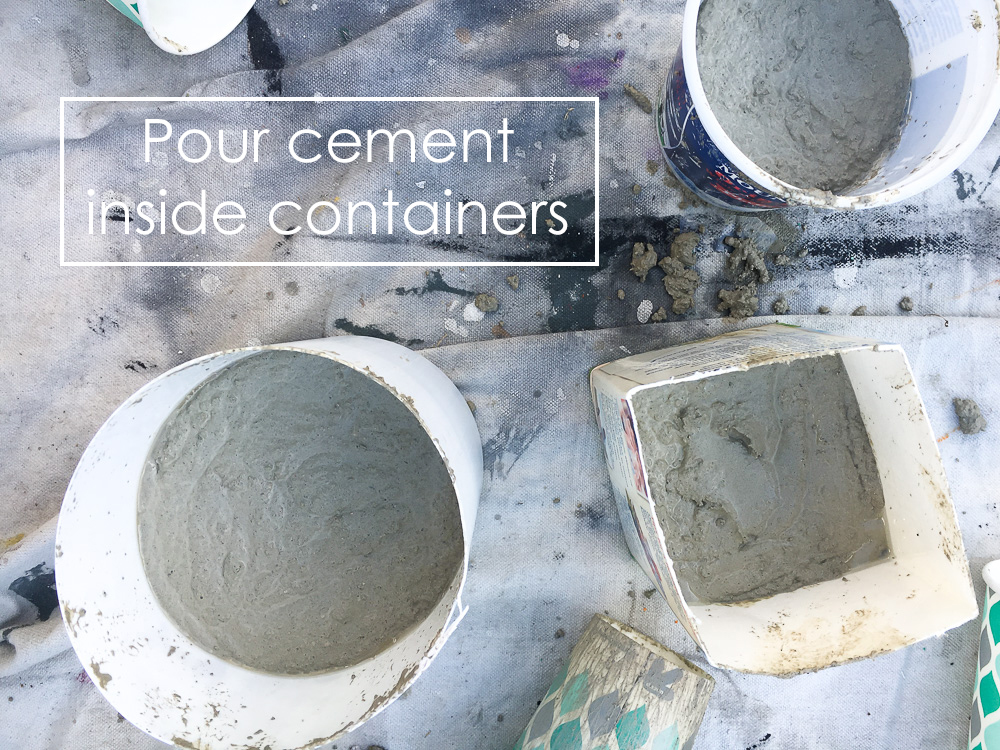 4) After you pour the cement into the container, you need to bang them down on a hard surface to settle the mix. Press the interior container into the mix to create the interior hole.
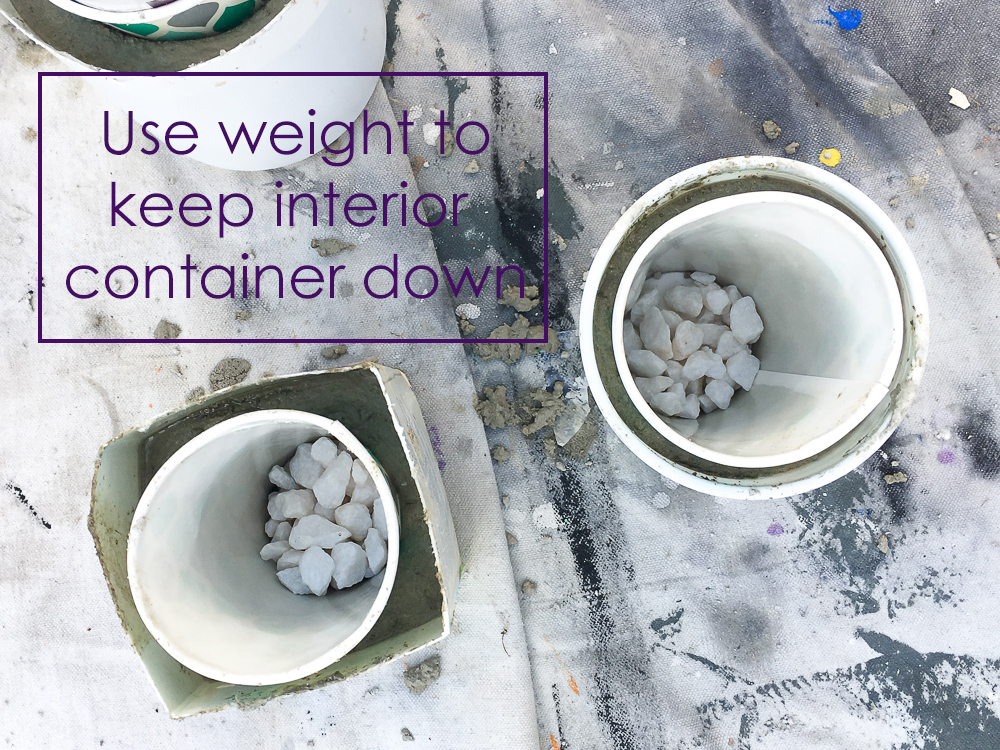 5) Add weights to keep interior containers down and wait 24 hrs for the cement to dry.
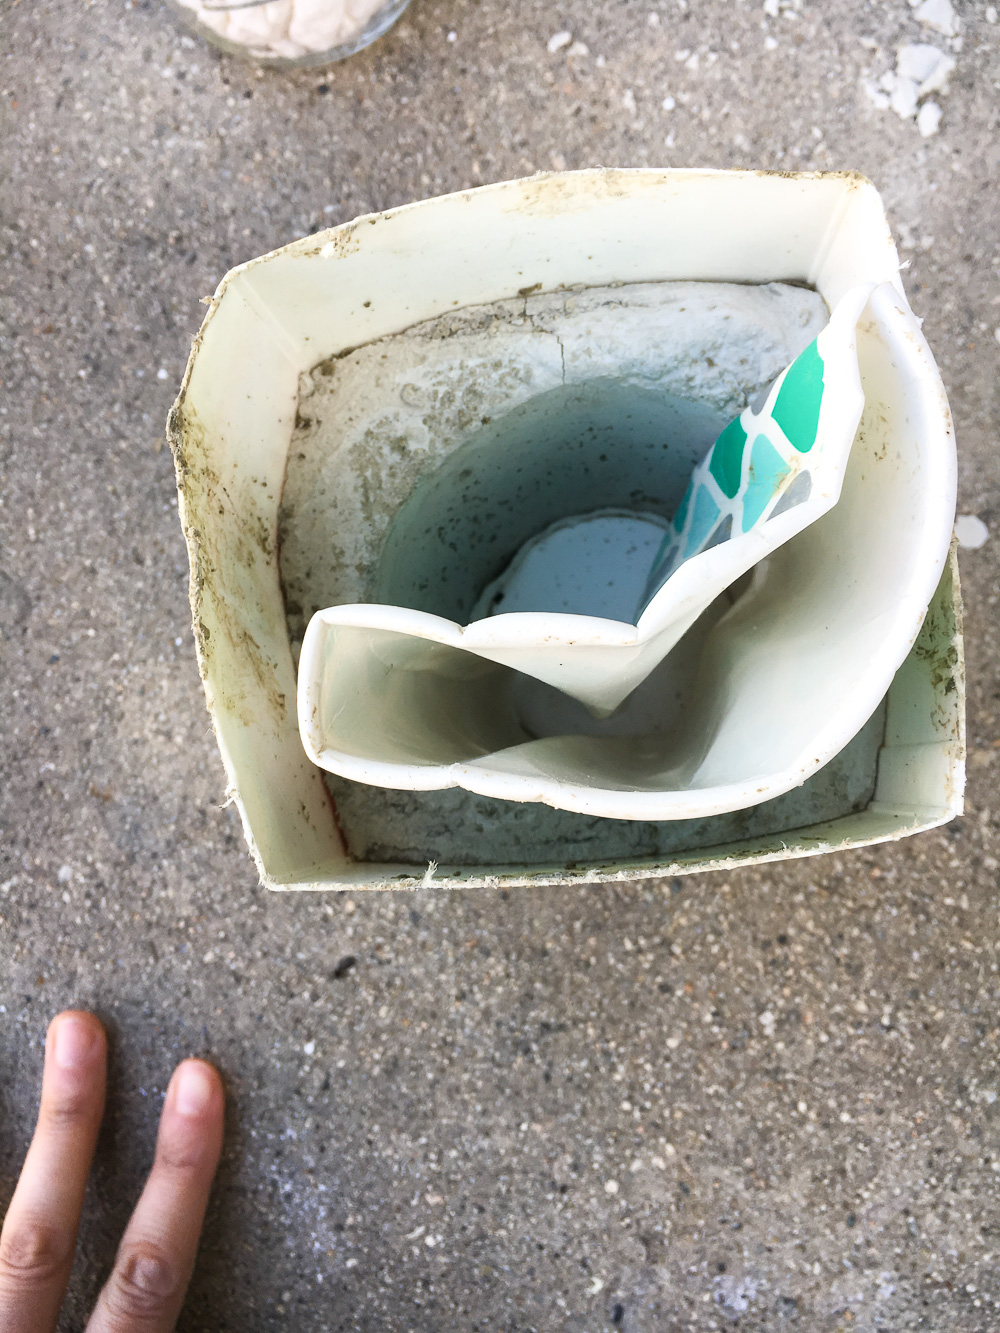
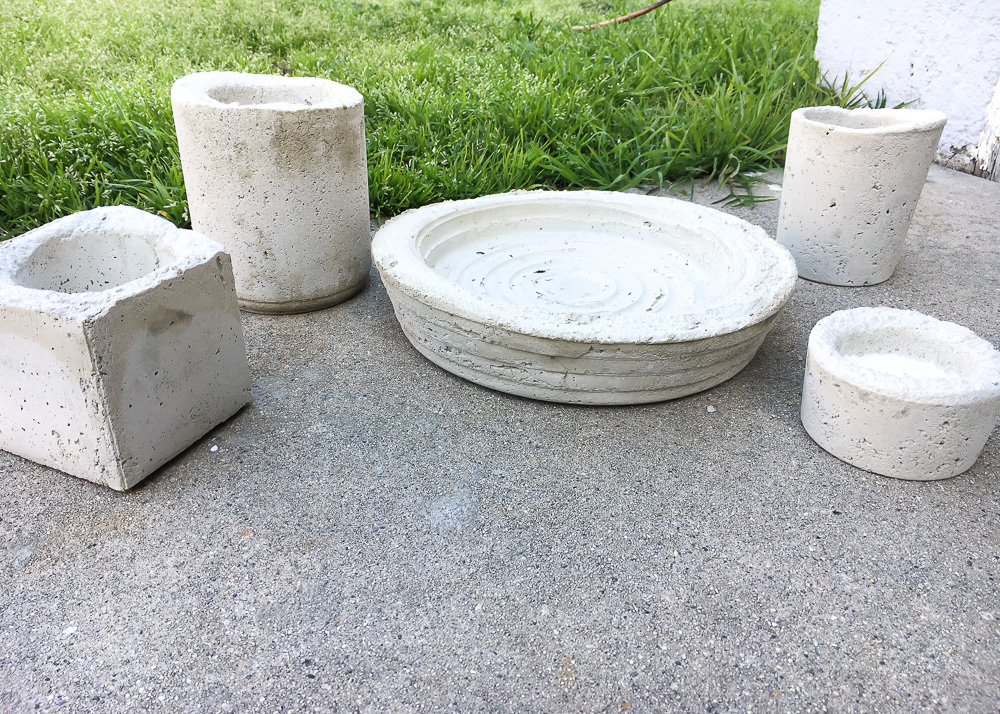
6) If you can’t pull the planters out of the containers, just cut the container off. You might need a tweezer to help you take out the interior containers.

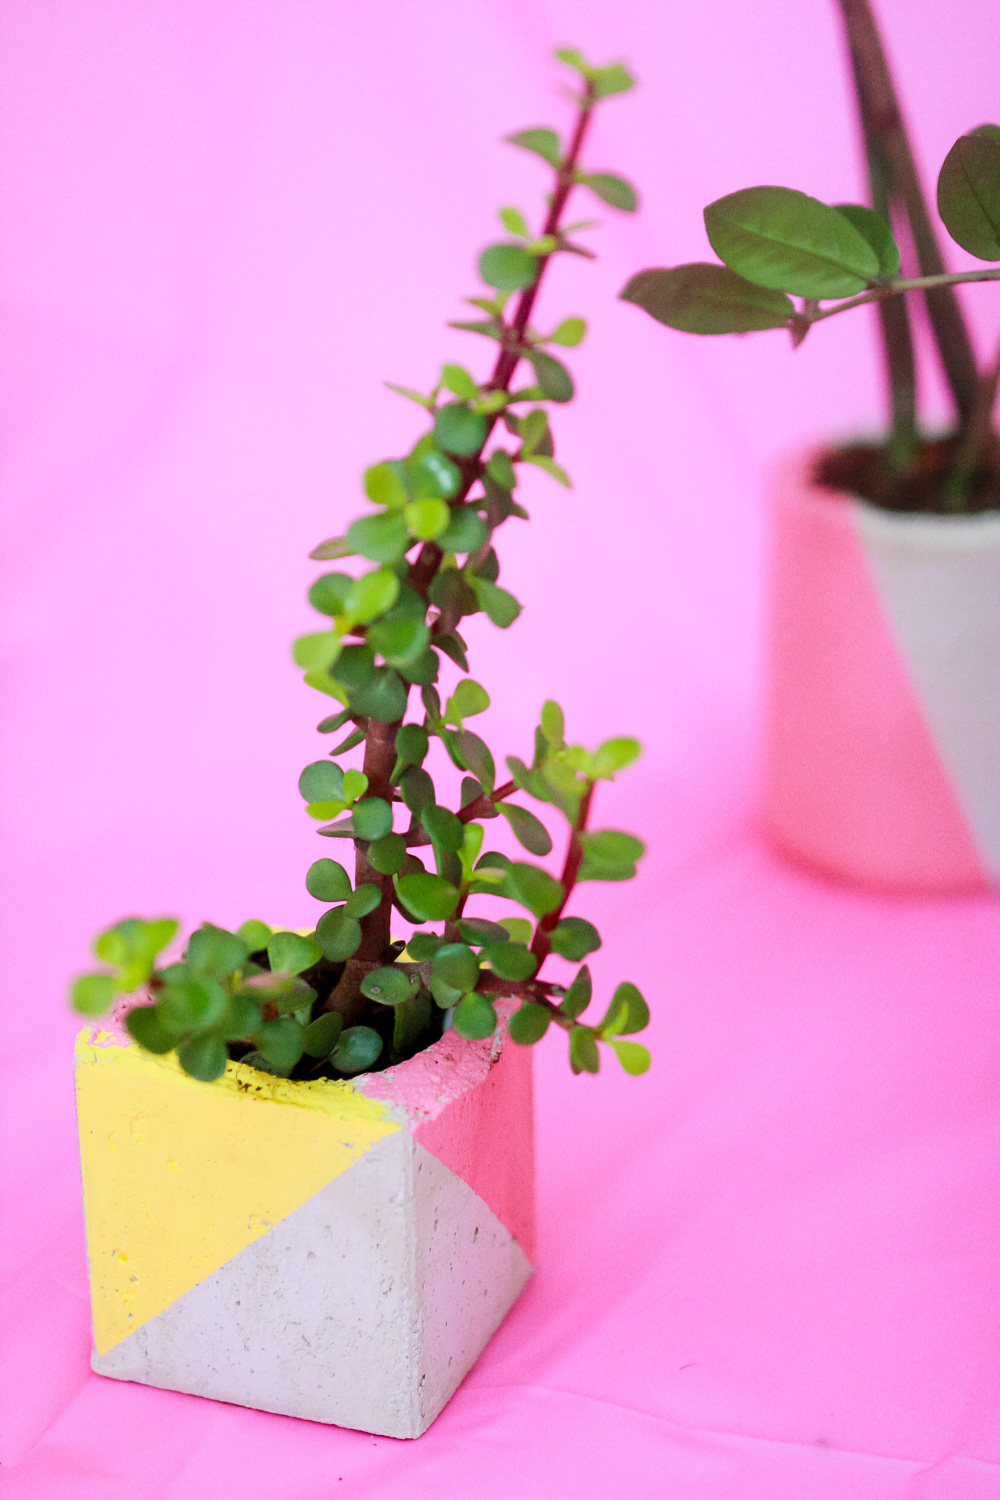
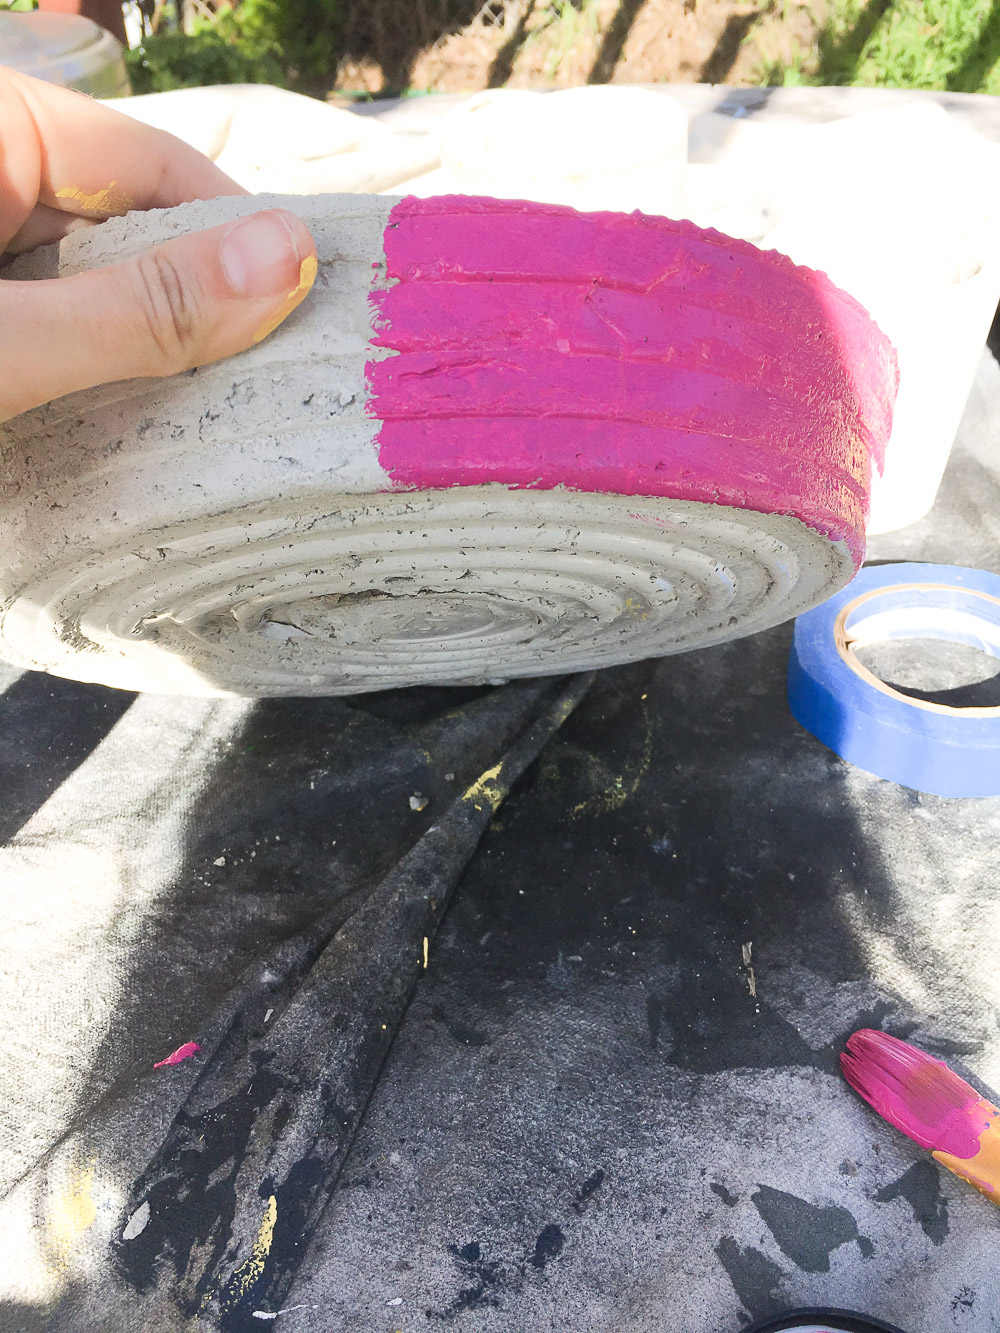 7) Paint! Choose your colors and a design and paint your containers. For some of the planters I used blue tape to create a straight line. I have a lot of extra paint from previous projects so I reused that. I used samples of flat wall paint. Spray would also work.
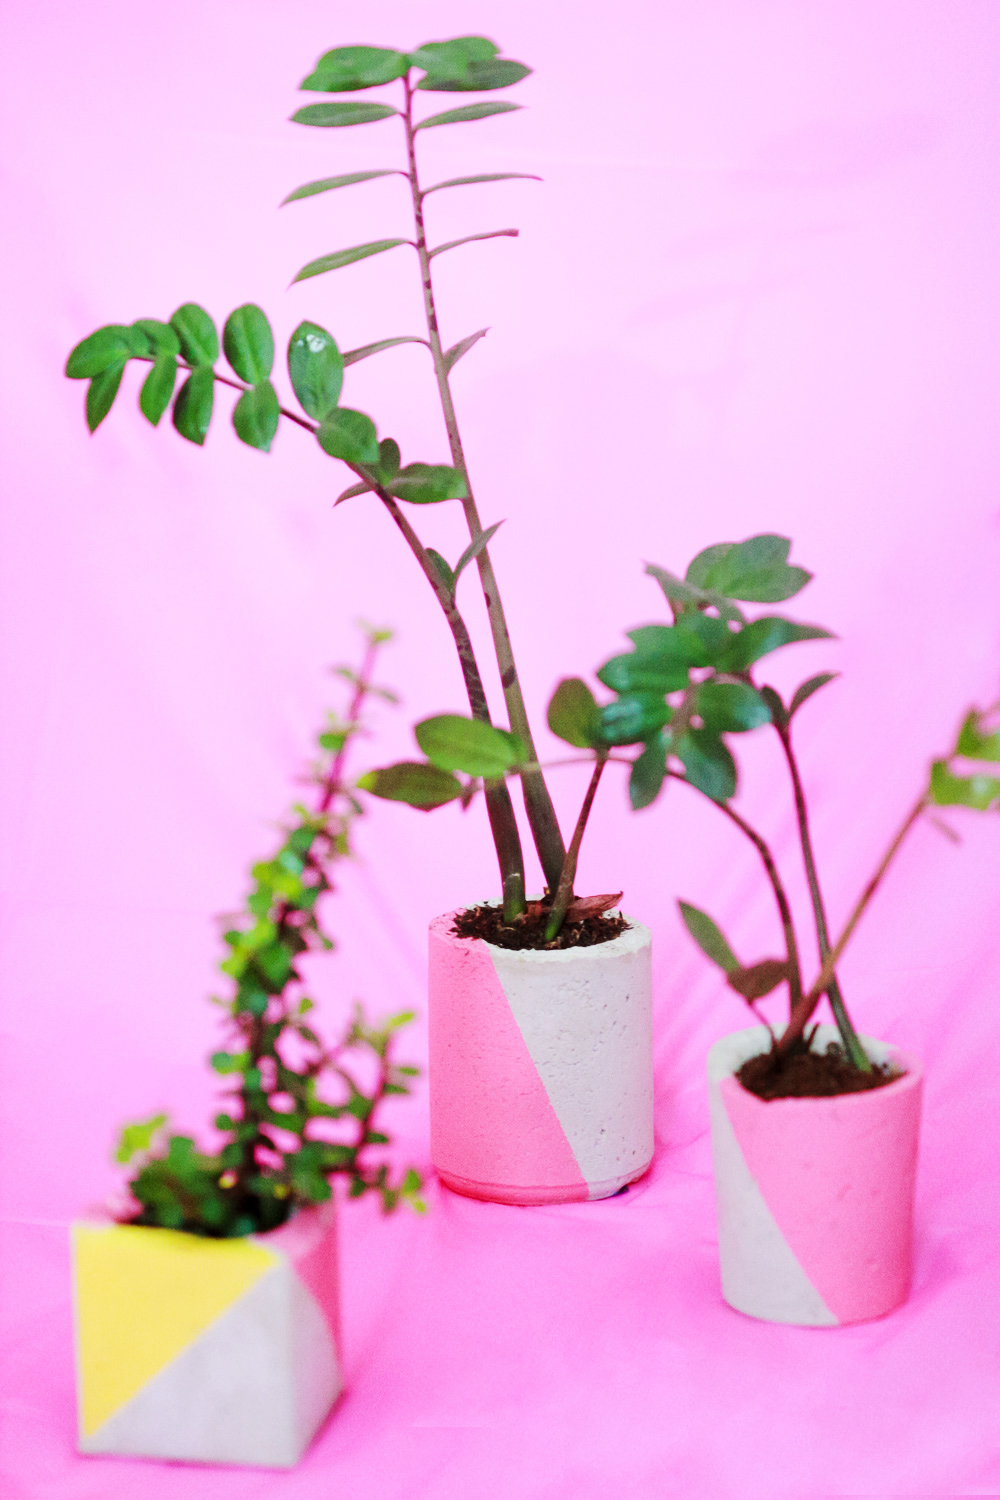
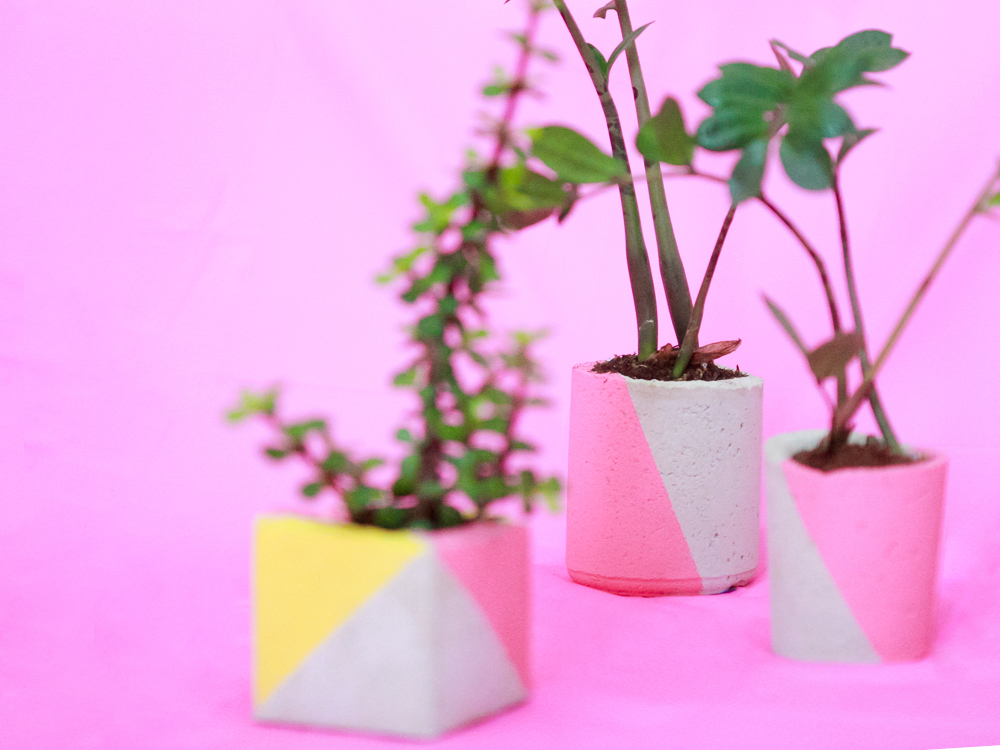
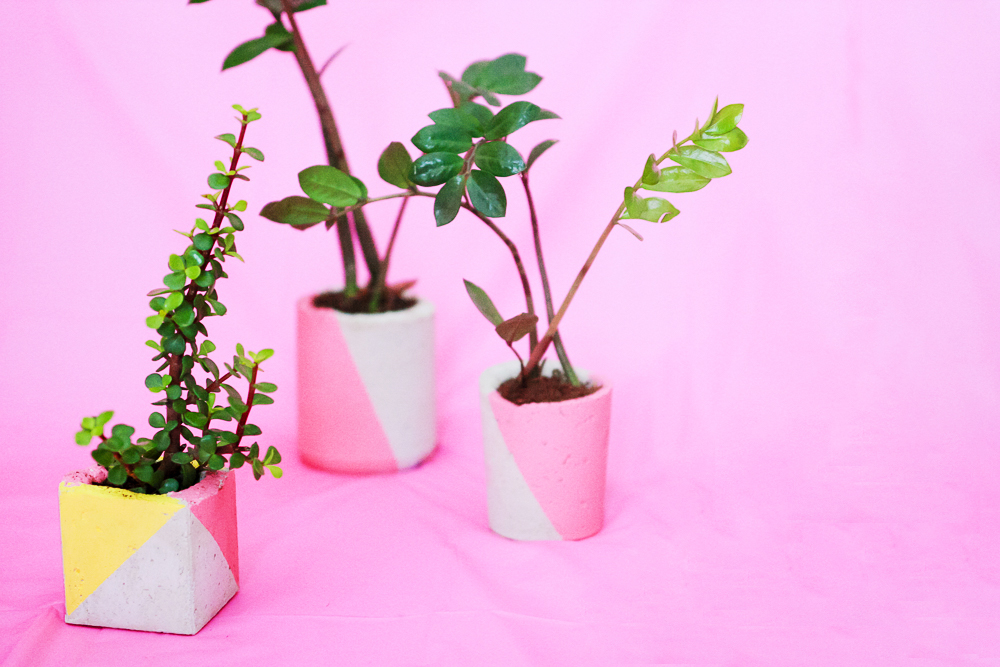
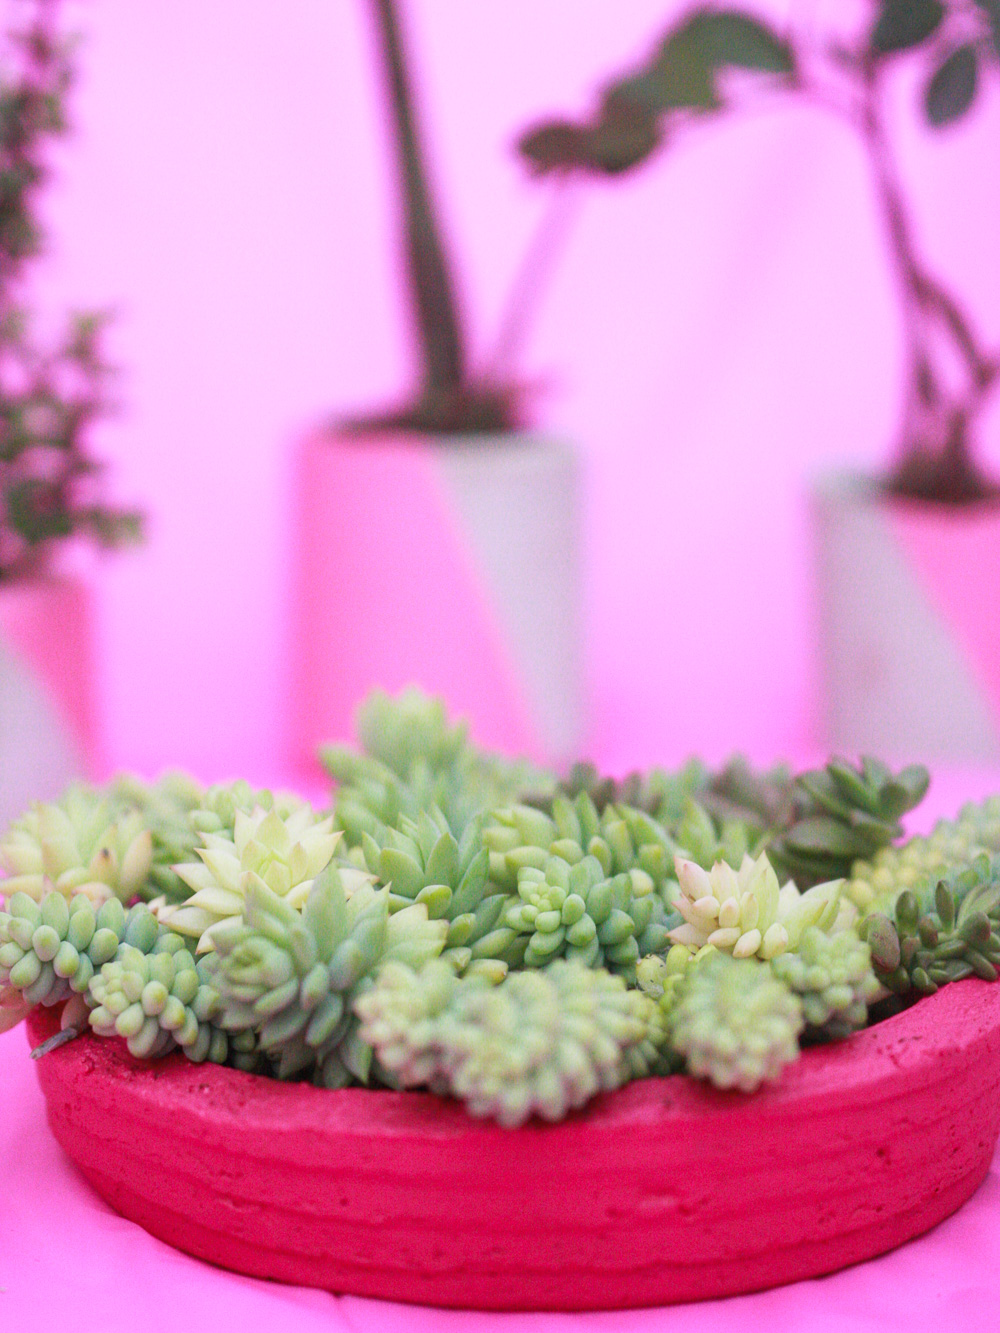
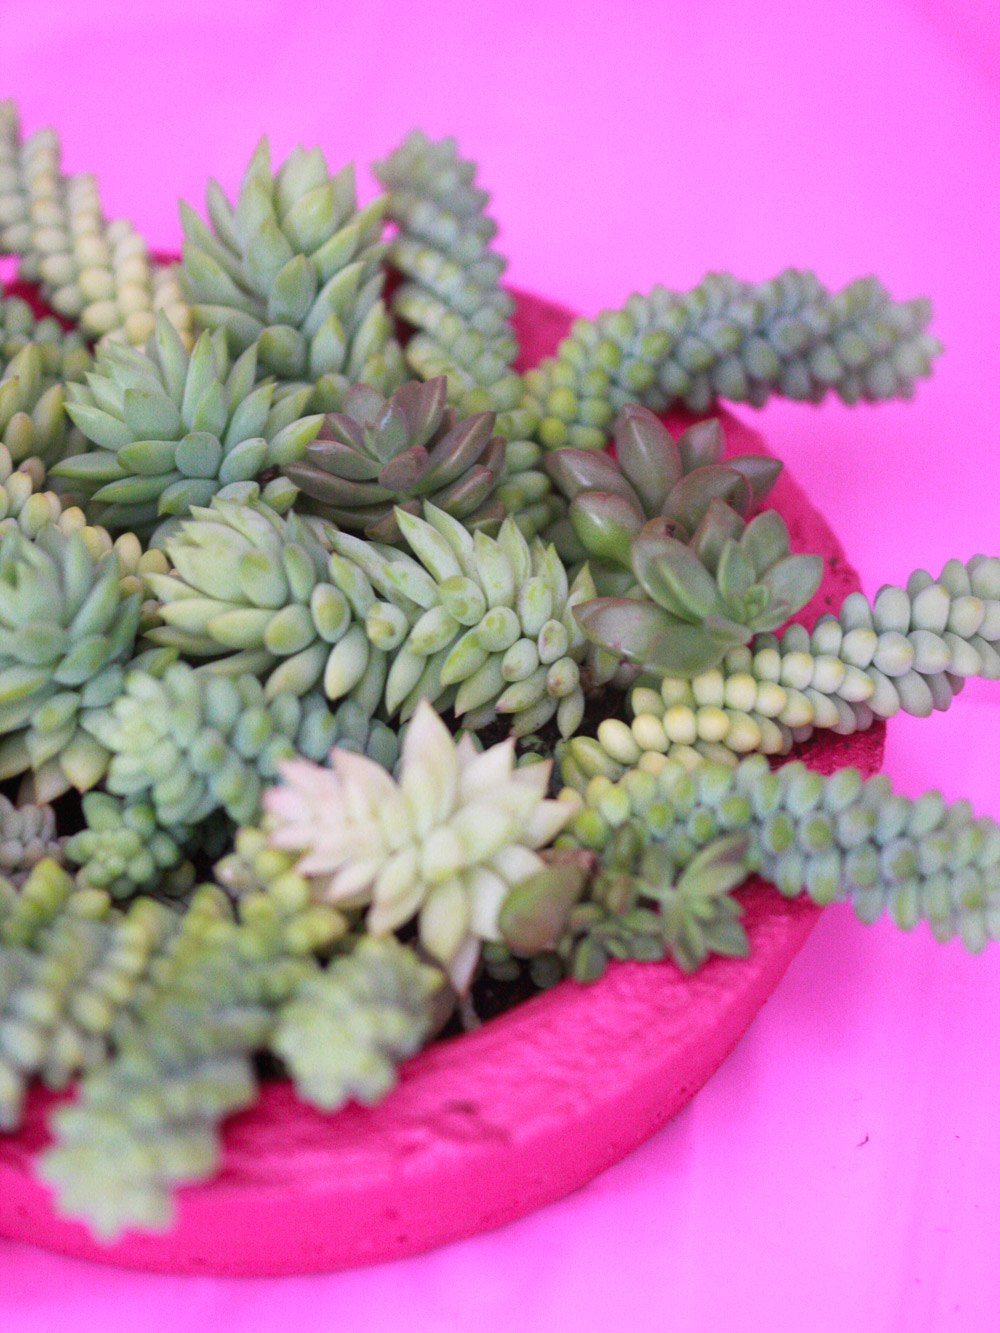
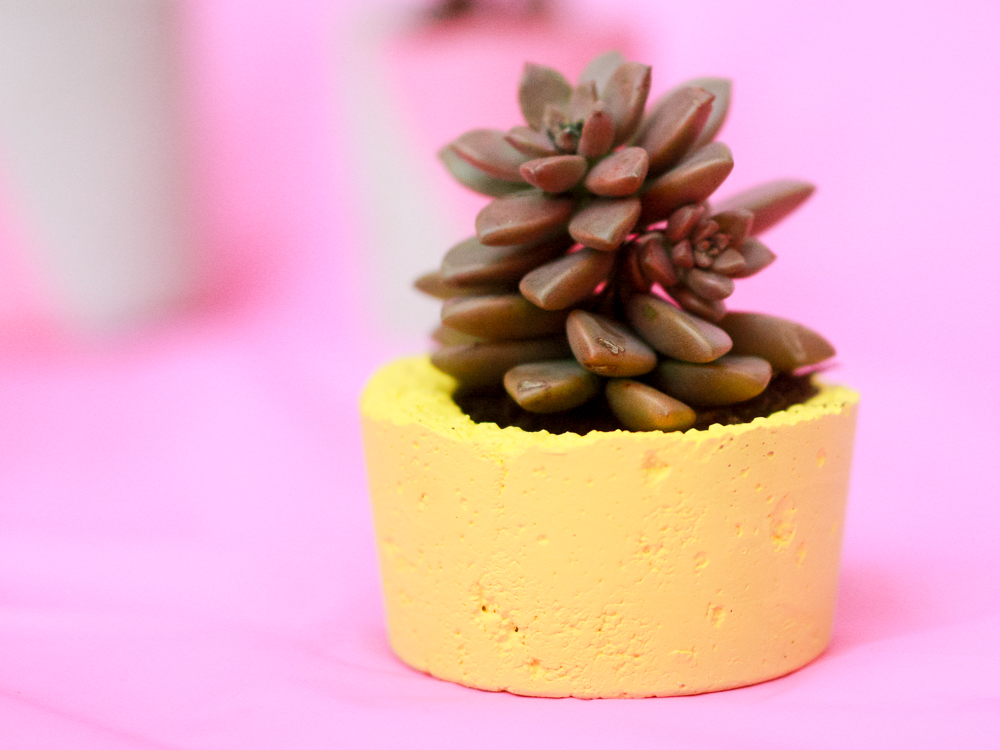
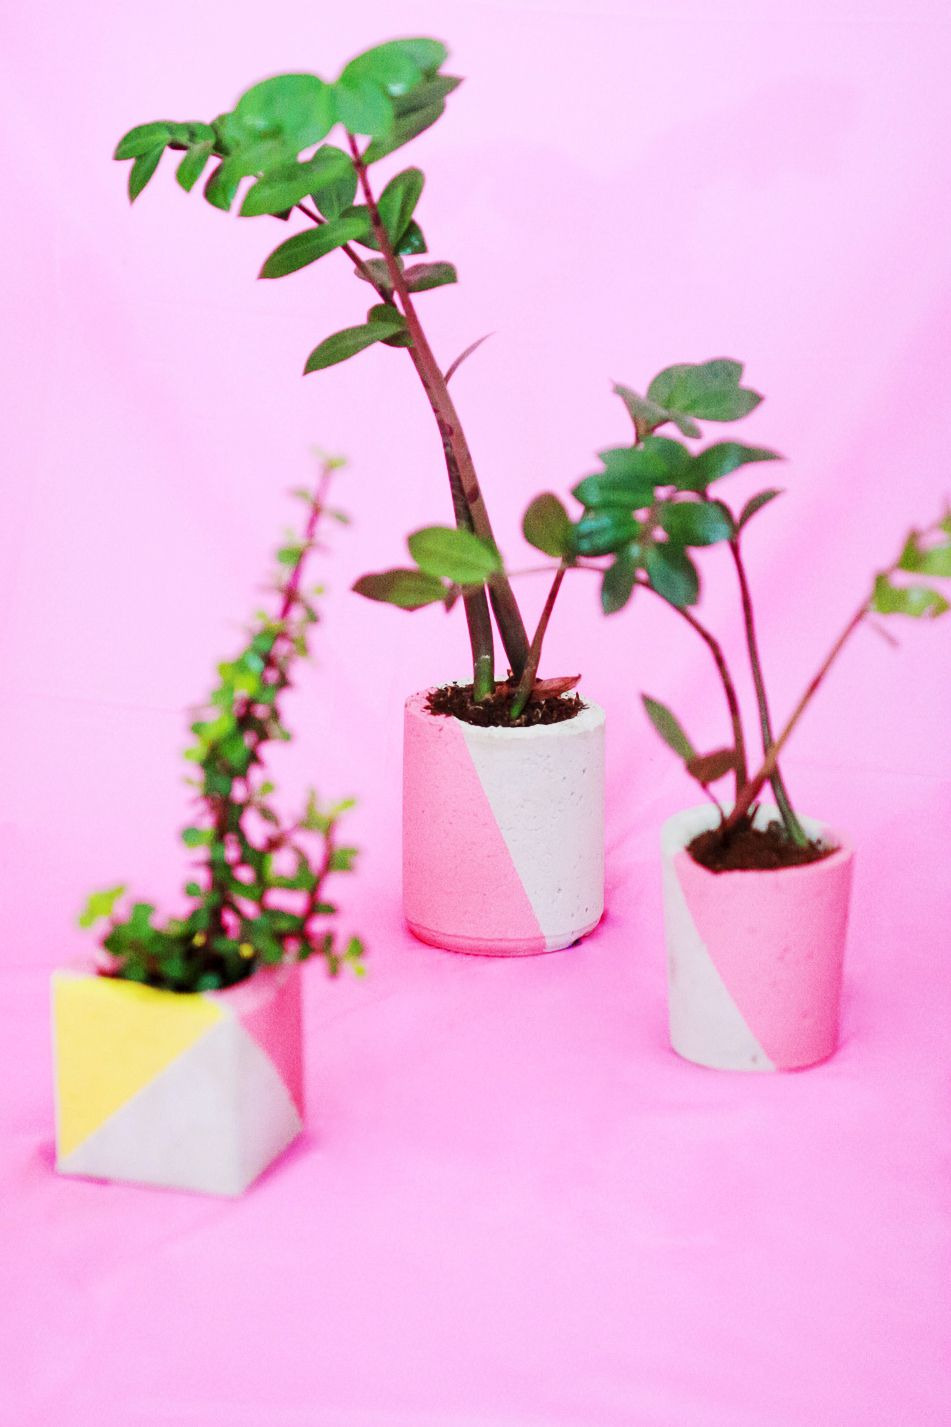
Let’s take a look at the results:
Here are the links to other DIY projects that my fellow bloggers came up with for this challenge. Lots of fun posts:
Domicile 37 | Up to Date Interiors | PMQ for Two | The Gathered Home | The Rath Project | 58 Water Street | Semi Gloss Design | The Home I Create


these are so pretty- i have yet to play with cement… one day!
I am sure that when you do, you will become addicted.
Love these planters, Mila! This is a project that I have been meaning to do. We have some old ones the backyard that my husband keeps wanting to throw away! They just get better with age!
I love cement planters, but what really impressed me about this project was how easy it was to make them. Give it a try!
I love the colors you chose and that gorgeous inspiration image! Perfect!
I should use the same colors for my Easter party!
pinned the heck out of these! Adorable!
thanks! they are so easy to make.
The Grand Budapest Hotel is my favorite! I am so happy that someone incorporated the colors in their project. I love it and it is so festive!!!! Someone is ready for spring!
Yes! you got it right. I am SO ready for Spring!!!!
I so need to try this! I really like the look of concrete planters and the paint colors are so much fun.
I am so excited to tackle cement planters now!! And your color choices match the Budapest Hotel perfectly!
Thanks, Diane. I would love to see the results!
Great idea, Mila! Love the colors.
Thanks, Carol! Hope everything is good!
What a fun DIY! I would be intimidated to make something like this, but you made it look so doable. Also, your photography is amazing!
It is really easy. I was surprised!
This is great inspirations Mila,you created cement planters with easy to do it instructions. i love it an will try myself . wanted to do these beautiful homes for my little plants.
Thank you so much! Let me know how it goes! I would love to know.