
Marigold Wreath DIY (and Garland) – Perfect for Fall
 Is that time of the year!!!! My favorite time to blog! I am hoping I can get into a regular schedule again because the Fall and the Holidays deserve it.
Let’s start with a charming and EASY decoration I made last weekend. This marigold wreath turned out beautiful! It lasted looking good for more than 72 hours. You heard it! Marigolds are tough flowers and survive looking sharp and fresh for a long time without water, just like my children. Their vibrant orange color scream FALL!!!!! Just like I am screaming right now. I love Internet scream, in case you haven’t figured that out.
 I took my family to the Flower Market on Saturday morning and bought two bundles of marigolds for $20 each. One bundle is enough for the 12″ wreath, but I also wanted to do a marigold garland because, why not? It turned out gorgeous, too. See photos and instructions at the end of this post.
 Marigold Wreath DIY
Difficulty (1-5): 2 Time: 45 mins Cost: $25
Materials:
- One bundle of marigolds – around 130-140 flowers
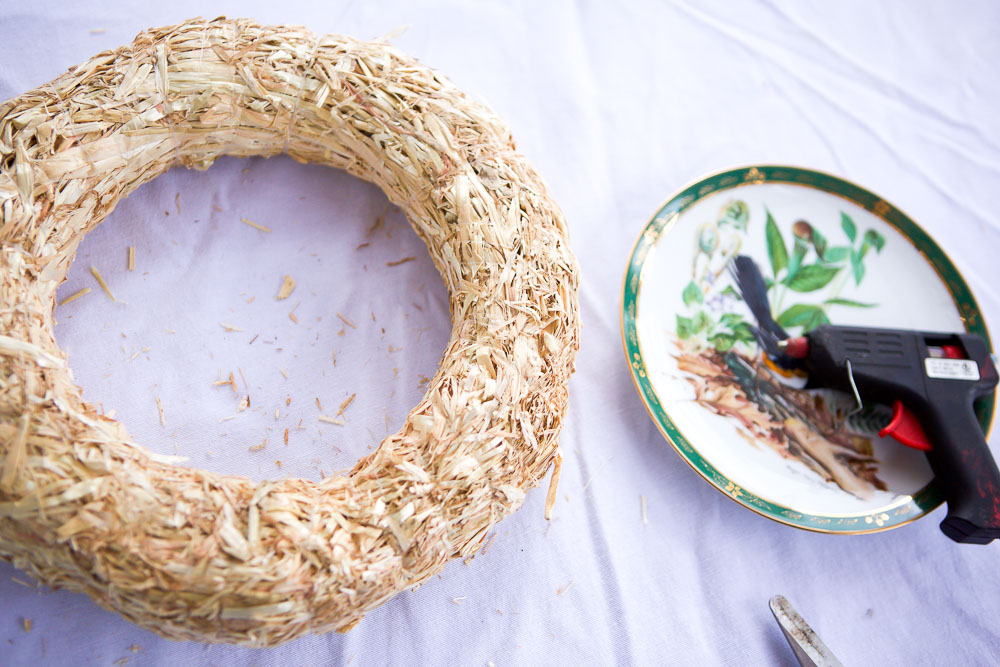
- Glue Gun
- Cutters
- 12″ straw wreath
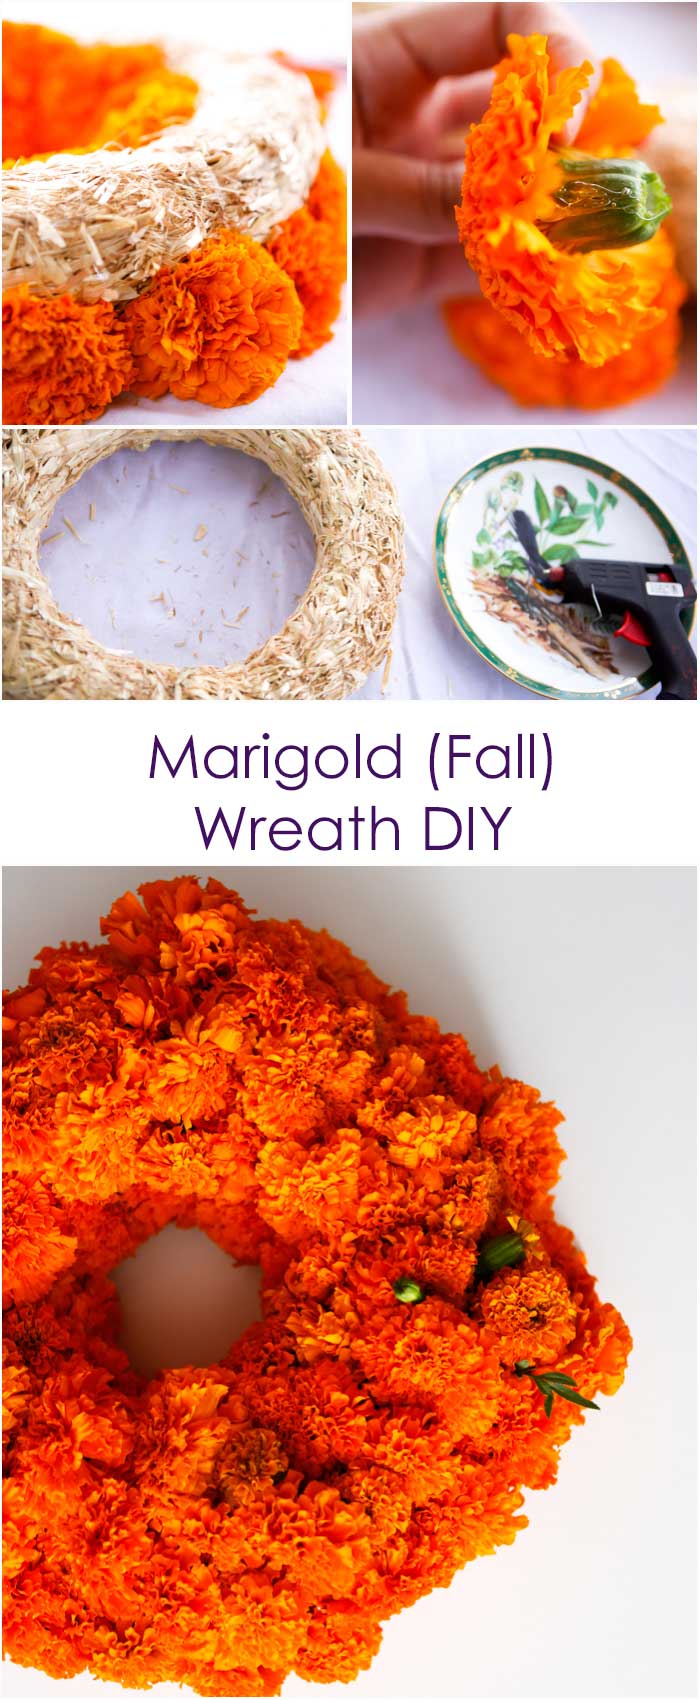
 Step 1: Cut the flowers right under the blossom – where the stem begins, and receptacle ends.
  Step 2: Add glue to the side of the flower (or receptacle) with your glue gun. Low temperature.
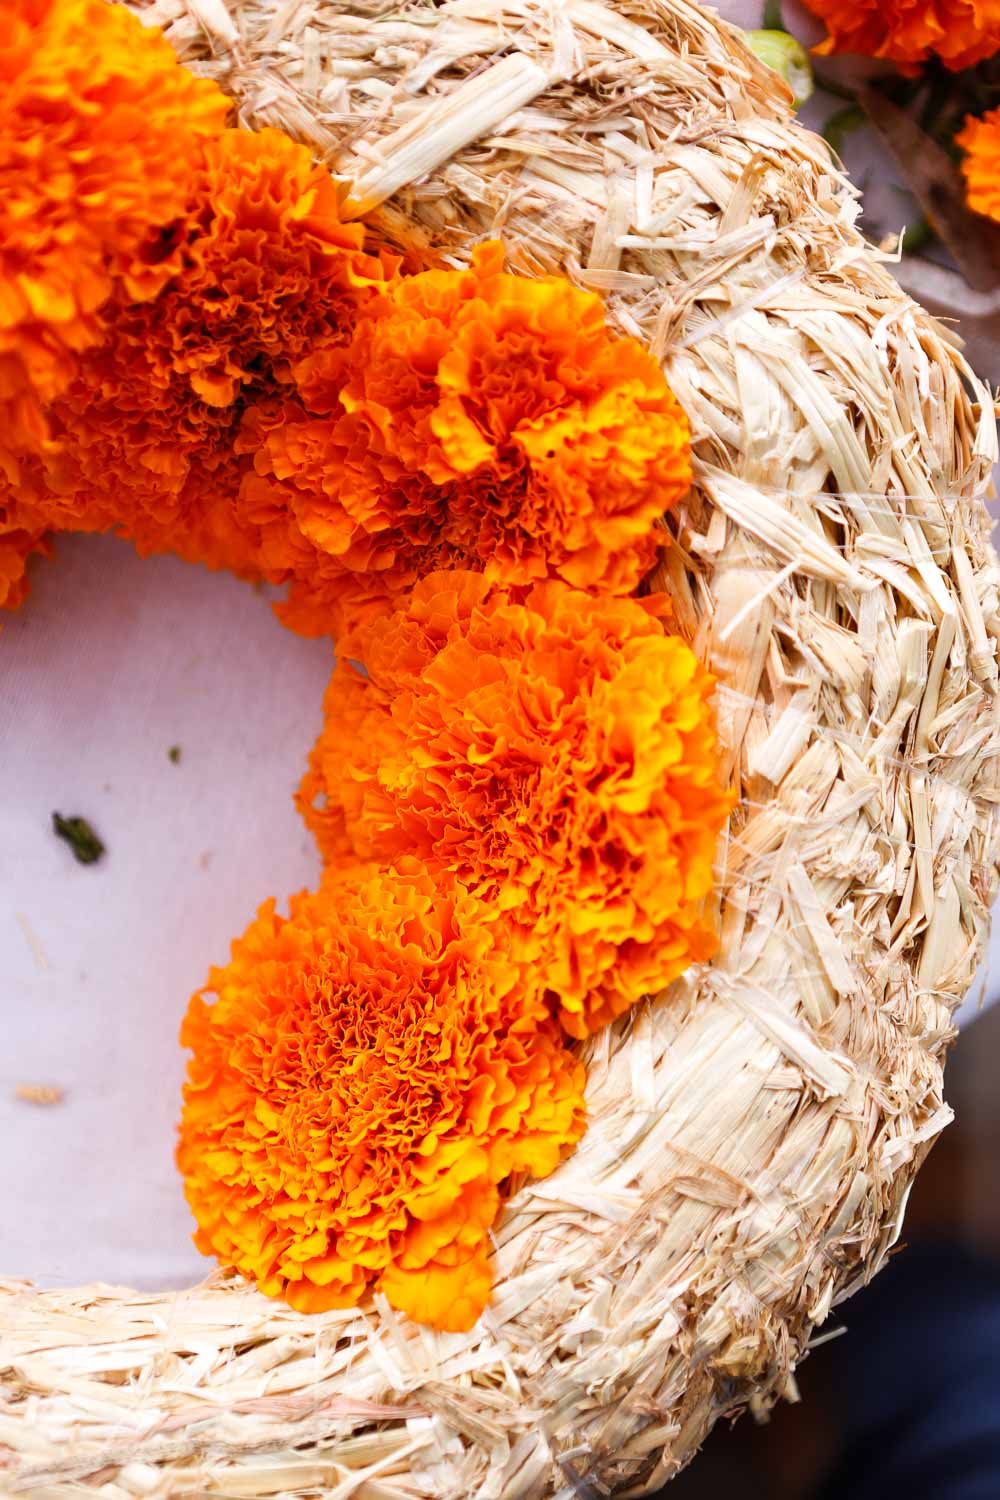 Step 3: Glue your flowers to the wreath. Press for at least 5 seconds to attach. I added a line of flowers to the interior and one to the outside first (see photo below) to make sure the straw is completely covered with flowers.
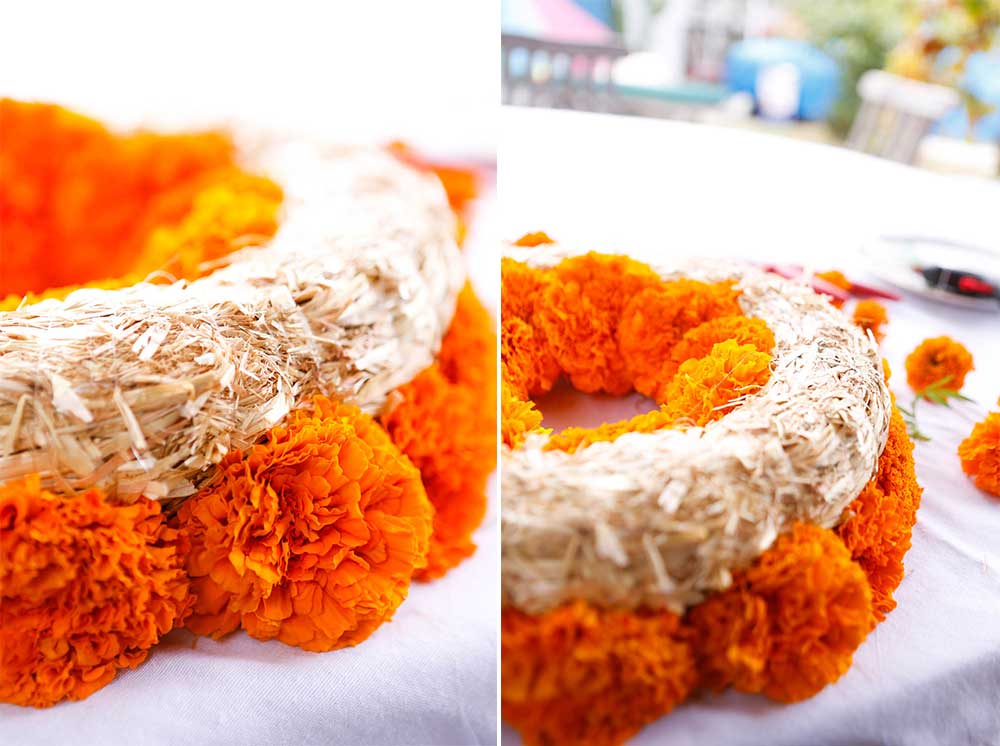
 Step 4: Start adding the rest of the flowers. Follow one direction to ensure most of the receptacles are covered – meaning the green part of the flower.
 Voilá!


6′ Marigold Garland DIY
Difficulty (1-5): 1 Time: 30 mins Cost: $15
Materials:
- 90-100 marigolds
- Flower wire (or needle and thread – I like flower wire better because the flowers don’t slide down as easily once you hang up the garland)
- Cutters
 Step 1: Get yourself a helper that likes flowers.
Step 2: Tell her/him to stick the flower wire through the middle of the flower.
Step 3: Keep on adding flowers. Follow the same direction for all your flowers.

Happy Fall!!!!


Leave a Reply
Want to join the discussion?Feel free to contribute!