
ORC – Week 5 – Building And Fixing Furniture
 One Room Challenge – Week 5 –
For previous weeks, click here: Week 1 – Week 2– Week 3 – Week 4
The most important news this week is that I have done my very first GIF. It is a total fail: I couldn’t keep the camera in one place (Max decided that moving the tripod with the camera on it was his Sunday’s priority), the photos are badly frame (vertical & horizontal lines are not straight), and the color of the pictures don’t match (taken at very different times of the day), but, as much as a bad GIF this one is, it took me forever to learn how to do it and it is my first one, so… ENJOY:
I am already nauseous watching that GIF! Too busy. Let’s look at that last photo instead:
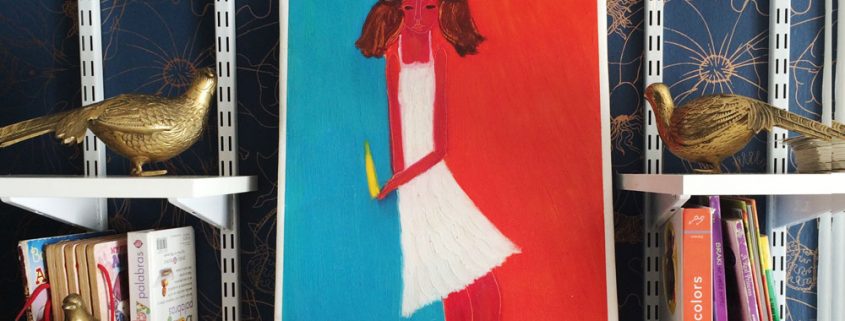
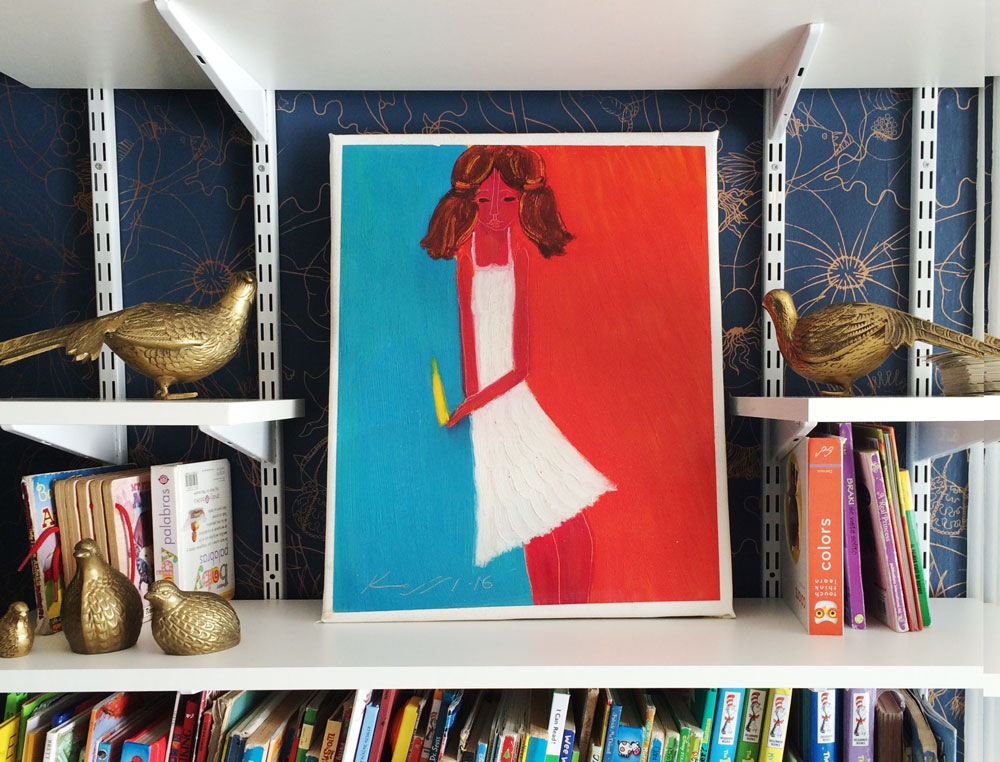
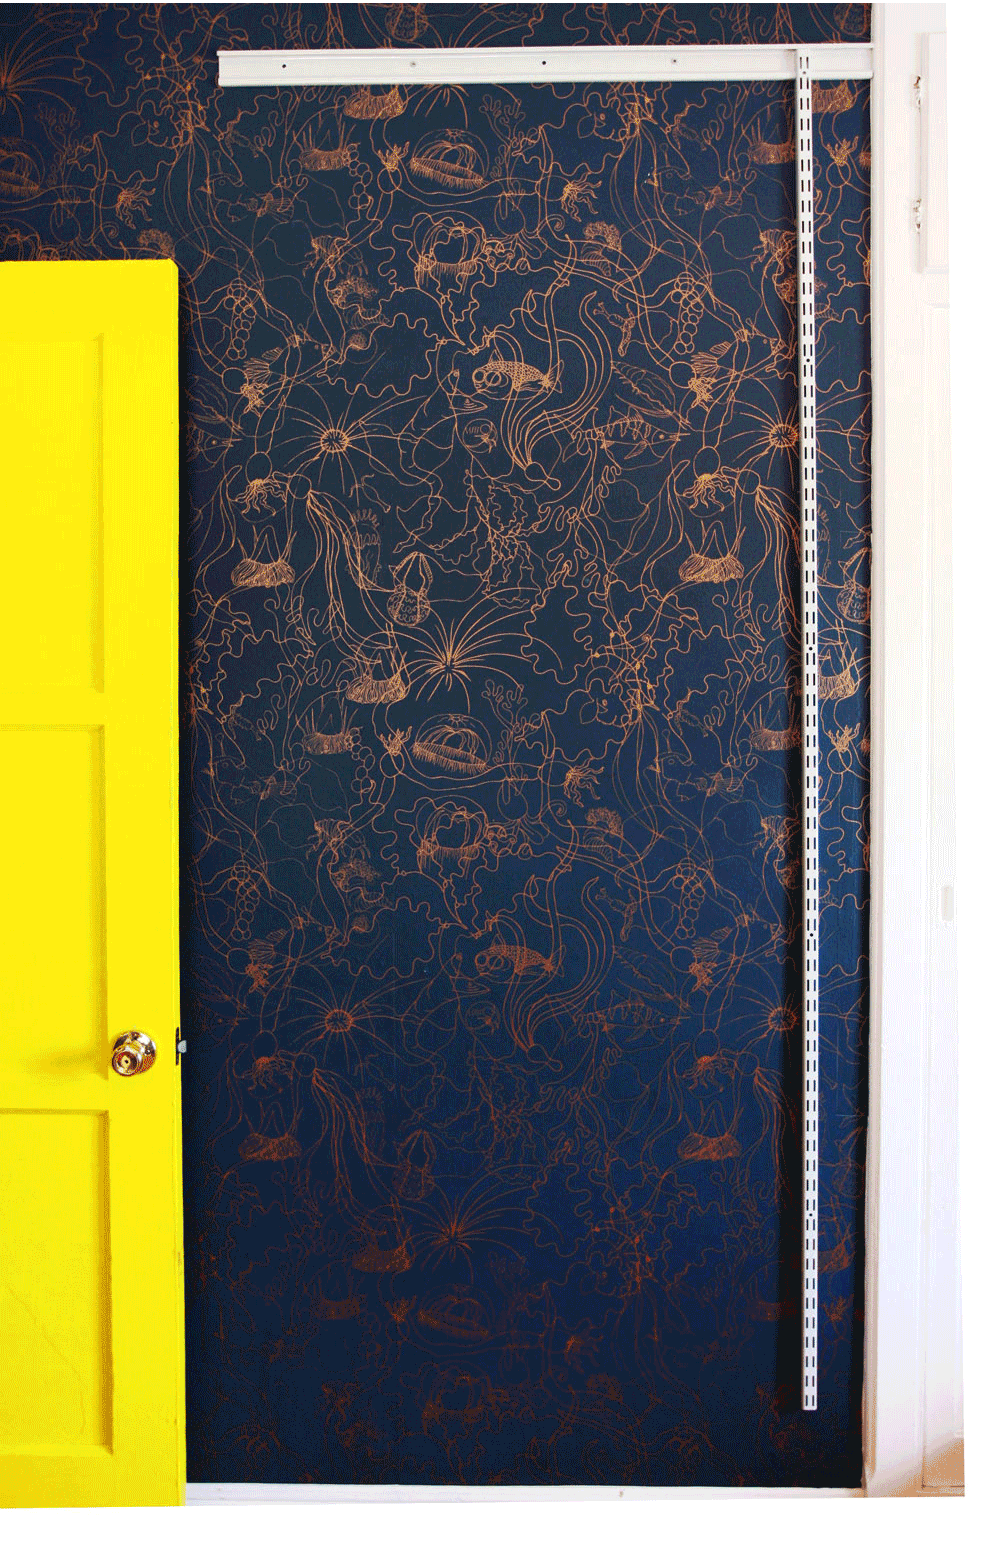
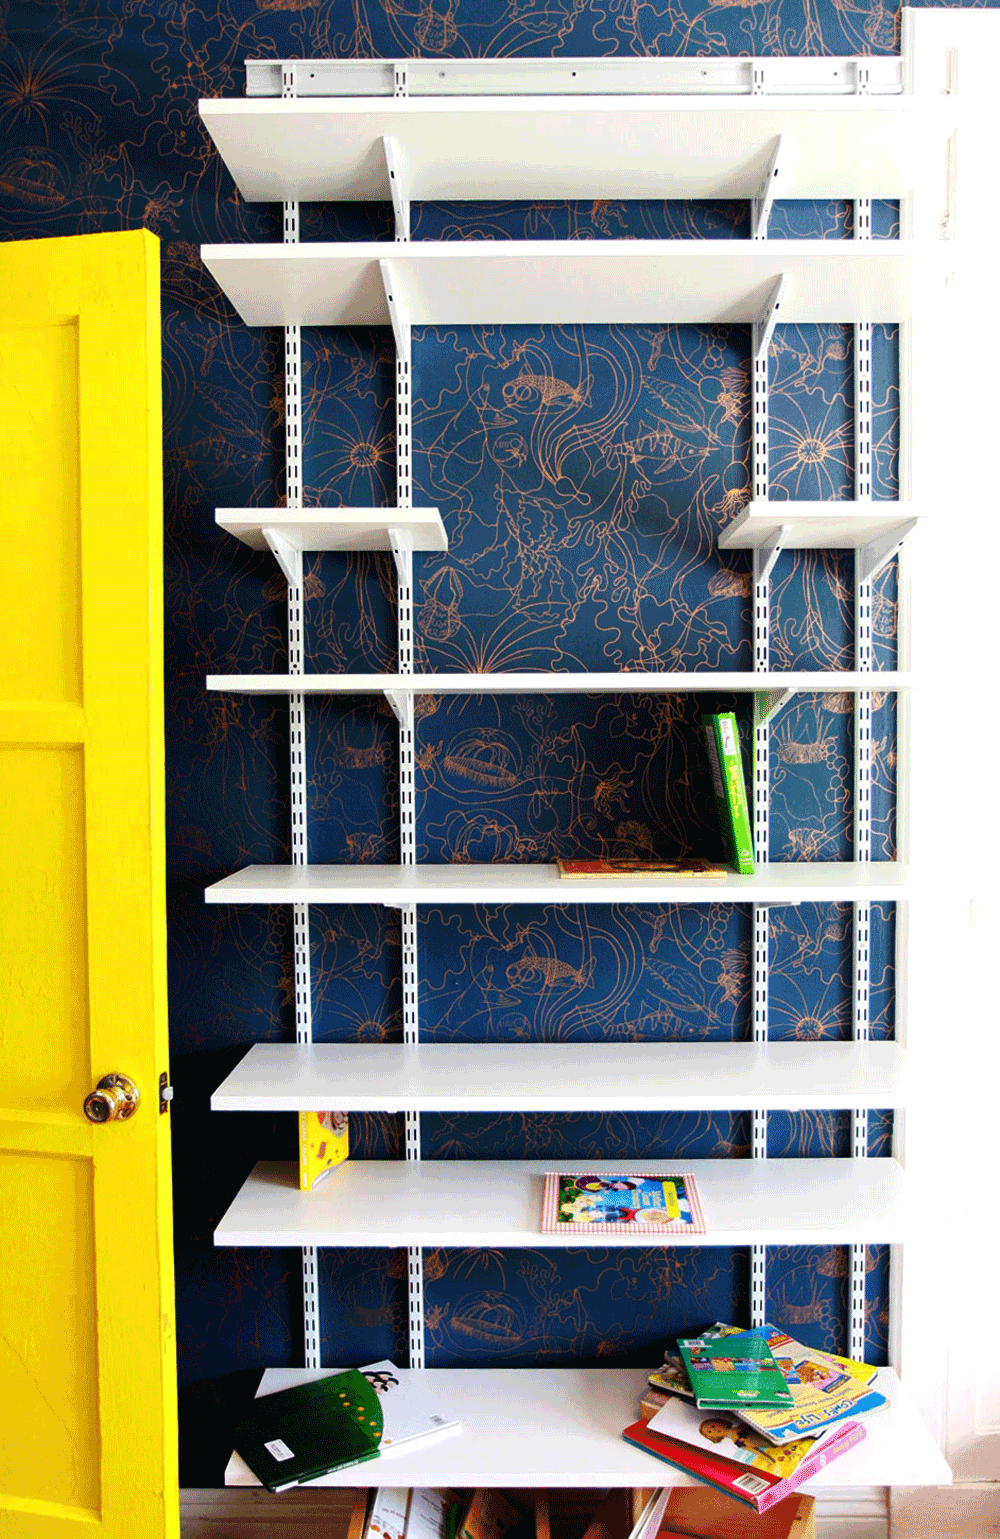 As you can see, we built bookshelves this weekend (and by we, I mean George). I was planning to buy a bookcase, but after looking at the space, and listening to Domicile 37‘s advice, I decided to build floating bookshelves instead. This decision opened up the space and helped fitting more books, because I custom built them to fit the space (again, by “I custom built it,” I mean “George custom built it” – love you, George).
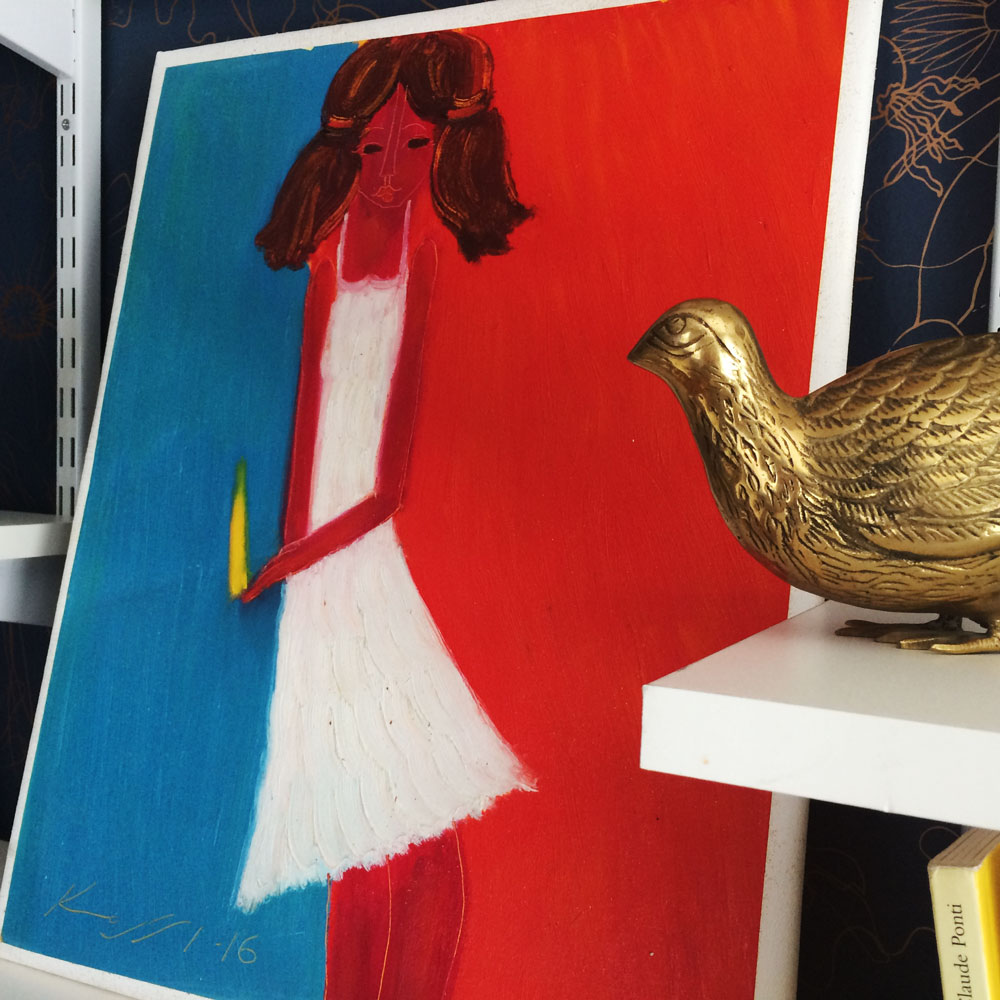
I left an open area in the middle of the bookshelves so I could fit a painting I bought in Costa Rica from a painter that lives in Playa Carrillo, right in front of the sea. This man changed a busy life in the US for a quiet and modest life in Costa Rica. A beautiful way of growing old.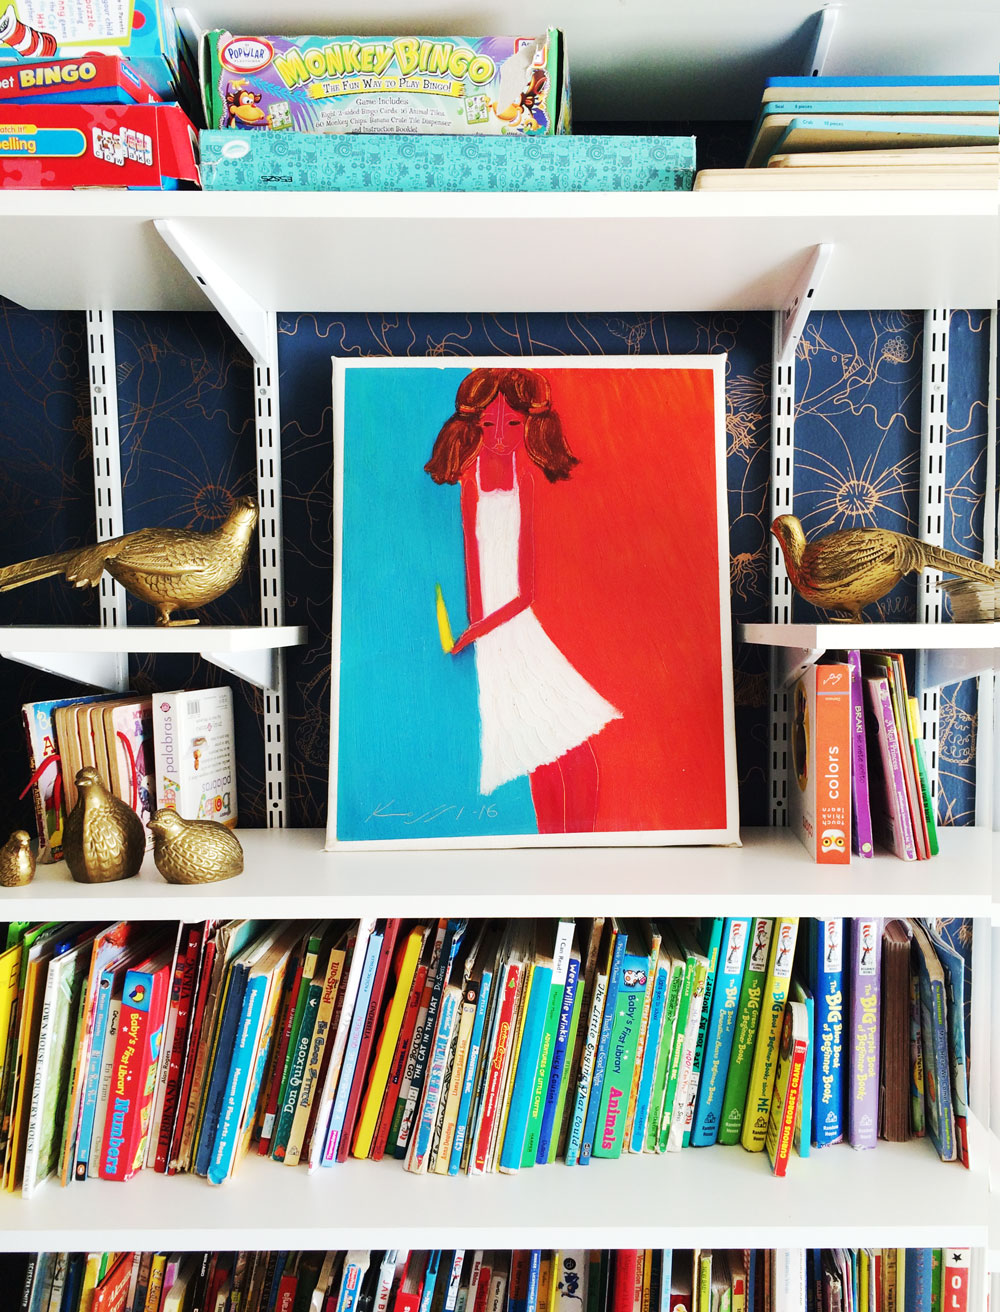 The painting is not the obvious choice for this space. It is very colorful and noisy, but it fits just right for my taste. It brings a nice edginess to the bookshelves and it opens them up. It draws your eye and unclutters the shelves with that open space.
Deciding to use this painting was a difficult decision. I loved it, but I was afraid that a lot of readers wouldn’t. It is not the easy choice! A white, neutral, funny quote poster is the easy decision for here, but I have to be true to myself, and appeal to readers that like my aesthetics, so, why cheat? I went with the crazy red/blue girl painting instead.
For the big reveal, I will need to do a better job at styling these bookshelves, which means organizing 500 children’s books in a nice manner – an impossible task – I will probably put some books away for the shoot, but then they will come back to this original, messy position.
 About the dresser:
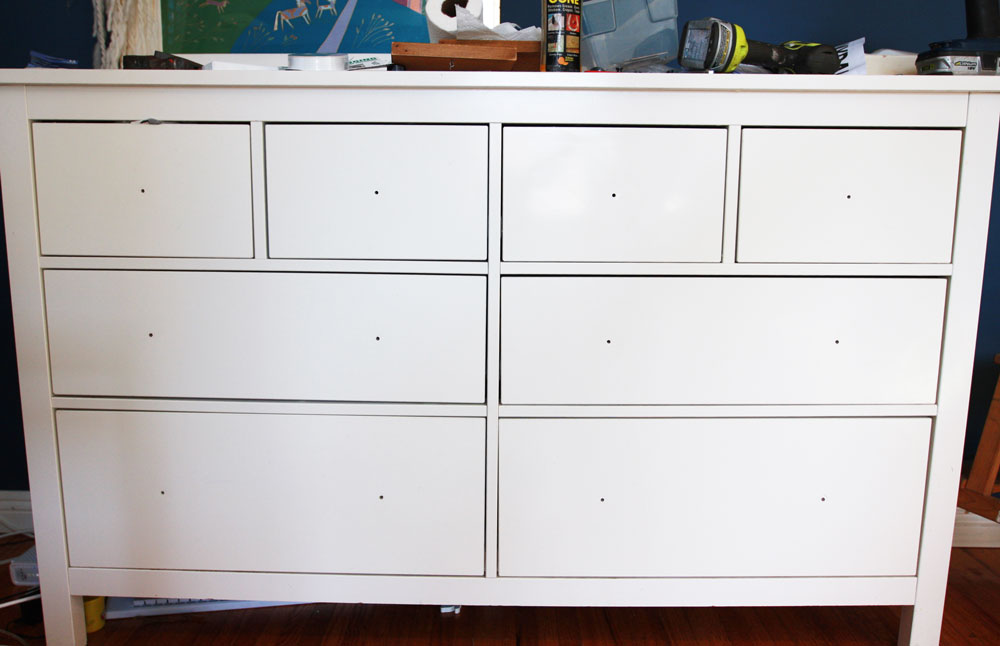 I decided to style it like a campaign dresser. First, I bought these corners at Home Depot:
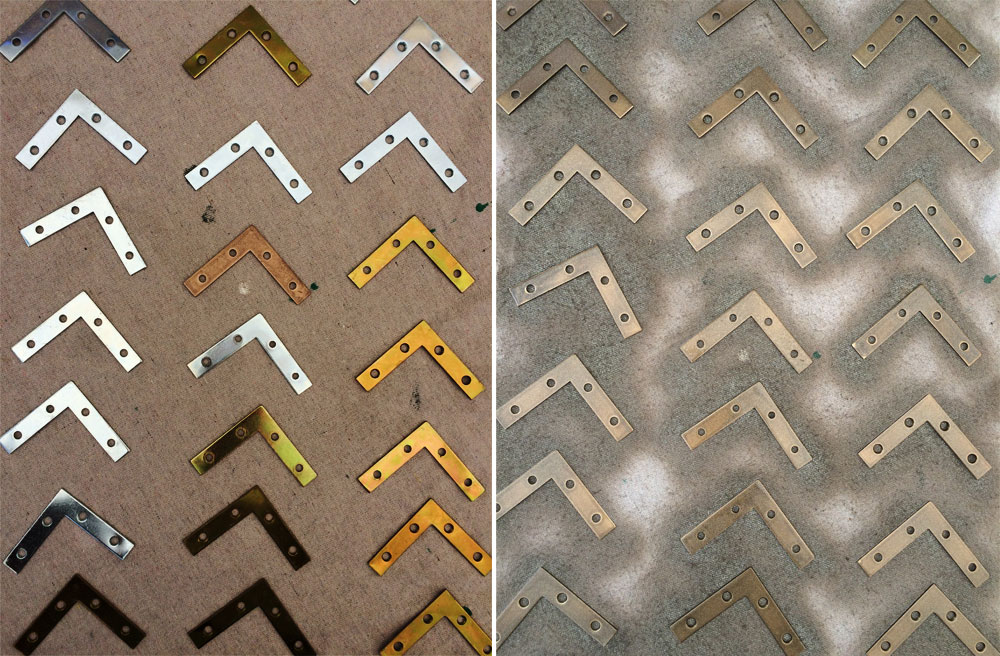 I didn’t want gold hardware, so I sprayed them with Rust Oleum – Antique Brass before installing them. Now I need to do a post on drilling! There are many details on how to drill appropriately. It is not as easy as pressing a button. Tutorial about it coming up in the next couple of weeks.
Here is how the corners look now (there is a general view of the dresser in another photo below):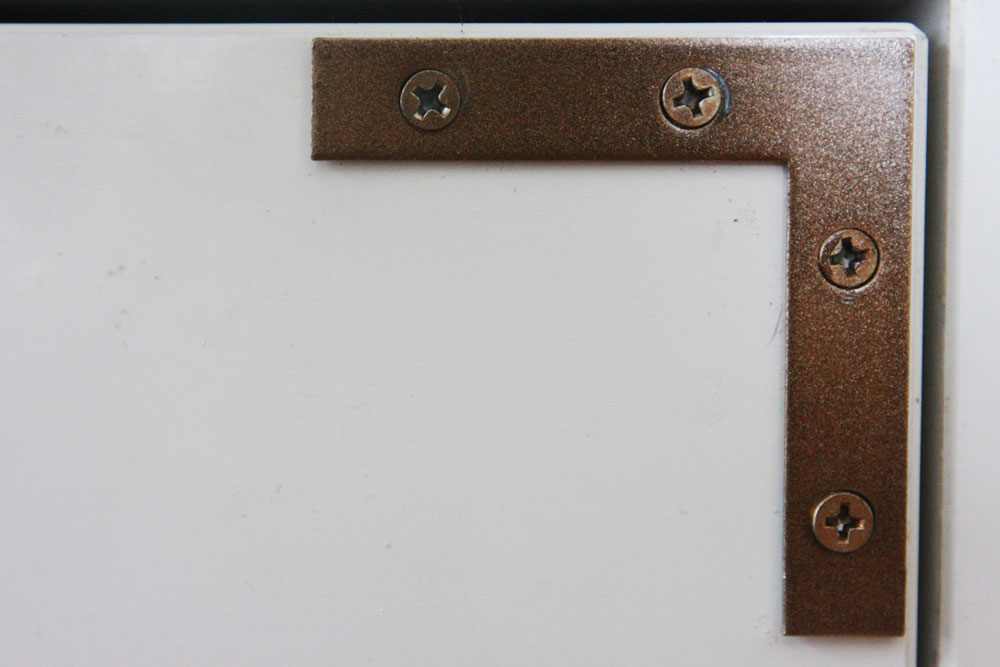 I am going to have to repaint some of the details with a small brush because paint came off when installing them.
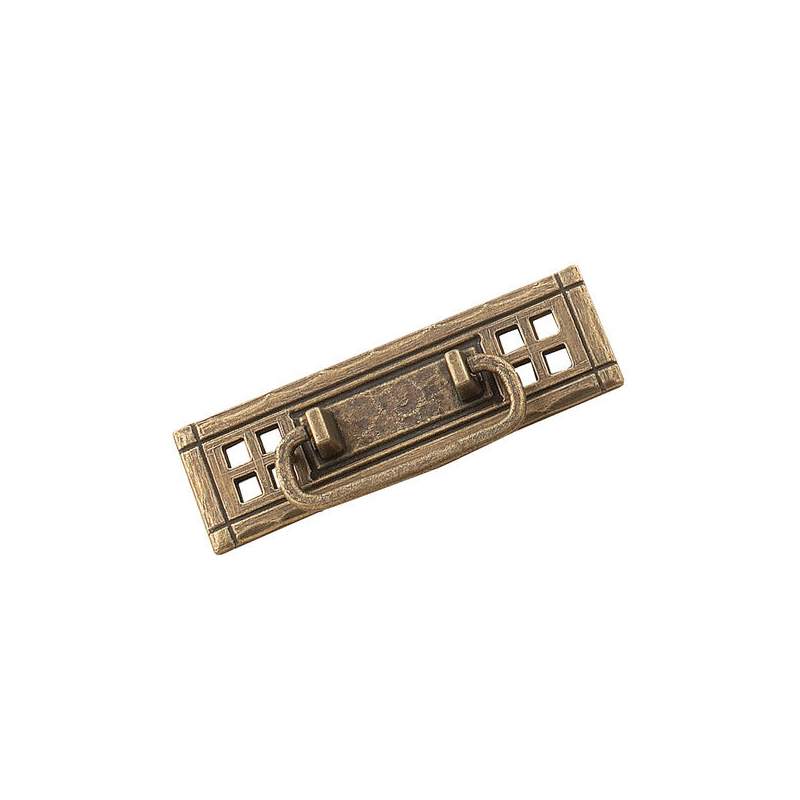 These are the bail pulls I ordered. I am hoping they will get here on time for me to spray and install them before next week. it will suck if they don’t. I don’t love the finish of the pulls, but it doesn’t matter because I will spray them before installing.
And now, about that gallery wall. If you follow this blog, you know what my method of doing gallery walls is not conventional. If you don’t know what I am talking about, here is a post about the topic.
As a reminder, here is how this wall looked before I started the challenge: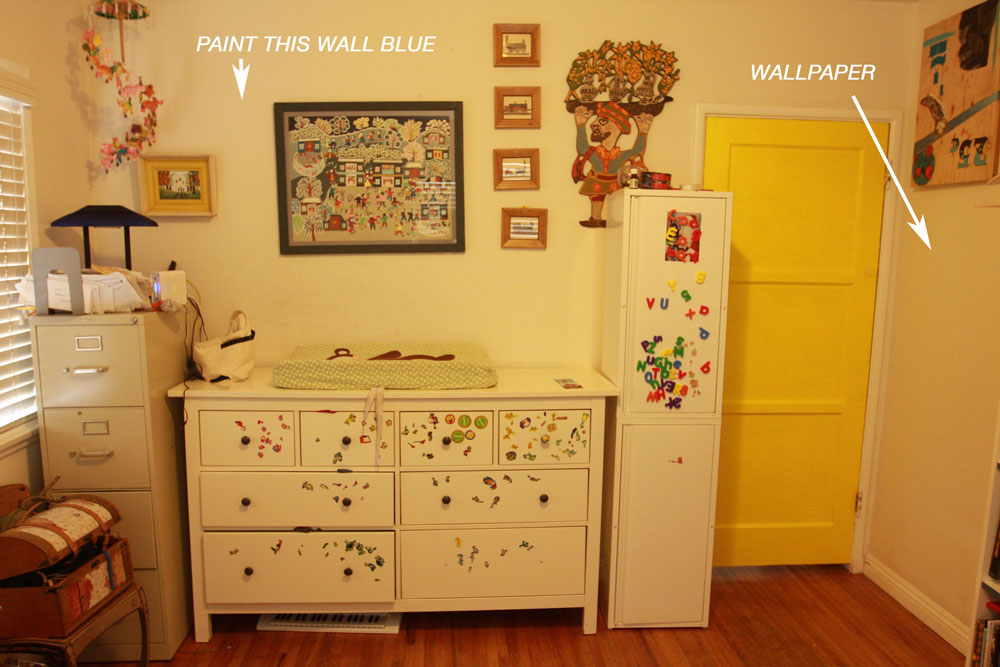 And, here is how it looks right now:
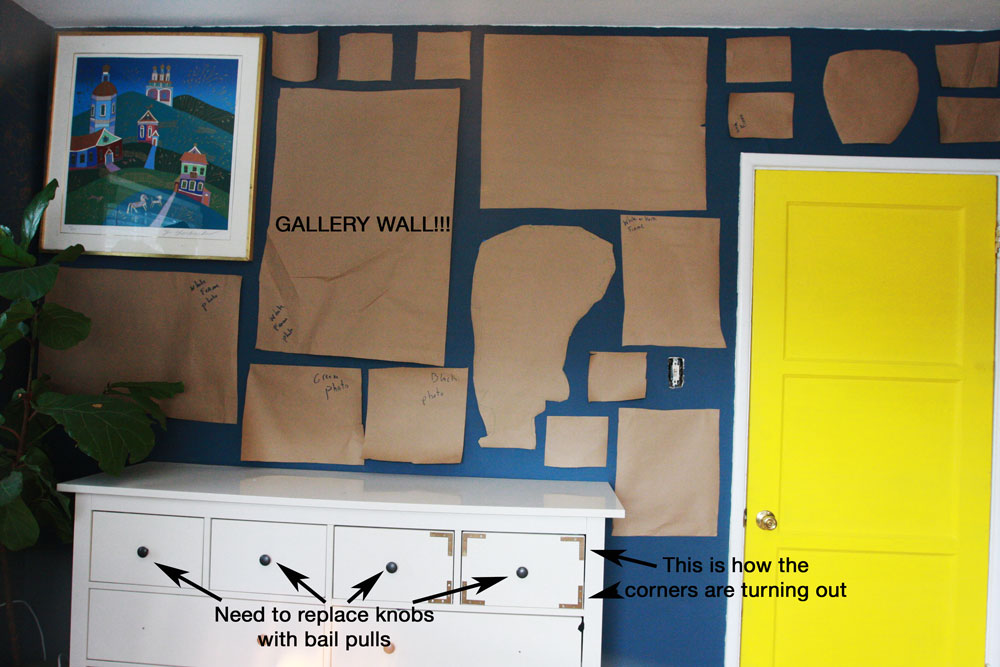 (In this photo you can see how the dresser is coming out – I have a lot more drilling to do but I like how it looks)
I want this wall filled with art that I have collected throughout the years (I spoke a little bit about this plan on last week’s post), but I realized I don’t have enough to complete the wall, so, yesterday, I went to IKEA and bought a lot of frames of different sizes, then I made paper dummies of all the art I have and started playing this puzzle call “make a gallery wall that looks decent, if possible.” The photo above is what I ended up with. It is not perfect, there are some frames that I want to move around, but, overall, it looks pretty good! Next week it will look even better, when all that art is hanged where it belongs. I am planning to use of my own photos in some of these frames (cheapest solution), so today I went to Kinkos to get everything printed, and it should be done tomorrow…The clock is ticking. Wish me luck!
Here is my Instagram account, in case you want to follow what I do this upcoming week. Also, I want to thank Linda from Calling It Home for hosting this fun challenge.


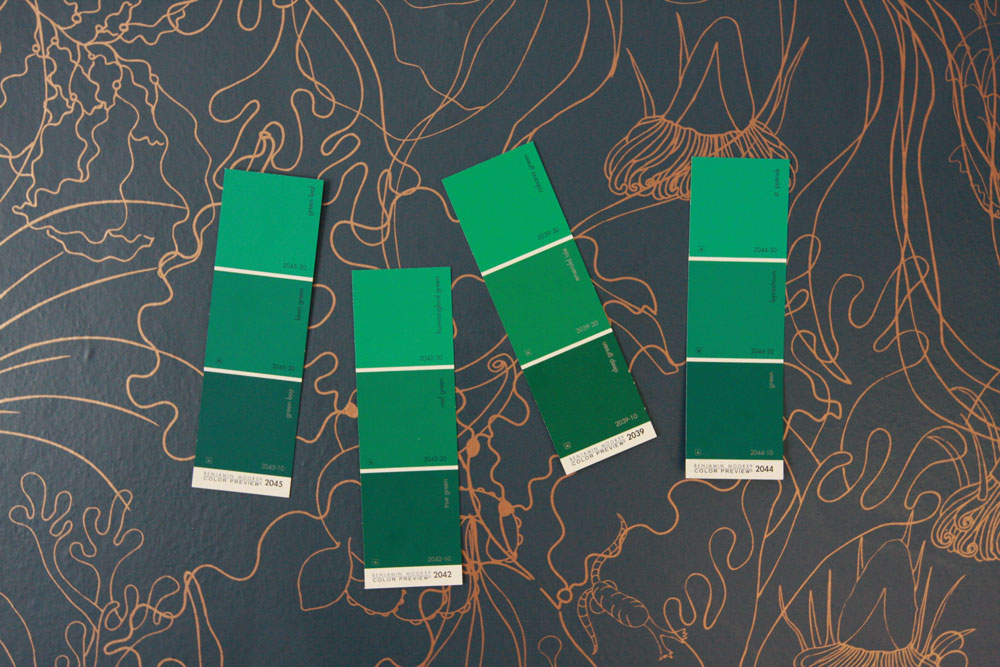 This week, for the
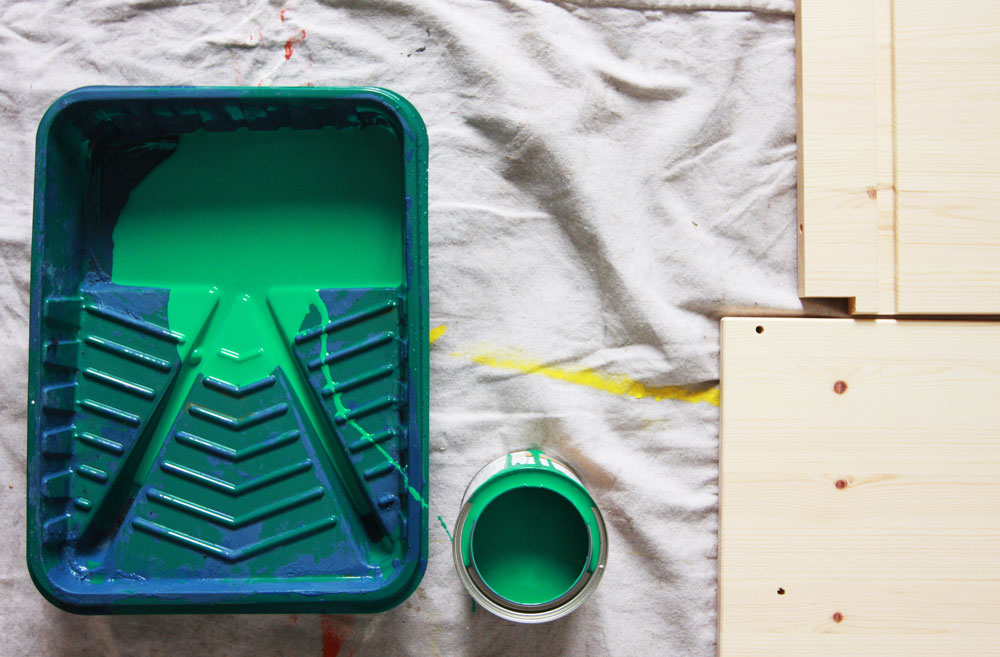
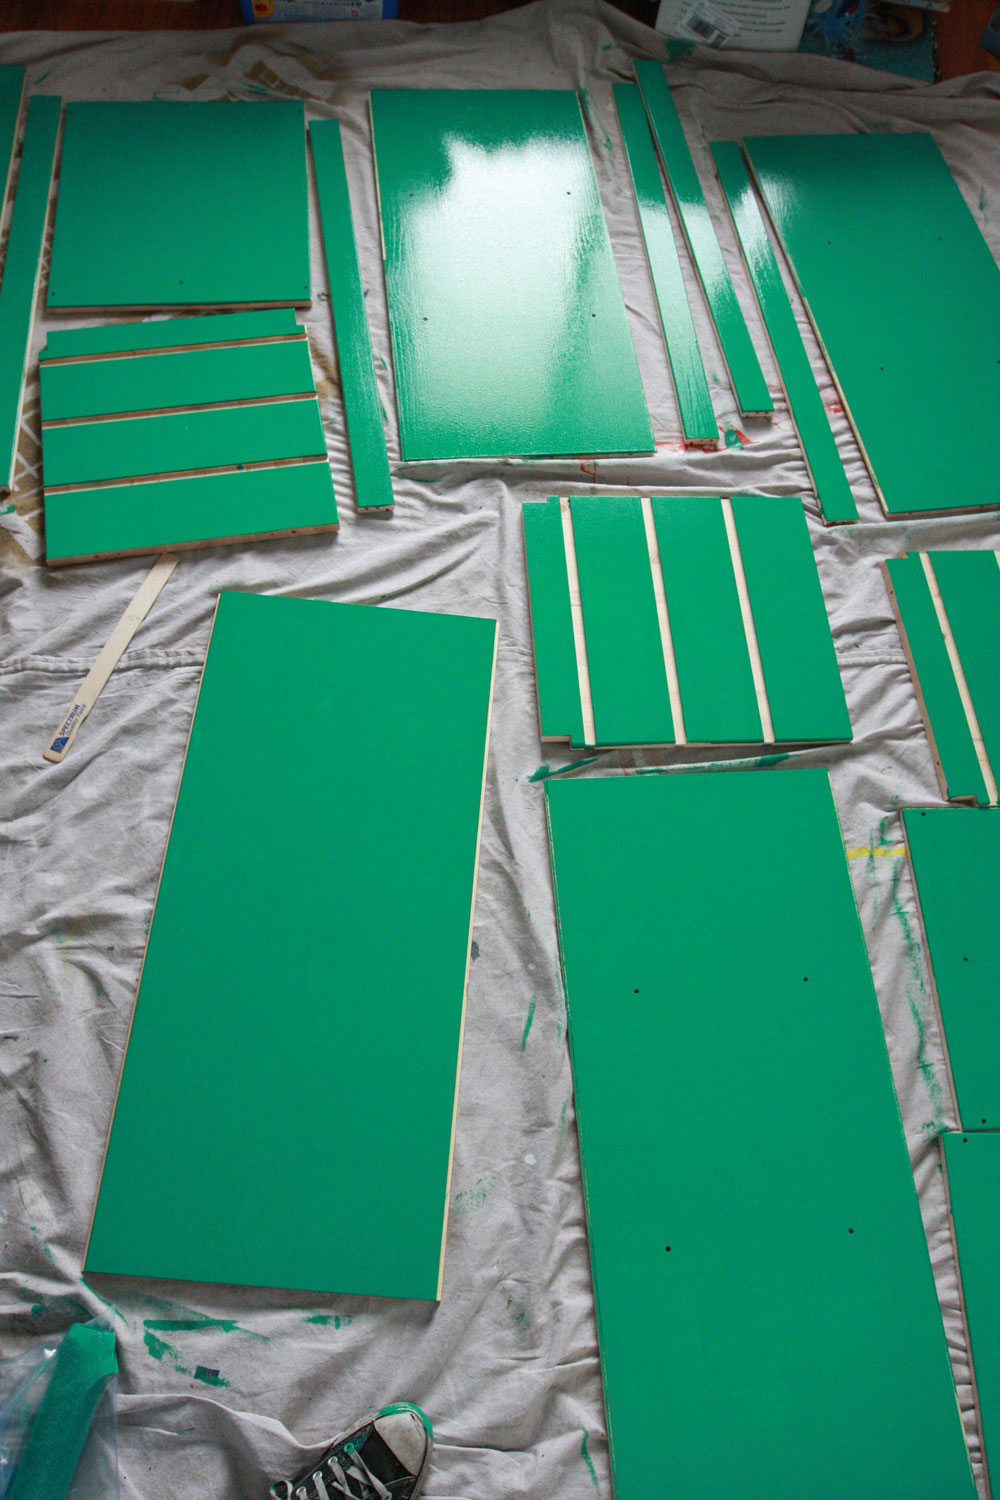
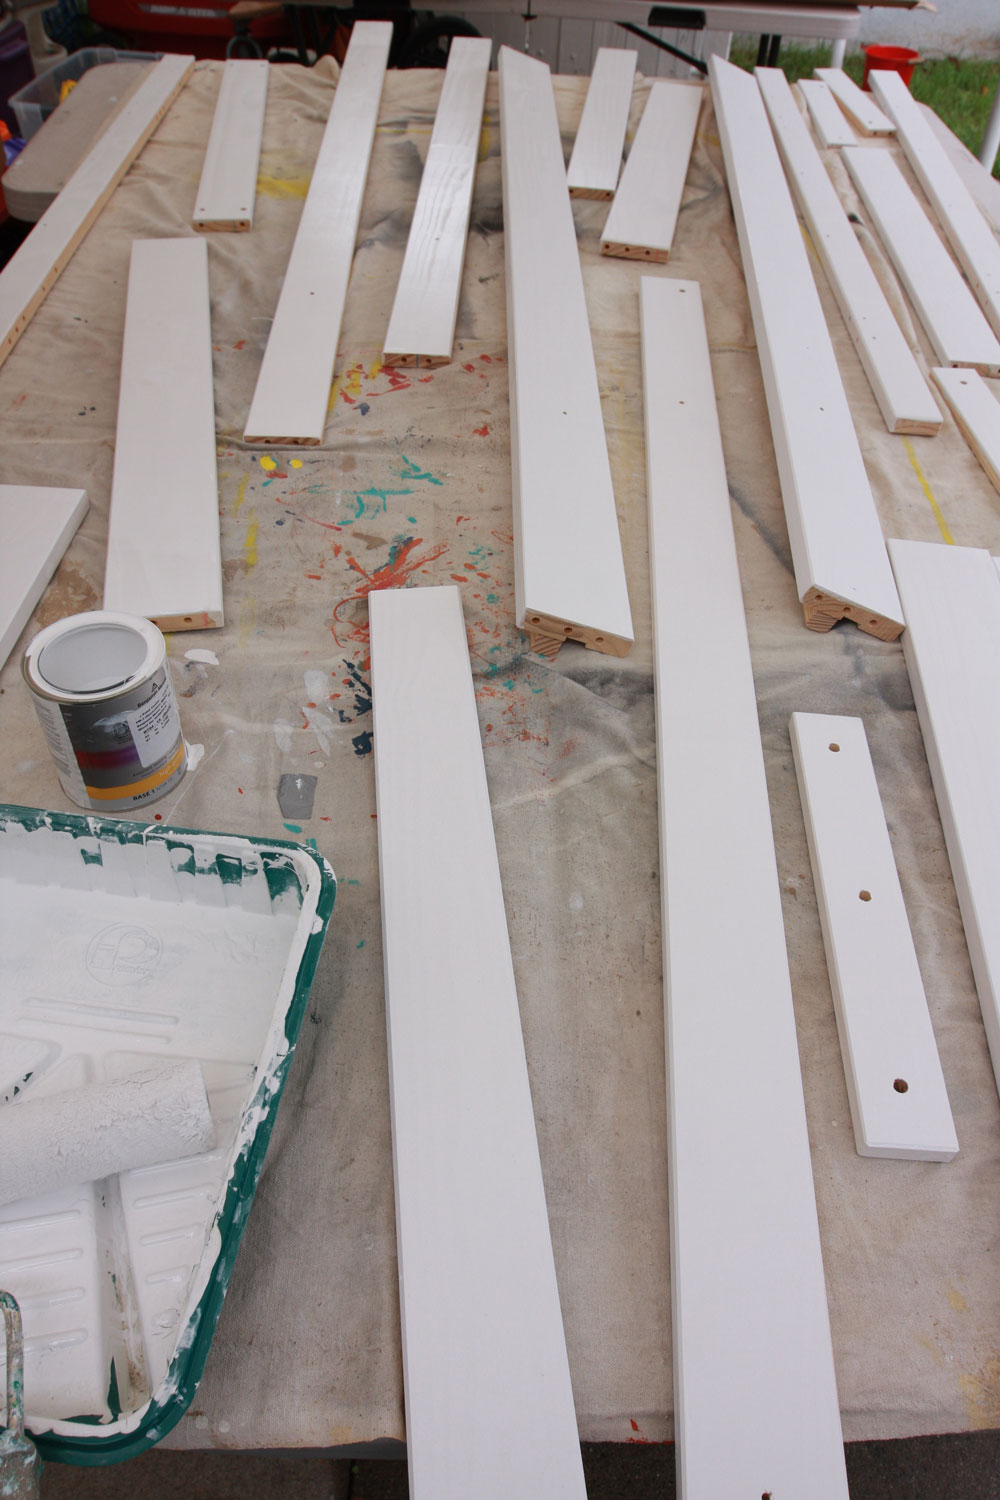
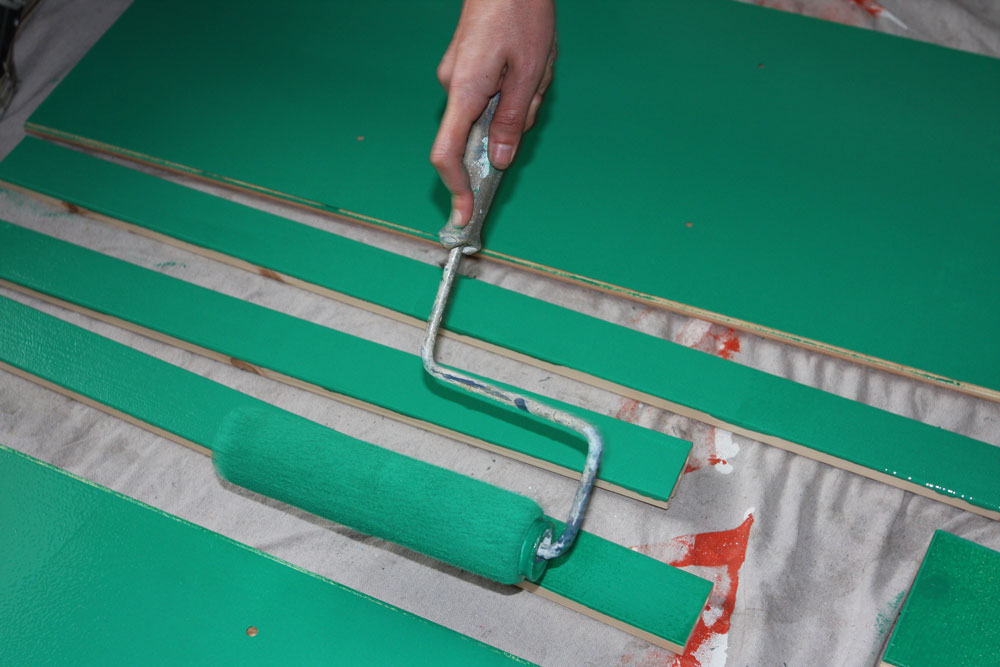 Here is the Emerald Isle color.
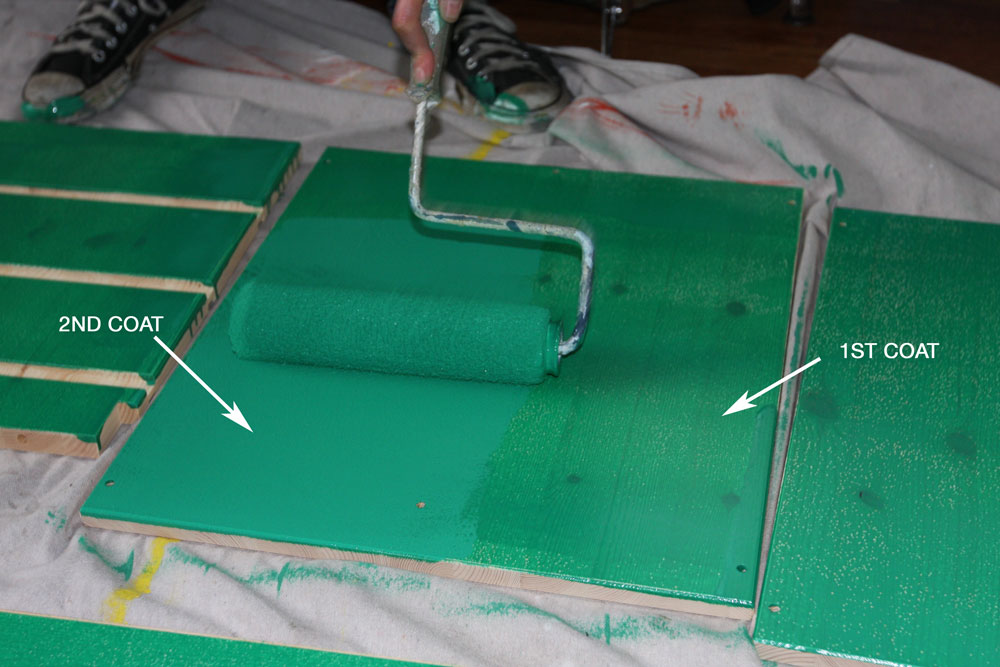 You definitely need two coats when painting IKEA pine furniture, and remember not to paint inside holes because you will need to assemble this furniture later and will need those holes to be their original size!
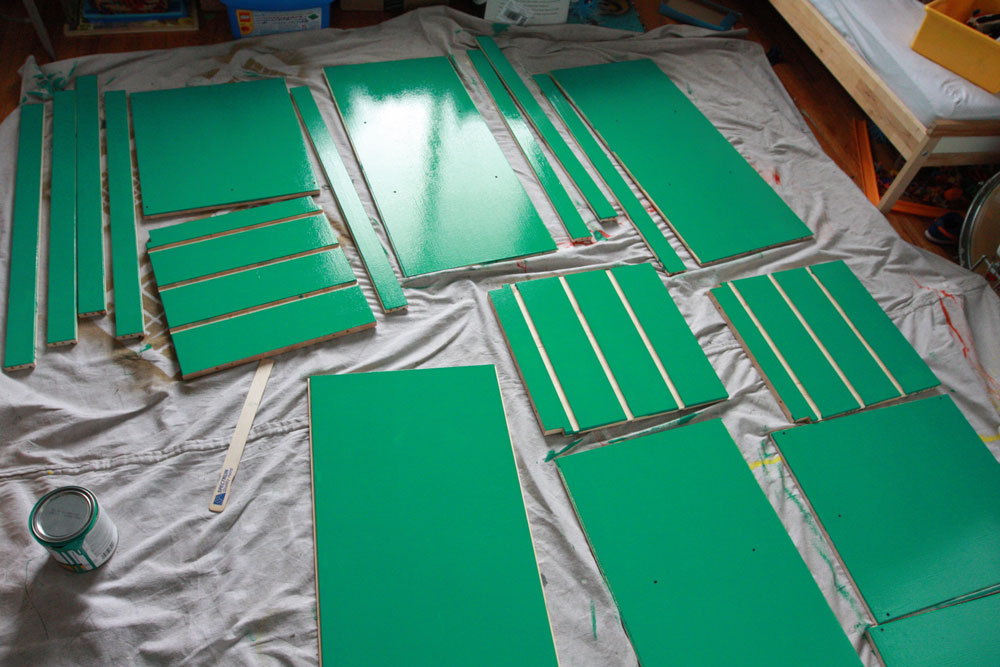
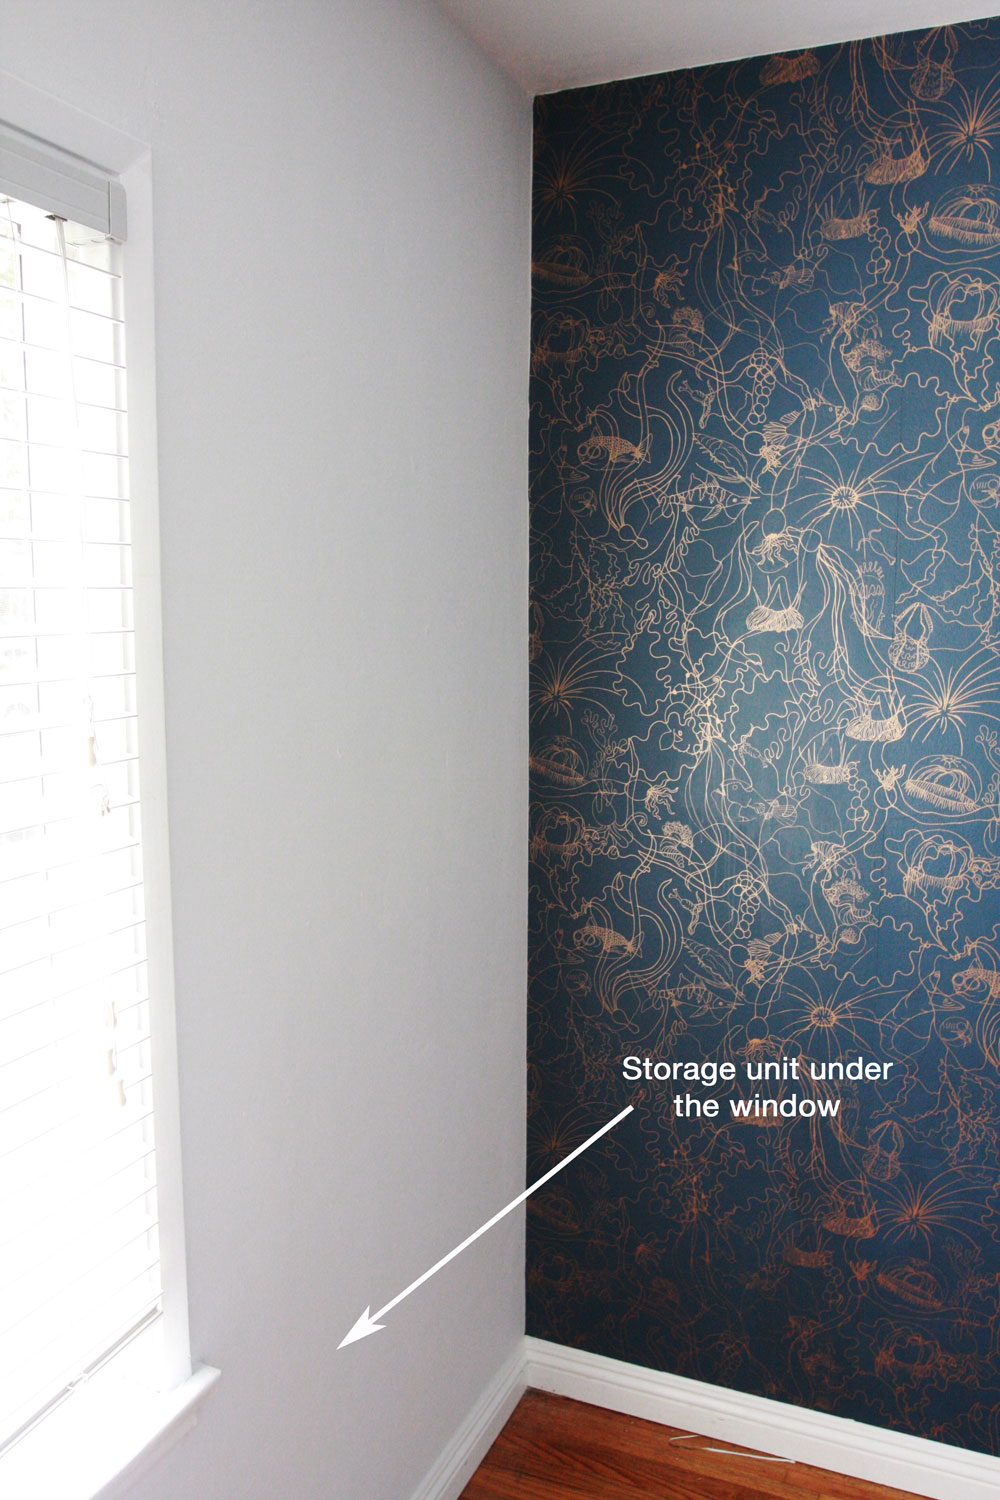
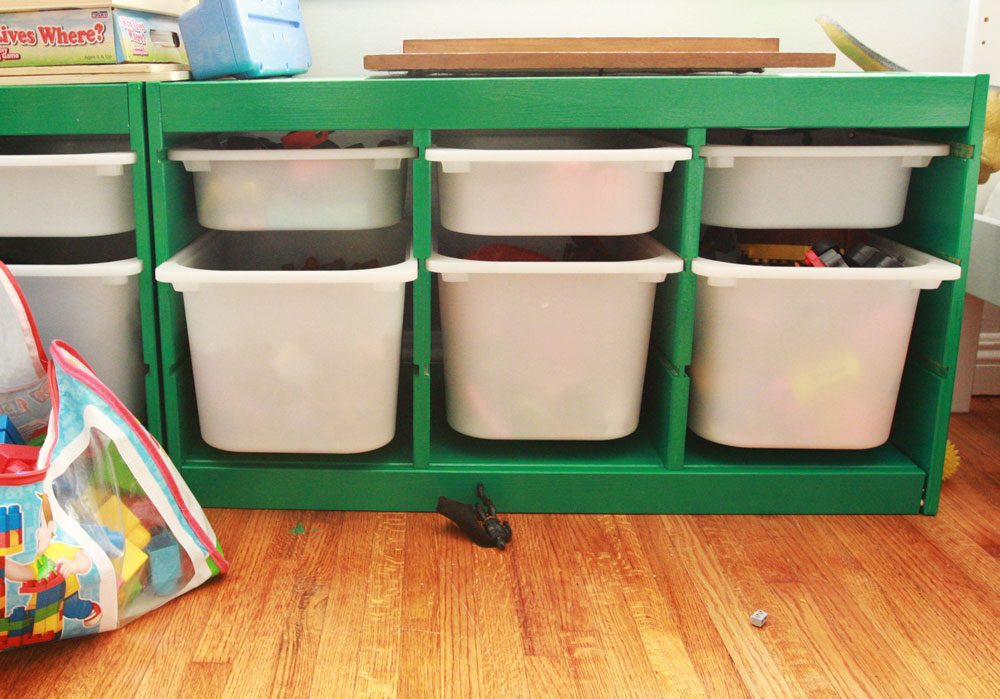 This is how it looks now: after painting and assembling…I really like the green, even though this photo doesn’t make it justice… Also, the unit is great for storing toys because they give easy access to children.
 The kids love the bunk bed. Well, maybe love is an understatement, because they have decided to play and eat up there every single second of the day, which means an adult has to be near at all times because Max is only two and not able to make wise decisions regarding child safety.
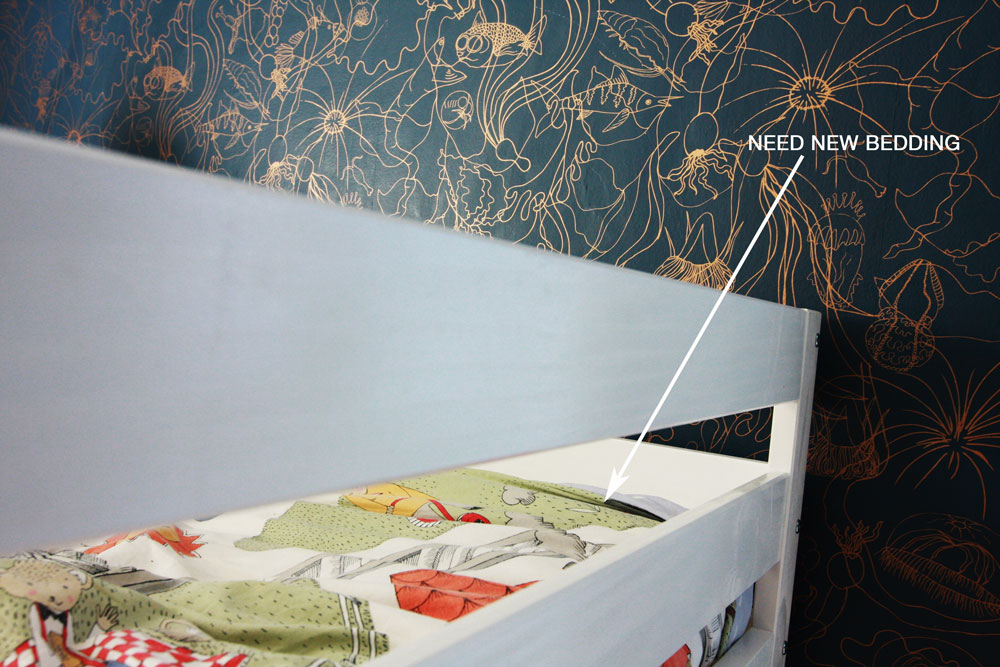
 I got
I got 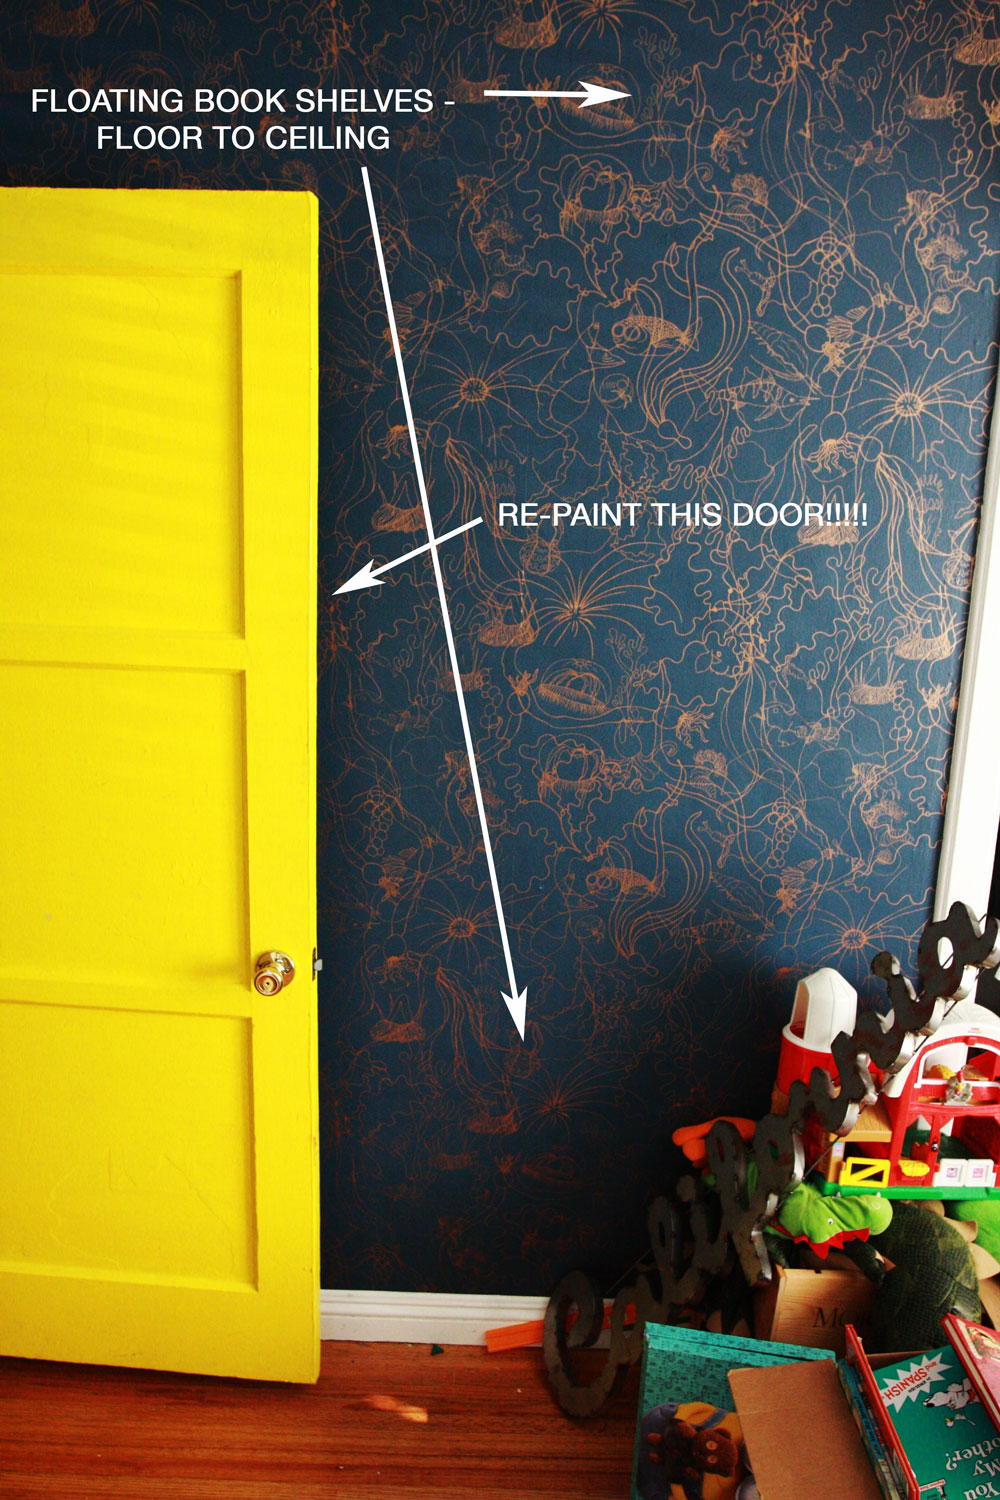 And, organize this mess:

 In preparation for our Easter brunch, I tried doing a lavender wreath to use as decoration.
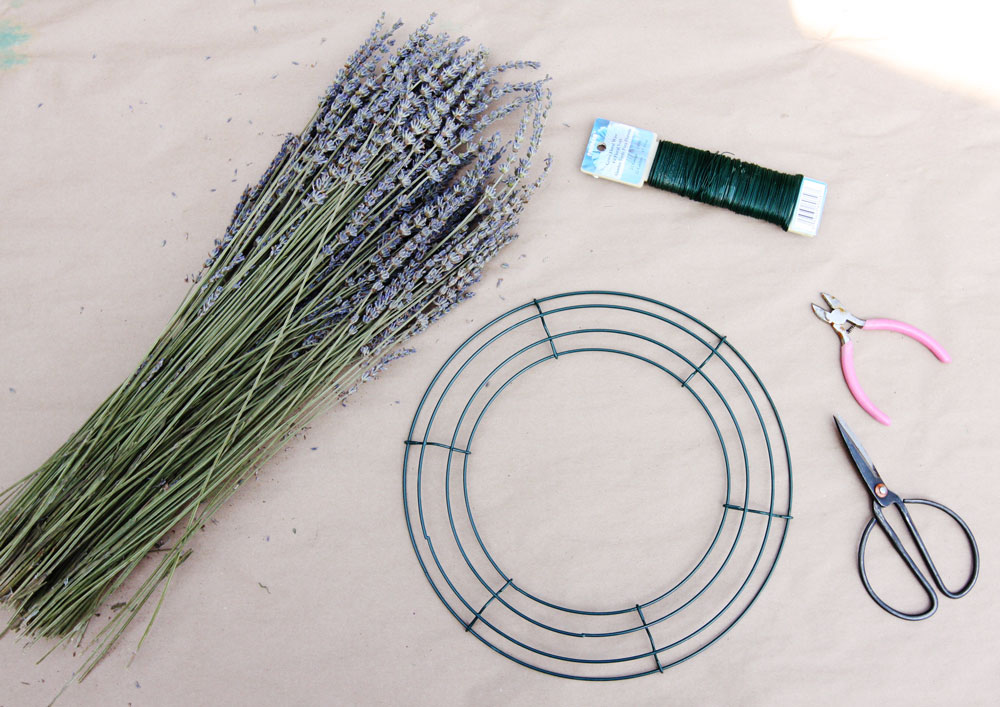

 Instructions:
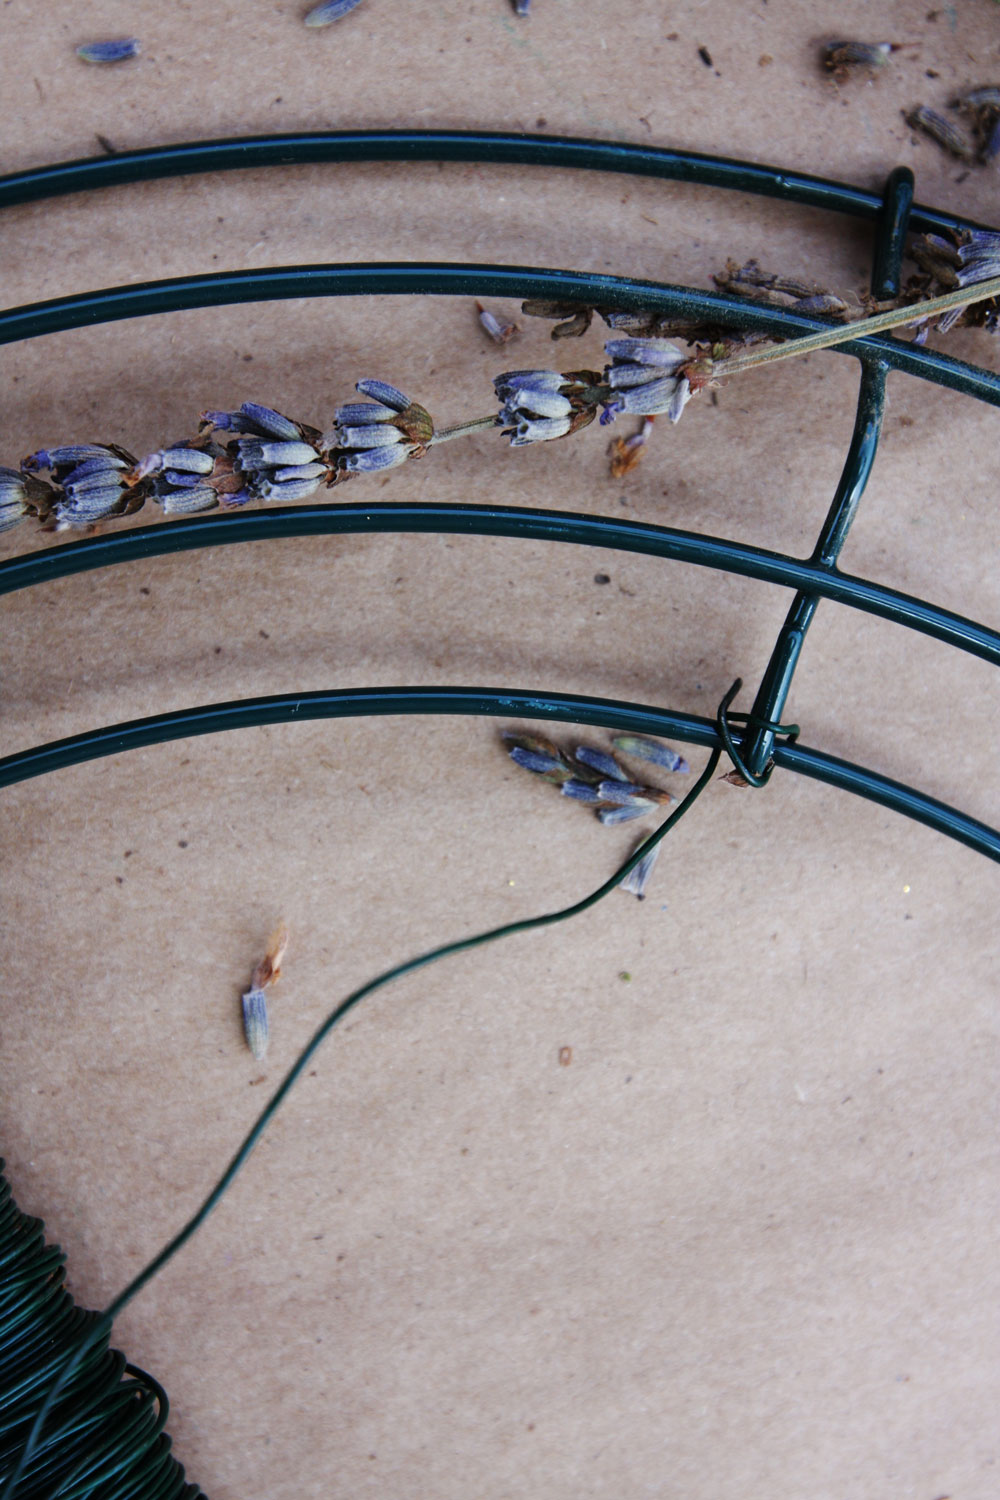
 I started with longer branches, as you can see in the picture below. That was a big mistake. They were hard to cover and my wreath had a weird shape by the end. I had to re-do the beginning of it. There is a photo of it later on this post.
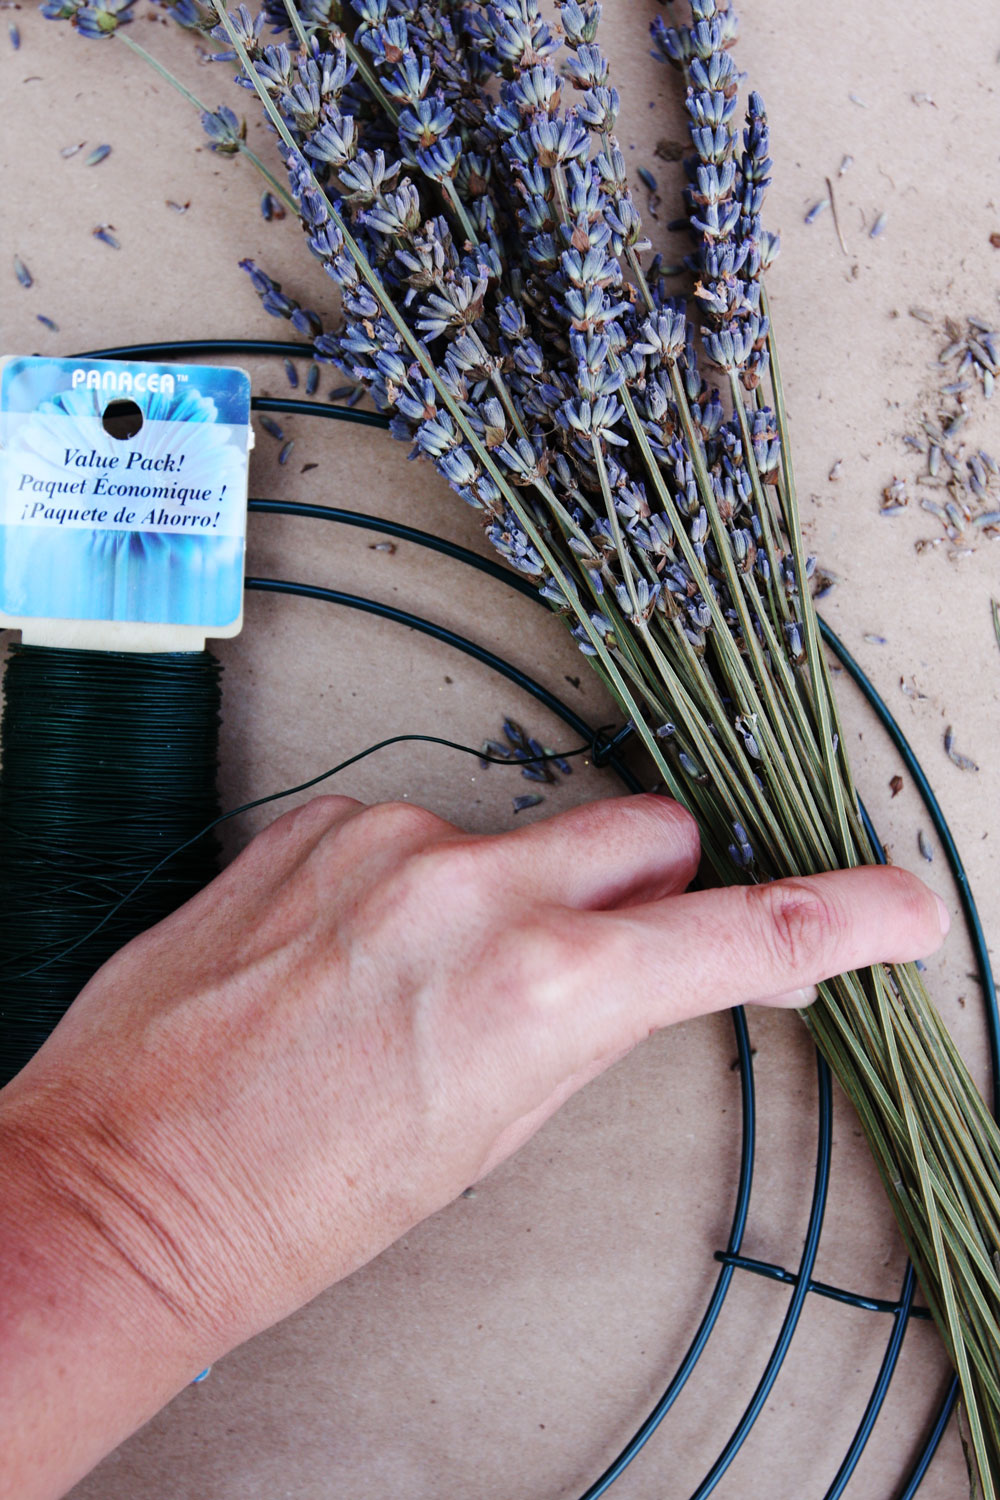
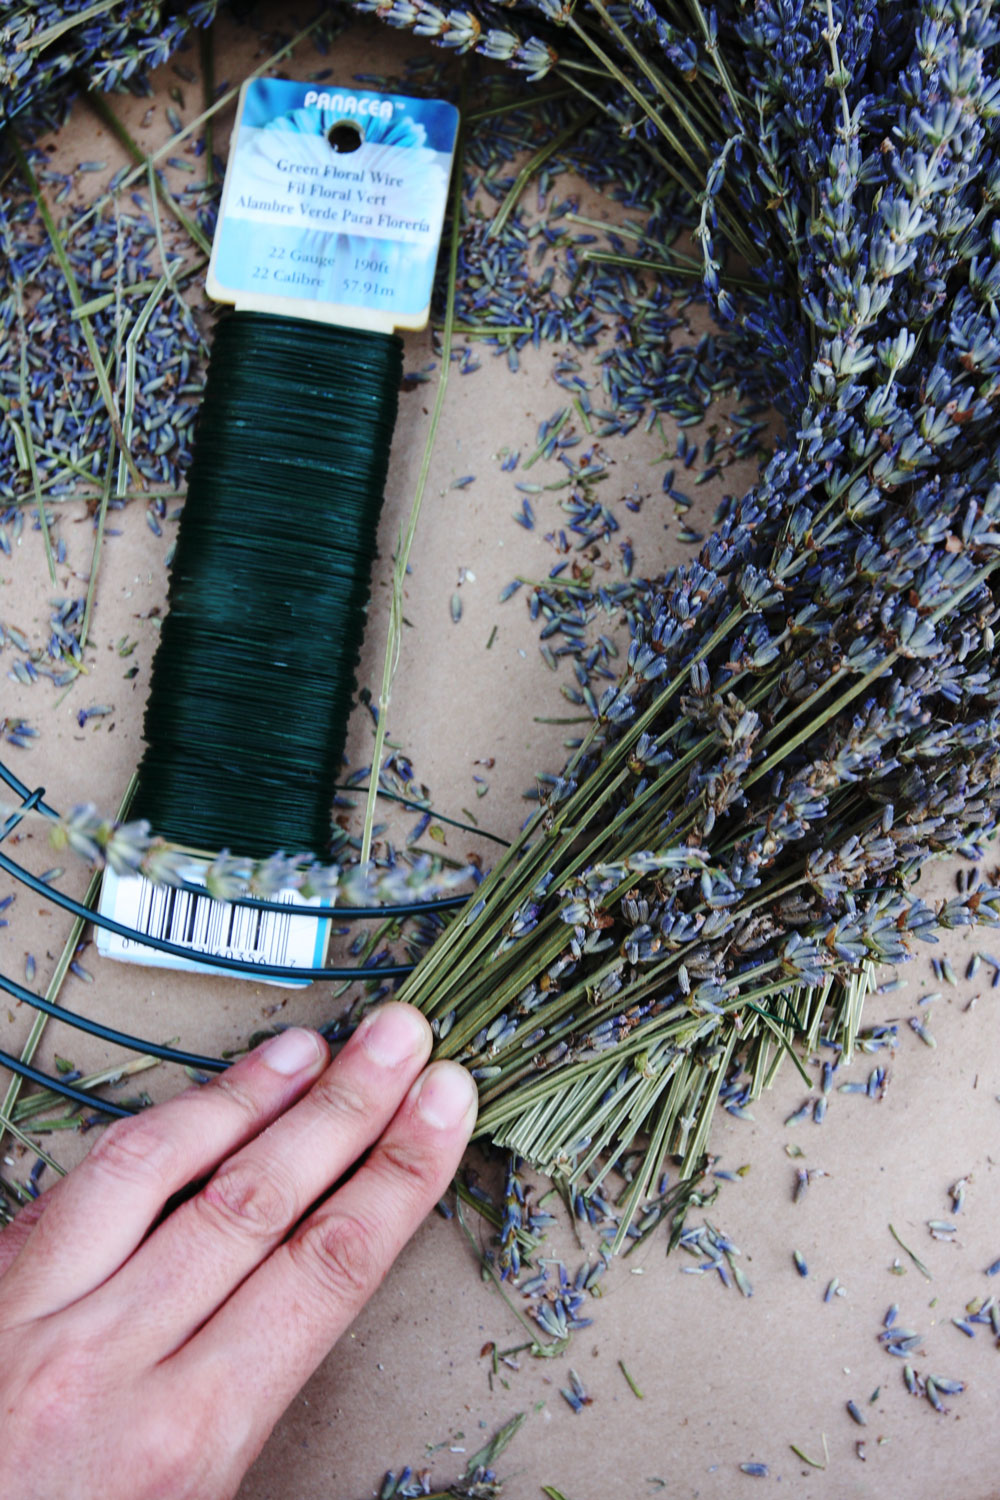
 3) Wrap floral wire around the branches to attach the lavender to the wire wreath. 2-3 times is enough.
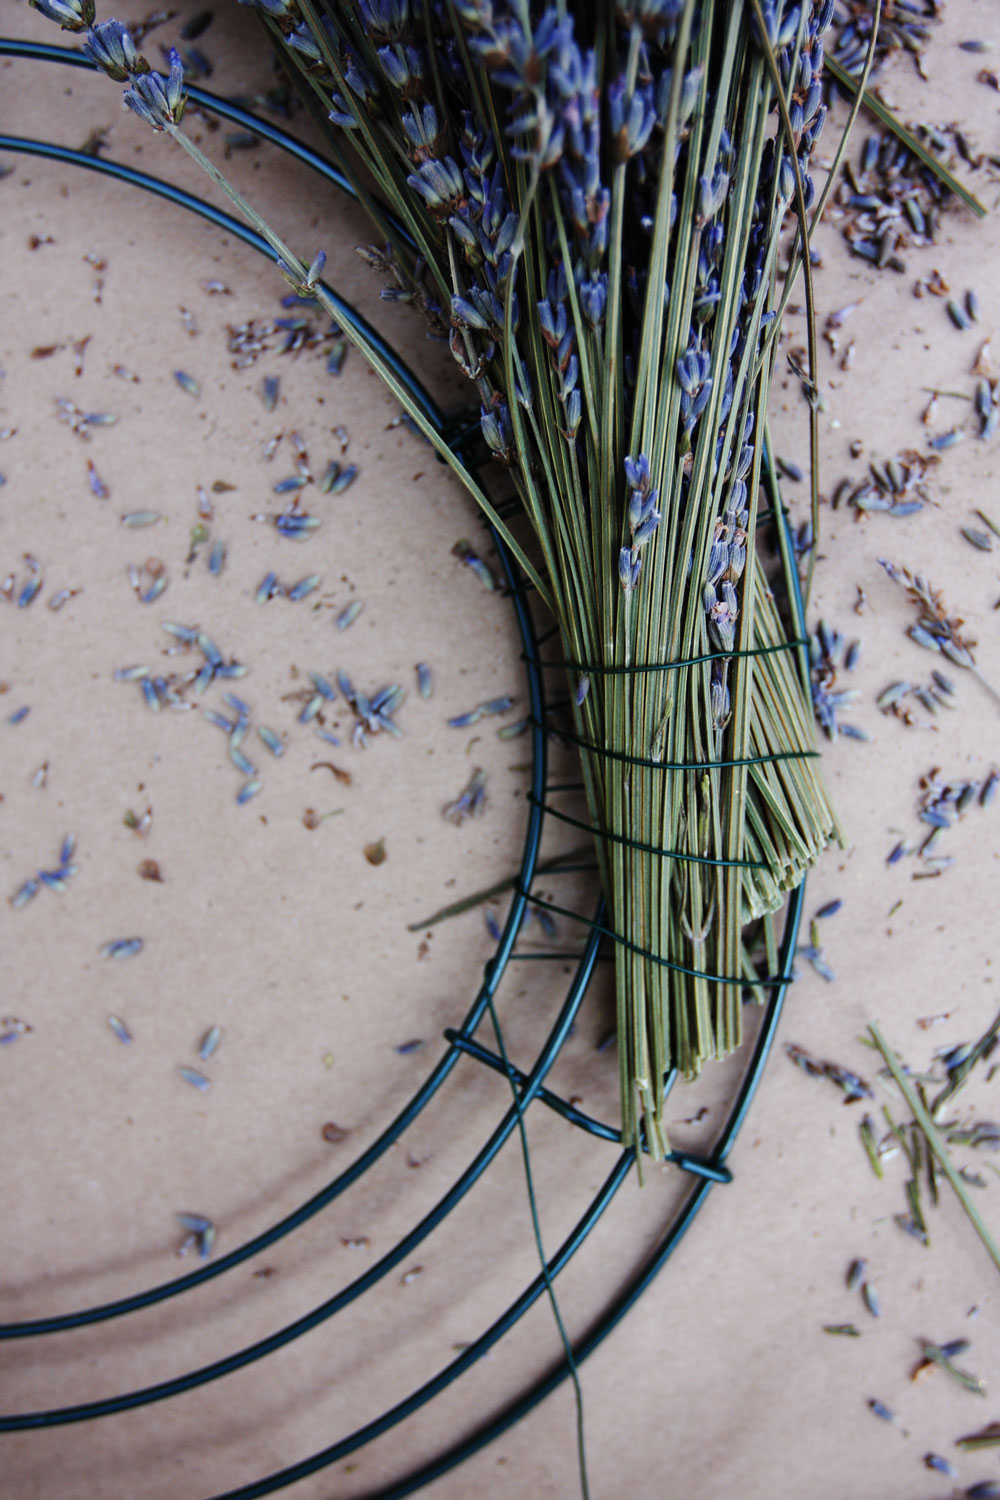
 4) Keep on adding branches on top as you go. TIP: You don’t want the wire wreath to show. The best technique to avoid this is to spread each bunch of lavender from the inside to the outside of the wreath so they cover all the space you need to cover, as you see in the pictures below. A dry lavender wreath is NOT forgiving, and it is difficult to fix this kind of mistakes once they are done. Unlike the
 5) The end of the lavender wreath is the most difficult part. Cut your branches short and stick them in there somehow. It is possible!

 OK. First I will show you my FAILED version. I added Víctor to the mix so the photo doesn’t look totally horrible. Ready? Here it is:
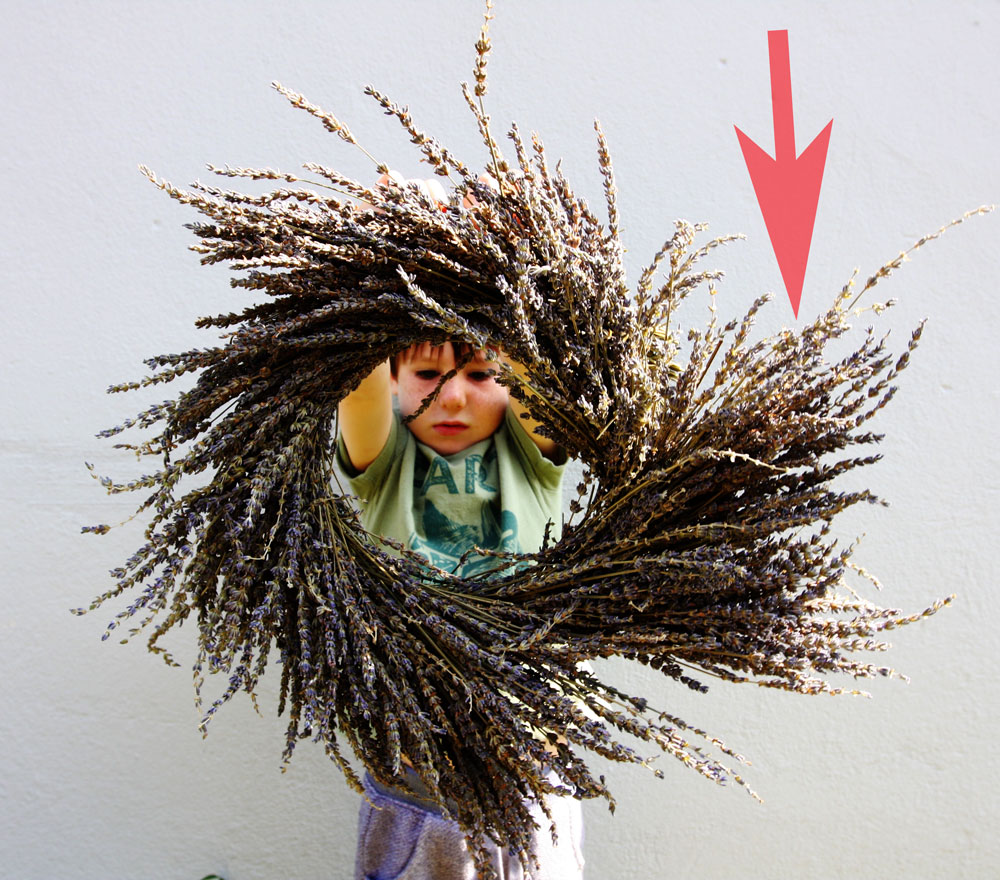 You see how the first branches I did are much longer than the others and they look out of place. Something similar happened to me when I did the Holiday wreath, so I had to go back, took out the floral wire, and did that section over again.


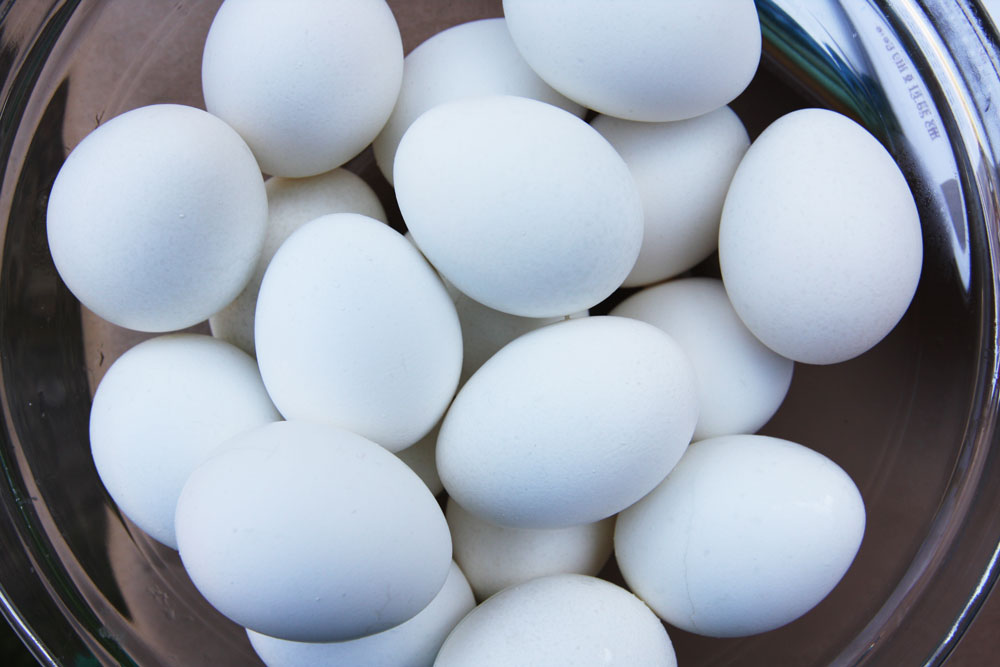
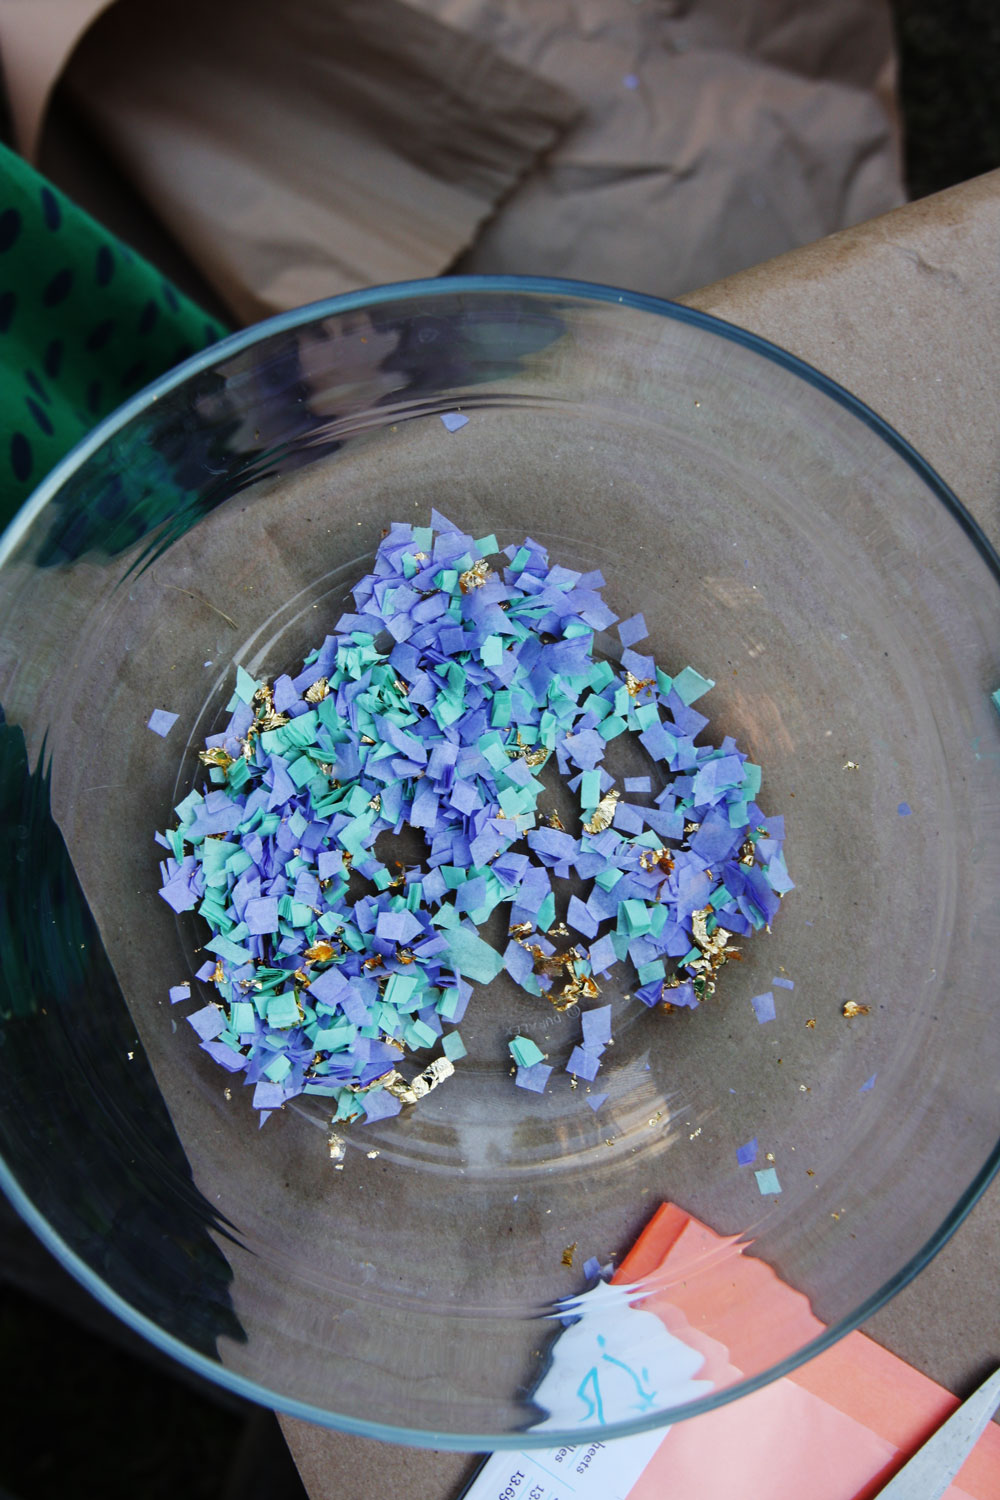
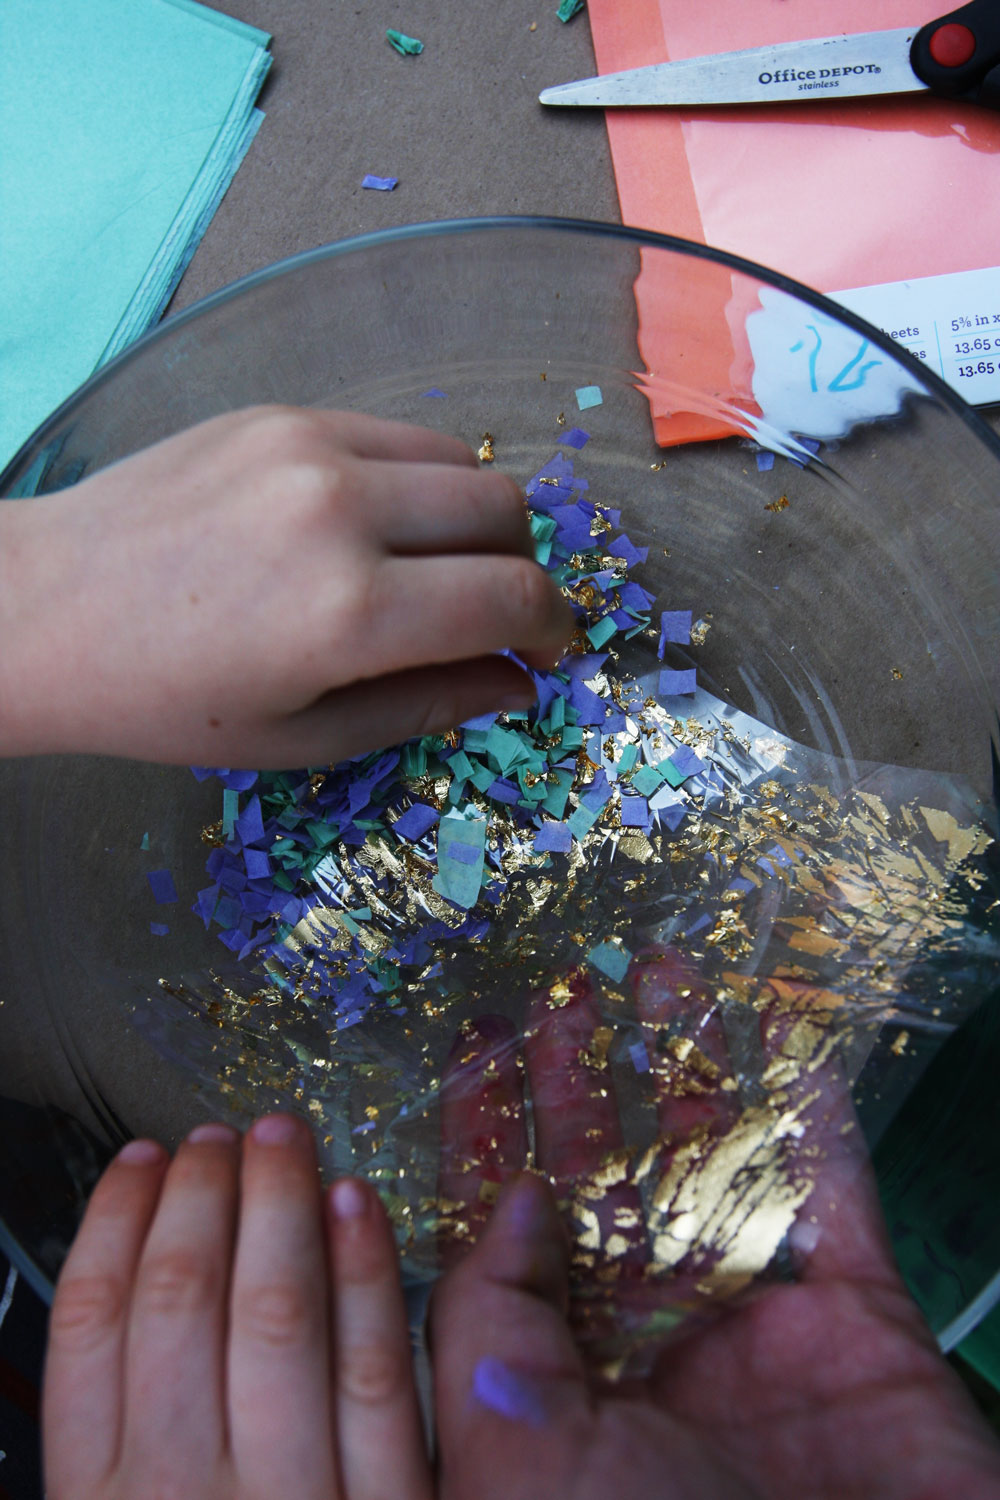
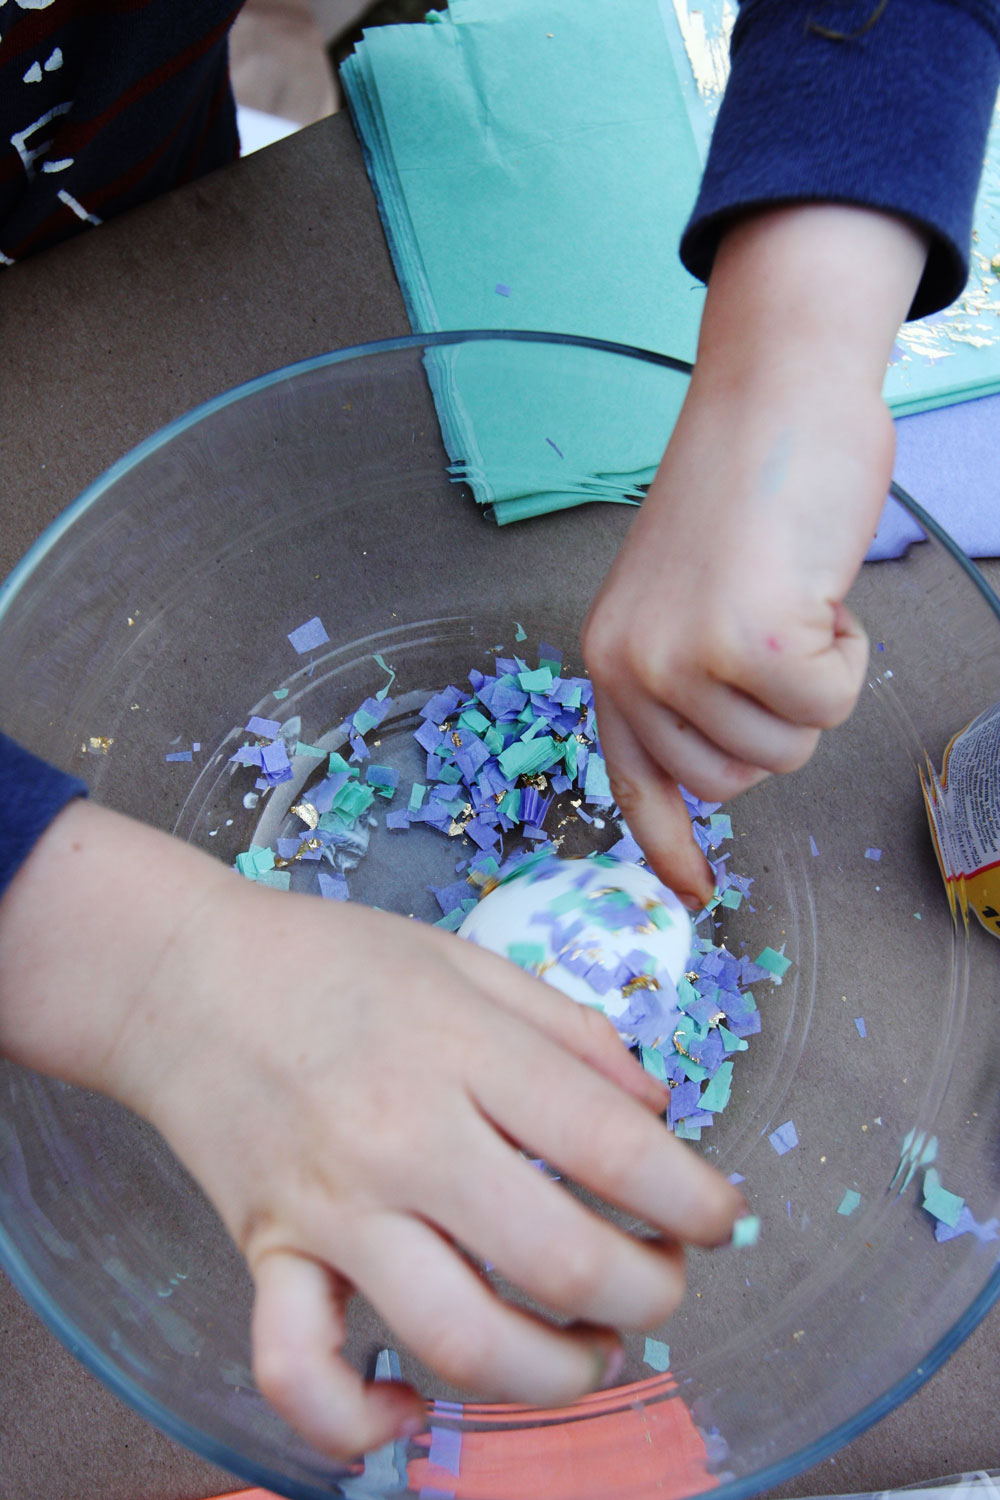
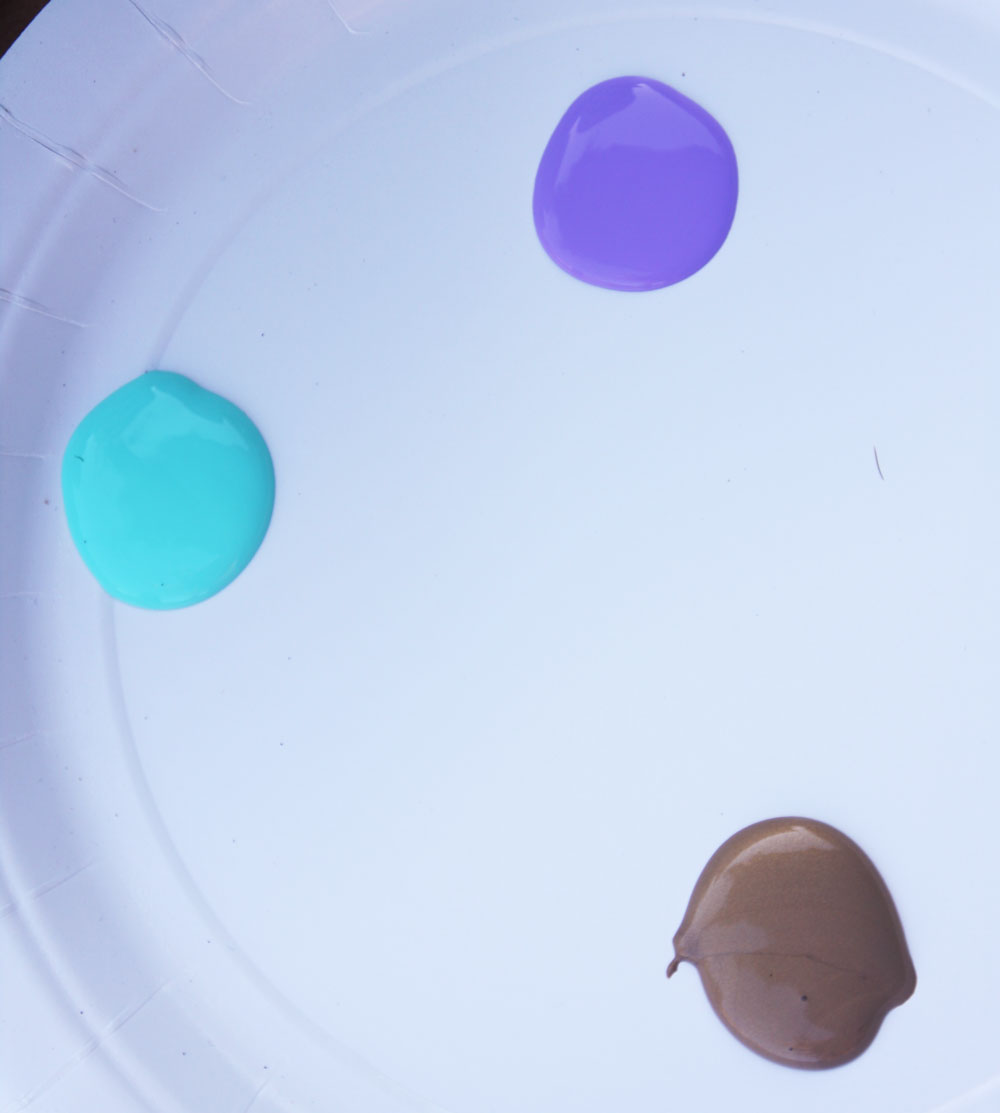
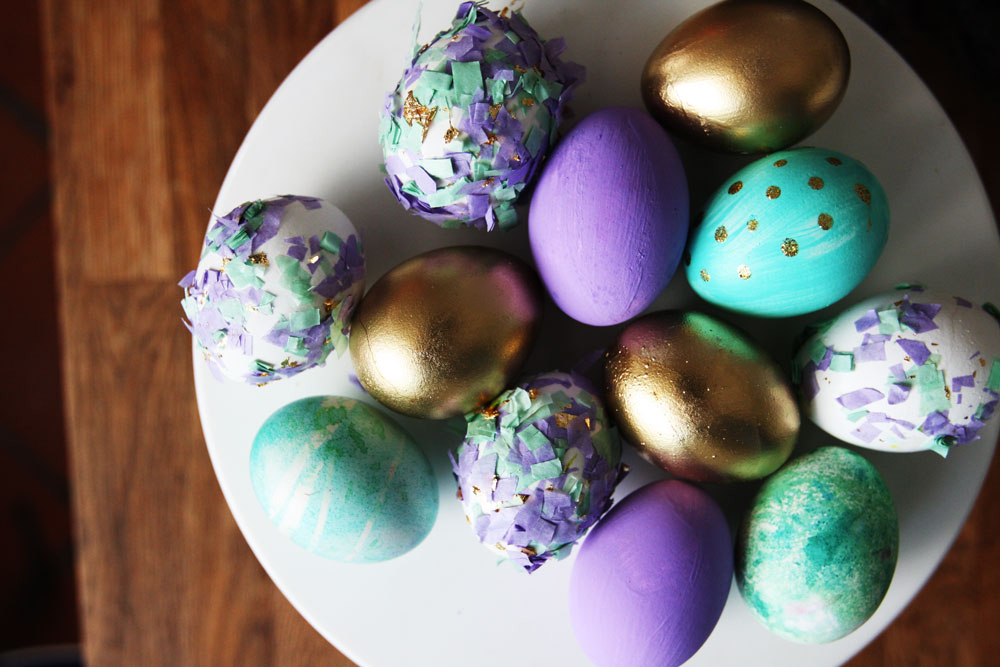 I tried three different ways of doing Easter eggs decorations this last weekend: confetti(ed), painted, and spattered. Here are my research findings.
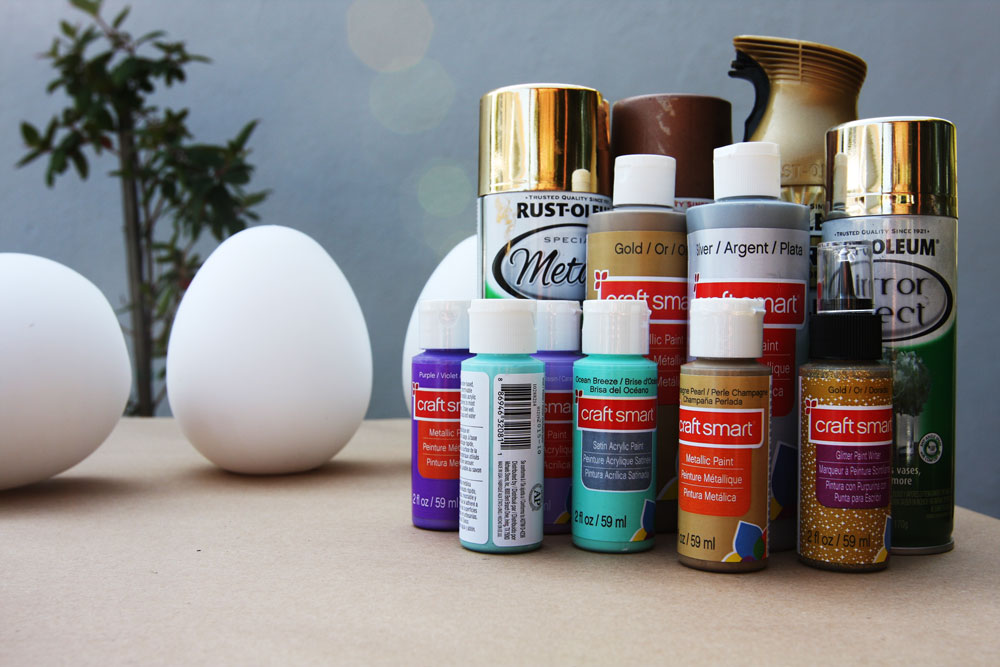

 I bought these big plastic eggs at Target to help keep the kids entertained while I did the fancy decor. It worked for about 3 minutes. I am a genius!
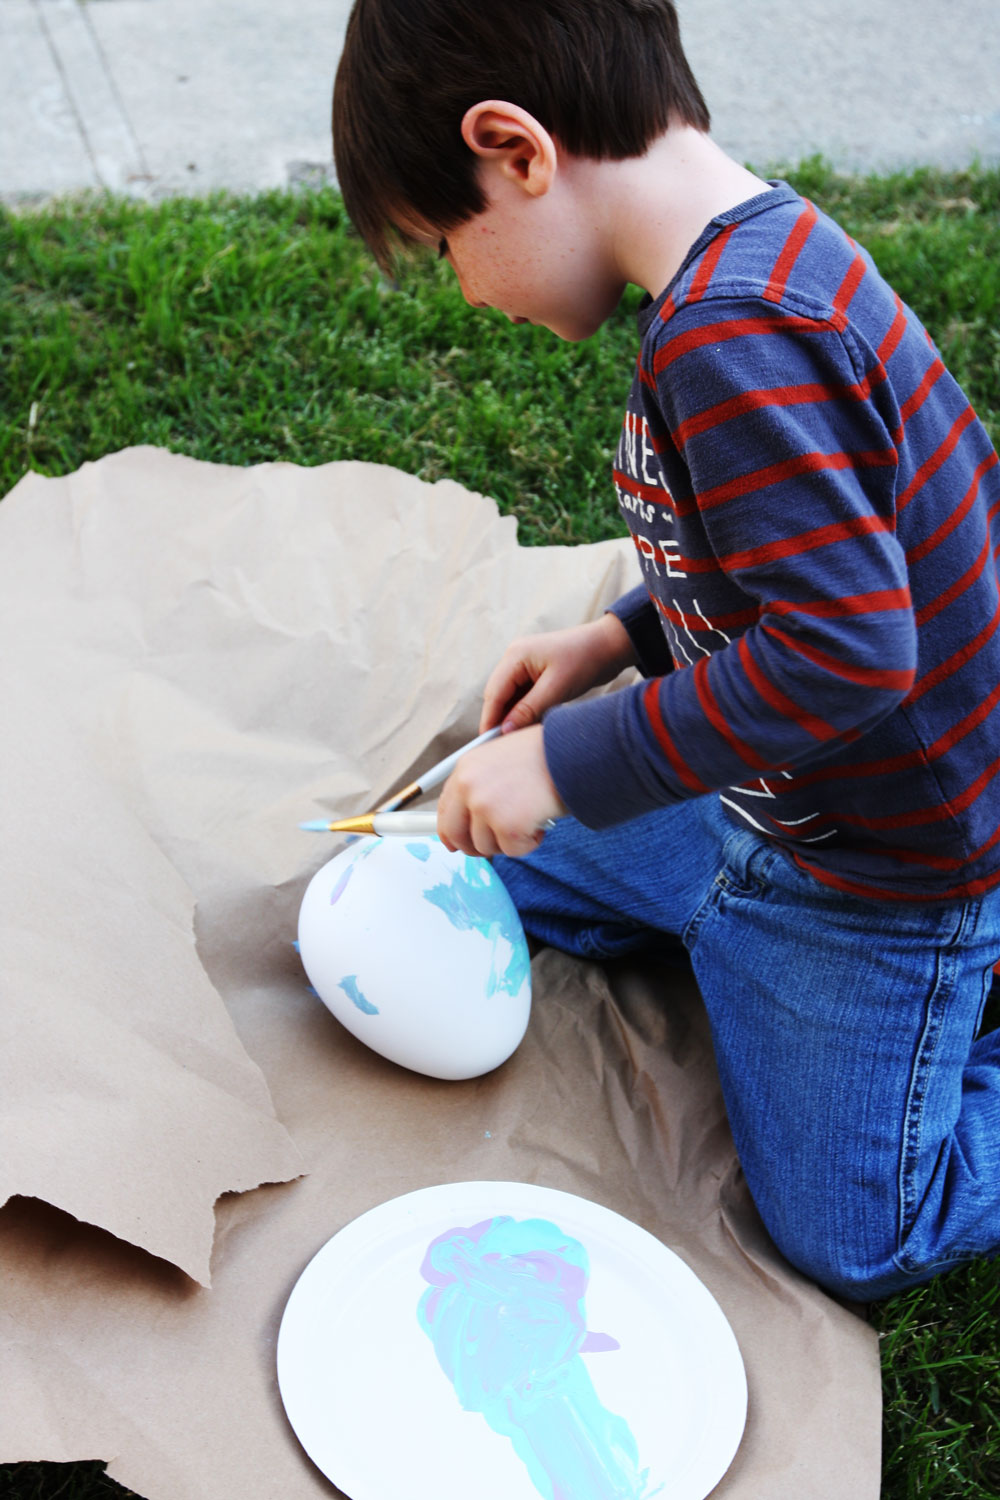 This egg with glitter spots looks so cute, doesn’t?:
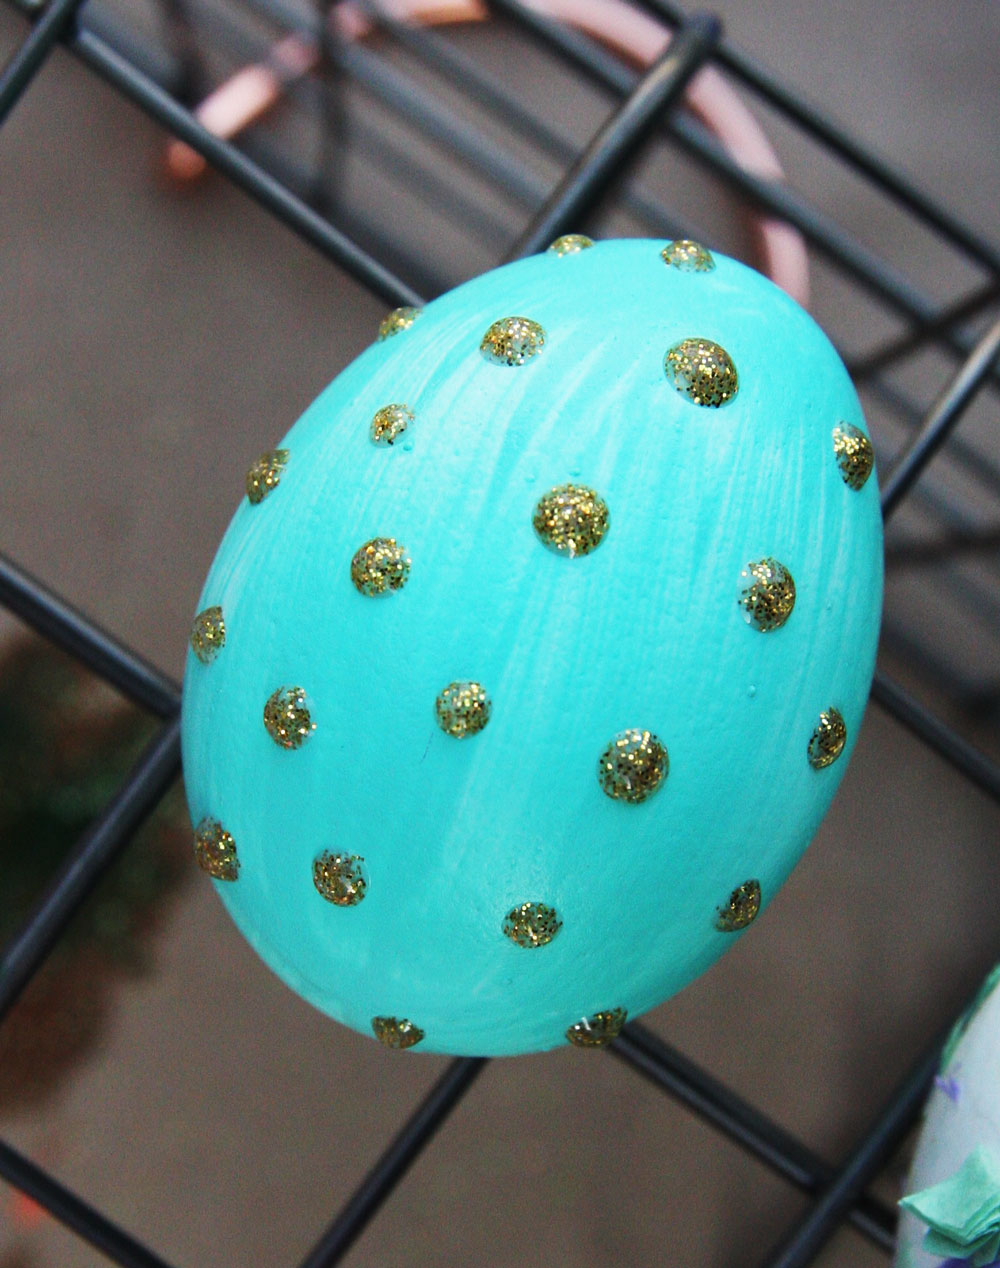 Max was not cooperating, but he was cute:
 I sprayed a cracked egg to see if I could save it somehow. I DID!!! Don’t dismiss cracked eggs.
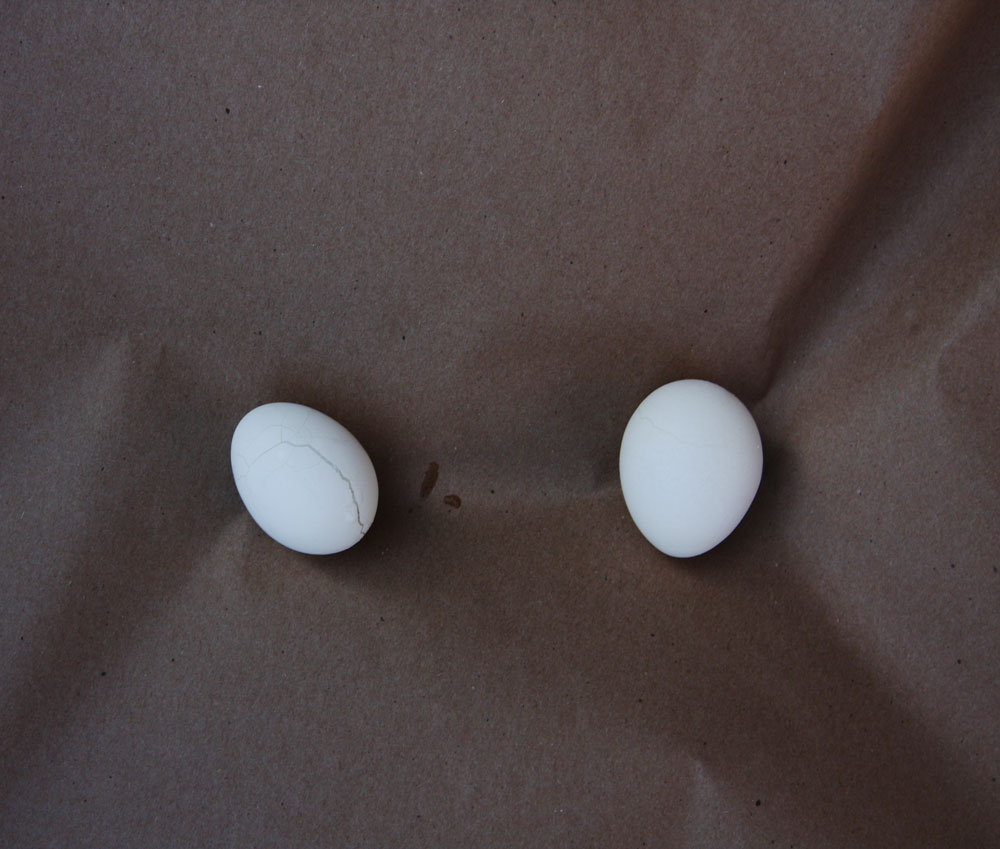 I used gold spray and mirror effect spray. As you can see, the mirror effect spray gave the egg a marble effect:
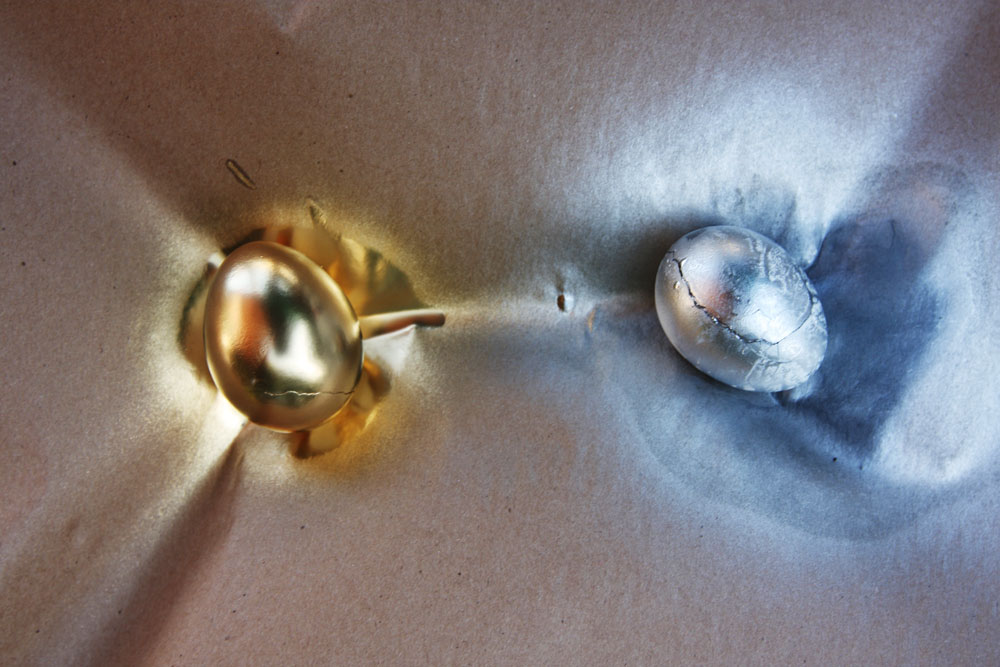


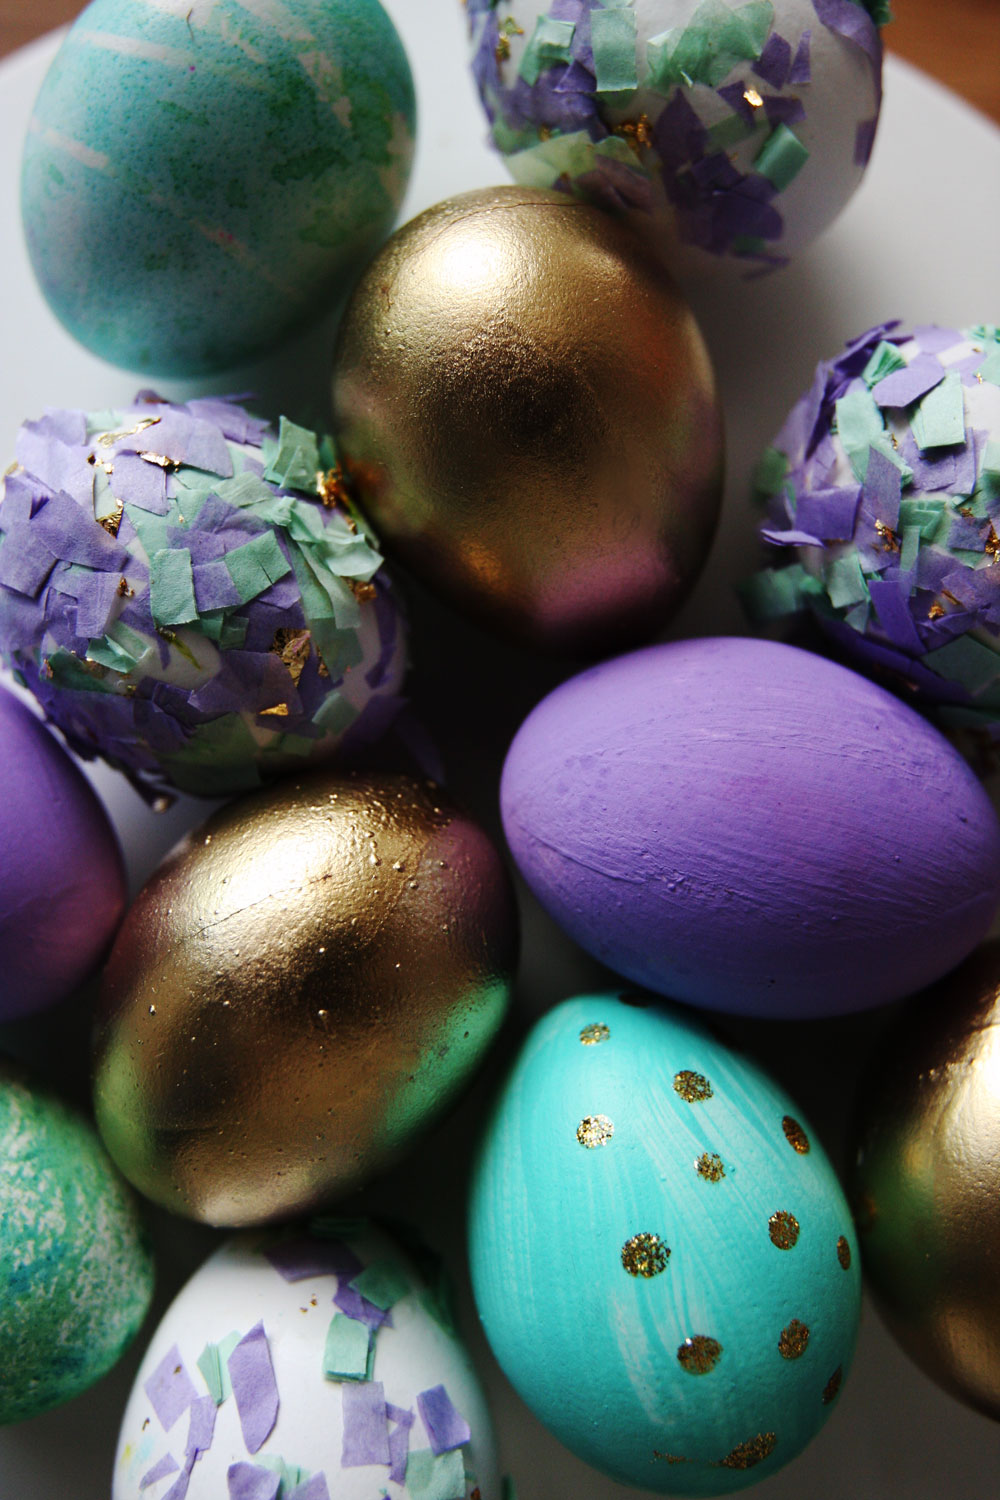

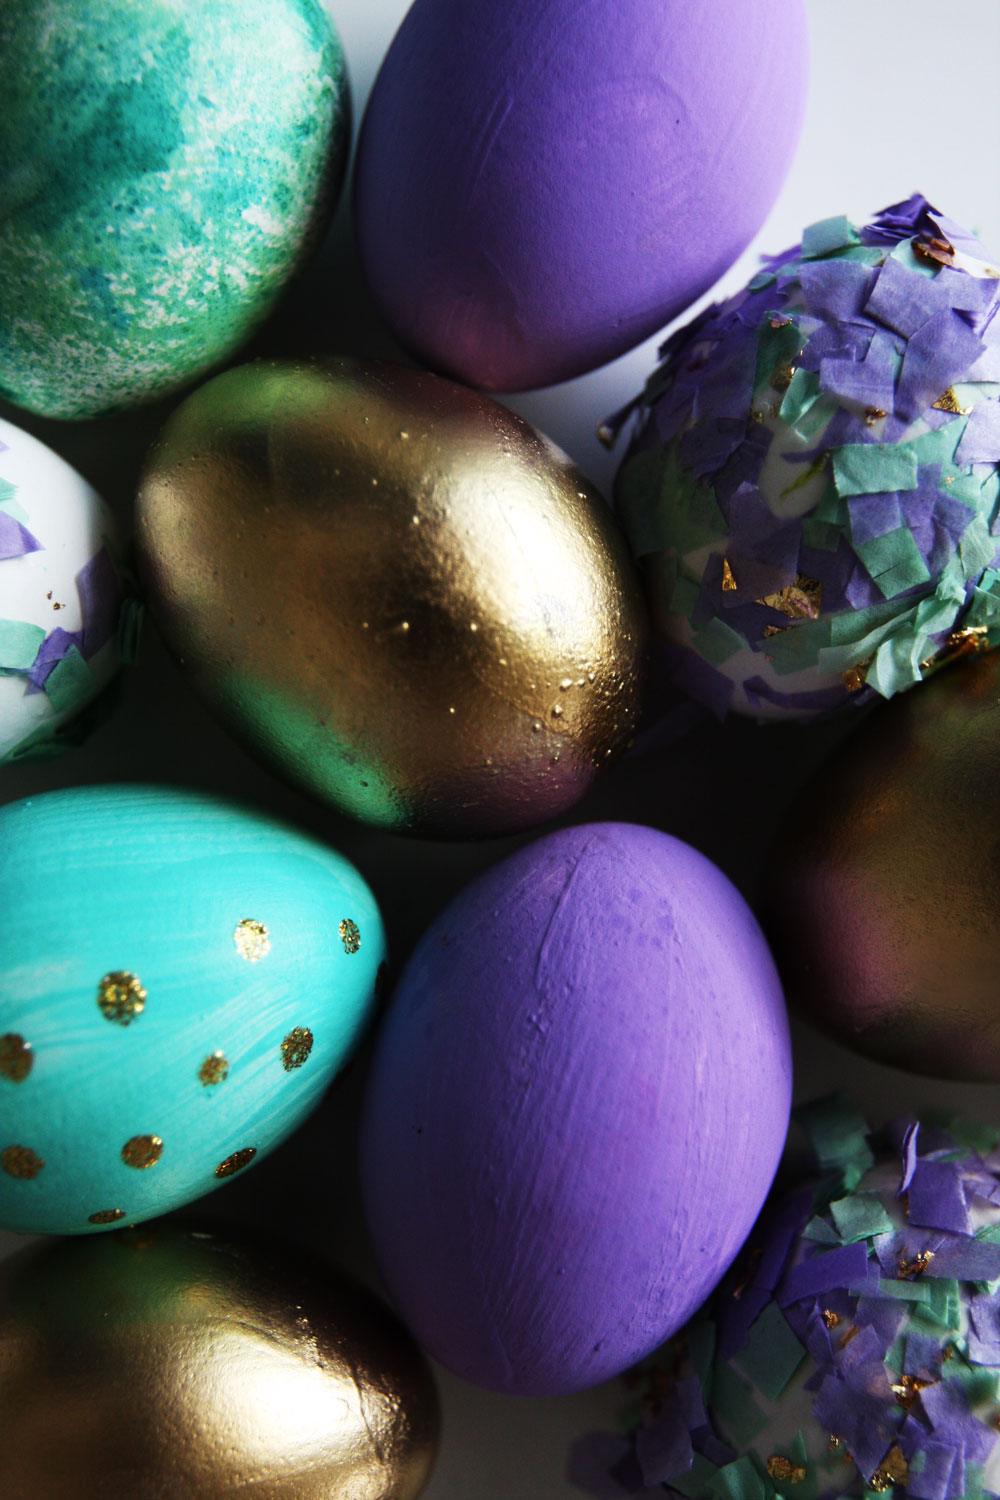


 Image Source
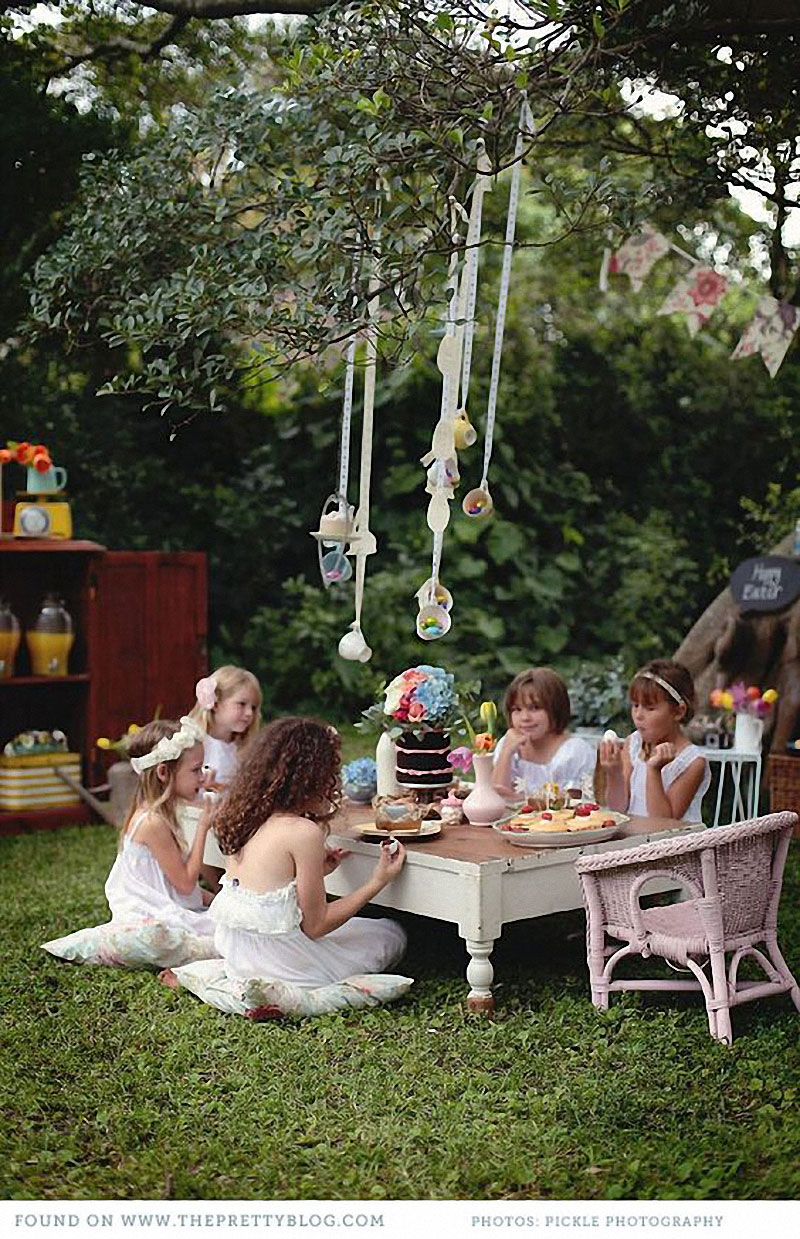
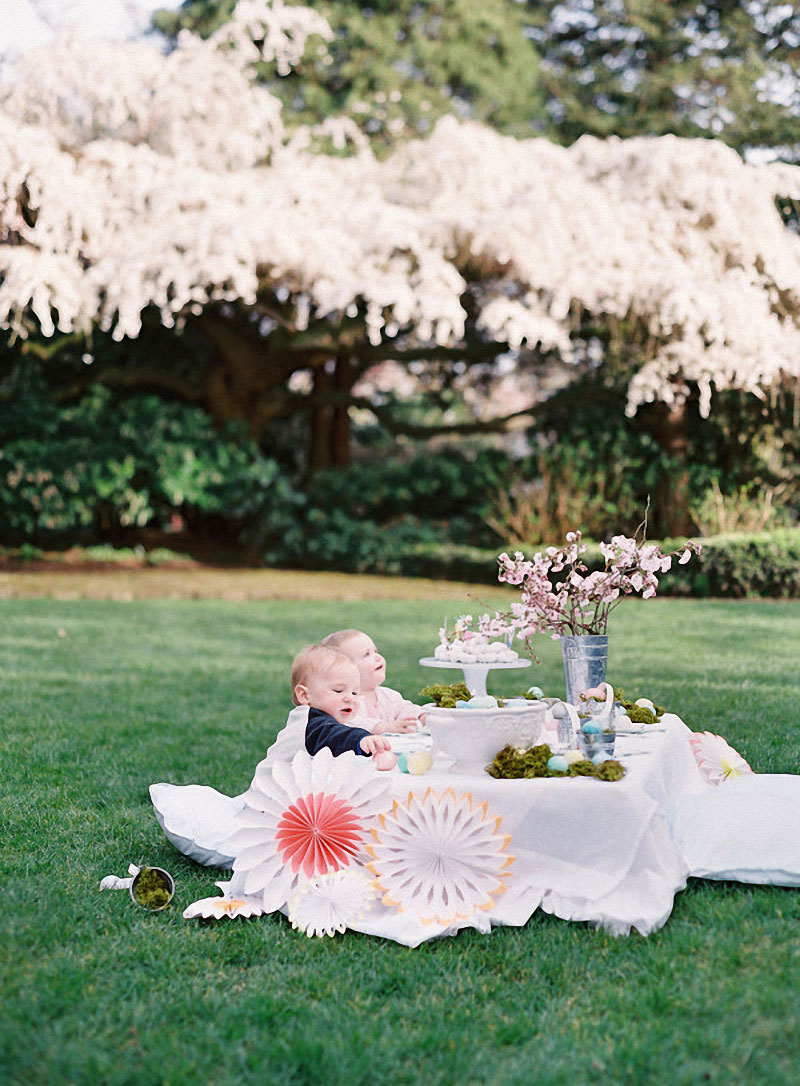 Image Source
  https://jestcafe.com/ Image Source
  Image Source
  Image Source
  Image Source
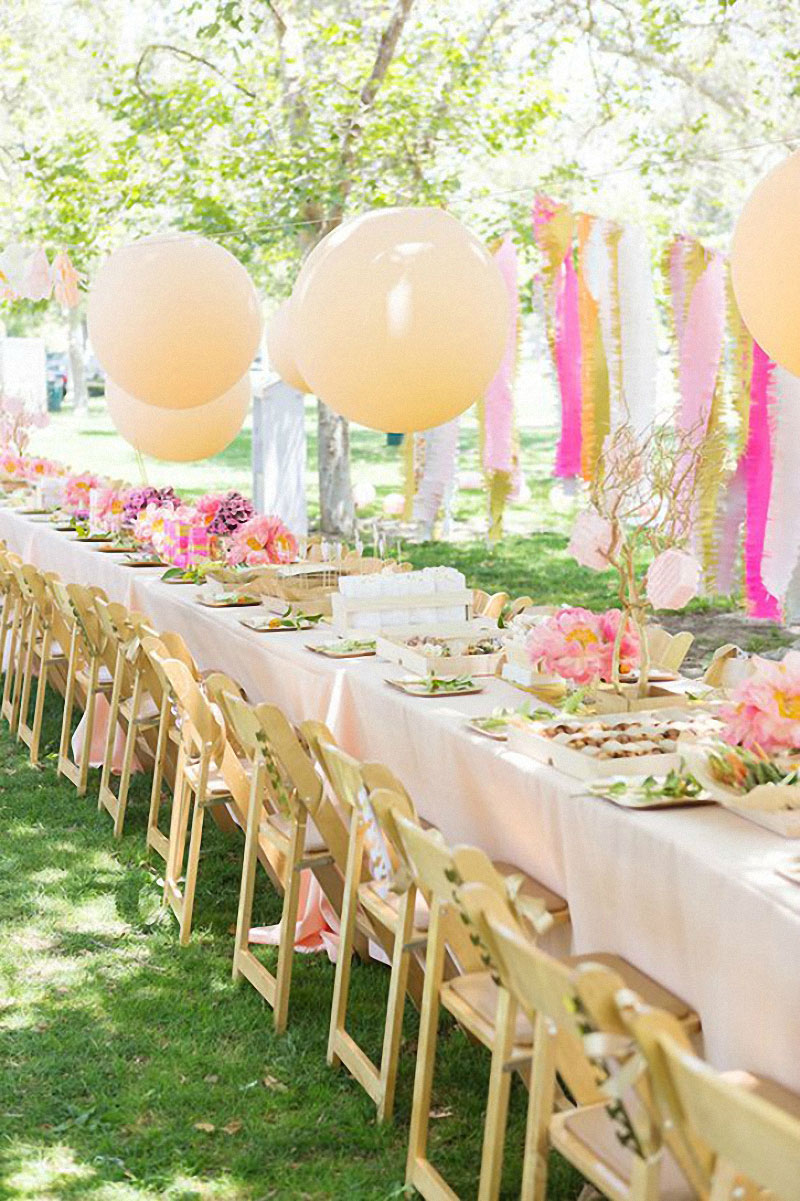 Image Source
 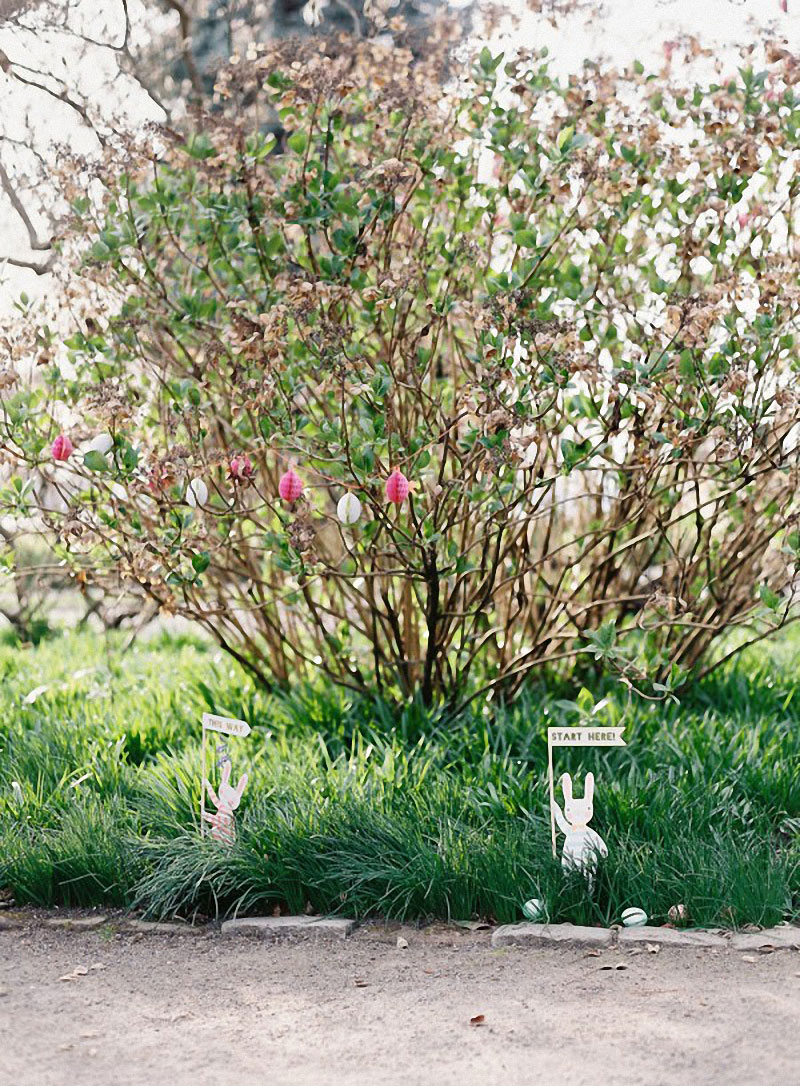 Image Source
  Image Source
  Image Source
 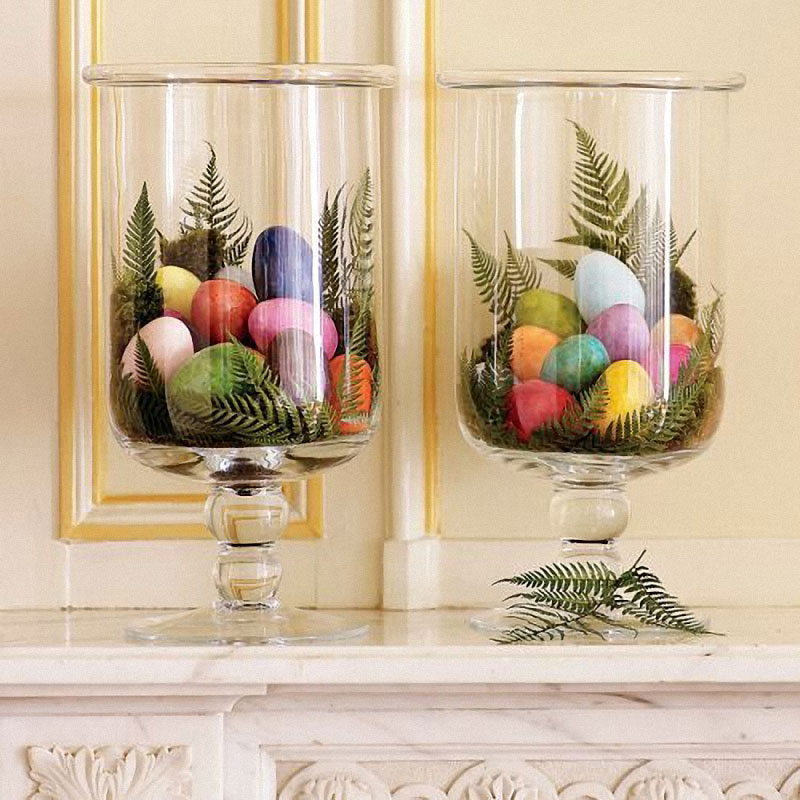 Image Source
  Image Source
 Image Source
  Image Source
 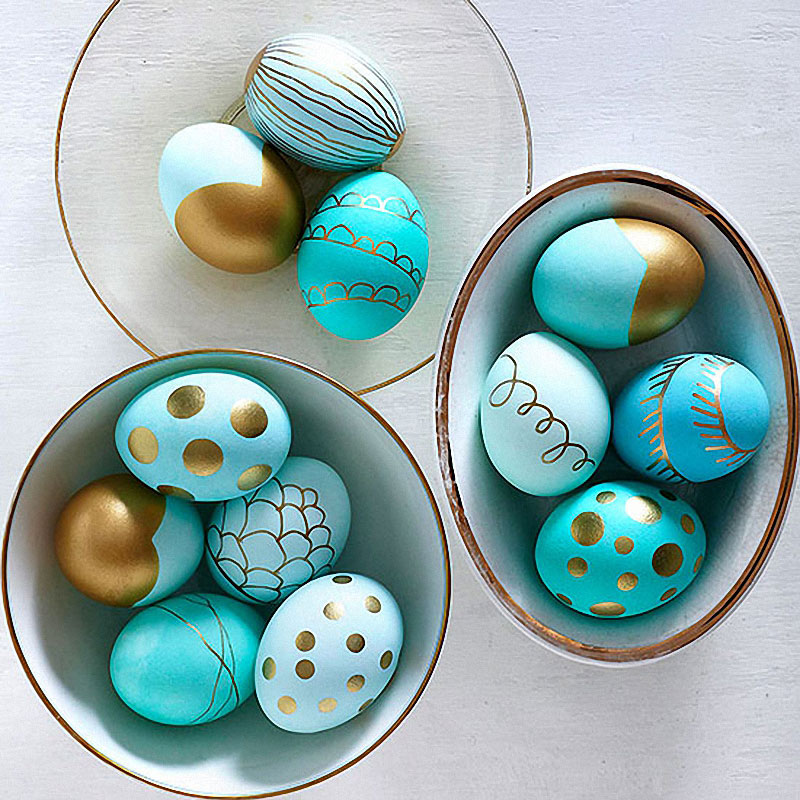 Image Source
  Image Source
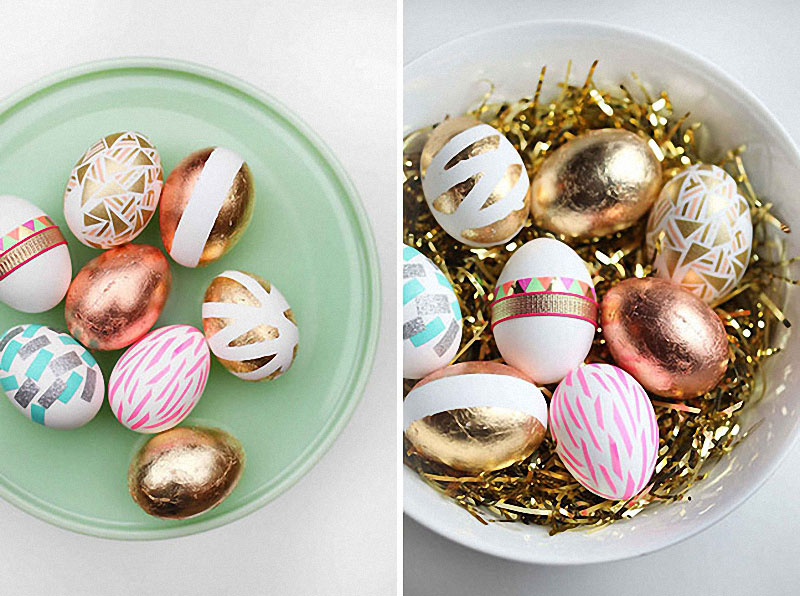 Image Source
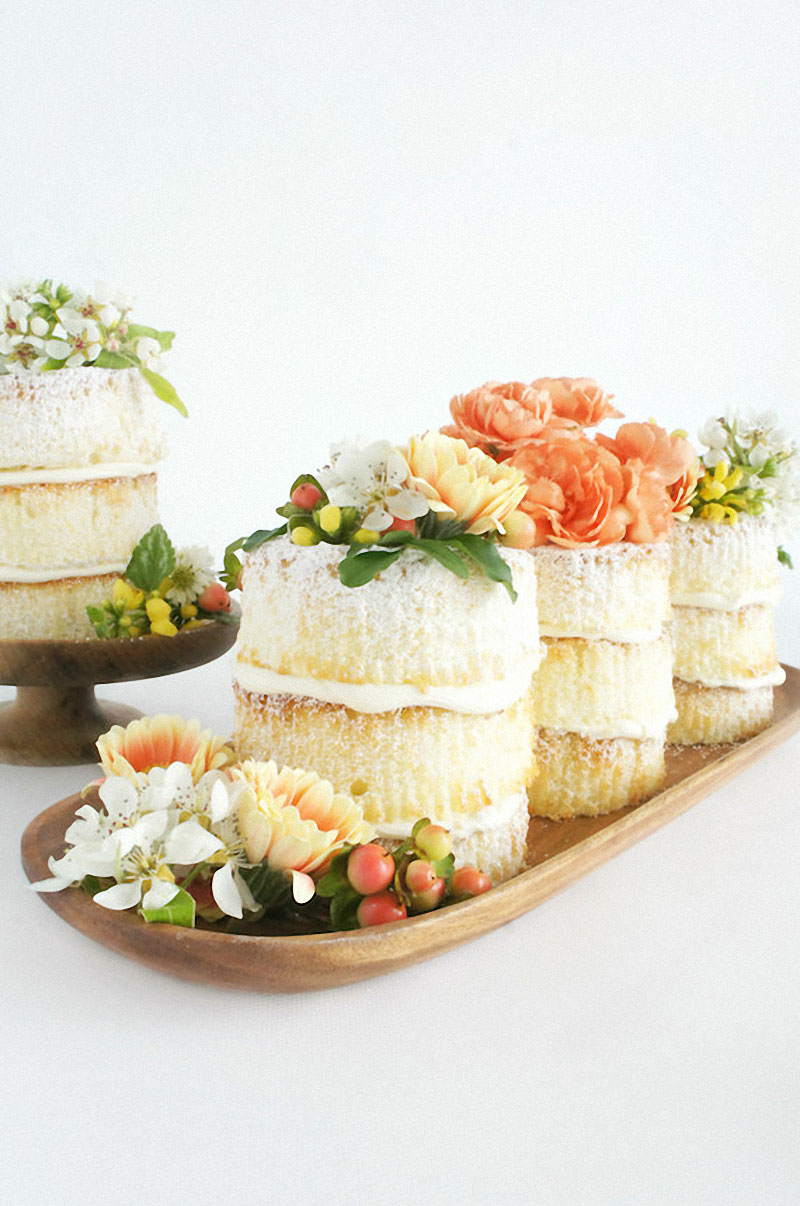 Image Source
 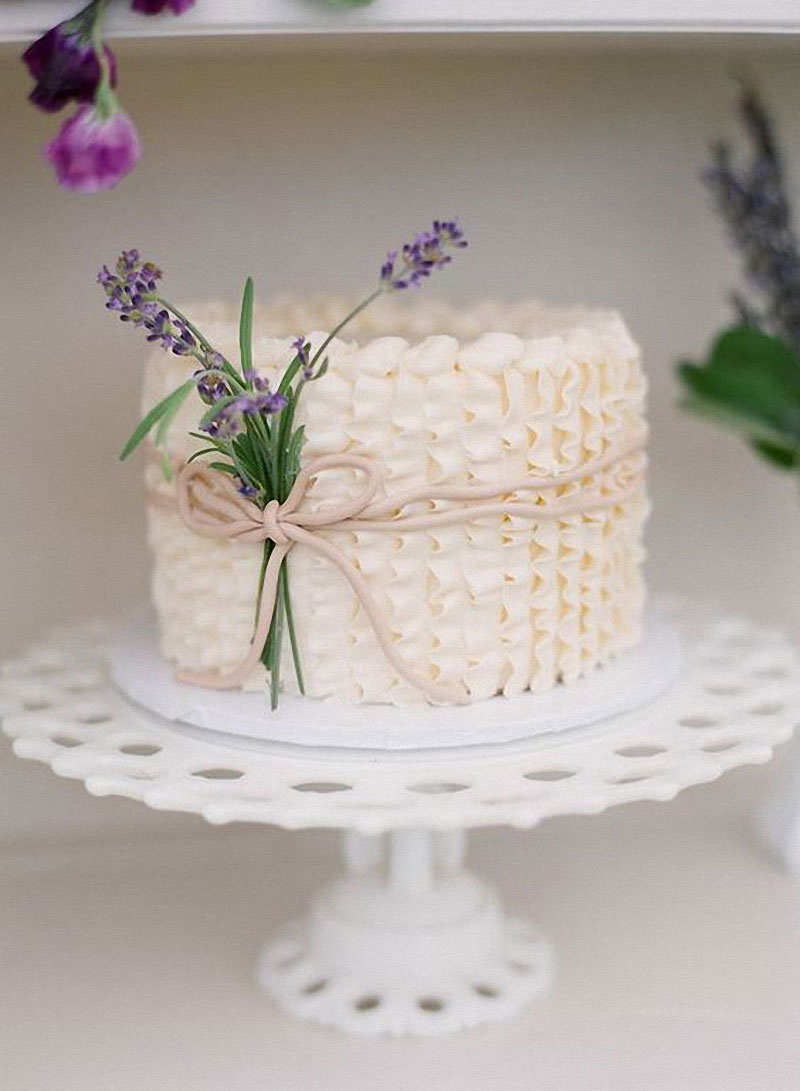 Image Source
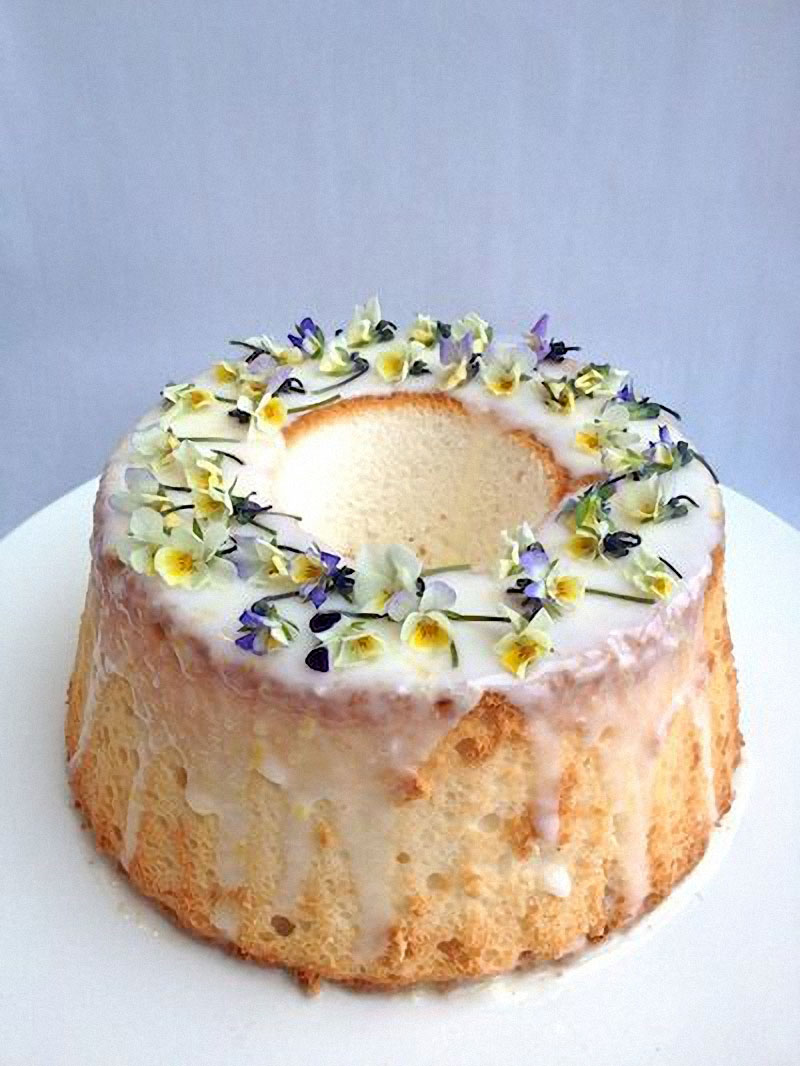 Image Source
 Image Source
  Image Source
 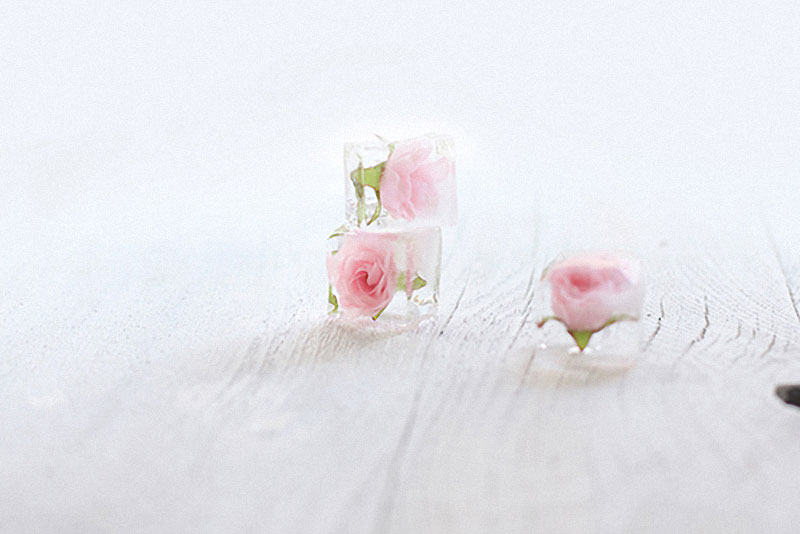 Image Source
  Image Source