
Before & After Campaign Dresser And A Trick To Help You Drill
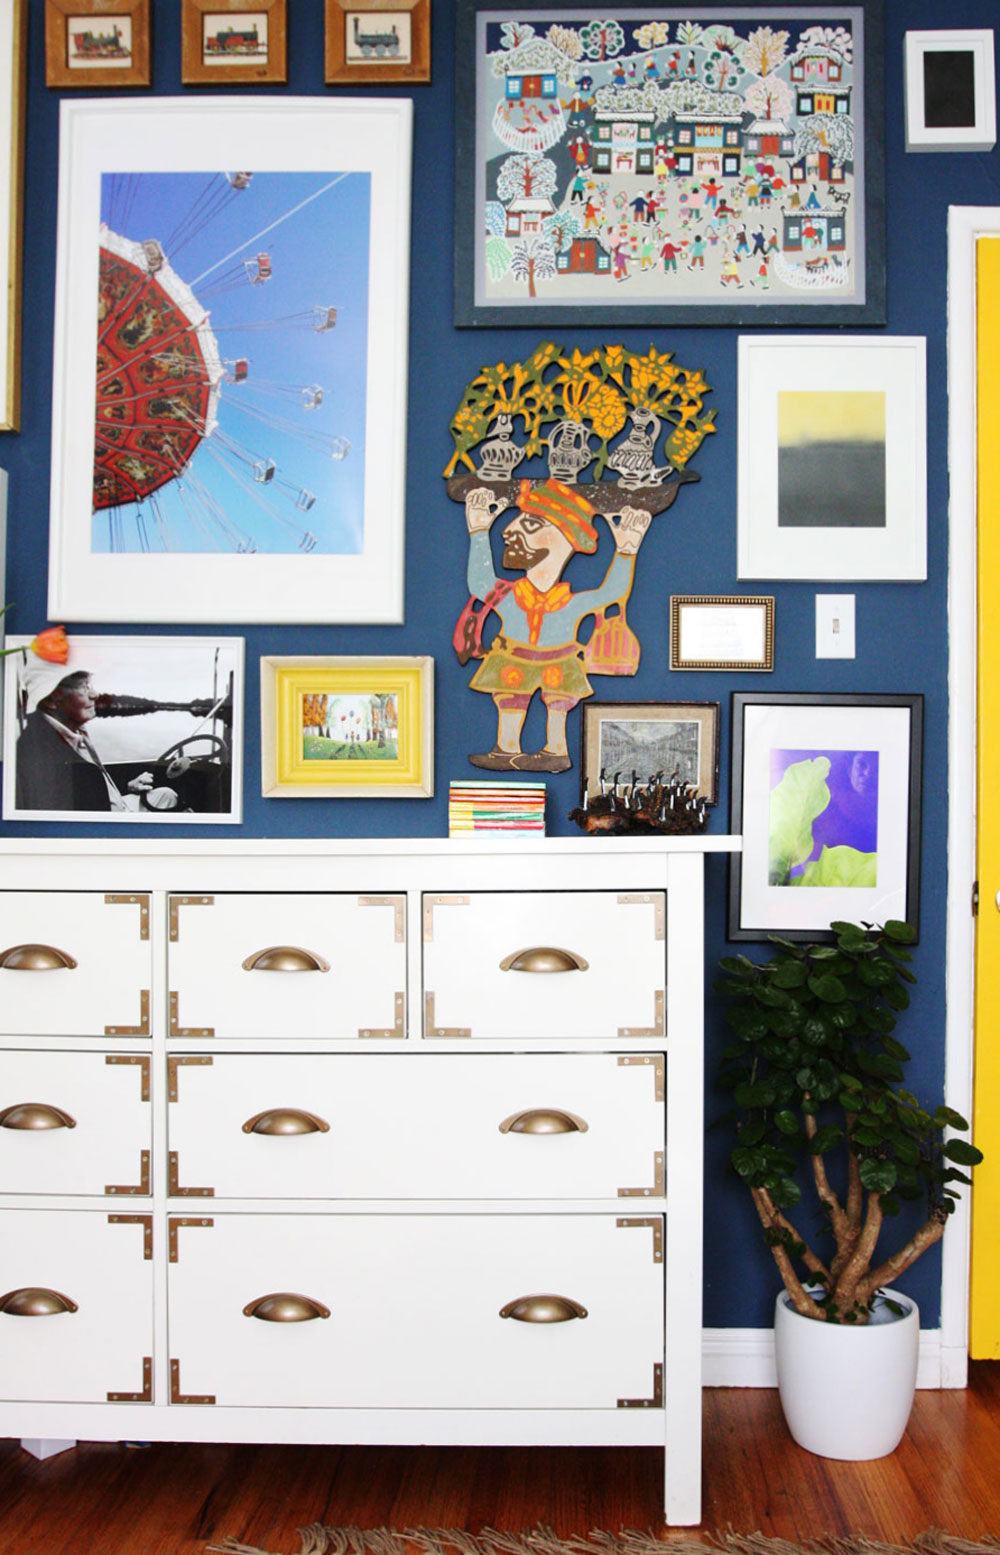 I had to drill 128 wholes to finish this dresser in the photo above. 128 wholes that needed to be perfectly straight. Not an easy task.
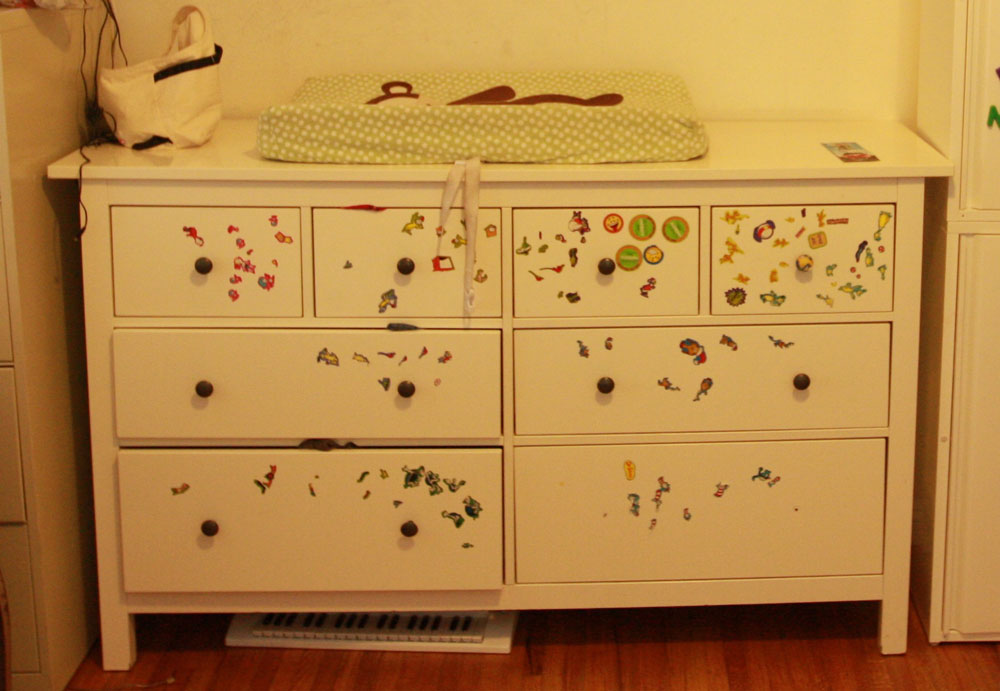
Here is how the dresser looked like before:
 Here is how it looks now:
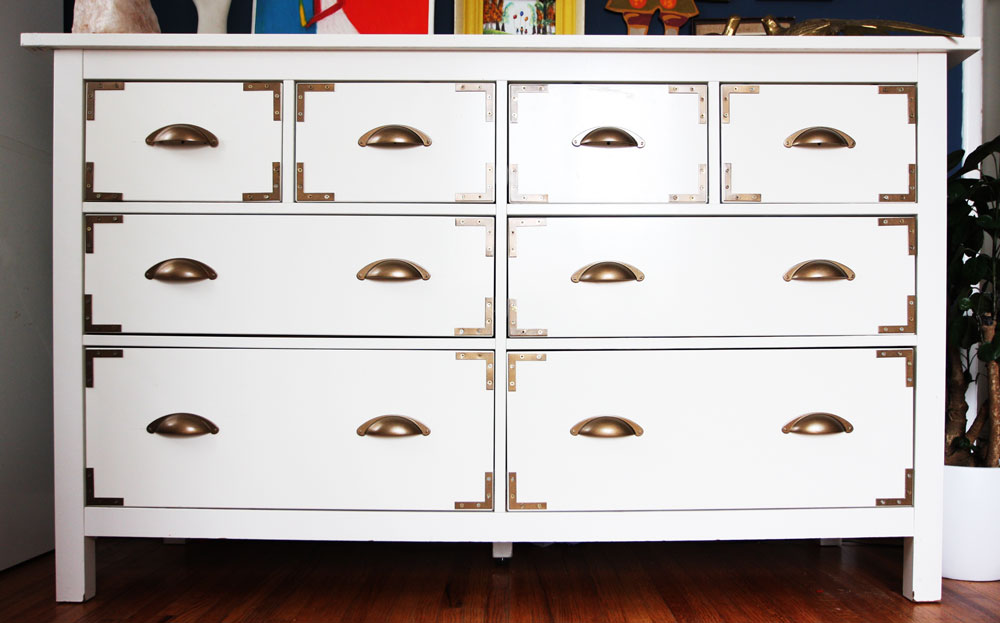 Much better, don’t you think?
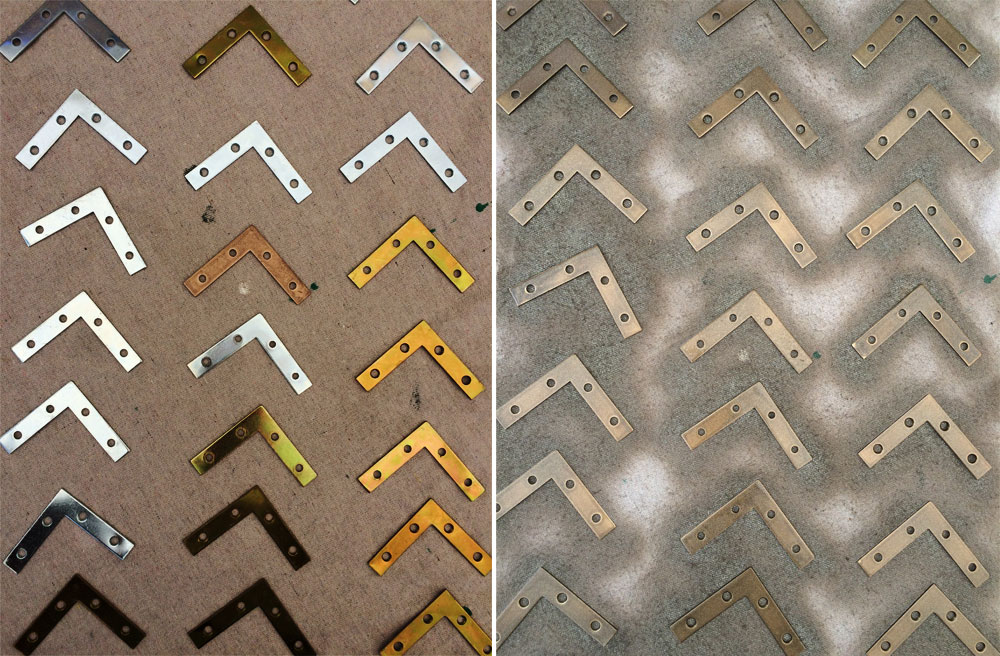
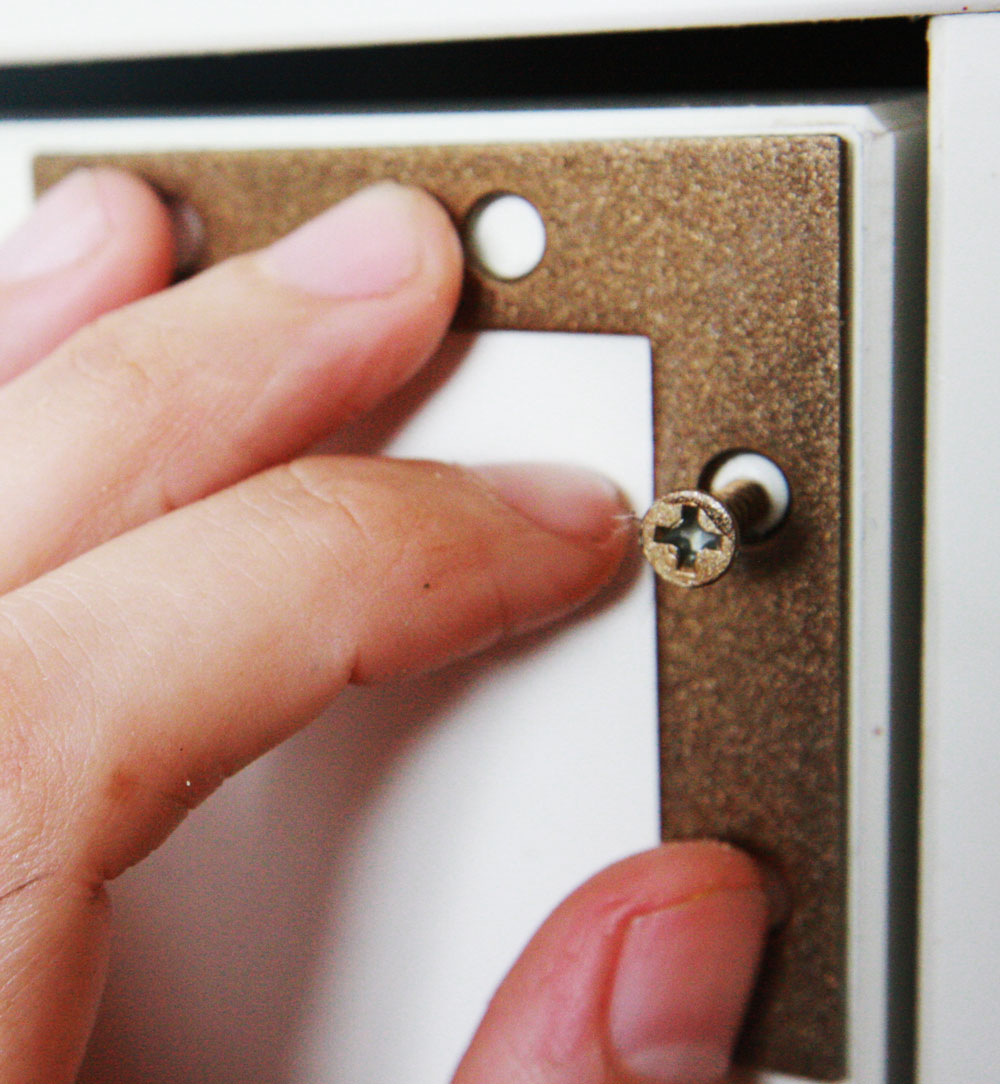
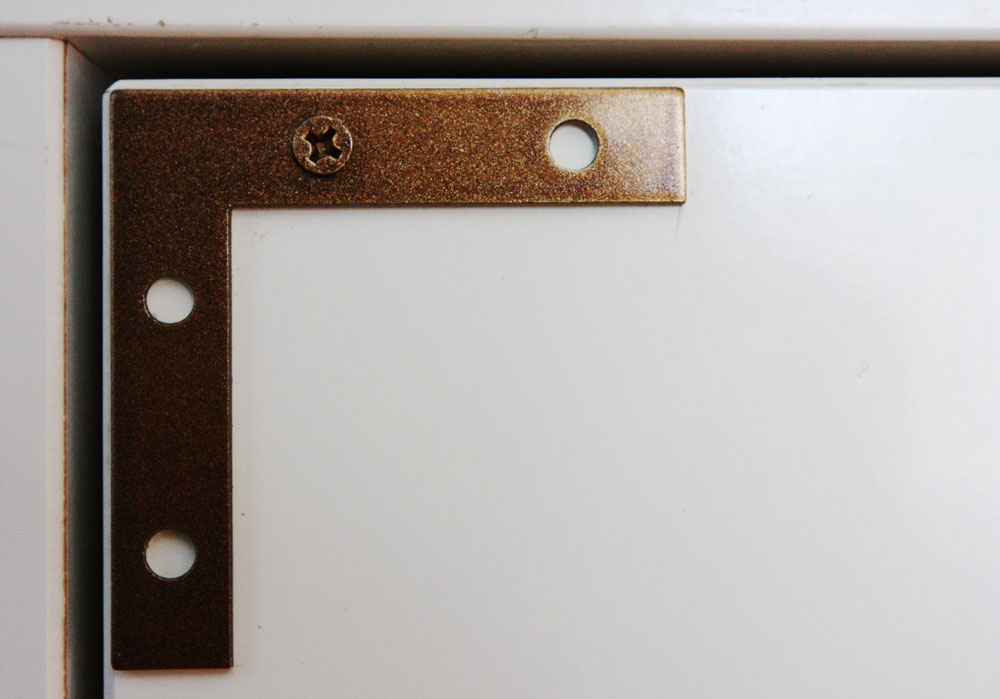
I wanted to go for a campaign dresser look. I added flat corners and pulls. Sprayed them gold and attached them to the dresser.
 When I started drilling, I failed miserably. I couldn’t do a straight hole! If you don’t master a straight hole, the brackets end up crooked, so I needed to figure this out. Interesting how DIY bloggers mention drilling like it is the easiest thing to do when it is NOT. But it is not the hardest neither, once you learned this one trick that George mentioned:
ALIGN YOUR DRILL 90 DEGREES FROM THE SURFACE IN ALL PLACES
To do this,
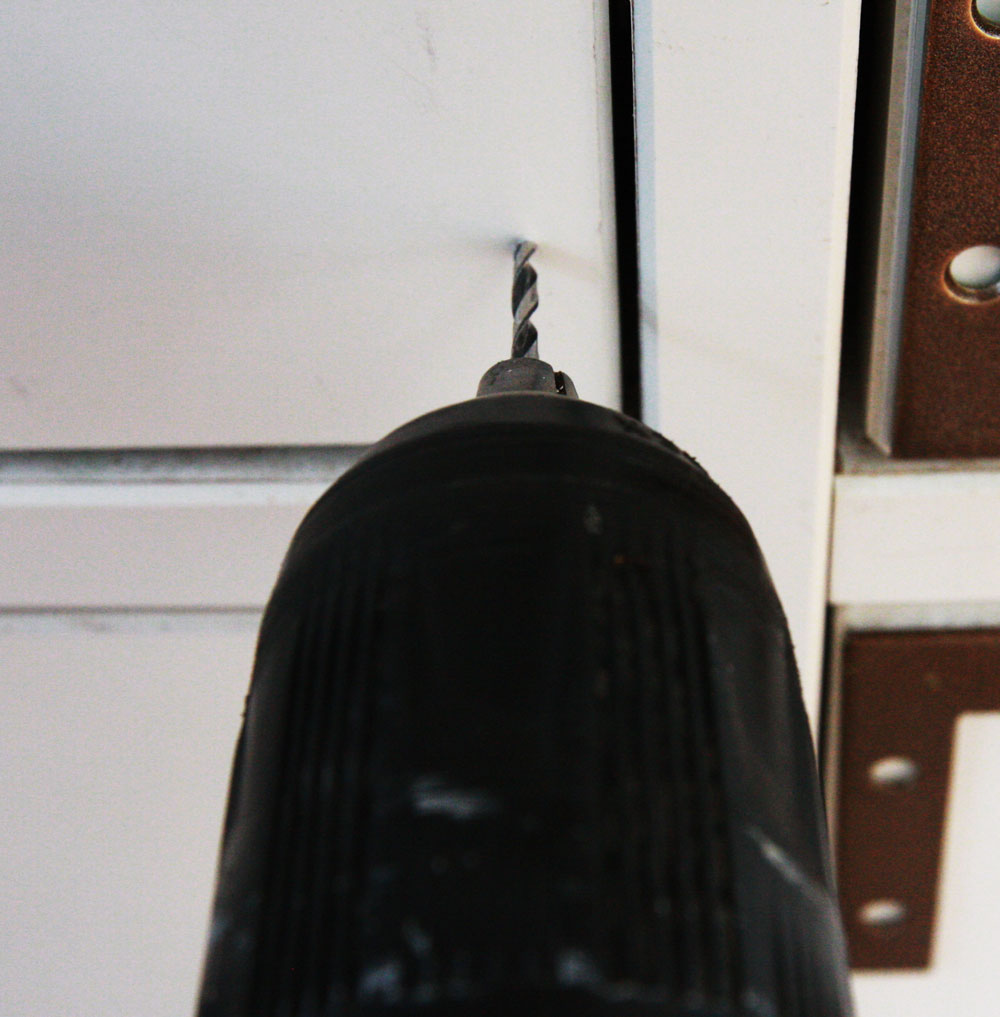
- First, look at the drill from above and make sure it is not tilted to the right or left. It needs to look like this:
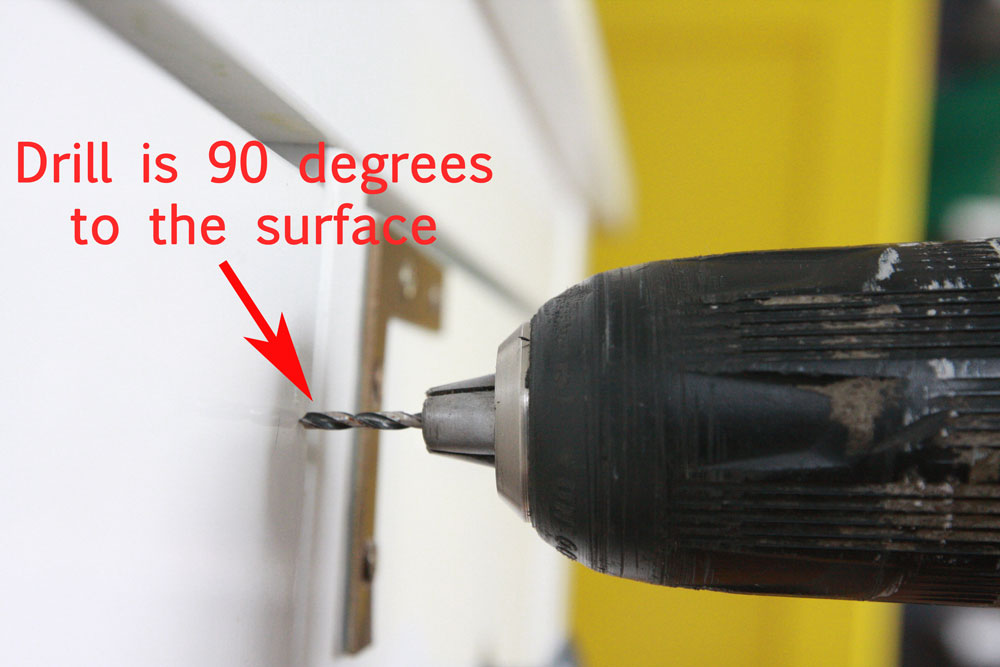
2. Now, look from the side and make sure the same is true. Your drill needs to be perfectly straight. Not tilted to the bottom or up, so, don’t do this: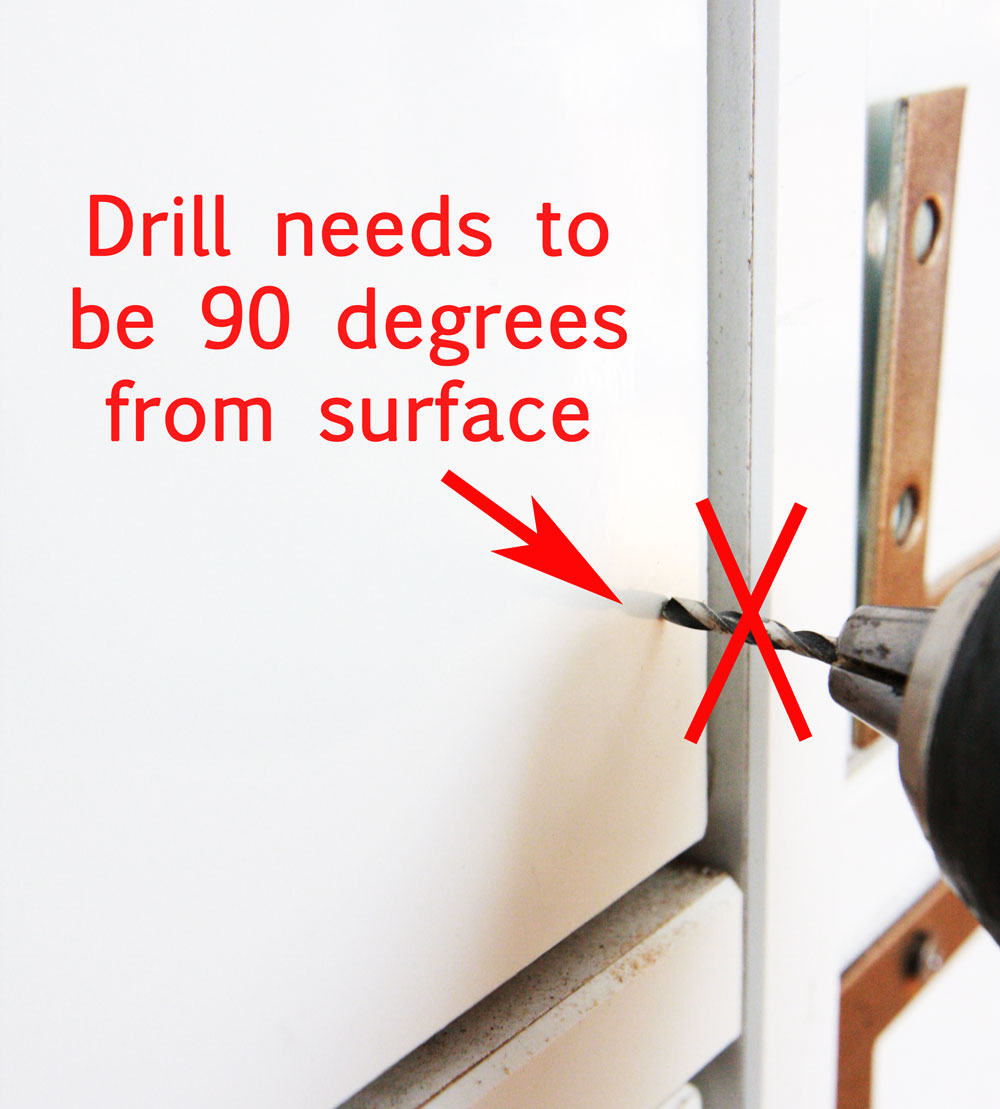 Do this:
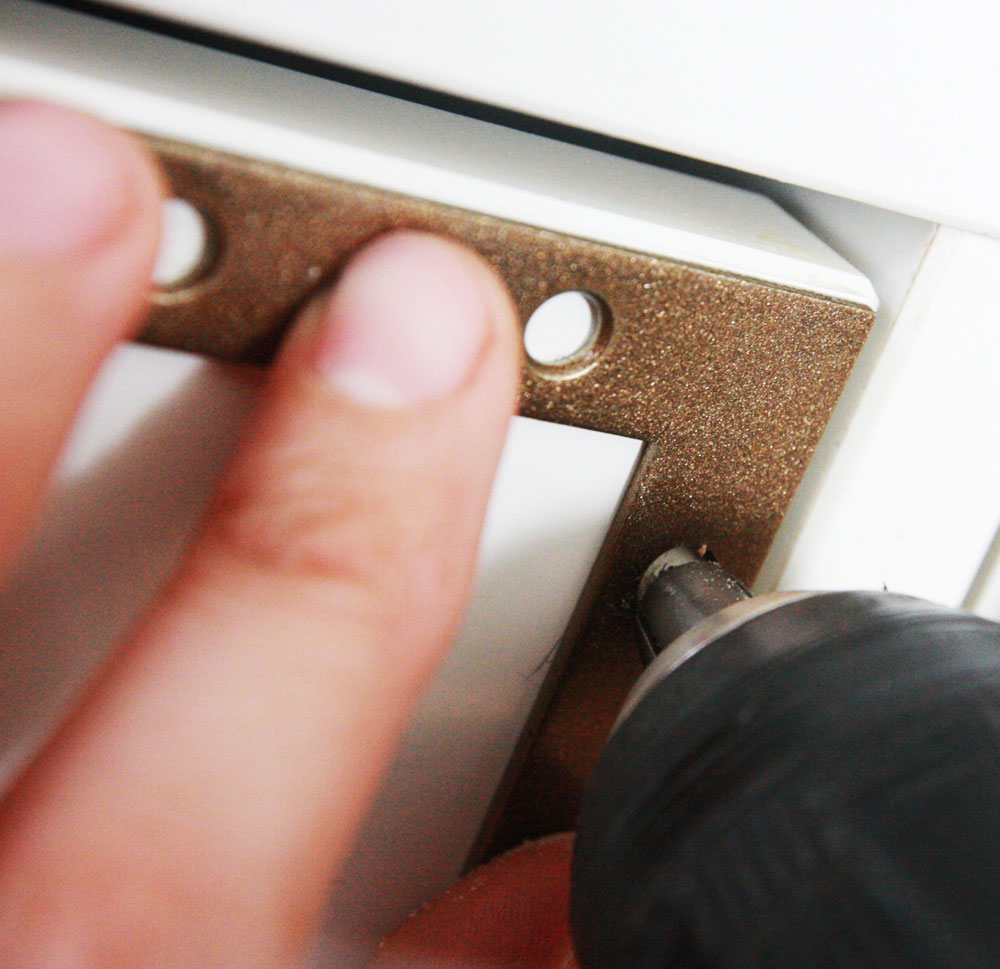
 3. After making sure Step 1 and Step 2 are in place, apply force when drilling and you are done.

So there, now you know all the secrets to have a wonderful DIY life.
Also, a post on how to paint your walls, three beautiful flower arrangements, and a lavender wreath DIY.


So it’s all about the angle of the drill…who knew?! A great tutorial. Thanks!
I didn’t know neither! Drill is quite easy if you just follow that simple trick.
Wow, very nice makeover that took that dresser from drab to fab! Your link caught my eye at The Creative Circle Party. Pinning to share 🙂
Hi, Marie. Thanks for stopping by!