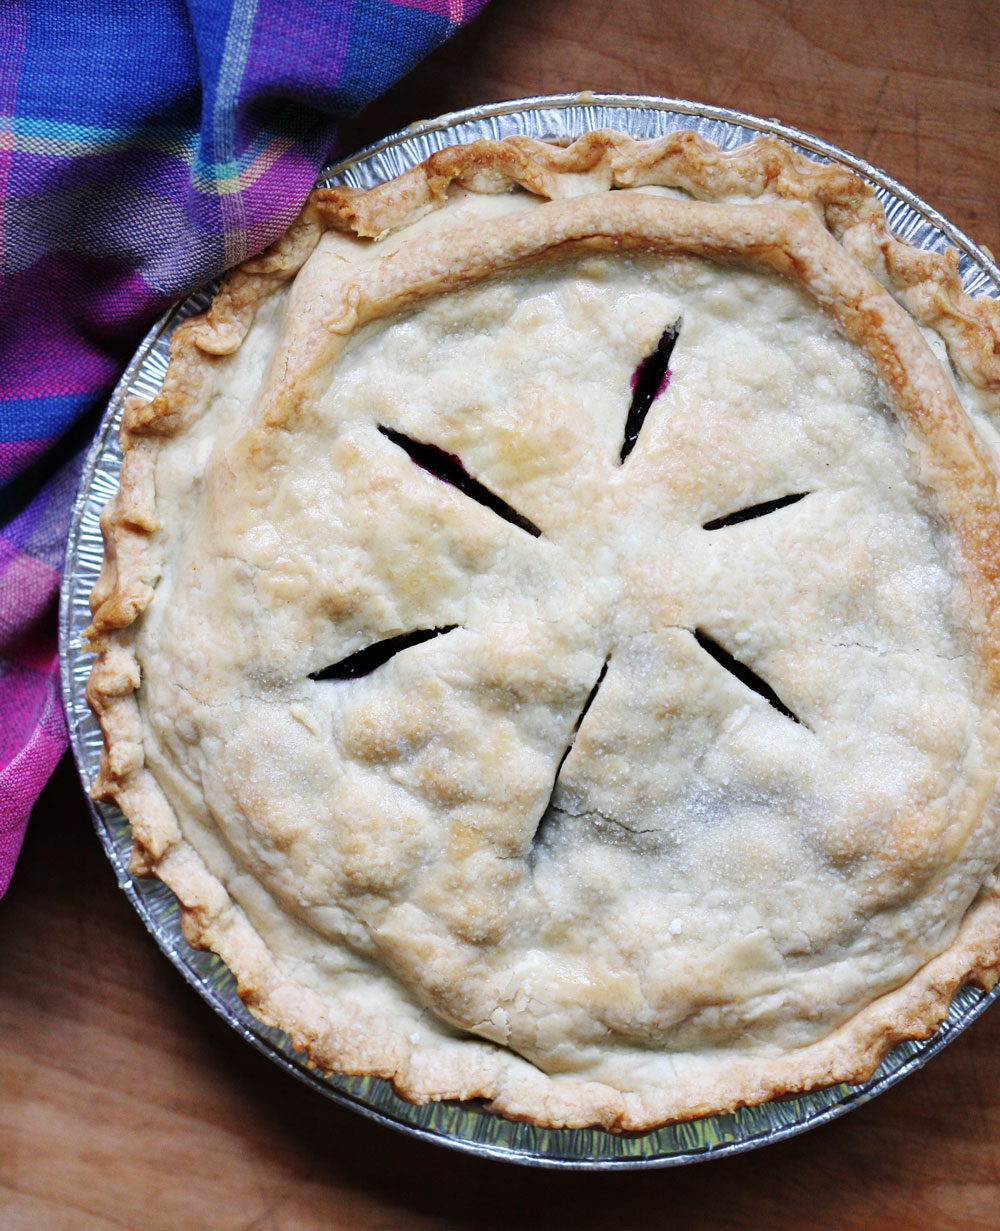
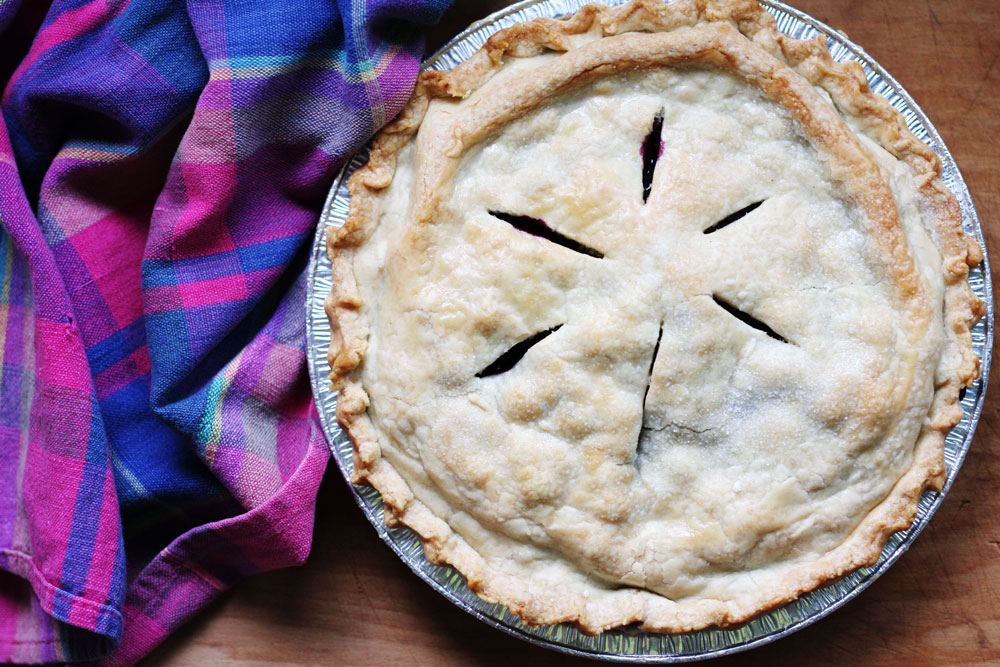
Carol’s Famous Blueberry Pie
We are in Canada right now. Up at the cottage. Three hours north of Toronto. George’s family has been coming up here for more than 100 years. The main cottage still similar to what it was back then. No TV, no dishwasher, no electric light, no stress. Time stands still in this place full of family memories from this last century.
This year has been sad. We miss Bill. He is everywhere and nowhere at the same time. Carol was married to Bill for more than 30 years. They are soul mates. This summer has been especially difficult for her.
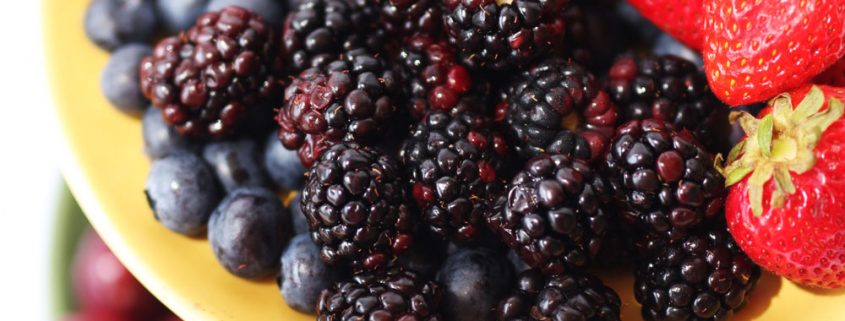
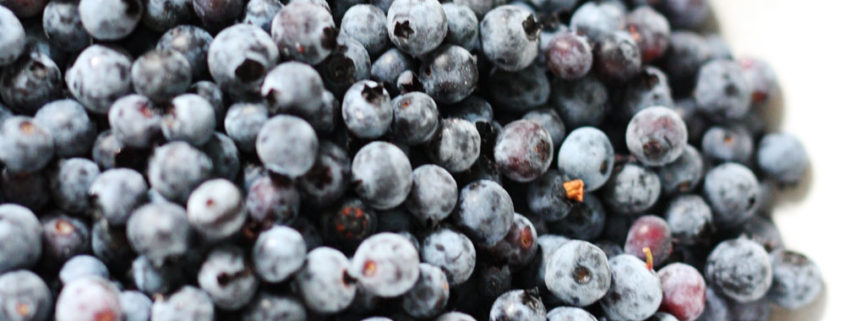
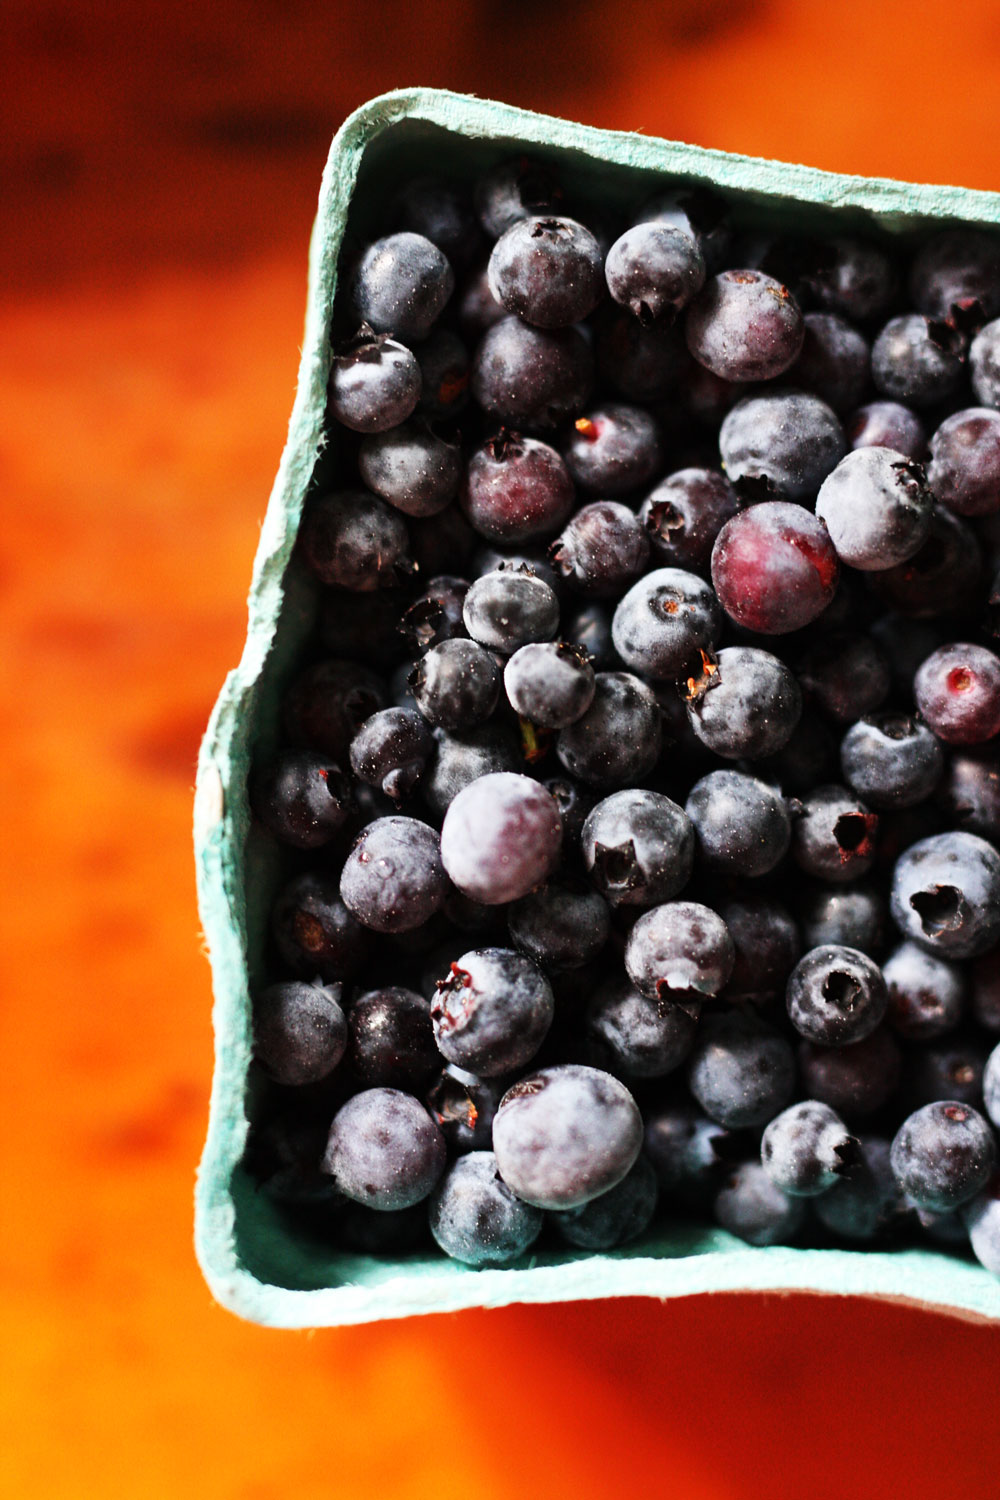
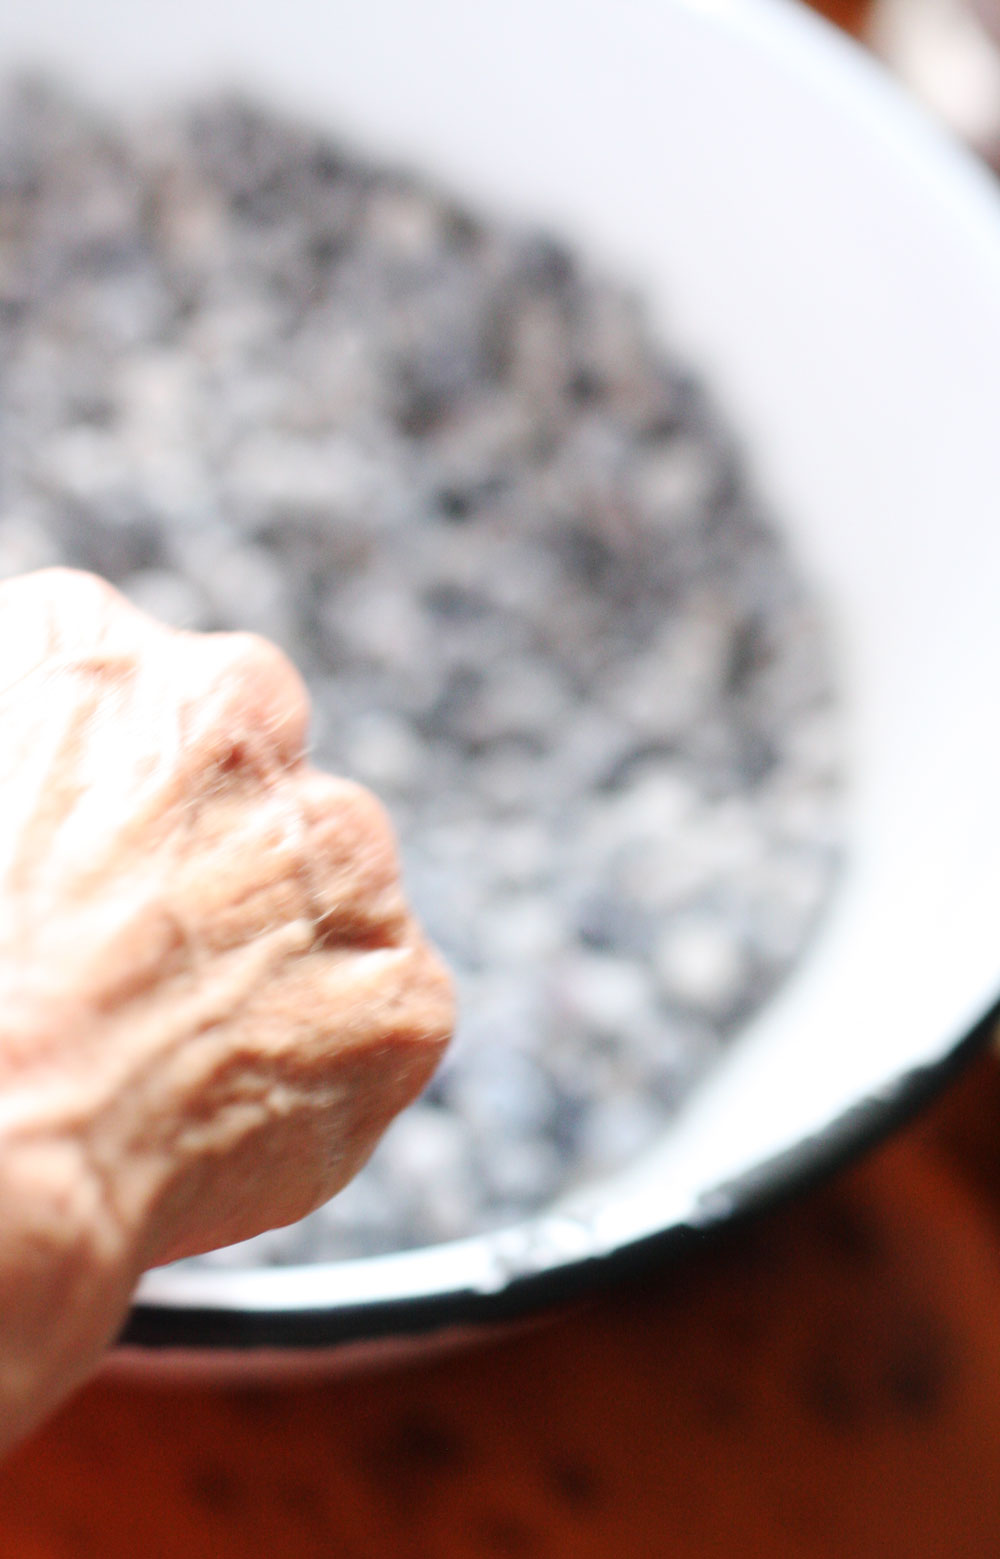
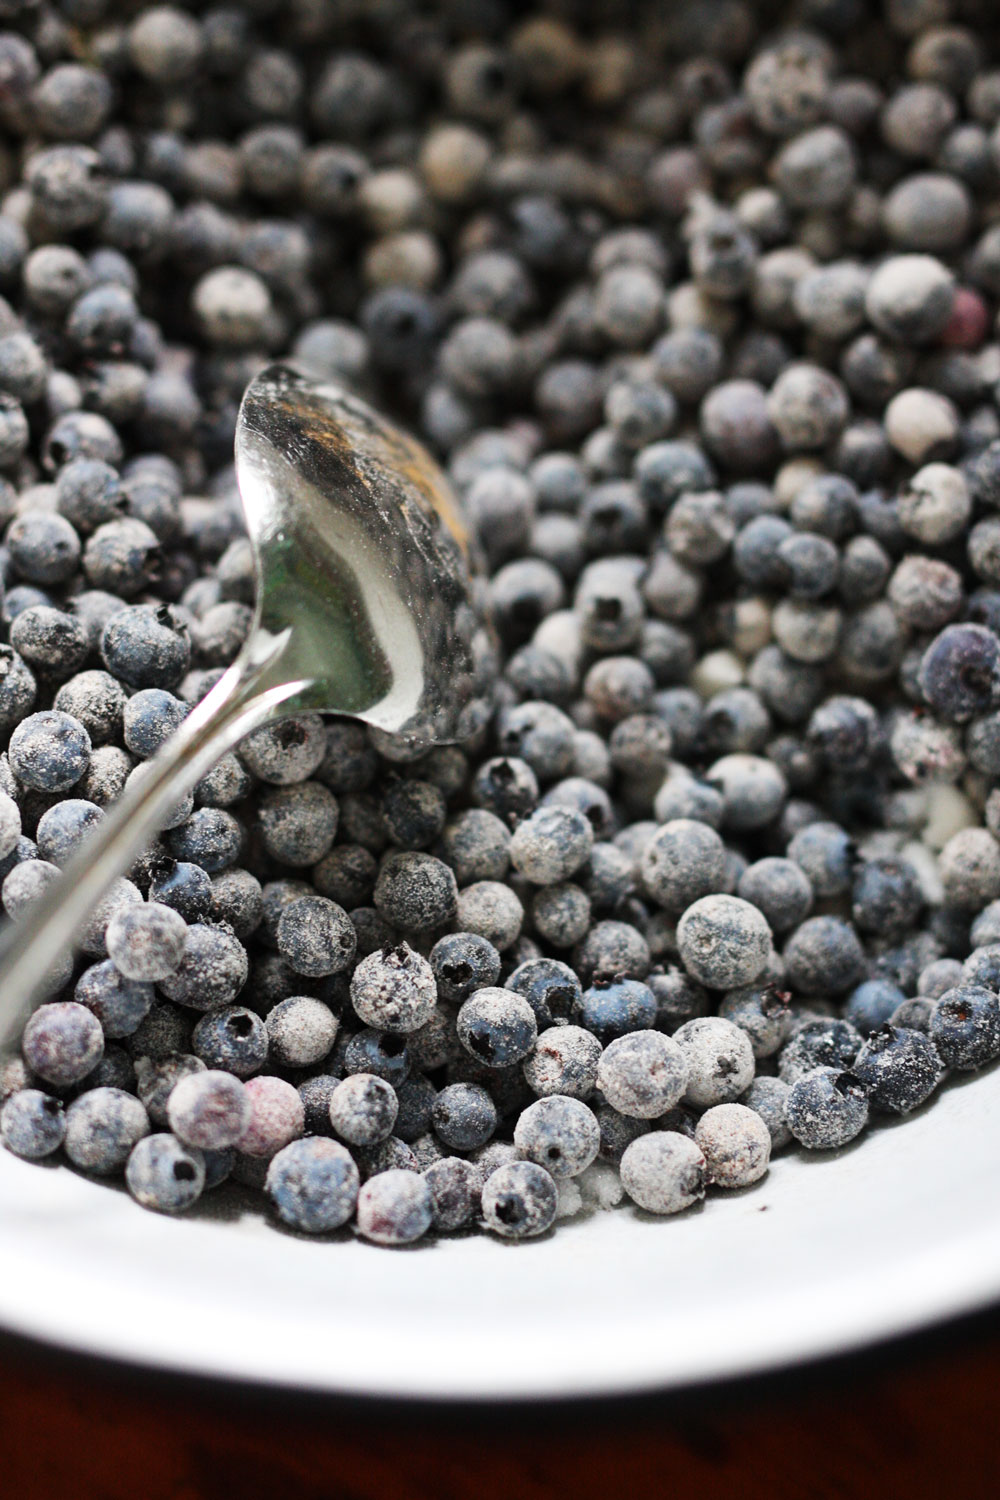
One of our summer traditions is to eat blueberry pie. It is probably the ritual my kids like best (and me too). Carol makes one of the best blueberry pies you could eat. I believe the secret is in the wild blueberries. Usually, we pick them up right outside the cottage, but this year was too dry so we had to buy them.
Carol has been making pies for 50 years. She used to make her own pie crust, but stopped doing that when they became available at the store “Anything I used to make from scratch is no better than what I can get at the frozen aisle and it takes no time.” So, for those foodies looking for a pie crust recipe, you will need to find it somewhere else. In this household we are all about simplifying.
Carol’s Famous Blueberry Pie
Ingredients
- 2 Pie crusts
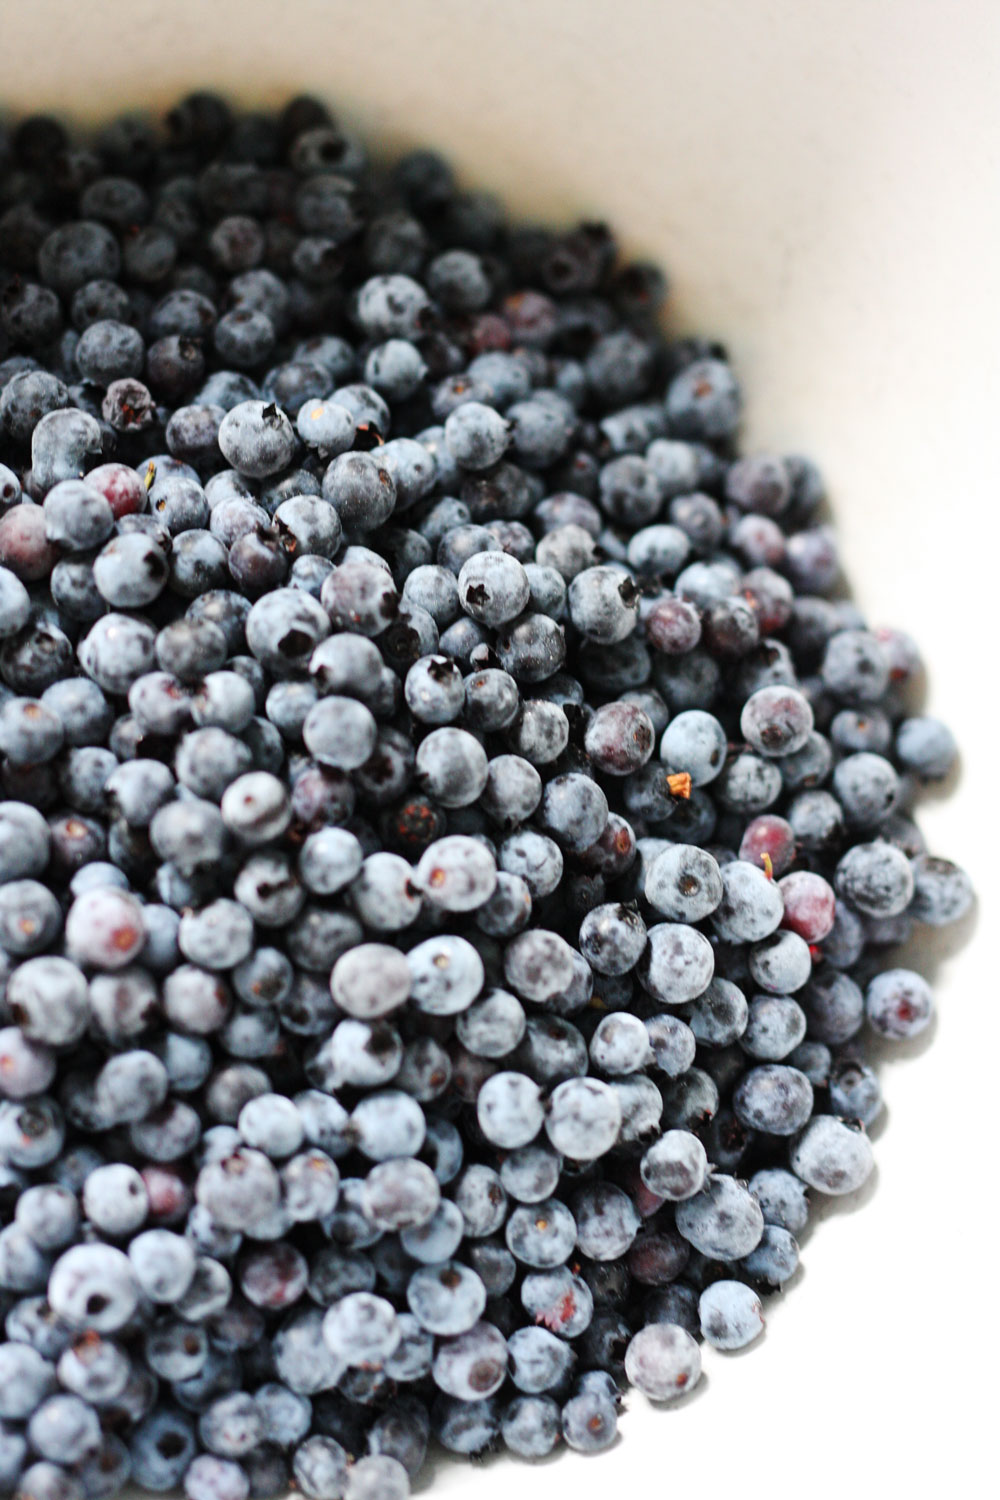
- 4 cups of wild blueberries
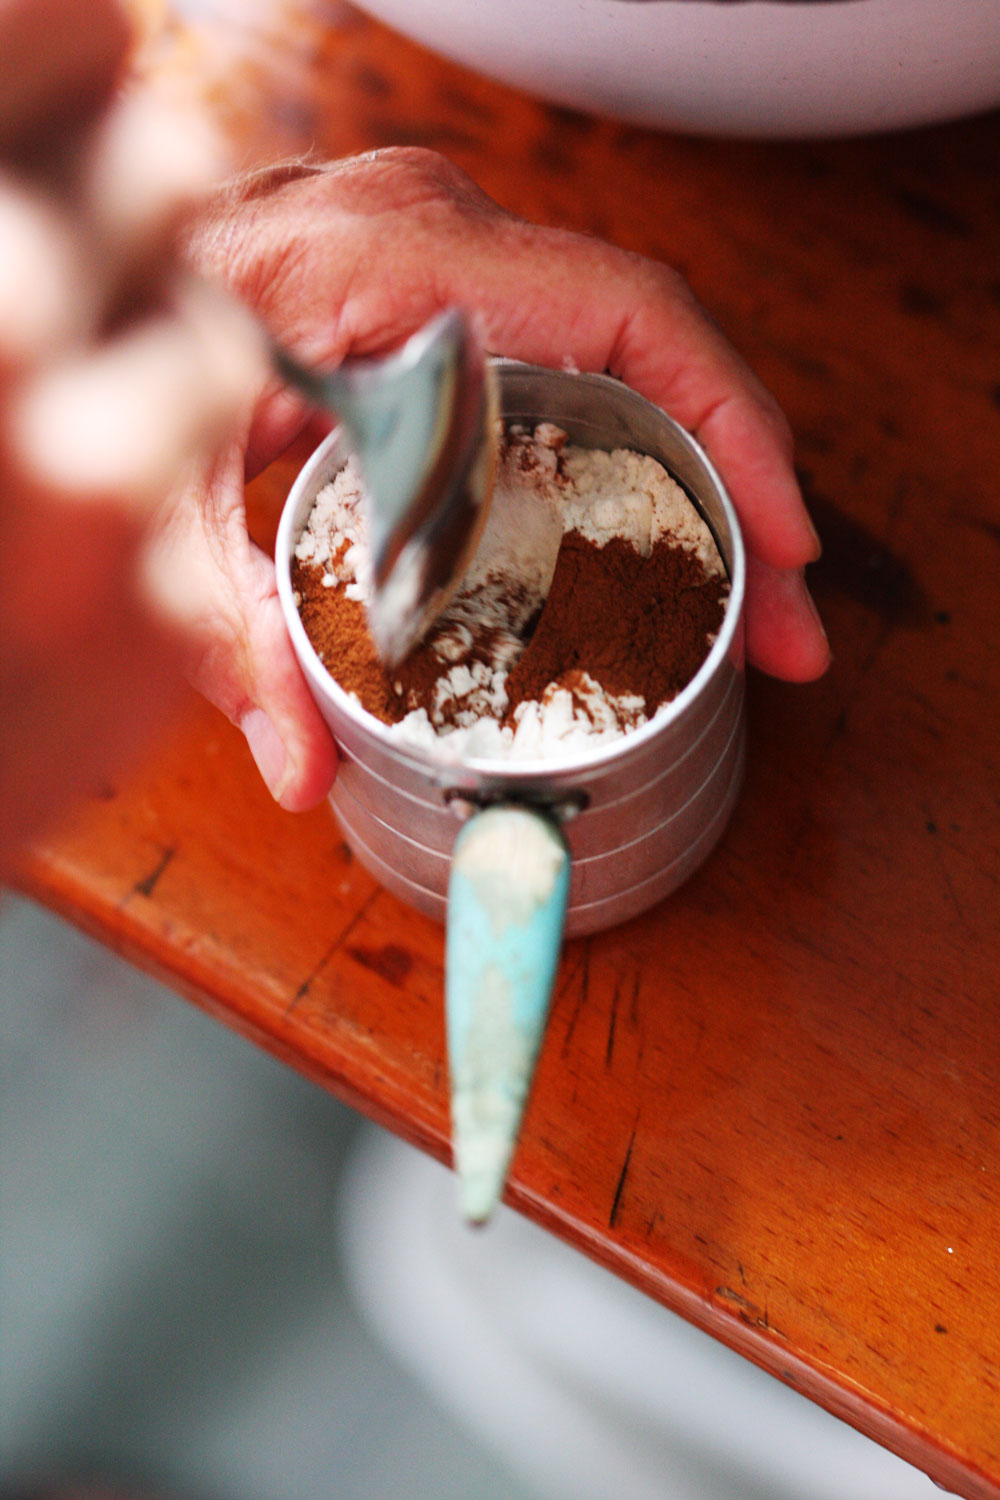
- 3/4 cup of sugar
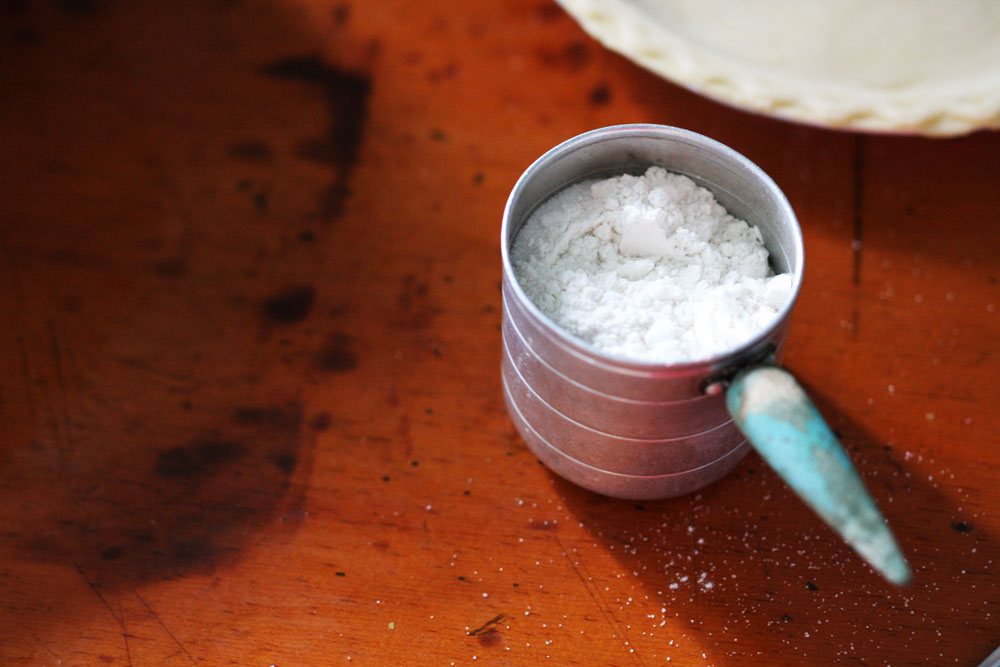
- 1 tablespoon of flour
- LOTS of cinnamon
- Little bit of milk or cream
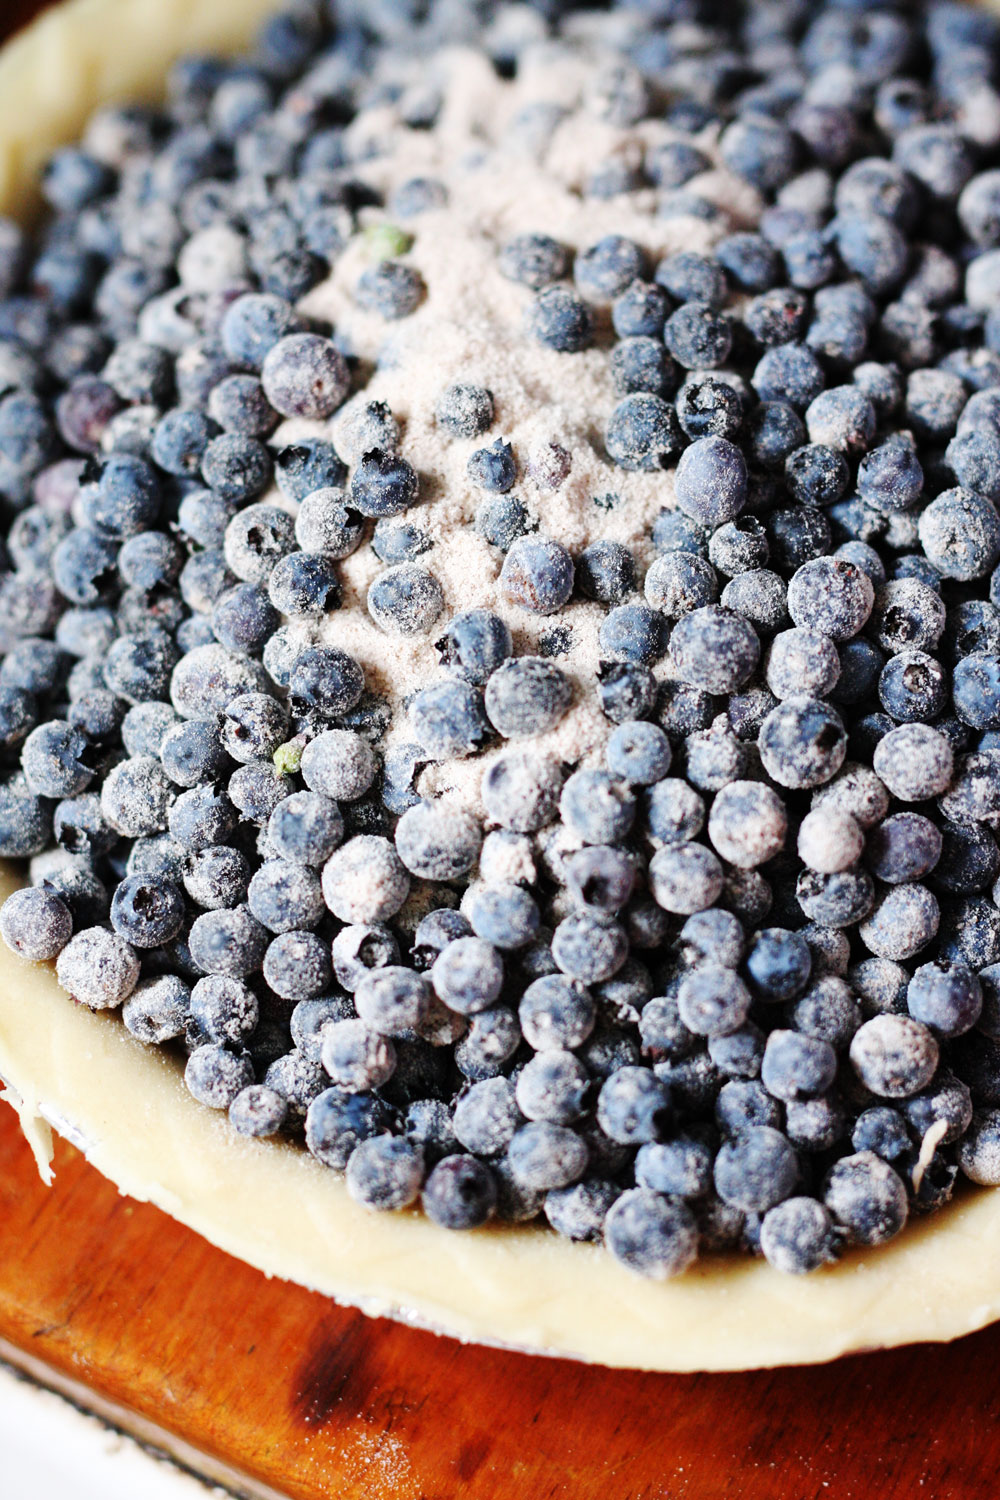
- Mix the sugar, flour, and cinnamon. Add this dry mix to the blueberries. Make sure all blueberries are coated.

 2. Separate the edge of the pie crust from the container with a knife.
 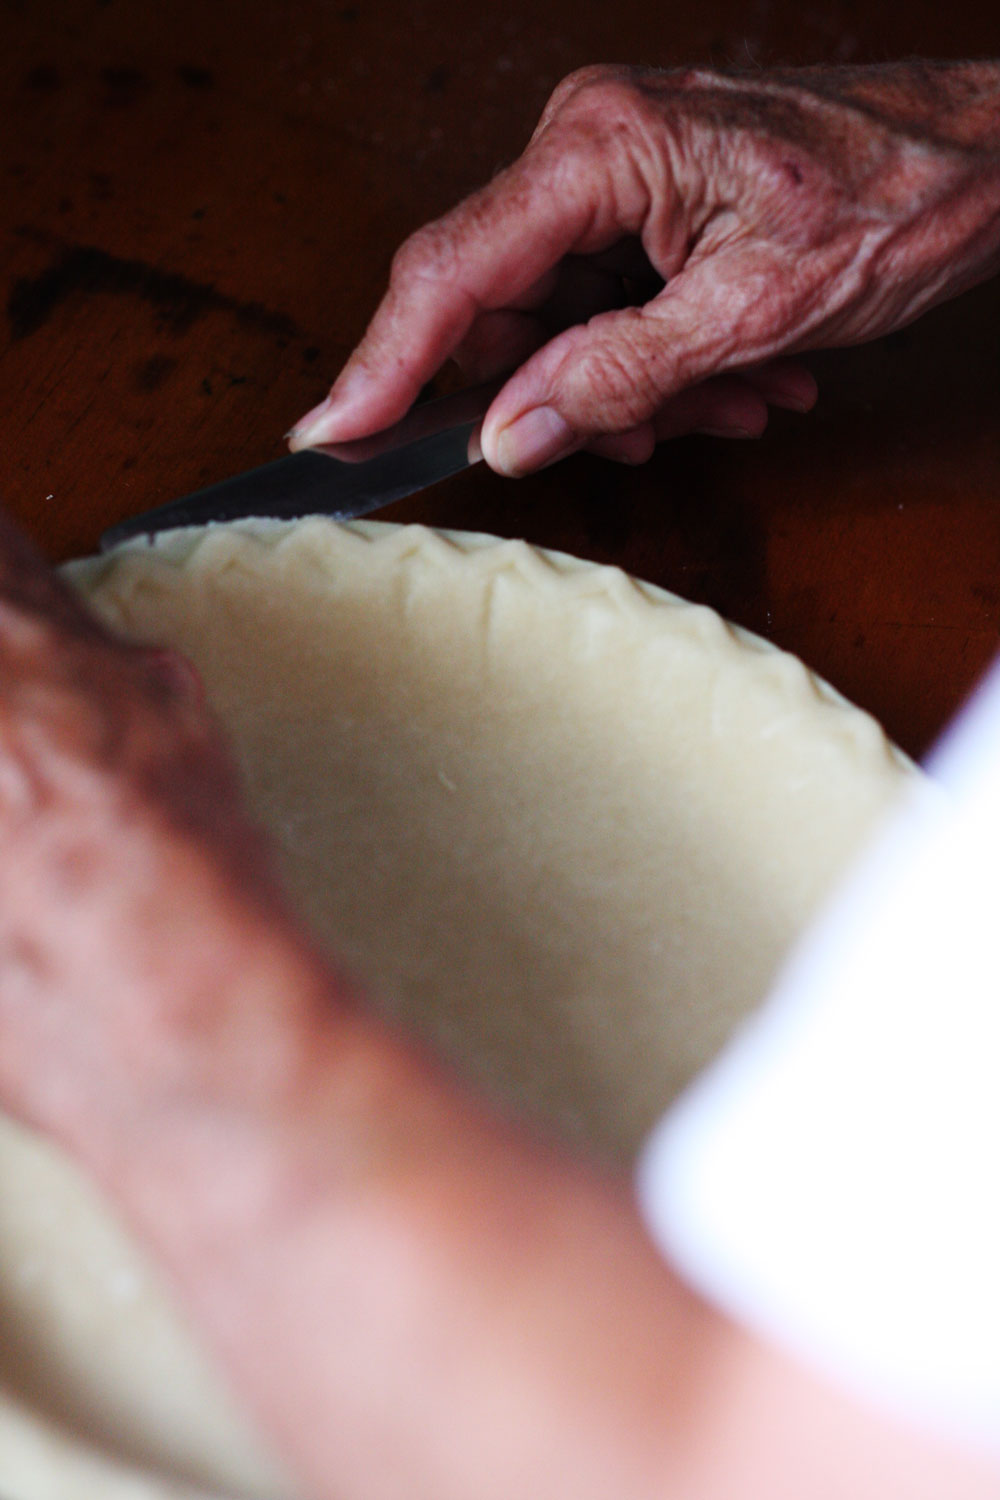 3. Add coated blueberries to pie crust.

 4. Add water to piecrust edge.
  5. Add second piecrust on top to cover and press edges together in whatever shape you want. This will seal the pie.
 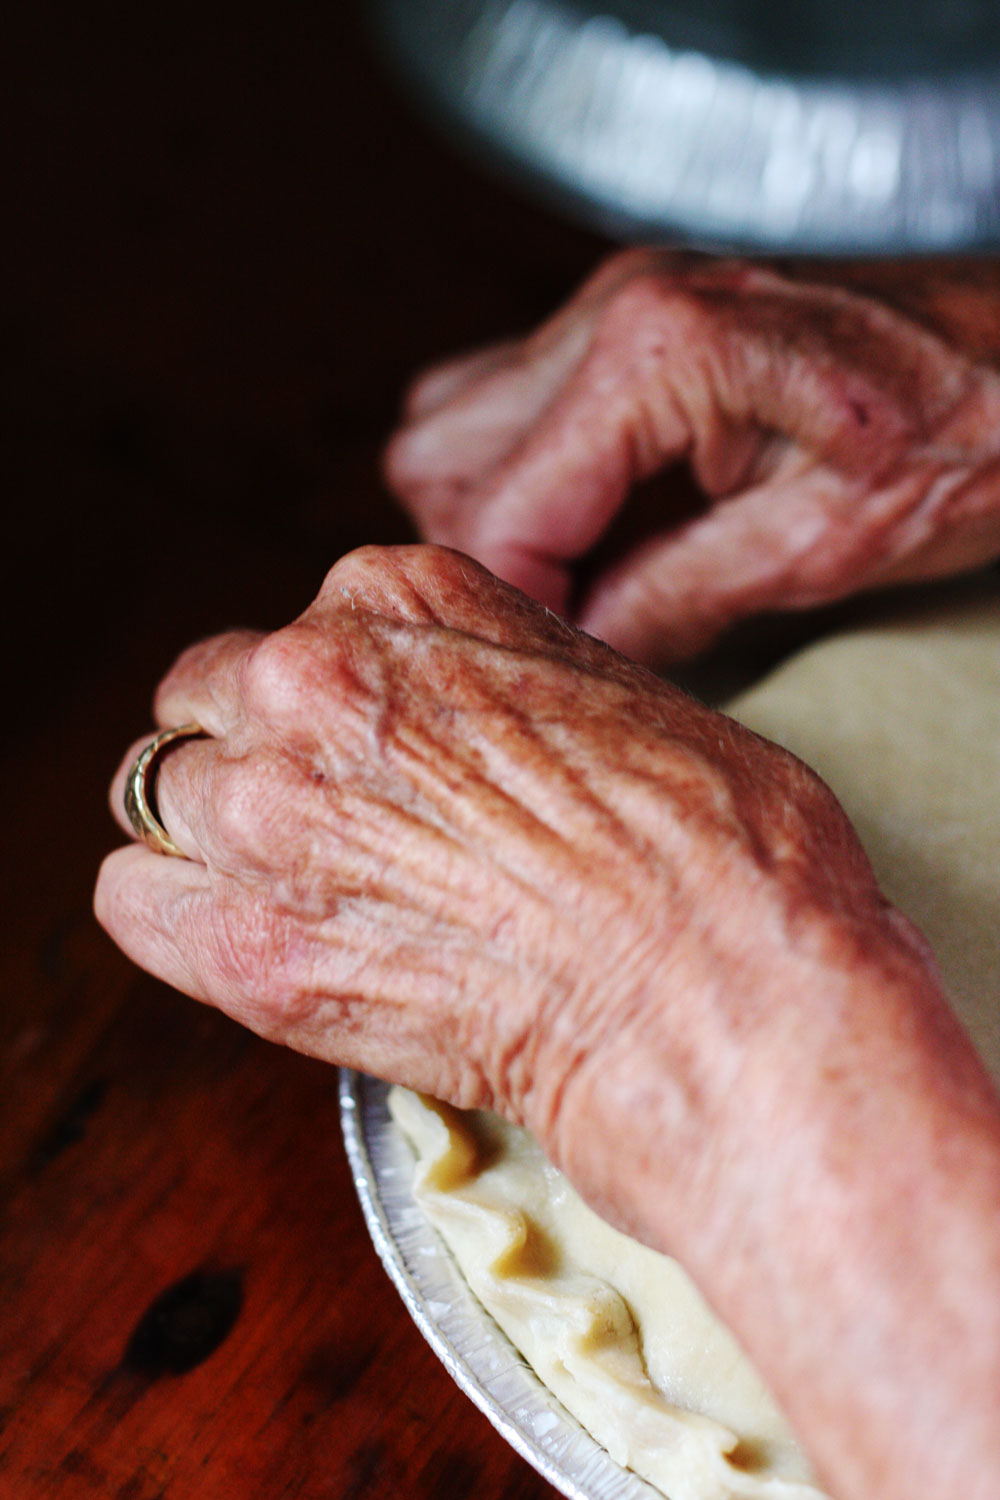 6) Make small incisions into the pie to allow the steam from the fruit to come out without tearing the pie.
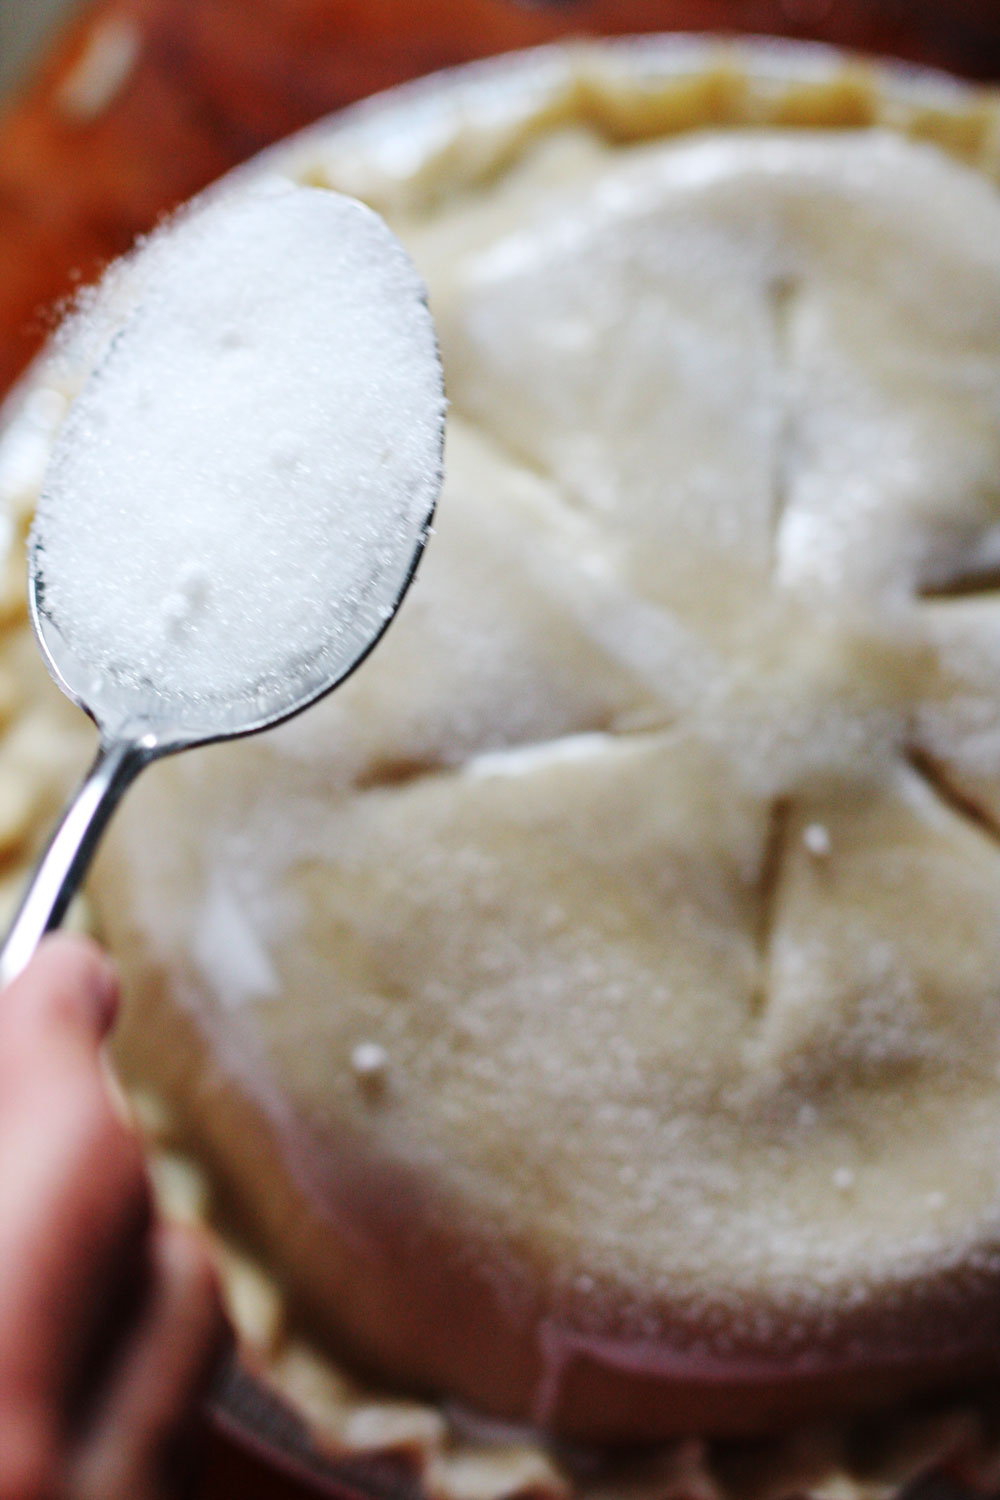
 7) Add milk/cream and sugar to the top to help browning.
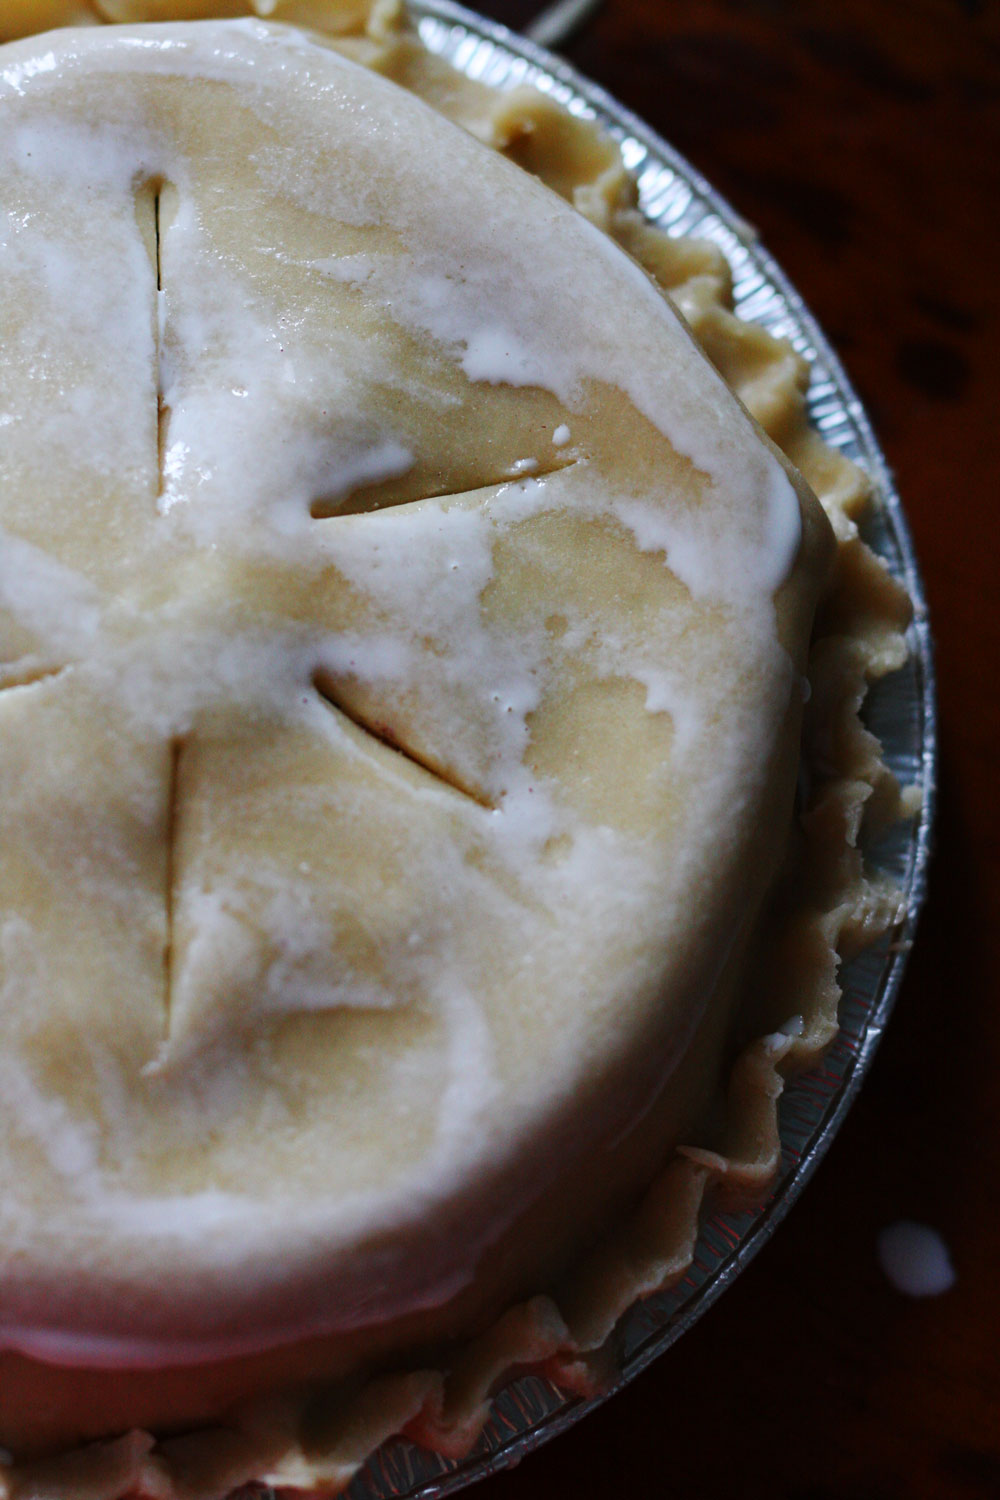
 8) Bake 10 minutes at 450 Fahrenheit and 40 minutes at 350 Fahrenheit.
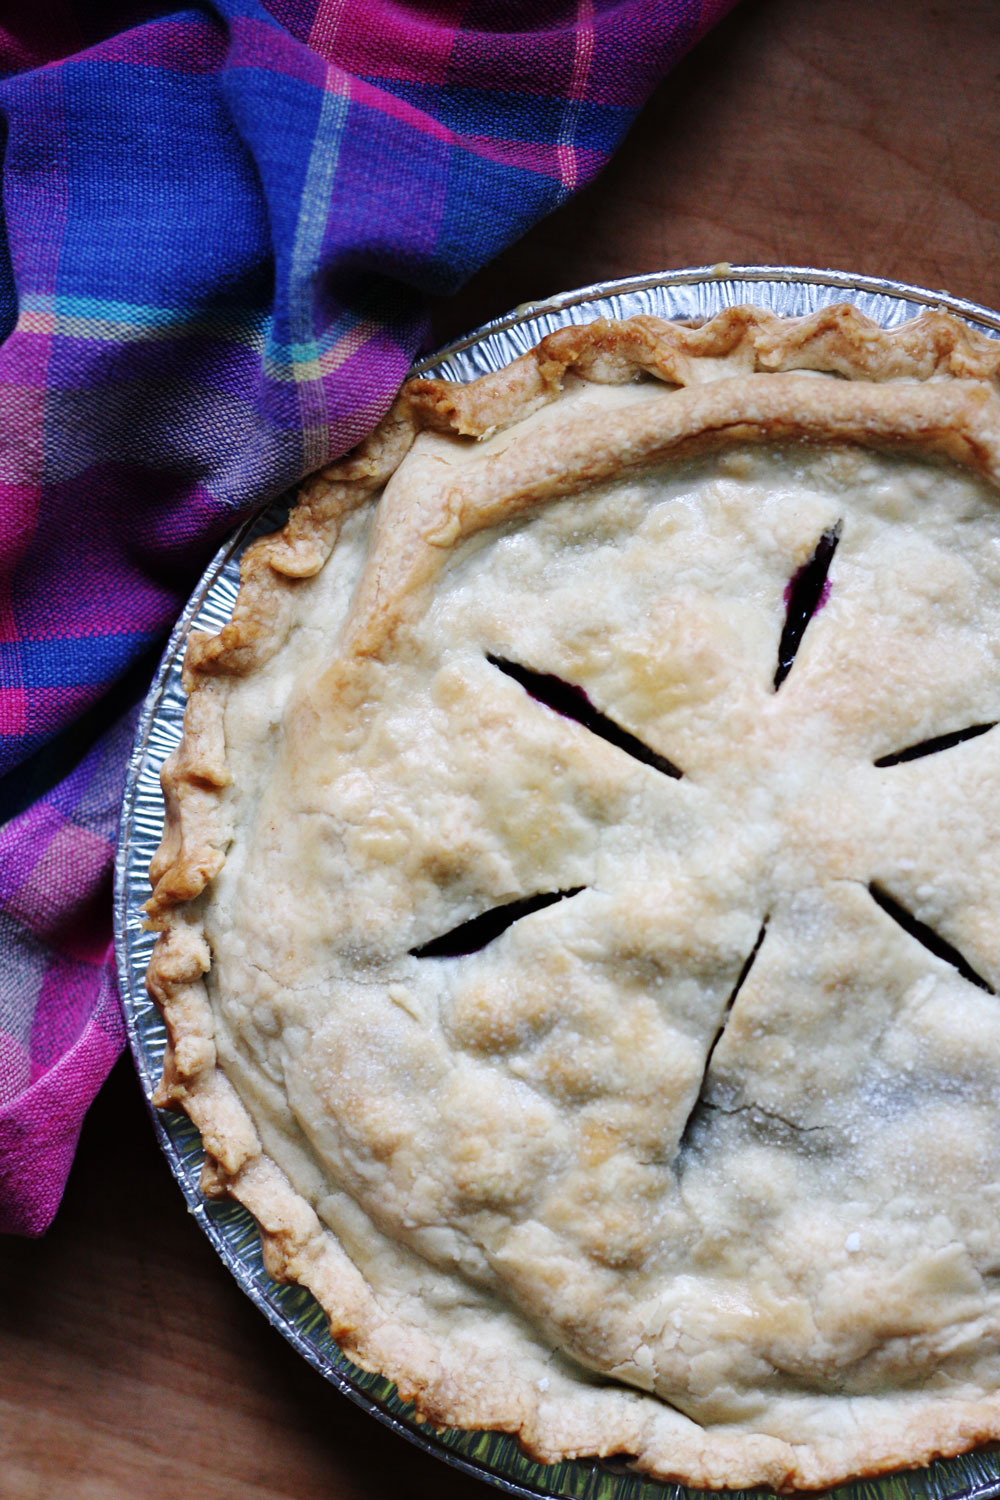
Eat and be happy.
I think I might not be posting as much this week and next. Also, thank you so much for reading and coming here to visit. I appreciate all visits and comments. I really do.
Also, a post about a naked cake, a chocolatier, and Max’s birthday cake.
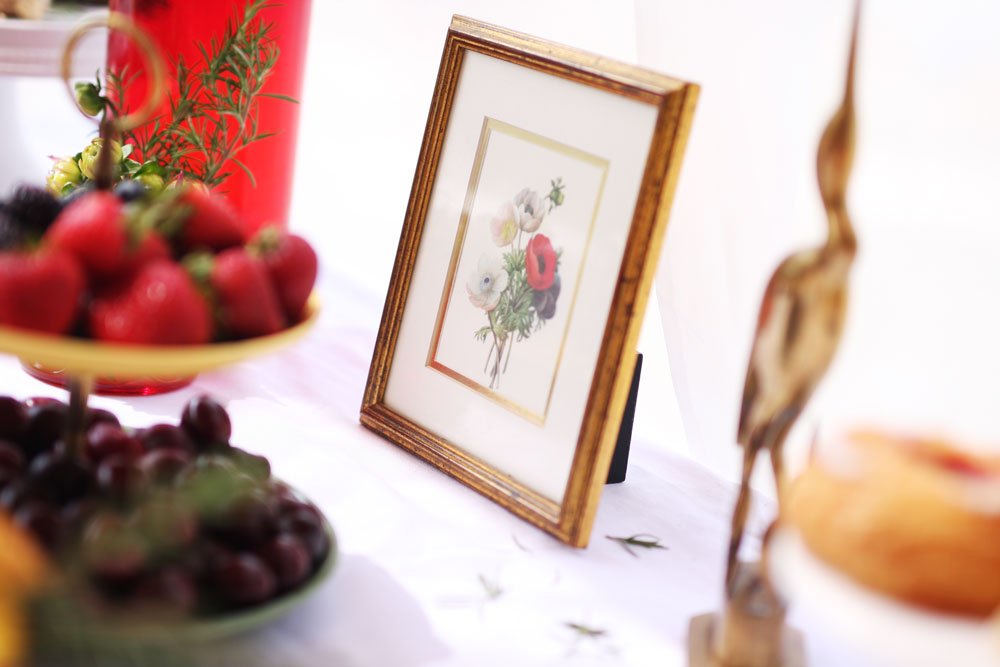
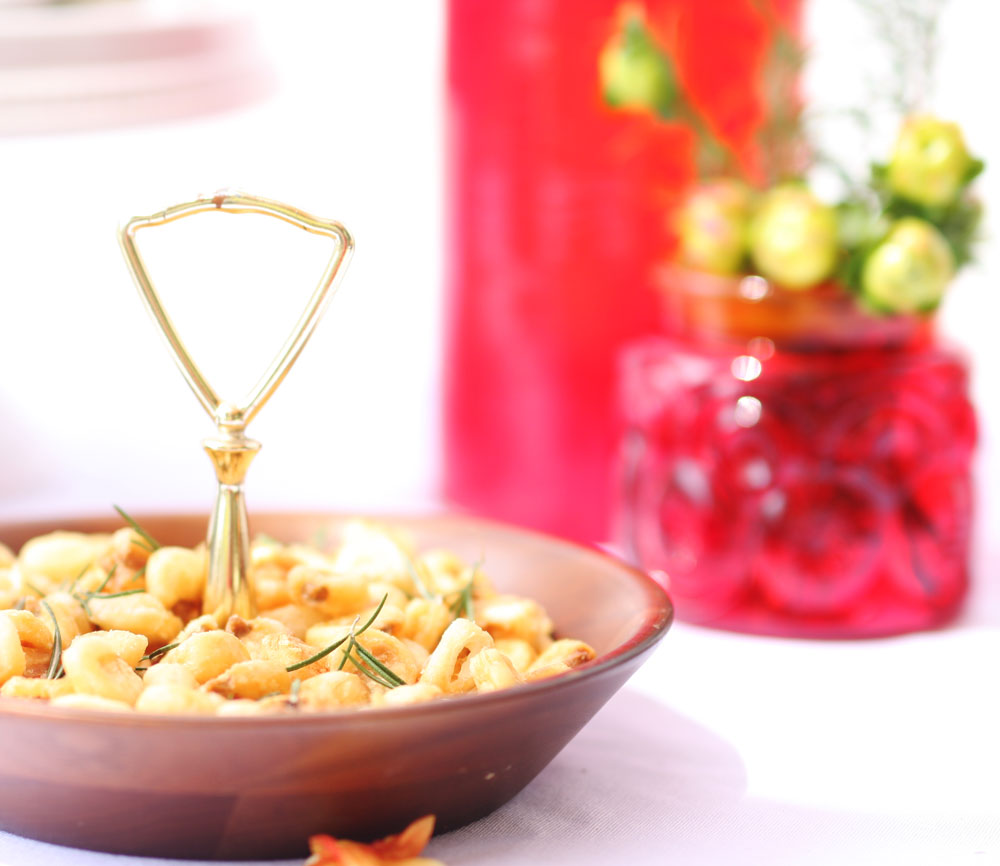
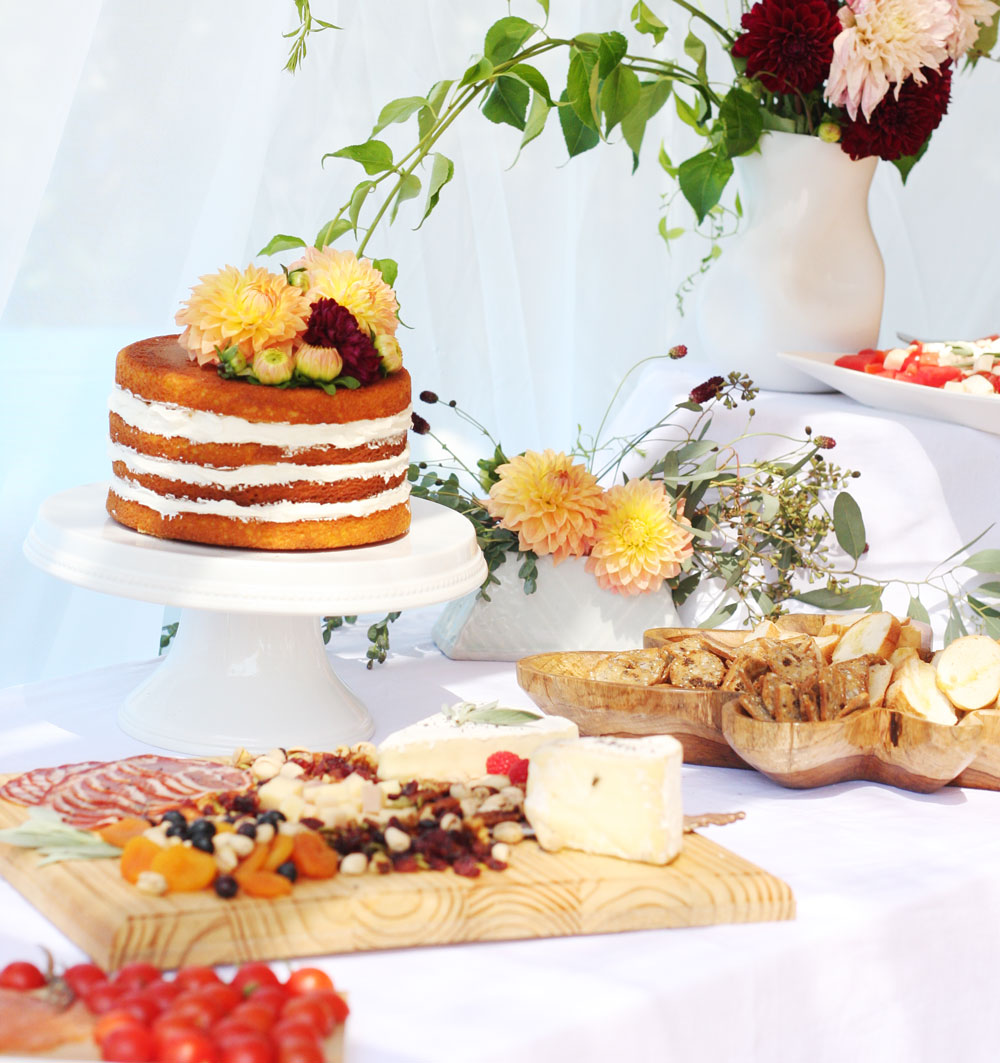
 We threw a baby shower for my friend Maureen on Sunday. It was an intimate affair. Only 6 women from different ages and backgrounds talking for 4 hours non-stop. It was beautiful and reinvigorating to talk with smart ladies while eating good food surrounded by flowers.
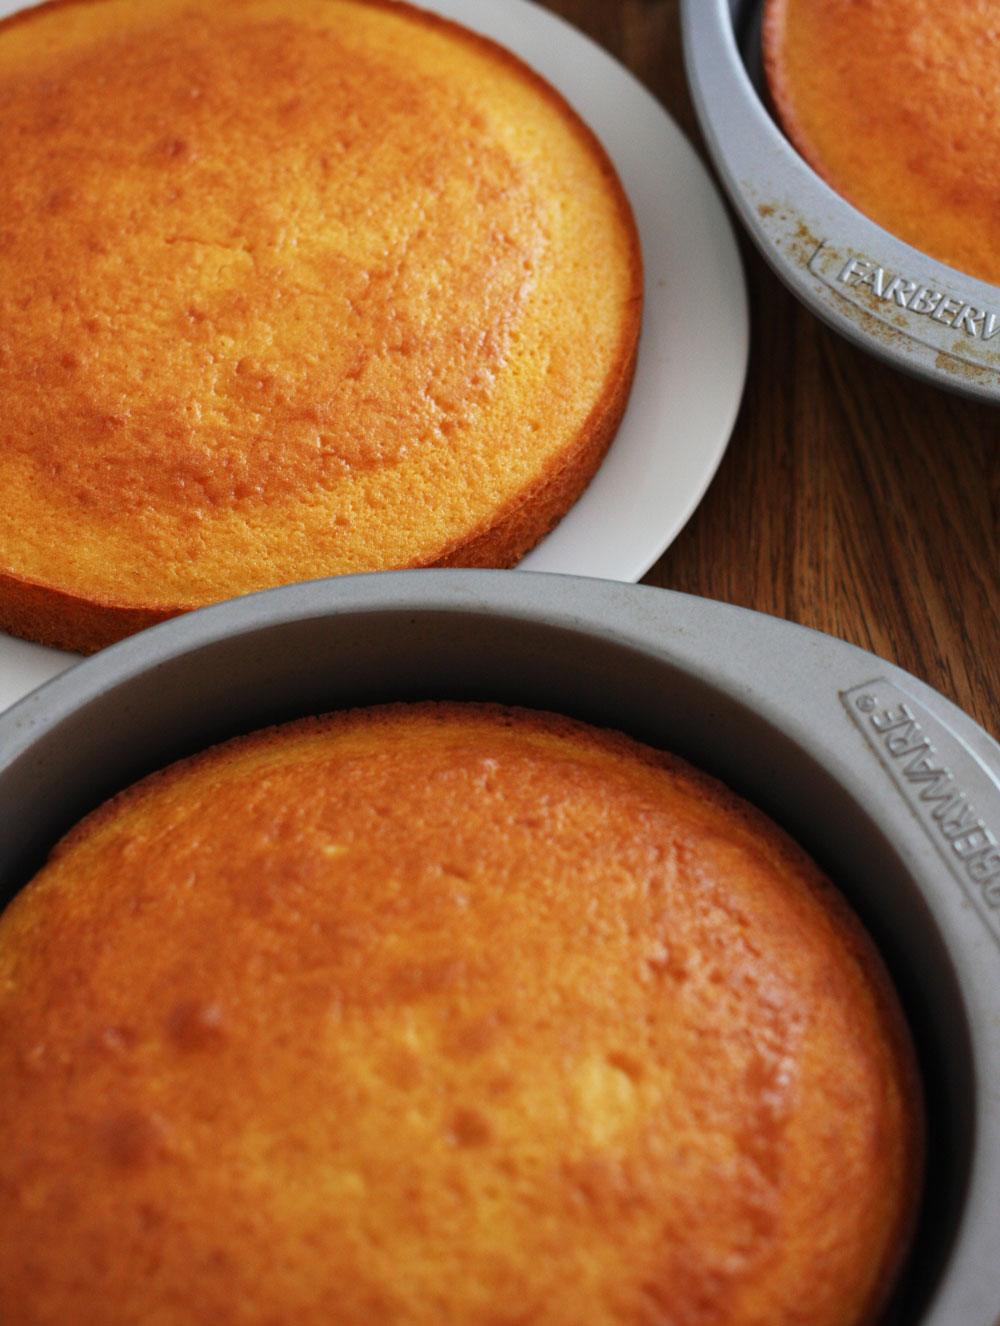
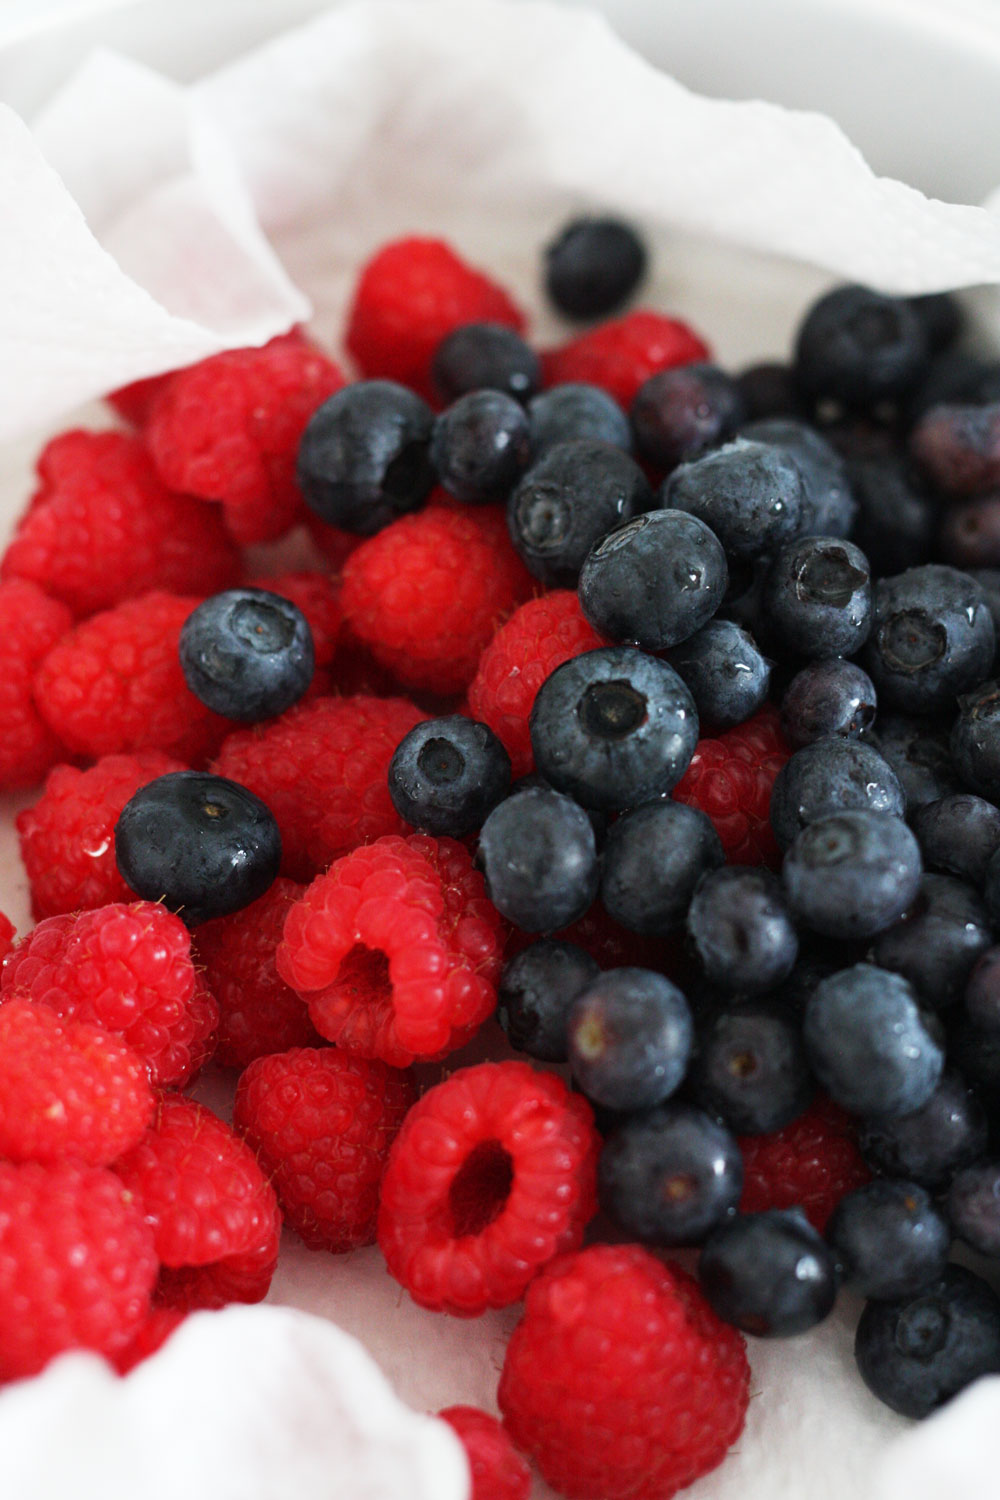
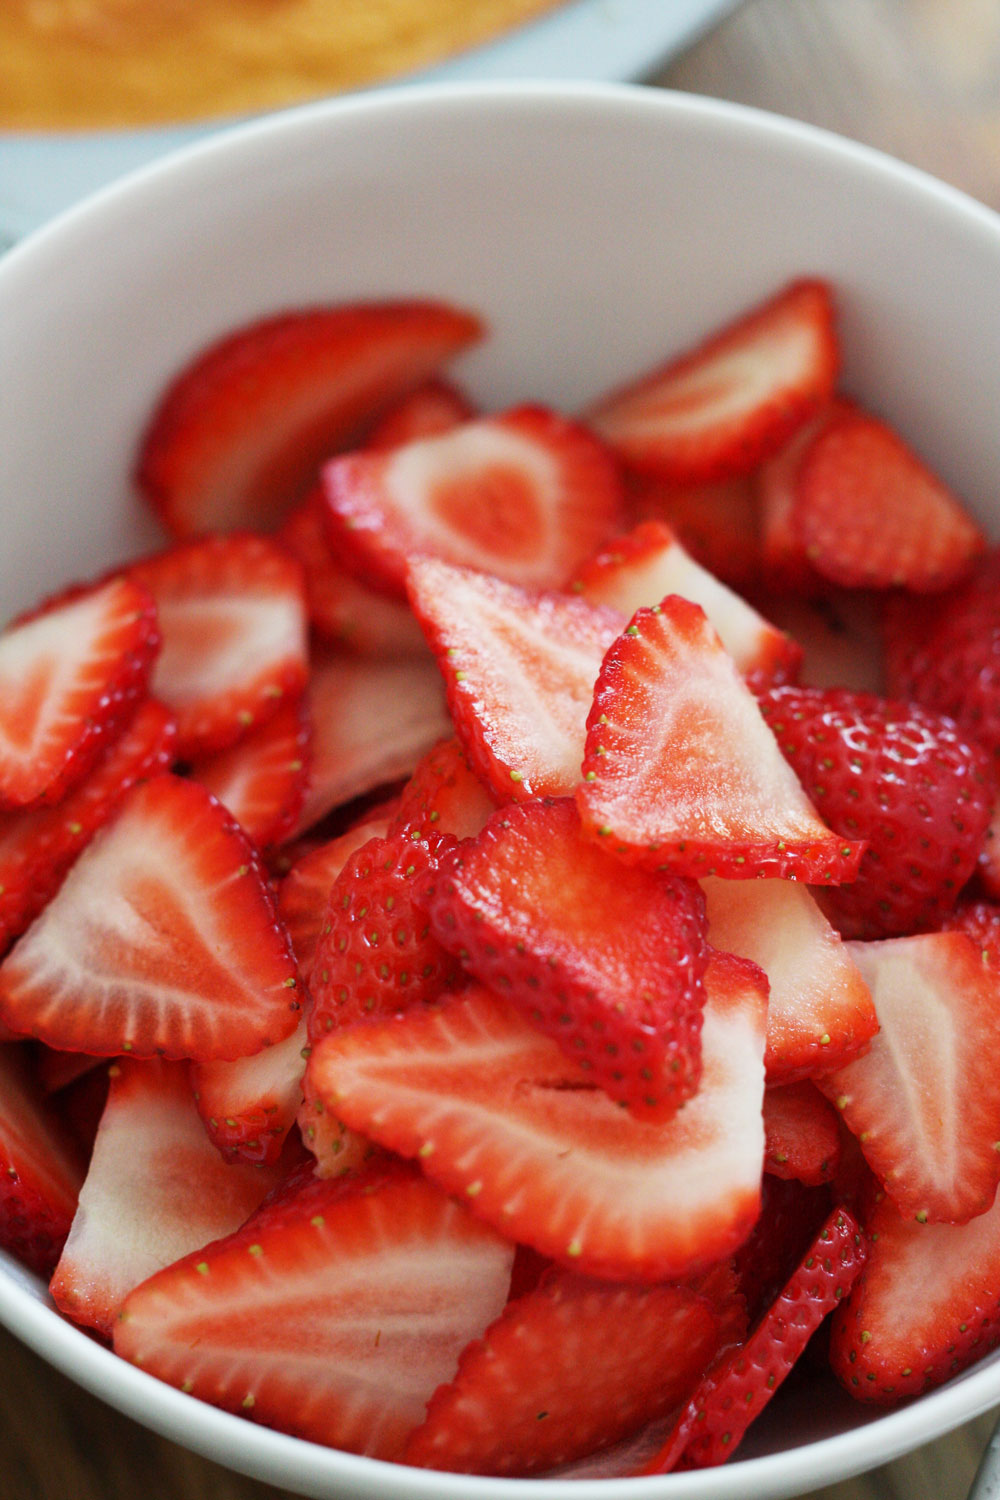
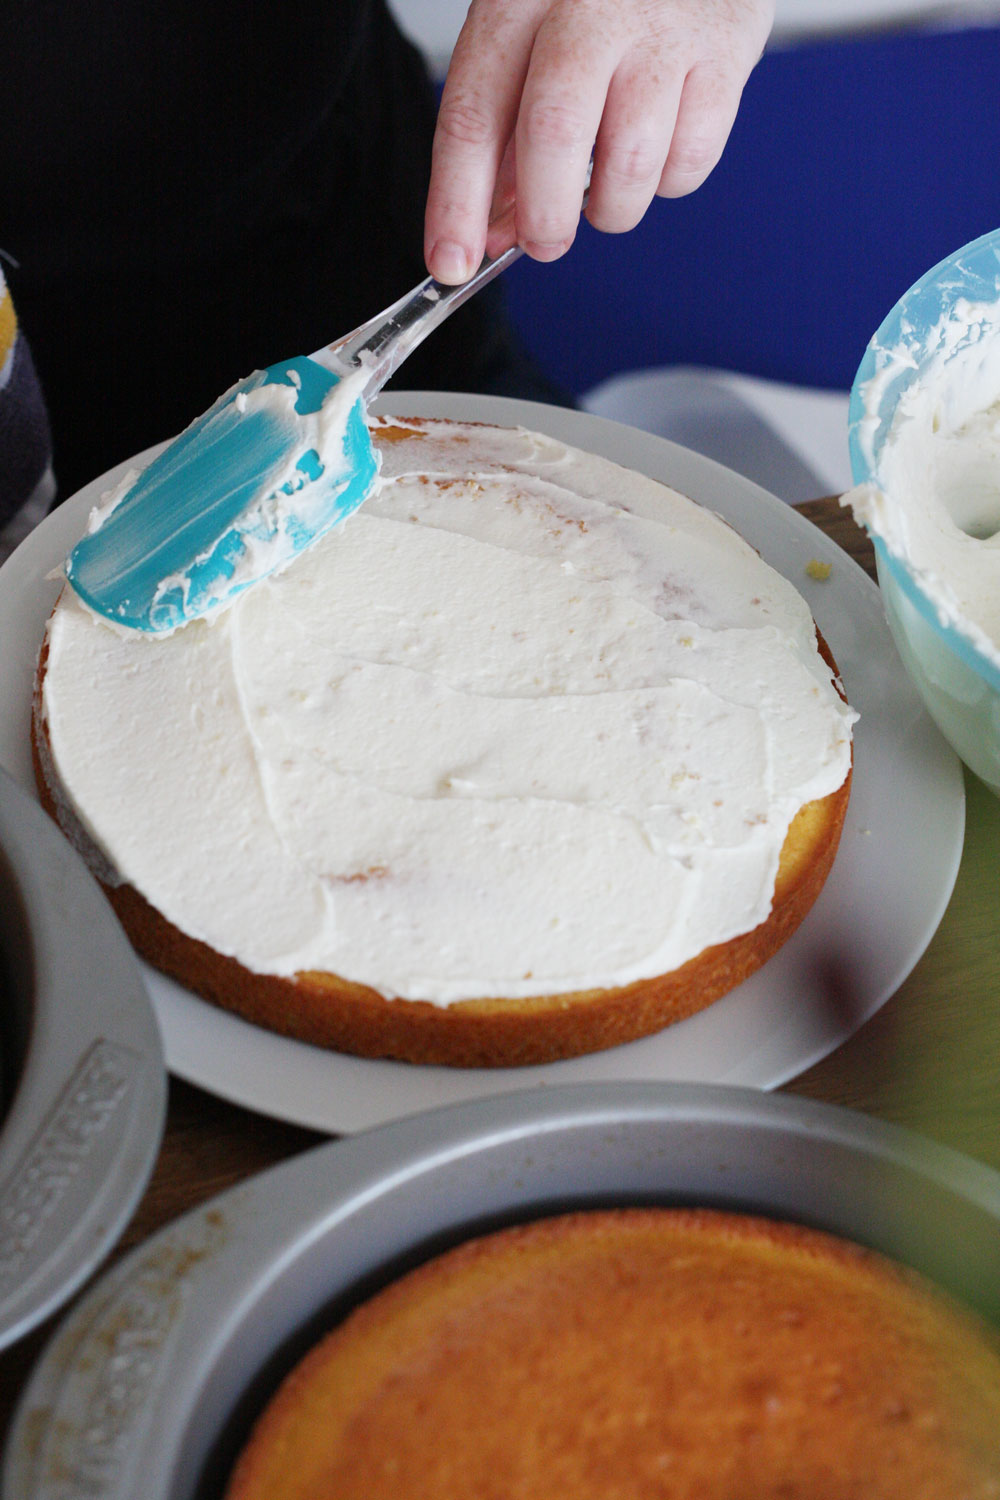
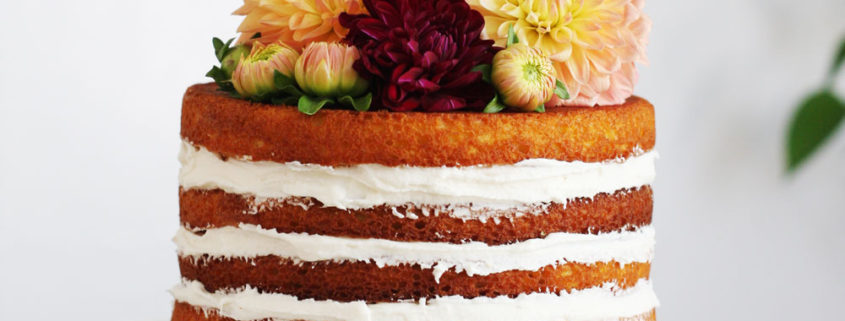
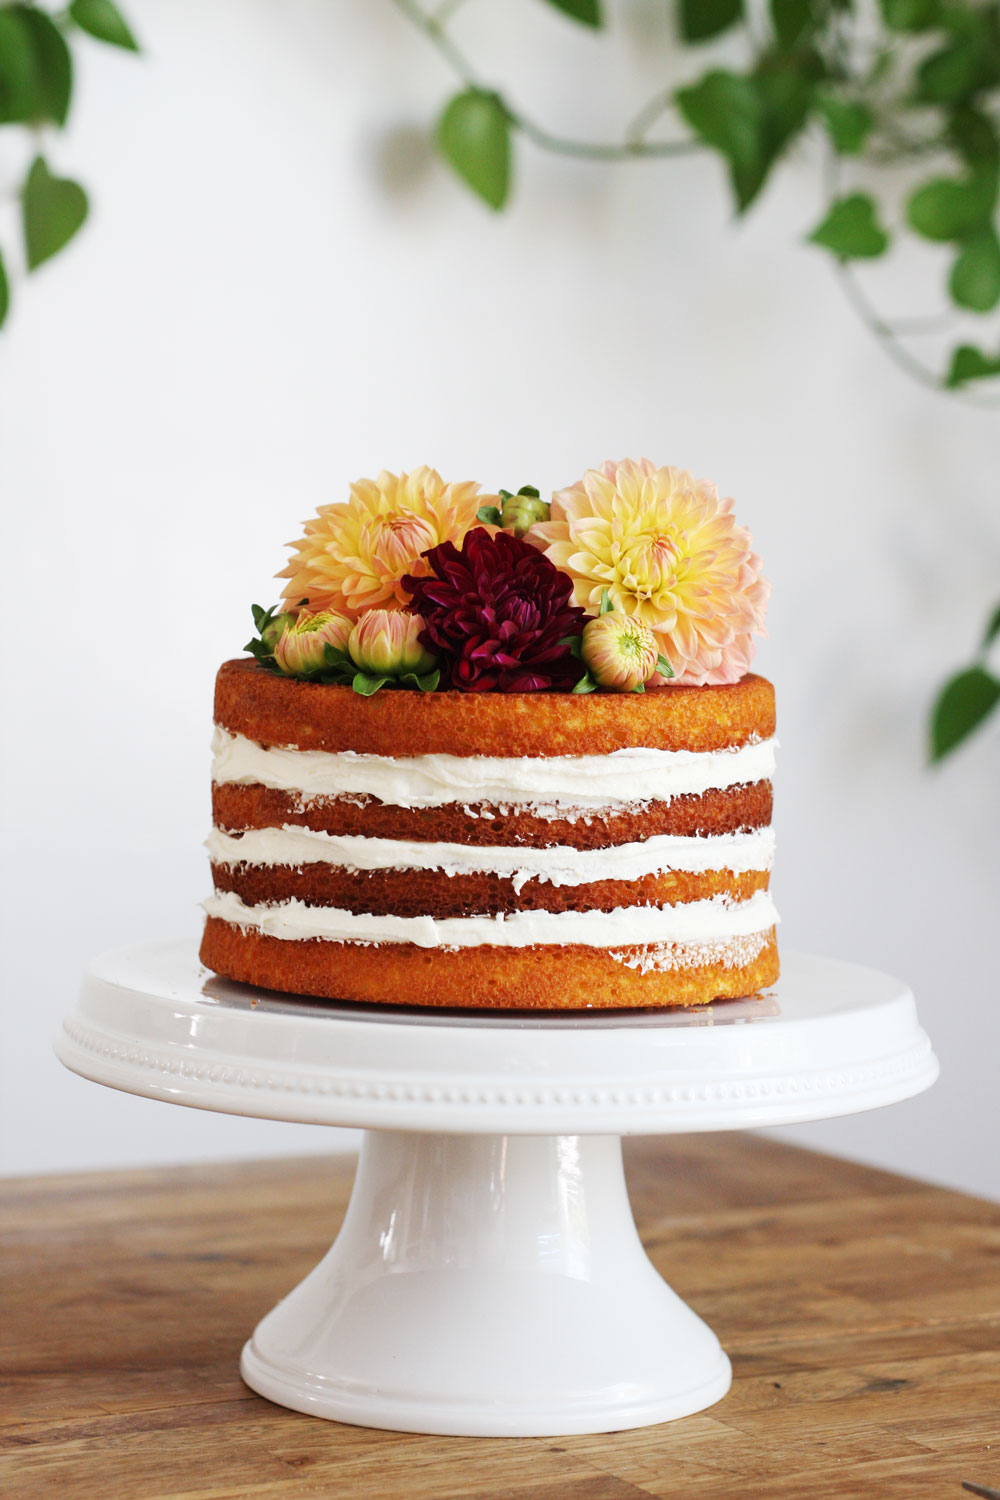
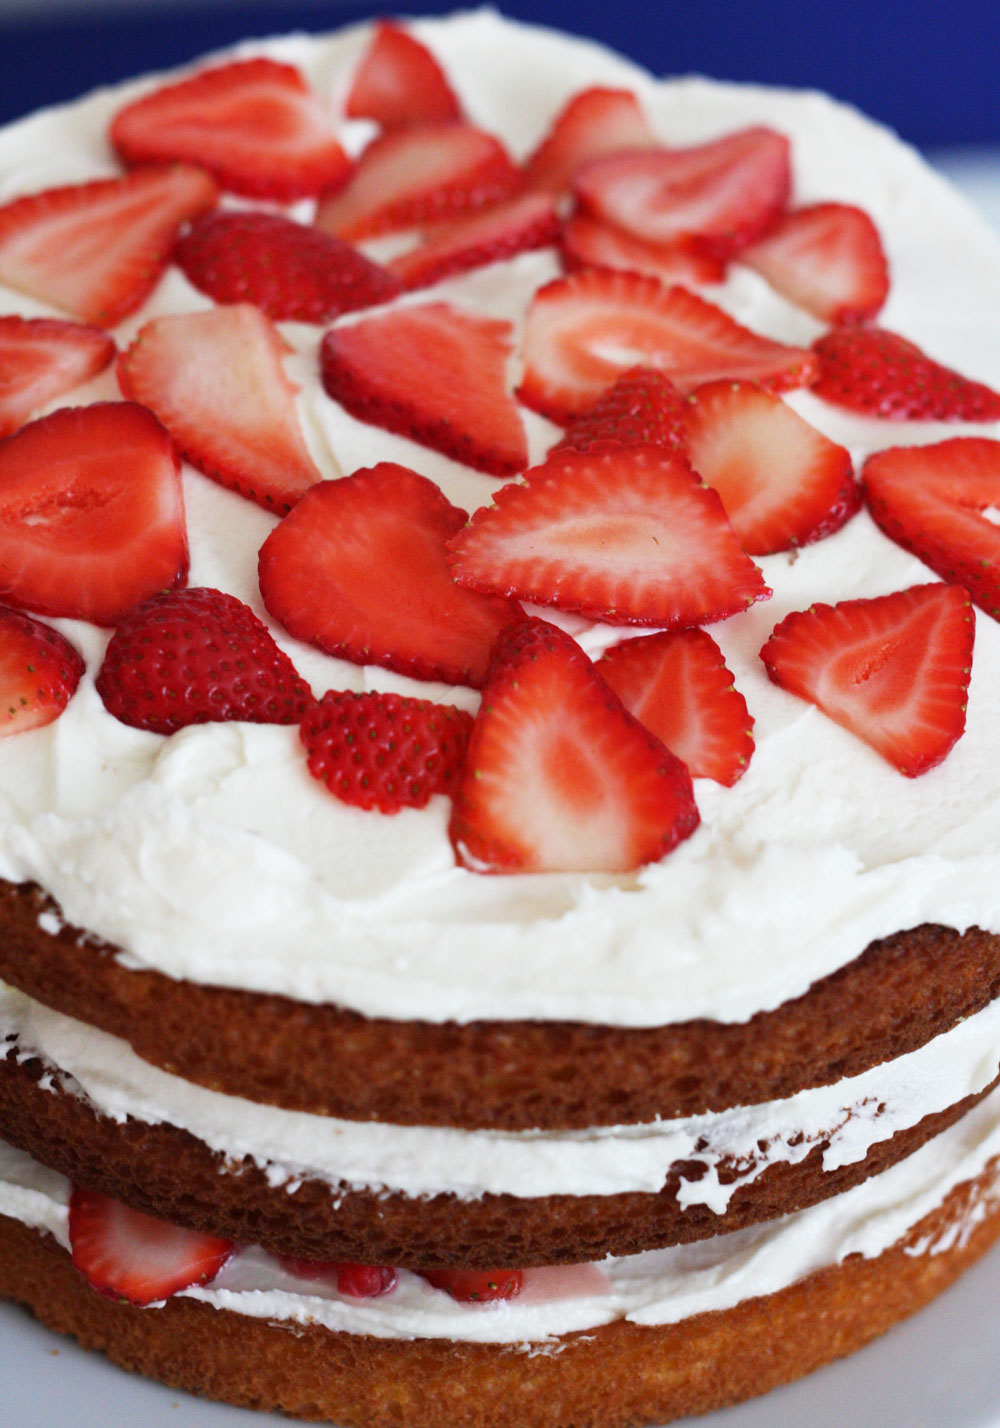
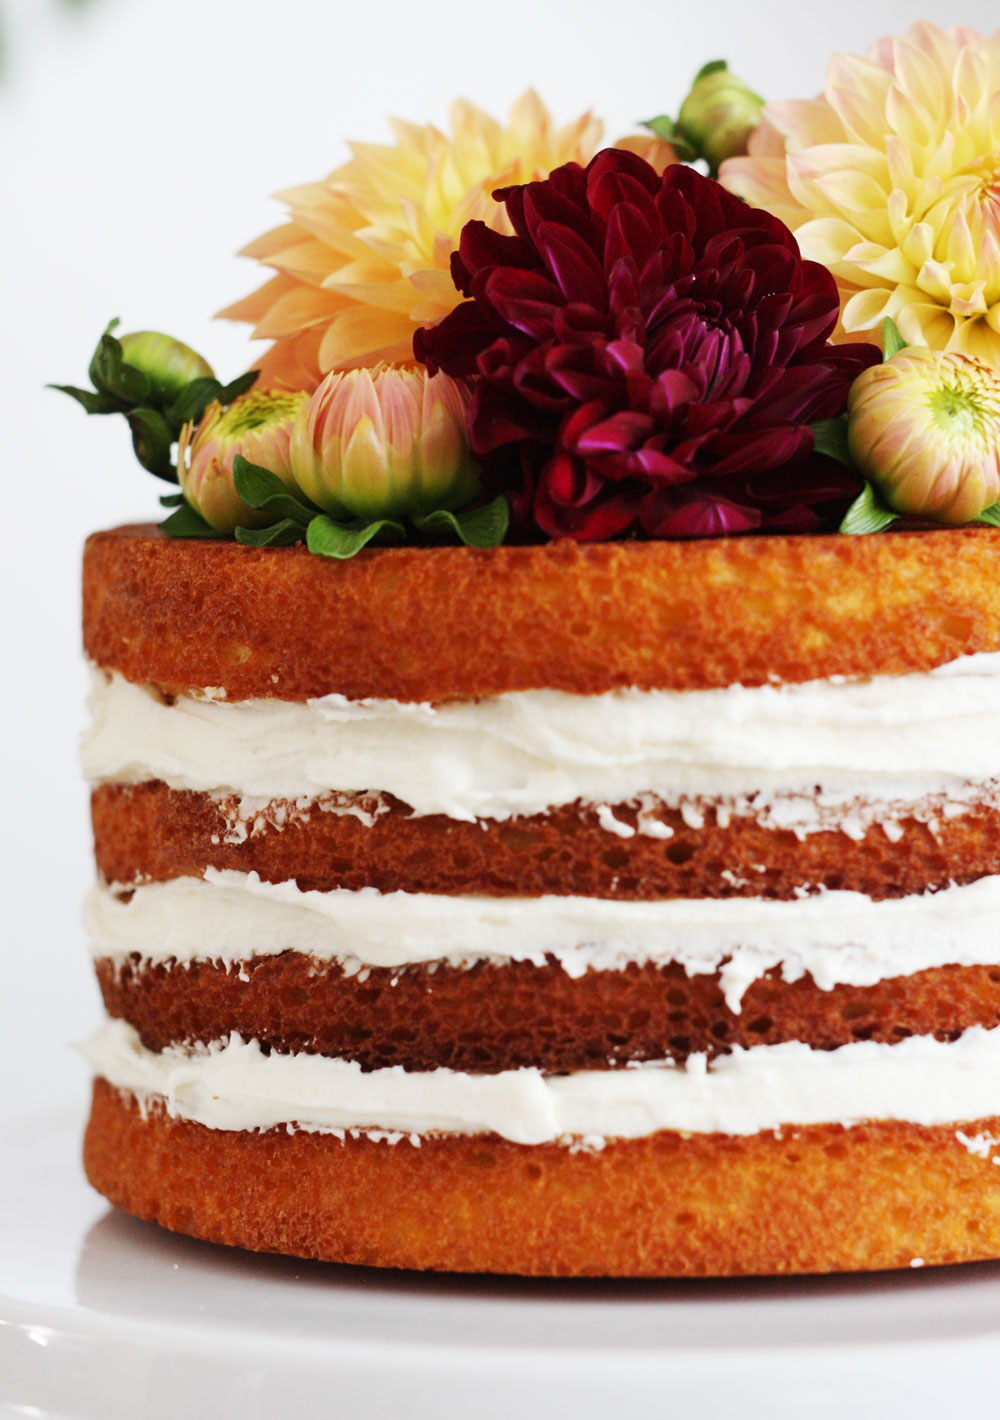
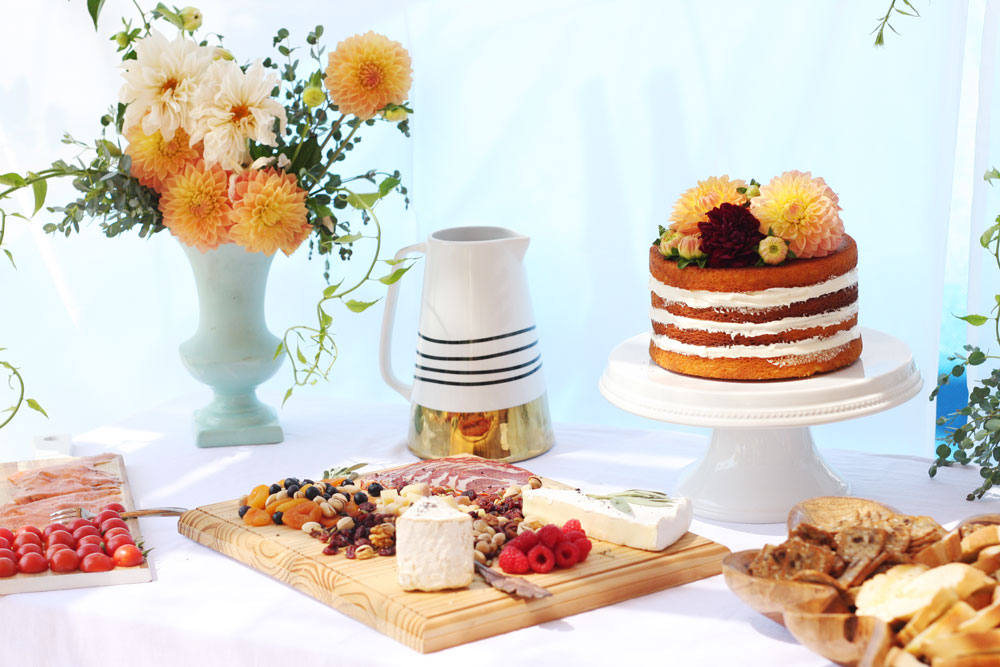
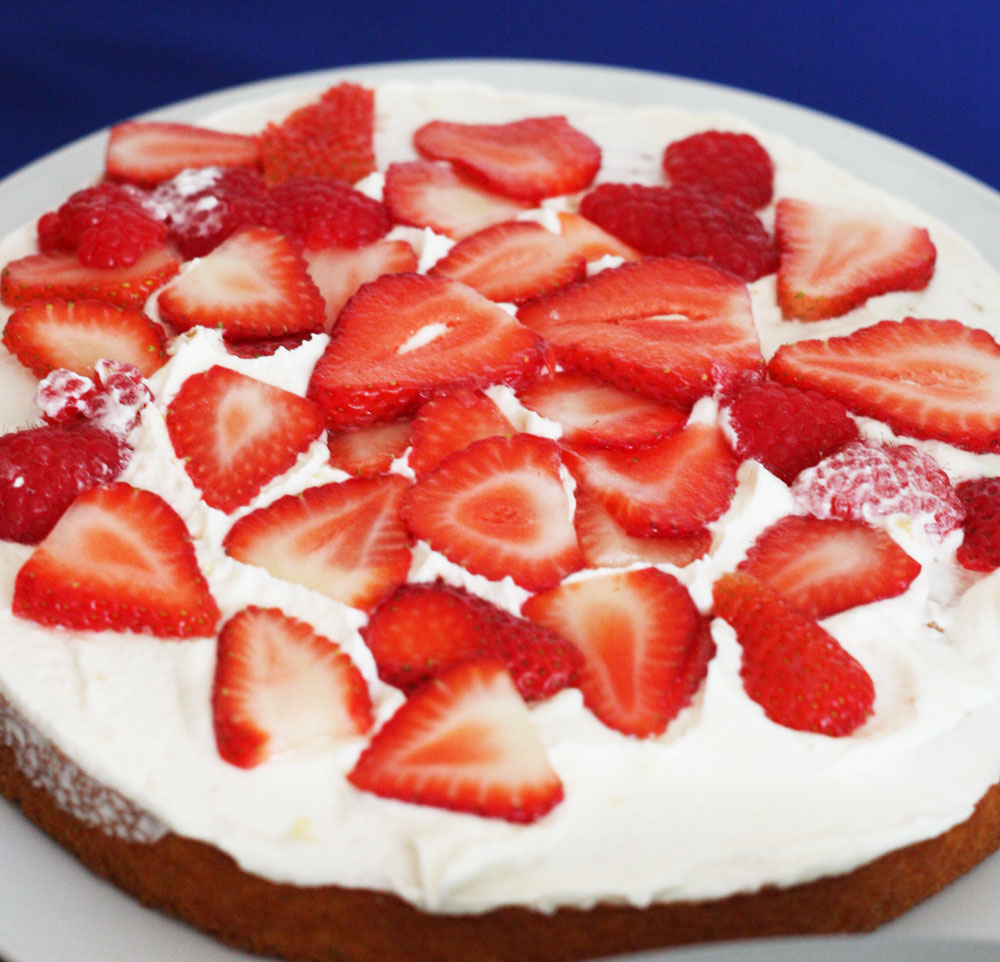 You need to cut the top of the layers after baking them so they are flat and easier to stack on top of each other. Add frosting and keep on adding layers. We added fruit to the cake for flavor and freshness.
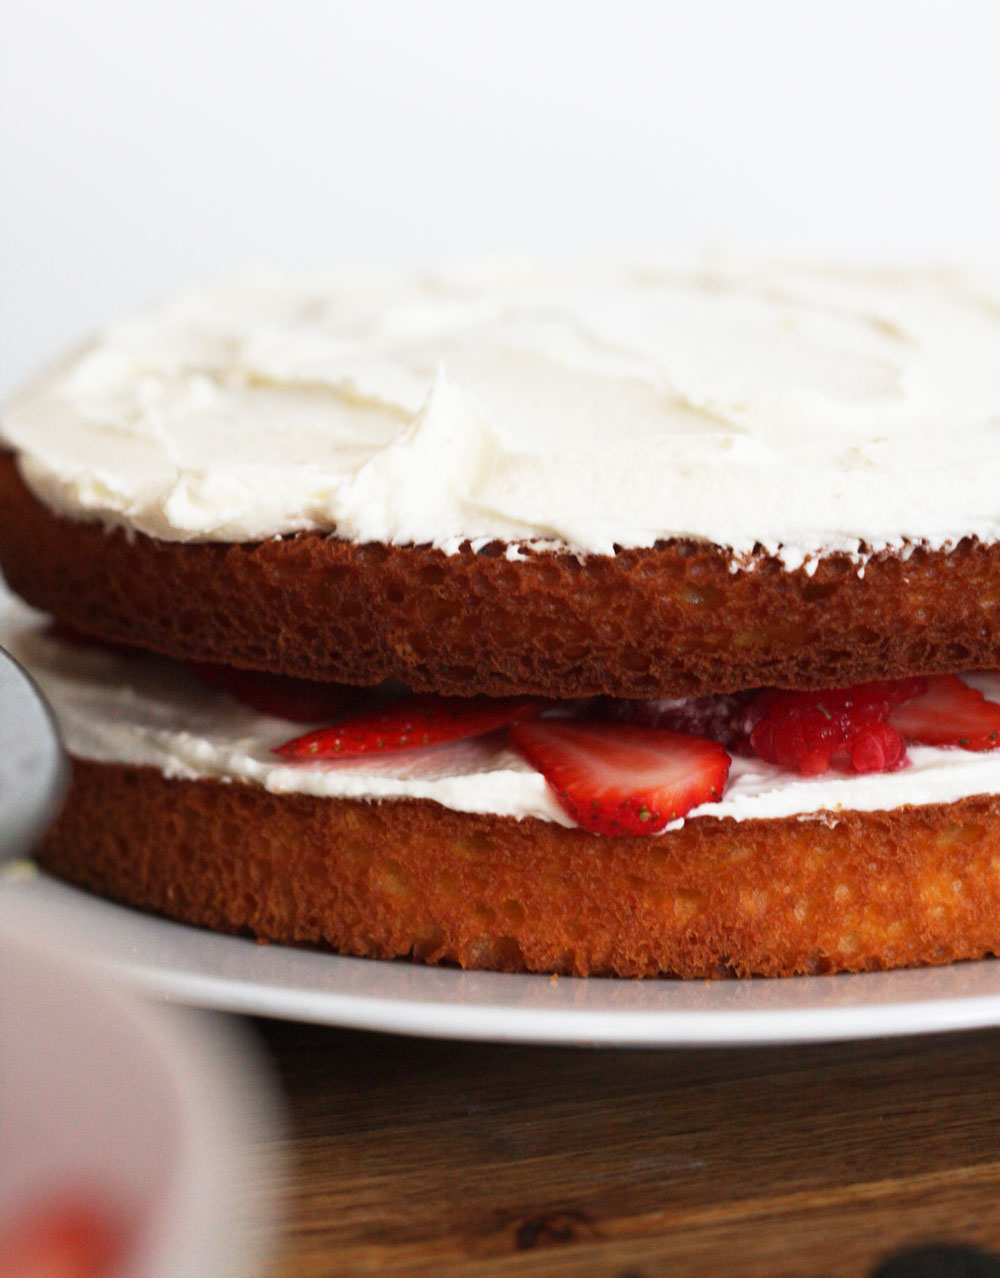
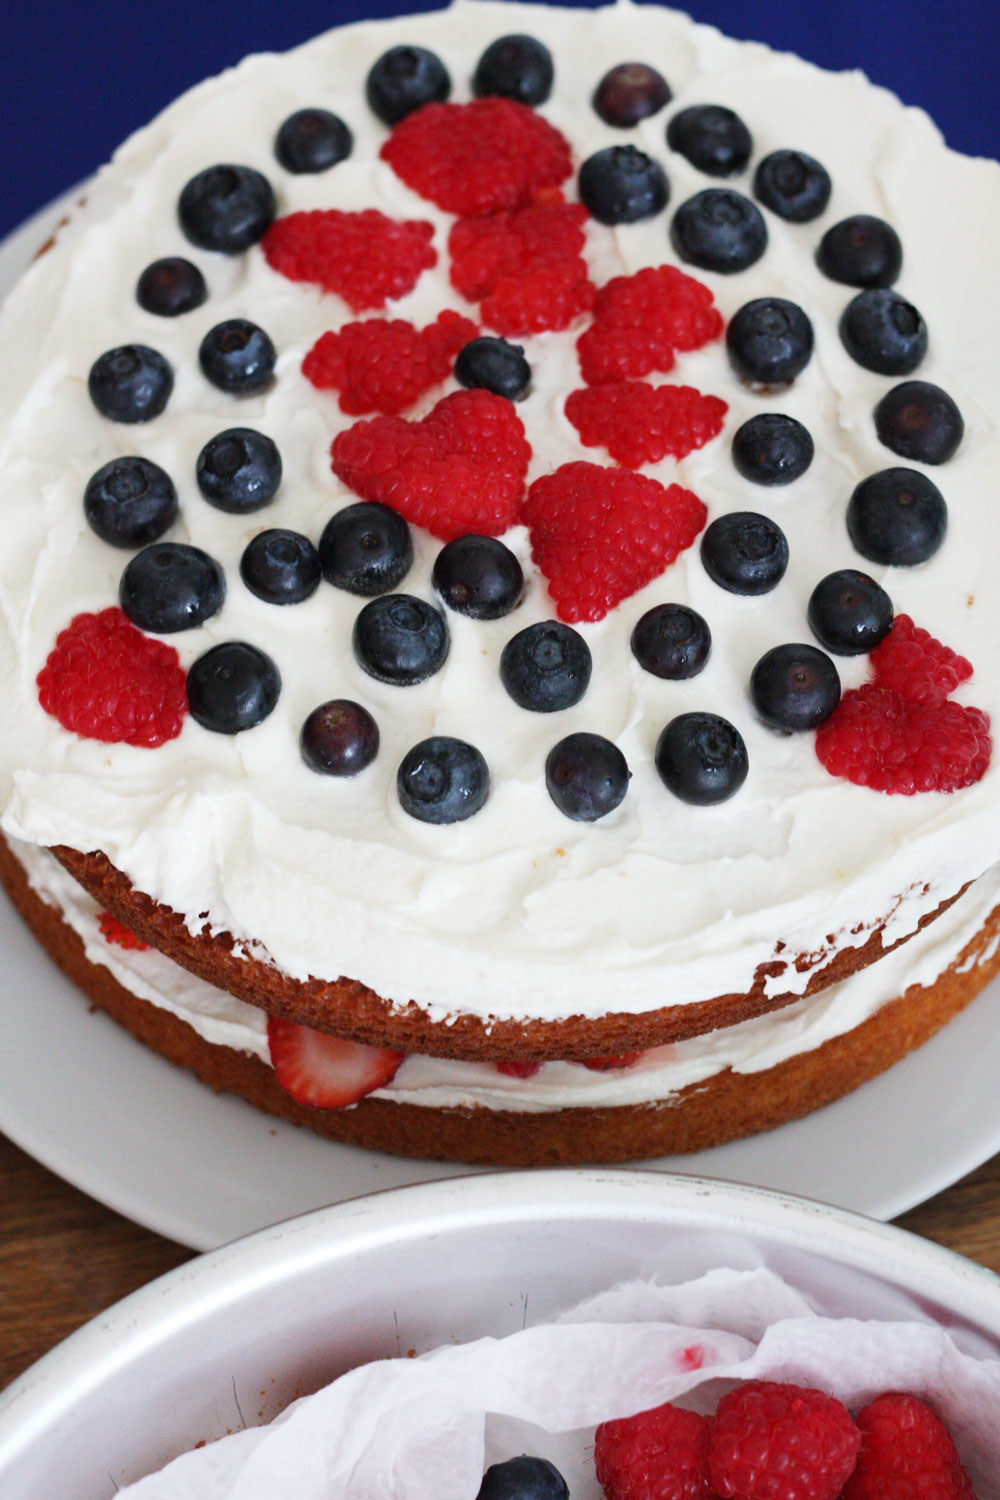
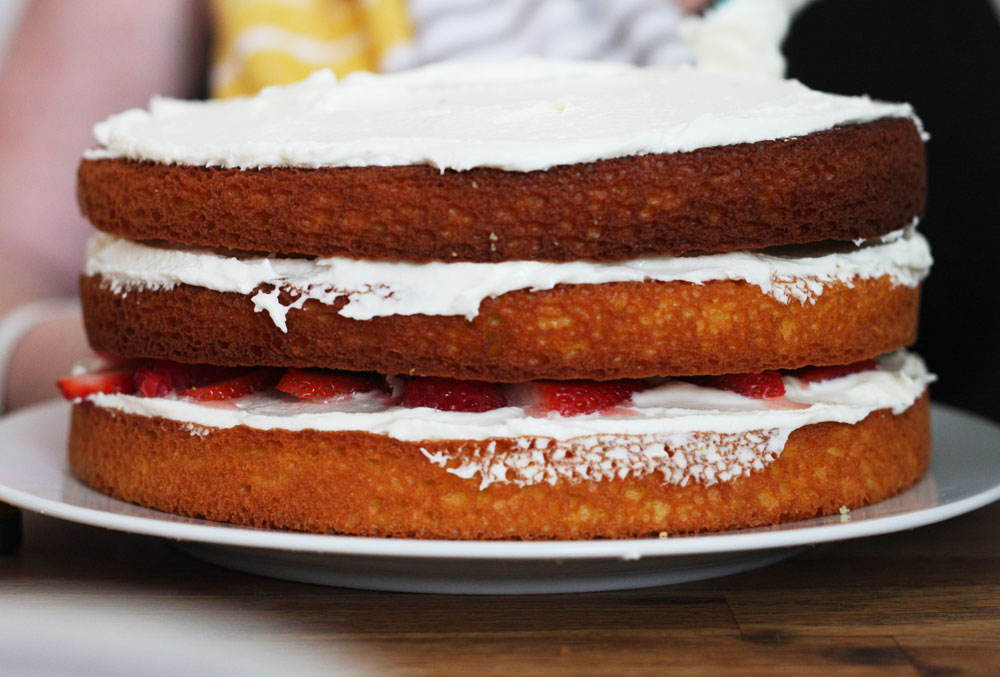
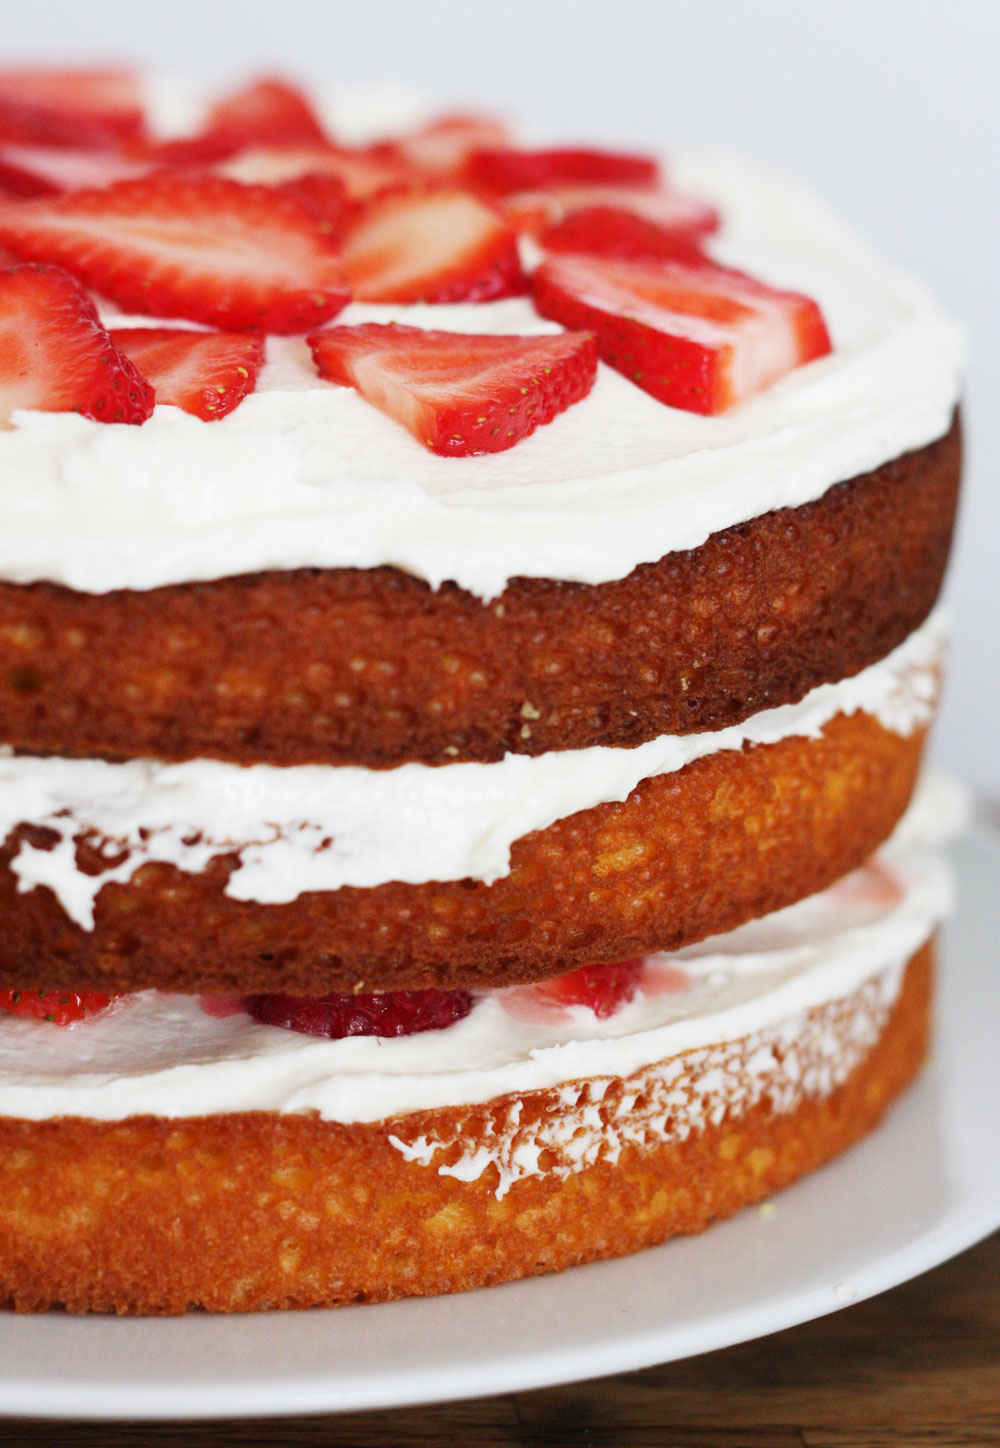
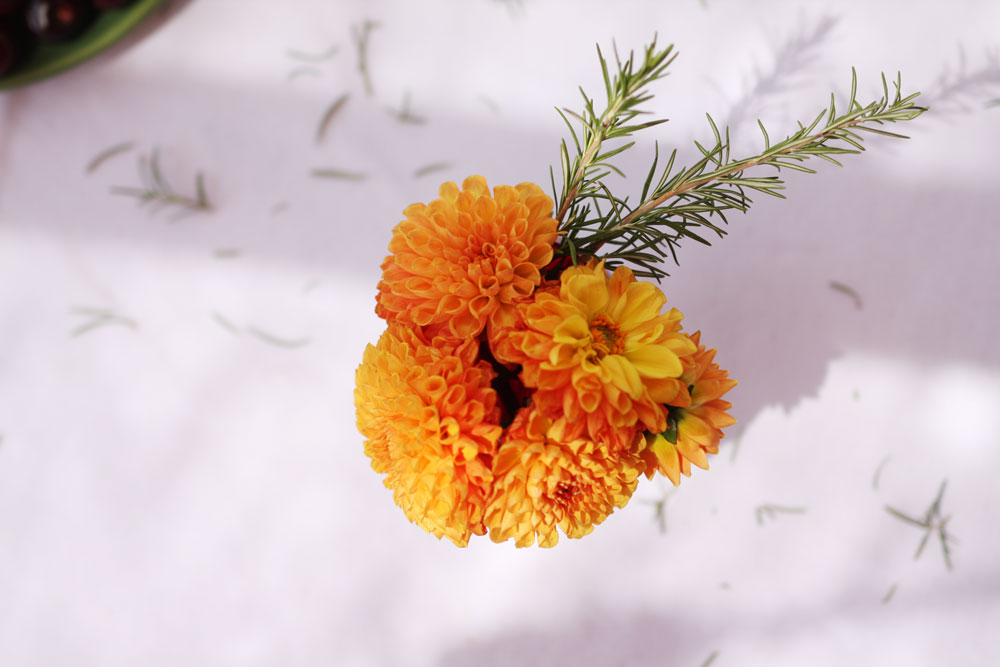
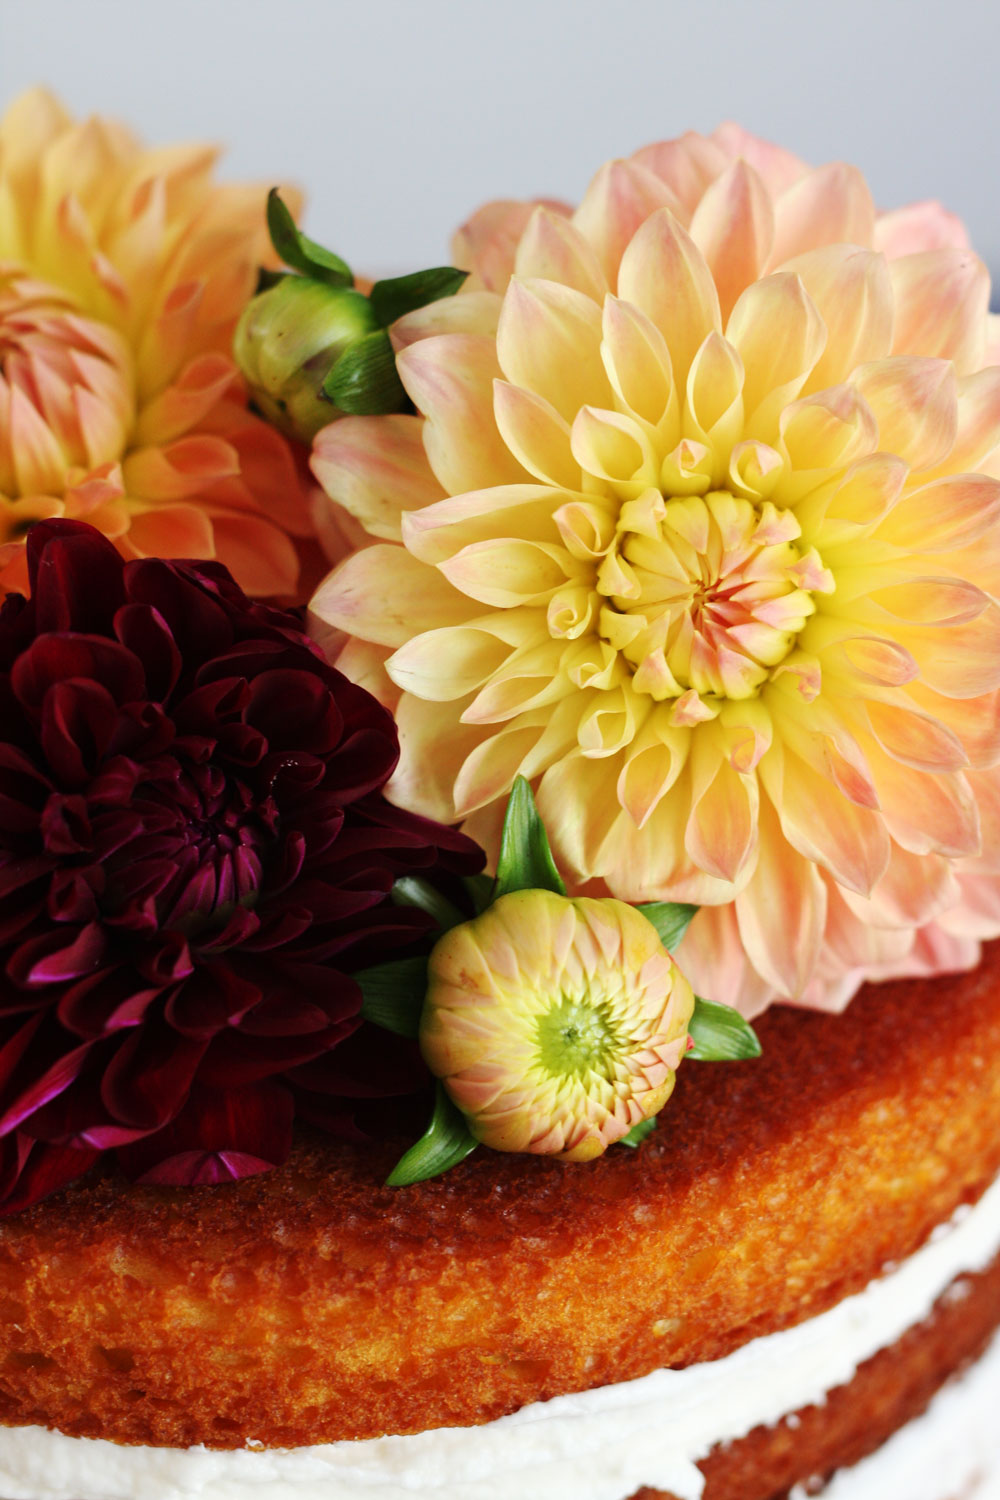
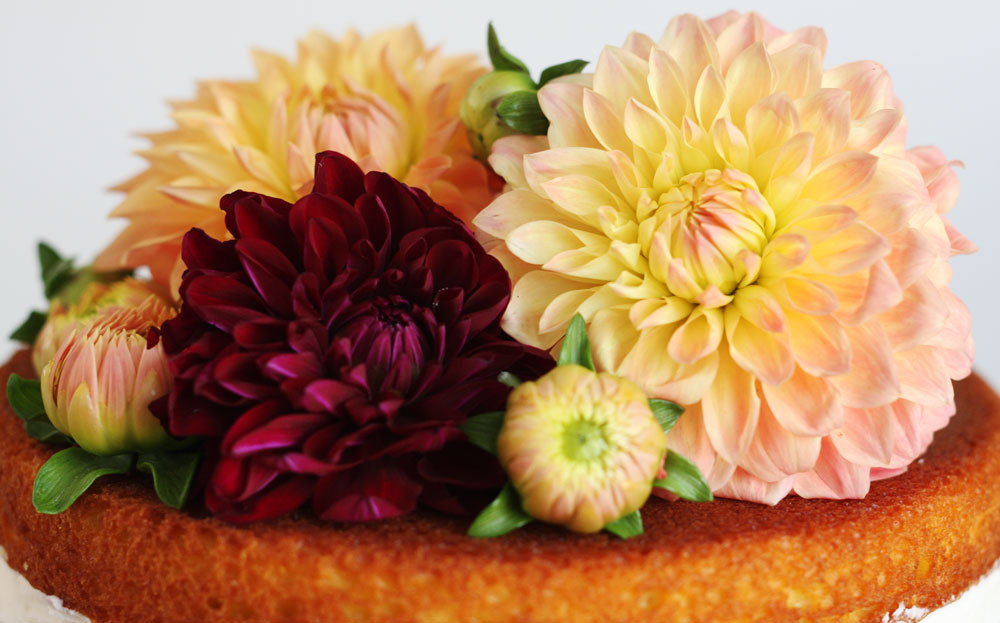
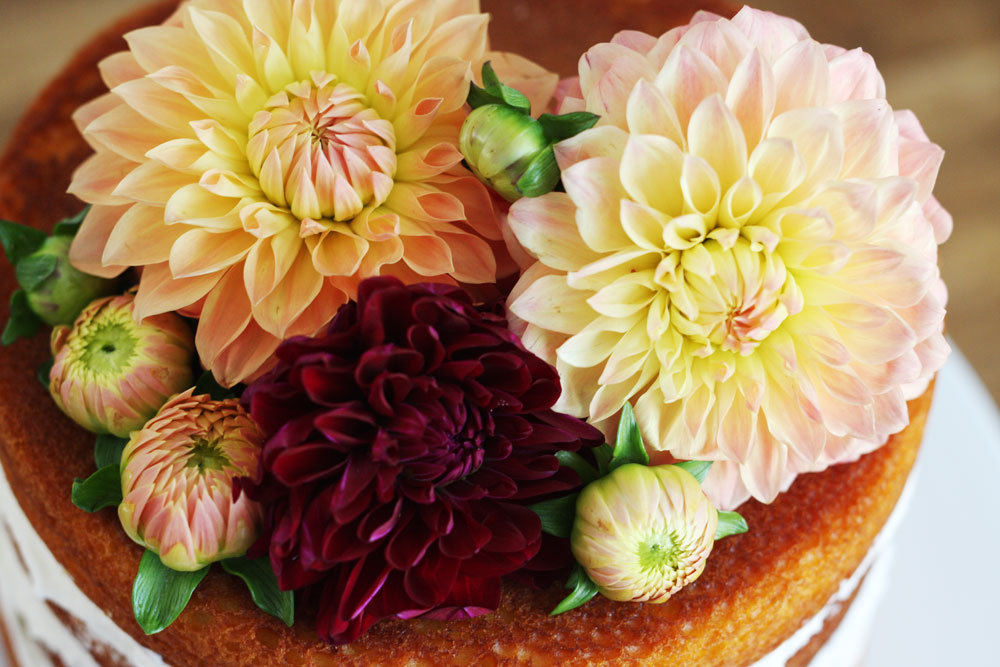
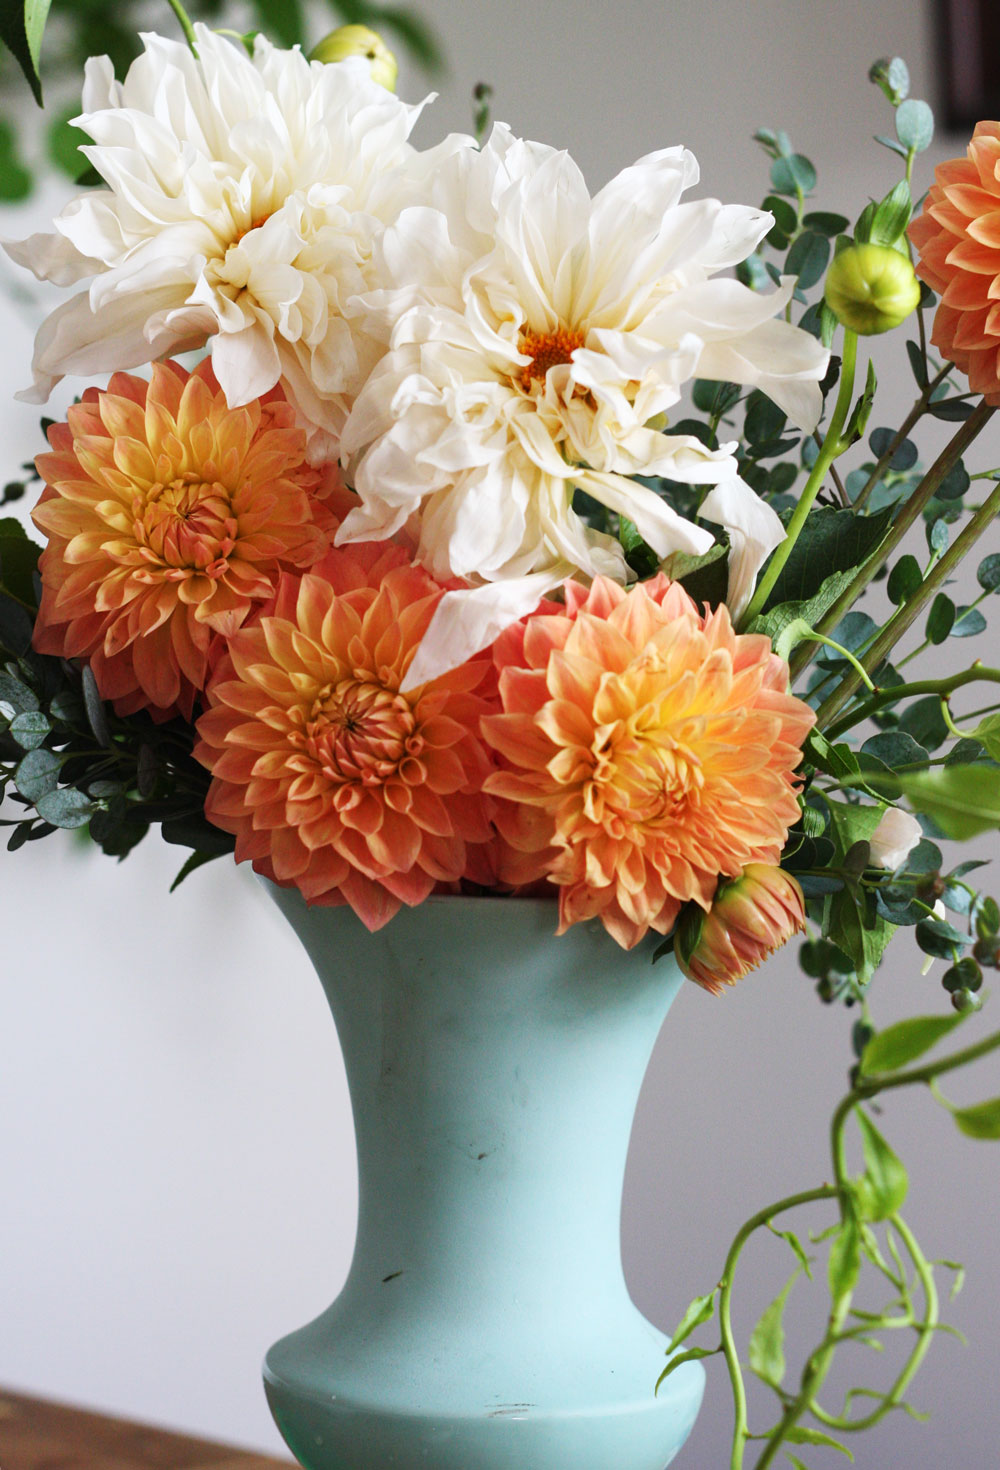
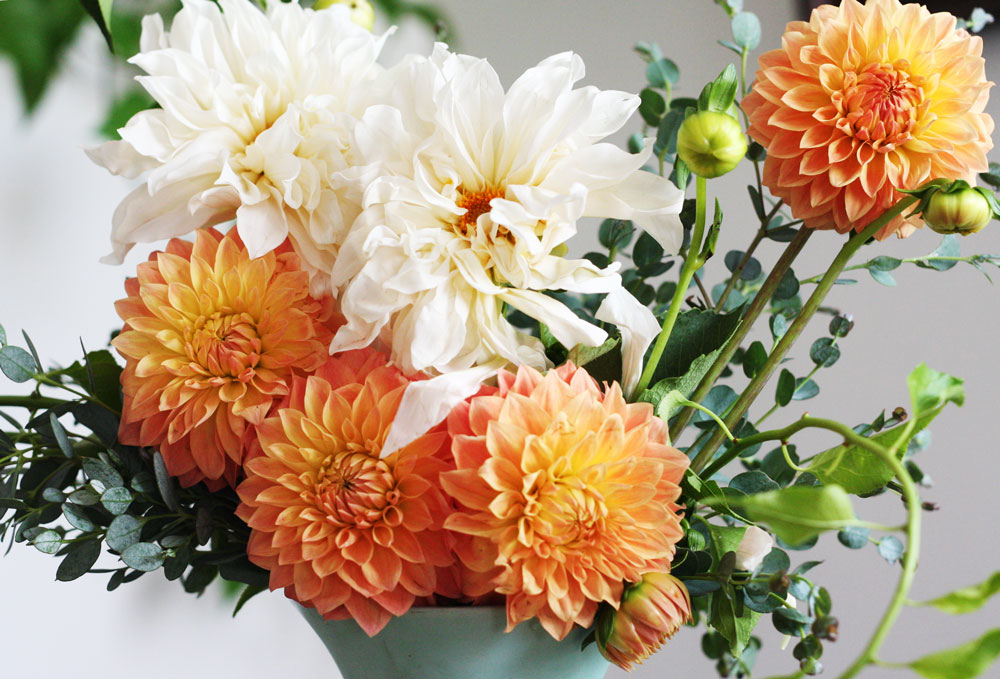
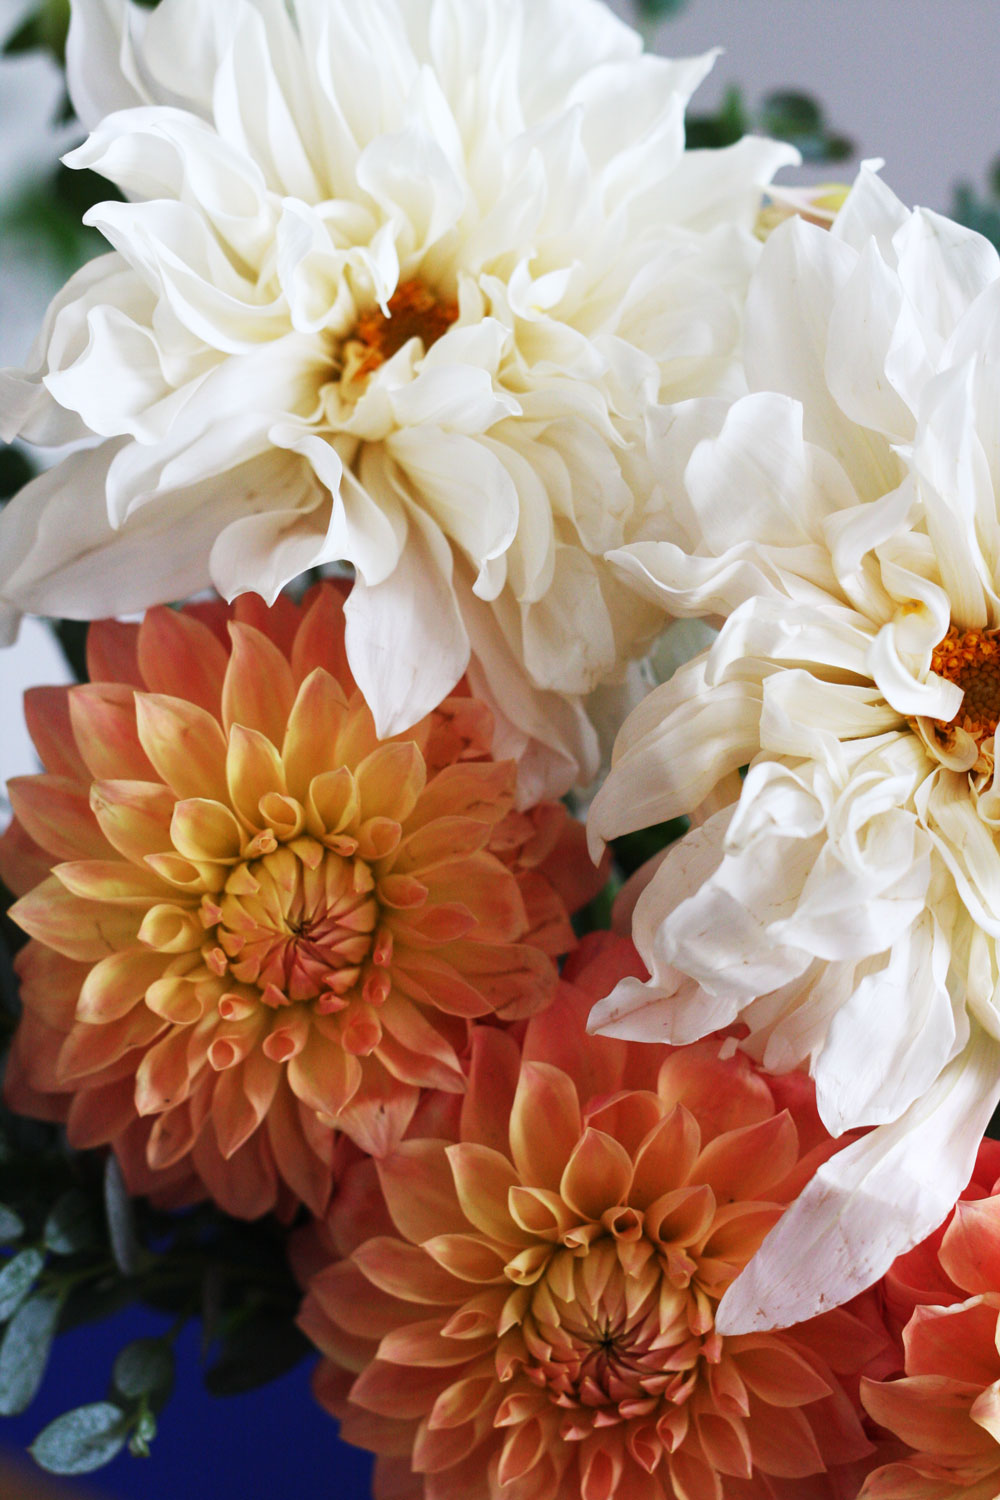
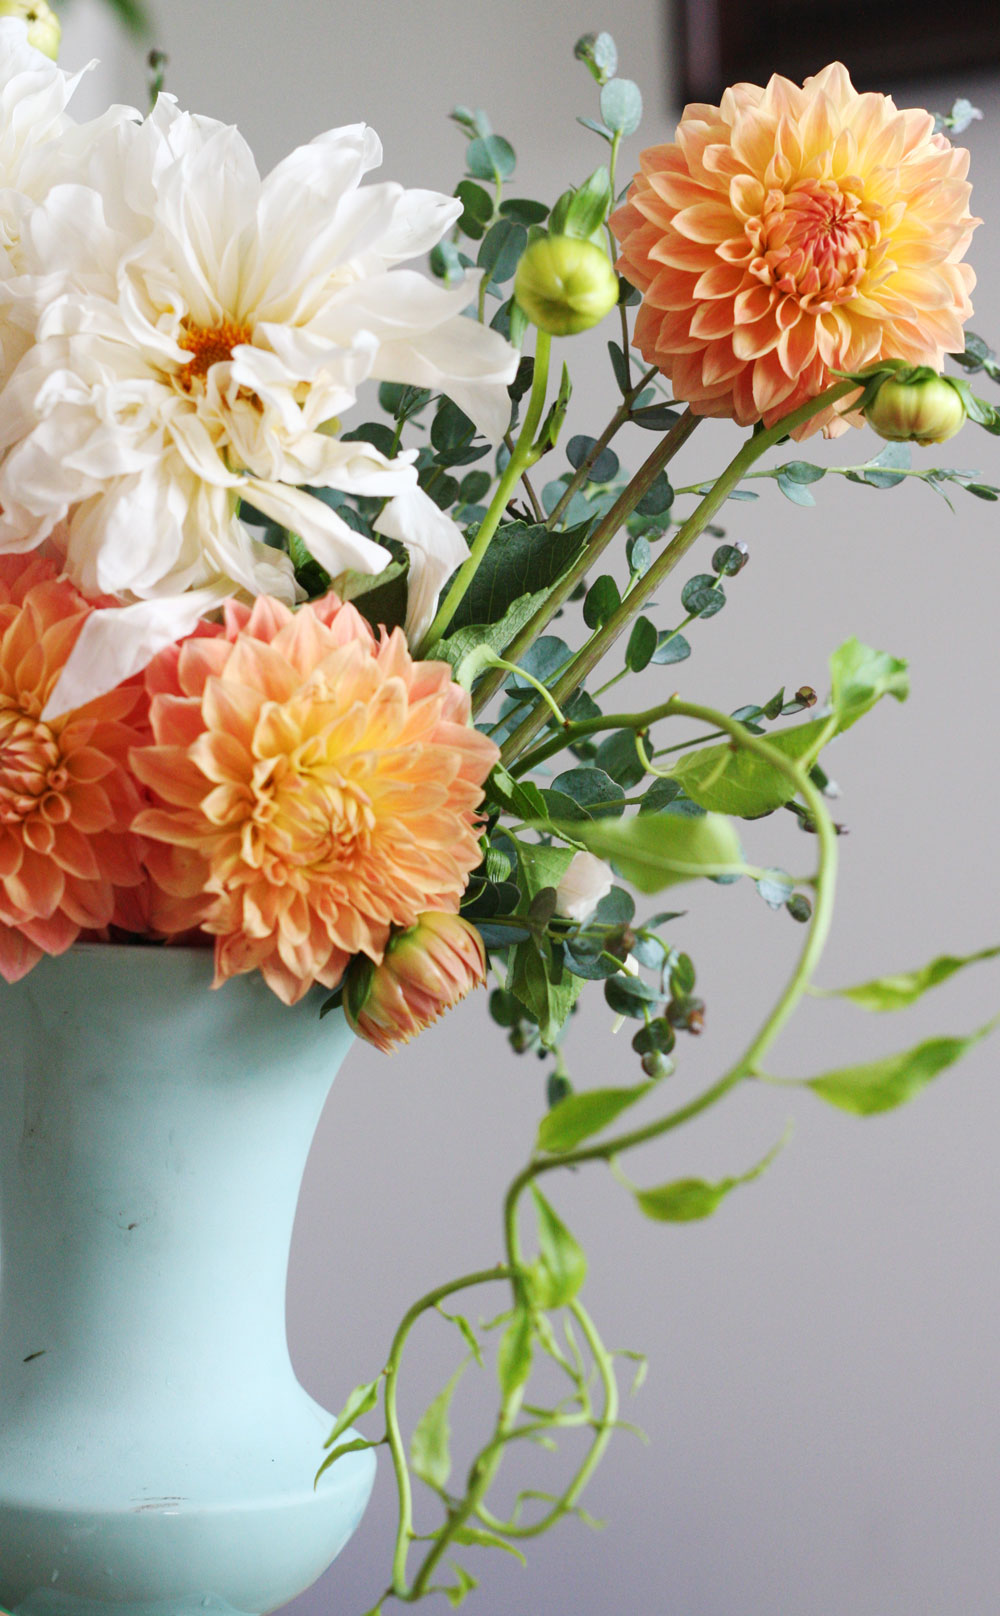
 The last layer of the cake needs to be upside down so the top of your cake is brown and with no imperfections. Fill up the gaps with more frosting, decorate the top, and you are done! I used dahlias for decoration. So easy and beautiful.
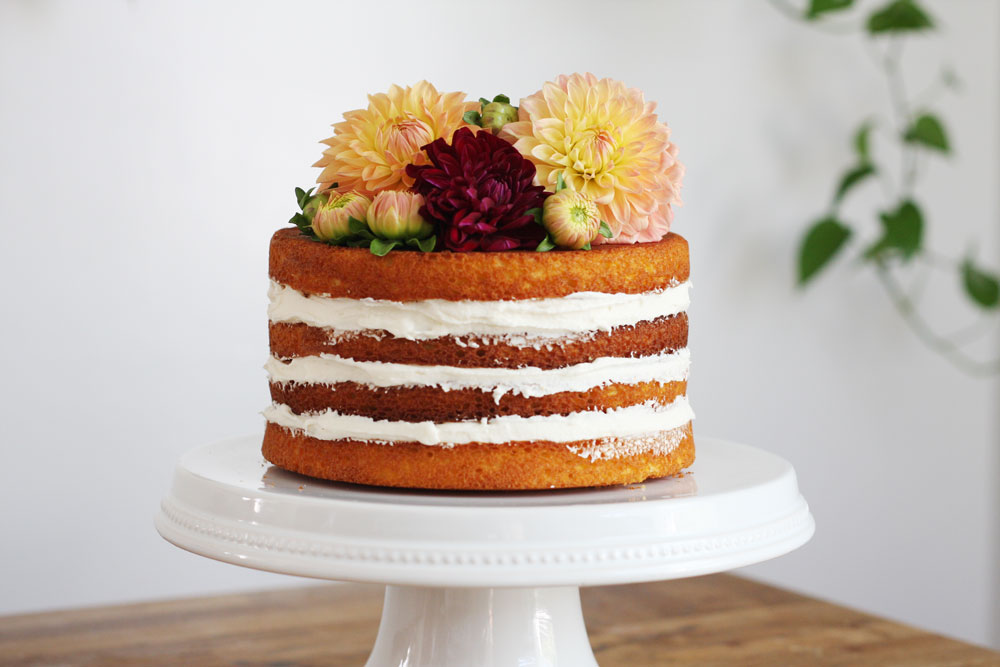

 I went to the
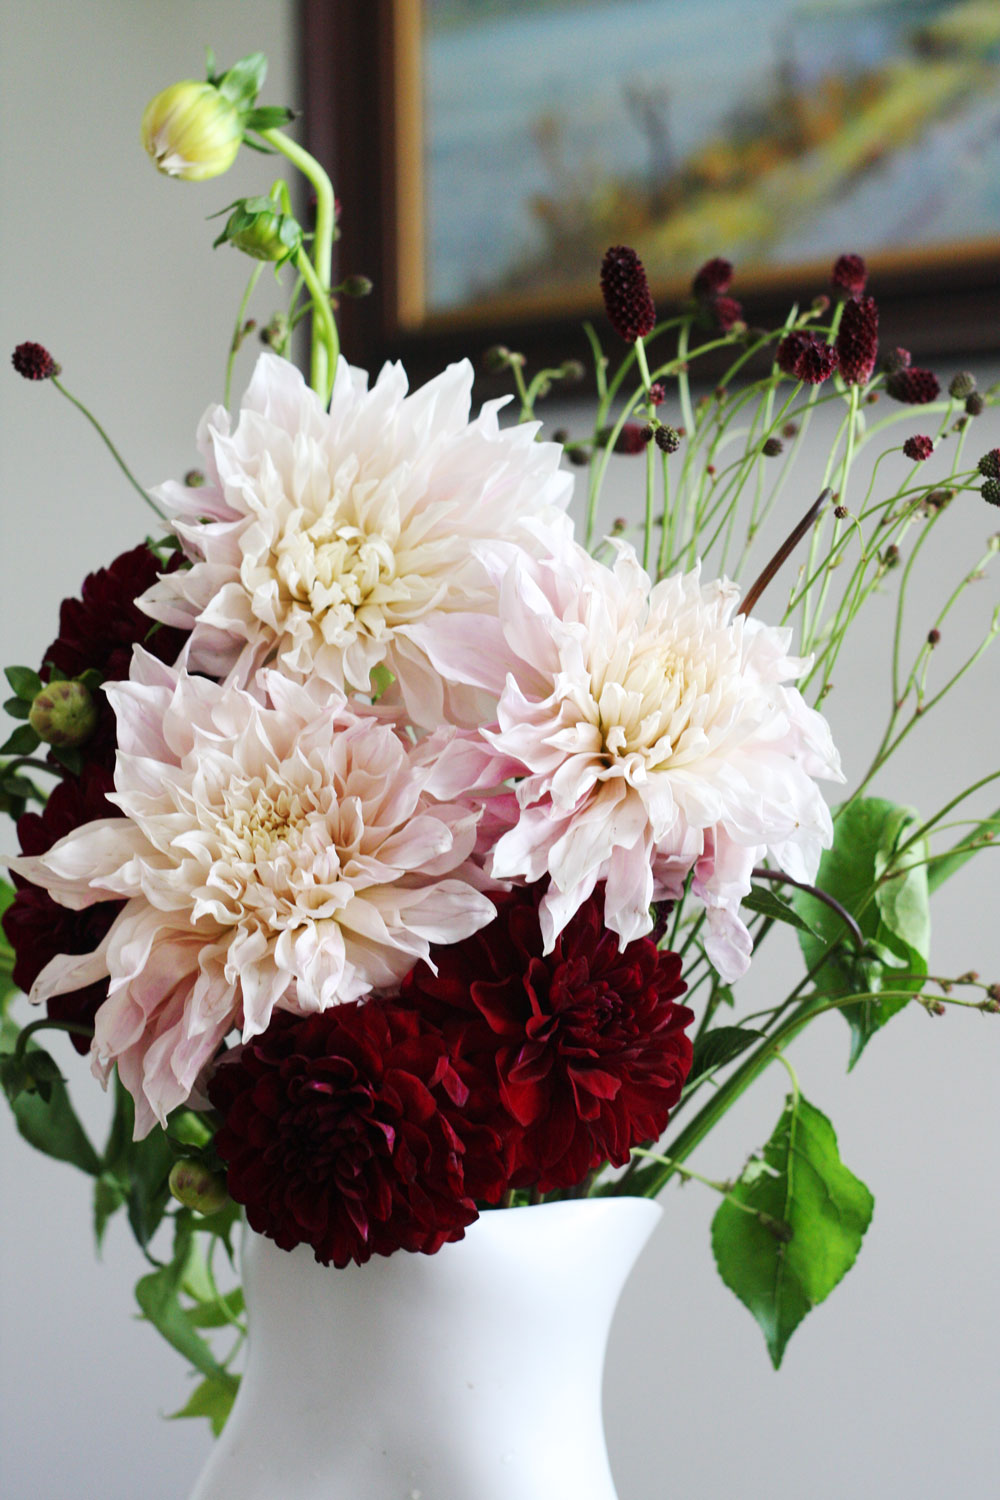
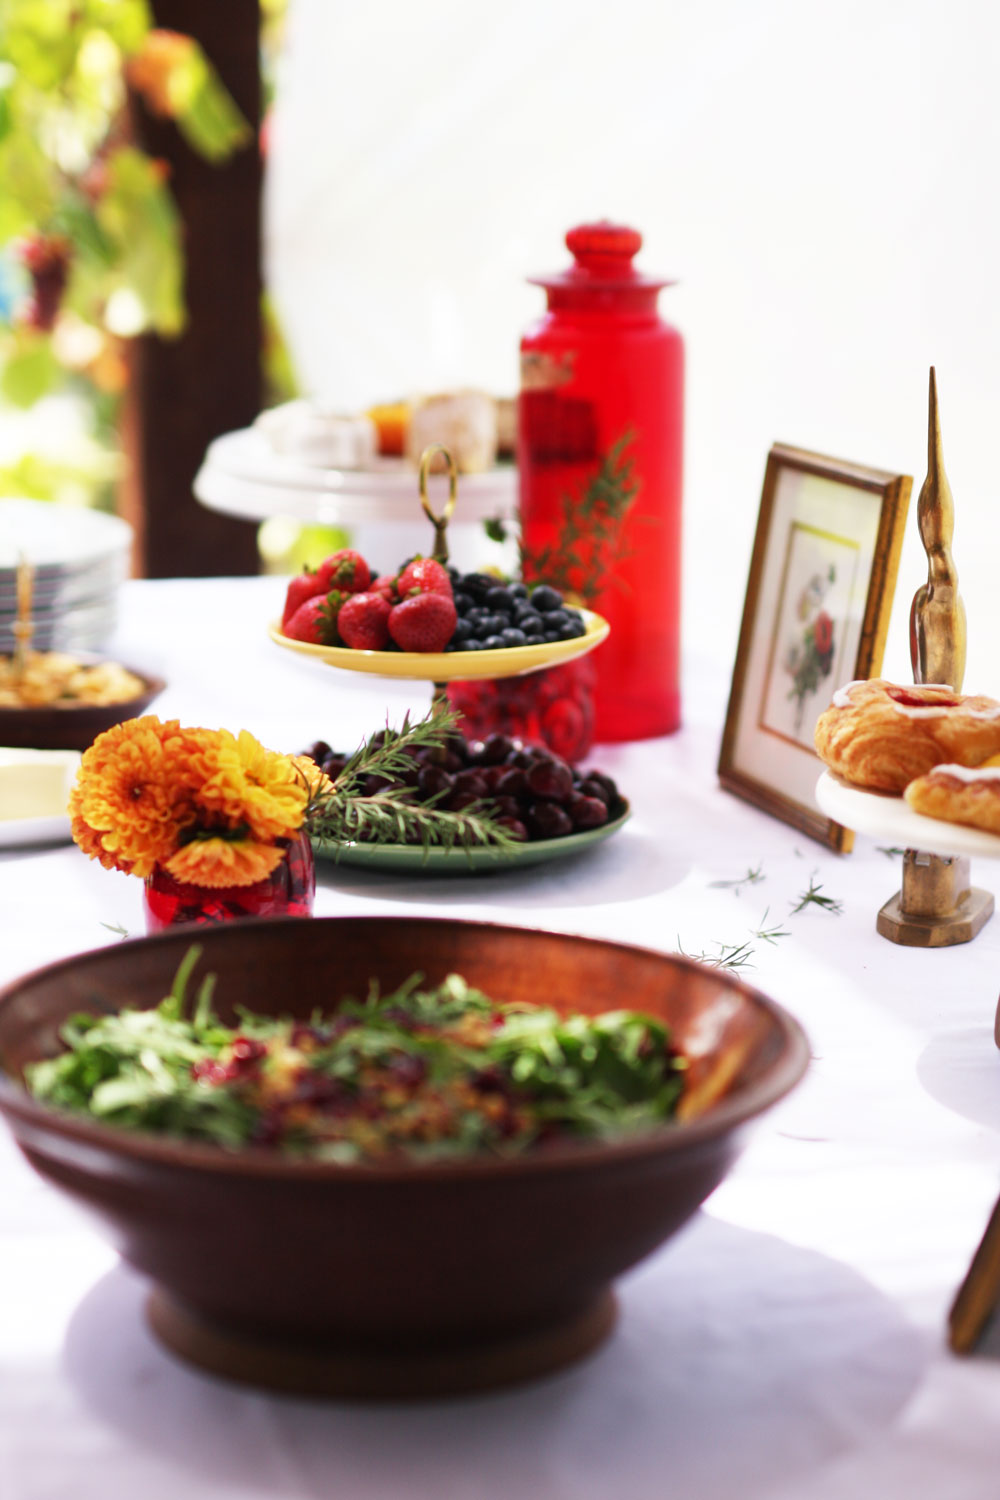
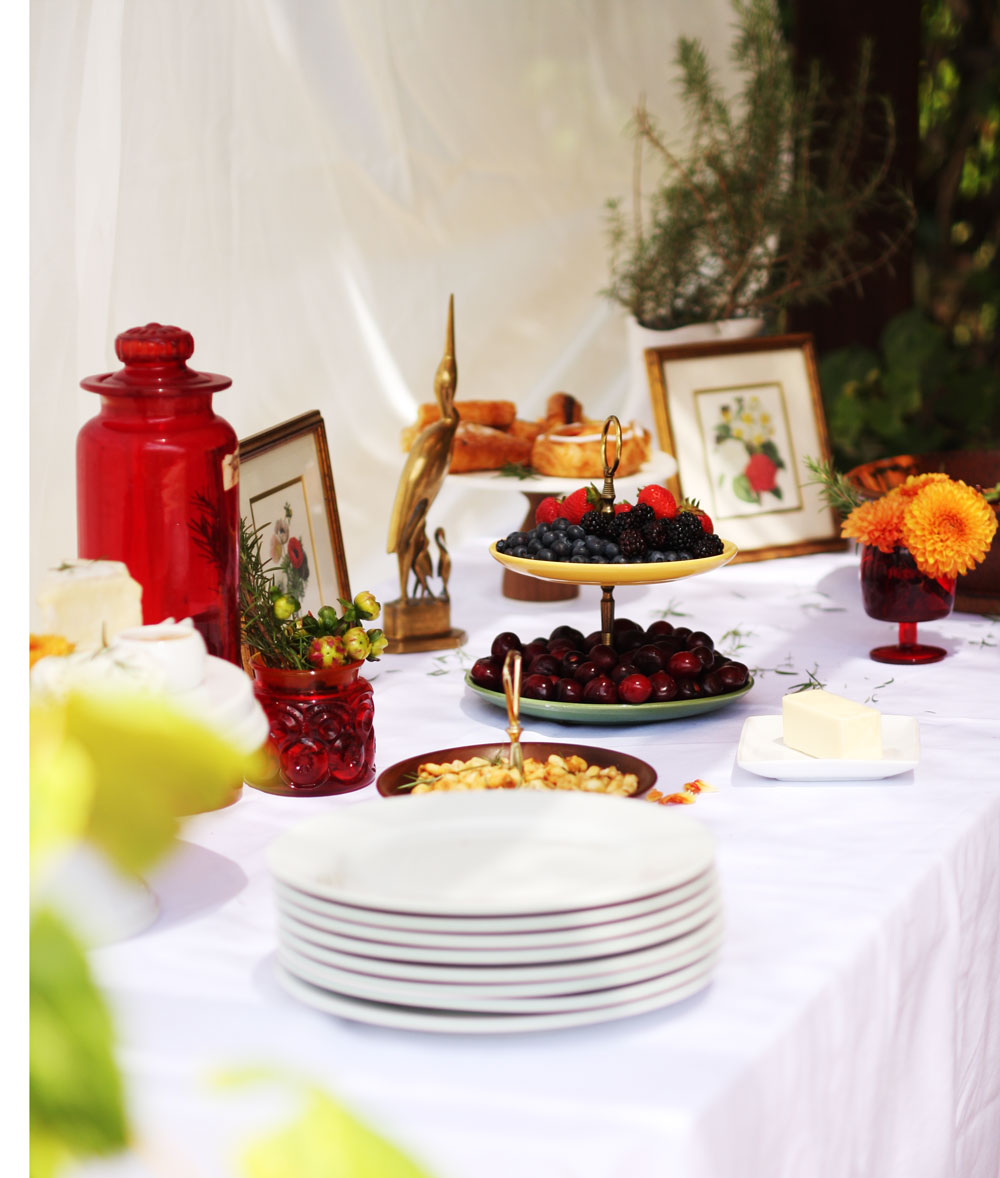
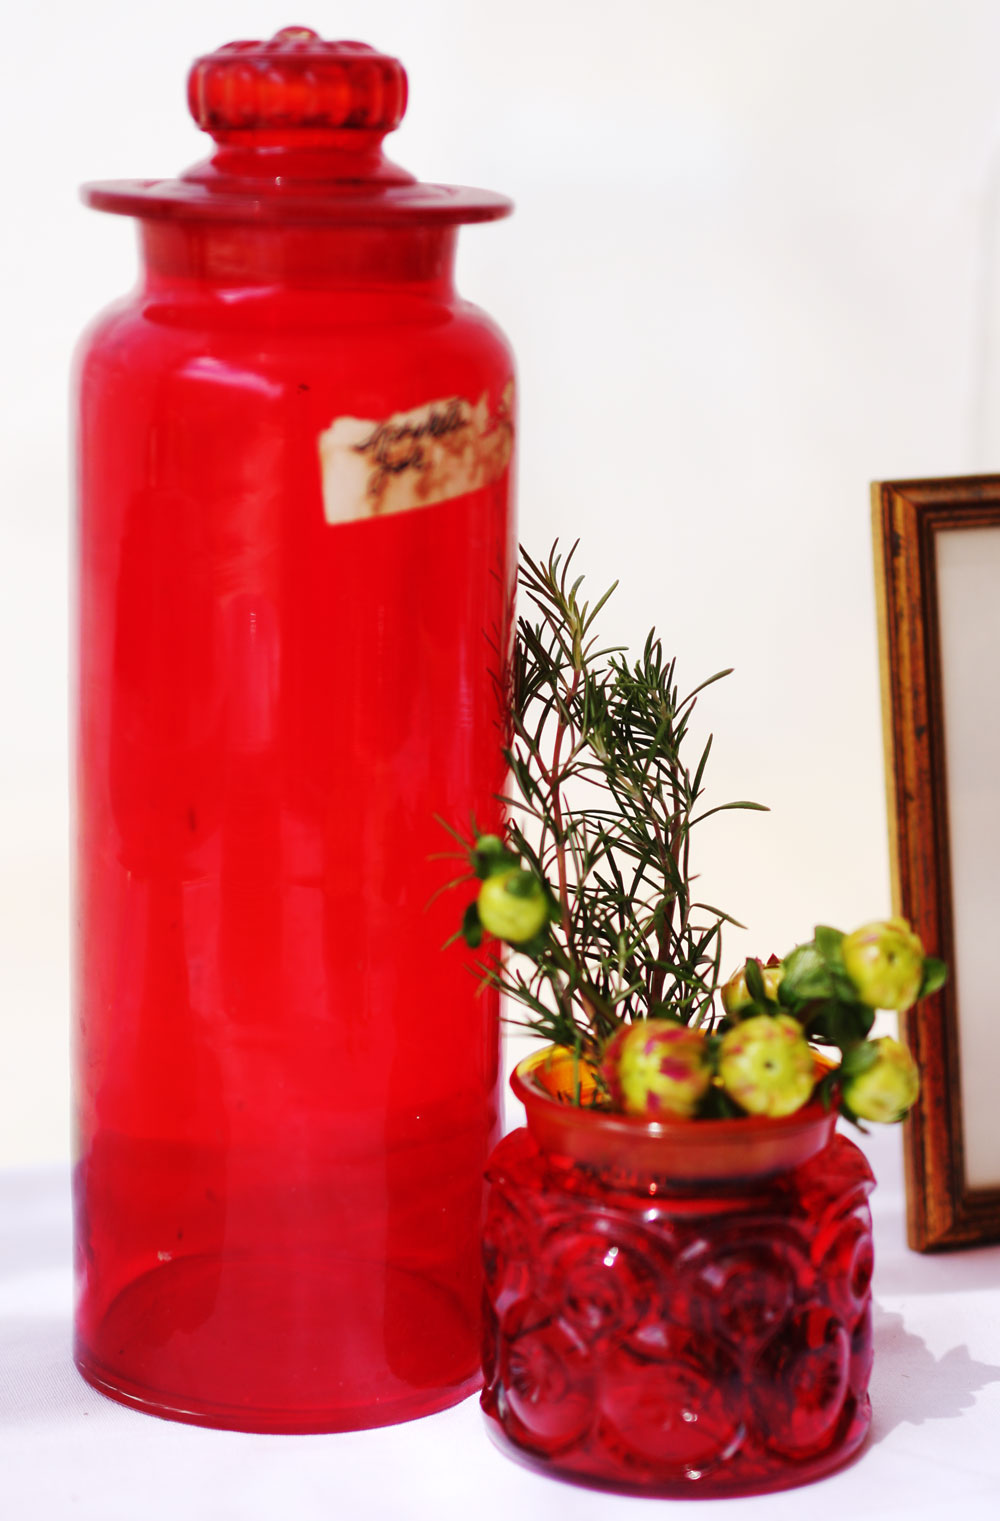
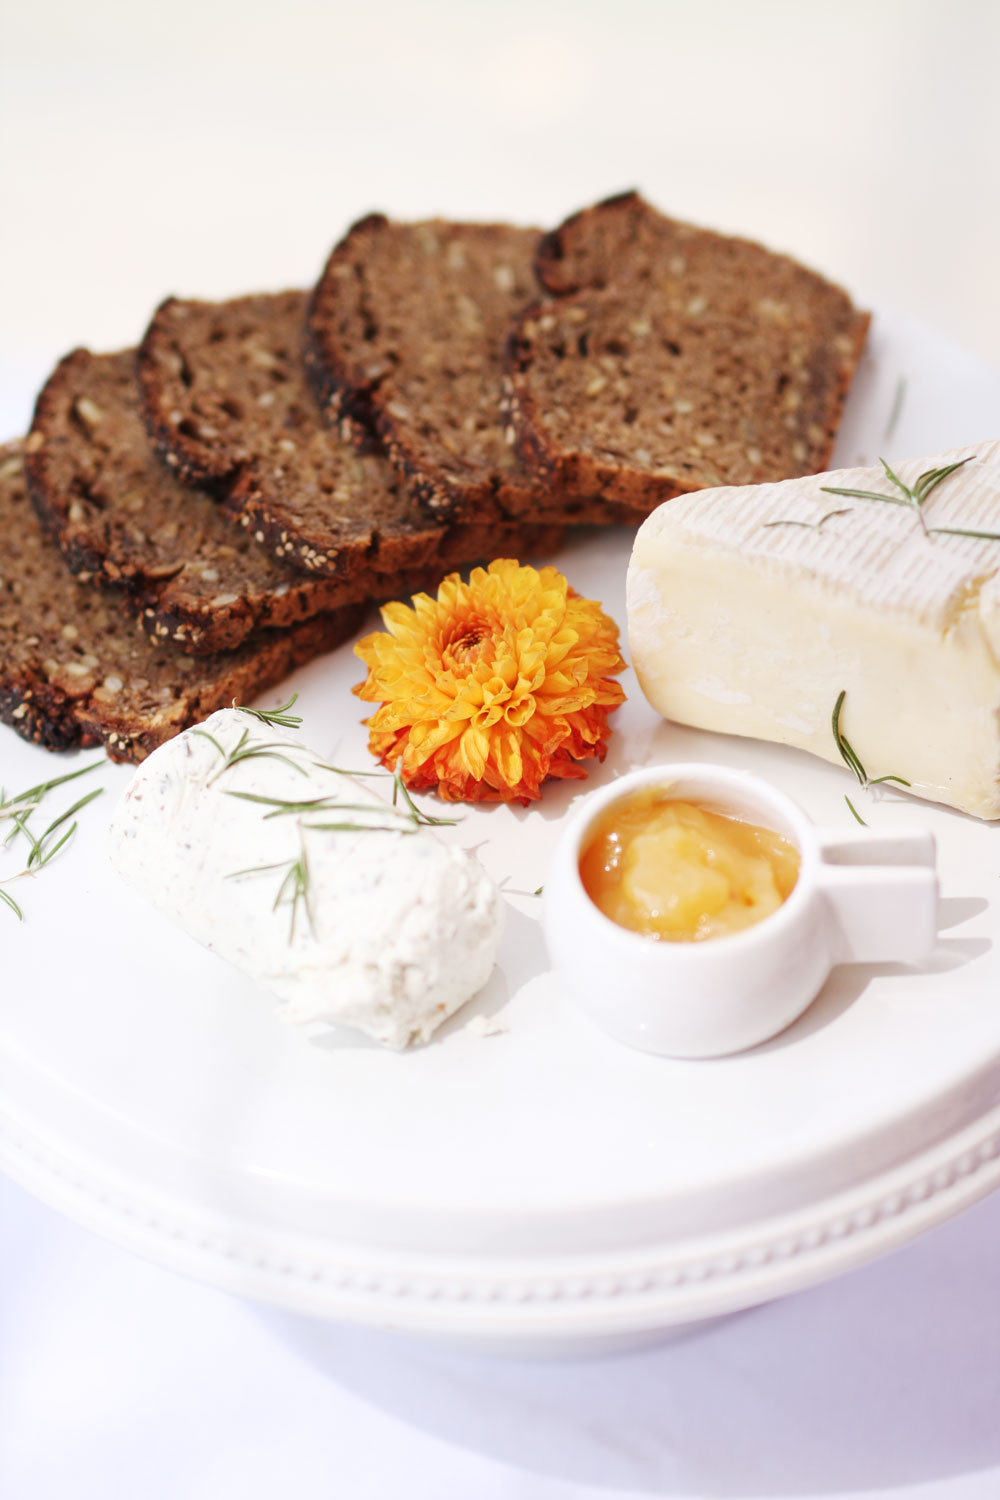
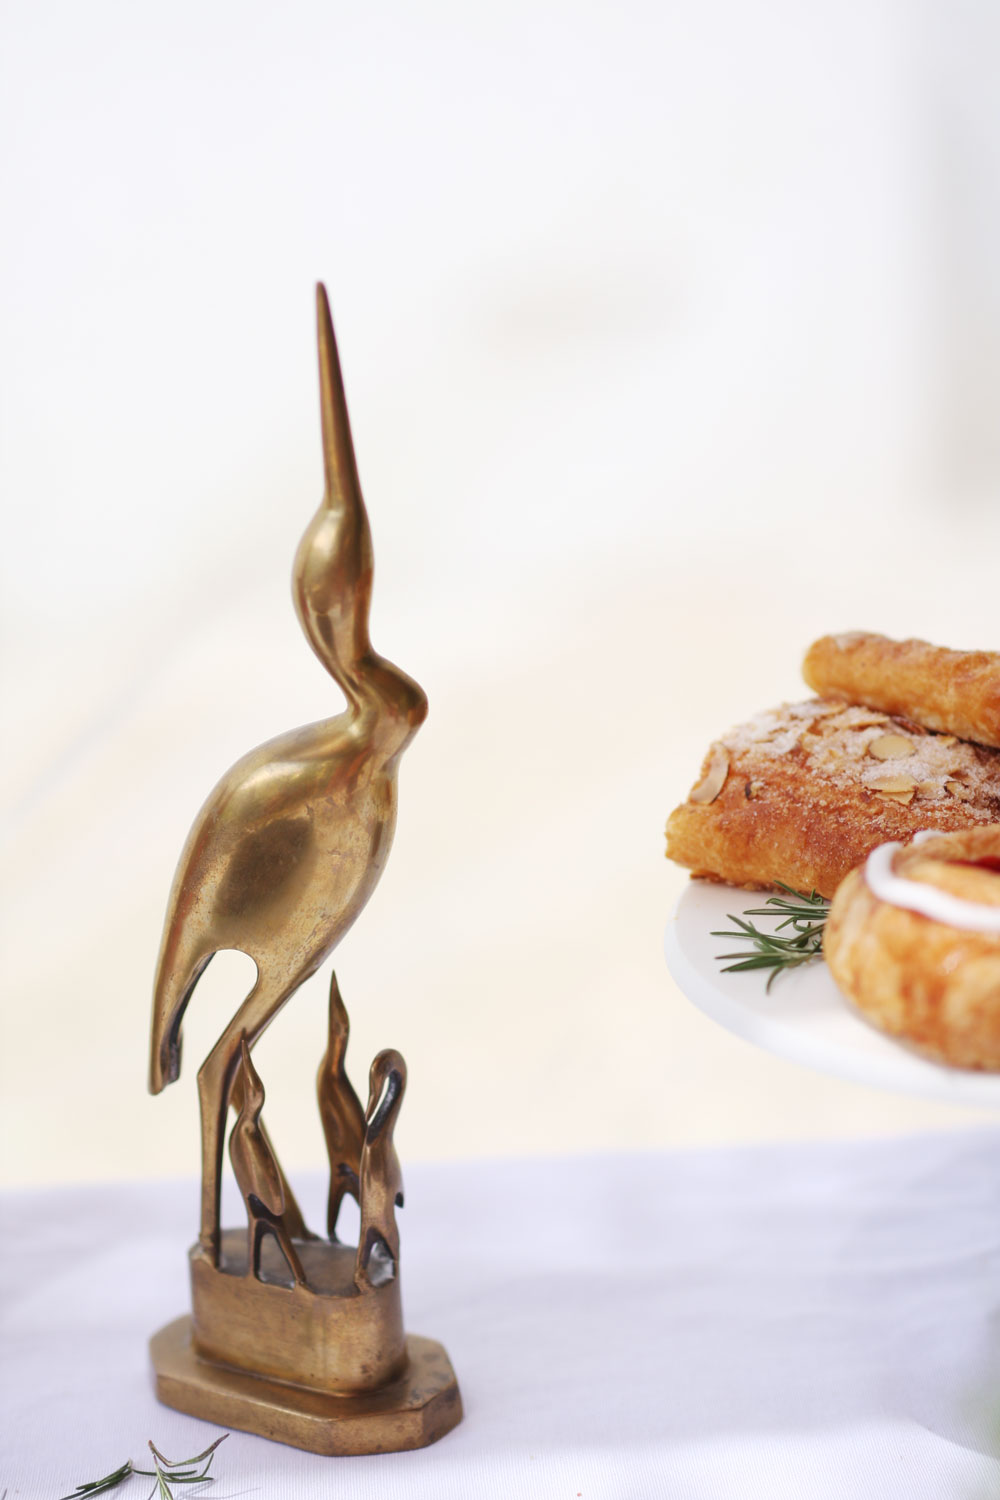
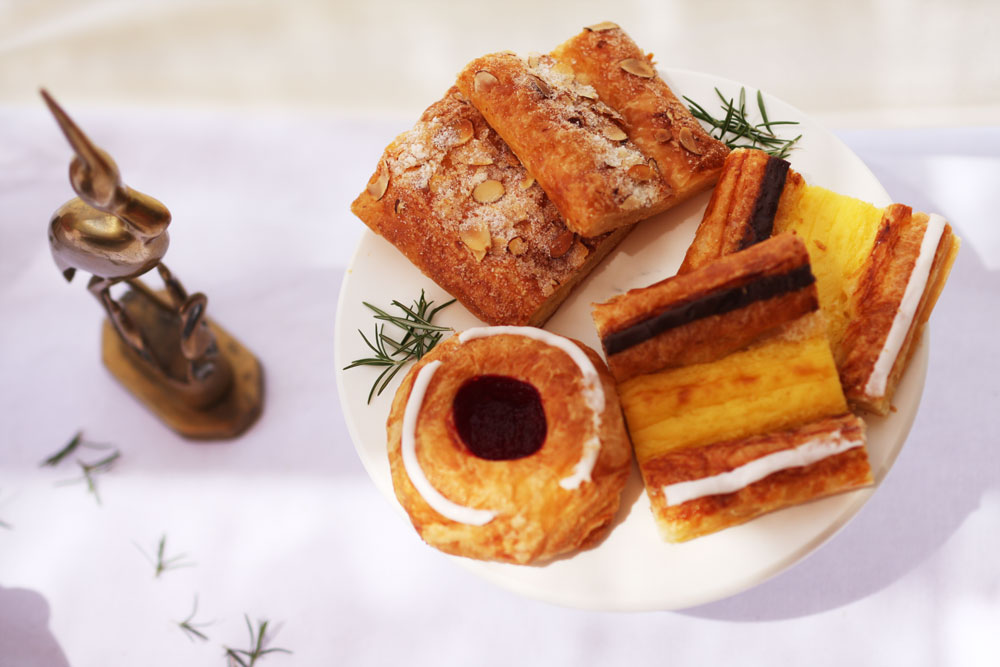
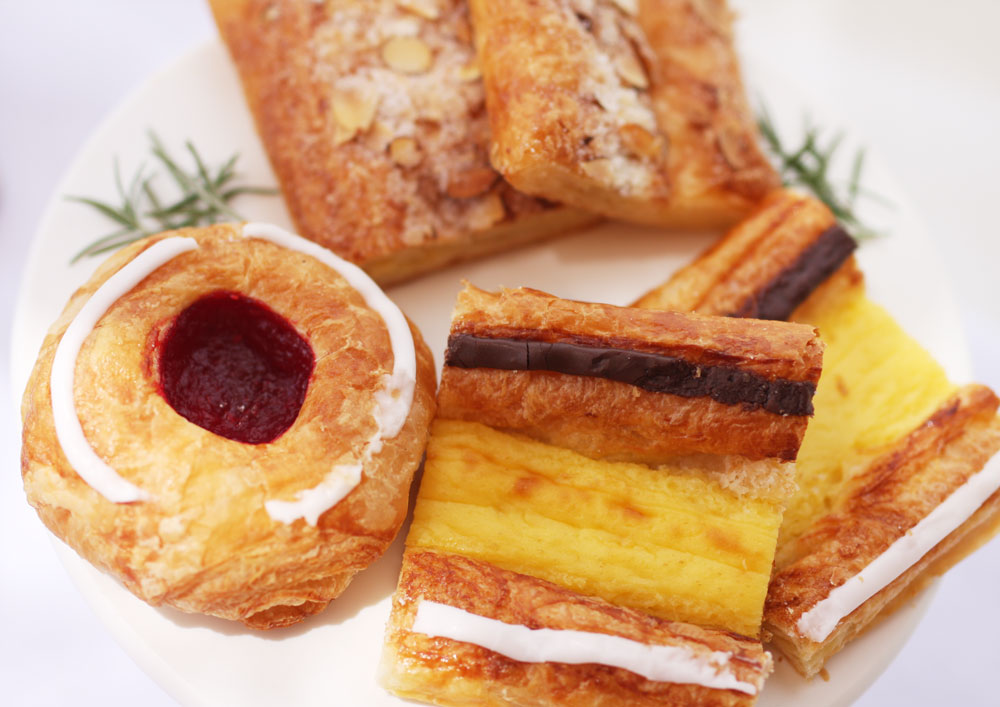
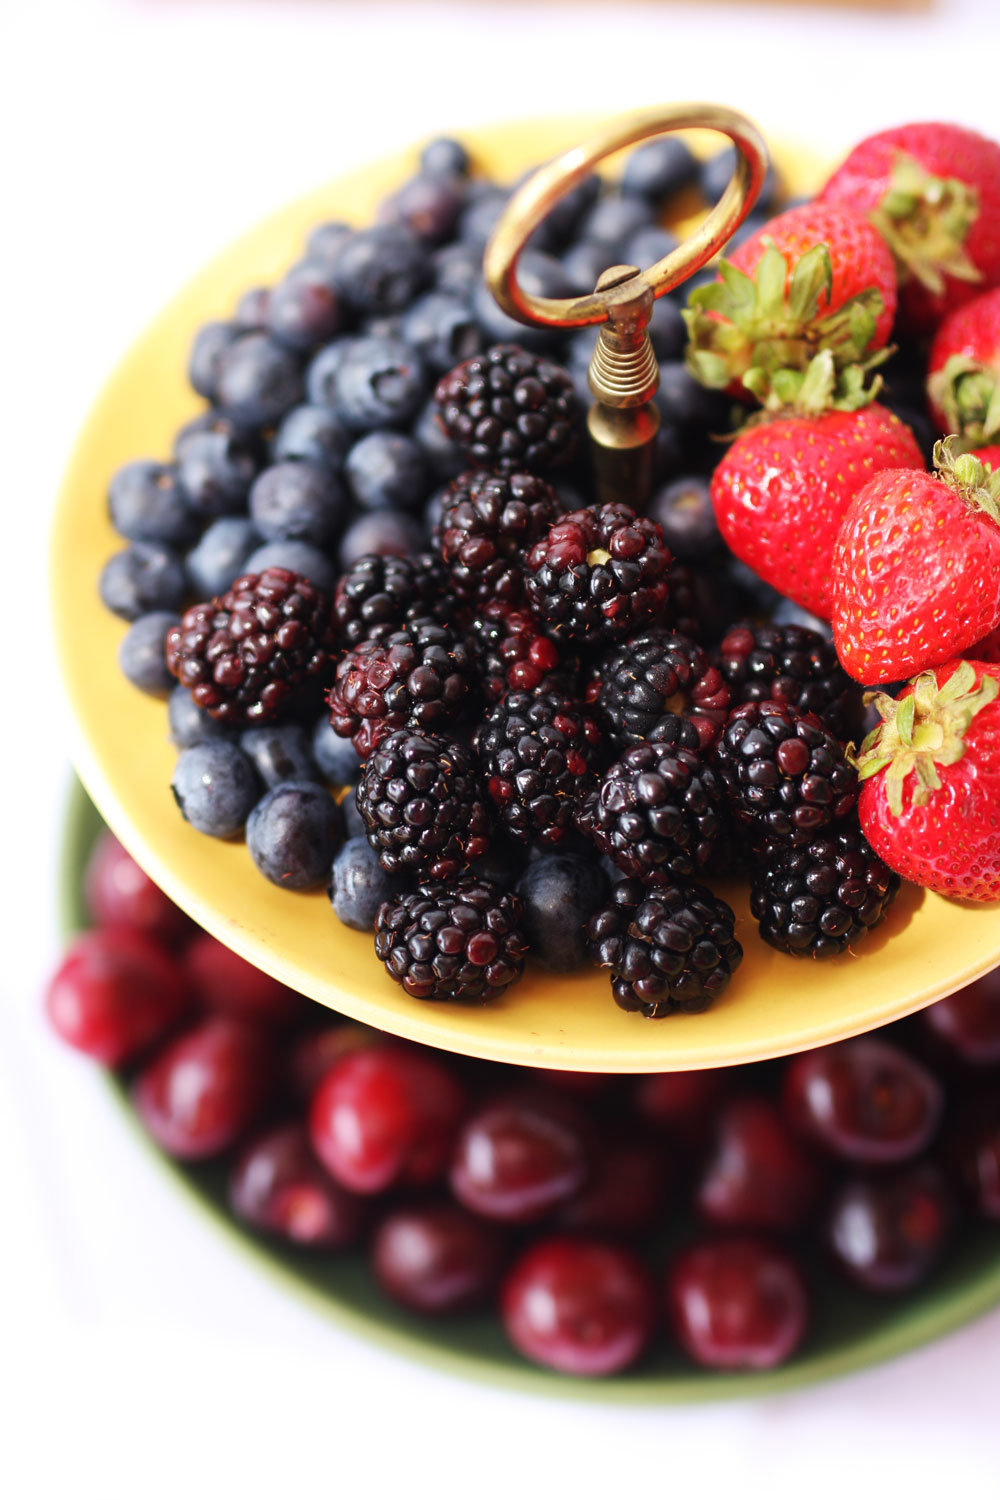
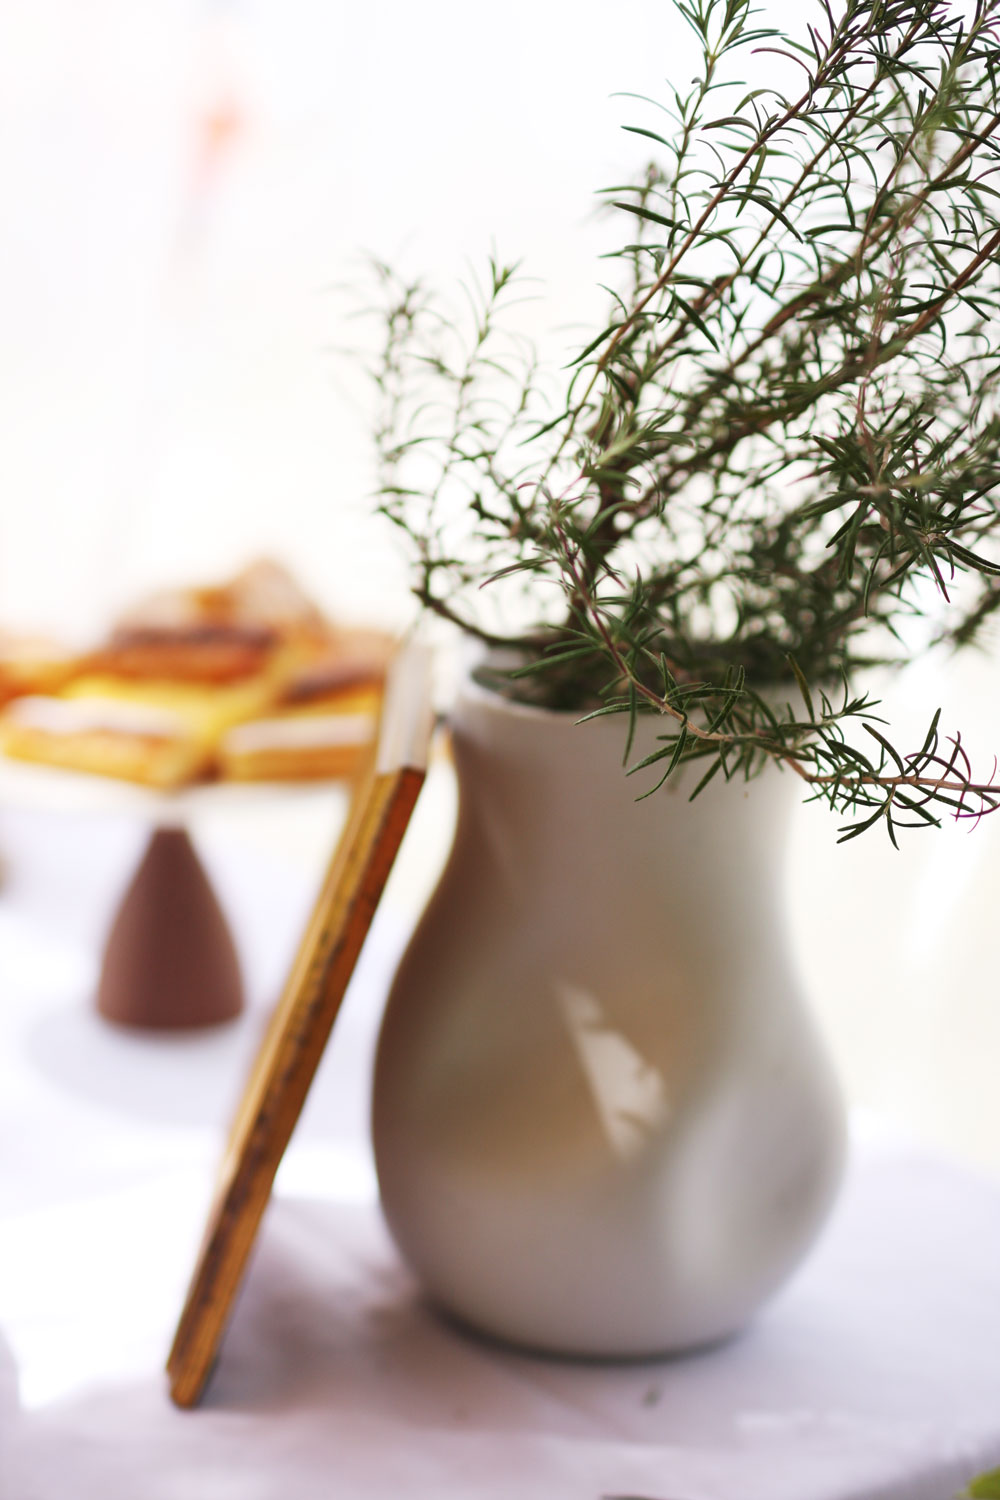
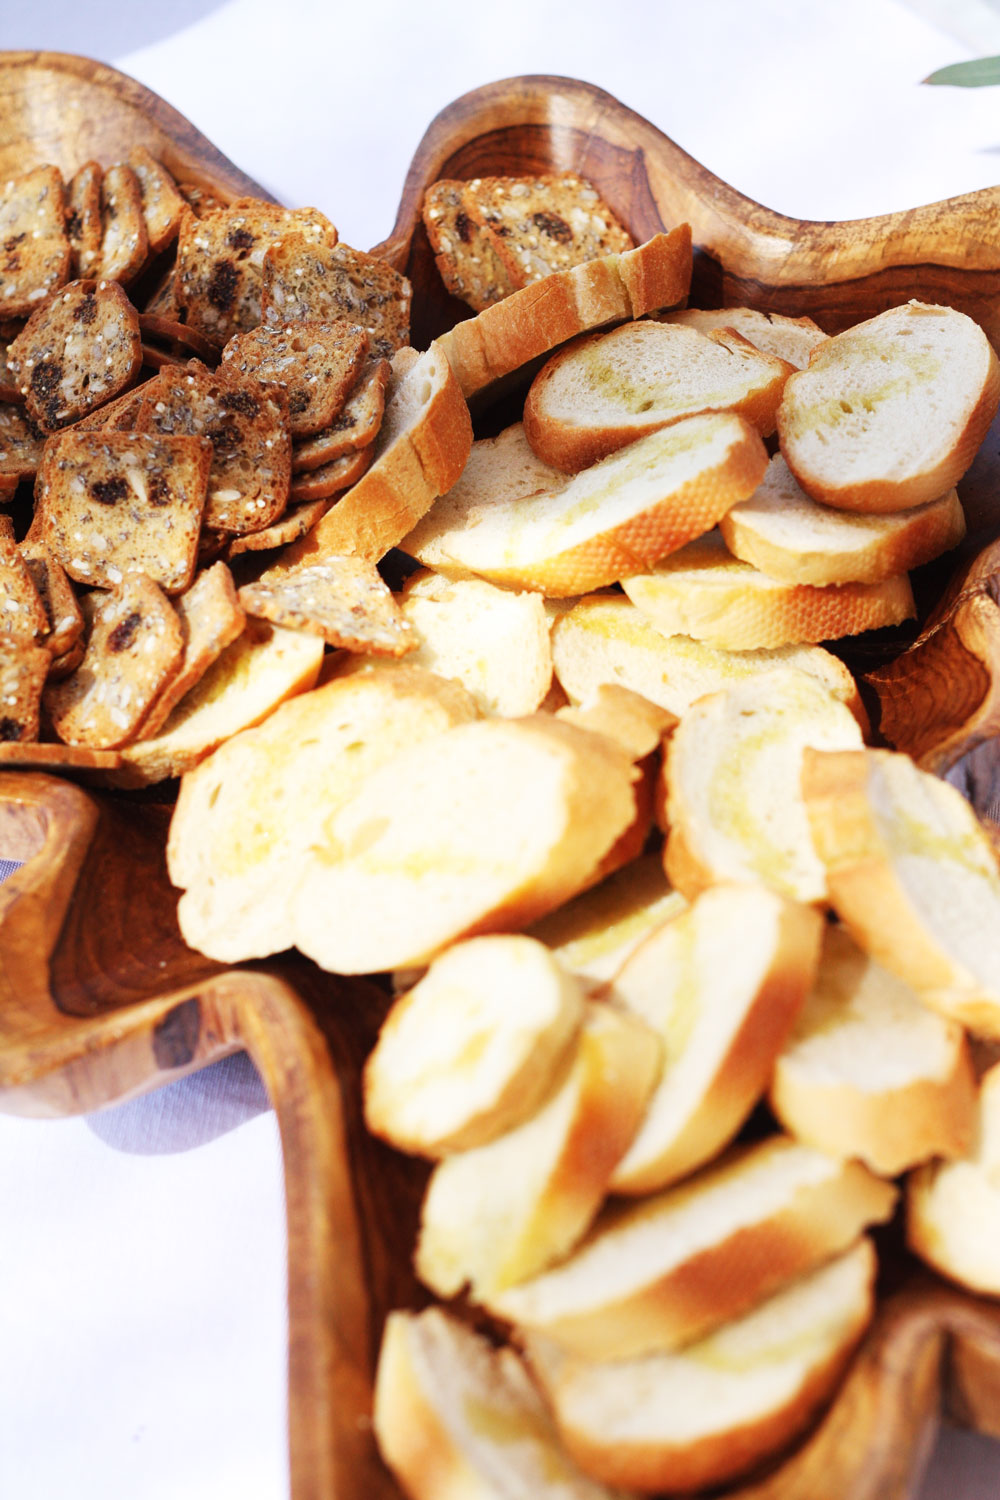
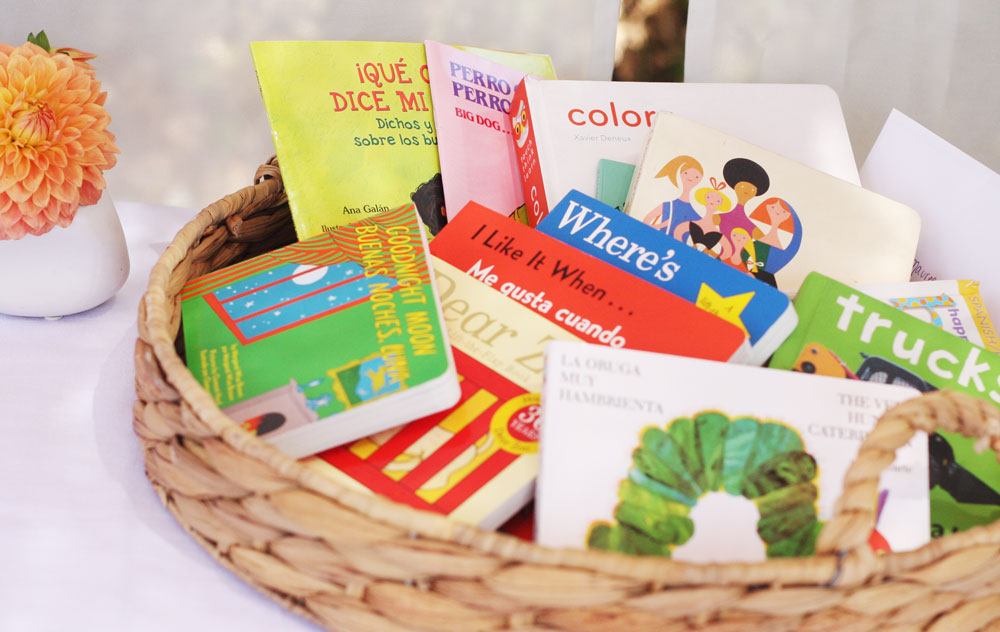
 I didn’t take many photos of the buffet table and the event. I didn’t allow enough time for a proper photo shoot before the baby shower started and I wanted to enjoy the company instead of taking pictures, but here you can find some of the ones I was able to take.
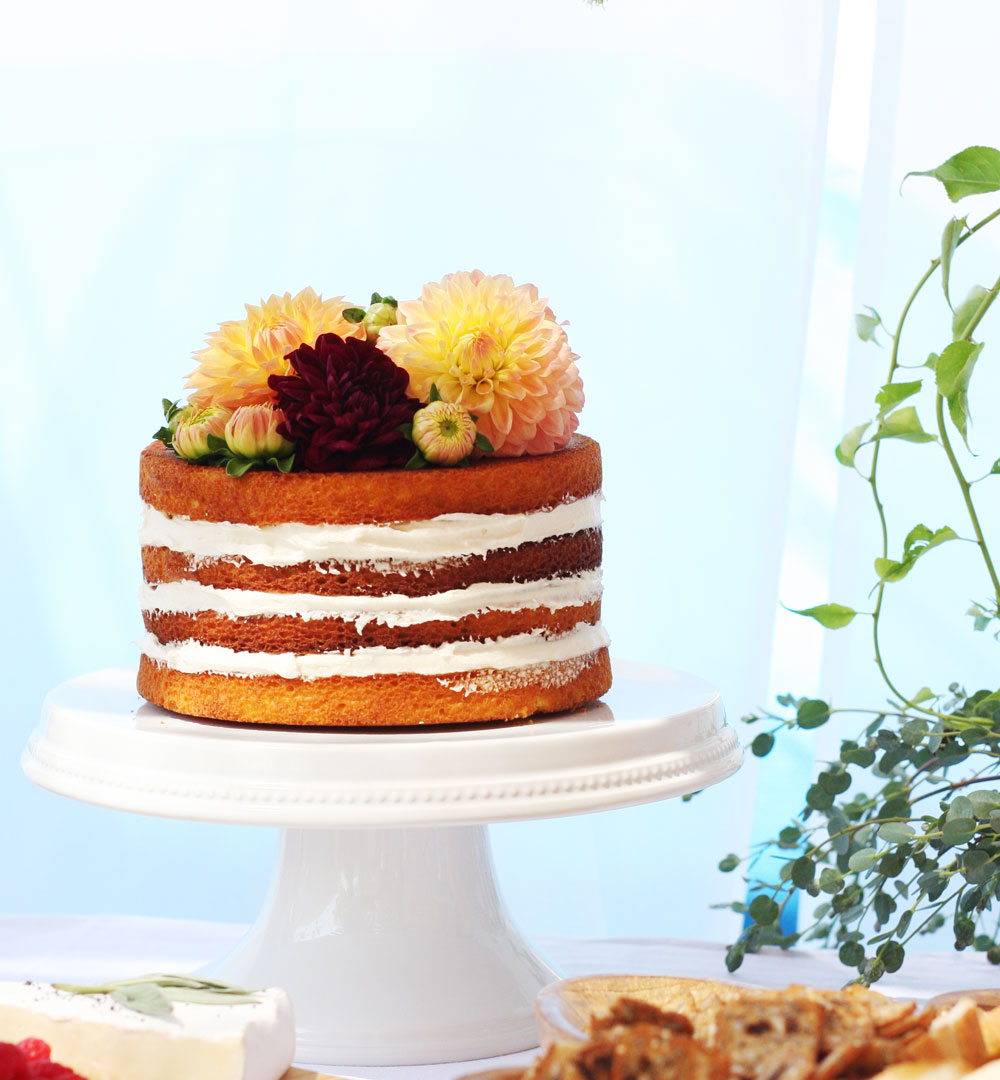
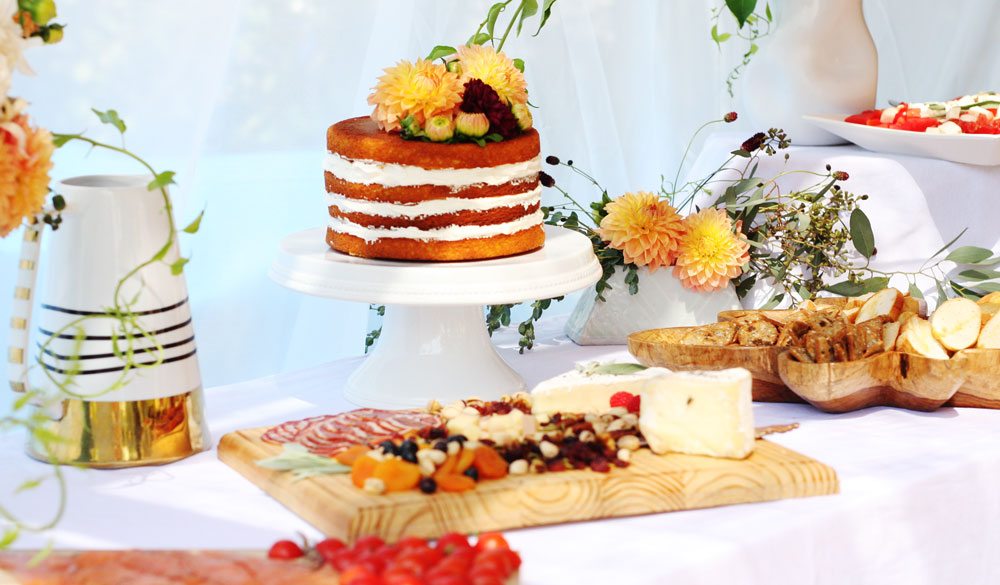

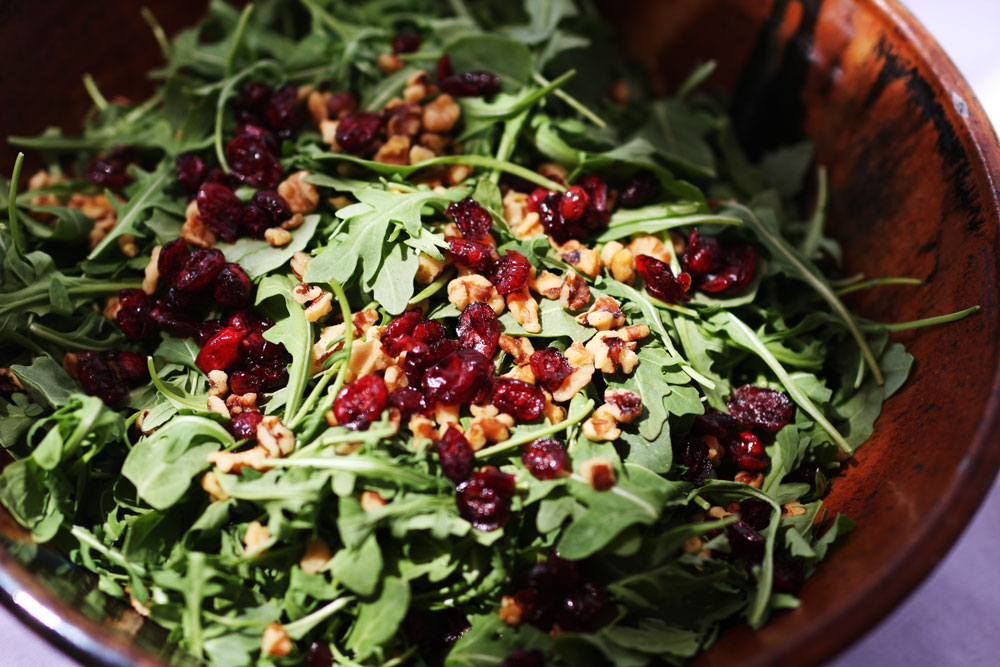
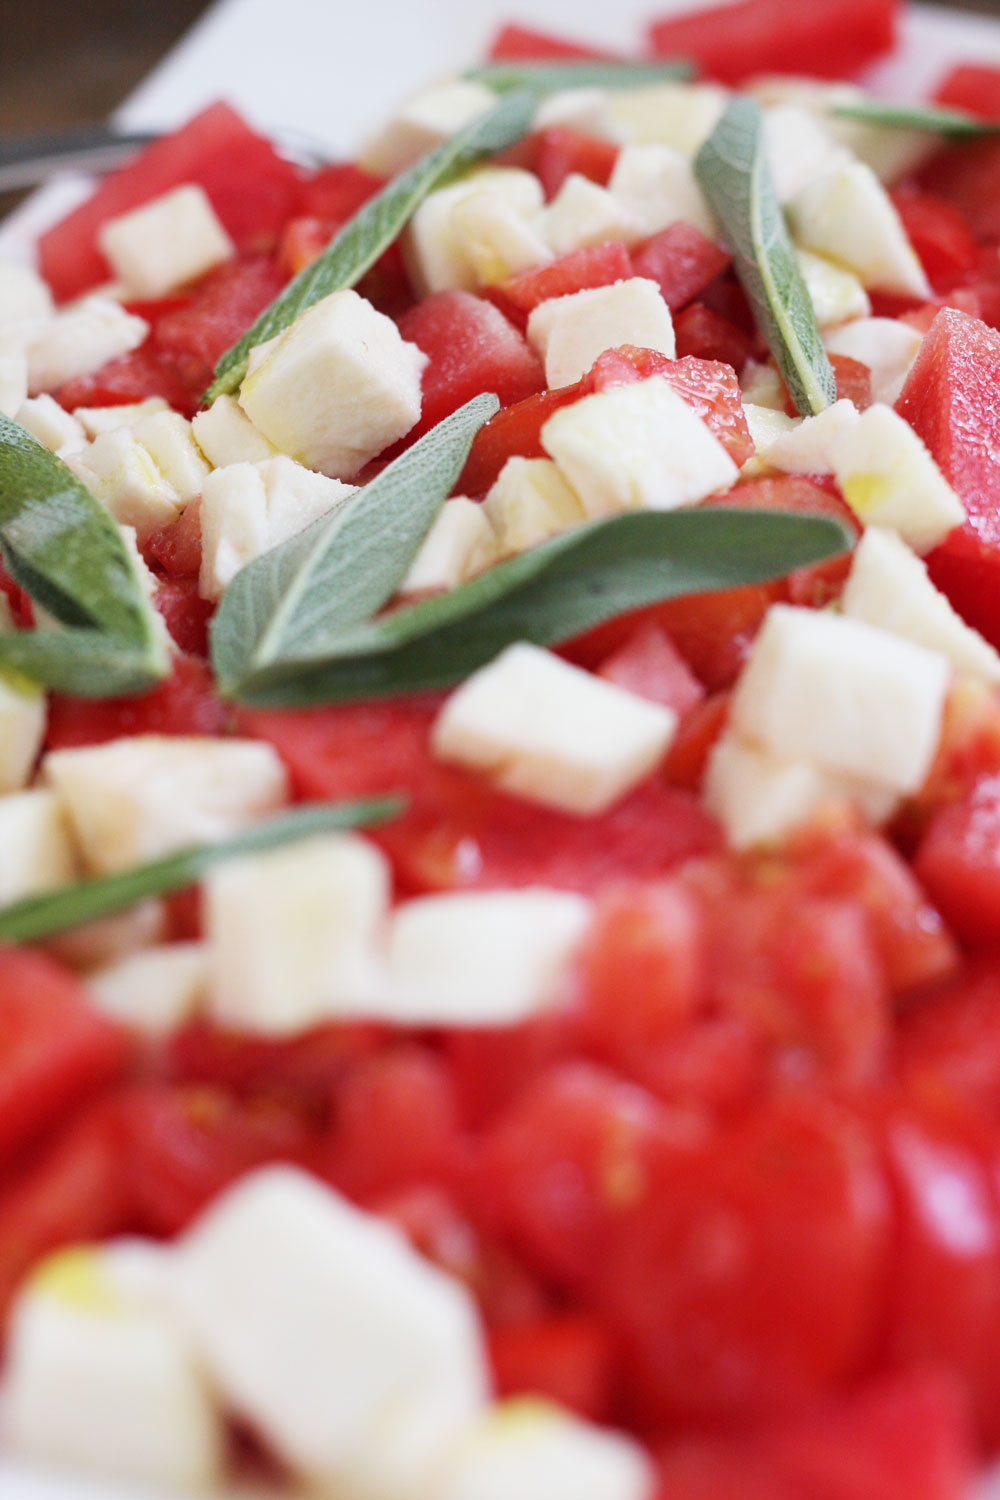 This watermelon, tomato, mozzarella, and sage salad was so good. I have tomatoes growing in my backyard and they made this salad very delicious.
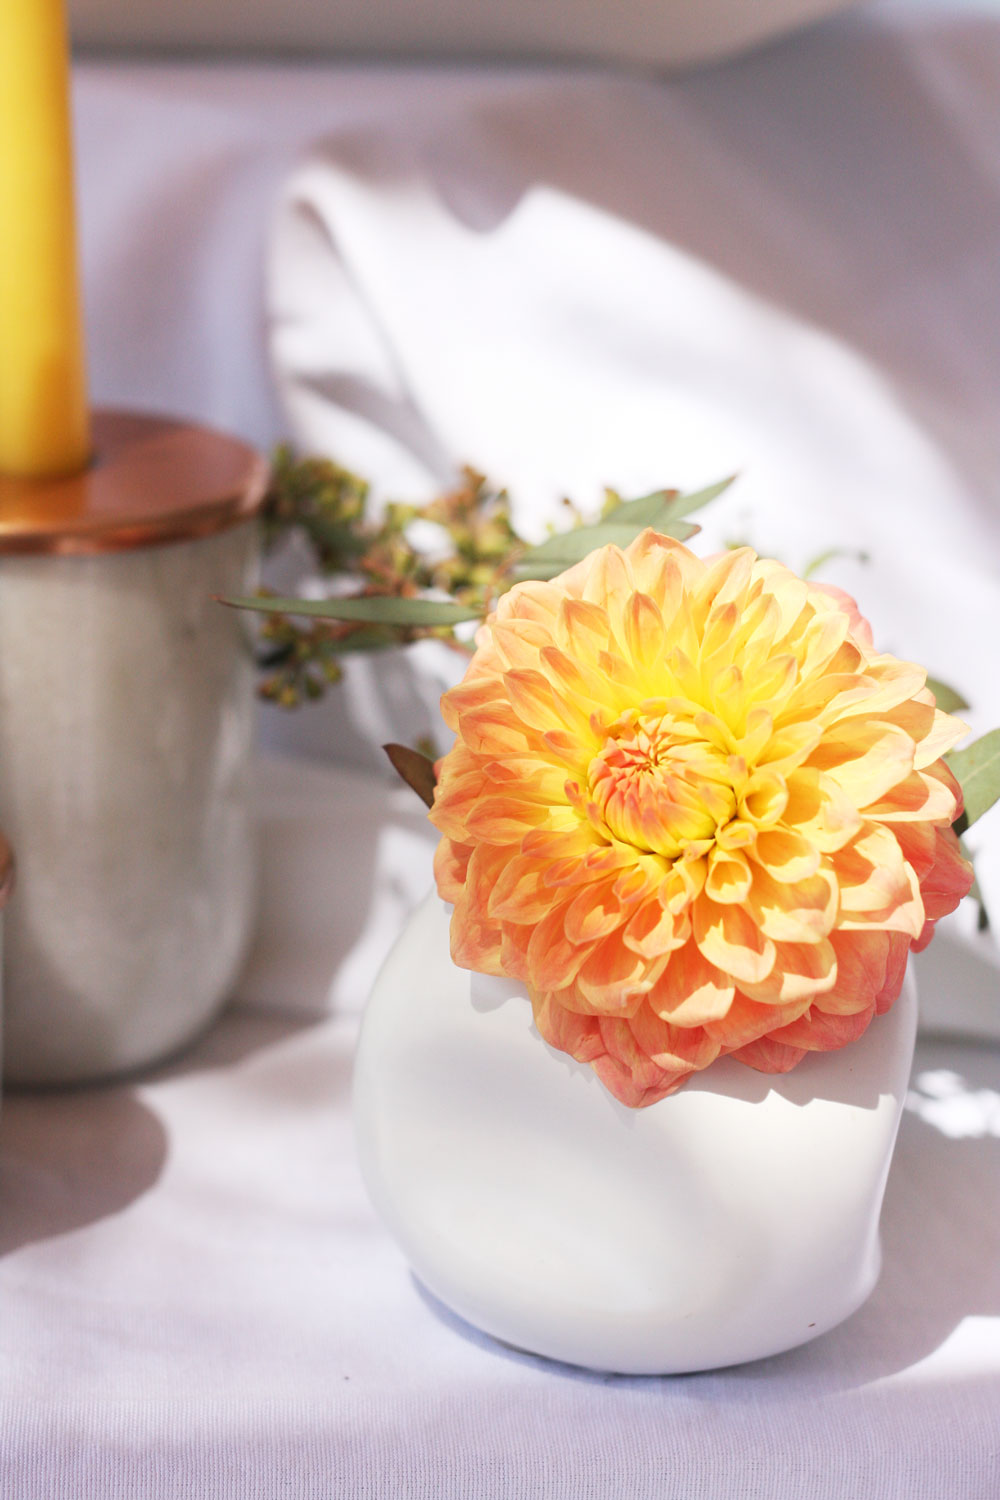
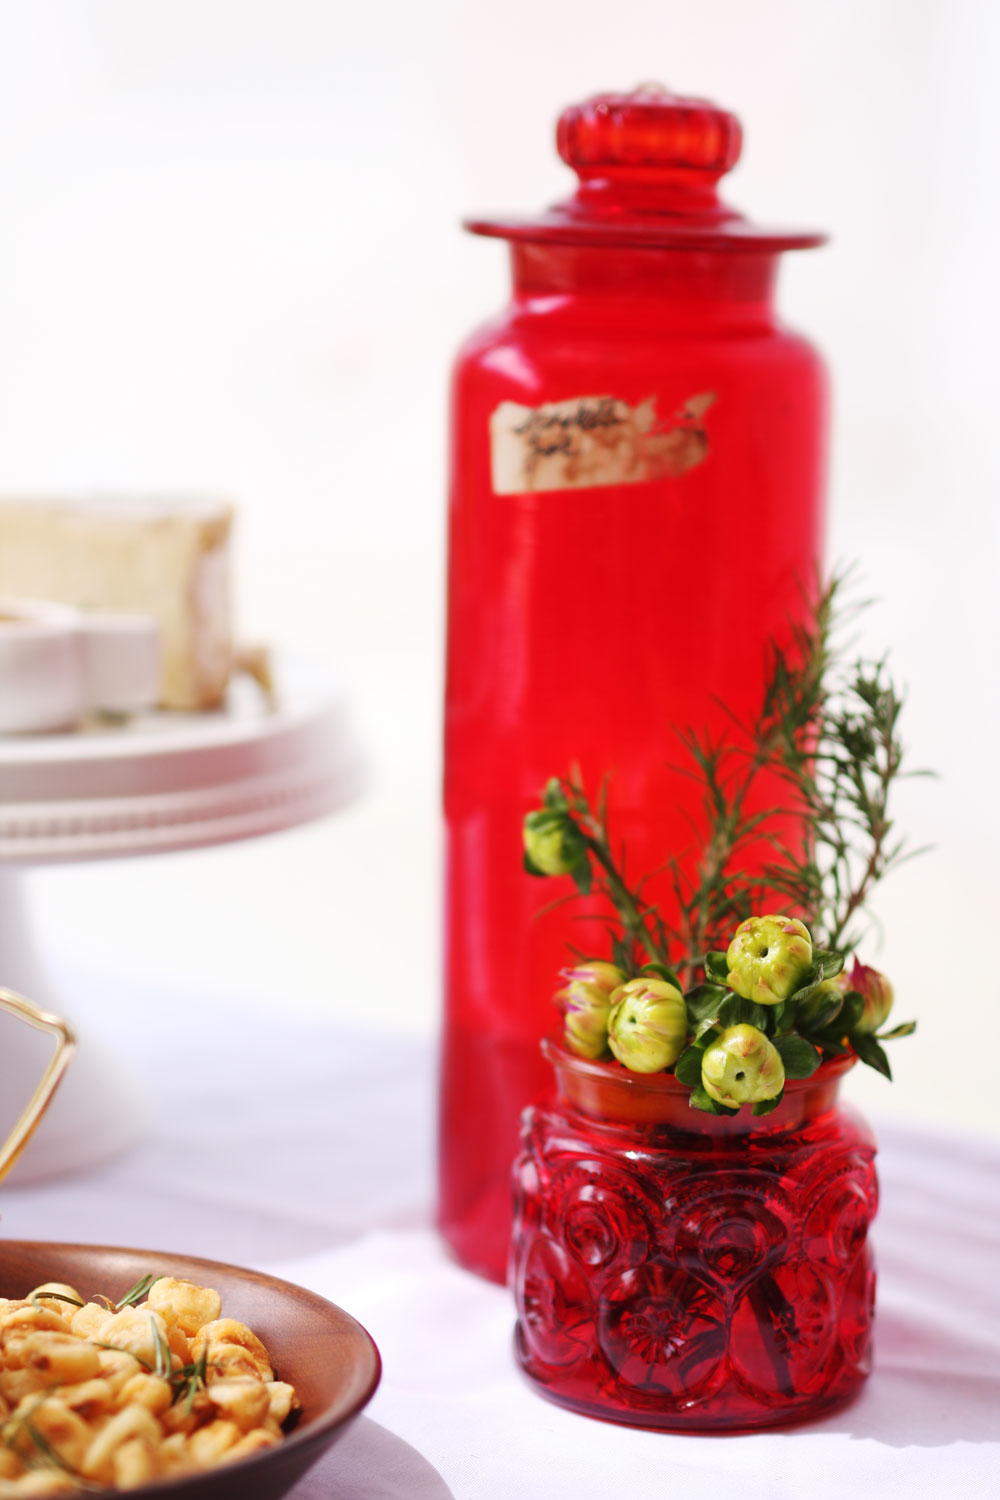
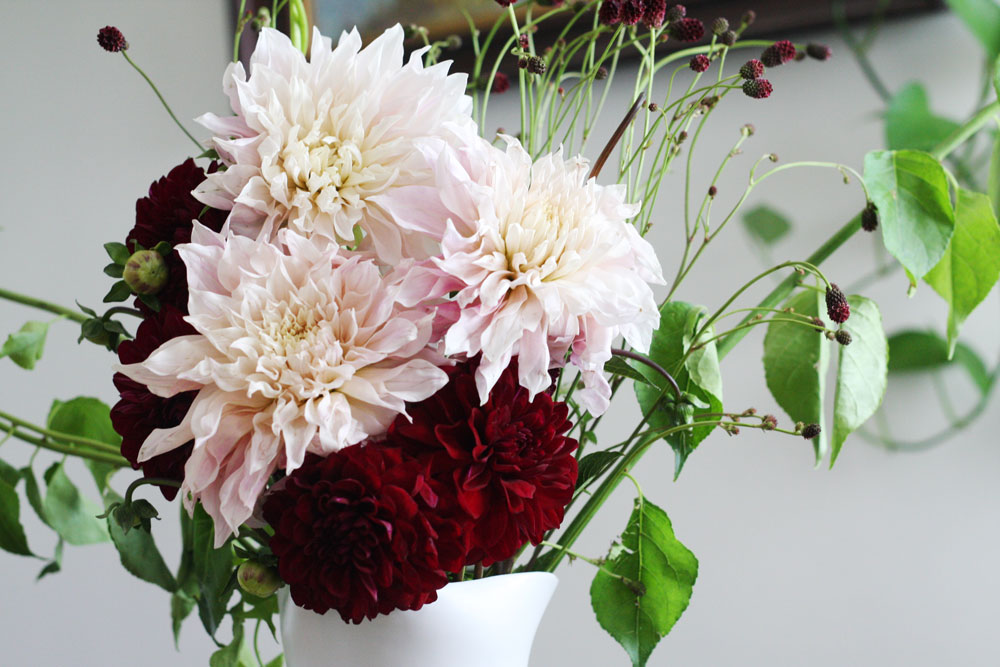
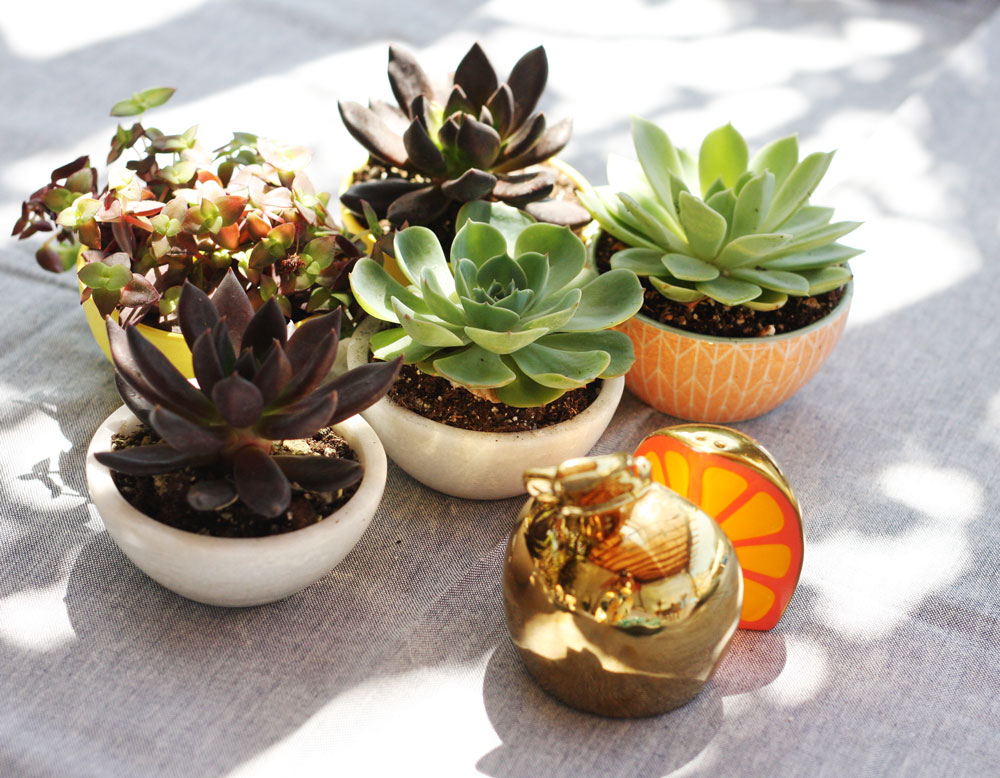 I used succulents as the table centerpiece. Bought small bowls, filled them with succulents and voila, all done.