
A Chair Makeover and Our Dining Room
This post contains affiliate links. If you purchase an item through one of the links, I may receive a small percentage of that sale. Thank you for making Jest Cafe possible.
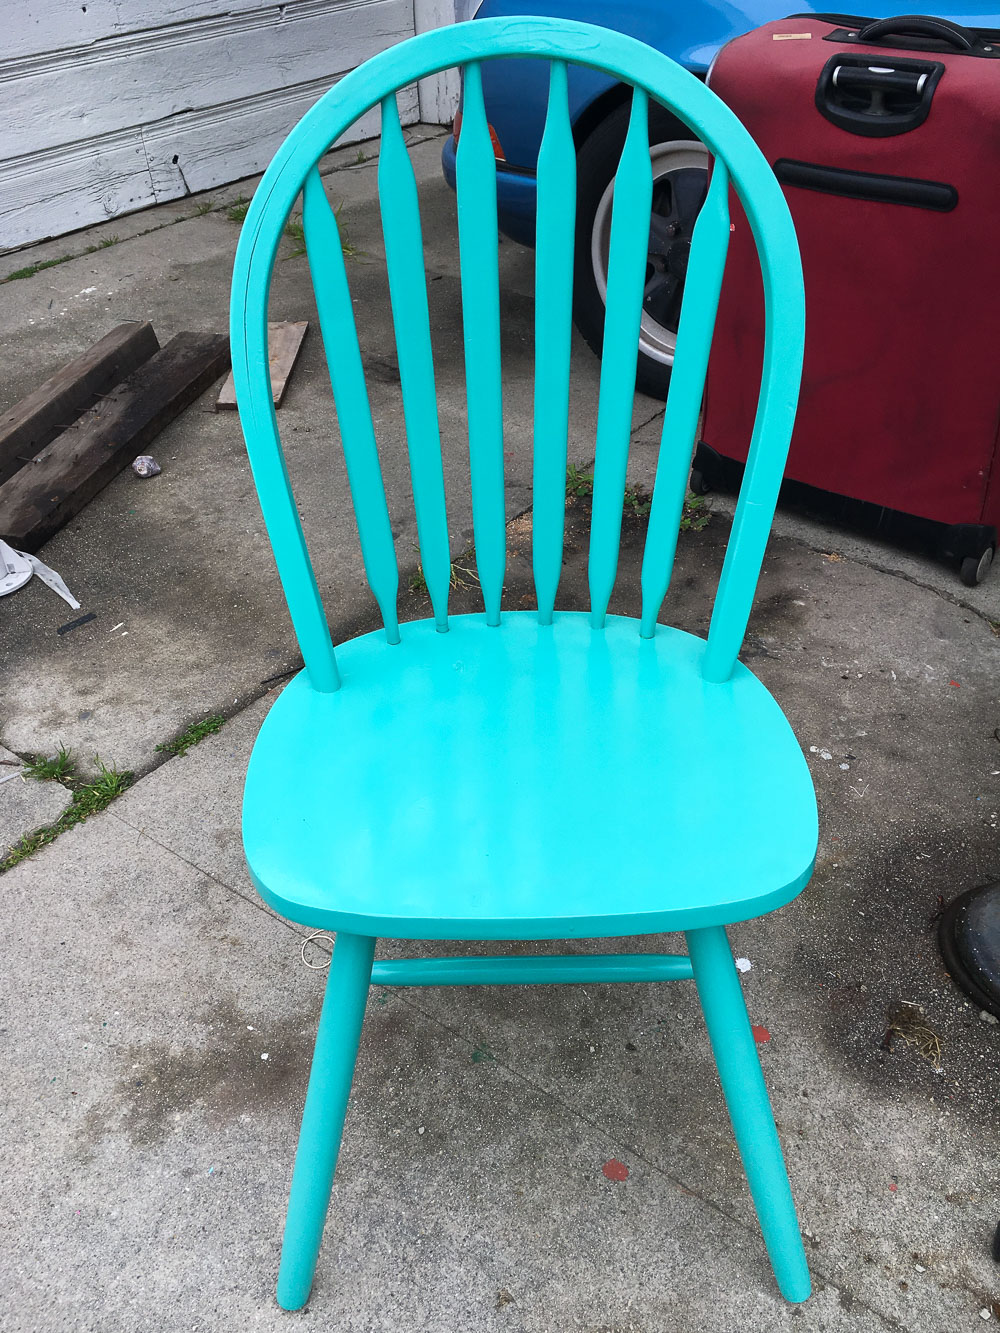
I was driving back home a couple of weeks ago when I found this beauty on my neighbor’s front yard:
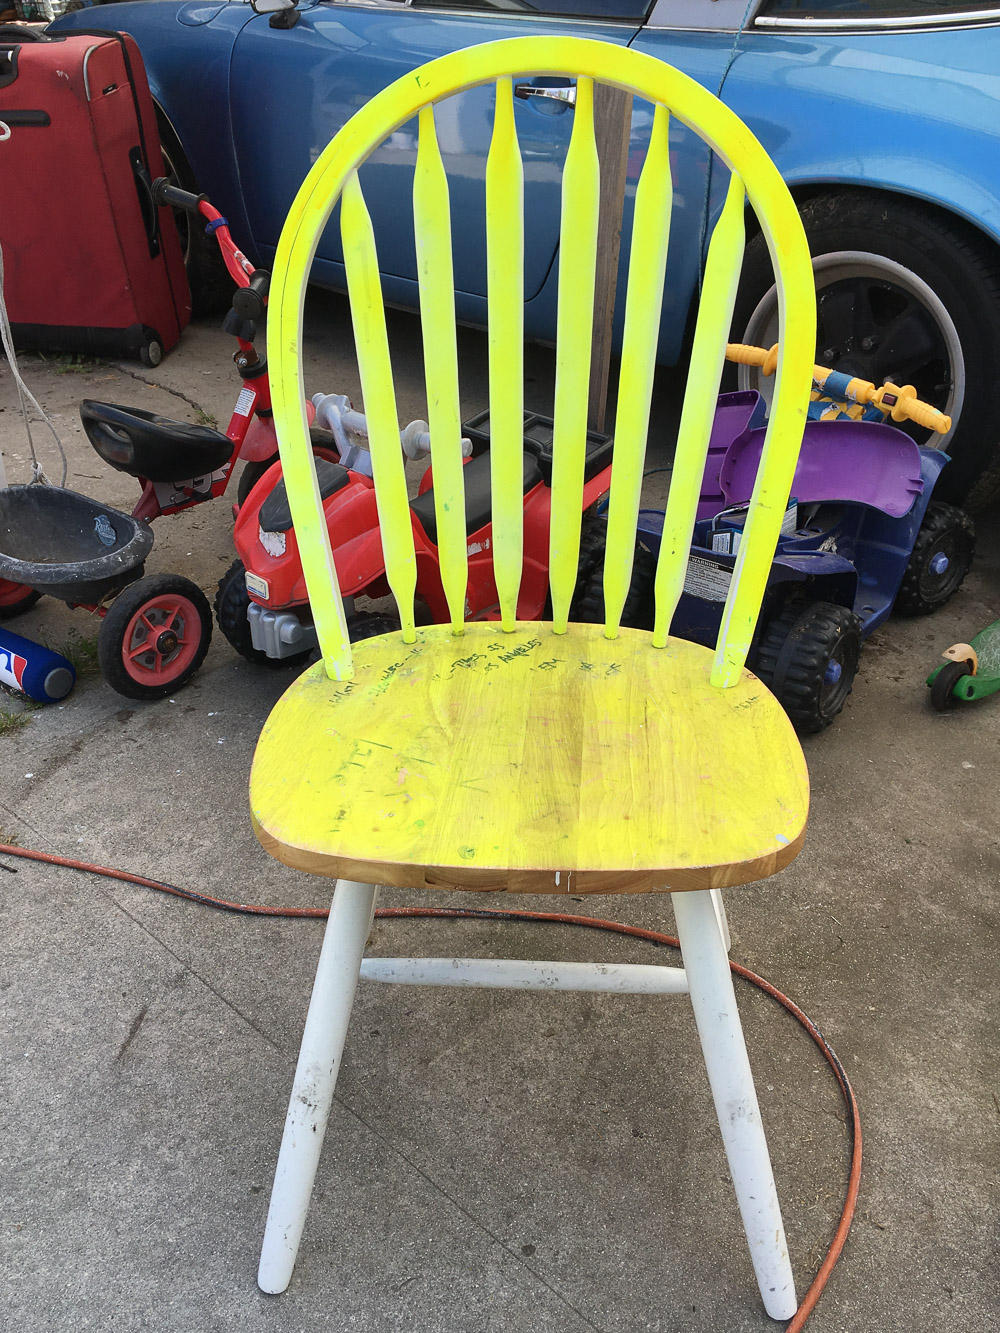
She was standing alone and sad so I snatched her. I have been looking for new chairs for my dining room for a while so I thought, why not?
These kind of chairs are not expensive. You can find them on Amazon for $85 a pair, free shipping with Prime. In any case, I am always trying to find cheap/free stuff with beauty potential so I grabbed it and fixed it up.
Painting a wooden chair is relatively easy, but there are some important tips you can follow if you want it to look “fancy.”
The first tip is to keep kids under 6 away from this project. Kids are no good when it comes to paint and furniture. No matter what they promise, no matter what you say, they will ruin your work as soon as you turn your back on them (or is it only my kids?). Also, spray paint is pretty toxic, which gives you another great excuse to keep them far, far away from this task.
The second tip for painting a chair (and any DIY project) is to have PATIENCE! Don’t hurry up. Wait until you complete each task throughly. No shortcuts! Take your time, please.
Here is what you need to do for a wooden chair makeover:
How to Paint a Wooden Chair
Difficulty (1-5): 2 Time: 2 hours + 2 days to dry Cost: $10
Materials:
- Chair
- Sand paper – Medium grit
- Small wood block to wrap sand paper around (I used a 2″ x 4″). I also had a sand paper block but you don’t need it
- 1 can of glossy spray paint in whatever color you want – I used Malachite color from the Montana gold brand
. If you can’t find the color you want in glossy finish, buy a glossy clear spray paint to apply afterwards
- Big rug or plastic – to put under the chair when painting
- Dust mask – Optional. It will keep you from inhaling a lot of the toxic paint fumes
Instructions
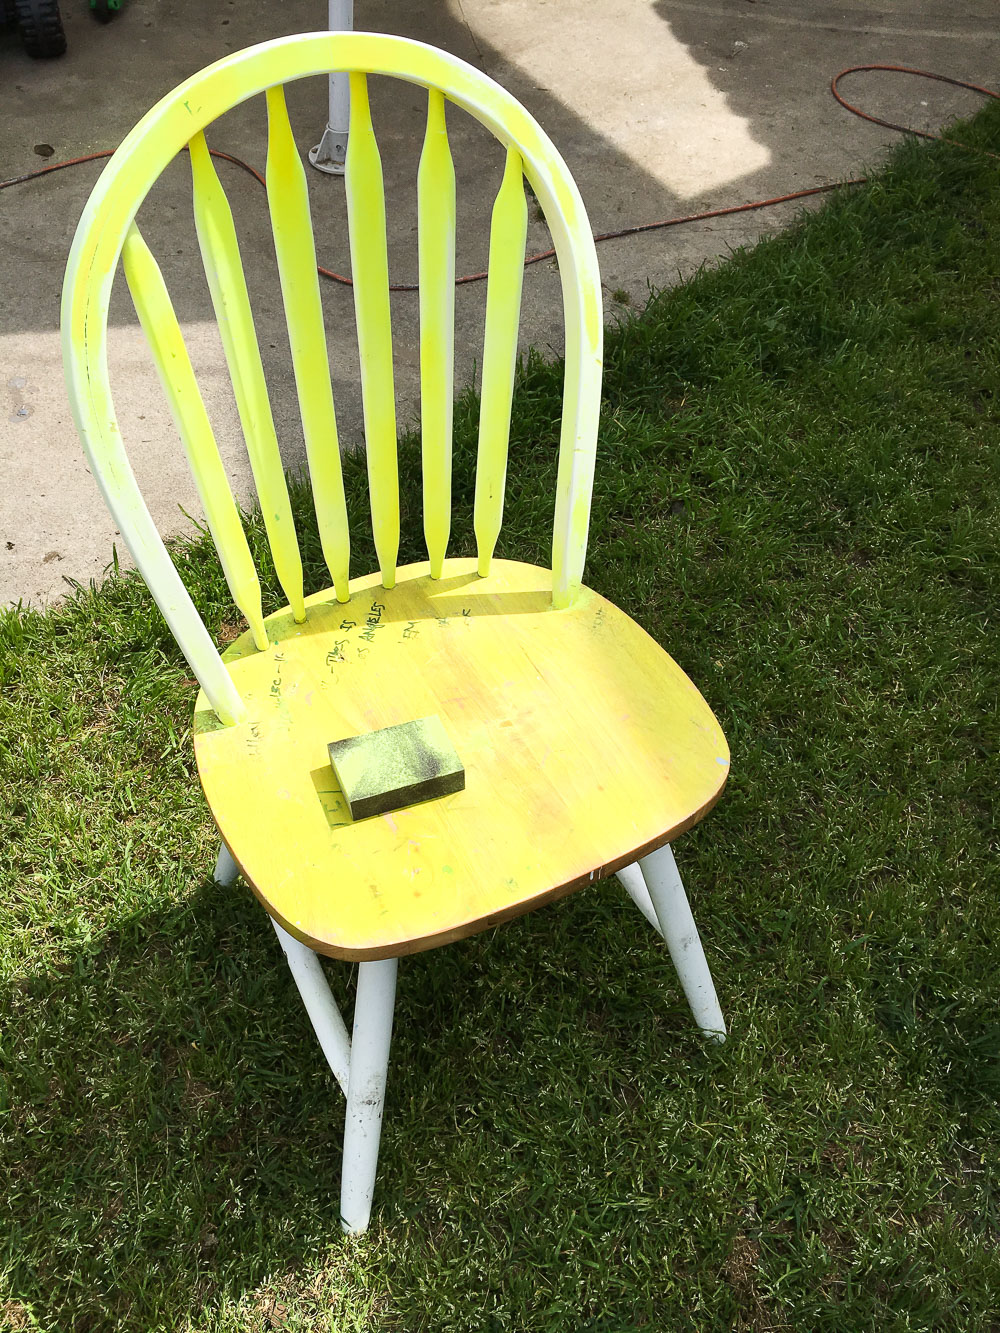
1) Sand the chair. Sandpaper comes in different grits based on the number of sand granules per square inch of paper. A high grit means a finer sandpaper, while a low grit means a coarser sandpaper. Medium grits, such as #120 and #150, are useful for removing old finish or scratches without damaging the wood. I used a medium grit sandpaper for this project.
Wrap the sand paper around the wood block and use it for sanding flat surfaces. This helps to sand only the imperfections that are above the surface. Use the sandpaper alone (or sandpaper block) when sanding curved surfaces. Sanding your chair is important because all the details that you don’t easily see before sanding (like holes or bumps) will clearly show up after you paint your chair. Be patient! Pay attention to detail! Don’t rush through this or you will have to come back again to sand back the imperfections that show up after a fresh and smooth coat of paint had been applied.
Rub surfaces to feel for smoothness!
This is how my chair looked after I finished sanding it: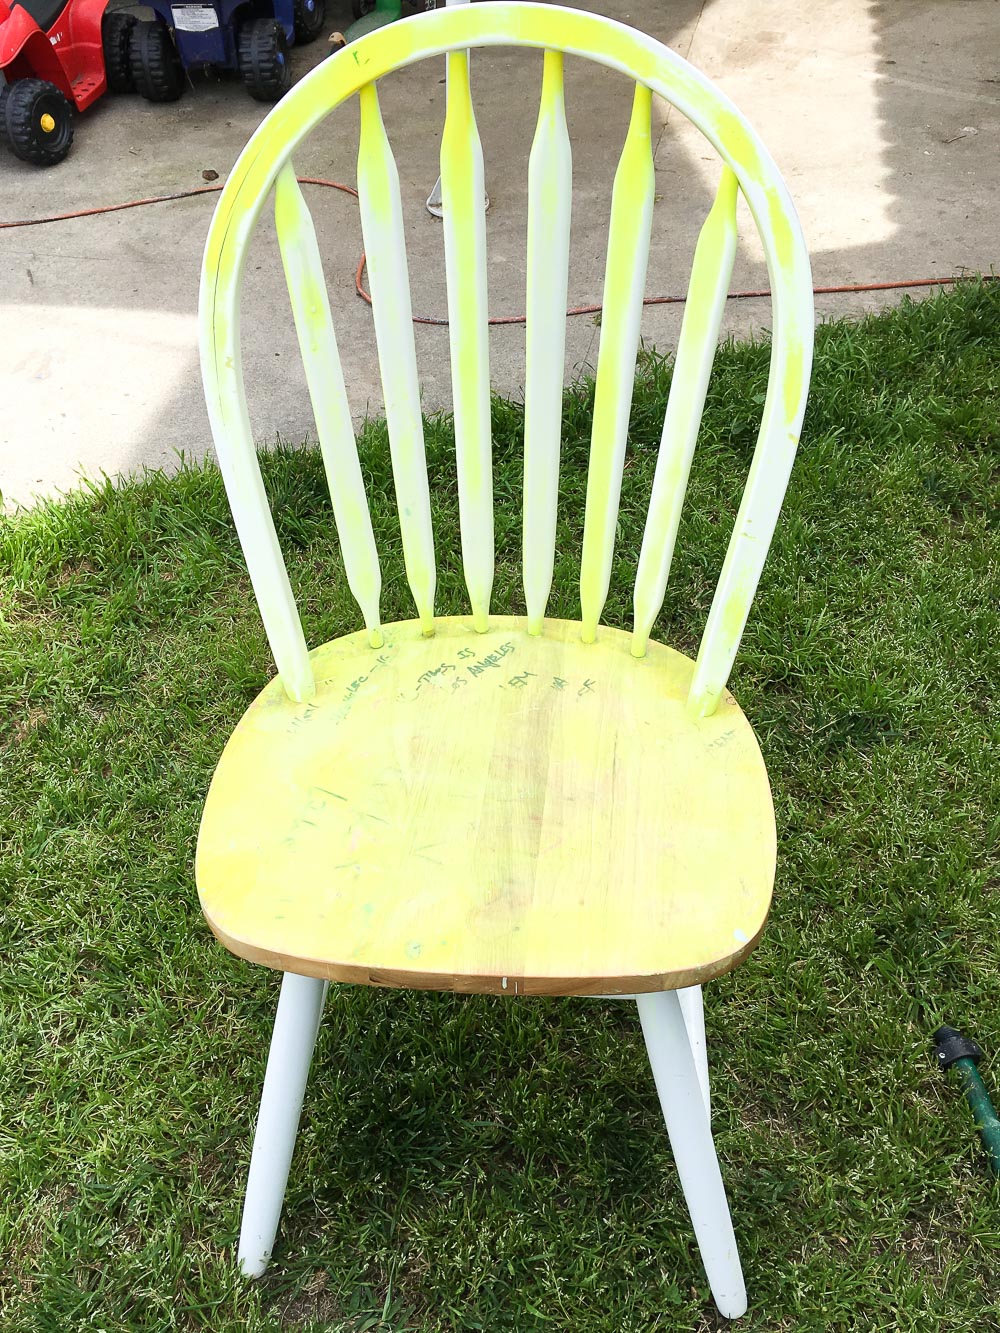
2) Wash the chair with soap and water. Wait until it is completely dry before moving on to the next step.
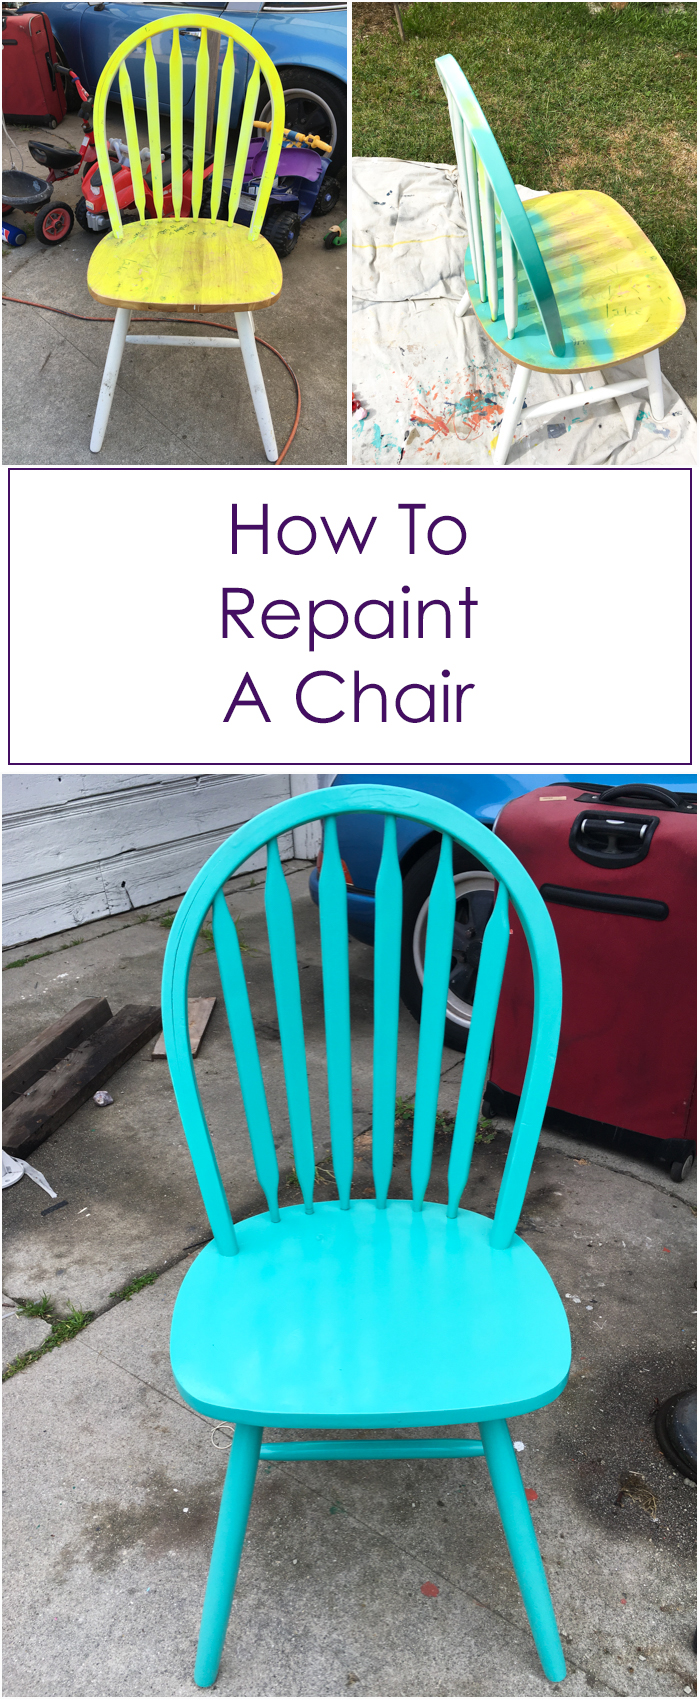
 3) Start spraying. Make sure the spray can is around 8″ -10″ away from the surface you are trying to paint. Don’t start spraying directly into the chair, this could create drips if you apply too much paint (see below). Start spraying by aiming away from the chair and then go into applying smooth strokes to the chair. Again, take your time with this step. You don’t want to create drips with your paint like these ones:
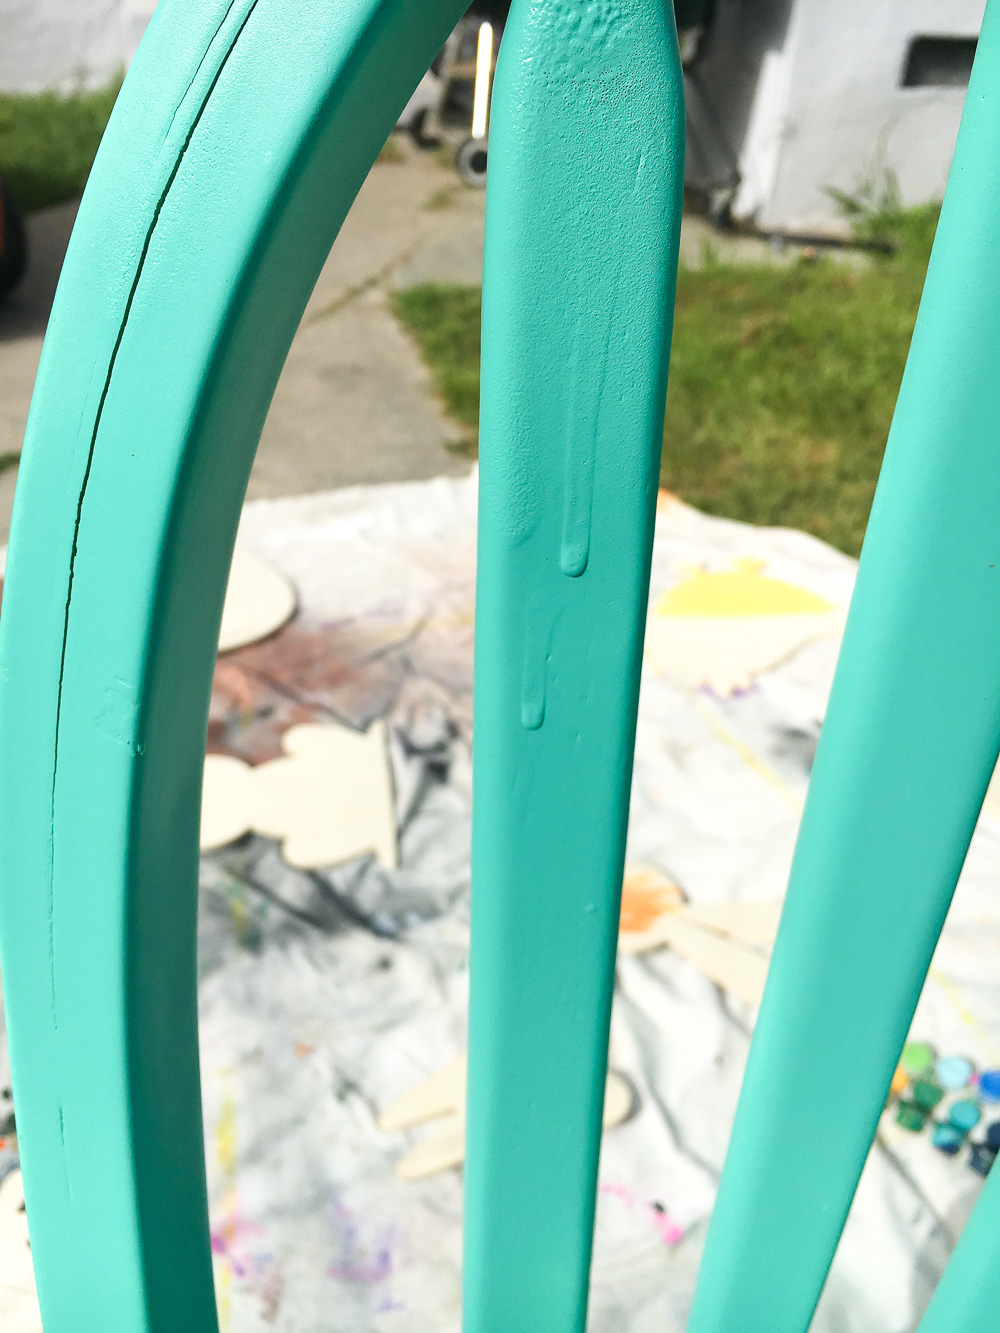 Because then you will have to sand down the imperfections all over again!
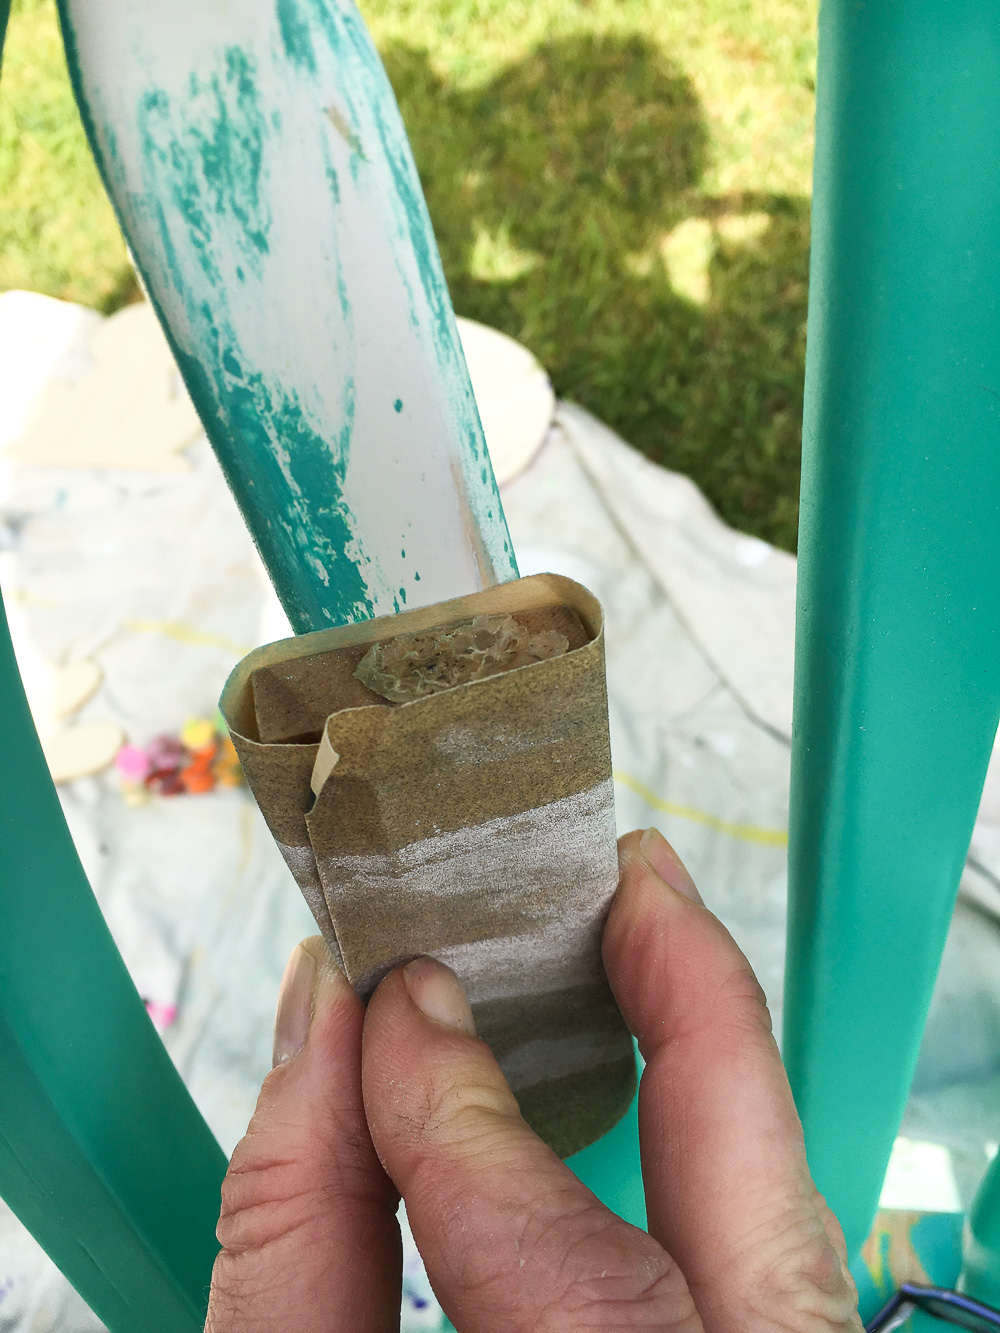
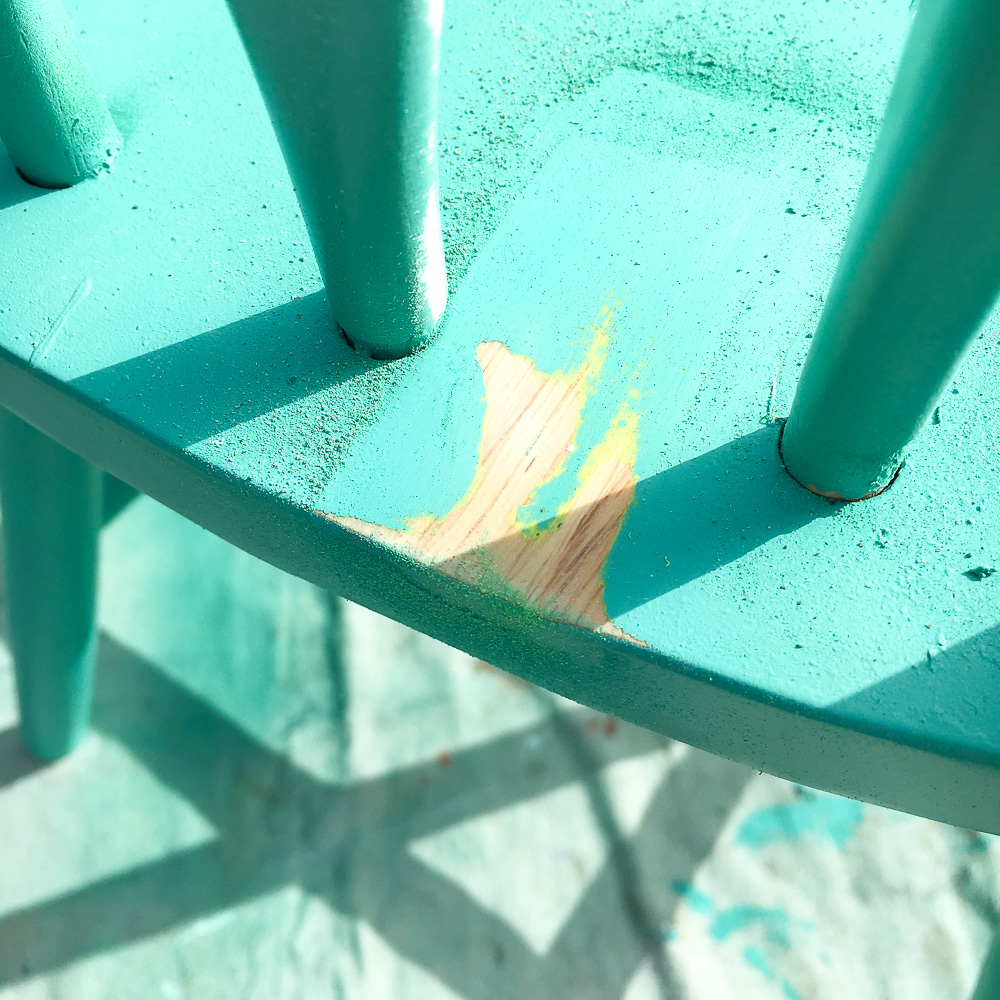
 Whatever imperfections show up, you will need to sand them down the day after you spray paint, otherwise the dust will settle on the damp paint.
When painting, you need to get to all the “difficult” places. Turn the chair upside down and make sure no space is left without paint.
4) If you spray painted your chair with a flat finish like I did, you will need to add a coat of glossy transparent spray paint to give it a glossy finish. A glossy finish is VERY important for kitchen furniture, especially. It is easier to wipe down when dirty with filthy children’s food.
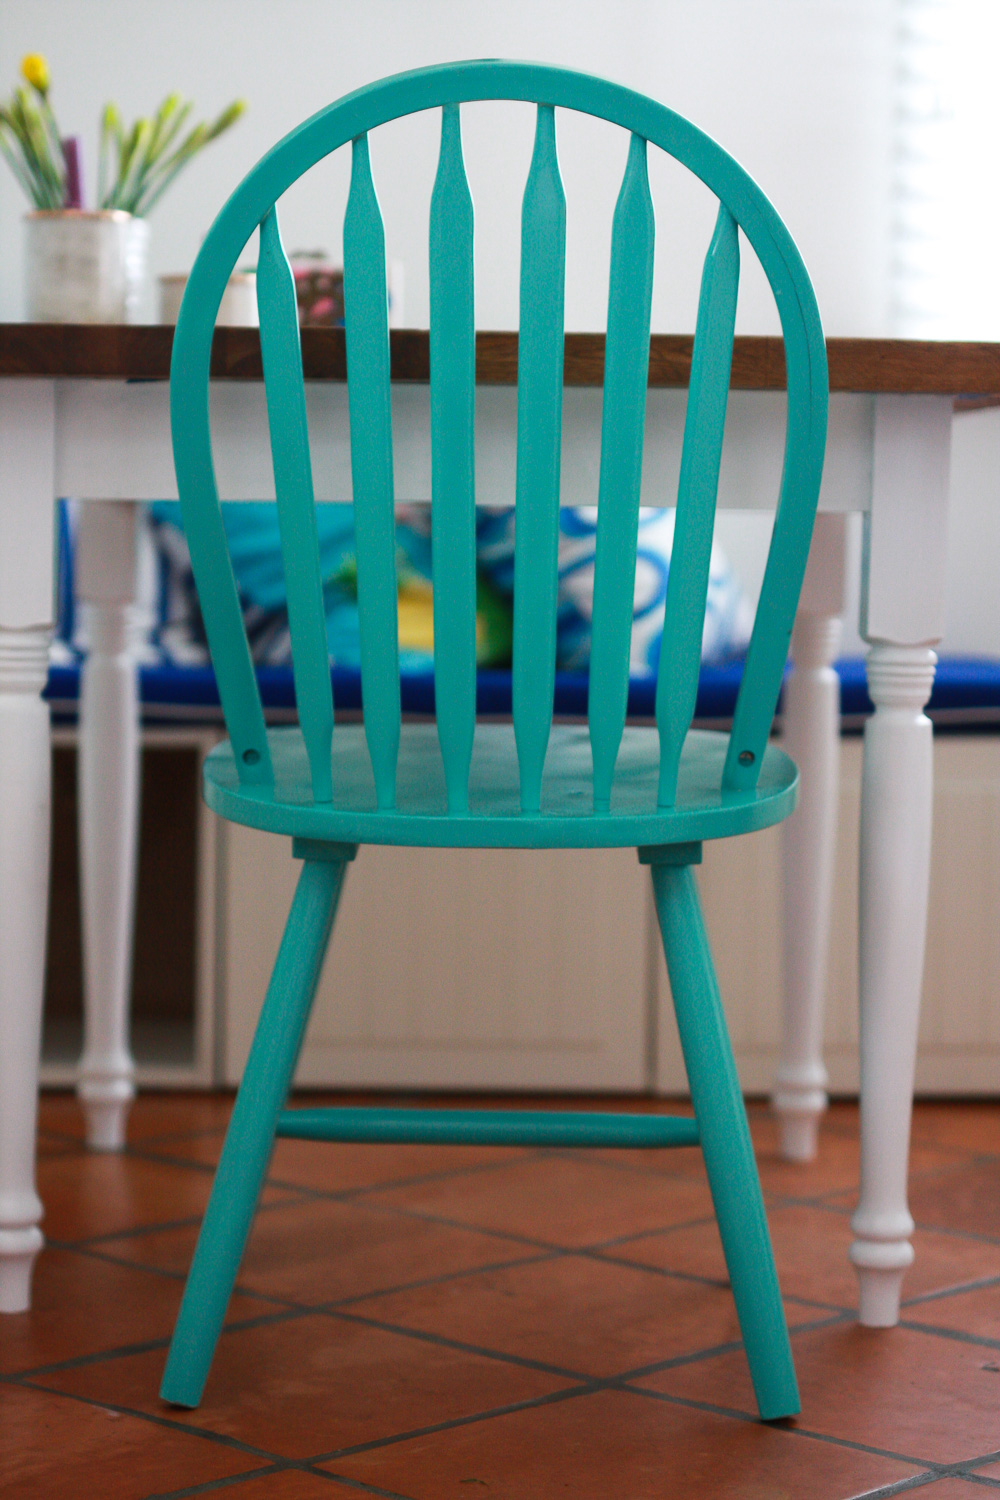
Here is the after photo of that (previously) ugly chair:
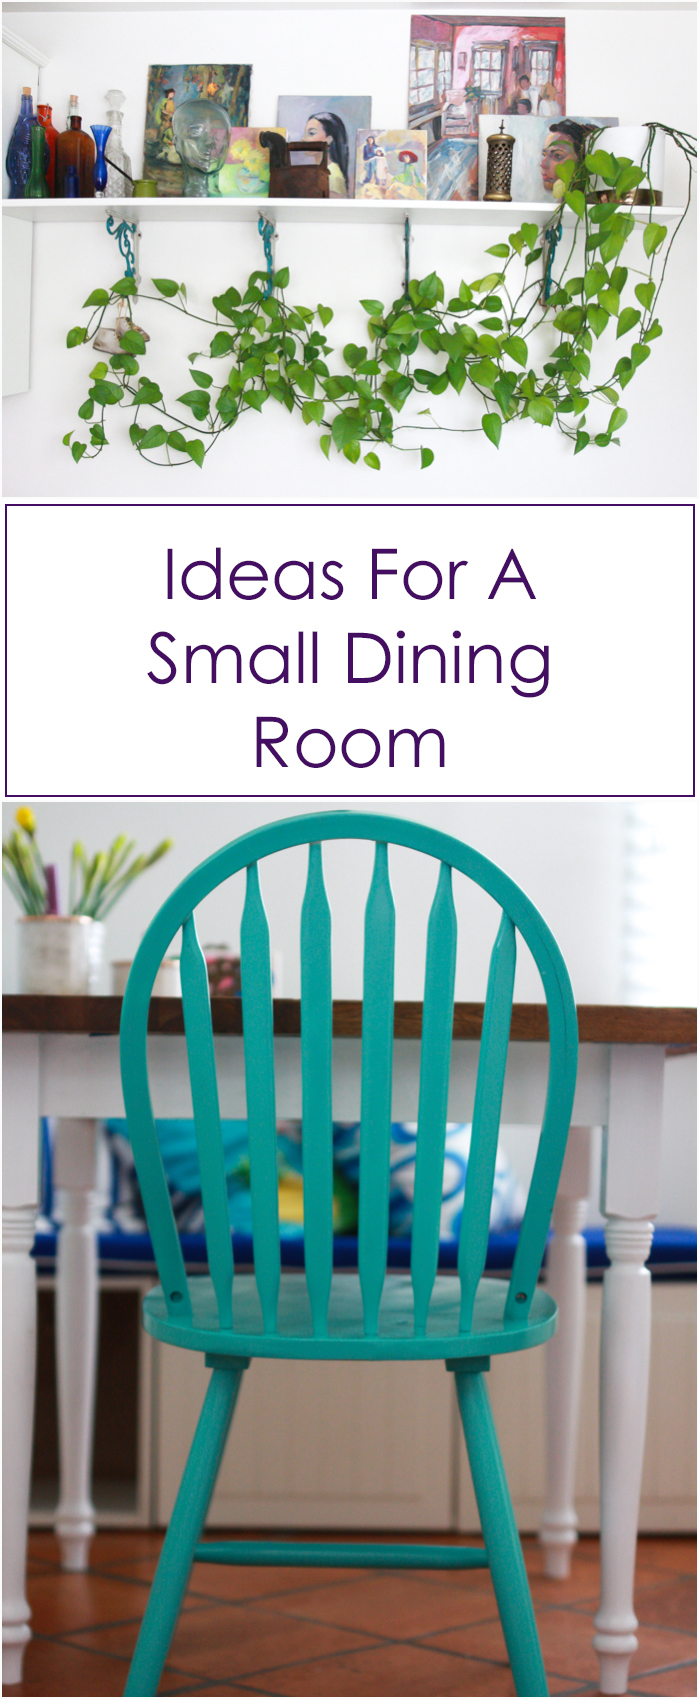
 Here are photos of the chair in our dining room. By the way, I am taking this opportunity to introduce our little dining room to all of you! I have not shared photos of it before. You might already know that our house is small, so this little breakfast nook works as the dining room, project table, homework space, and many other things. I like how happy and vibrant it is.
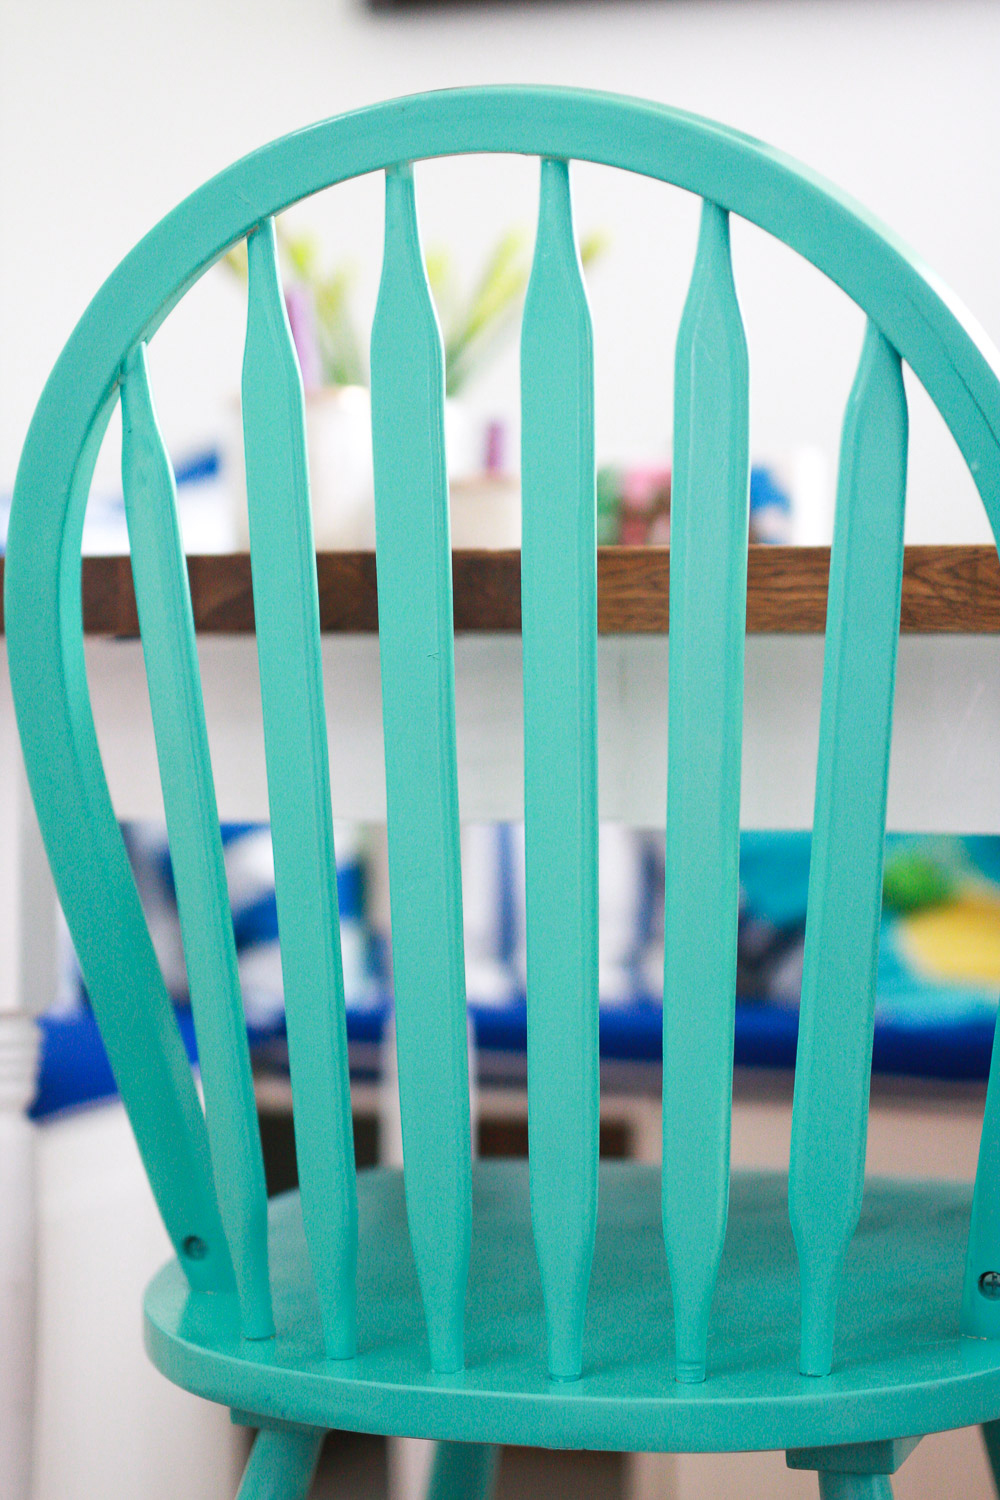
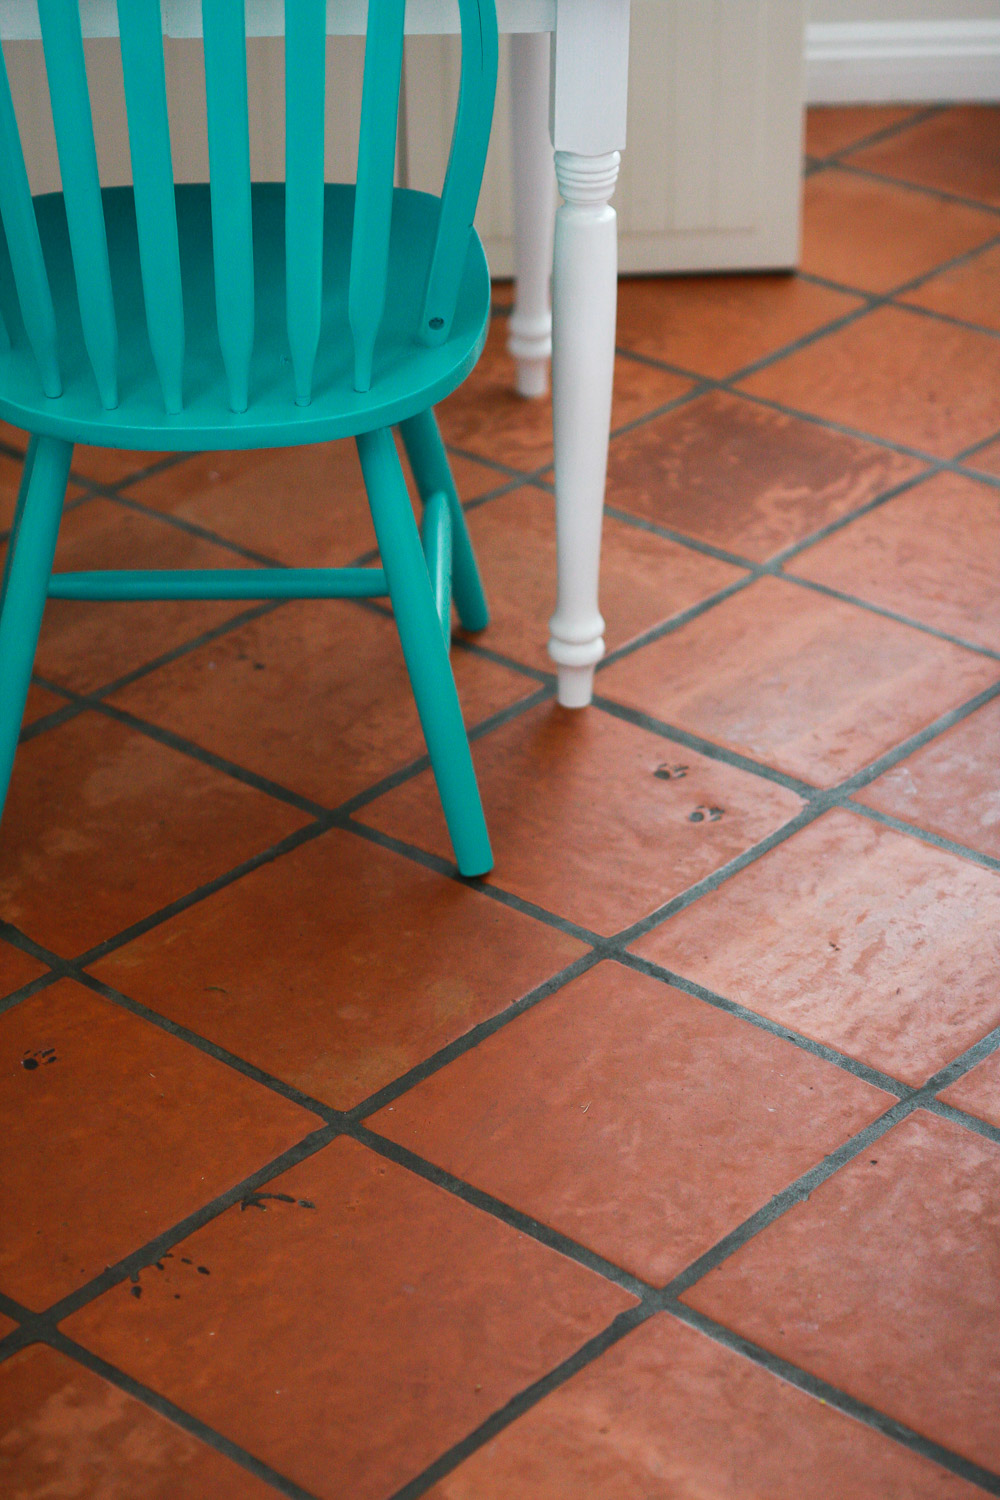 The Saltillo tile that George installed is pretty charming. It gives the kitchen a rustic look.
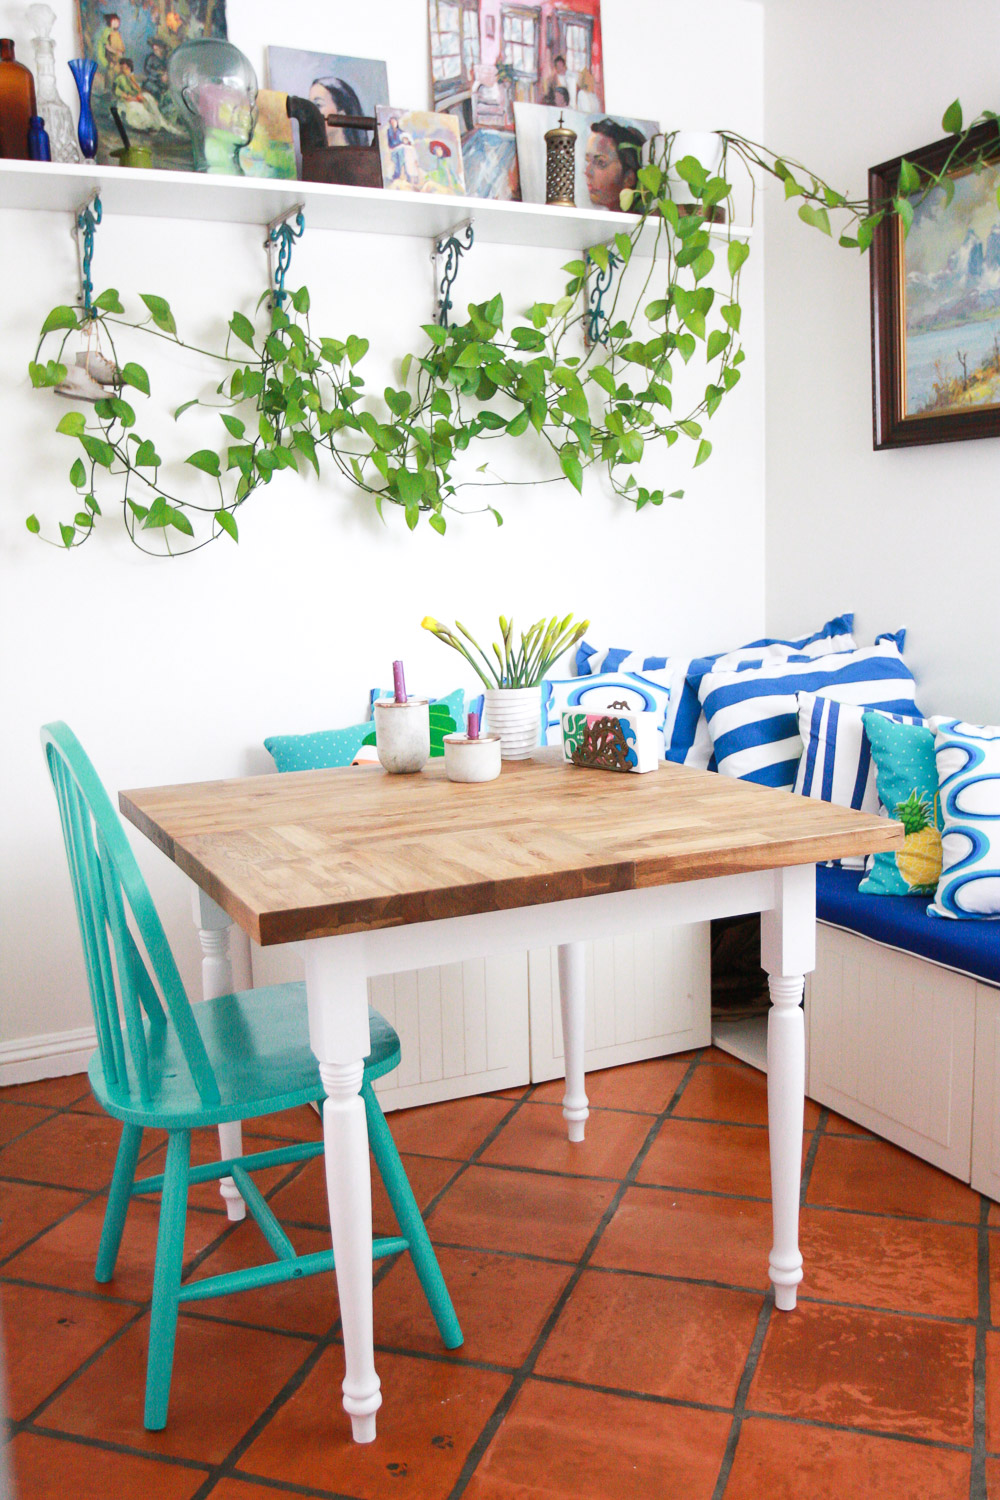 The seats work as drawers for storage, too.
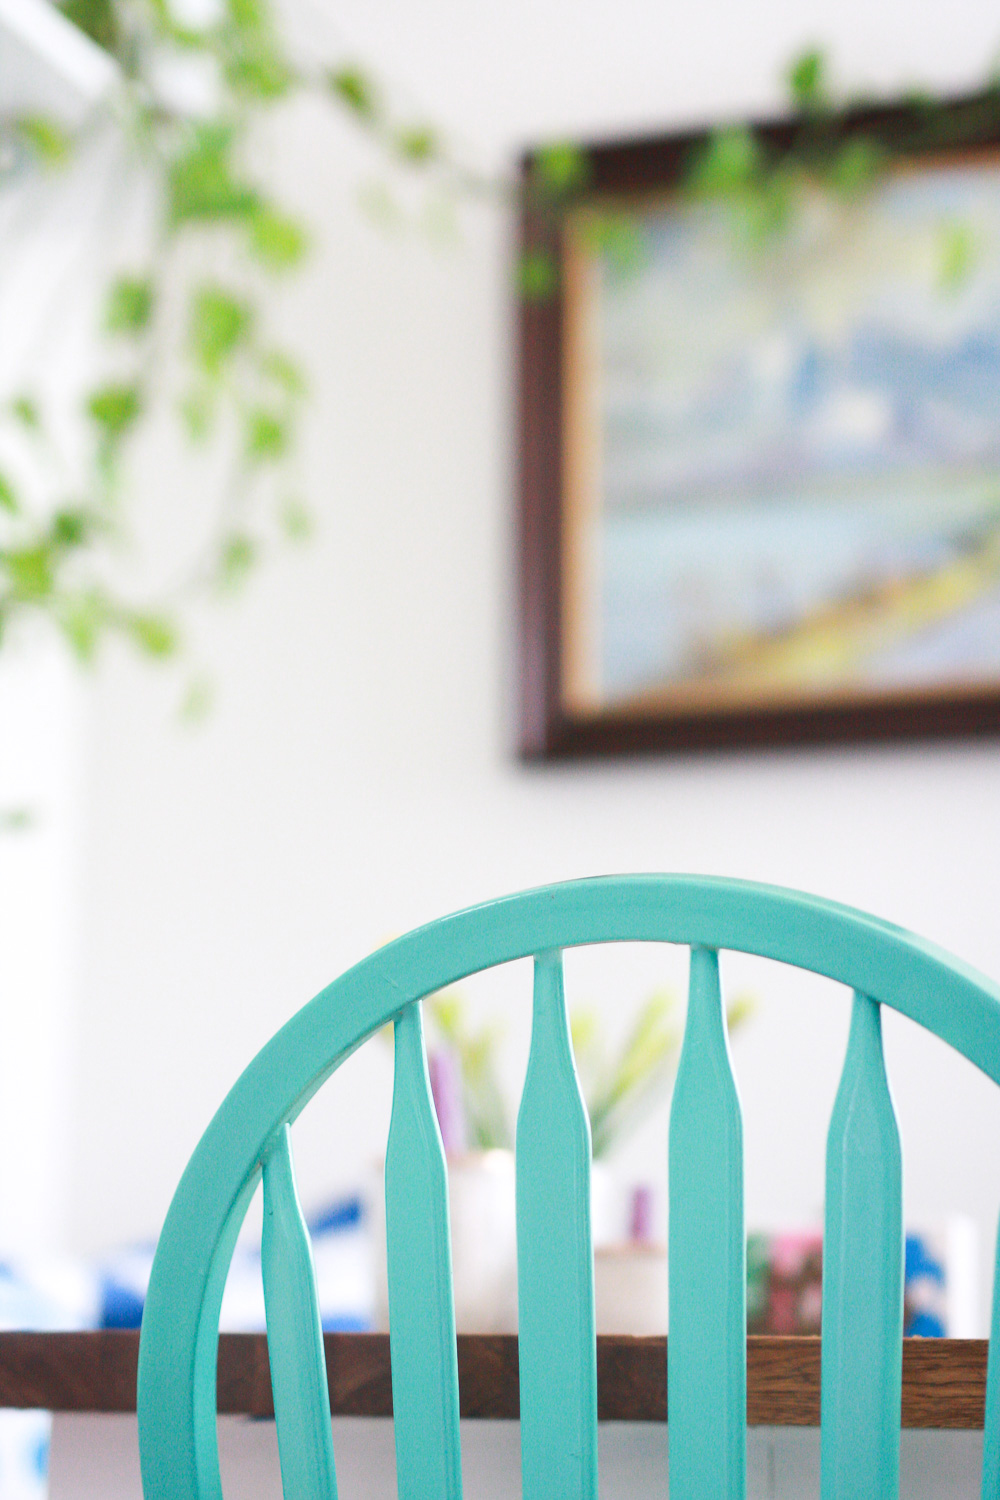
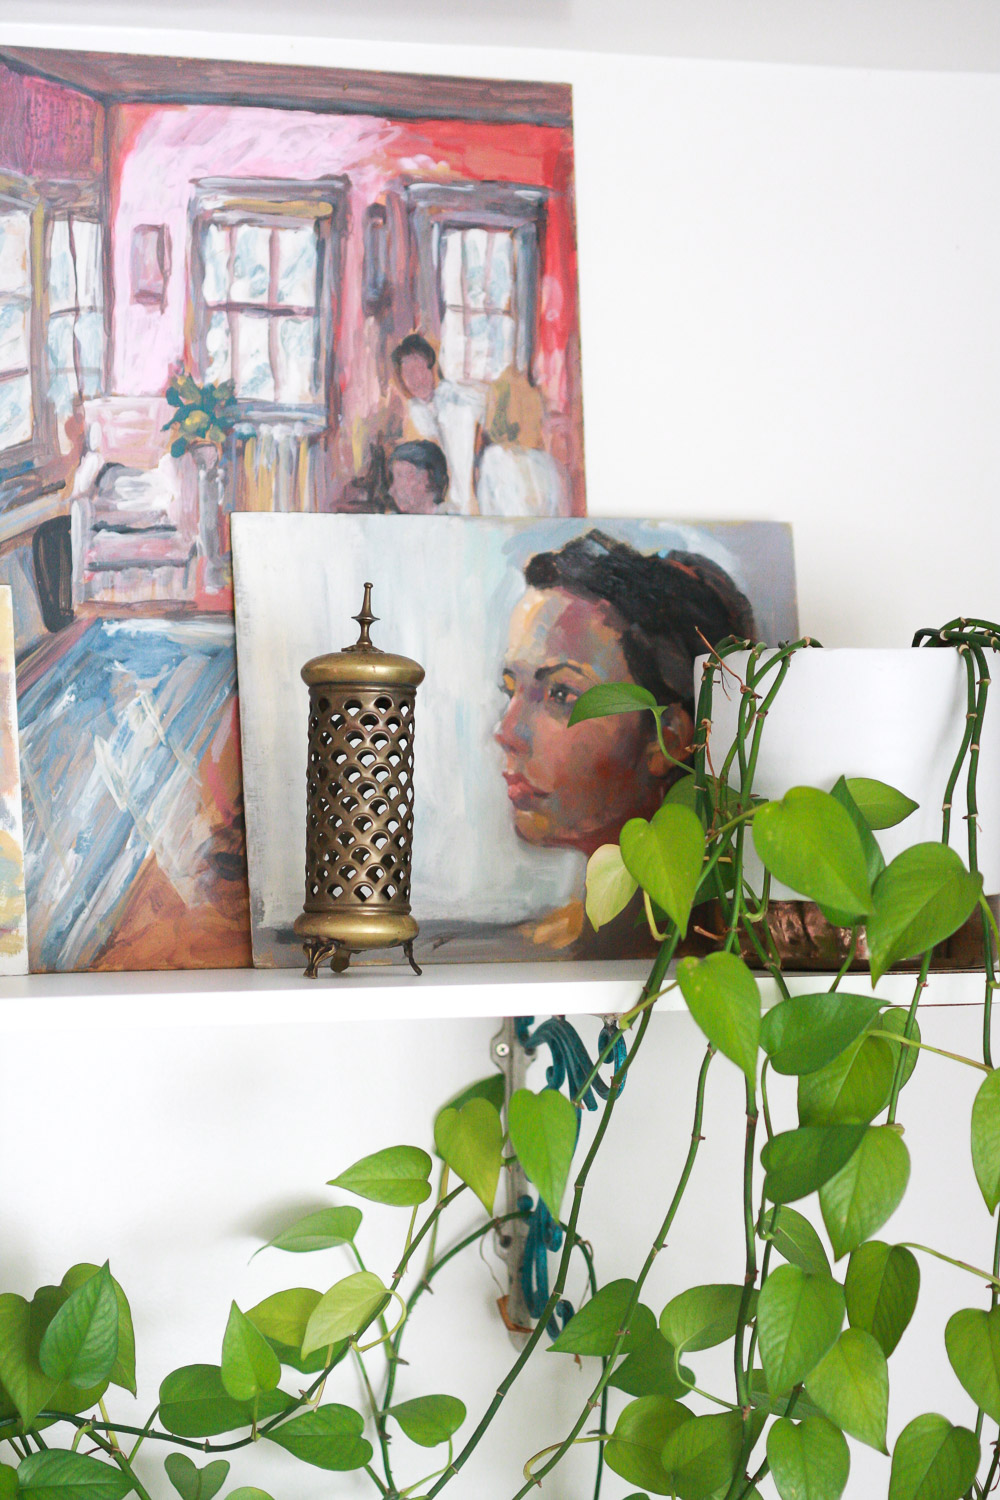
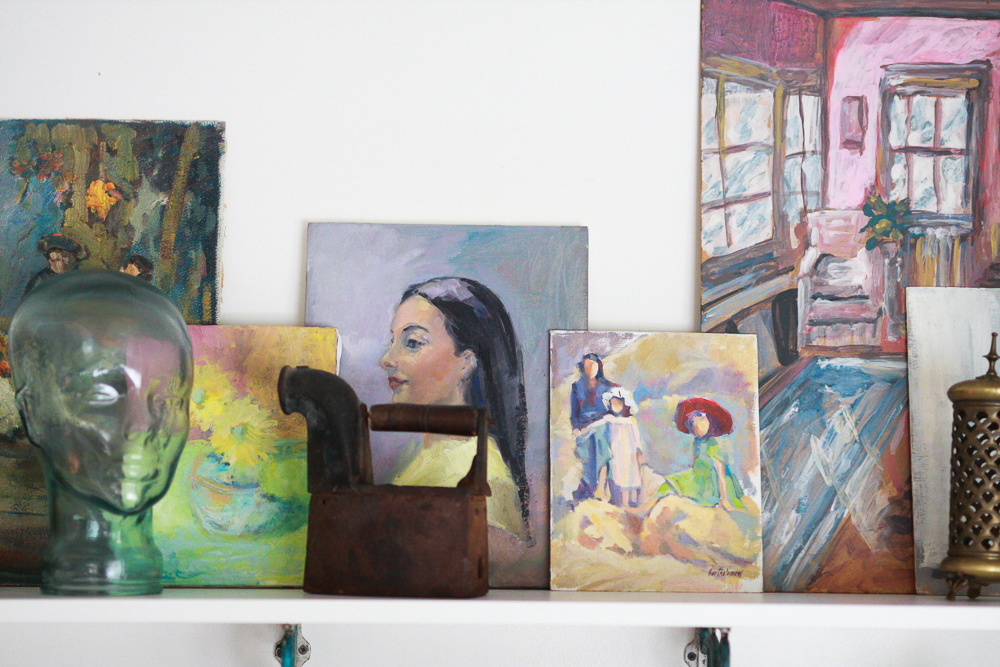
 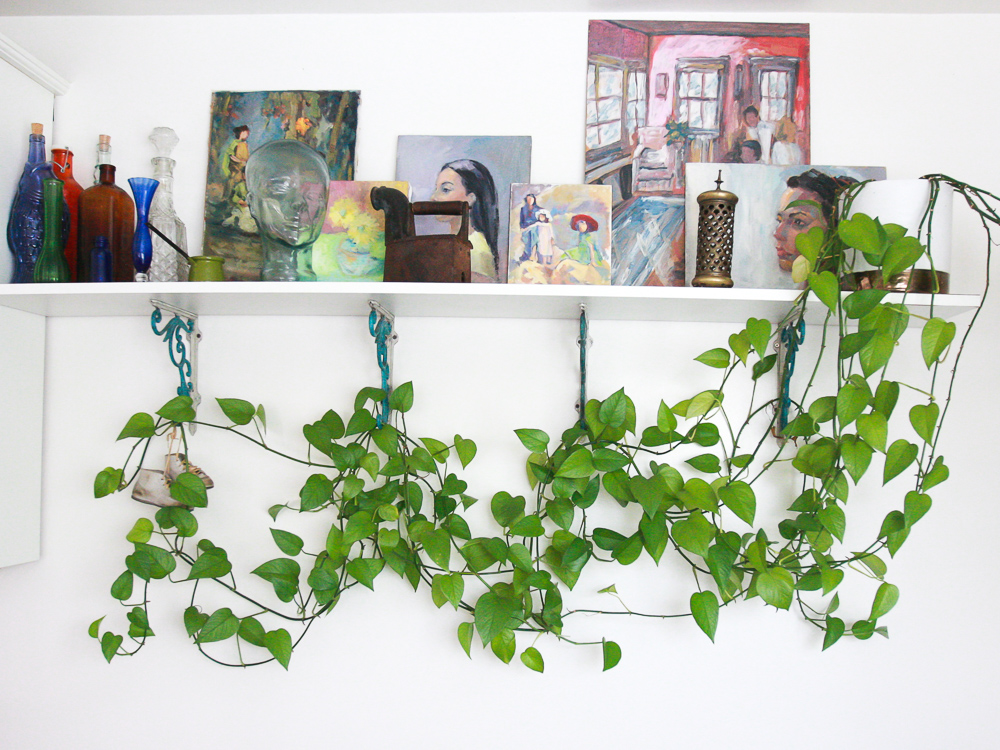 The shelf has vintage finds and a beautiful plant. Just how I like it.
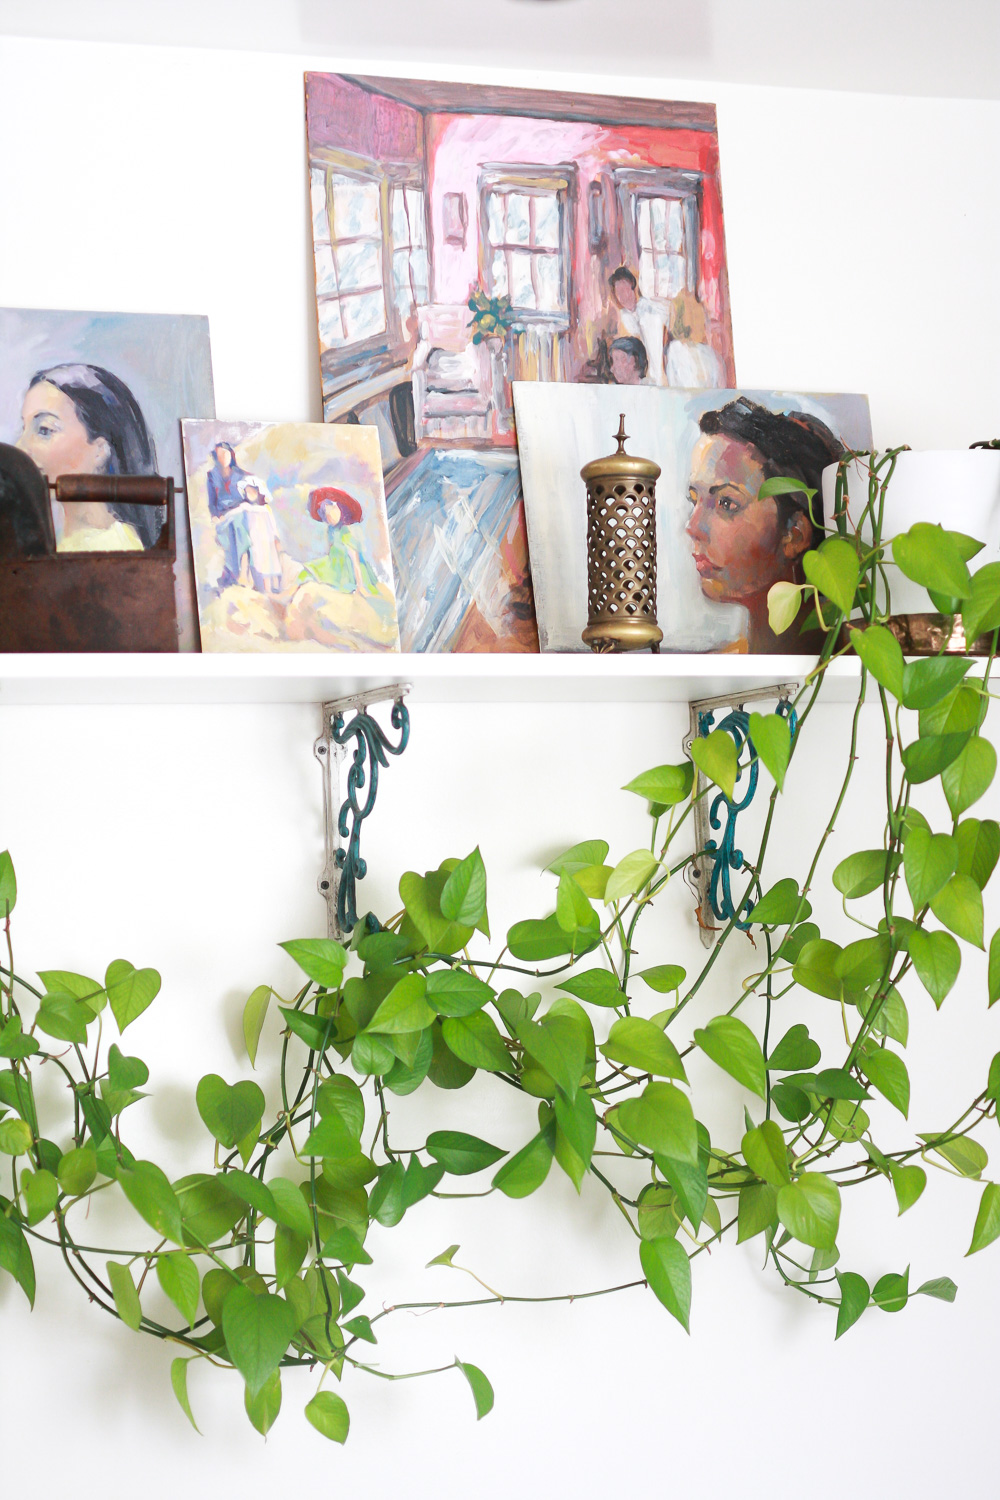
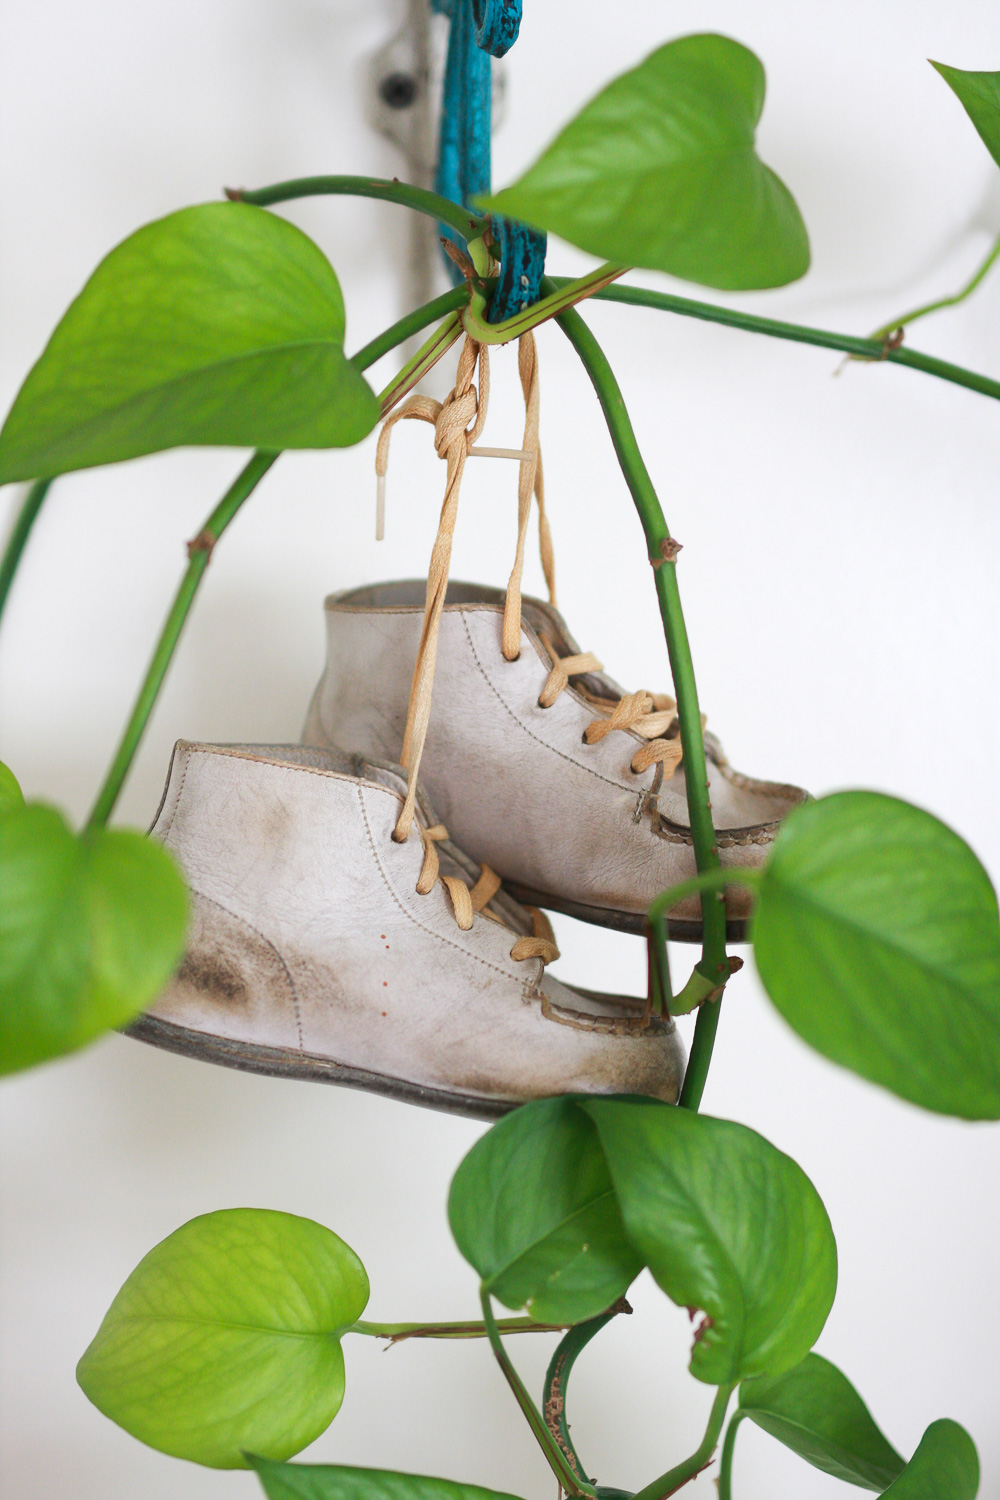
Some old baby shoes just hanging in there because they look cute. No sentimental reason.
I just ordered 2 more wooden chairs from Amazon so I can paint them and add them to the dining room. The chair I just painted looks cute but lonely. It needs some company, so I will be making some friends for her this weekend.
Have a wonderful day!


I love your dining room, Mila! That plant!!! The chair looks great and is such a nice color.
Thanks, Emy! I agree, that plant makes all the difference!
MIla – love the color and style of the chair…I am most impressed with your patience with the painting…a great DIY post!
Hi, Jeanne! I think it takes time to get these things right. I used to rush through projects and realized that hurrying up the process would always yield bad results.
I really like your whole vibe. The chair to the plant. So good!!!!
I had some ugly chairs, even uglier than what is shown on your blog. Love your ideas very much. I am interested in repainting them, though I might not have time and innovative ideas in making over. Besides, my smallest child will ruin everything, so I need to find the real me-time to do it. Was laughing when I saw the baby shoes hanging on the plant. That’s quite an idea in enhancing the rustic look, anyway.
Thanks, Maureen! Small kids DO ruin everything. Having them around while doing a project is a serious stress starter… If you repaint the chair, make sure it is not plastic! I would love to see.