If you are hosting, it is not too late to get ideas for your Thanksgiving table decoration. Having a nice setting is a lot easier (and cheaper) than you think. I found 17 creative ideas that you can incorporate on your table to take it to the next Thanksgiving level. Friends will be impressed.
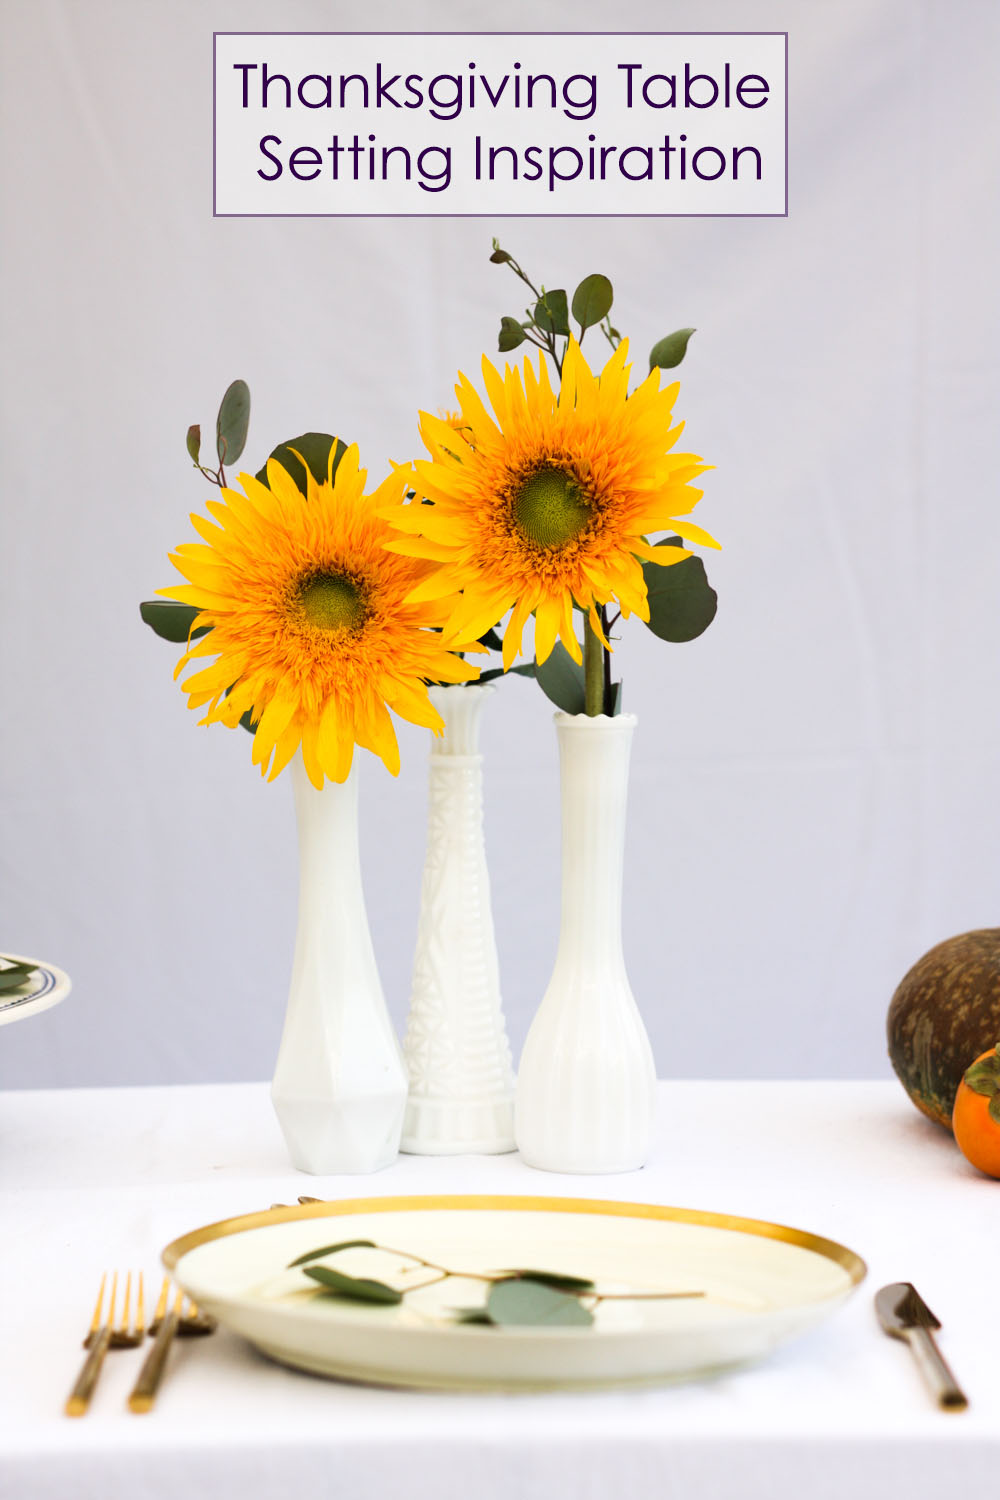
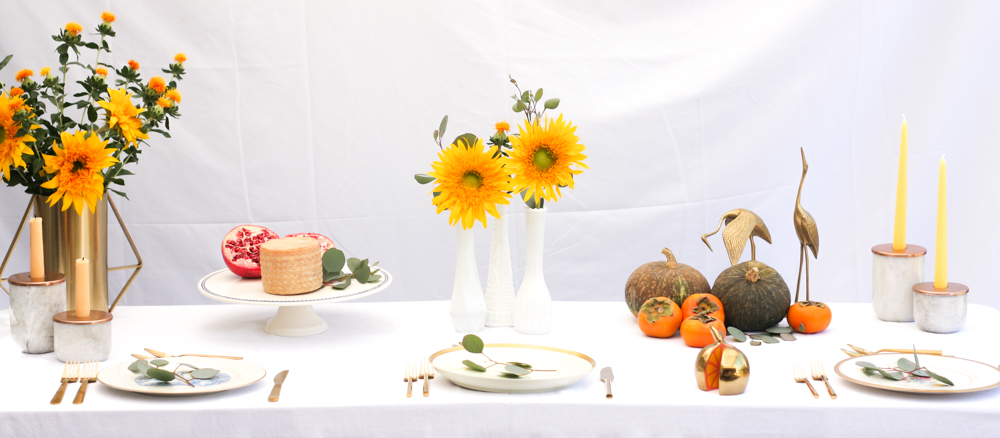
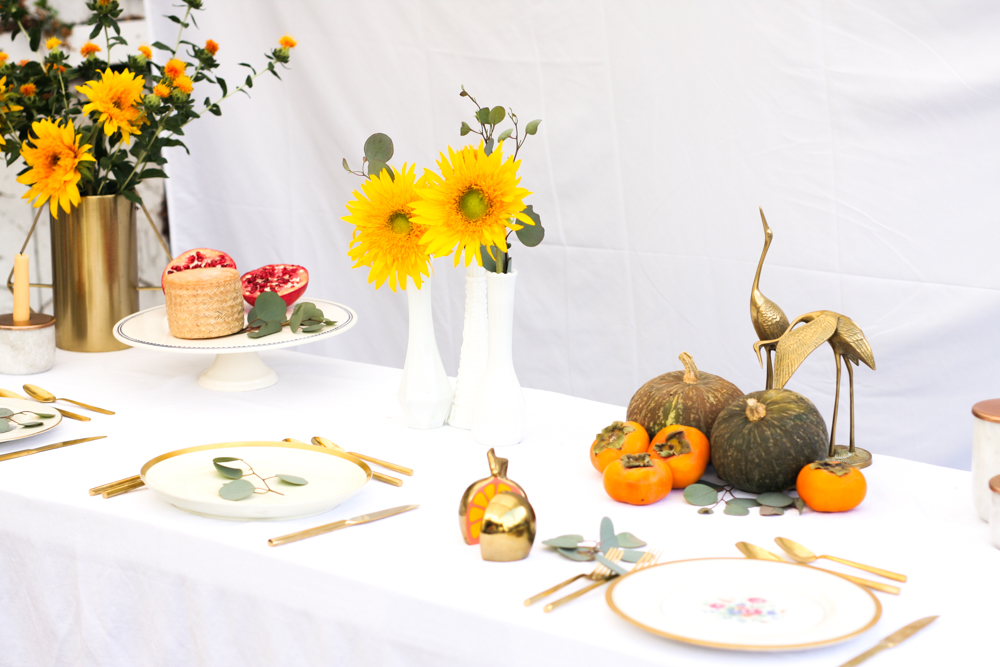
(If you want, you can take a look at the Thanksgiving table setting inspiration I created a couple of weeks ago here.)
Let’s take a look at these ideas:
 Tending The Table
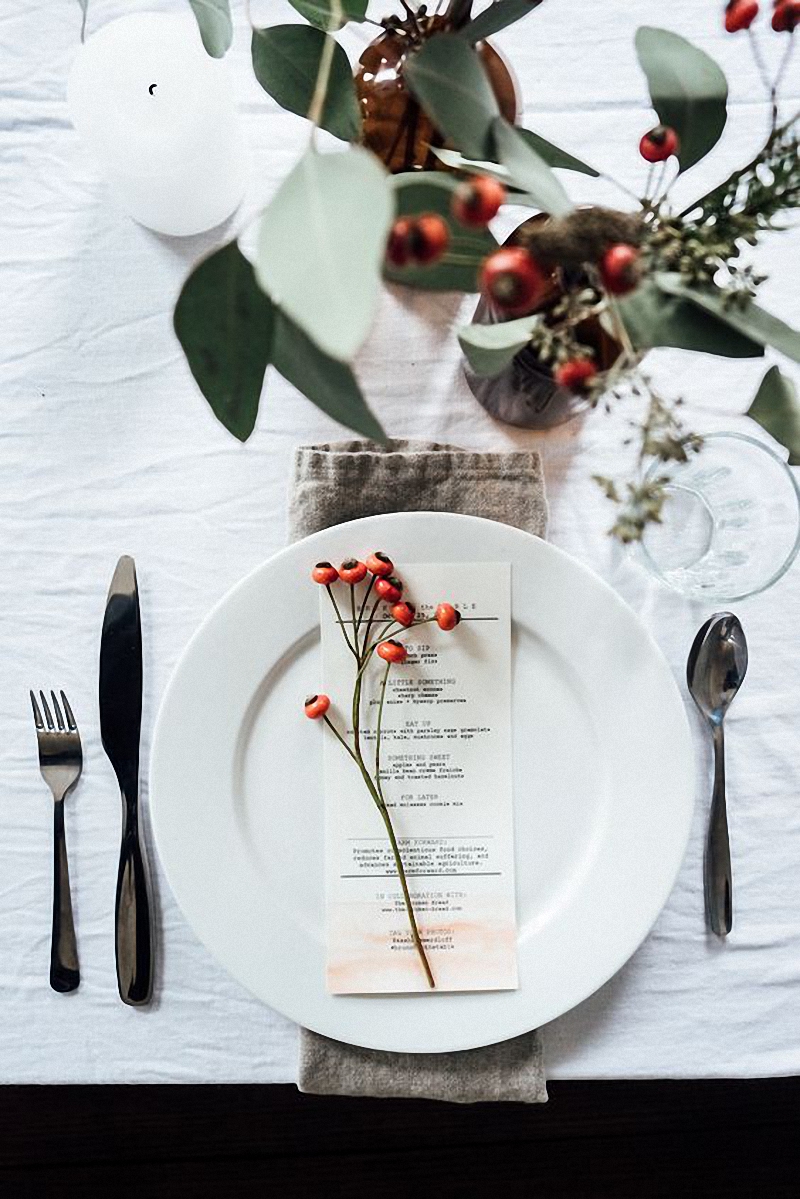
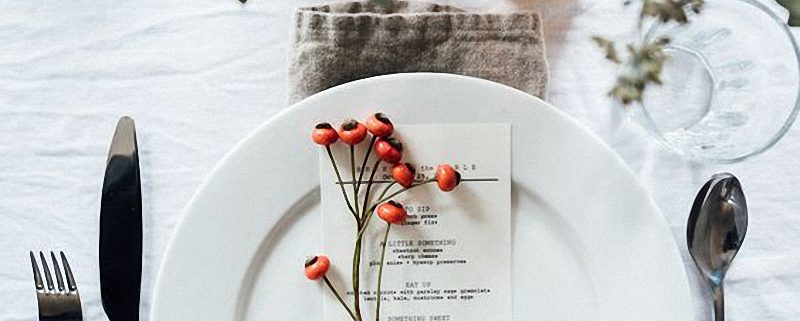
Idea #1 – Create a menu – A menu is a nice touch that costs almost no $. It just takes time to create and print it. Your guests will be impress.
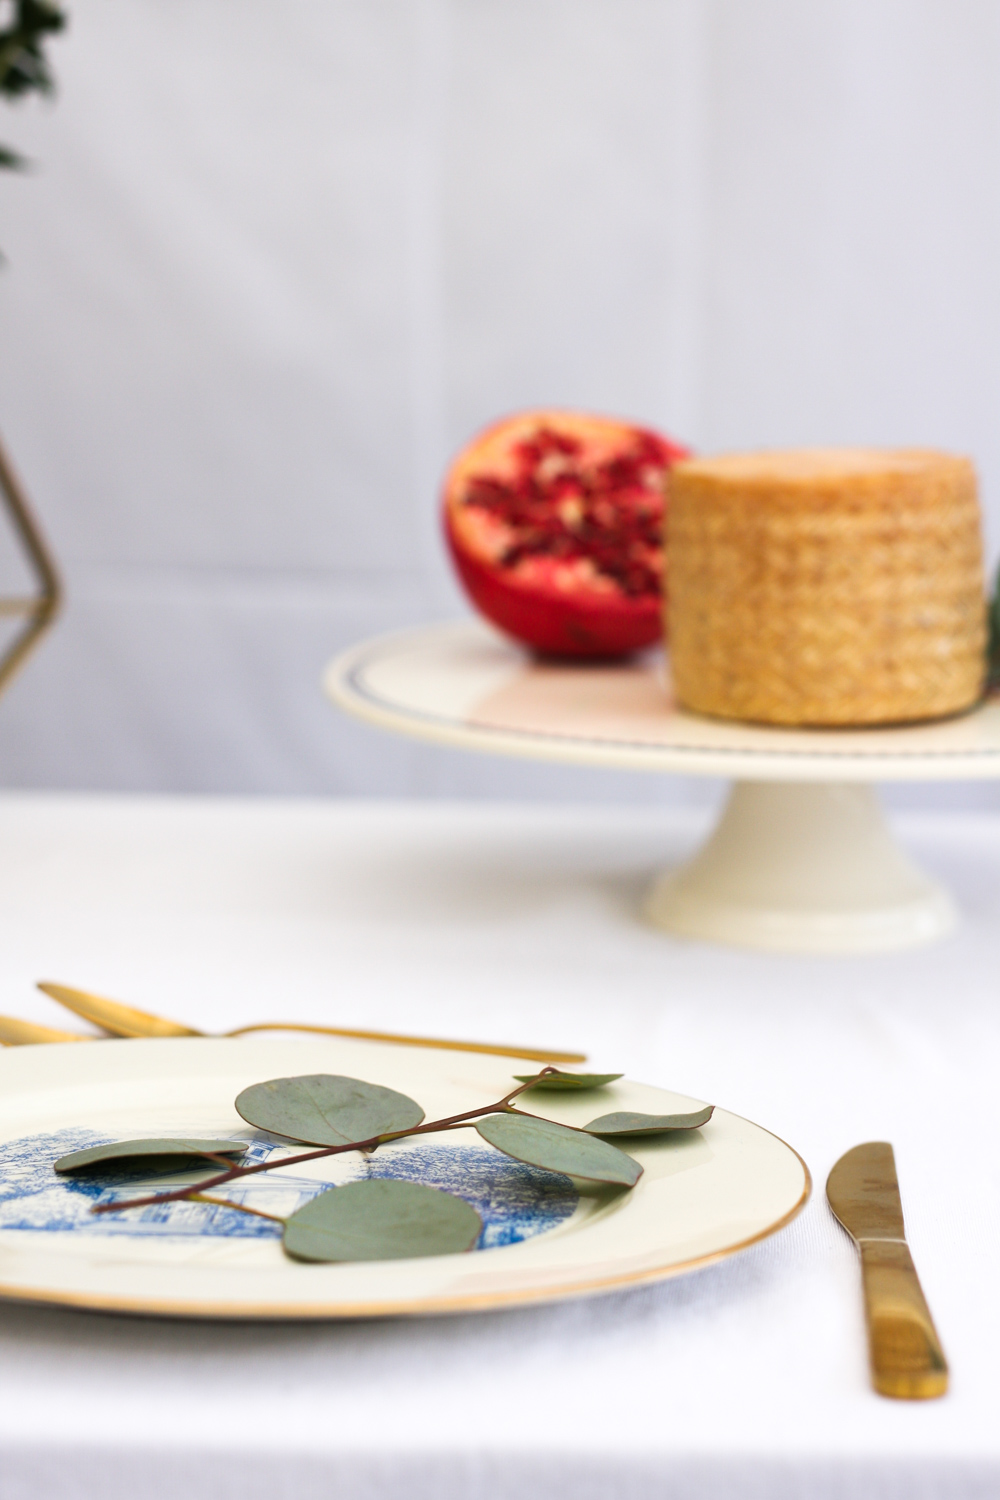
Idea #2 – Use red wild natural berries to decorate – Red berries can be found easily by walking around your neighborhood. I know in Los Angeles is possible. If you don’t live in LA, I am sure some other berry variation will do. Placing a branch on each plate gives this table a beautiful touch.
 Minted
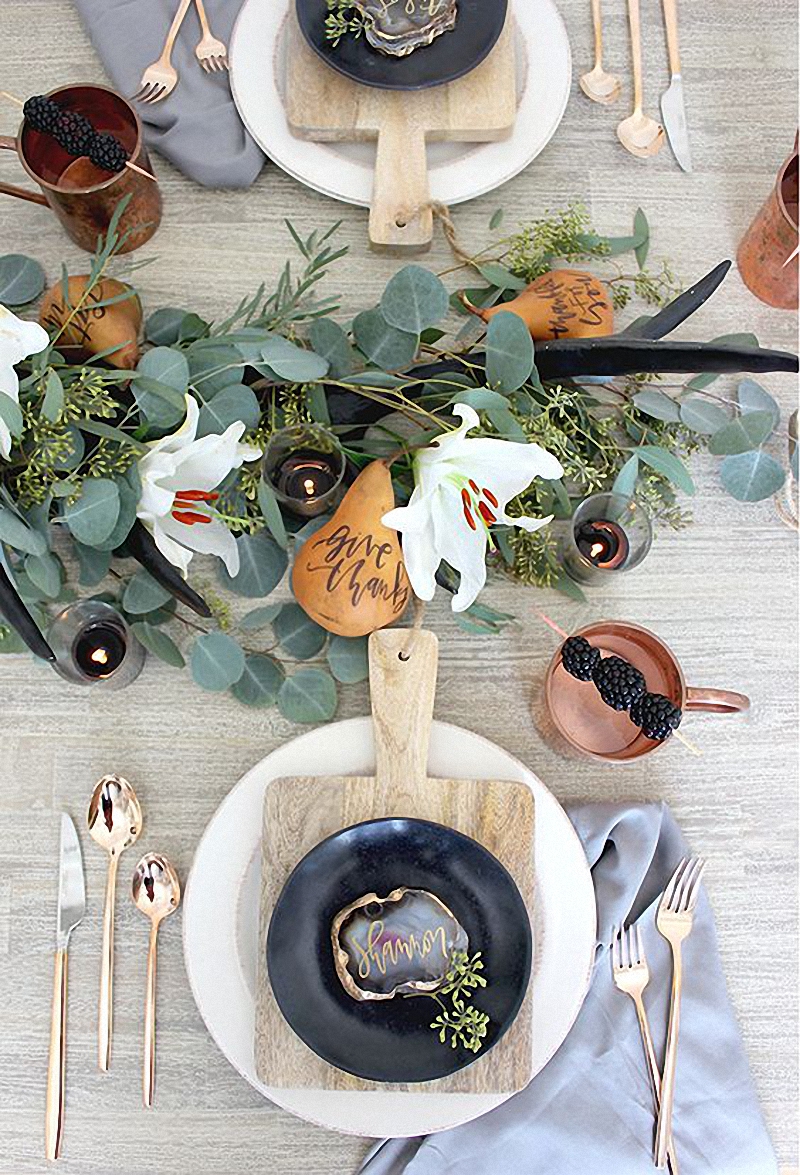
Idea #3 – Choose a color palette – To make sure your table looks good, decide on a color palette and stick to it. The table above went for neutral colors. You can’t go wrong with that, can you?
Idea #4 – Create name cards. There are so many different types of name cards, not only paper, as you can see on the table above. Dare to be creative!
 Little Glass Jar
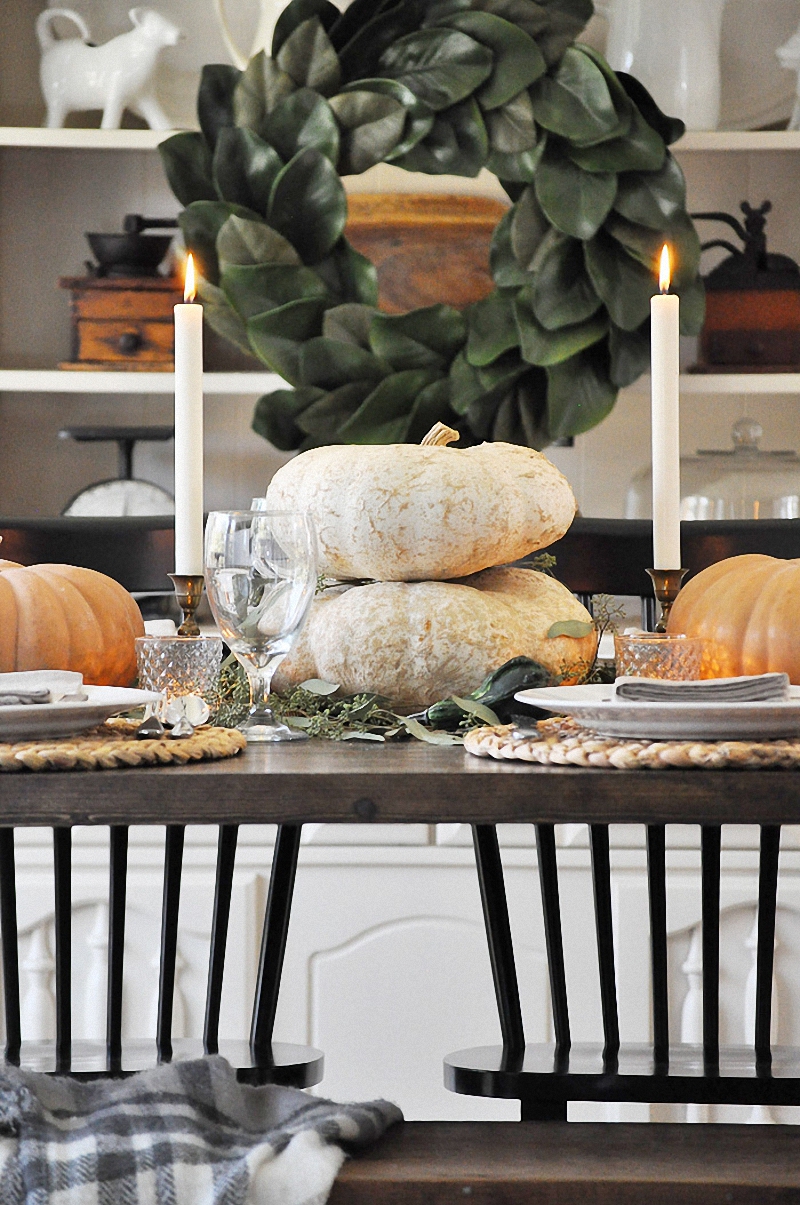
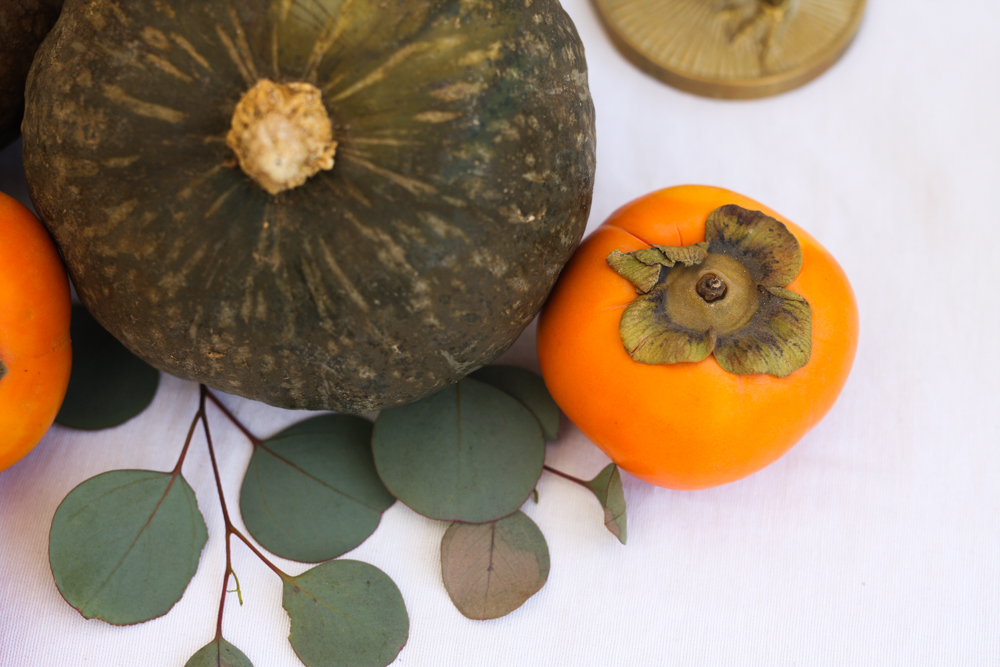
Idea #5 – Use big pumpkins as a centerpiece – This will simplify your table and make a nice impression fast. The clue here is to use pumpkins that have a special shape or color, although regular Halloween pumpkins could do too, don’t you think?
 The Uncommon Common Law
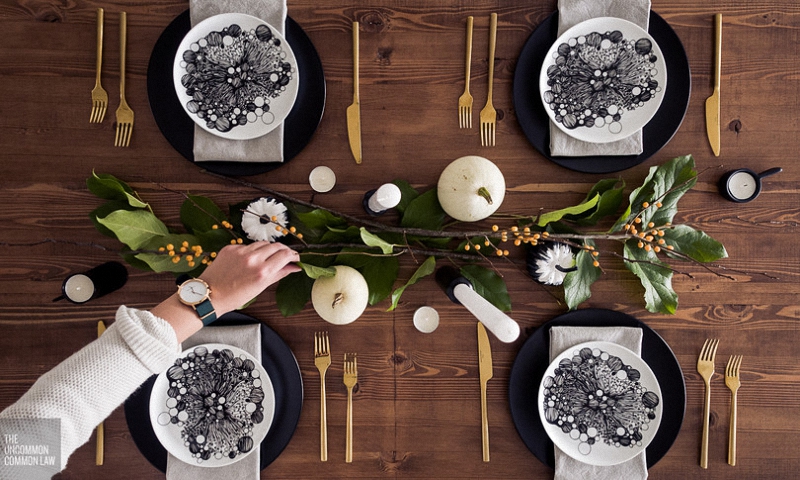
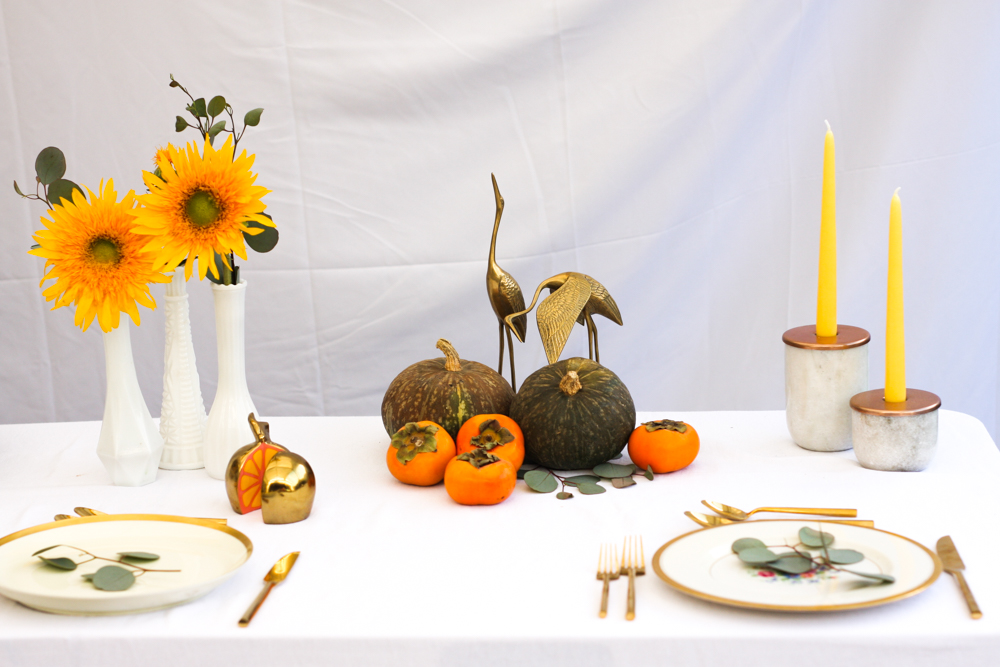
Idea #6 – Simplify the centerpiece – This table setting from The Uncommon Common Law proves without a doubt that less can be more. The kind of greenery seen above is easy to find around your neighborhood. Add some candles, a couple of small pumpkins, and you are golden.
 Delineate Your Dwelling
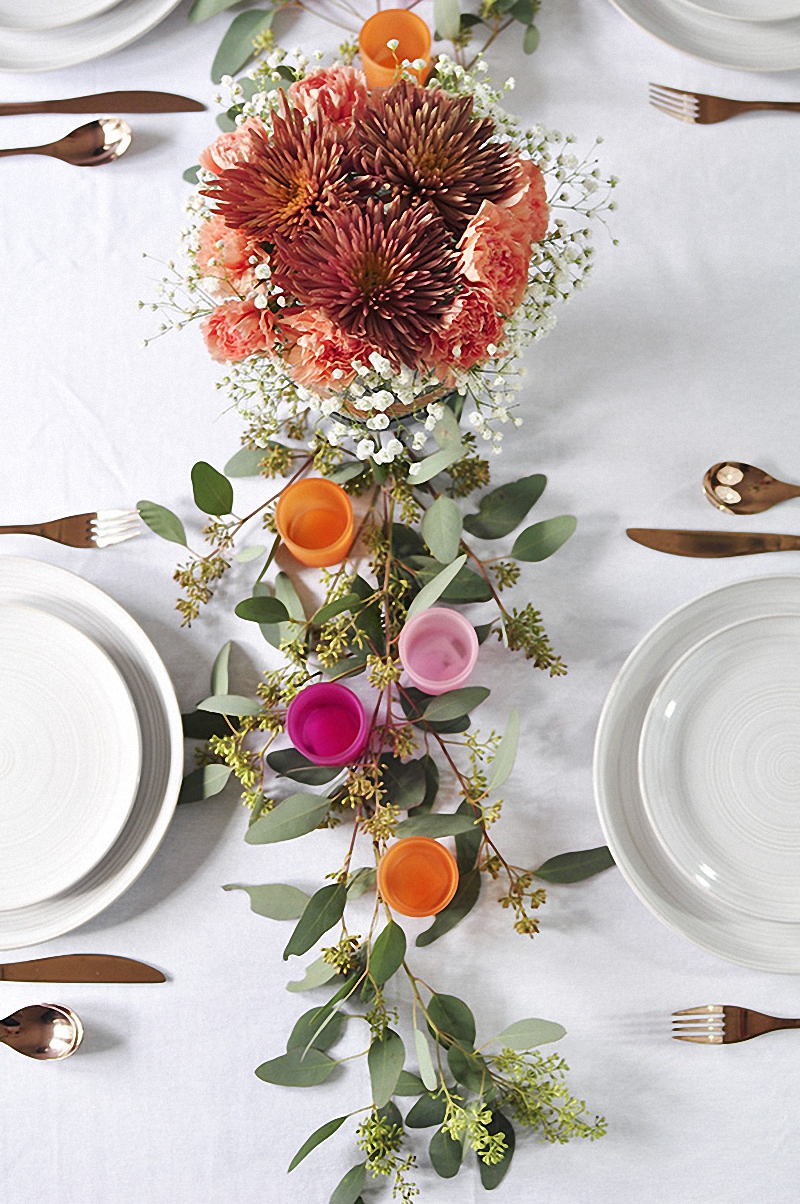
Idea #7 – Use pastels- Again, the greenery of the table above is so easy to replicate, just good old eucalyptus, but what makes this table setting special is the addition of pastel candle holders and some flowers to go with them. Simple and beautiful.
 Lemon Thistle
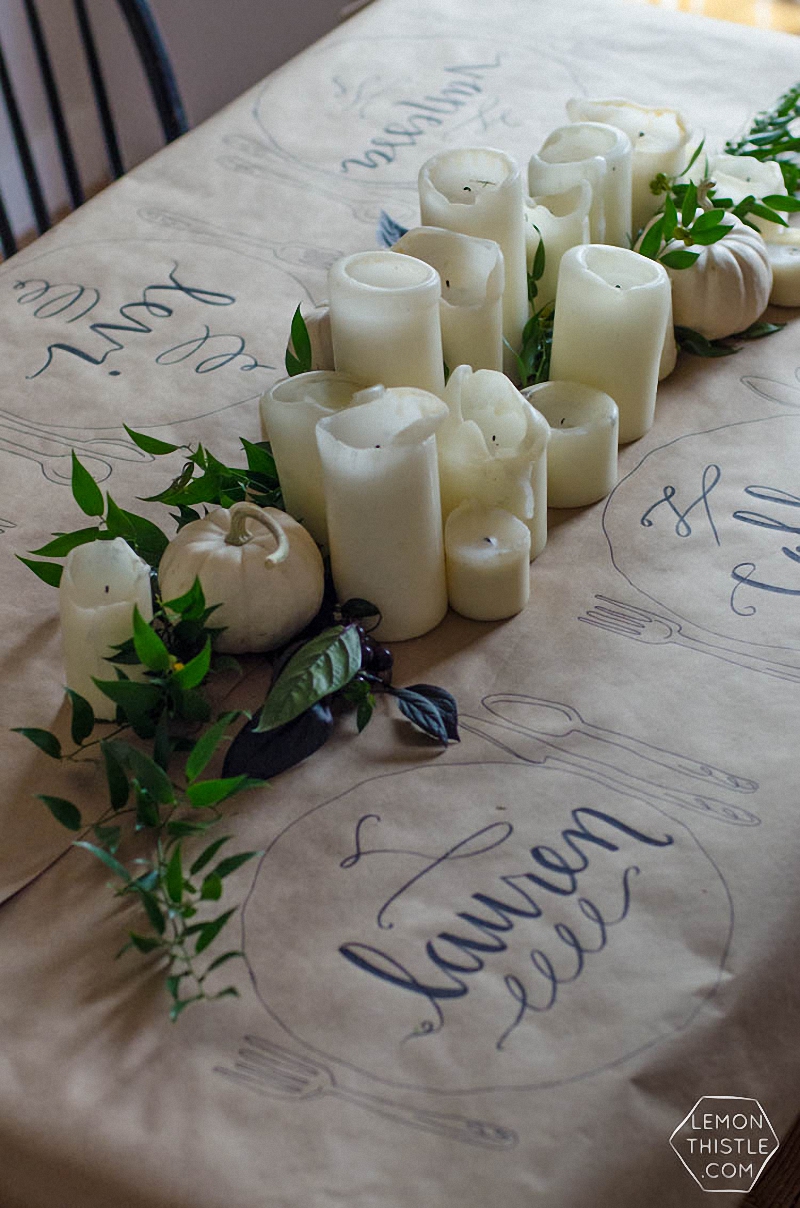
Idea #8 – Use butcher paper instead of table cloth – This idea from Lemon Thistle is one of my favorites. Butcher paper is C-H-E-A-P! Drawing a table setting on it is creative and gives the table a minimalist and elegant flare.
 Illistyle
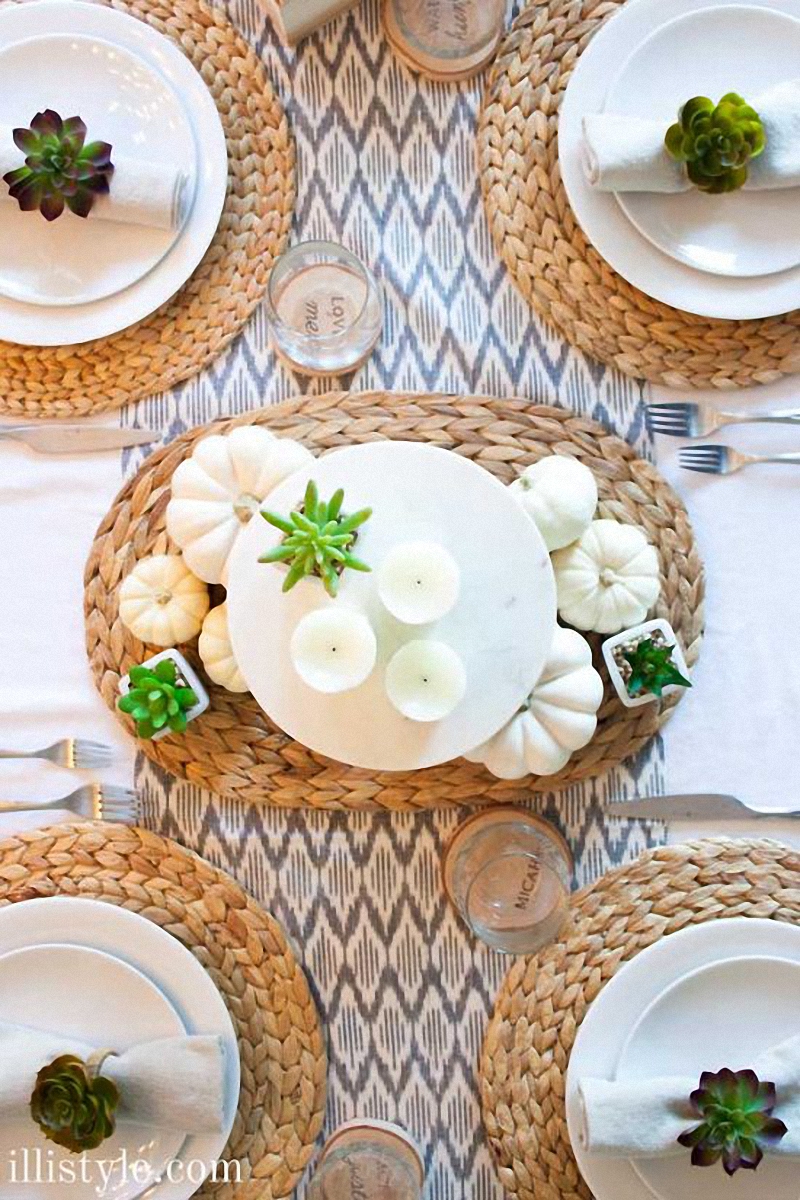
Idea #9 – Use succulents to decorate – I live in LA so succulents are part of my everyday life. Using them as table decoration is a result of natural foraging. When you can find beautiful cacti everywhere you go, you use them, don’t you think?
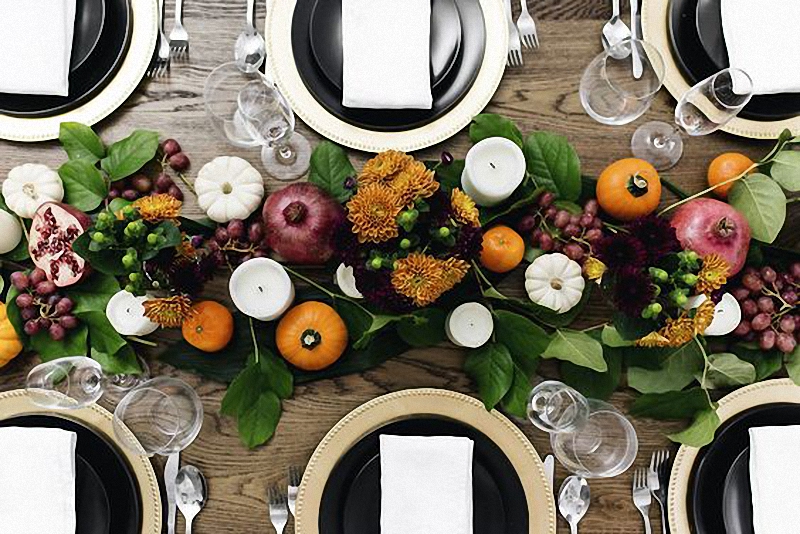
 The Gathered Home
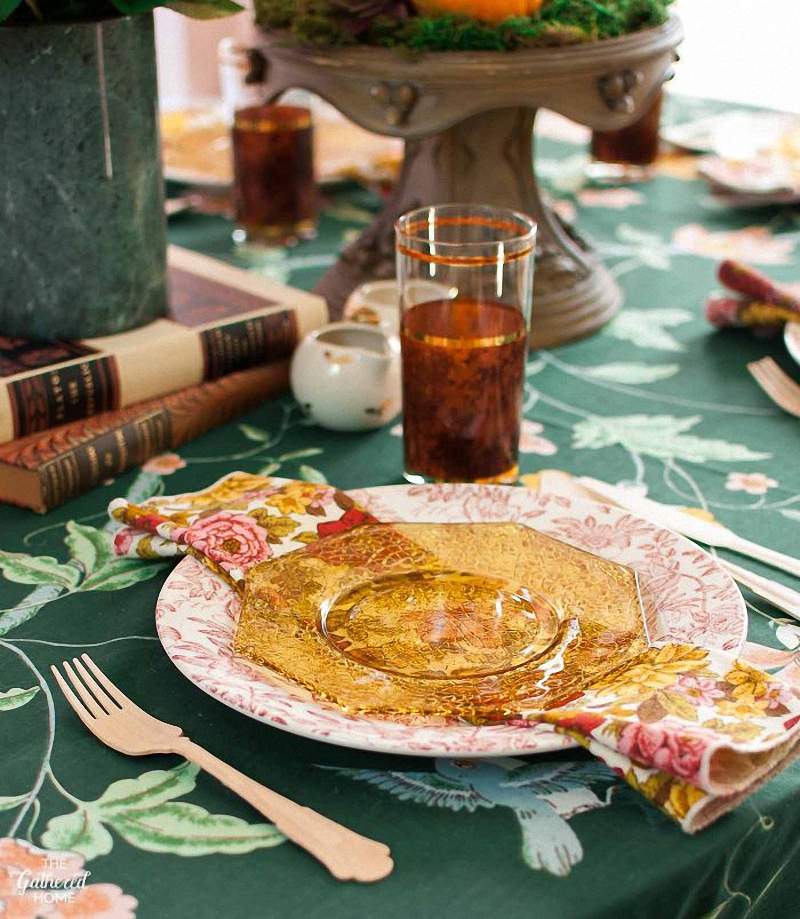
Idea #10 – Mix patterns – Sometimes being bold is the best way to go. This fearless setting from The Gathered Home is not afraid of mixing colors, textures, and vintage pieces. The result is original and a style that Brynne (blogger) calls “Granny Chic.” That tablecloth is original and cute.
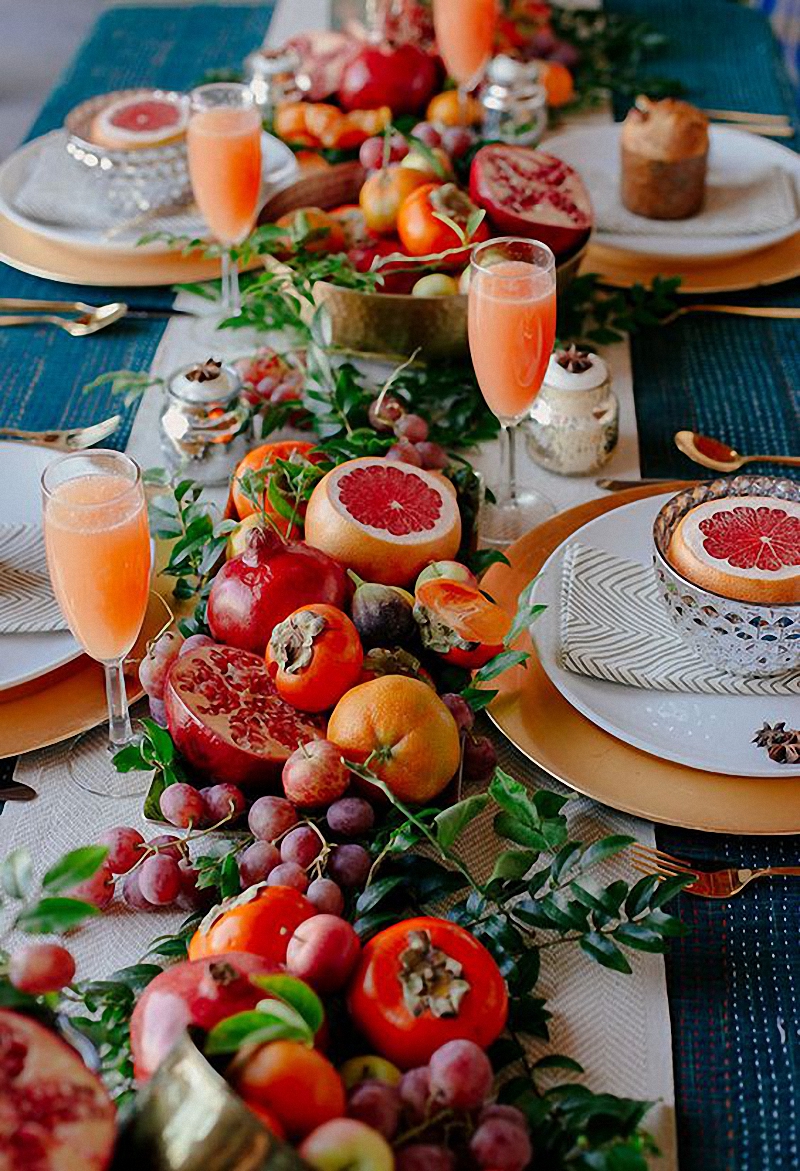 The Jungalow
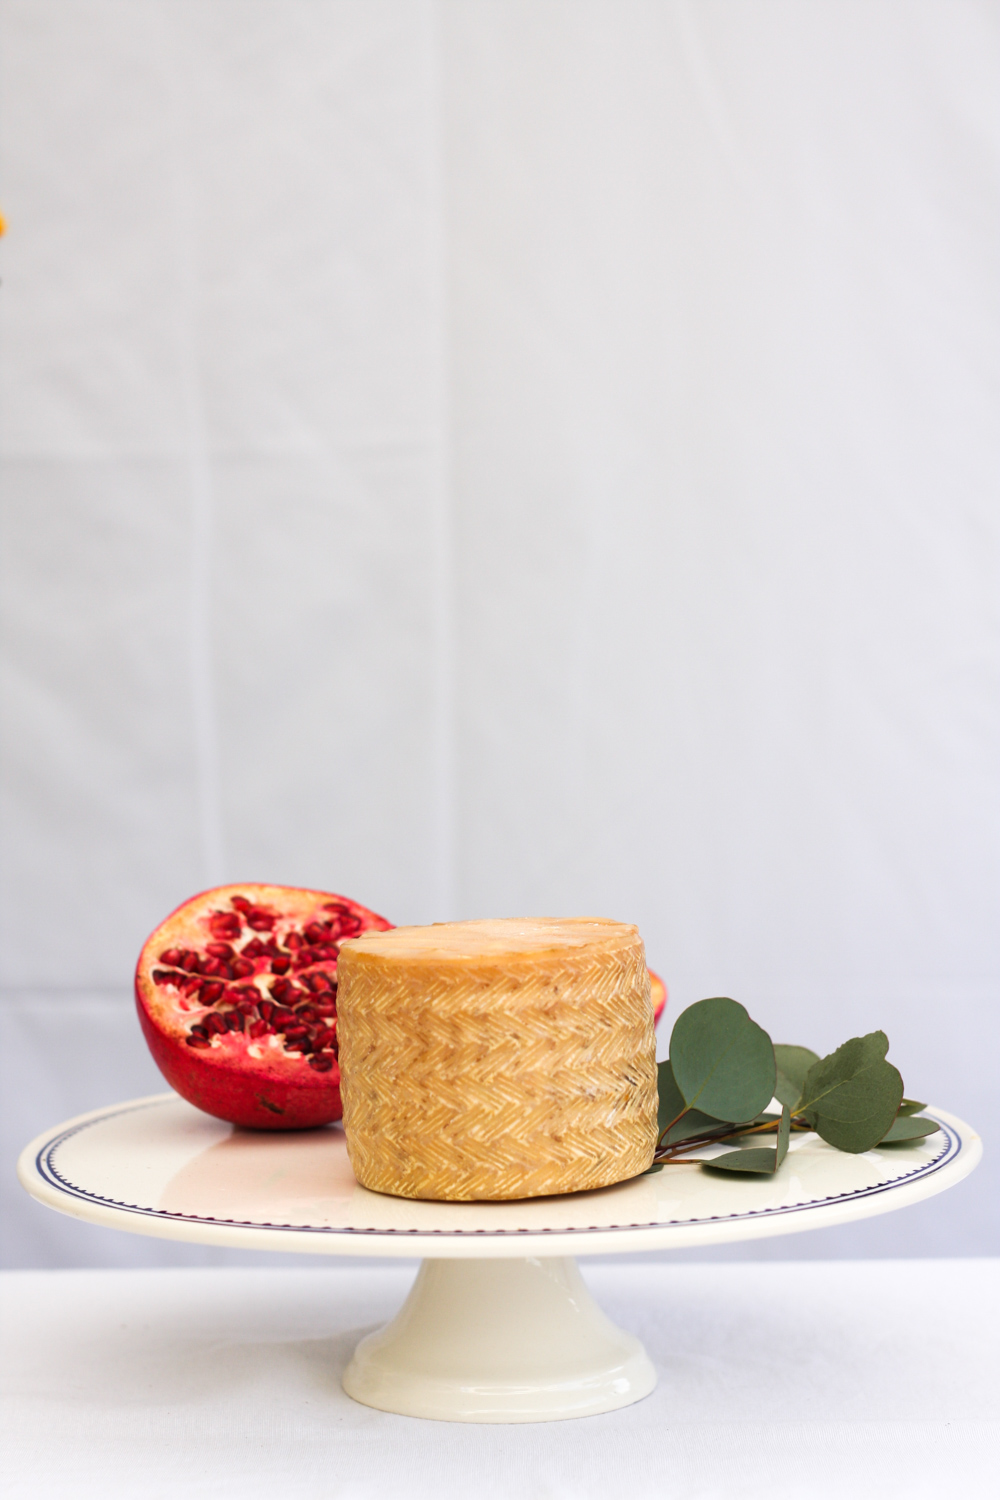
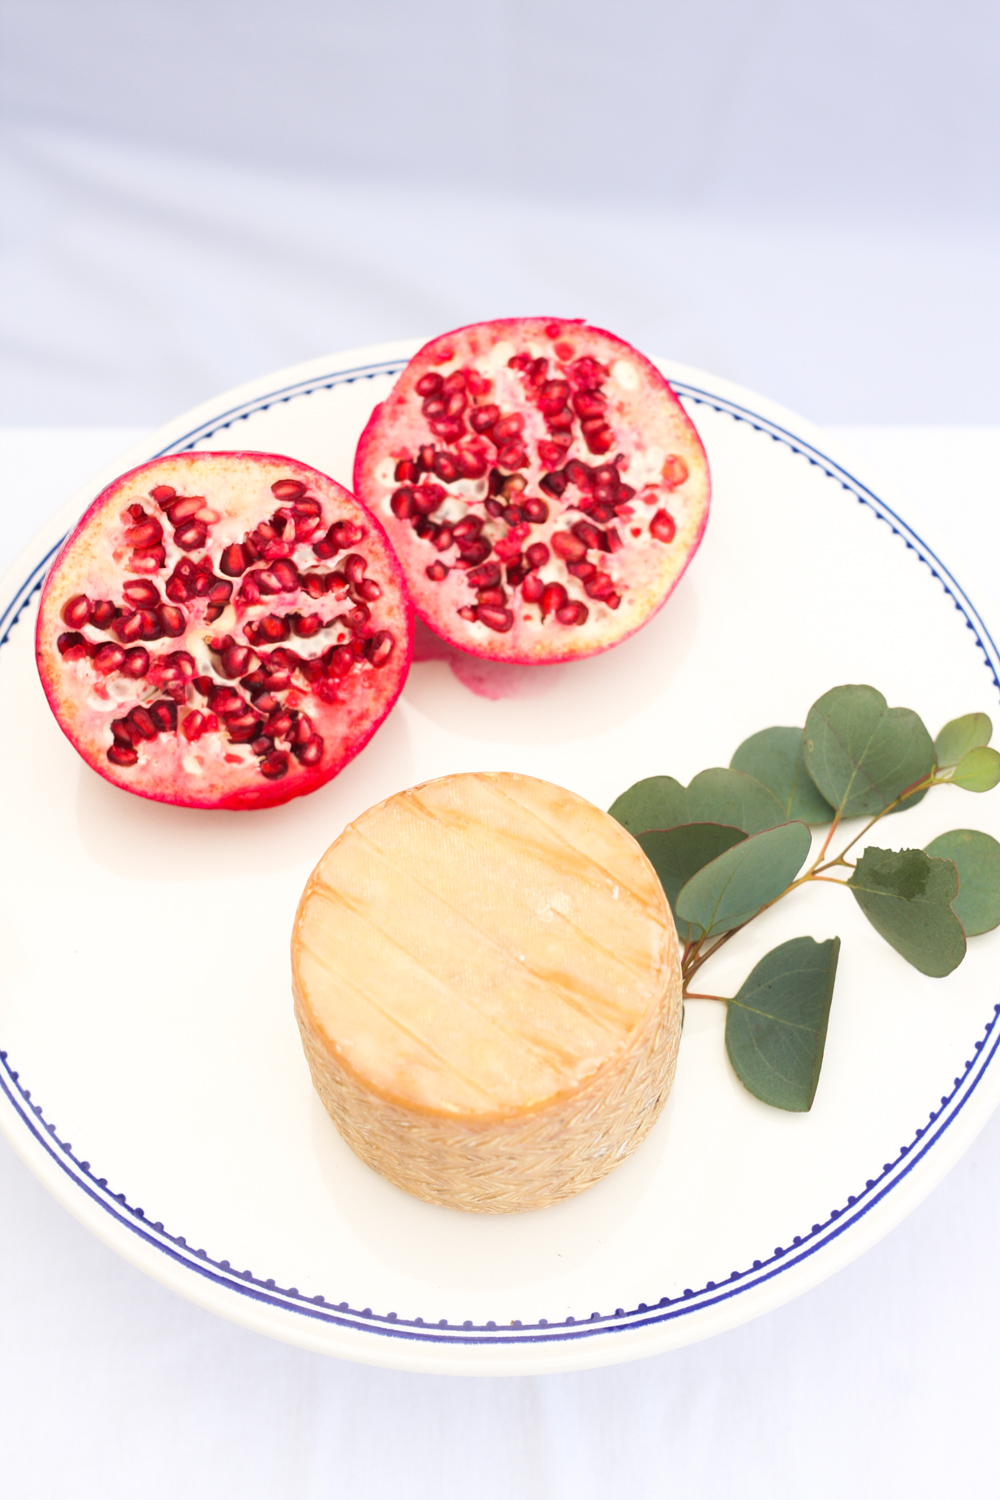
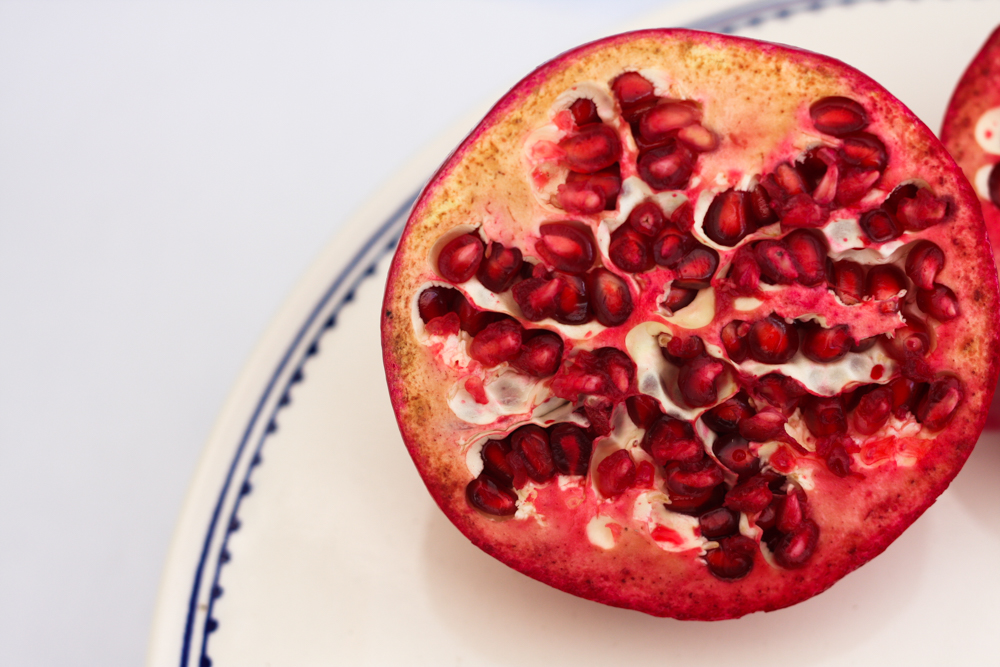
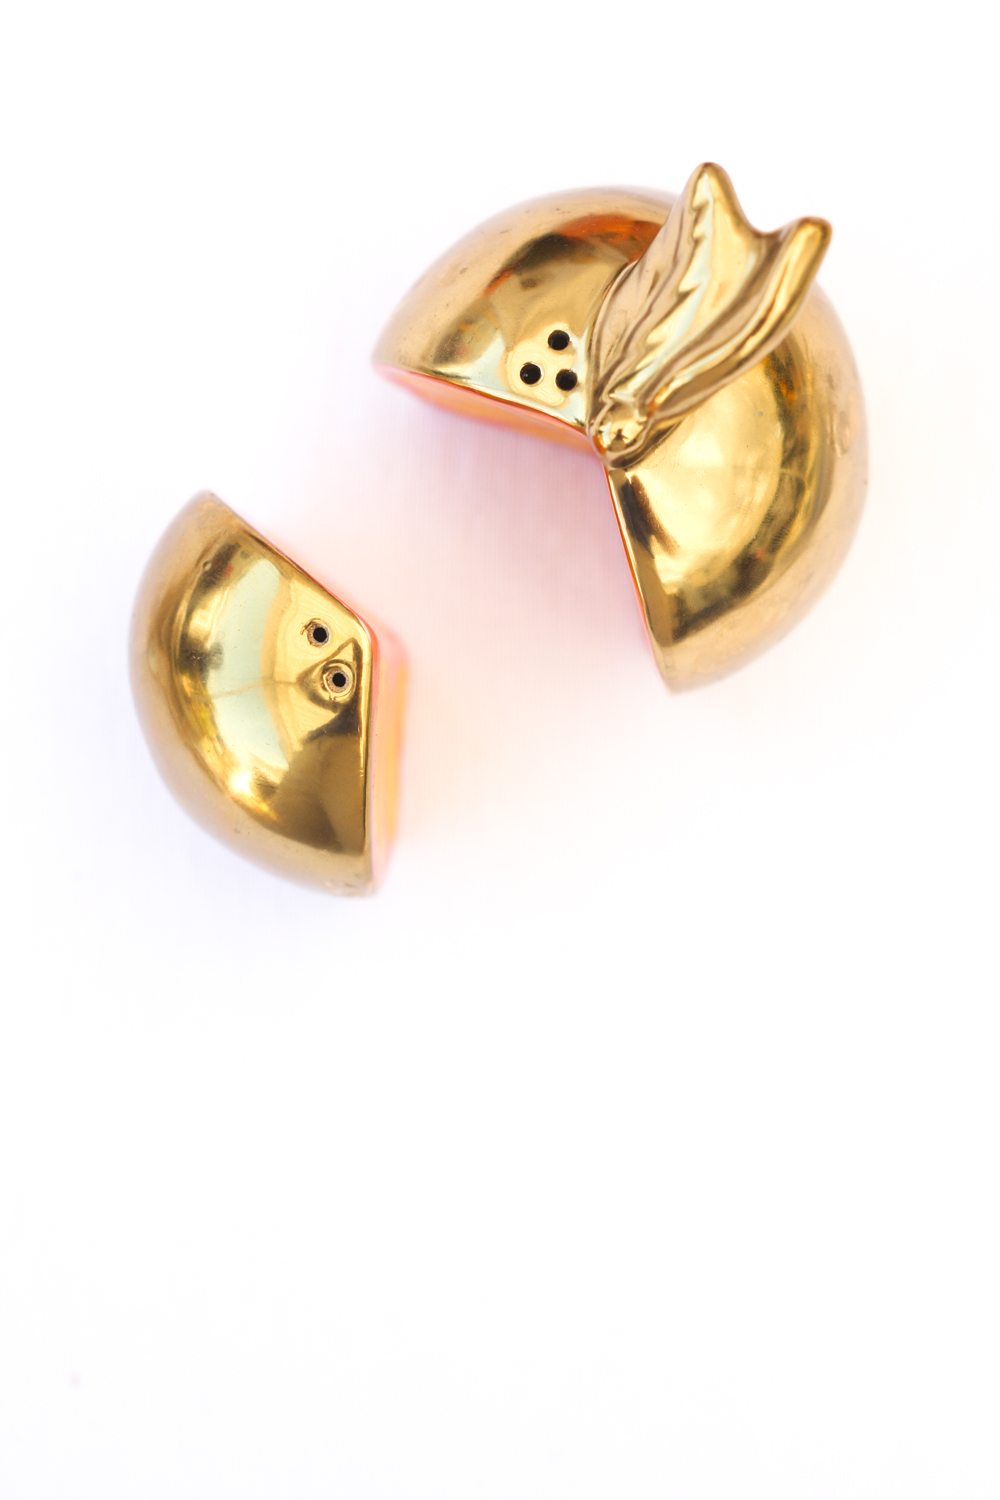
Idea #11 – Use fruits as decoration – The table setting above doesn’t only use fruit, but cuts fruits in half to add color and texture. The first time I saw this centerpiece I was so impressed at how such a little detail made such a big difference.
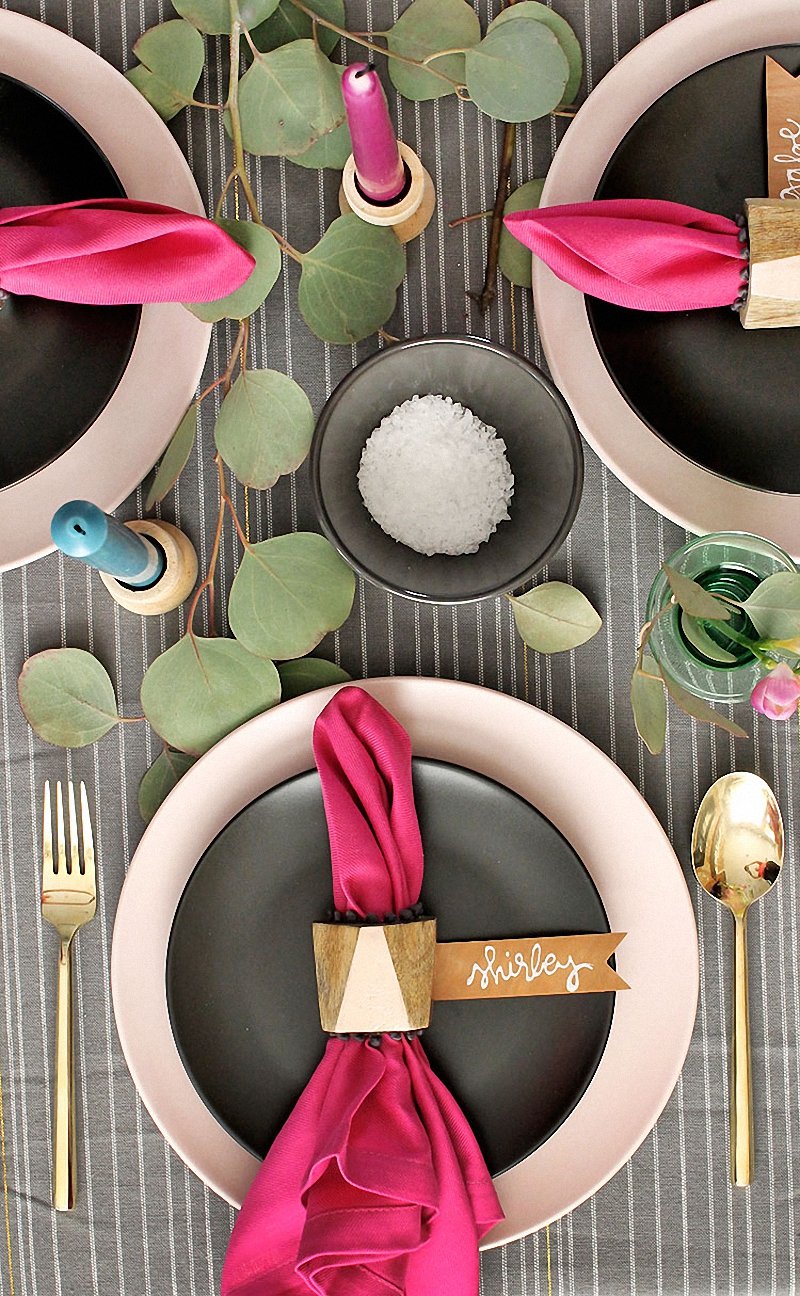
 Happy Grey Lucky
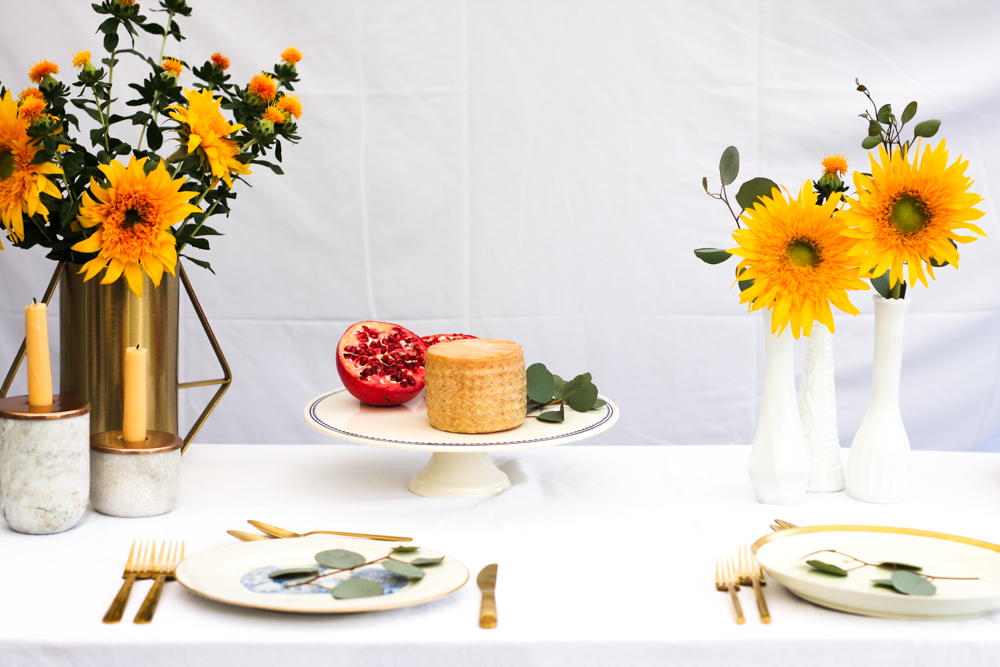
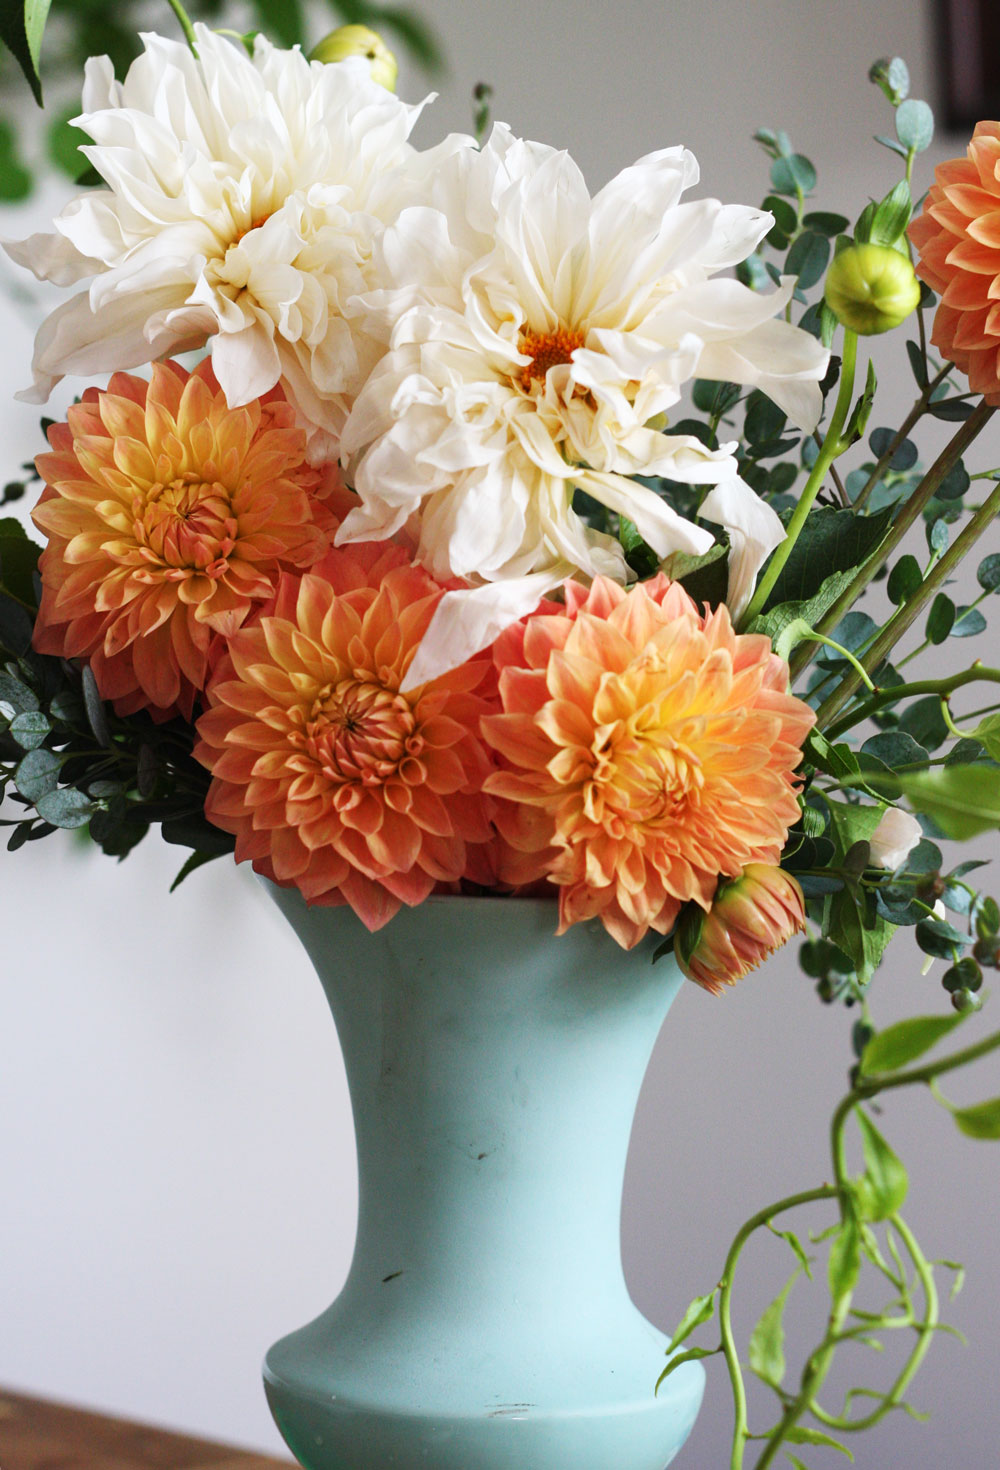
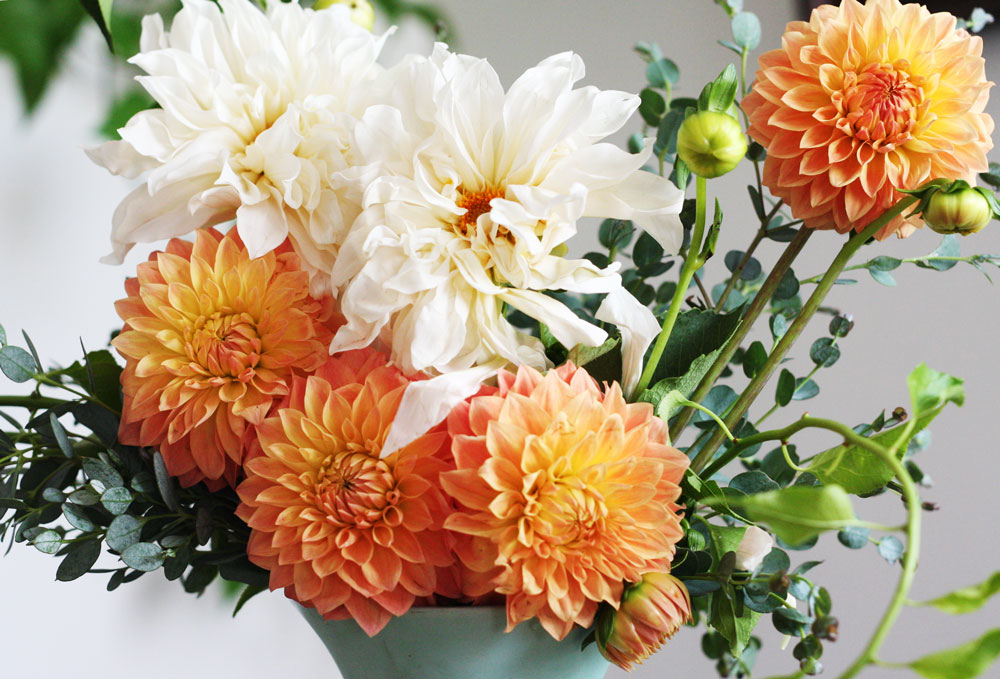
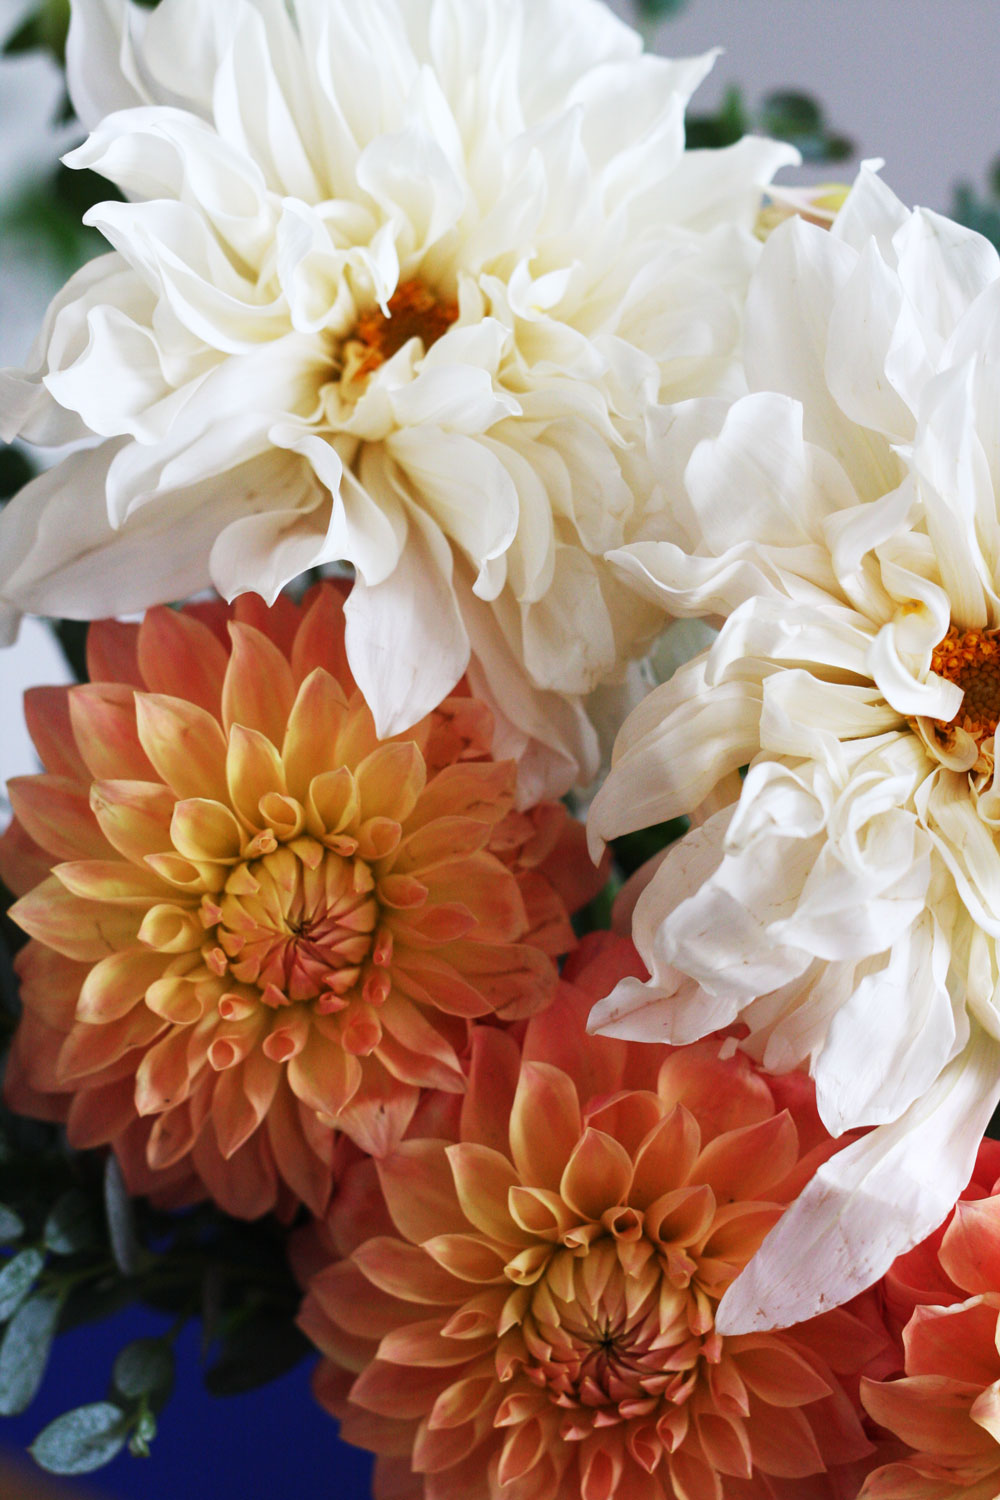
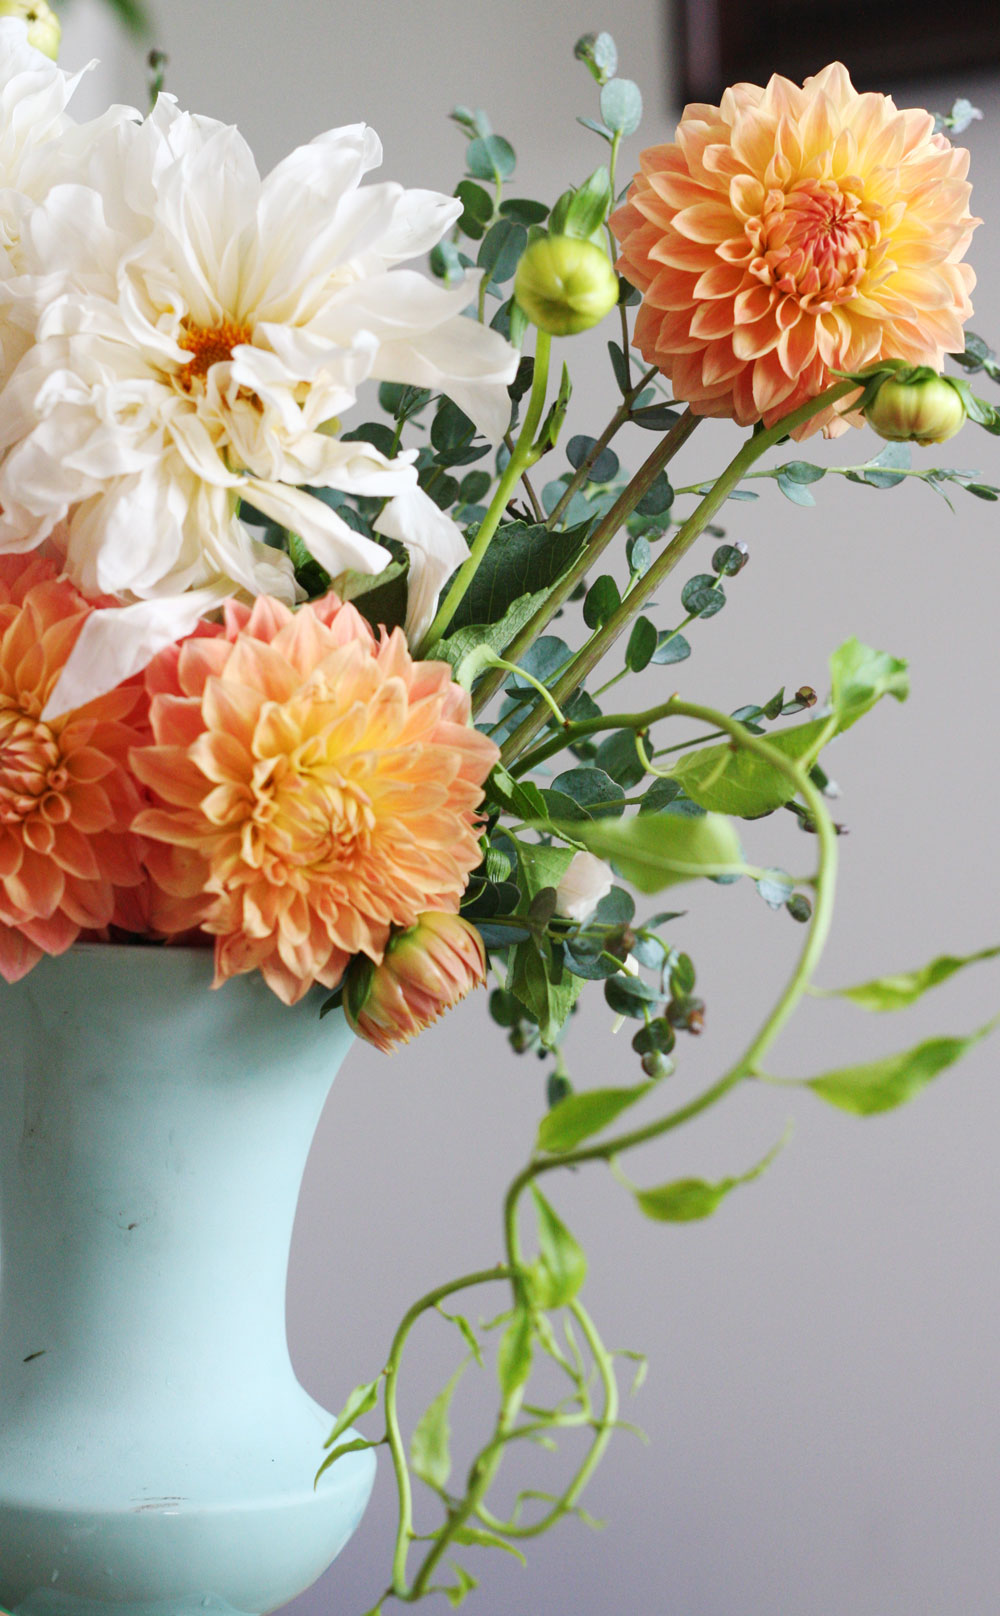
Idea #12 – Add flowers – Simple flower arrangements through out the table help make your table setting more friendly and beautiful. I am a big fan of flowers so I will find any reason to have them in my life! Thanksgiving is just one of them.
 Persia Lou
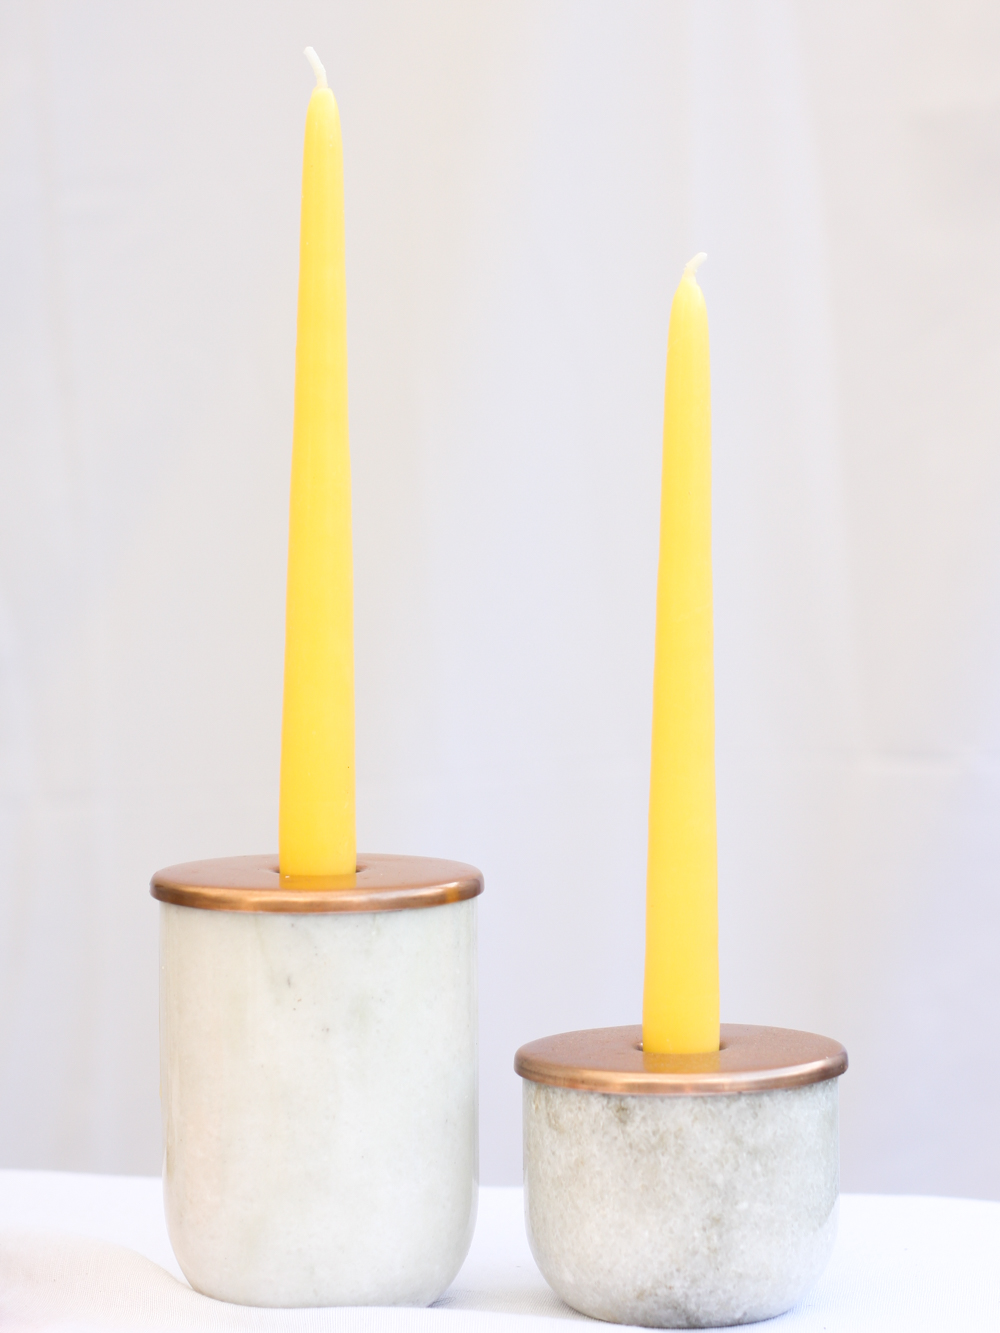
Idea #13 – Add candles – No Thanksgiving table is complete without candles. On the table above, Persia Lou used different colors of candles that match the rest of the décor. I like it.
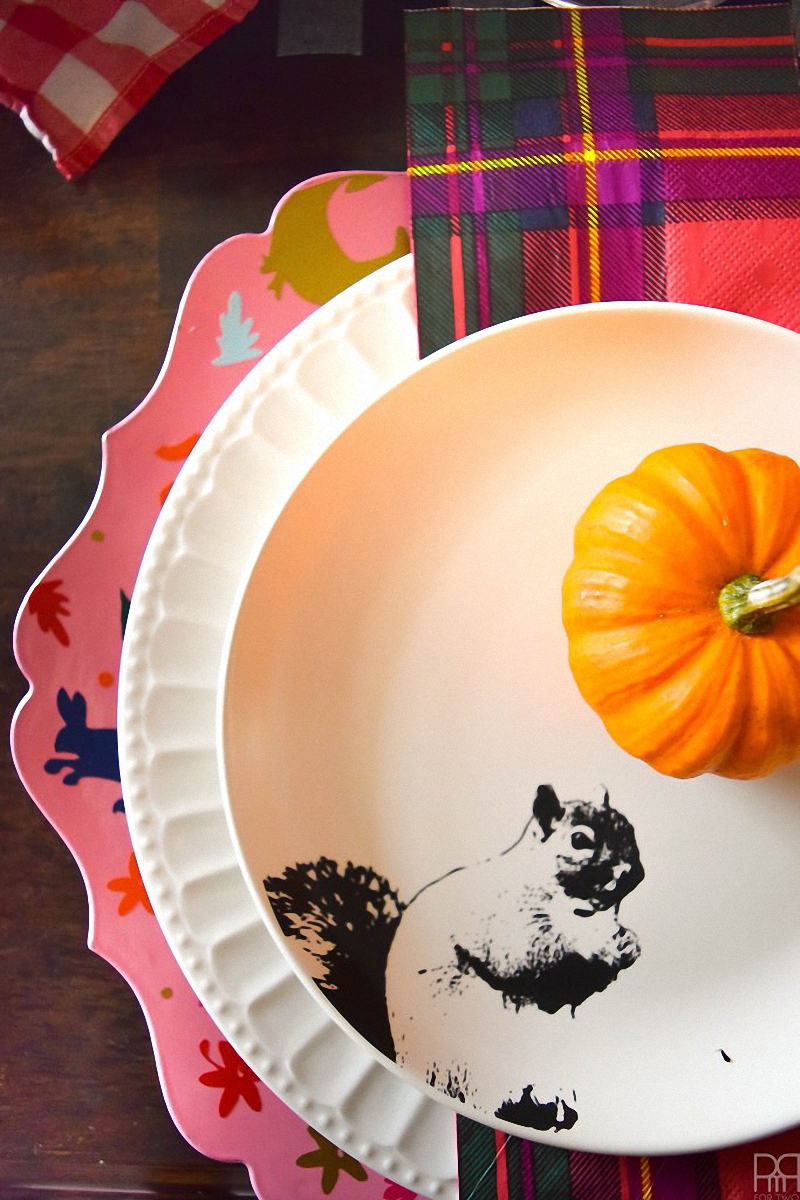 PMQ For two
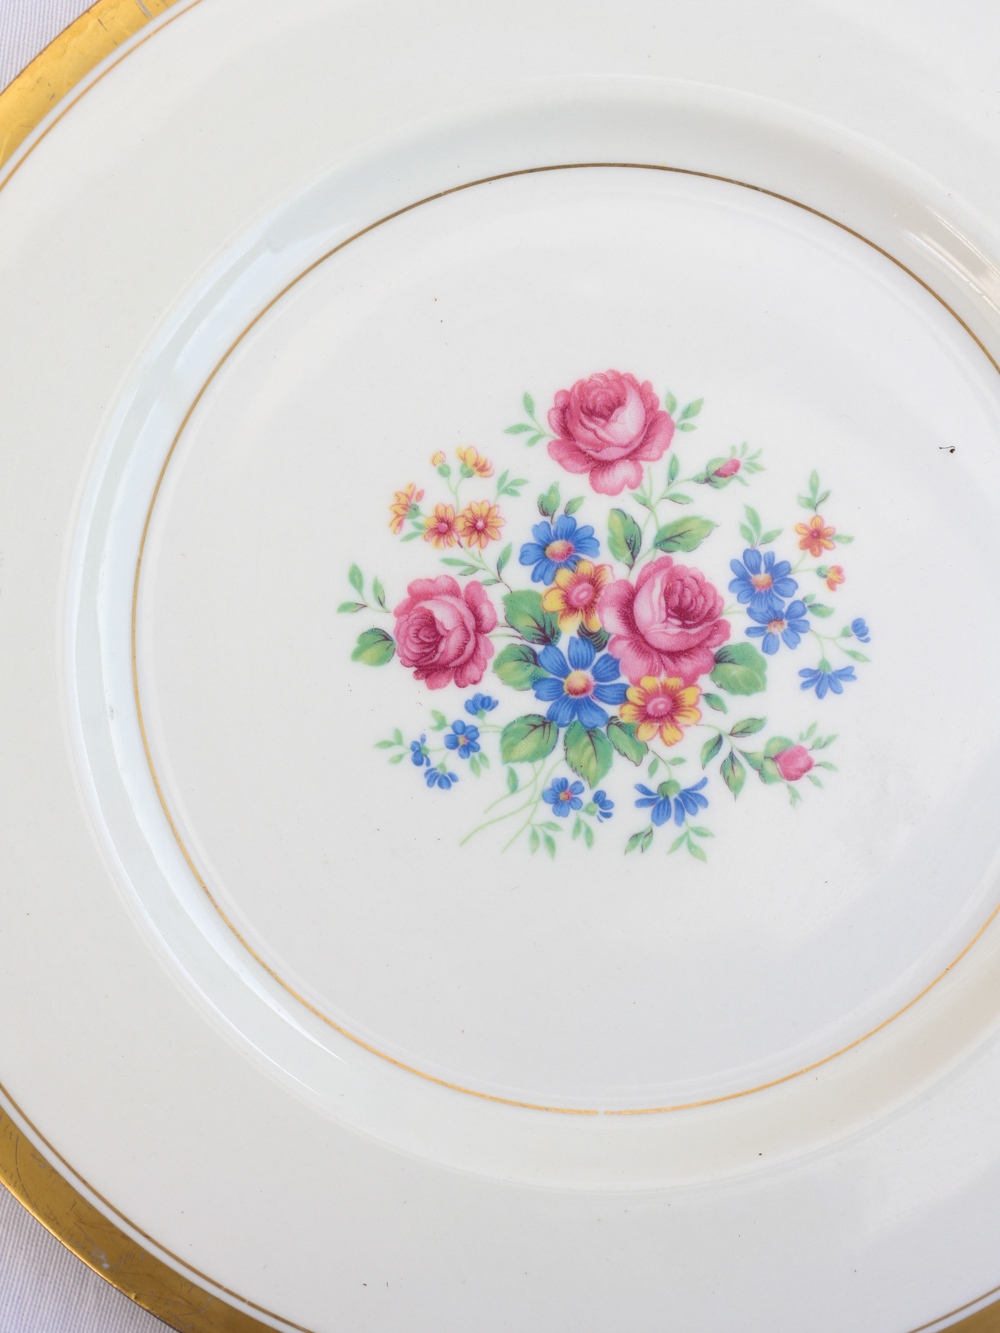
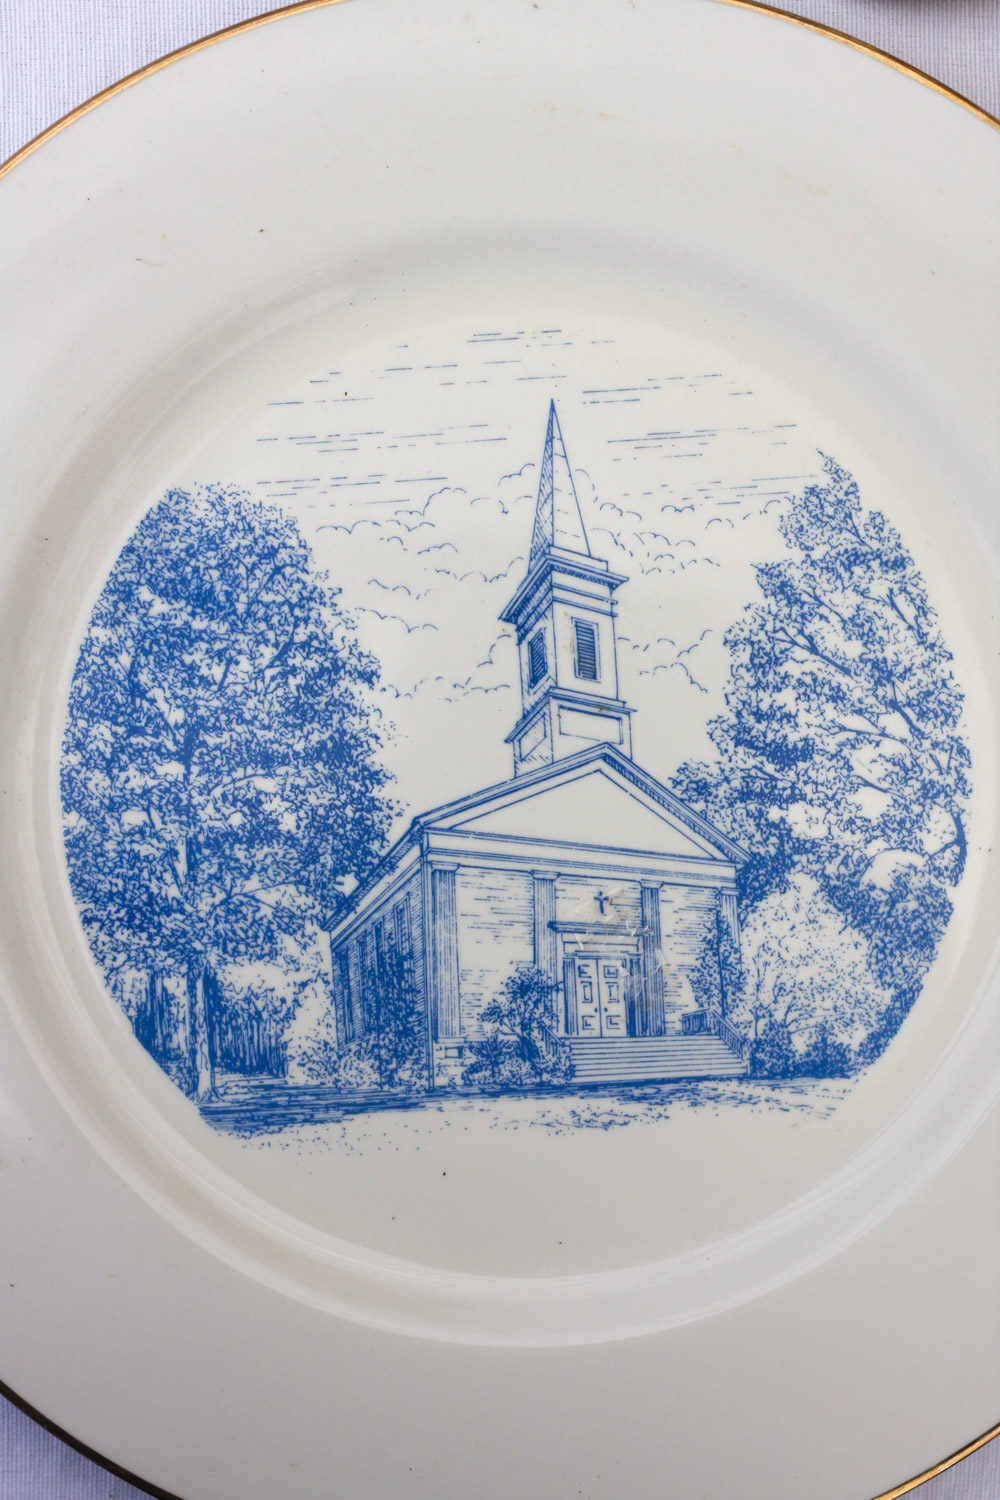
Idea #14 – Mix and match plates with designs – Another way of bringing life to your table setting is to use plates with an original design. The setting above from PMQ for two does a great job at mix and matching dishwater. In the table inspiration I created here, I mismatched vintage plates and it worked nicely.
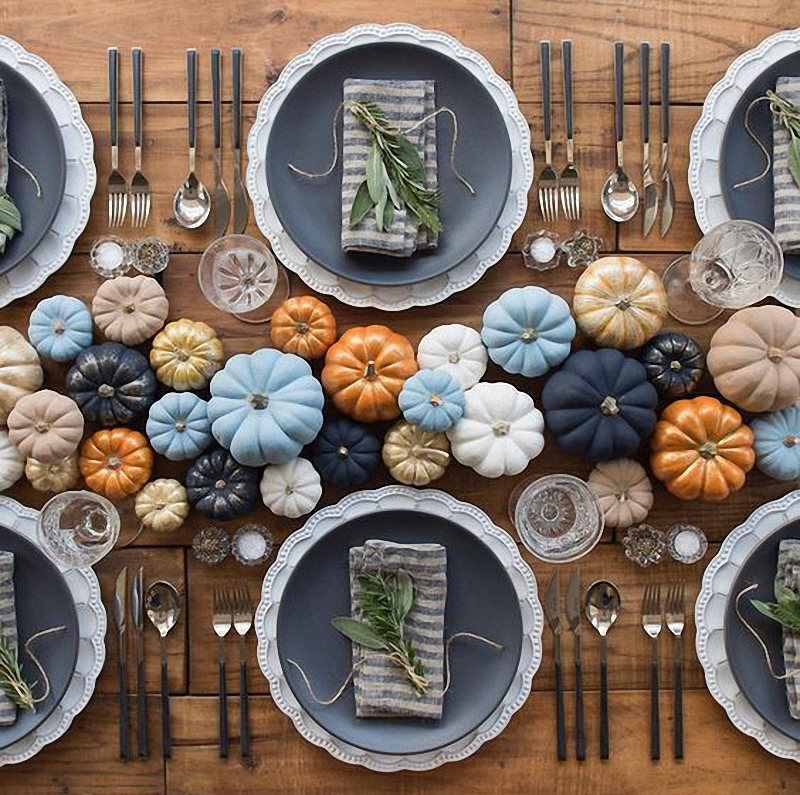 Casa De Perrin
Idea #15 – Paint small pumpkins and use as decorations – This is another of my favorite centerpieces. Painting or spraying pumpkins is easy, just make sure the colors look good together!
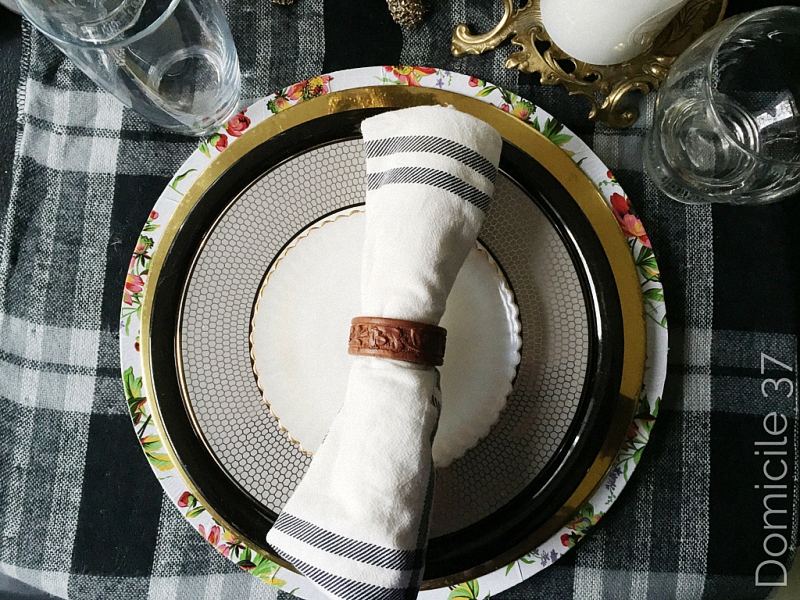 Domicile 37
Idea #16 – Crate your own charger plate – Jess from Domicile 37 used wrapping paper and Modge Podge to create these floral charger plates. They add an interesting touch of color to this mostly monochromatic table. Click on link below the photo to see the tutorial.
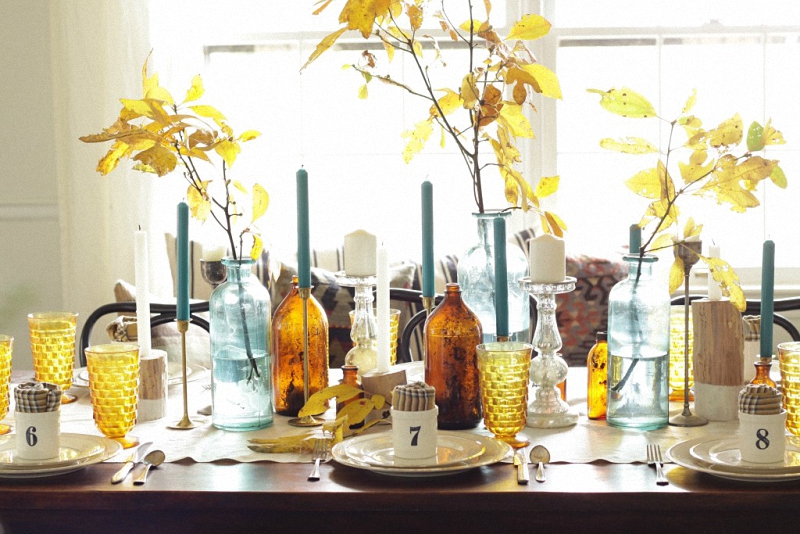
Cassie Bustamante
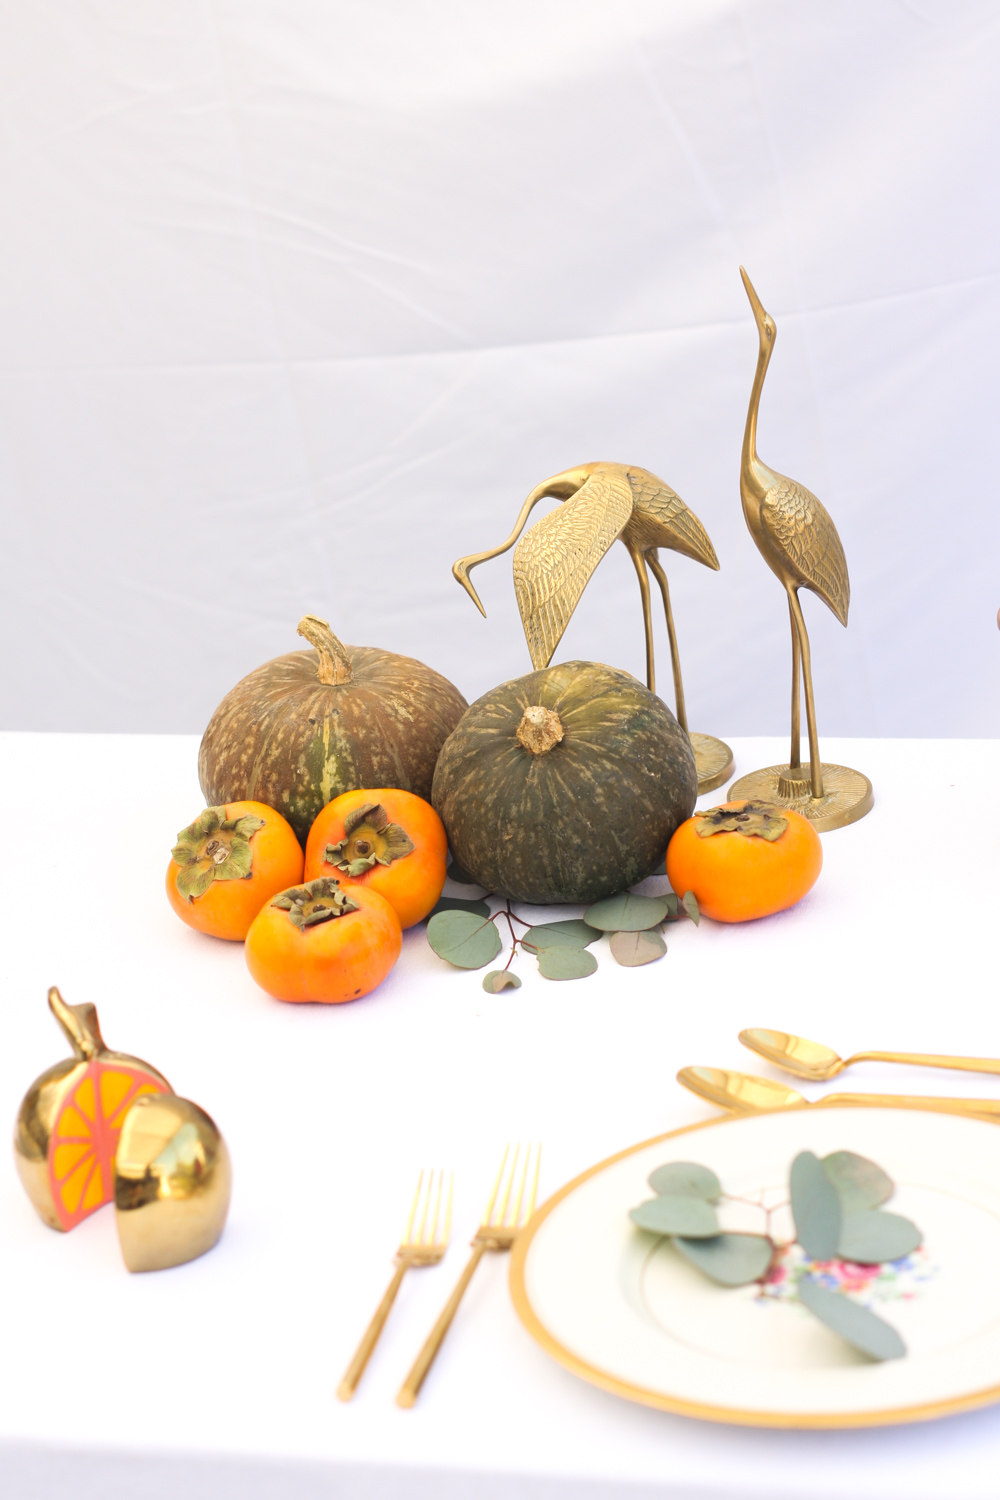
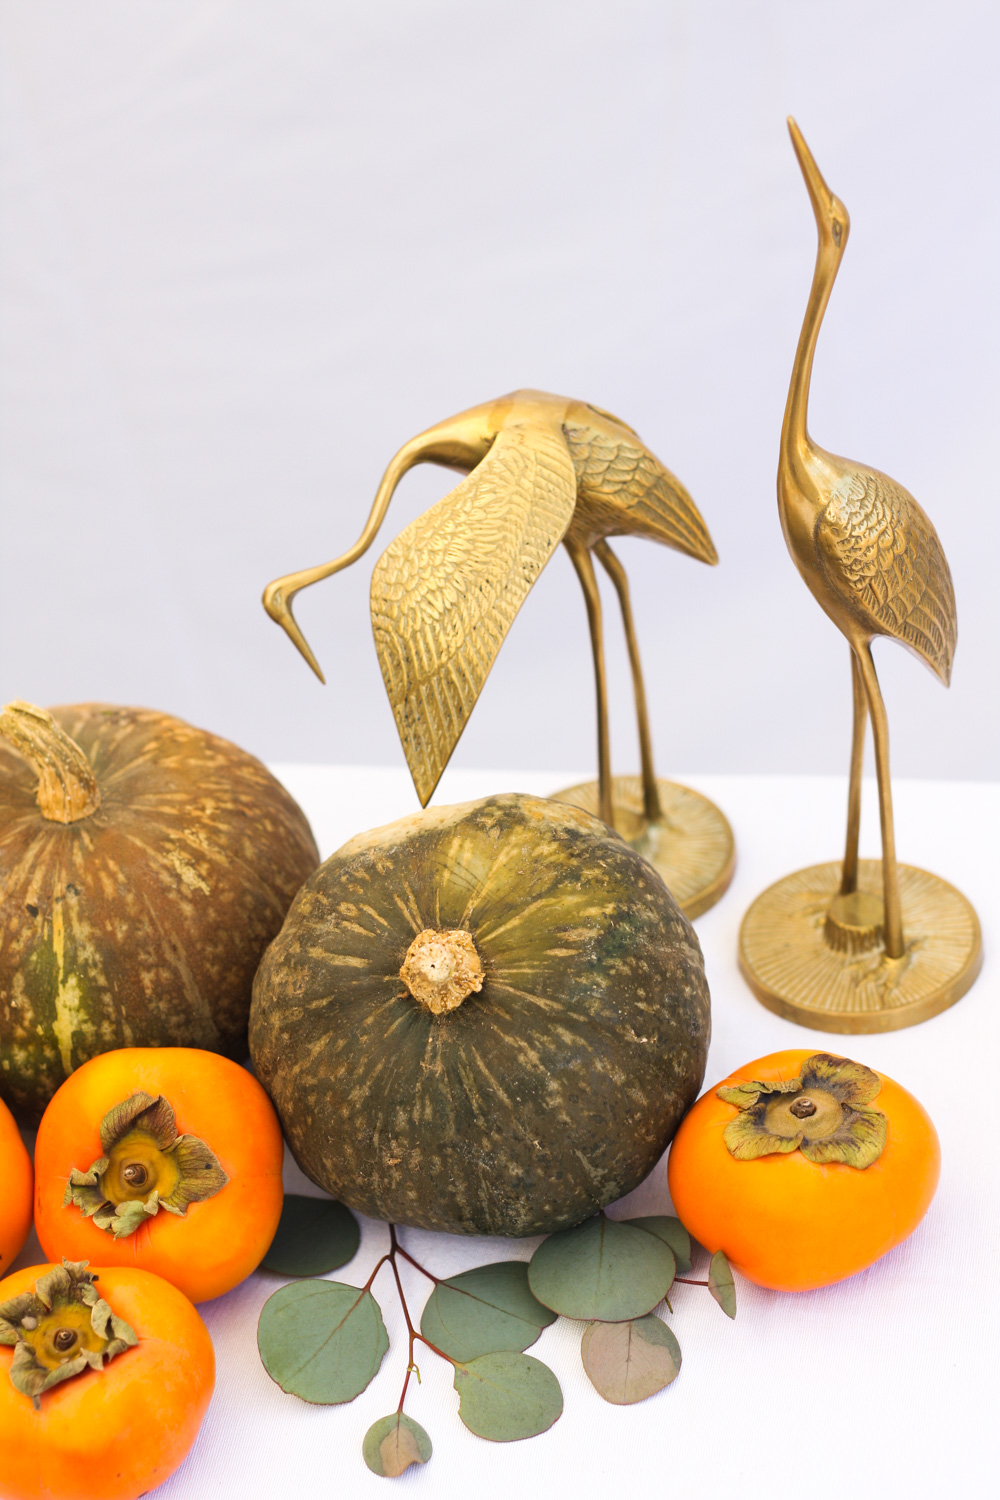
Idea #17 – Use vintage pieces – I love this idea! Gather vintage objects from around your home and place them on the table. This is a trick I use often myself, as you can see here. It saves a lot of money and creates a sophisticated atmosphere without a lot of effort. The bottles in the photo above are elegant and different. Add some branches and voila!
OK, there you go. Now you have NO excuse to have a lame table for Thanksgiving. A lot of the bloggers I mentioned above are bloggers that I follow myself, so I like their work a lot. Take a good look at their pages, they will impress you!

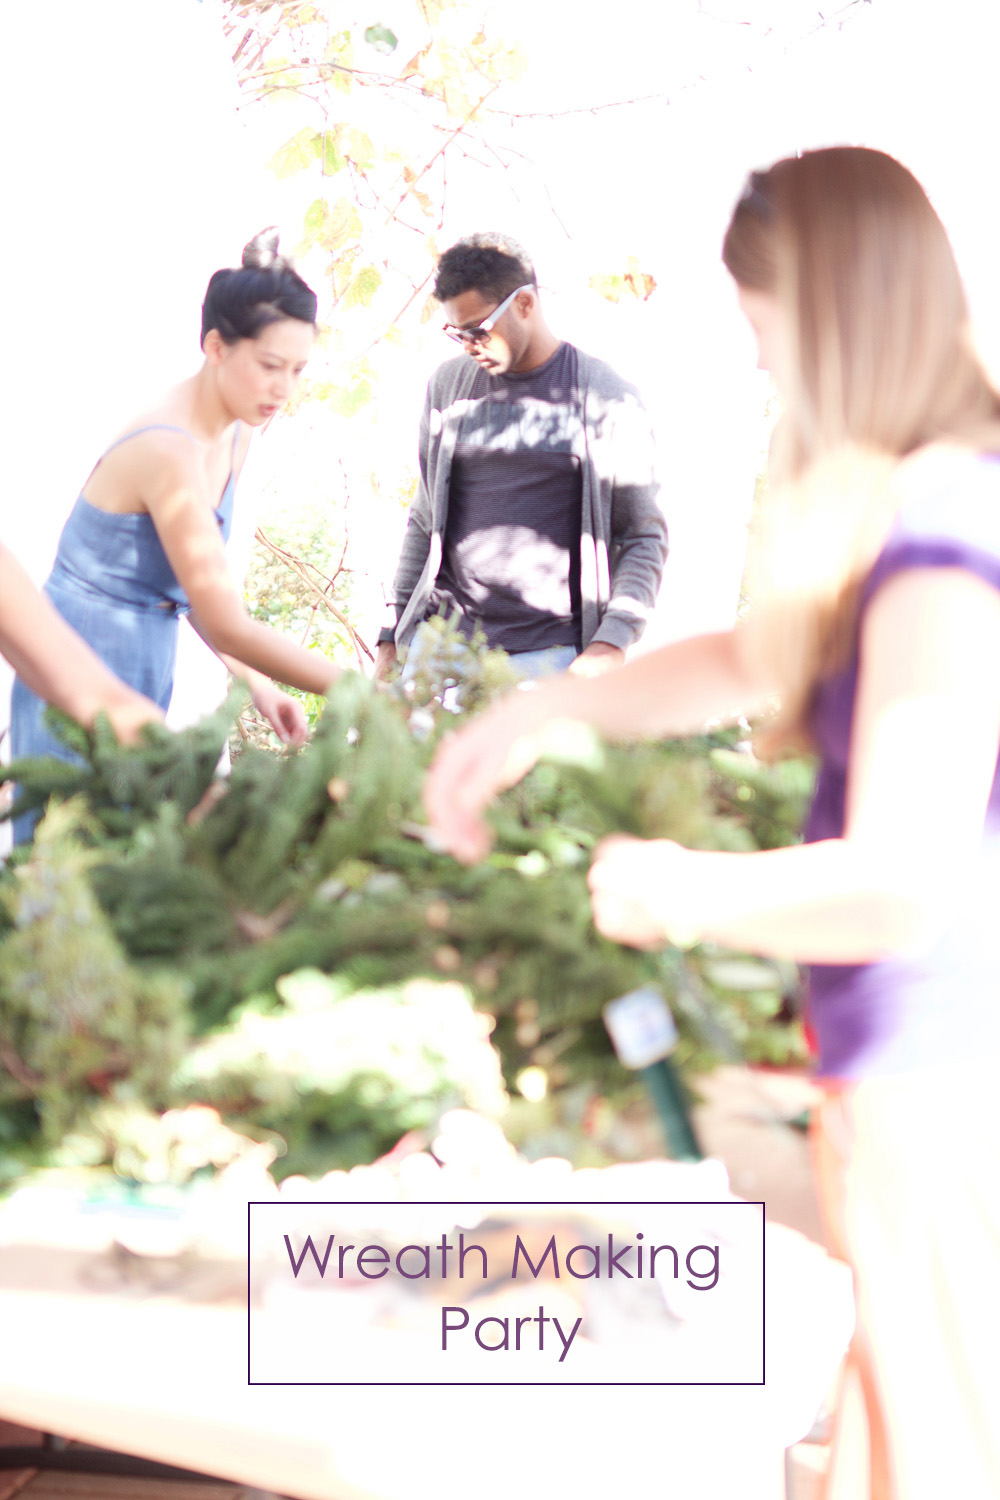
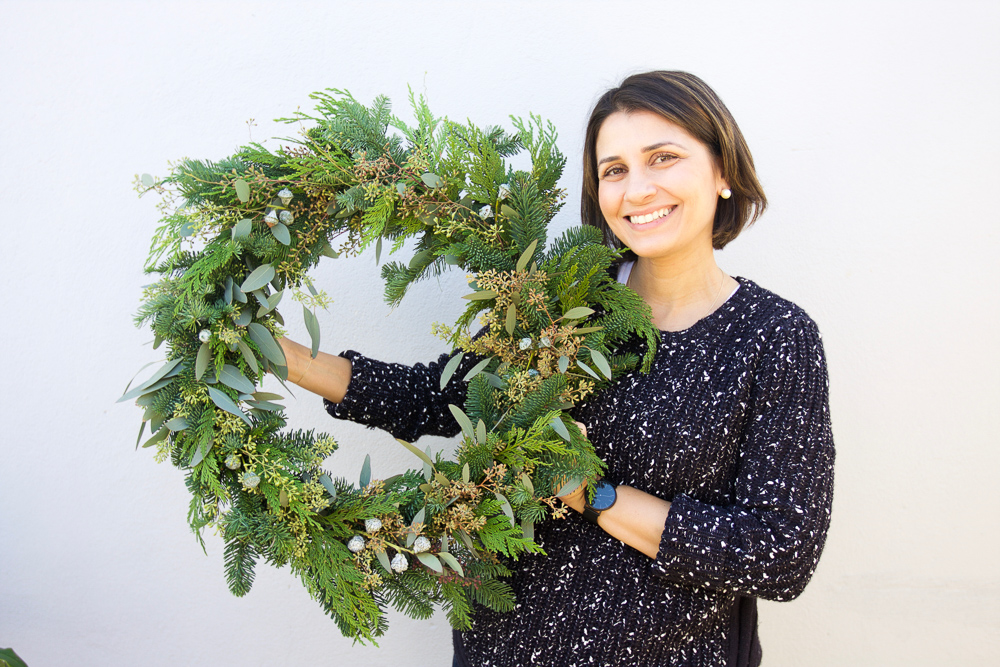
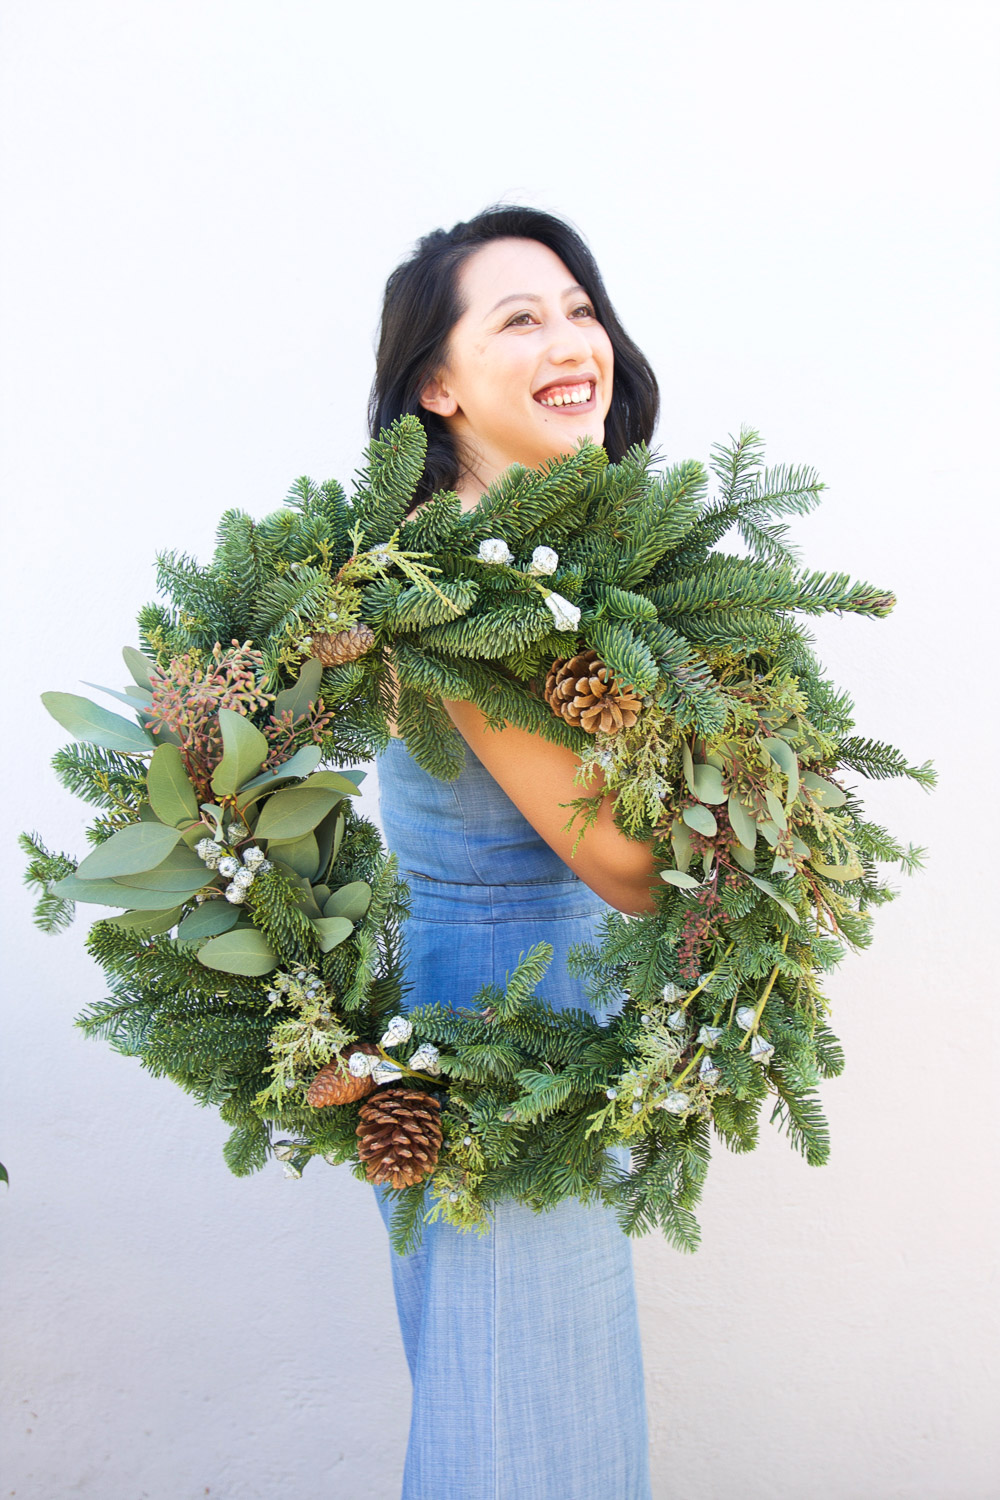
 If you are reading this post because you are planning to throw a wreath making party, let me assure you, it is easy and FUN – No fear. Your friends will love it and you will be the super hostess hero.
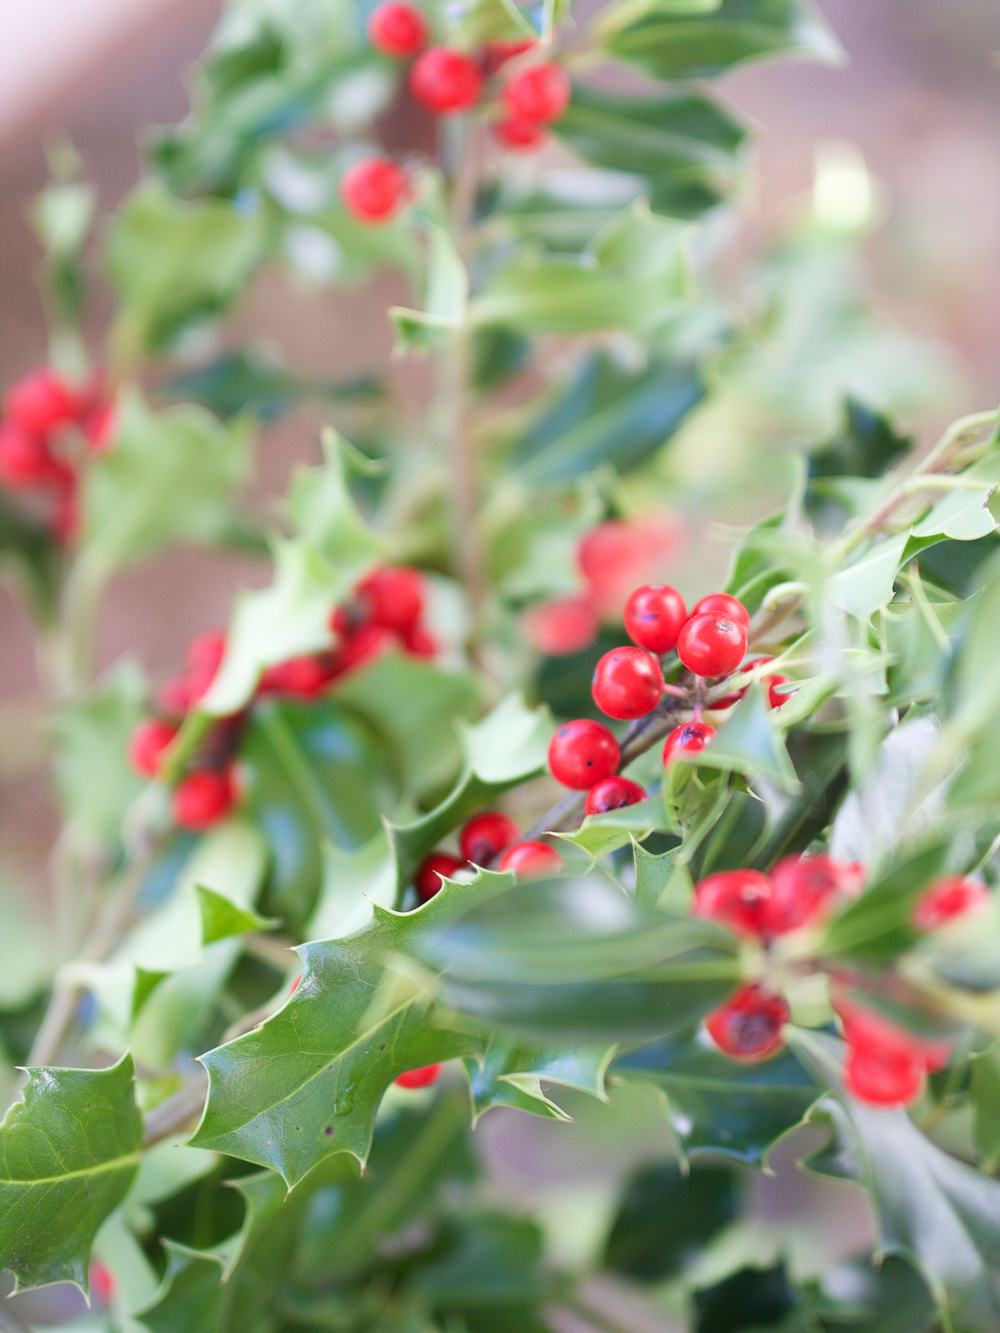 Holly
Holly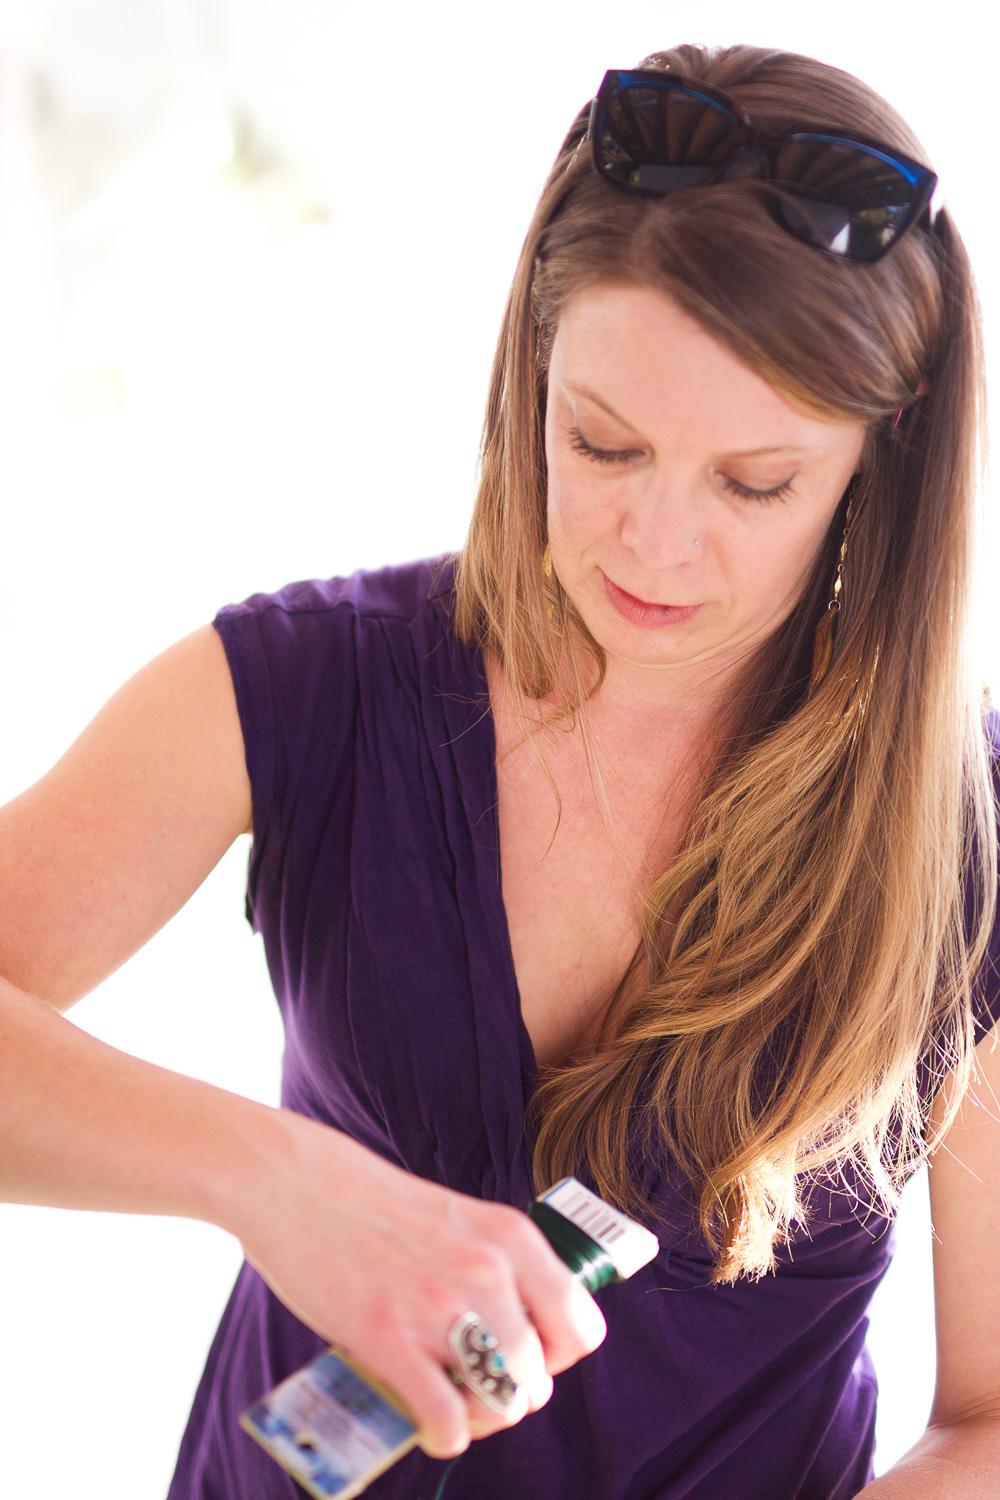
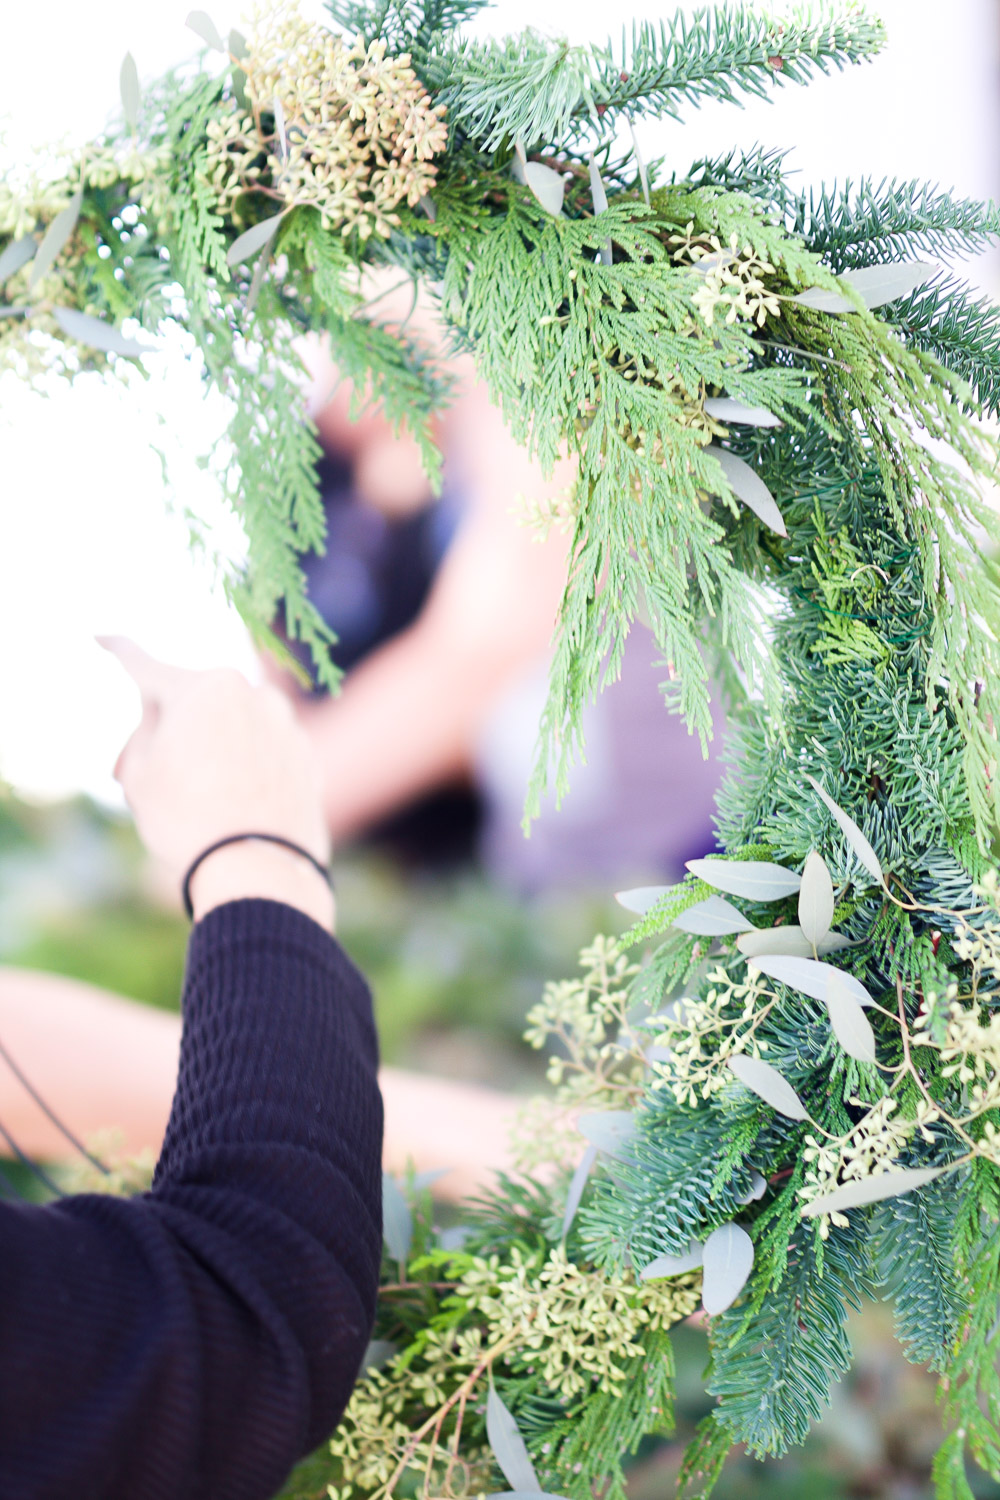
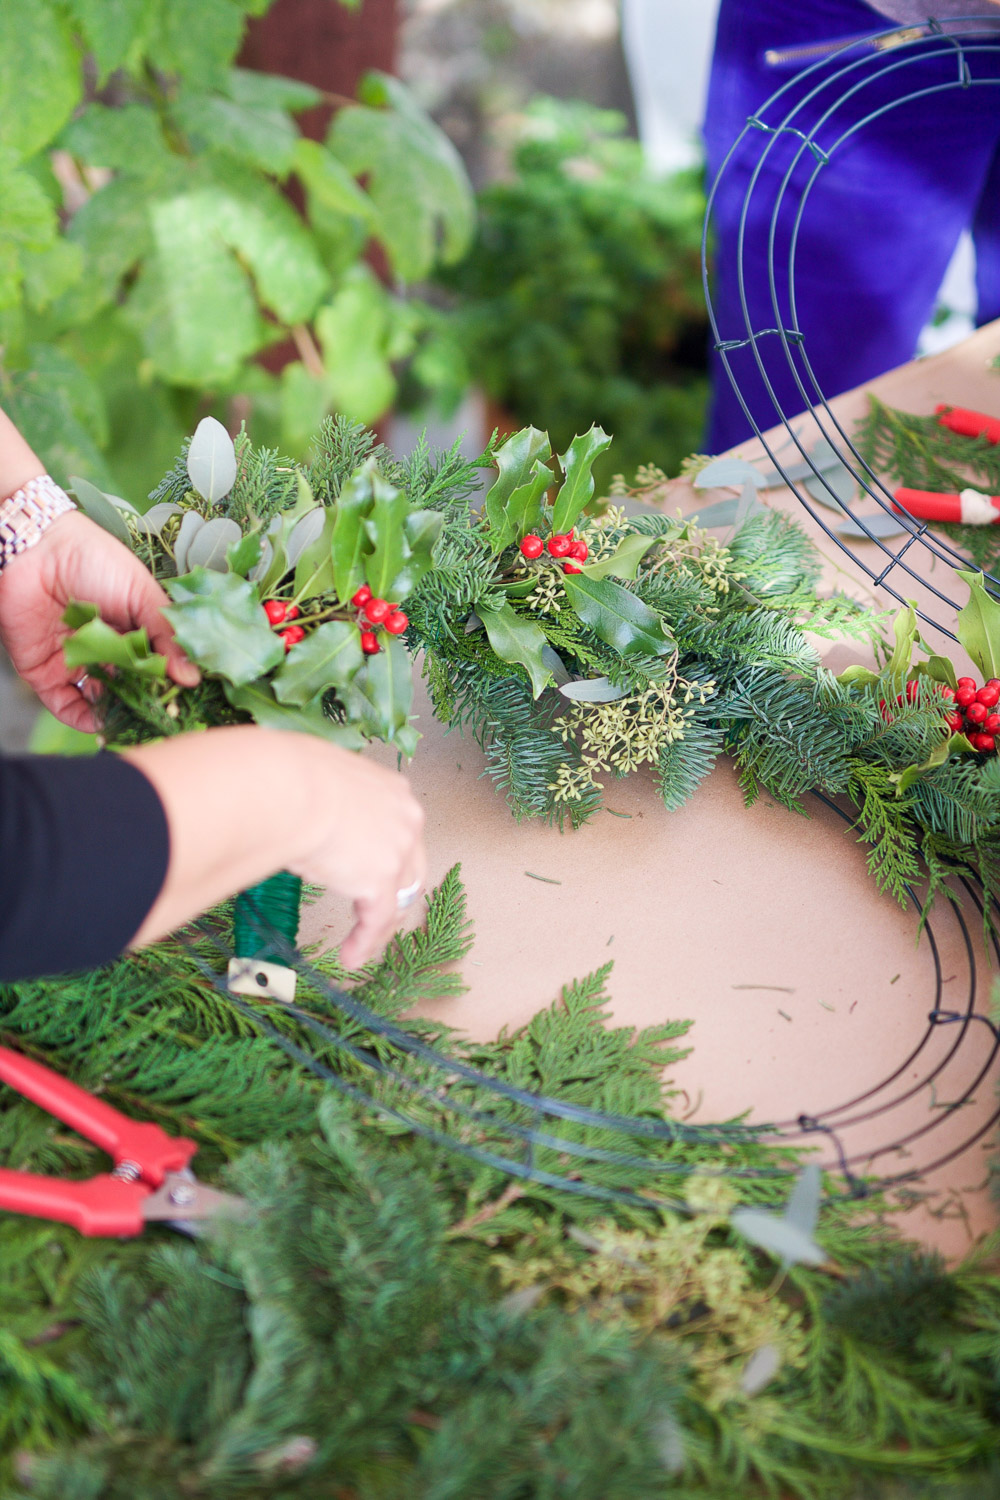
 Last year, we used grapevine wreaths (18 and 24 inches). Grapevine wreaths are beautiful by themselves, so they are good if you are planning to partially cover it. If the idea is to cover the whole wreath with greenery, grapevine wreaths are NOT the way to go, because they are more expensive and you need more greenery to cover them (they are thick), that is why I decided to go with simple wire wreaths for this year’s party and the final results were better across the board.
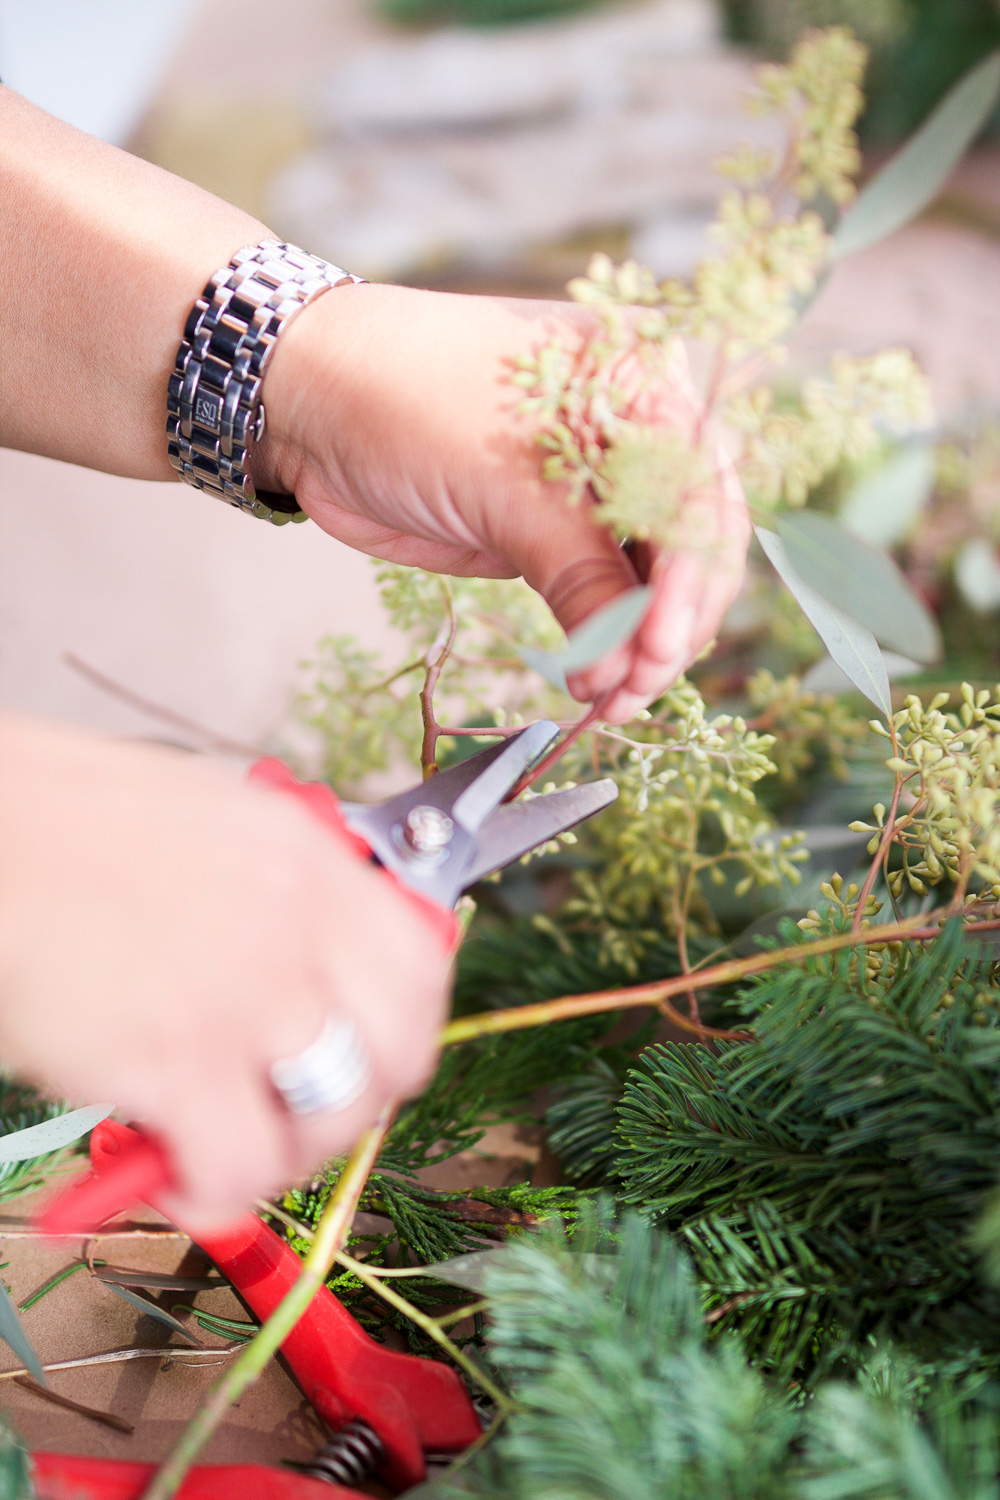
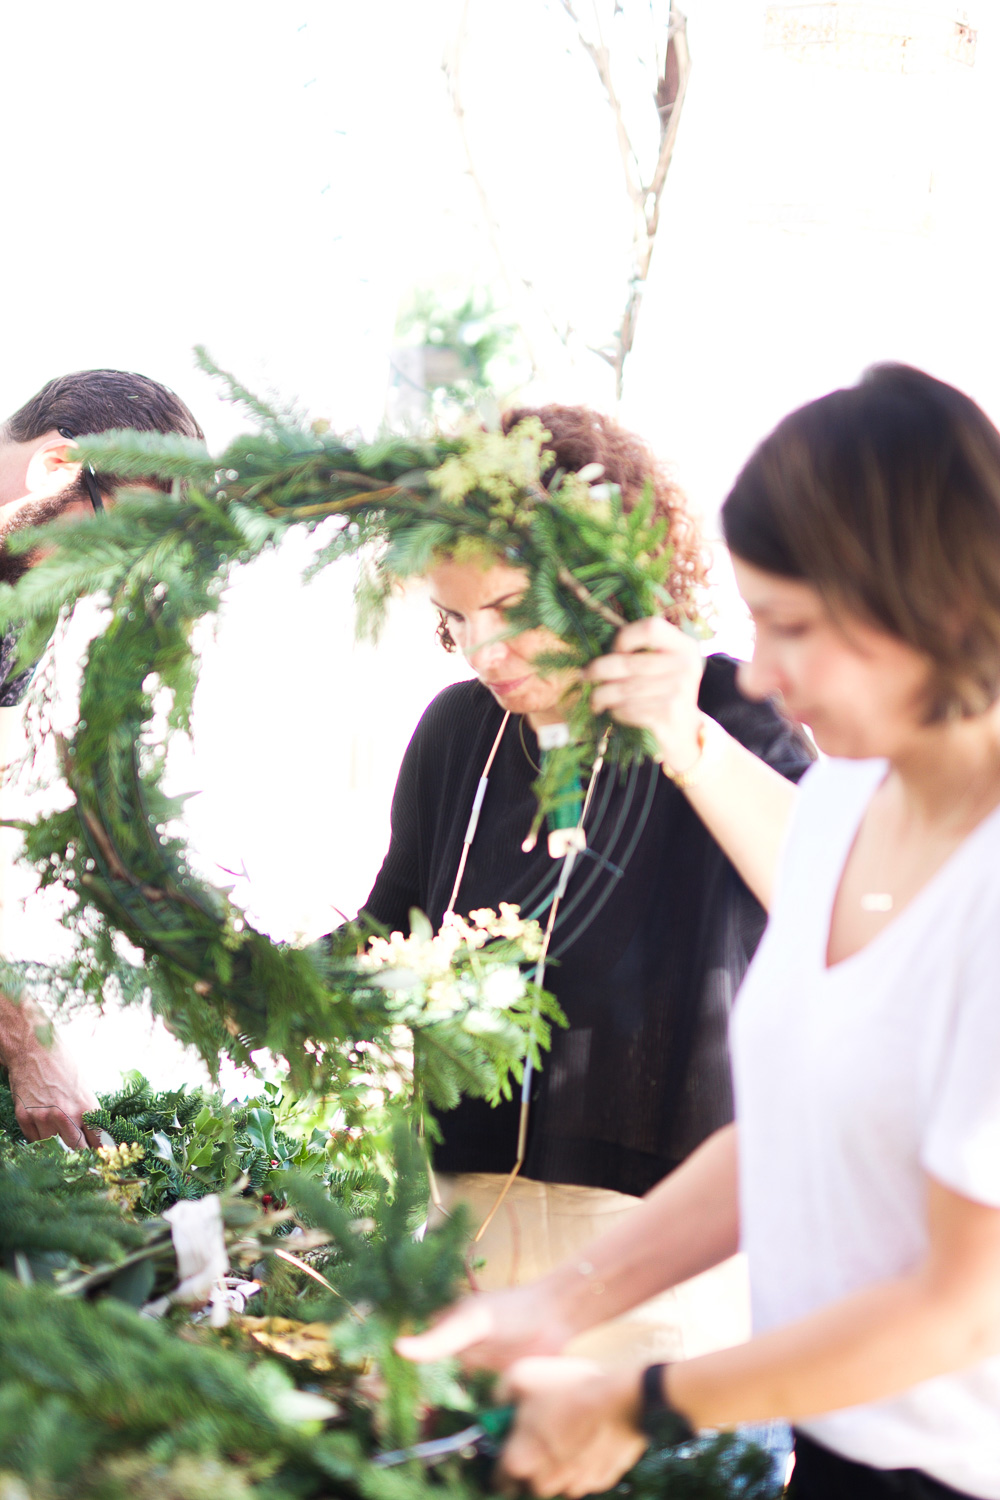
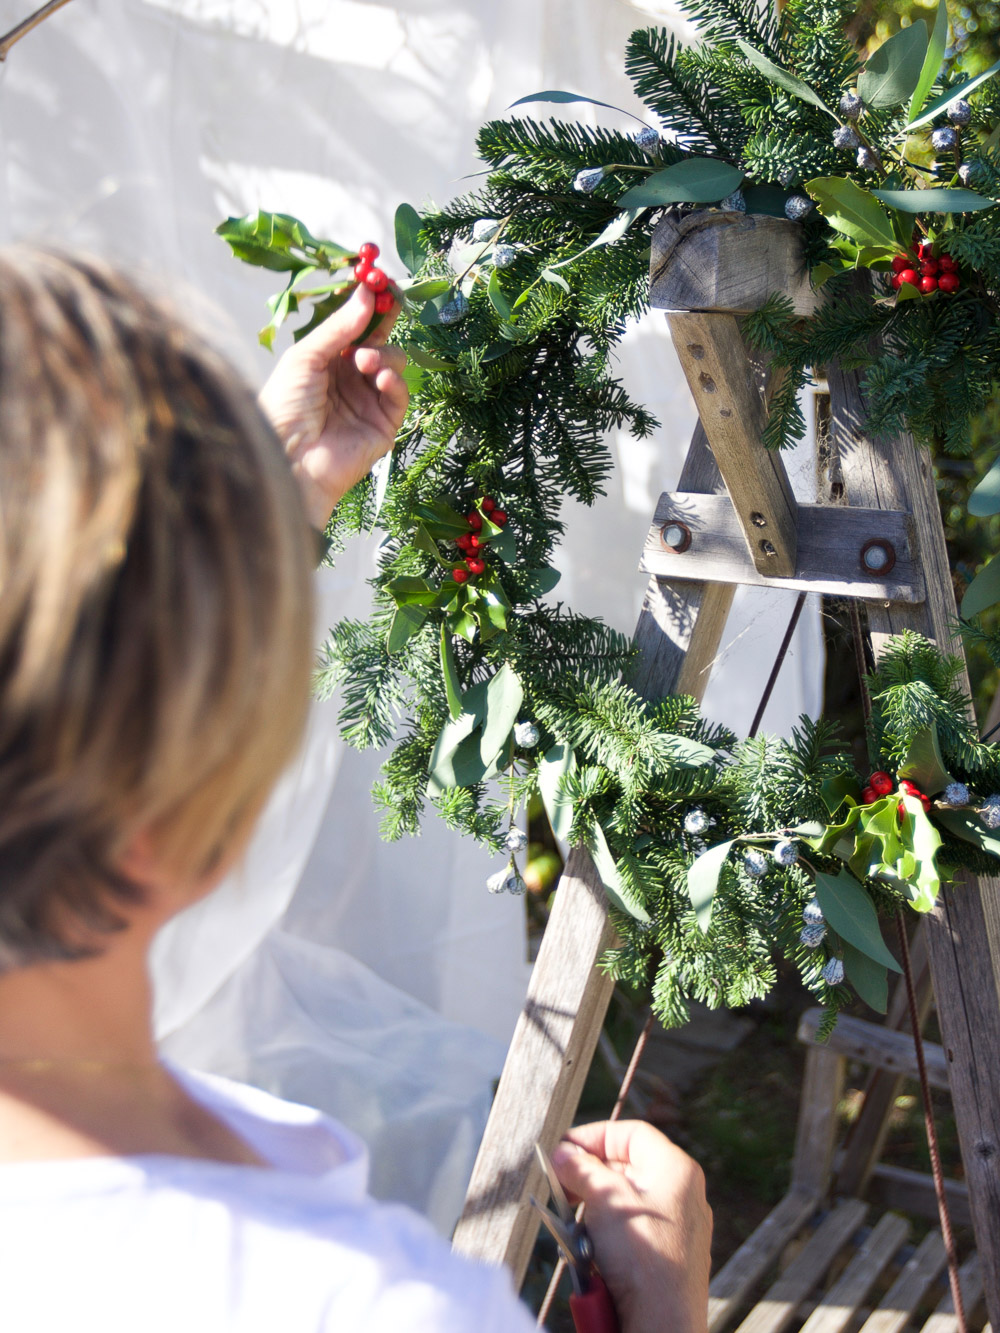
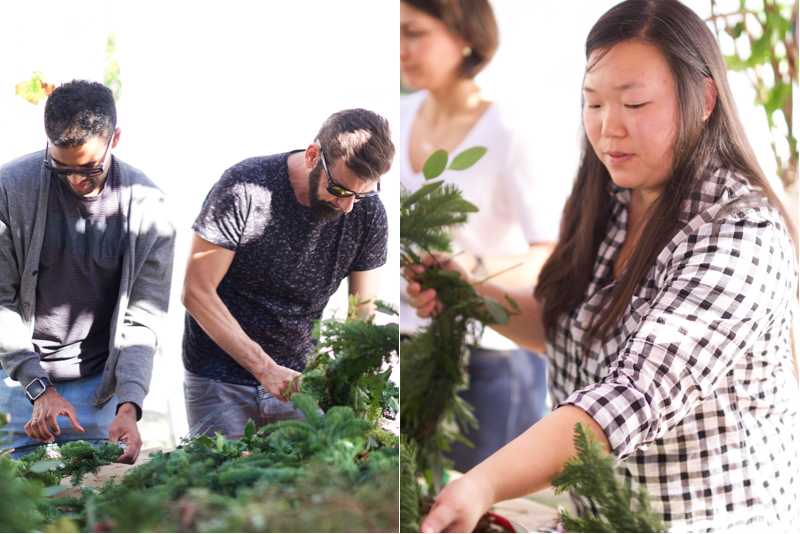
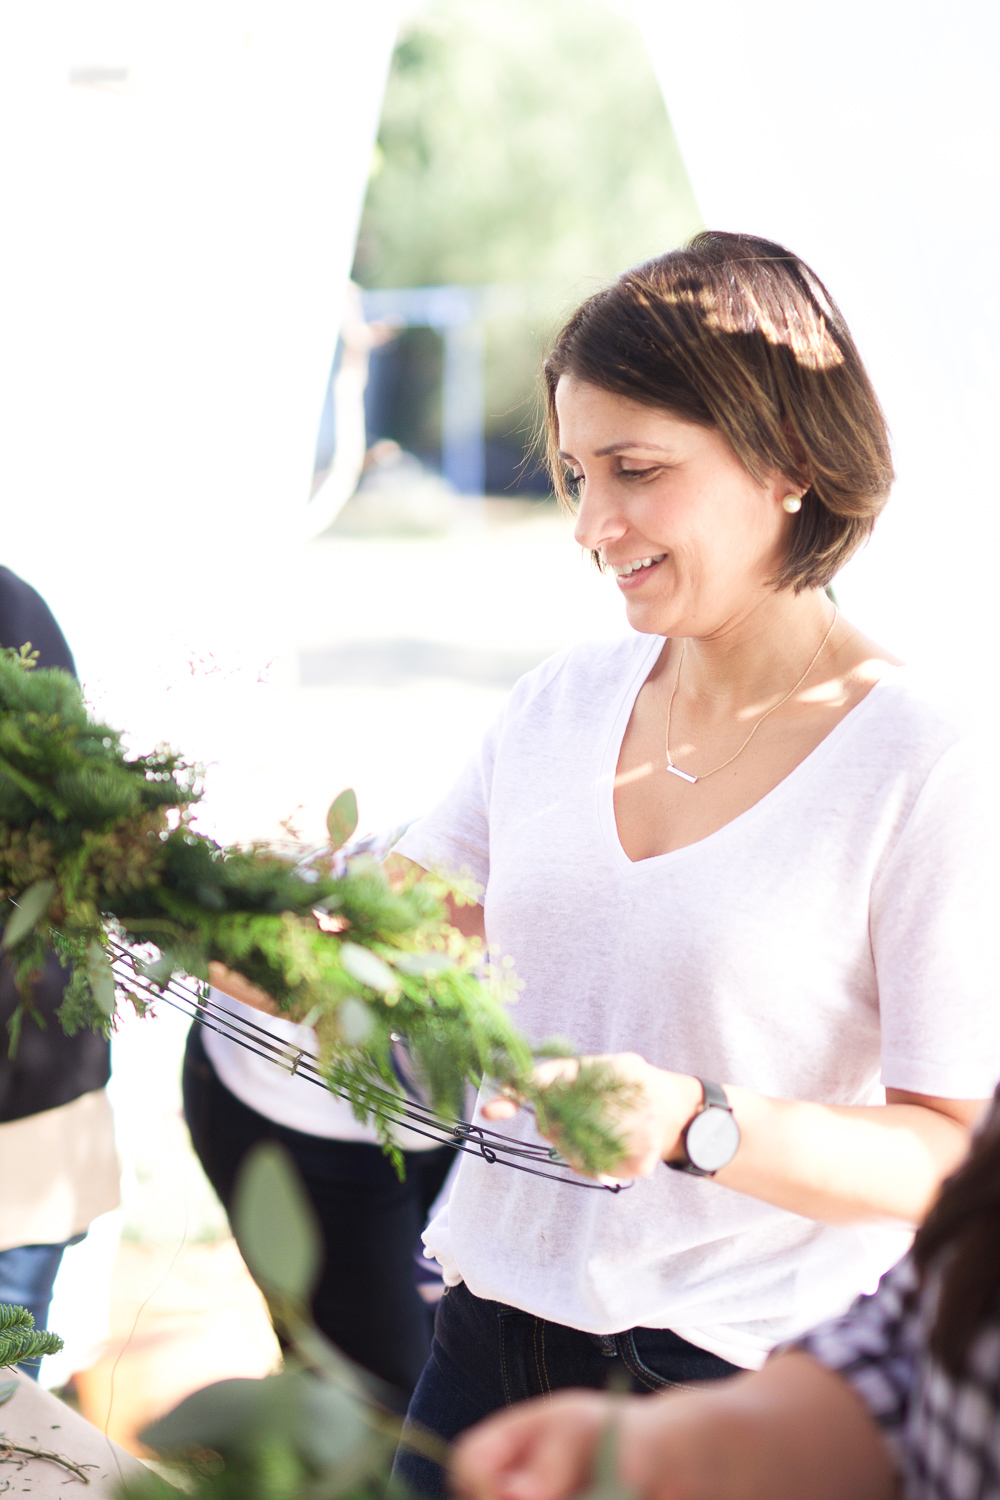
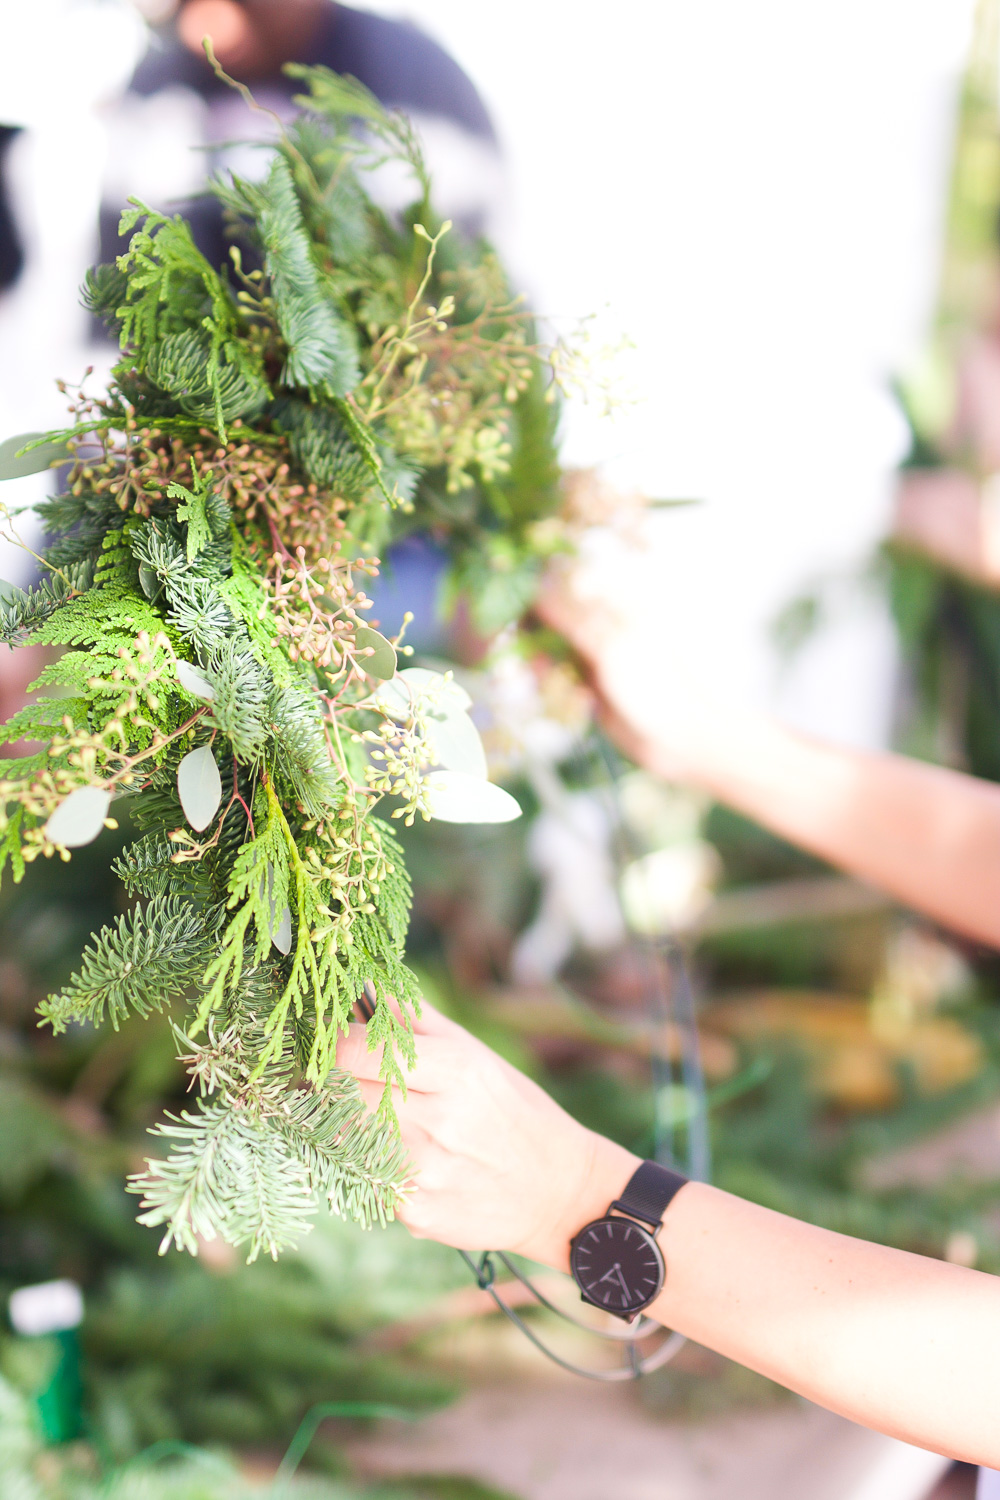
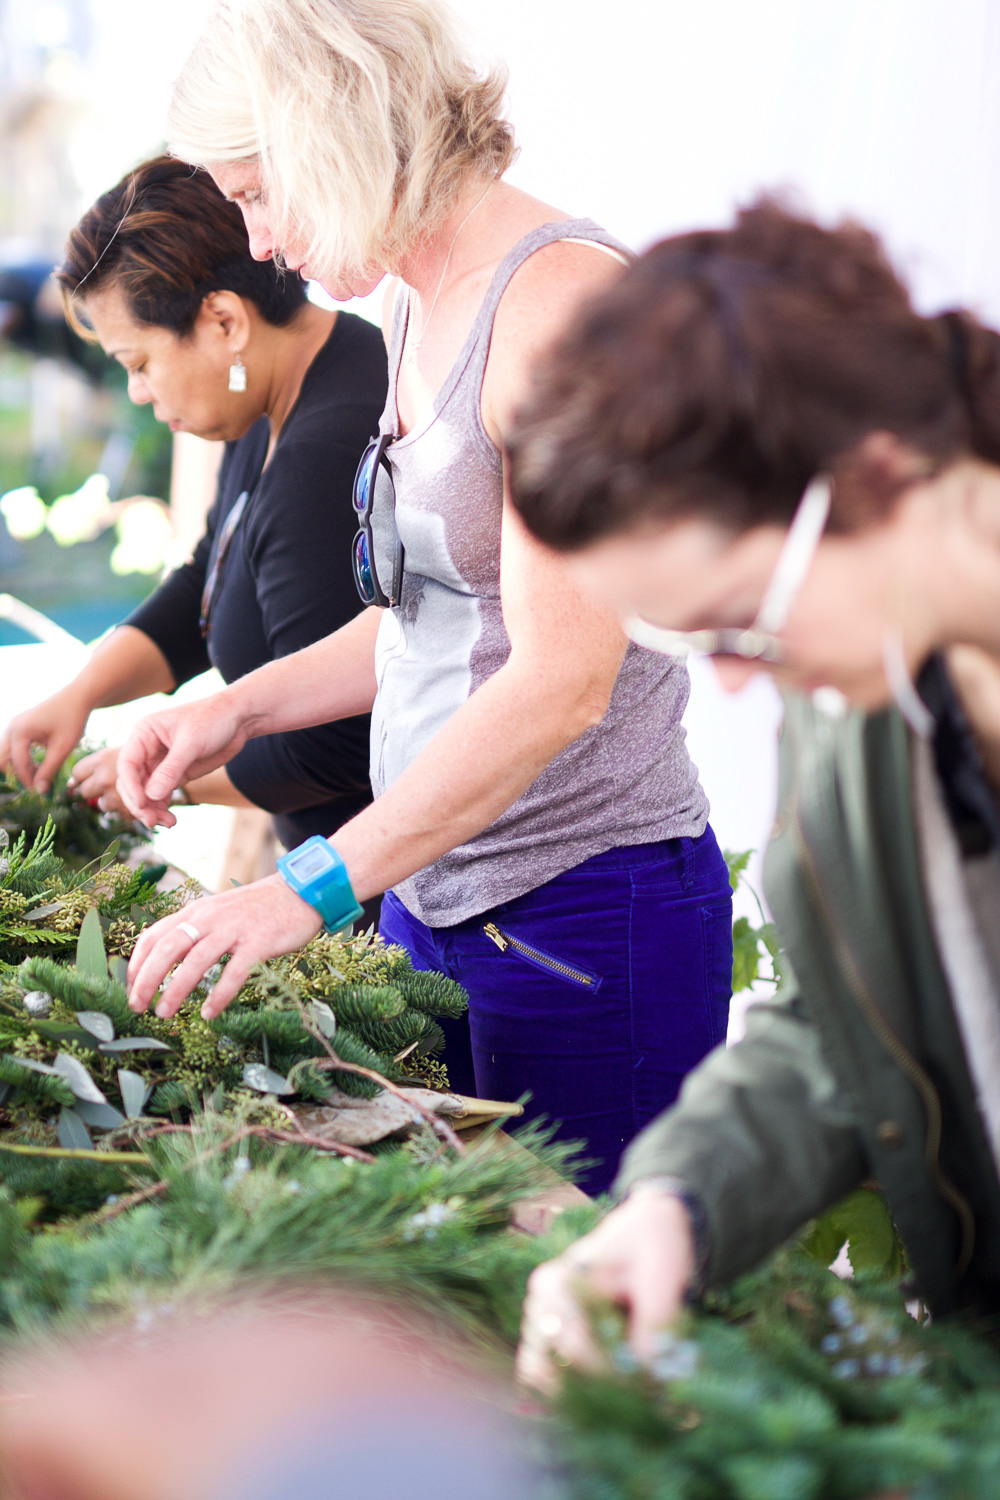
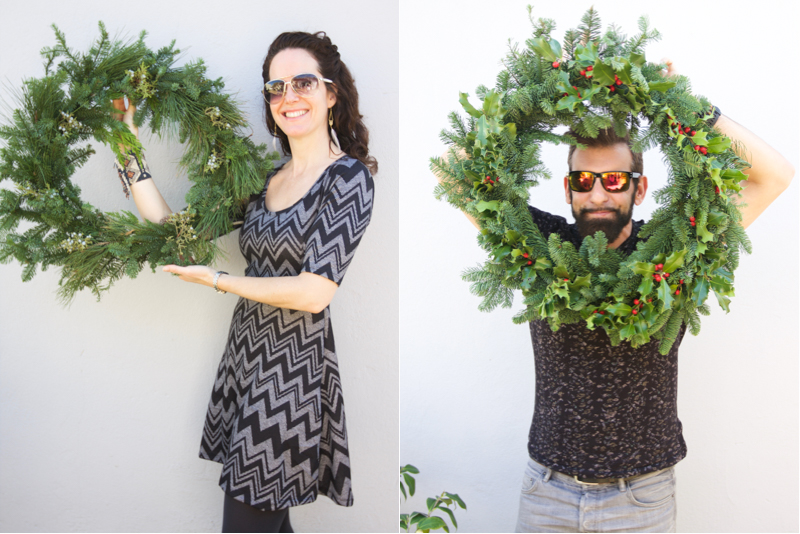
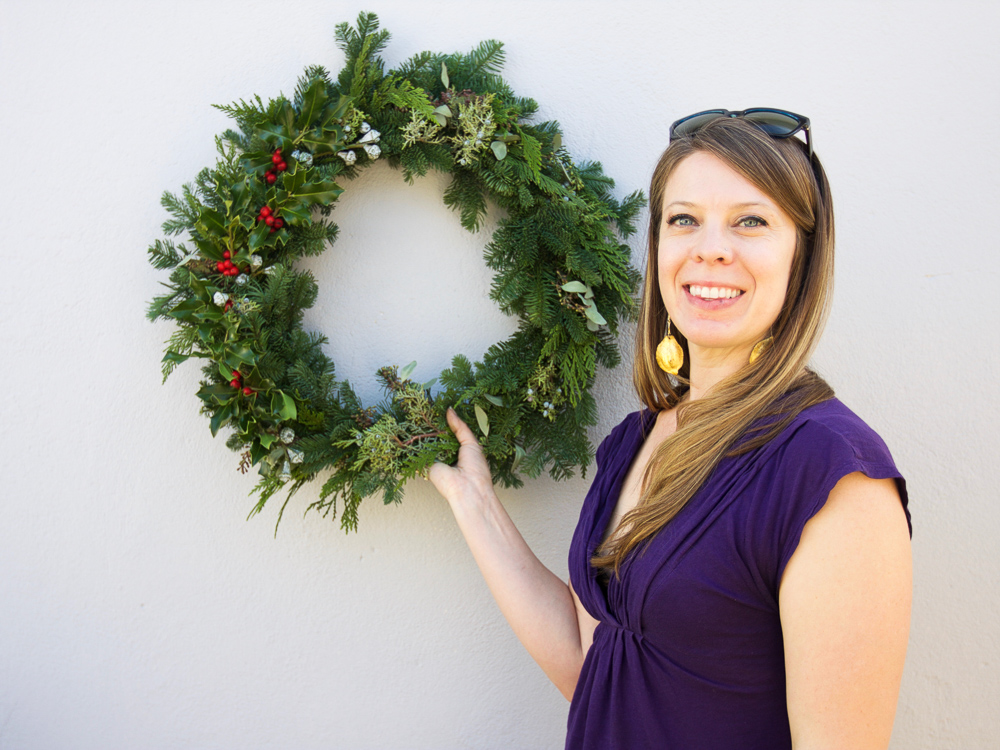
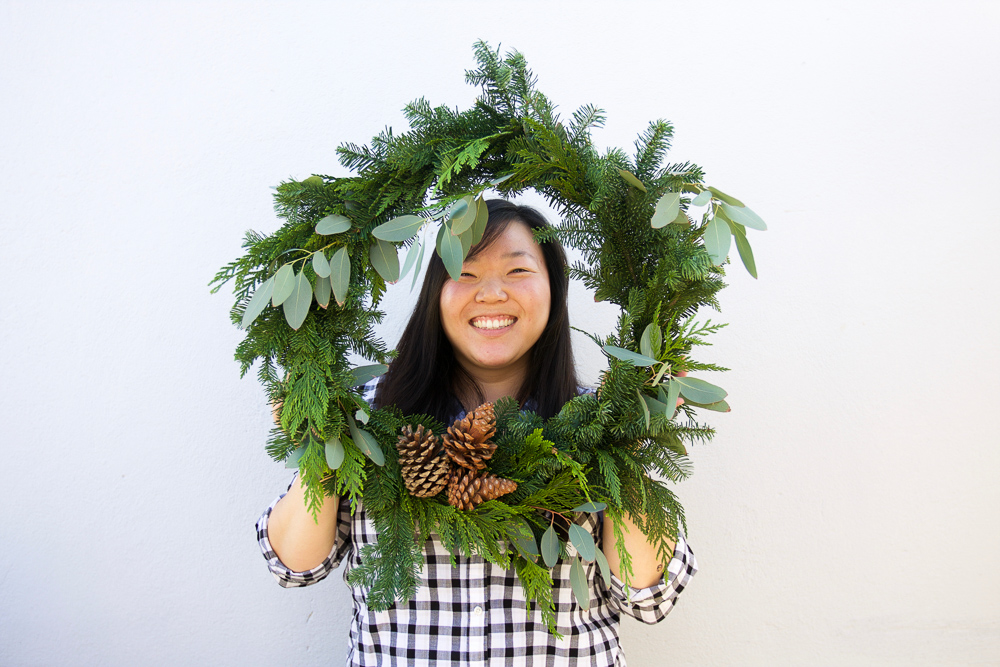
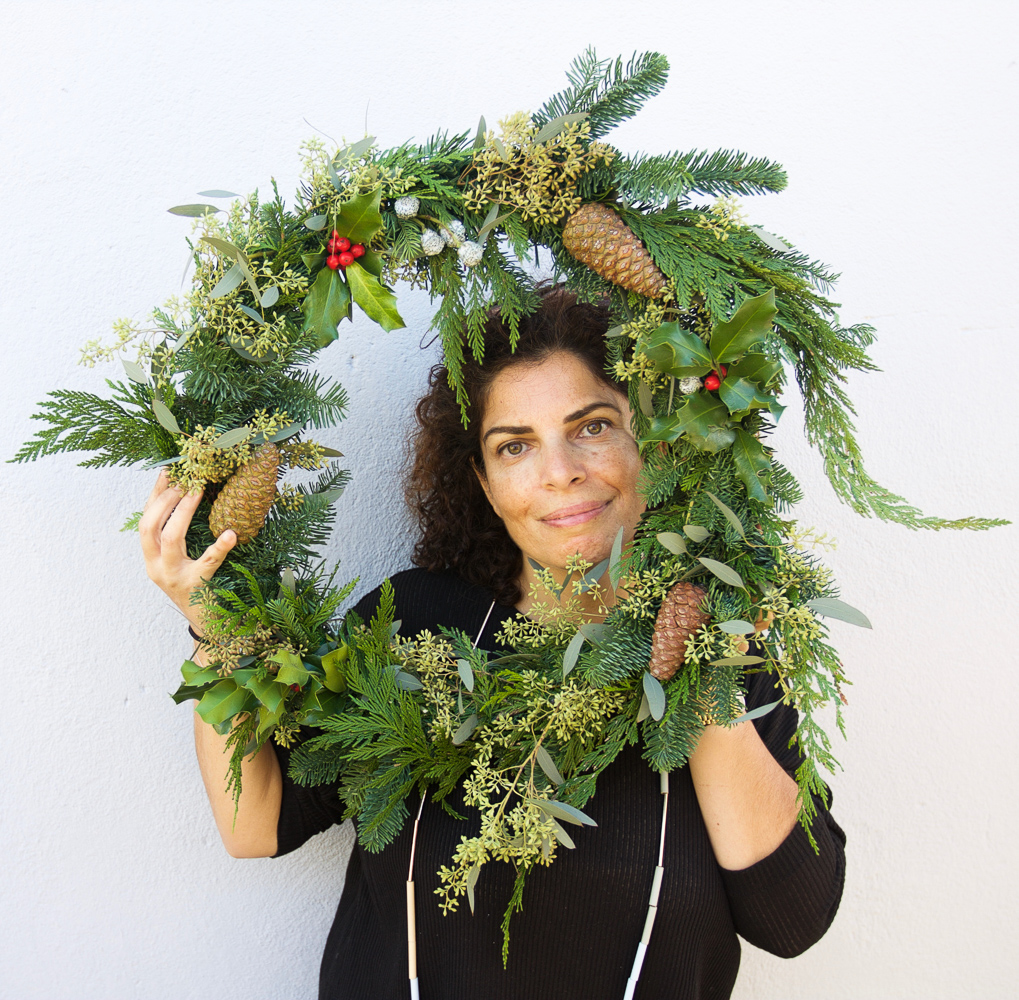
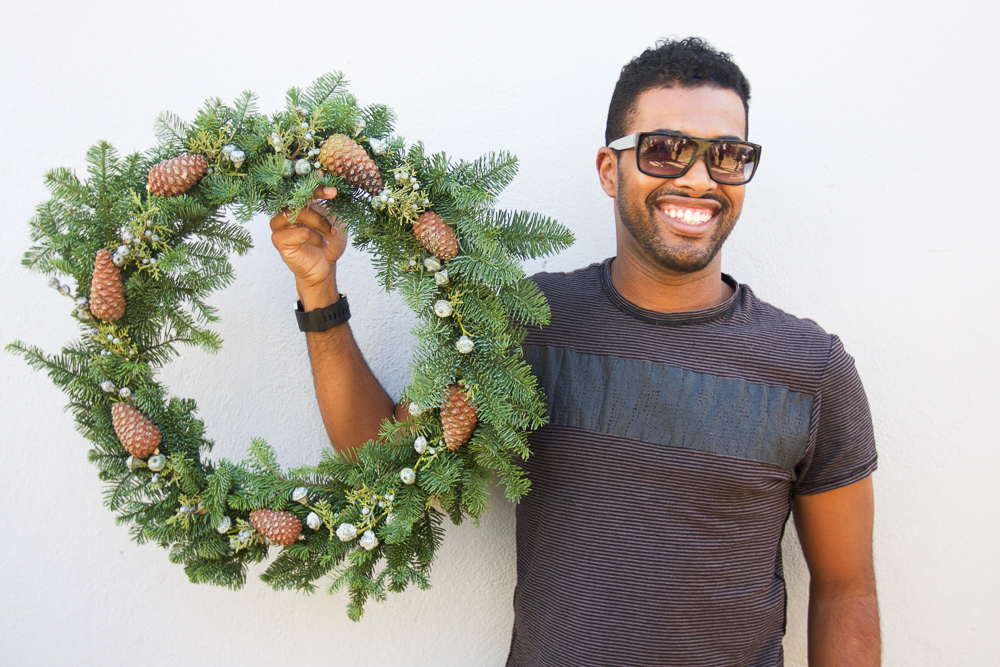
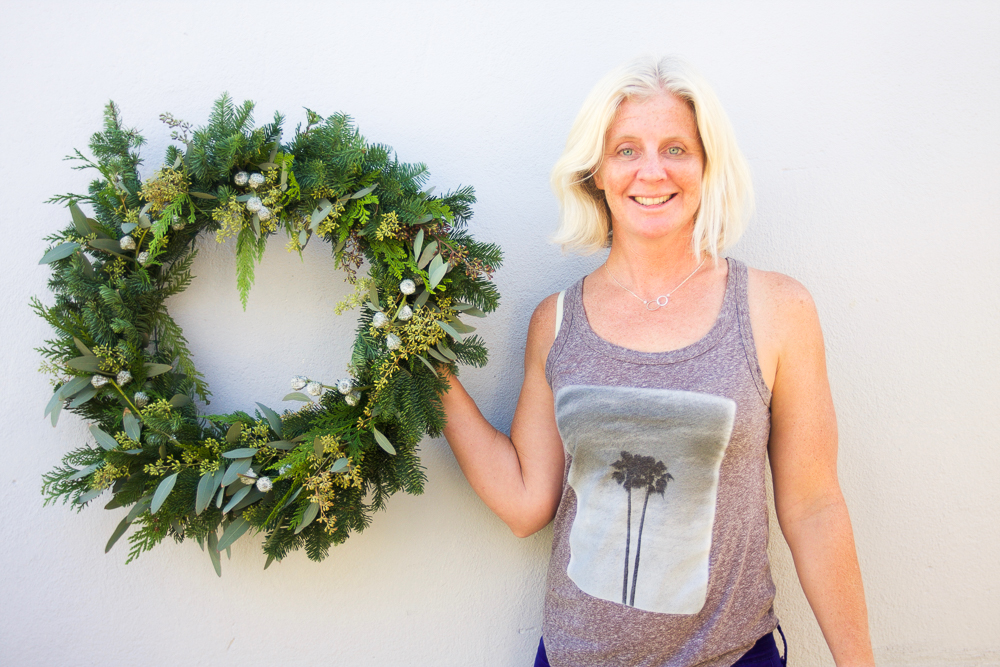
 Here are the results. They all look pretty good, don’t you think?
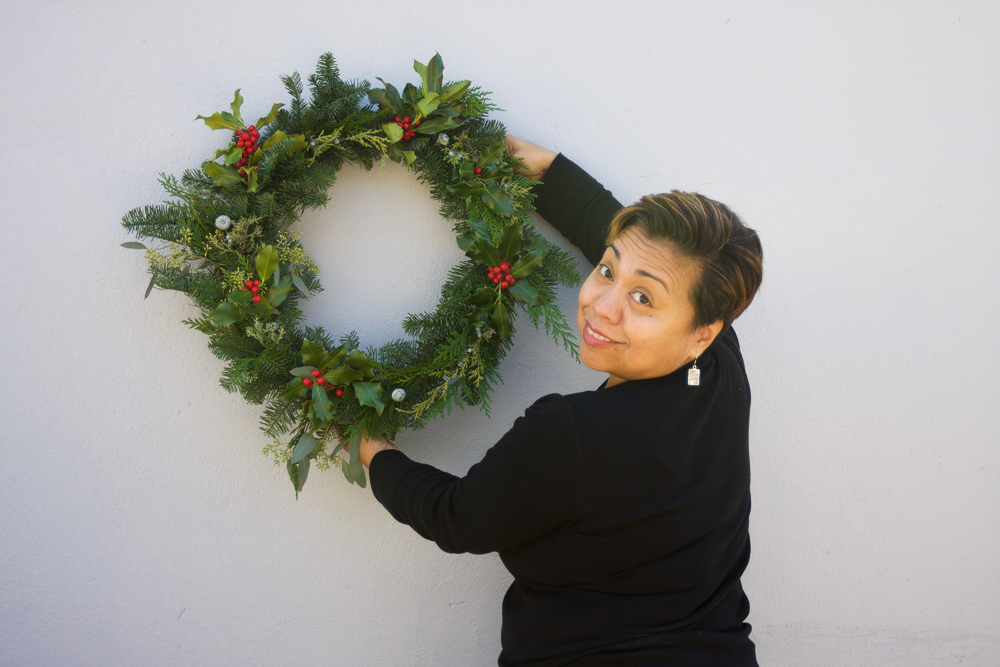


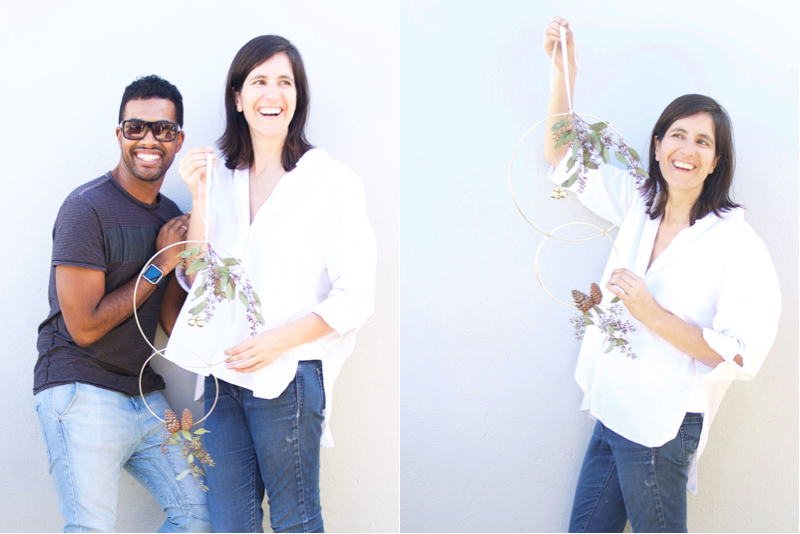 I didn’t have time to do a wreath until later because I was teaching the workshop, so I posed with the golden ring wreath I created the day before. BTW, tutorial for gold ring wreaths coming up on Monday!
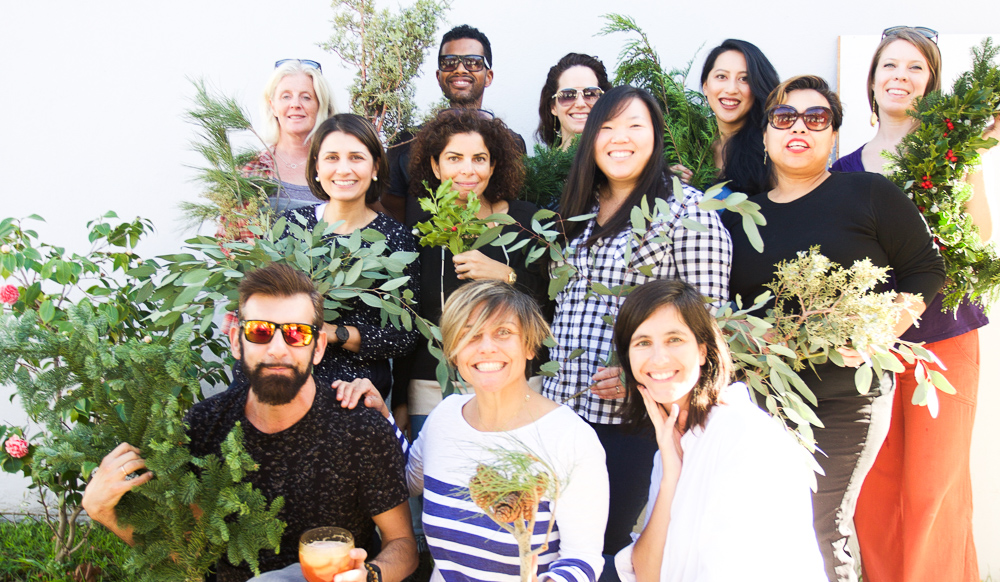 I love this group of friends.
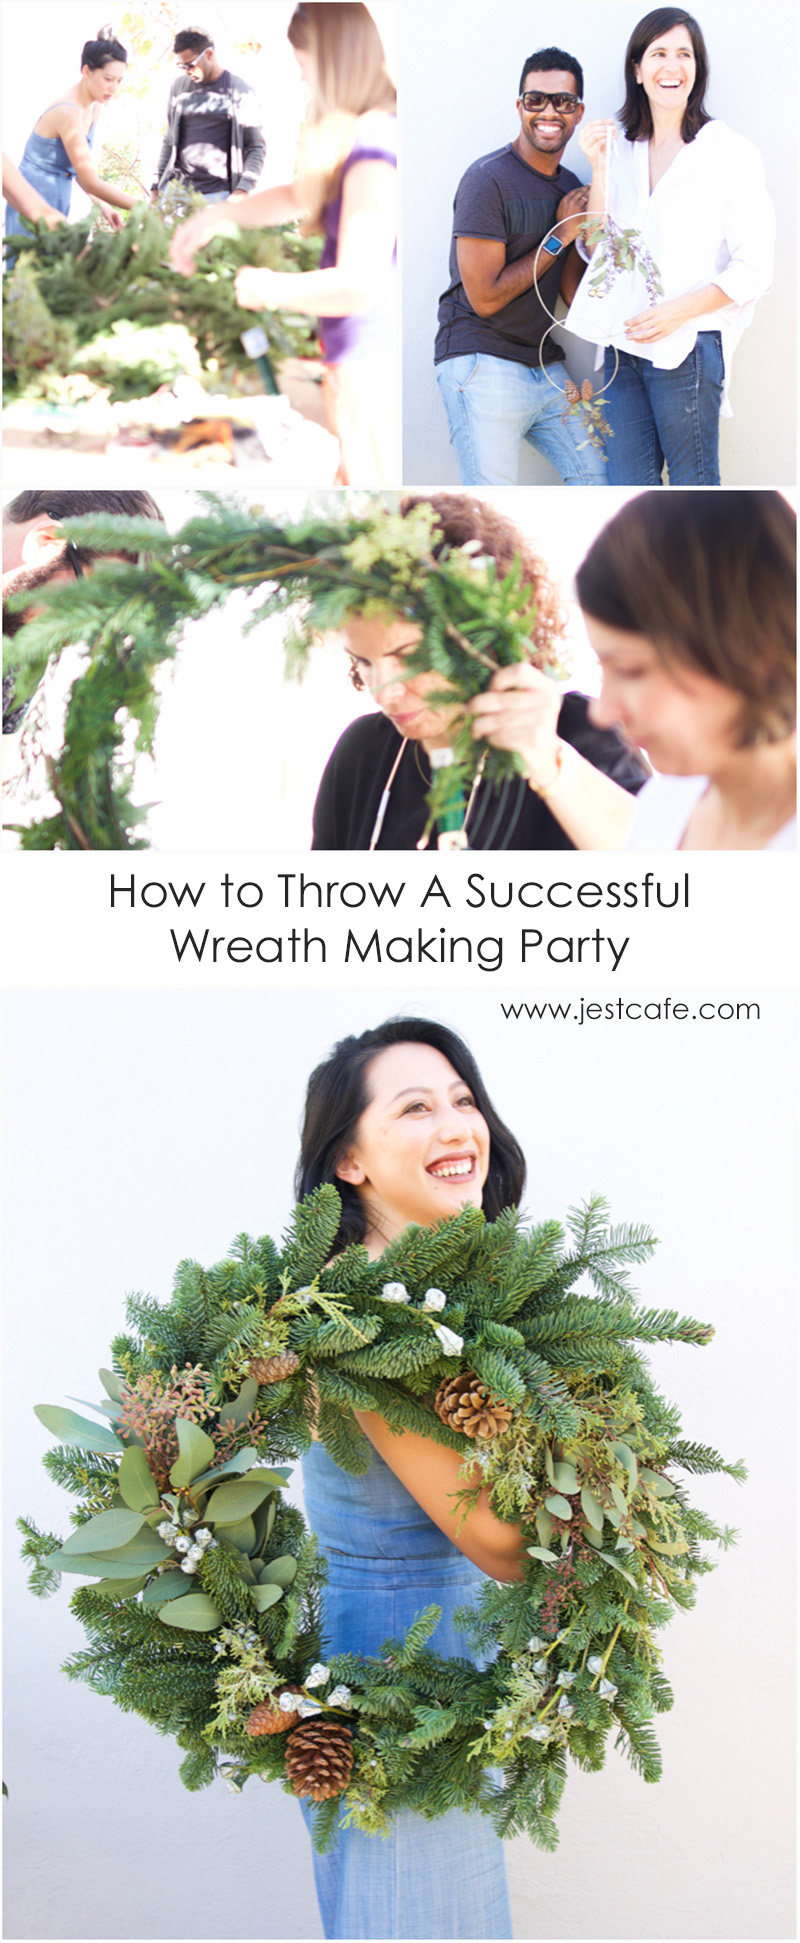

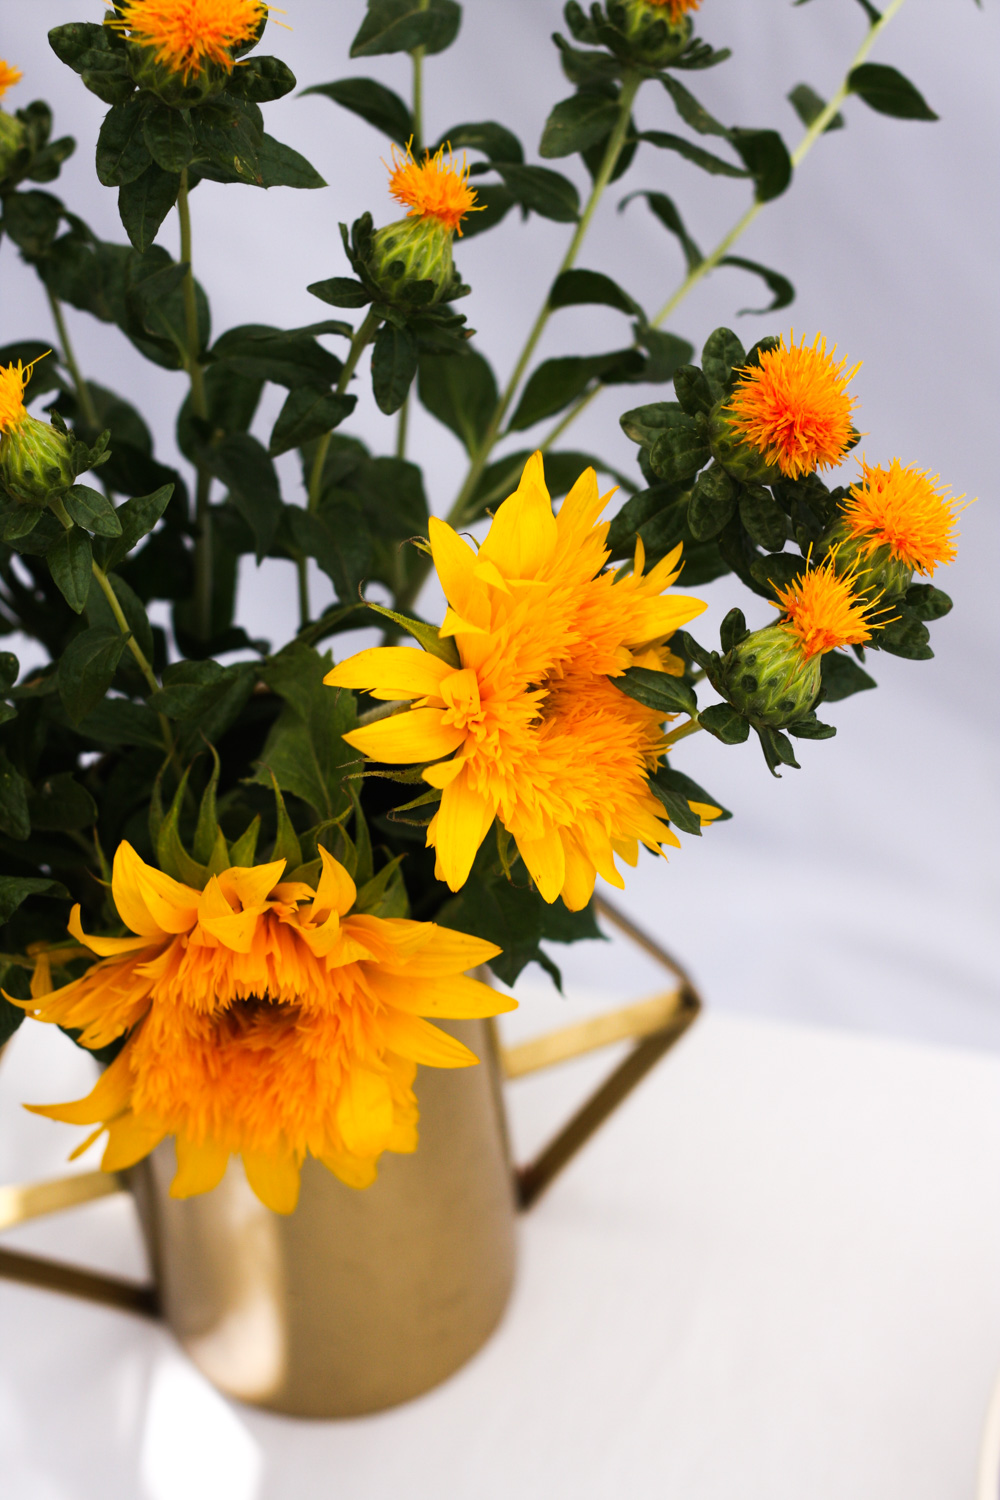
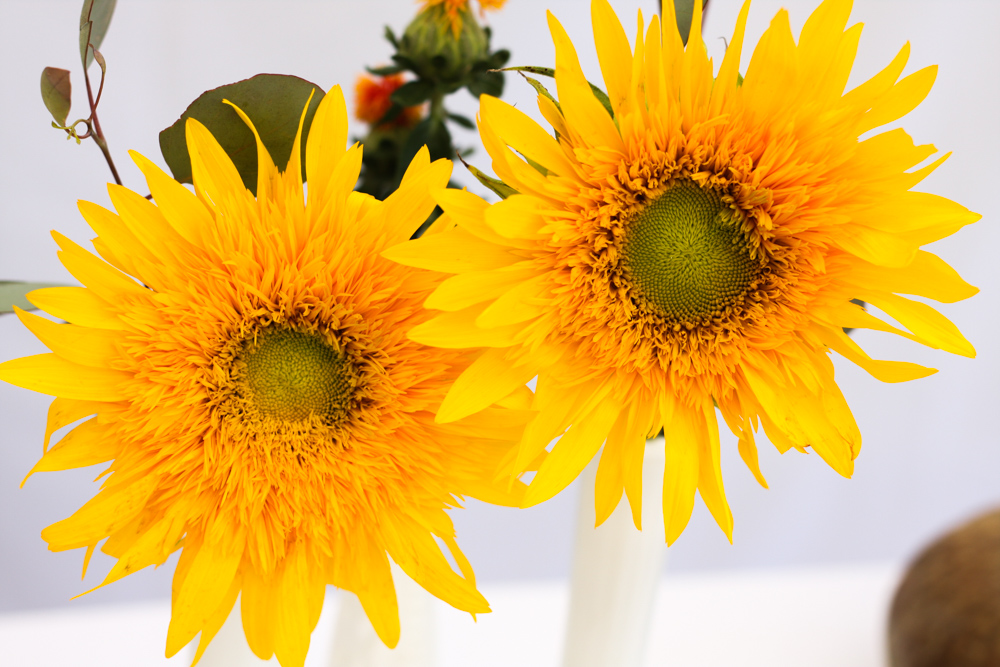 These are teddy bear sunflowers. So cute!
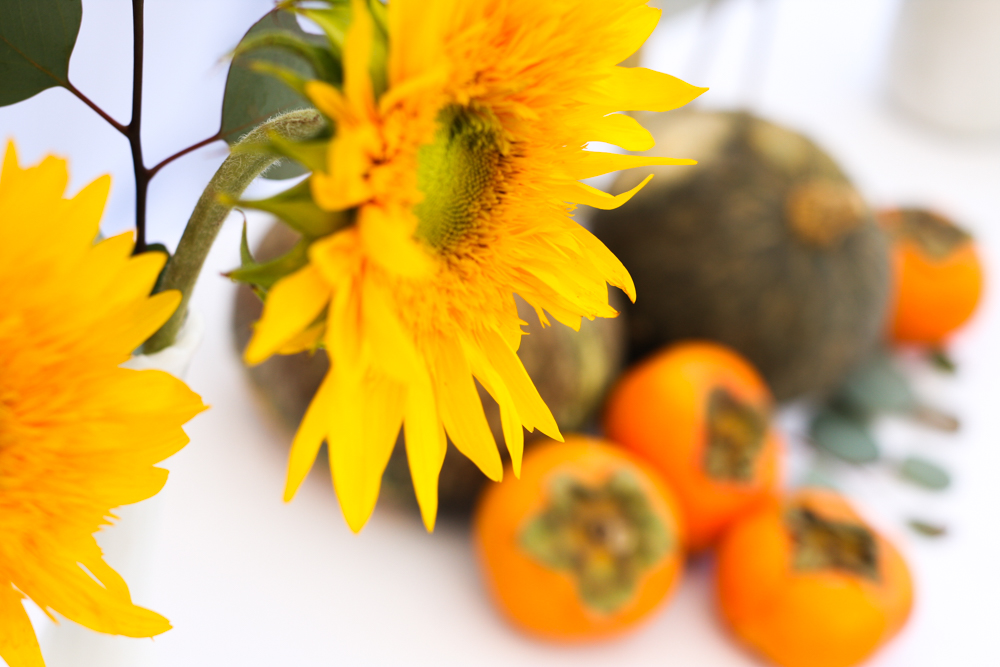
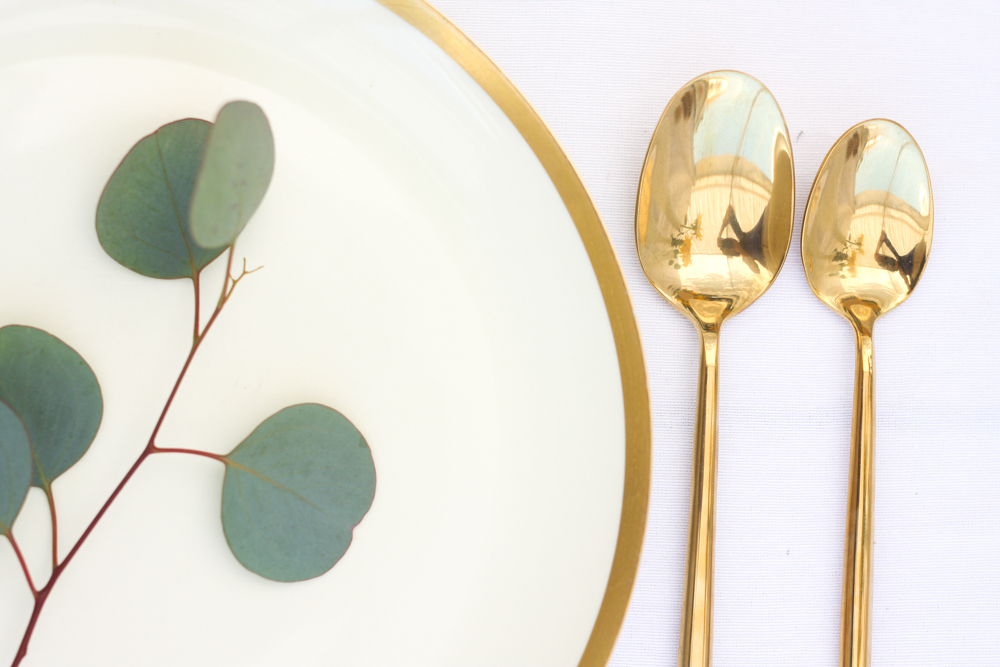
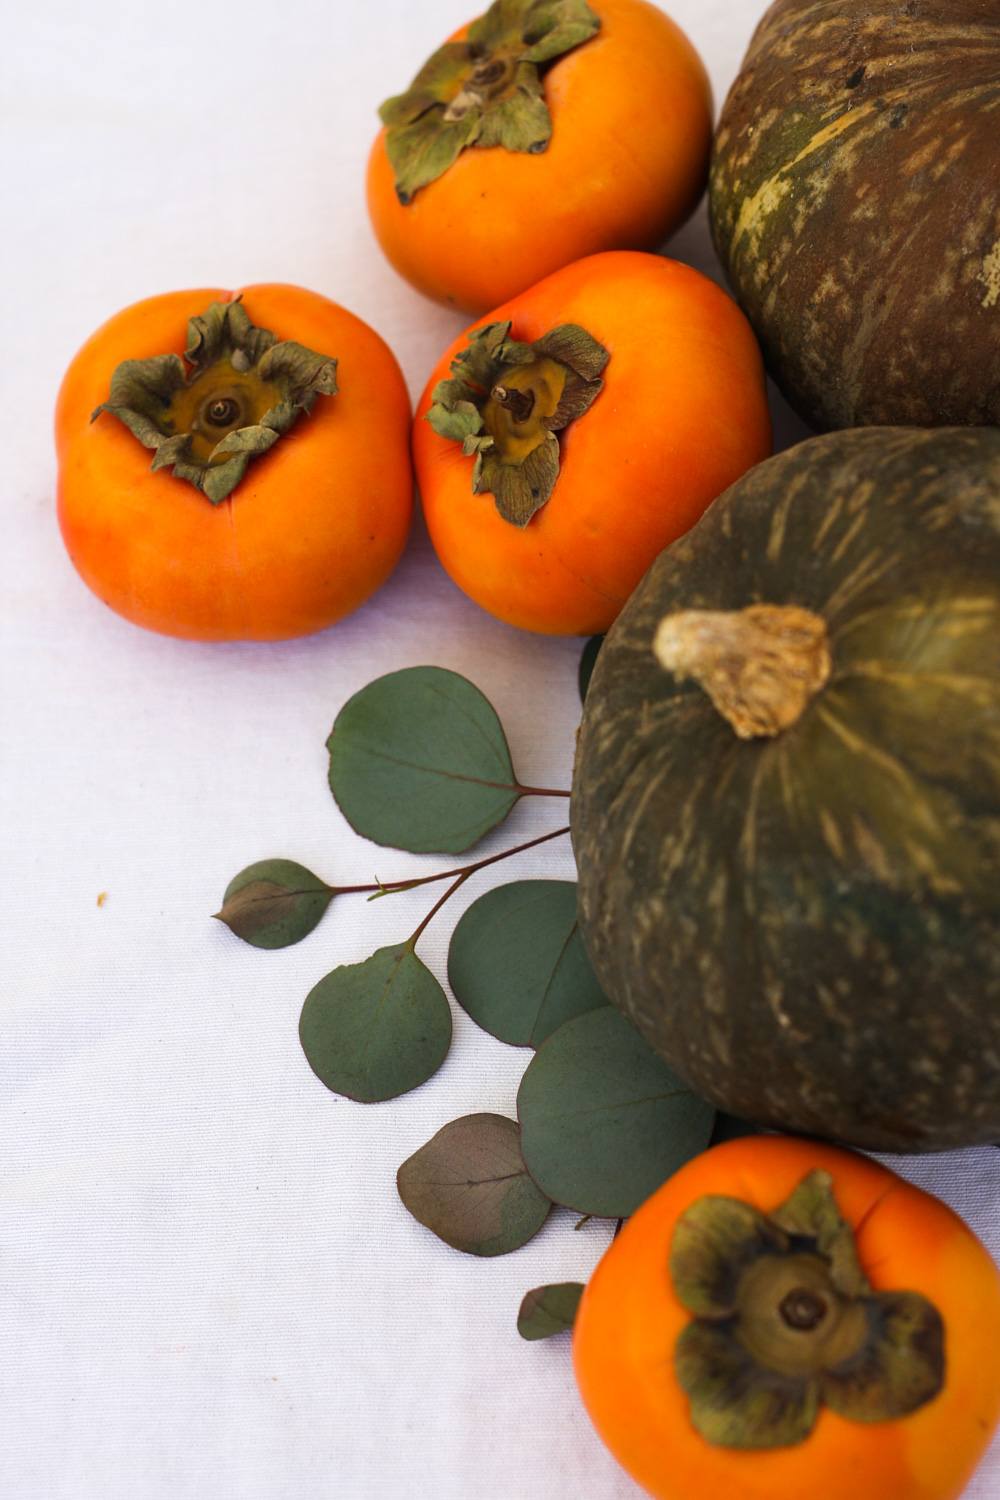
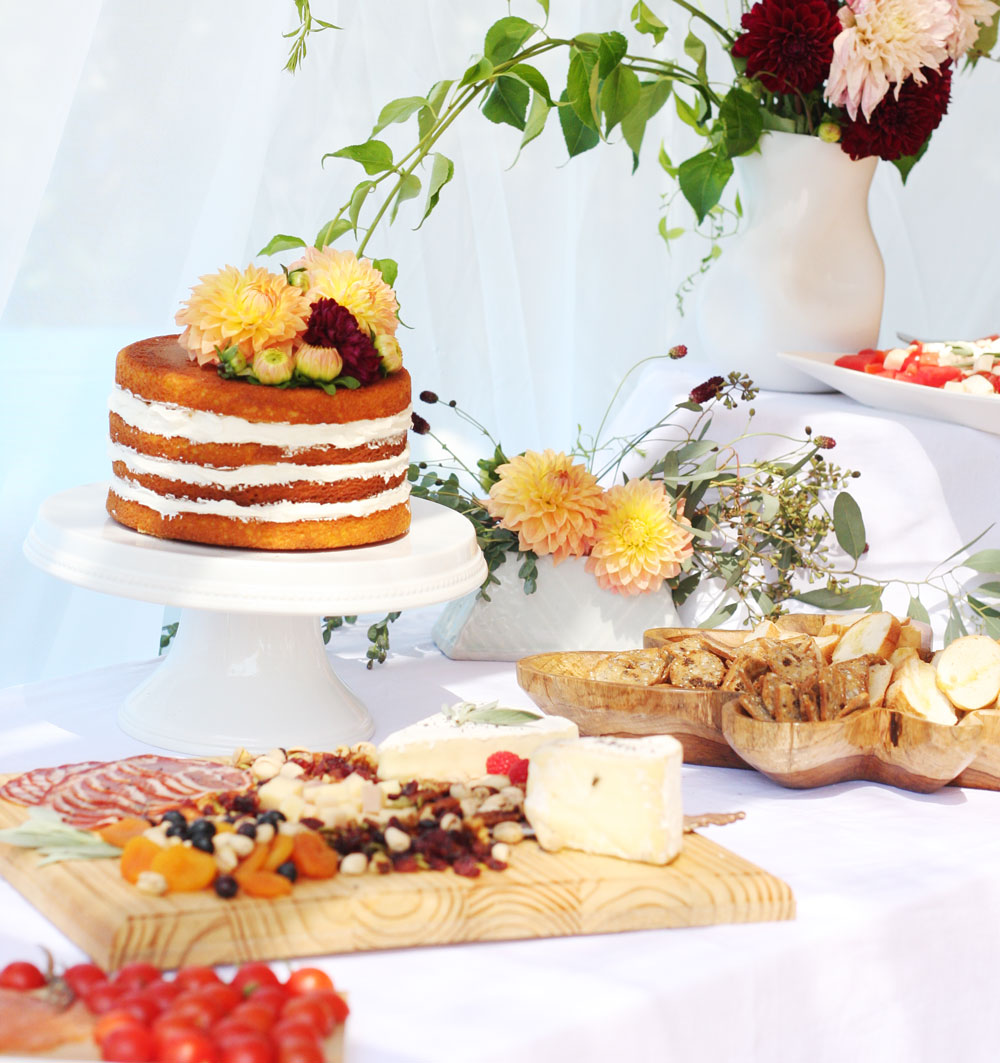
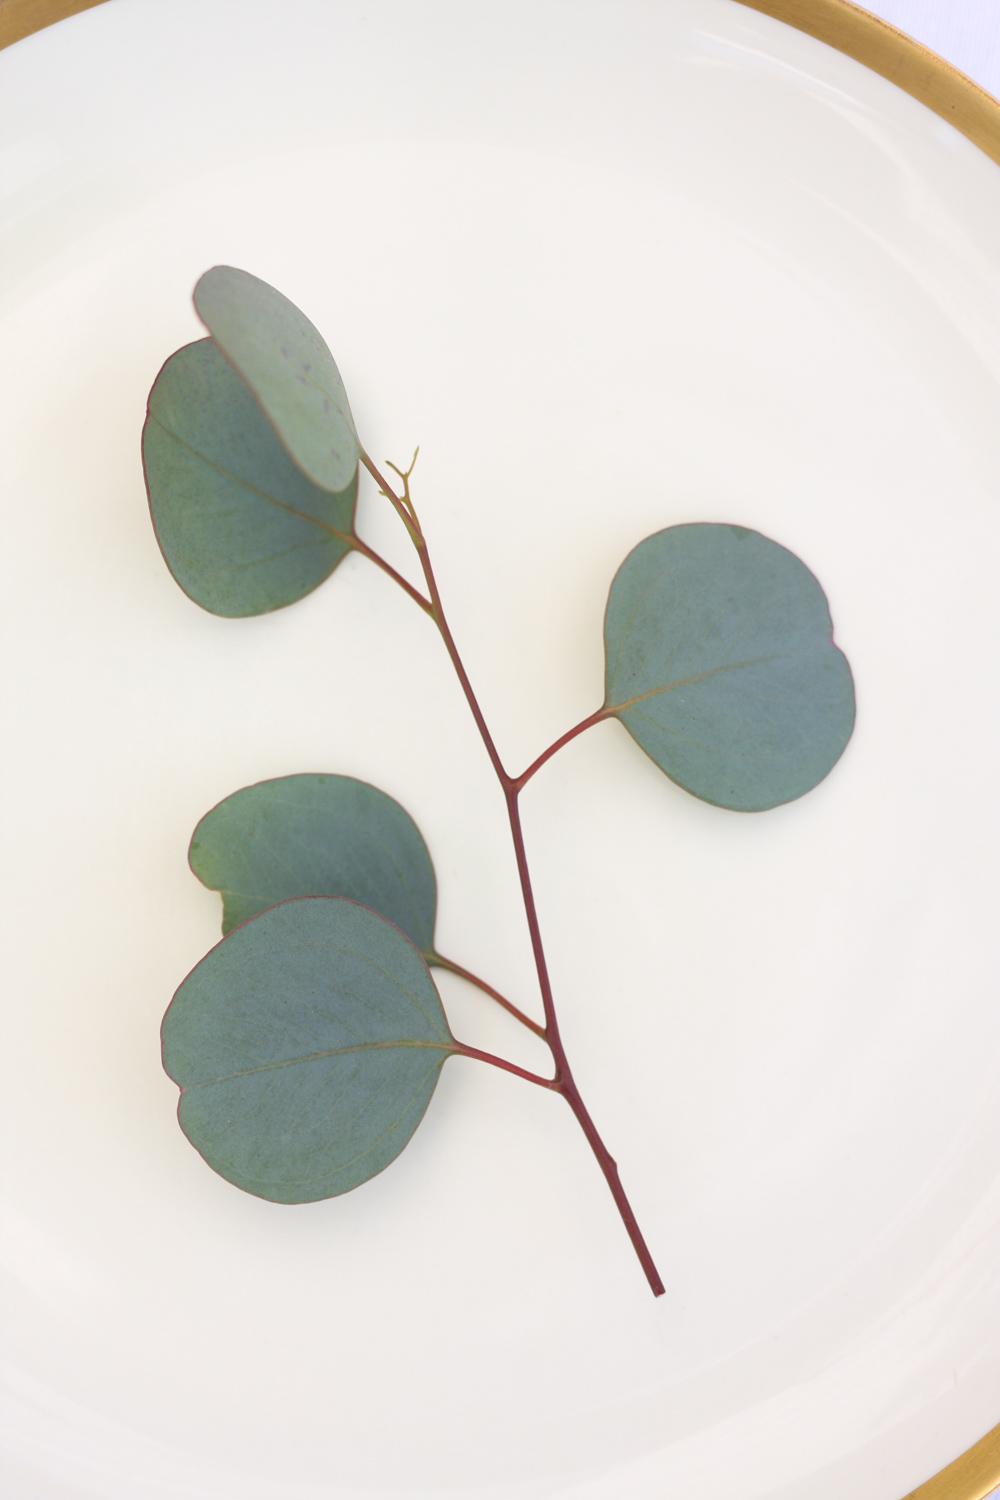 Using eucalyptus is an easy way of decorating and bringing neutral colors to the table.
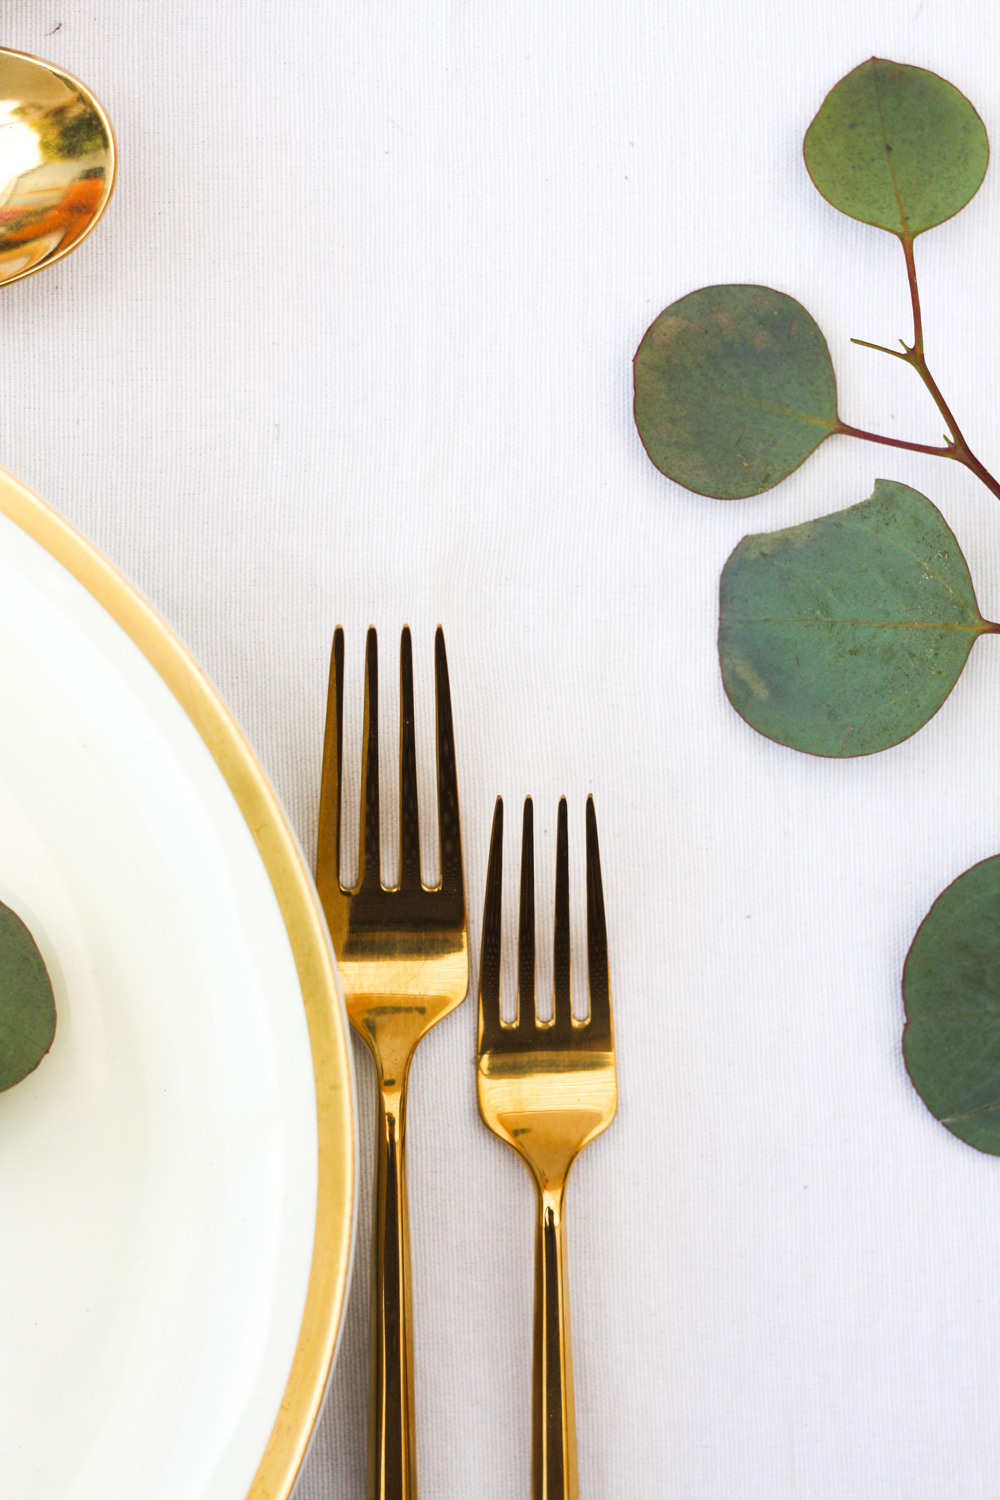
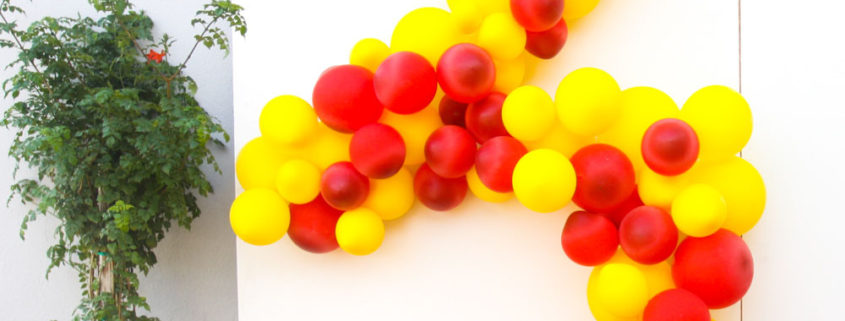
 Here is the final result:
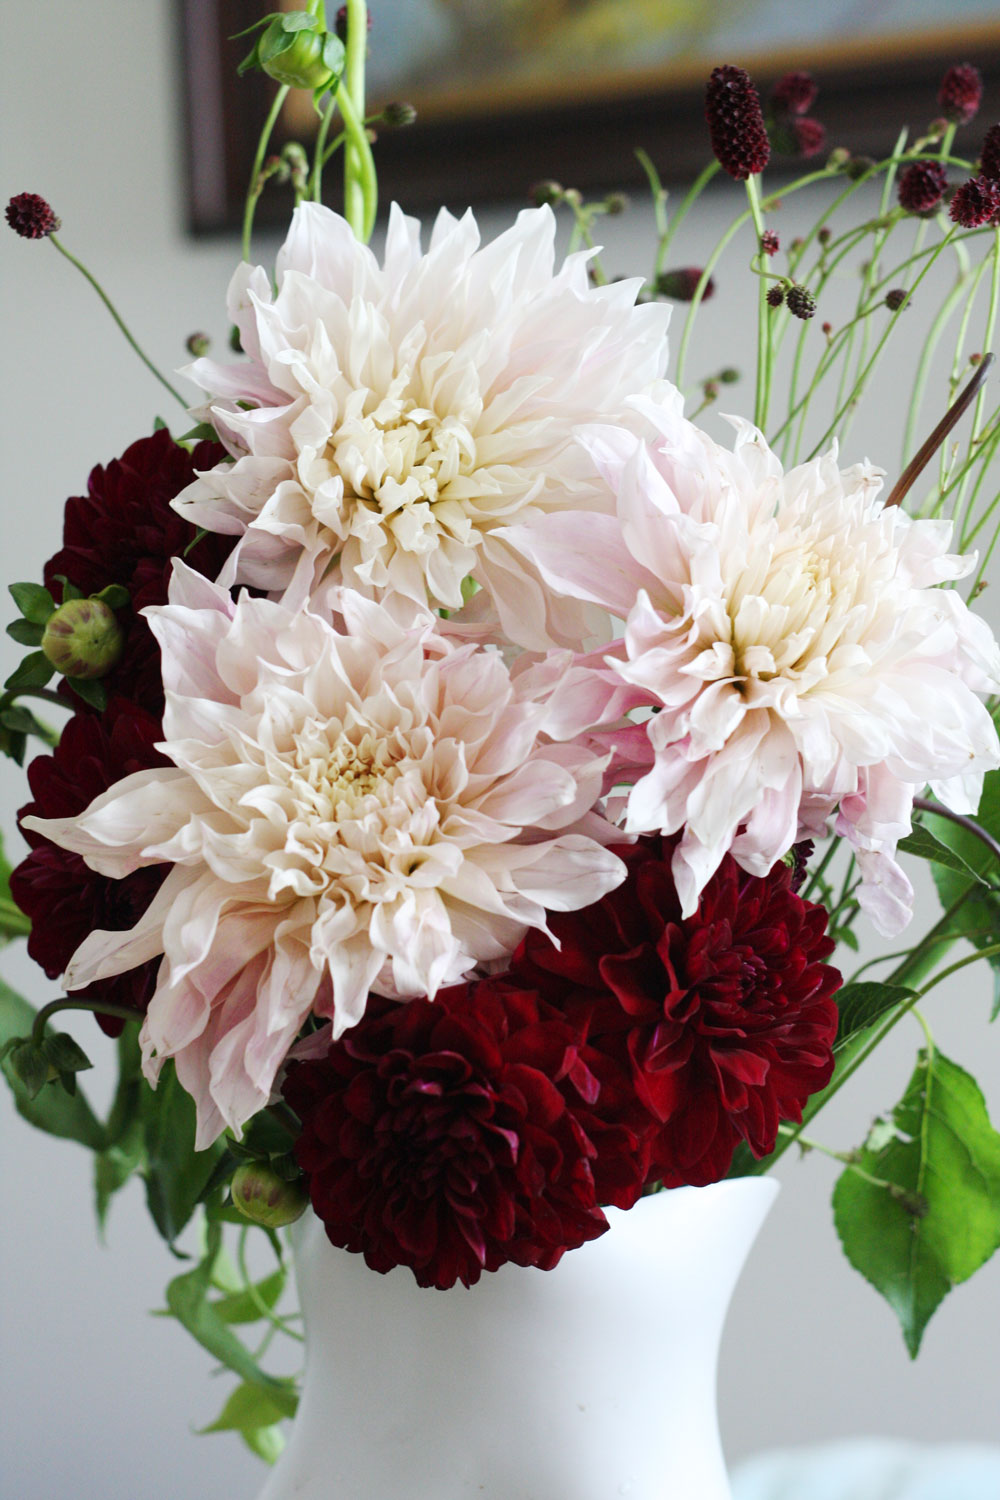
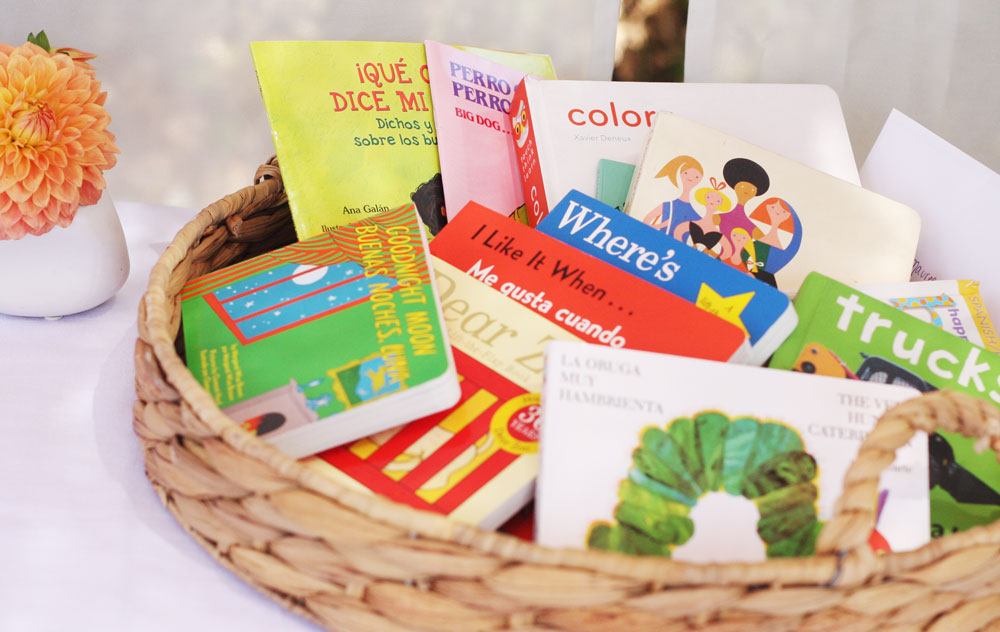
 We threw a baby shower for my friend Maureen on Sunday. It was an intimate affair. Only 6 women from different ages and backgrounds talking for 4 hours non-stop. It was beautiful and reinvigorating to talk with smart ladies while eating good food surrounded by flowers.
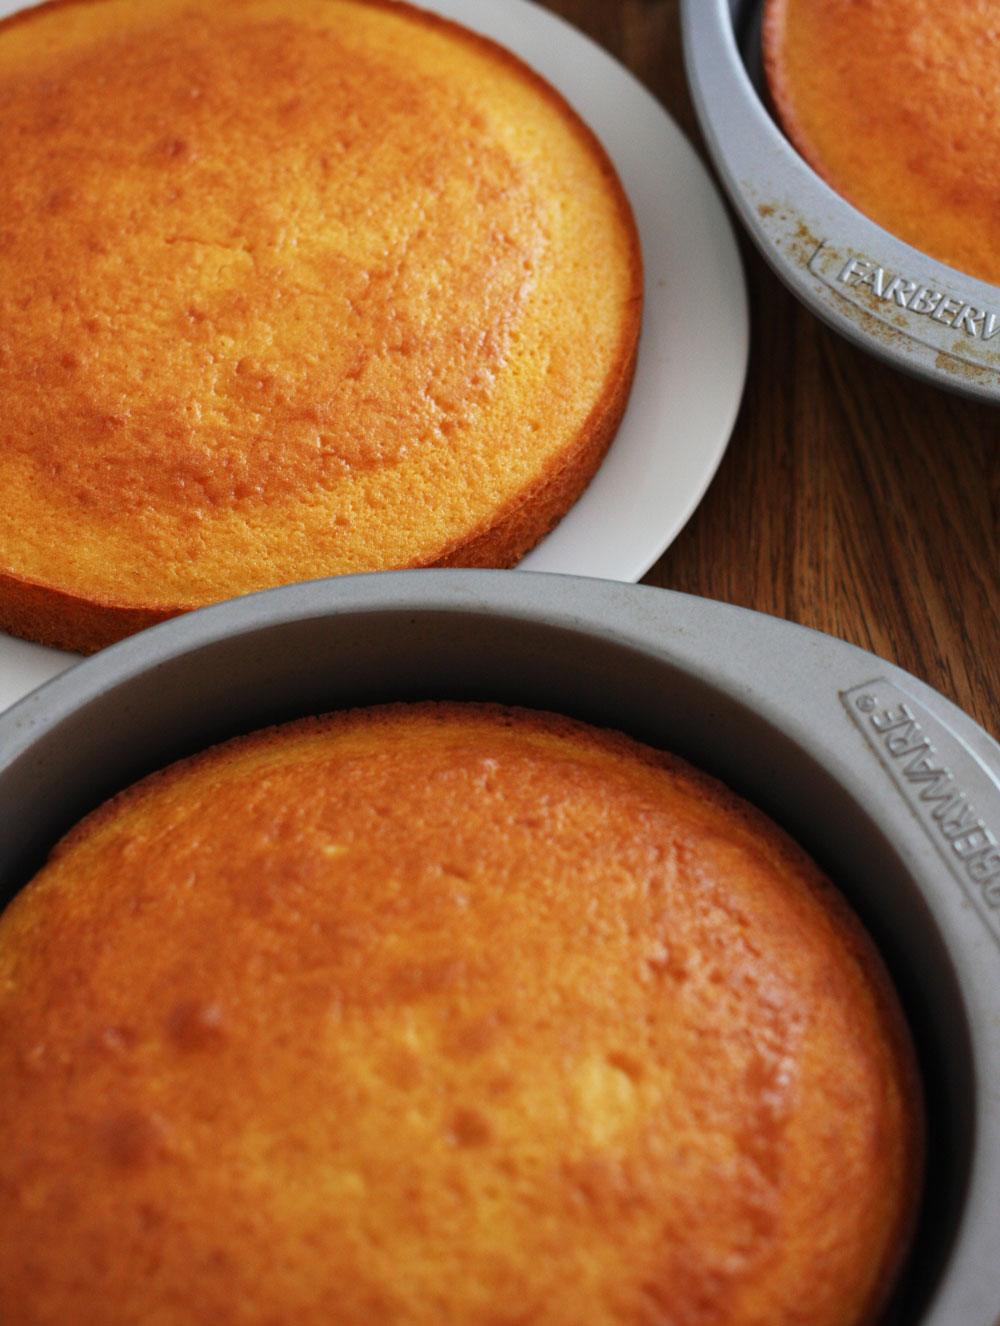
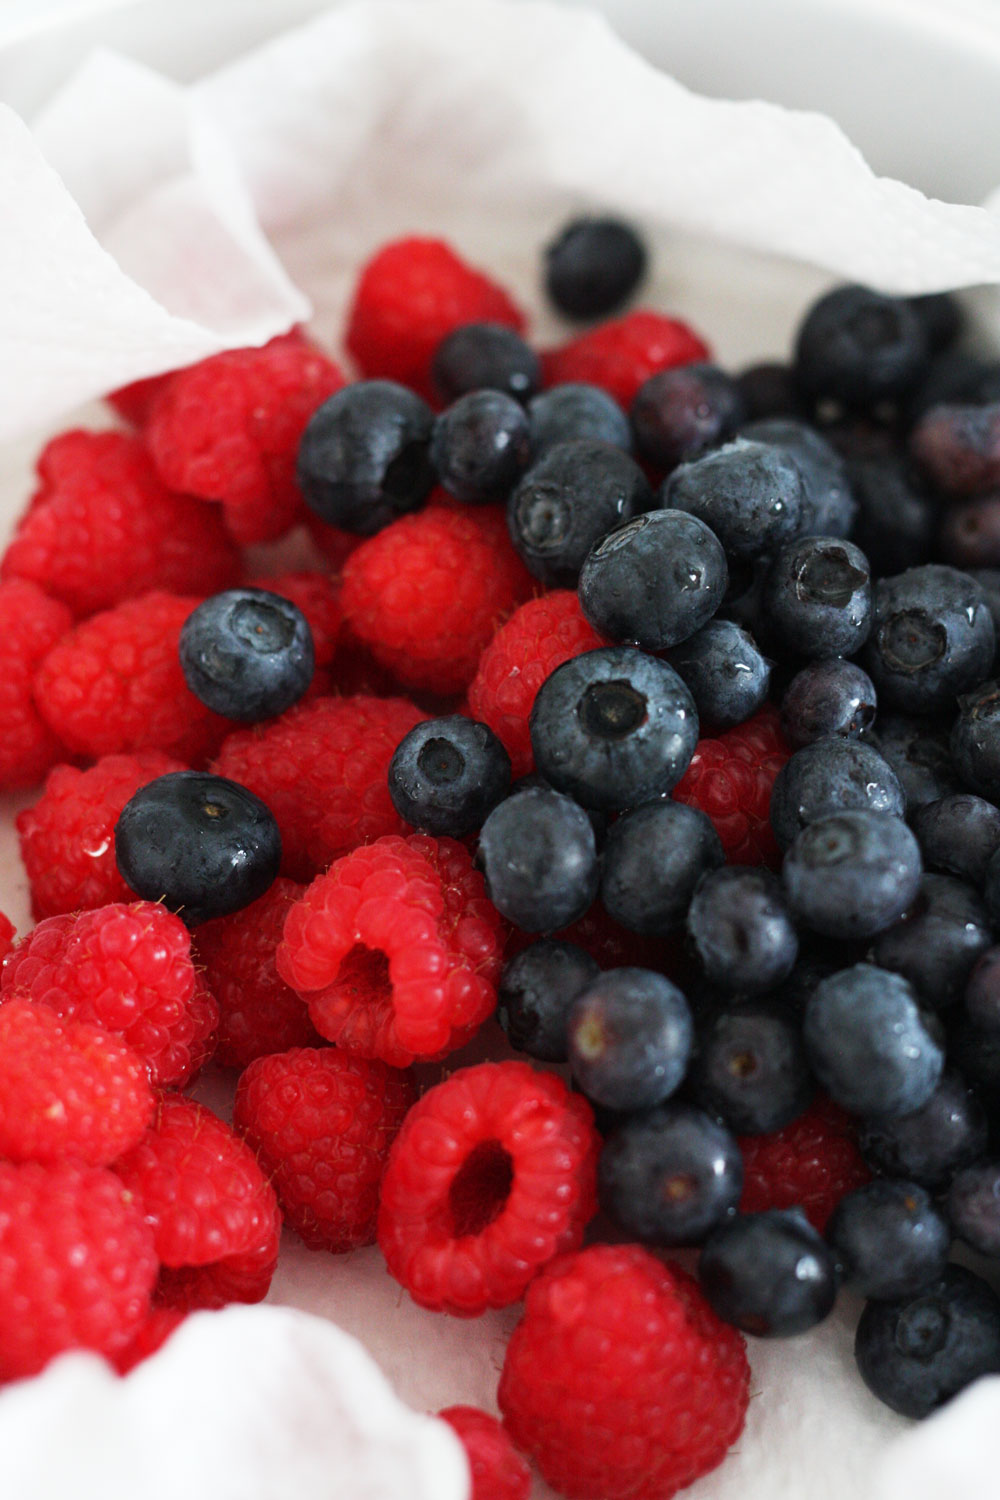
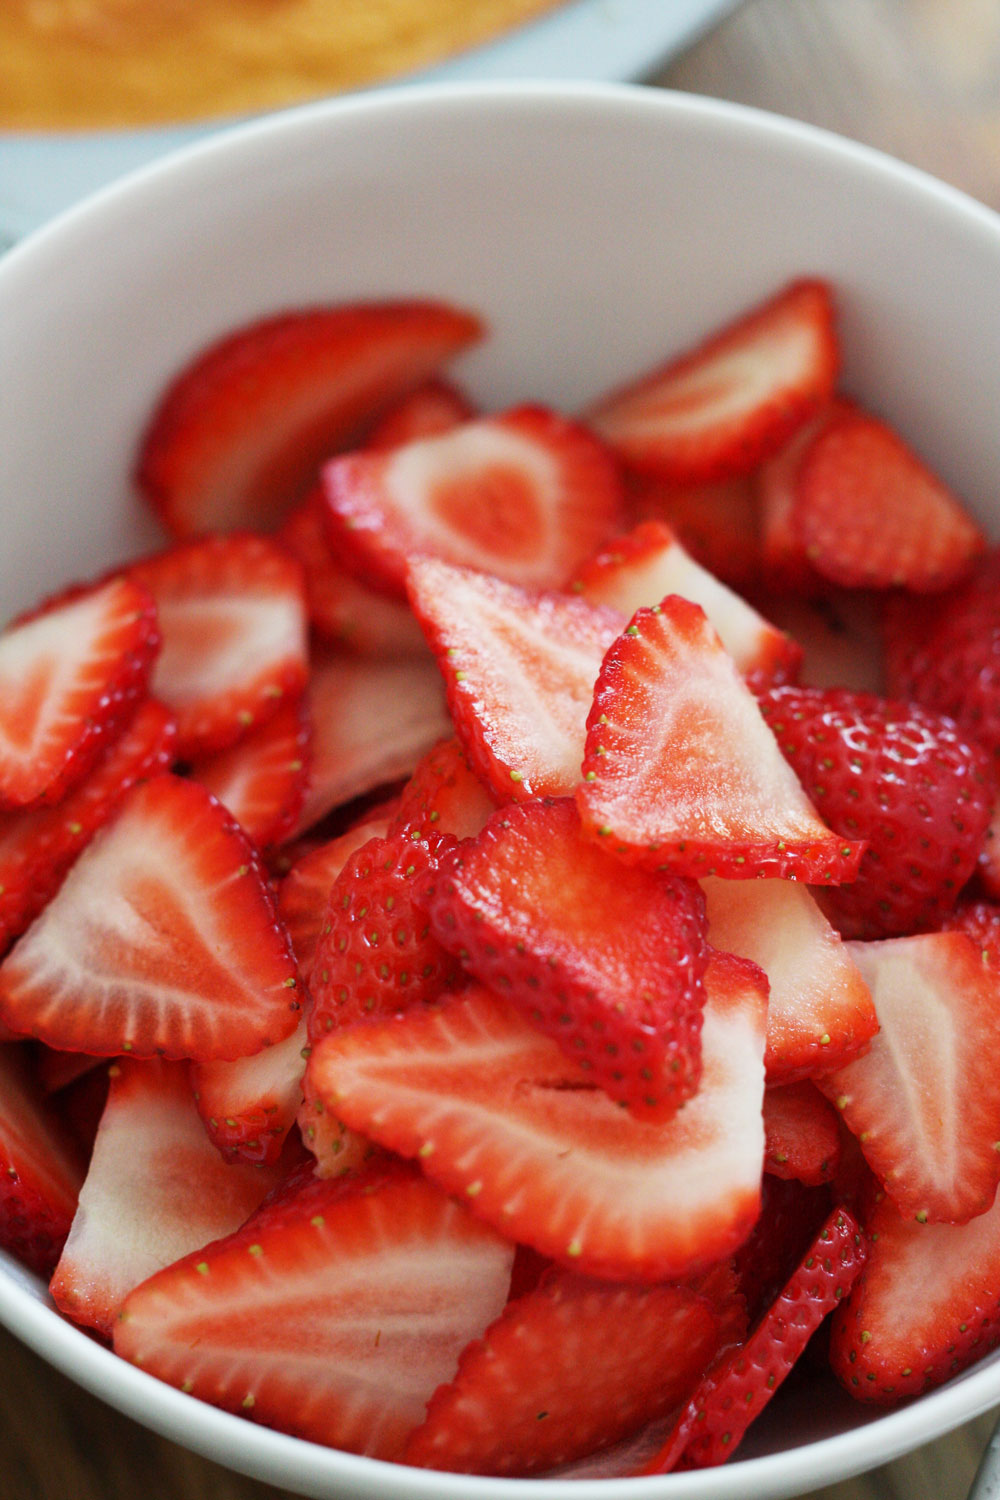
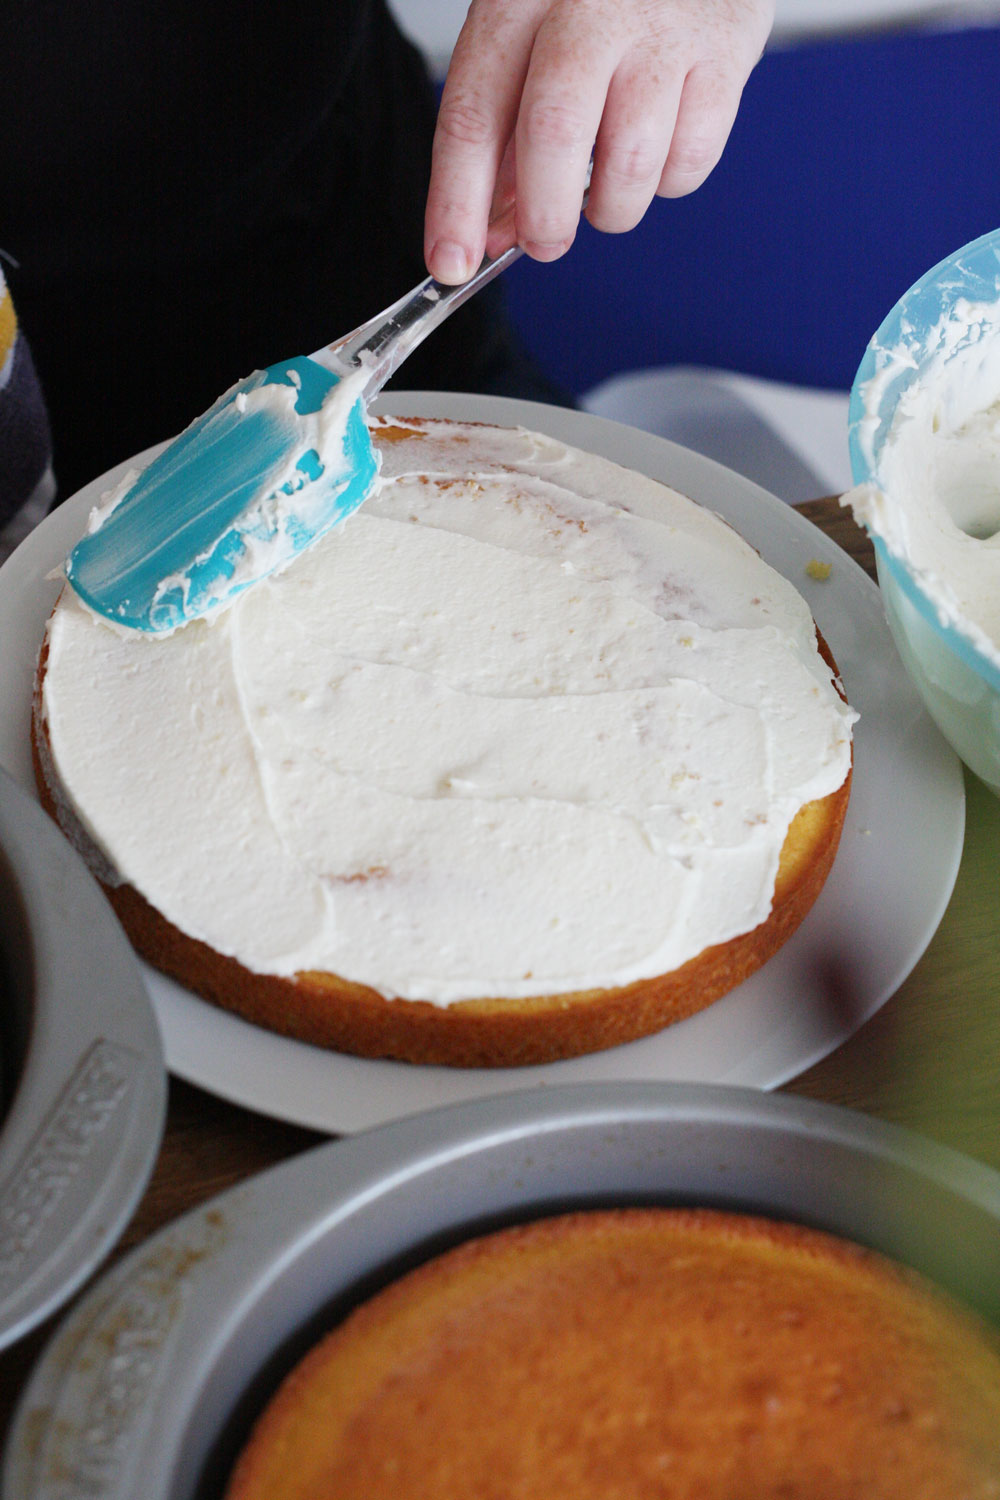
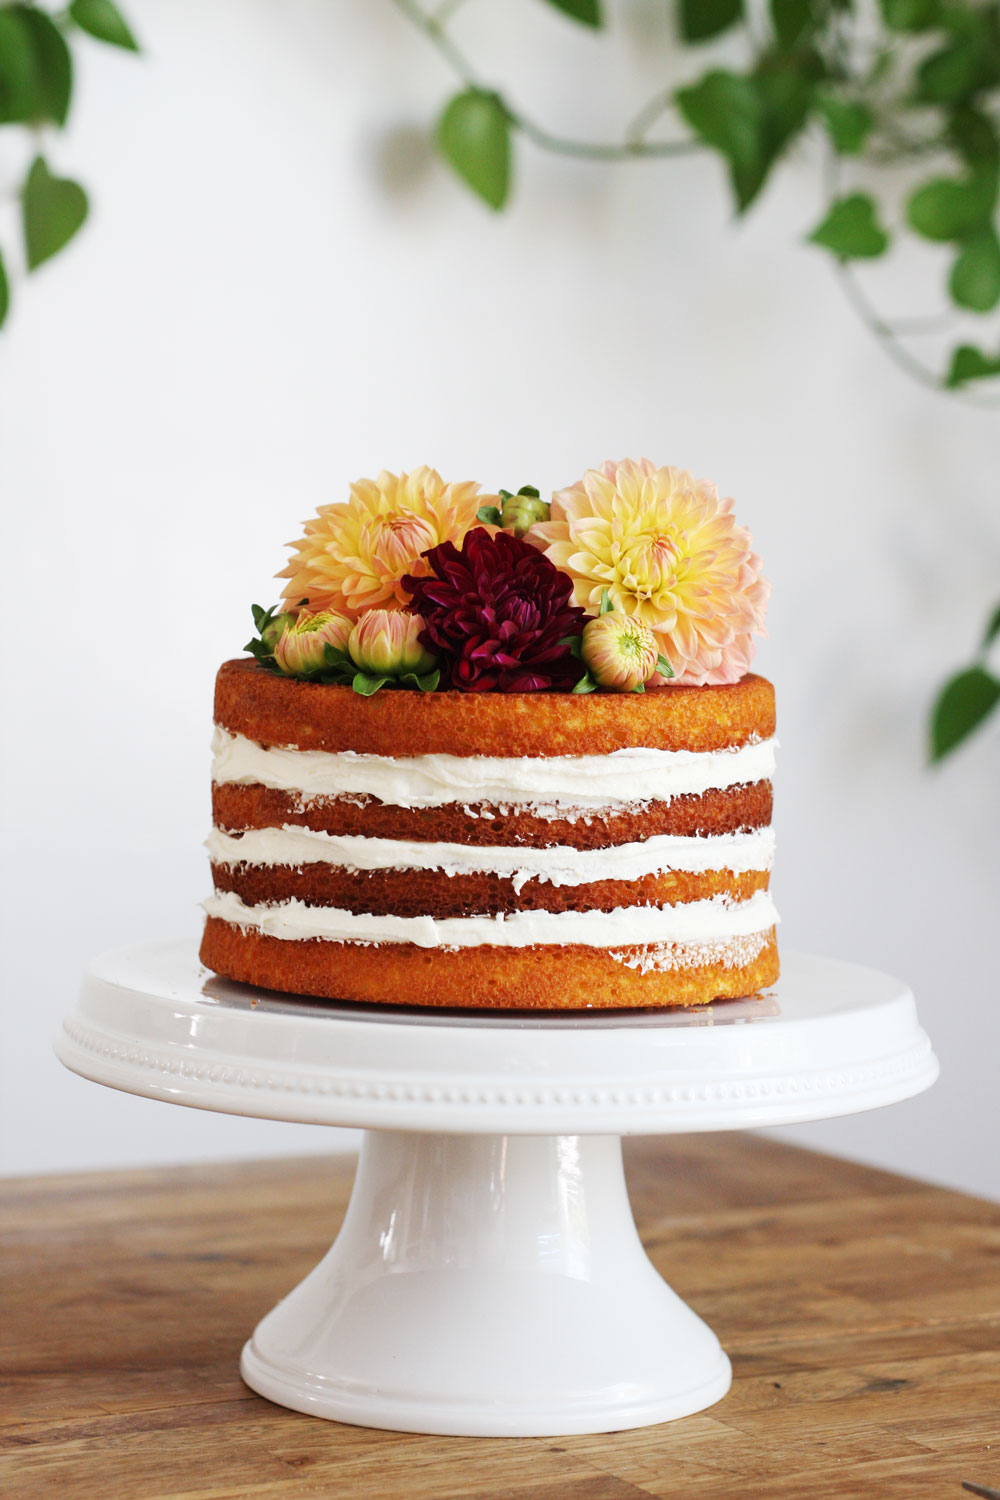
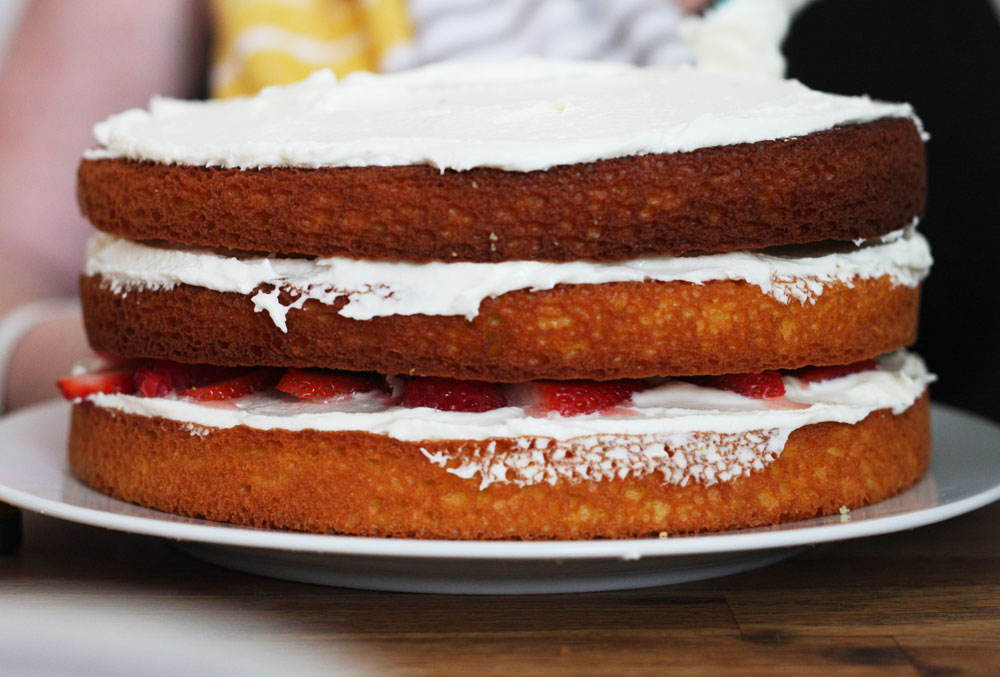
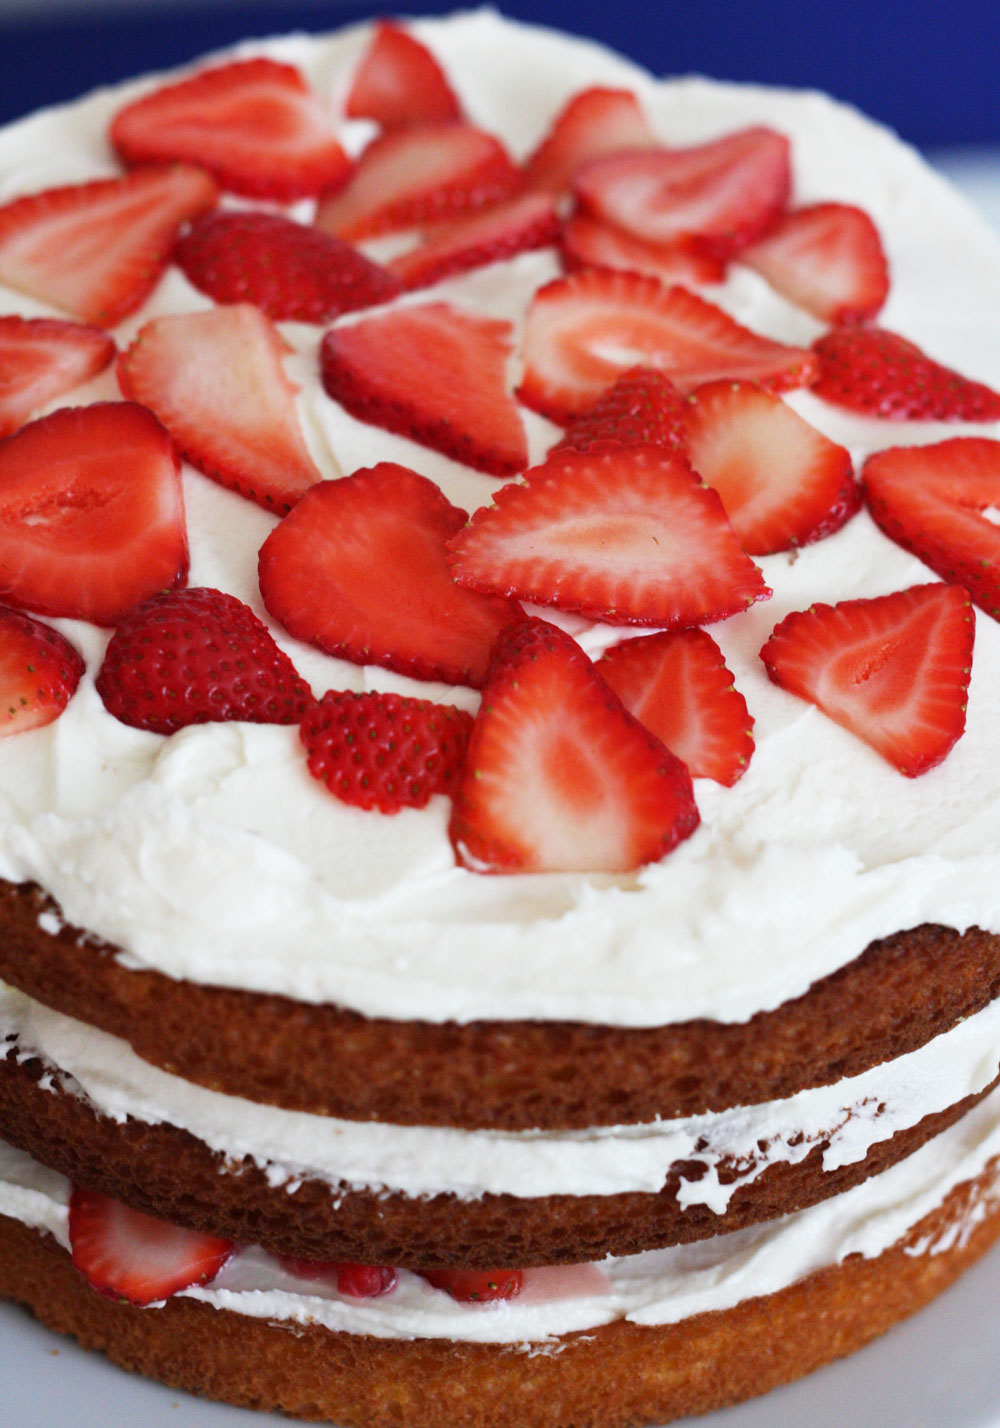
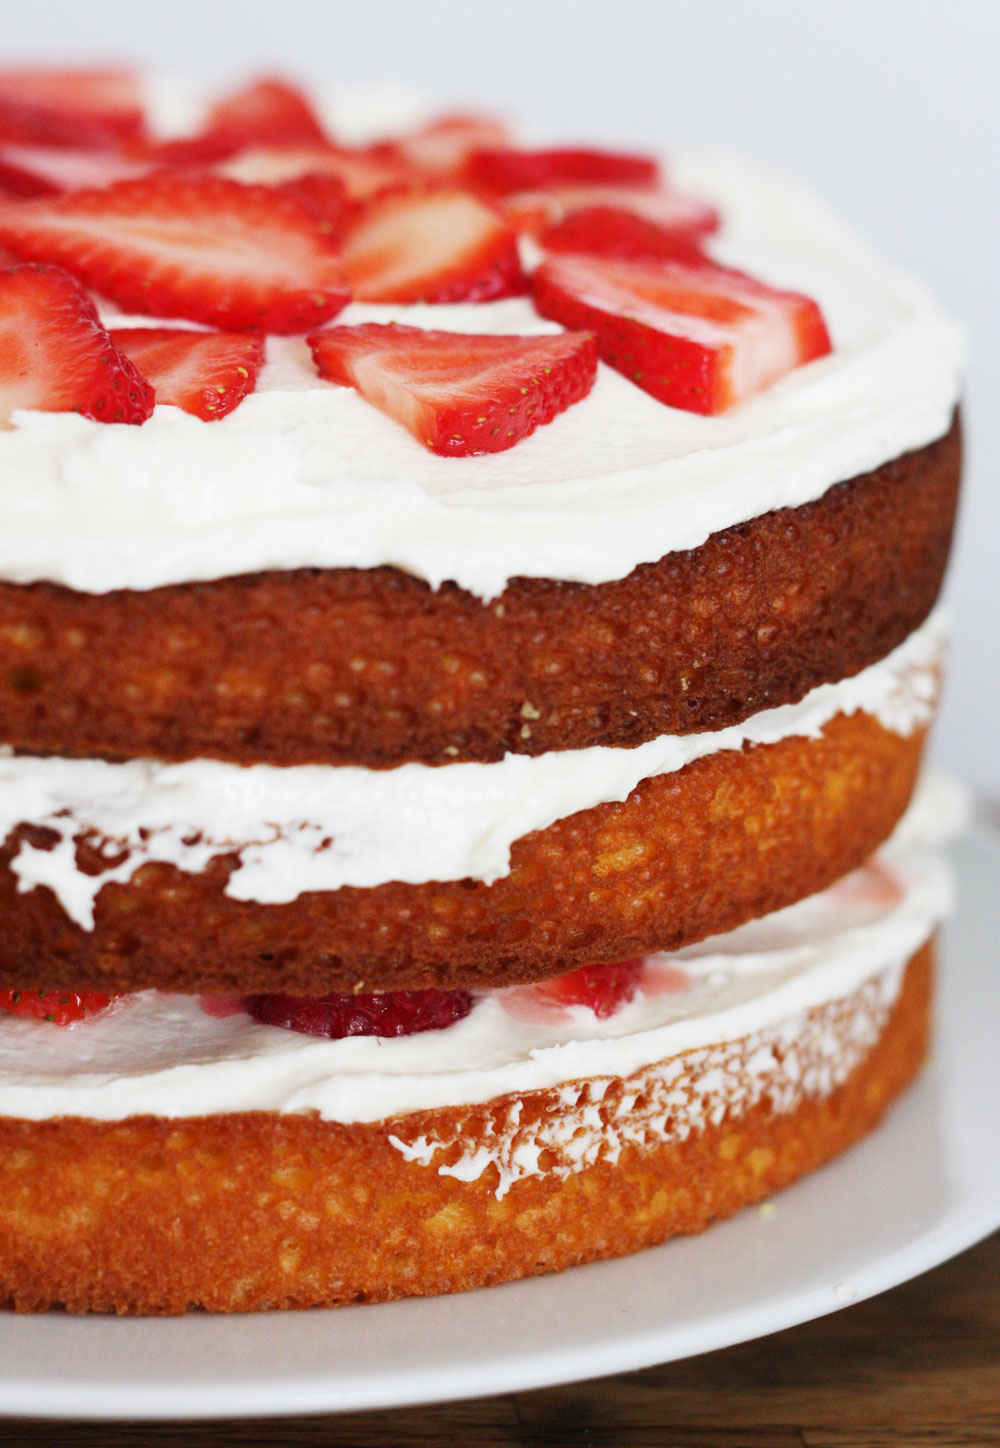
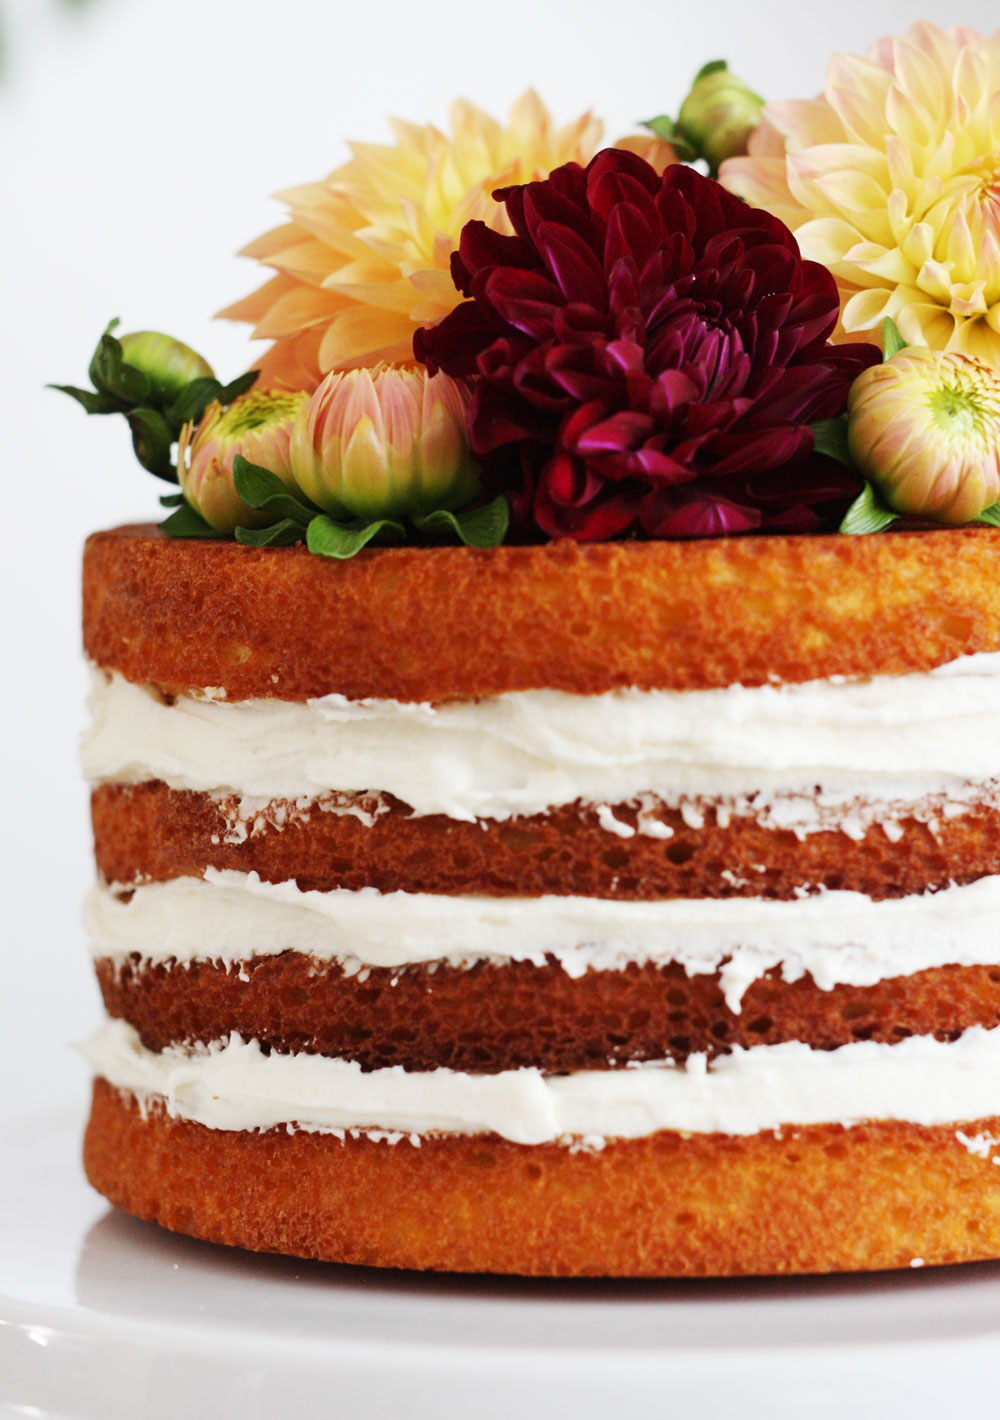
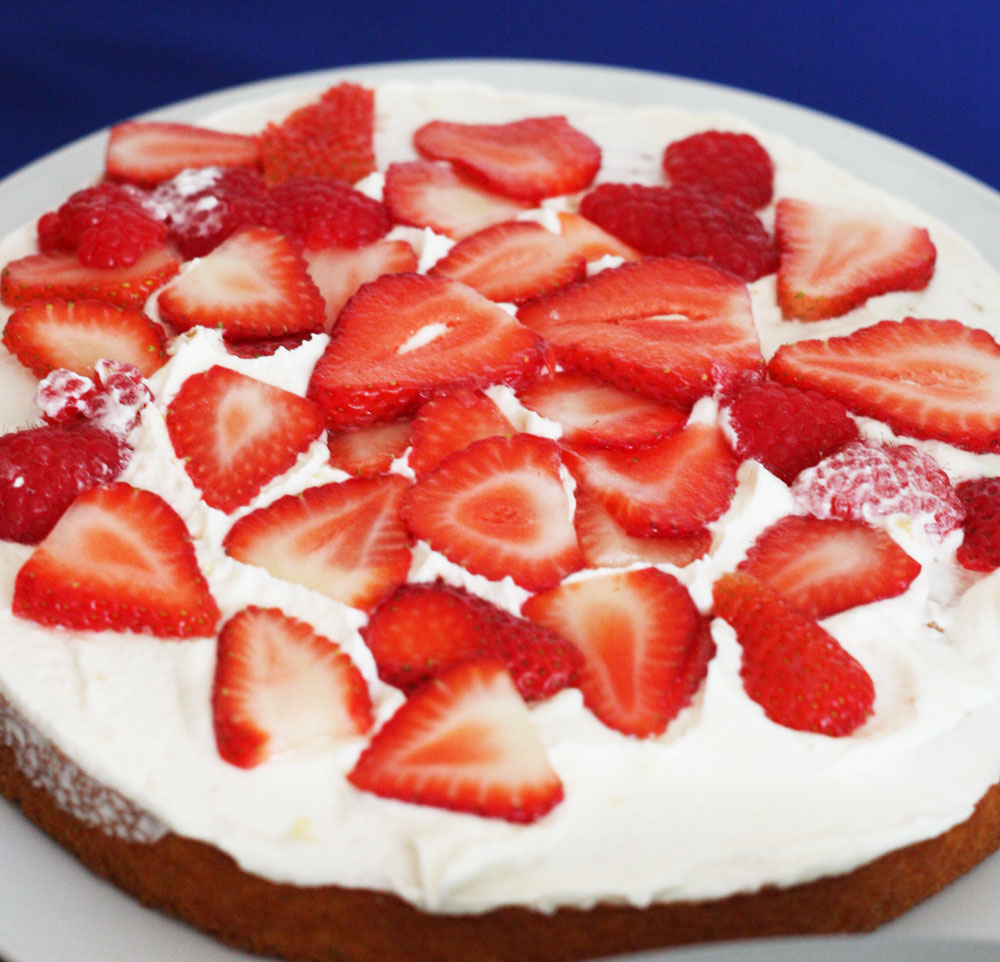 You need to cut the top of the layers after baking them so they are flat and easier to stack on top of each other. Add frosting and keep on adding layers. We added fruit to the cake for flavor and freshness.
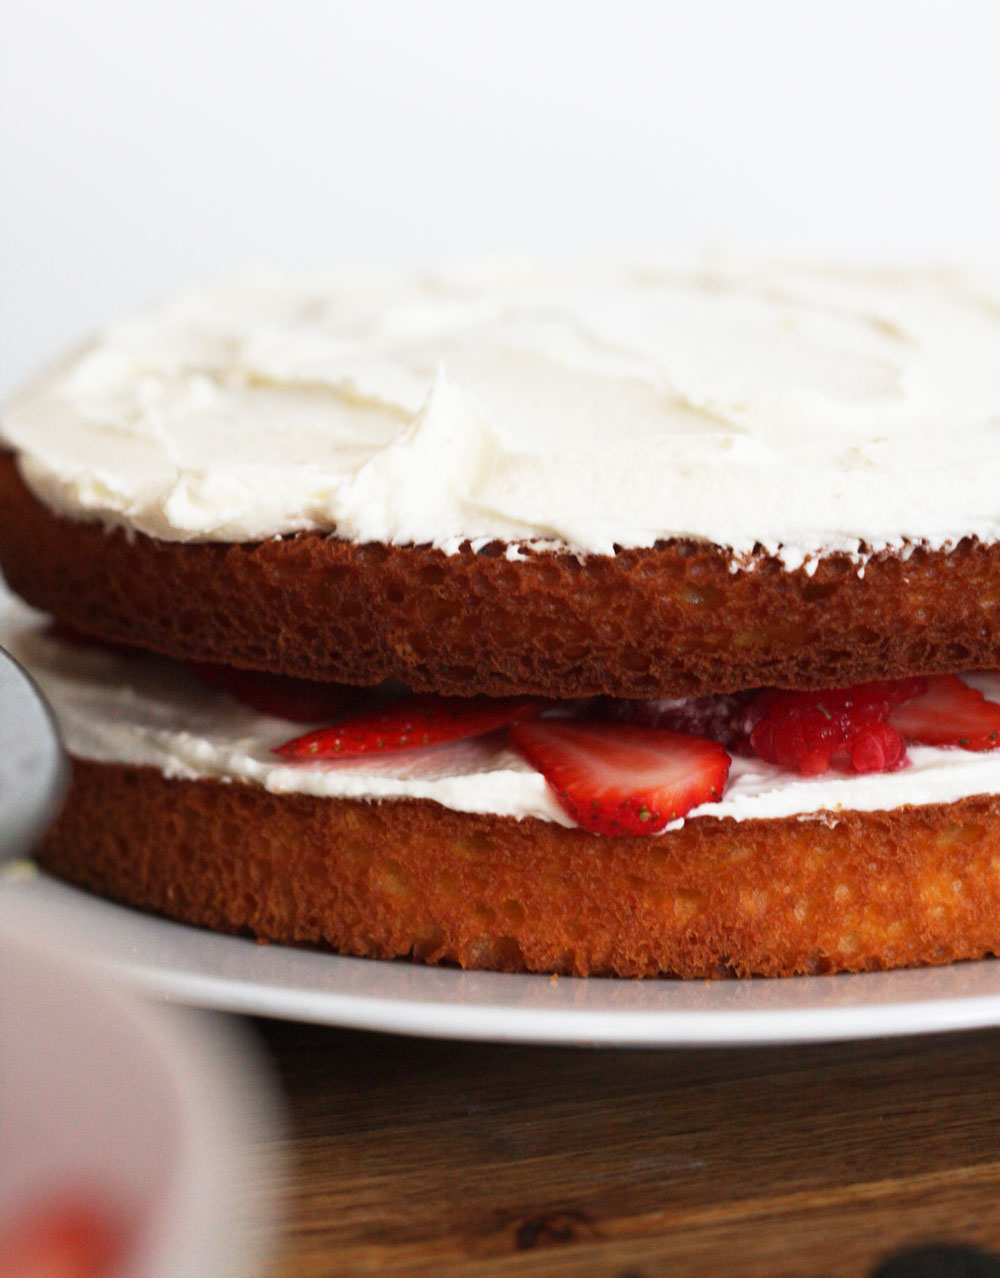
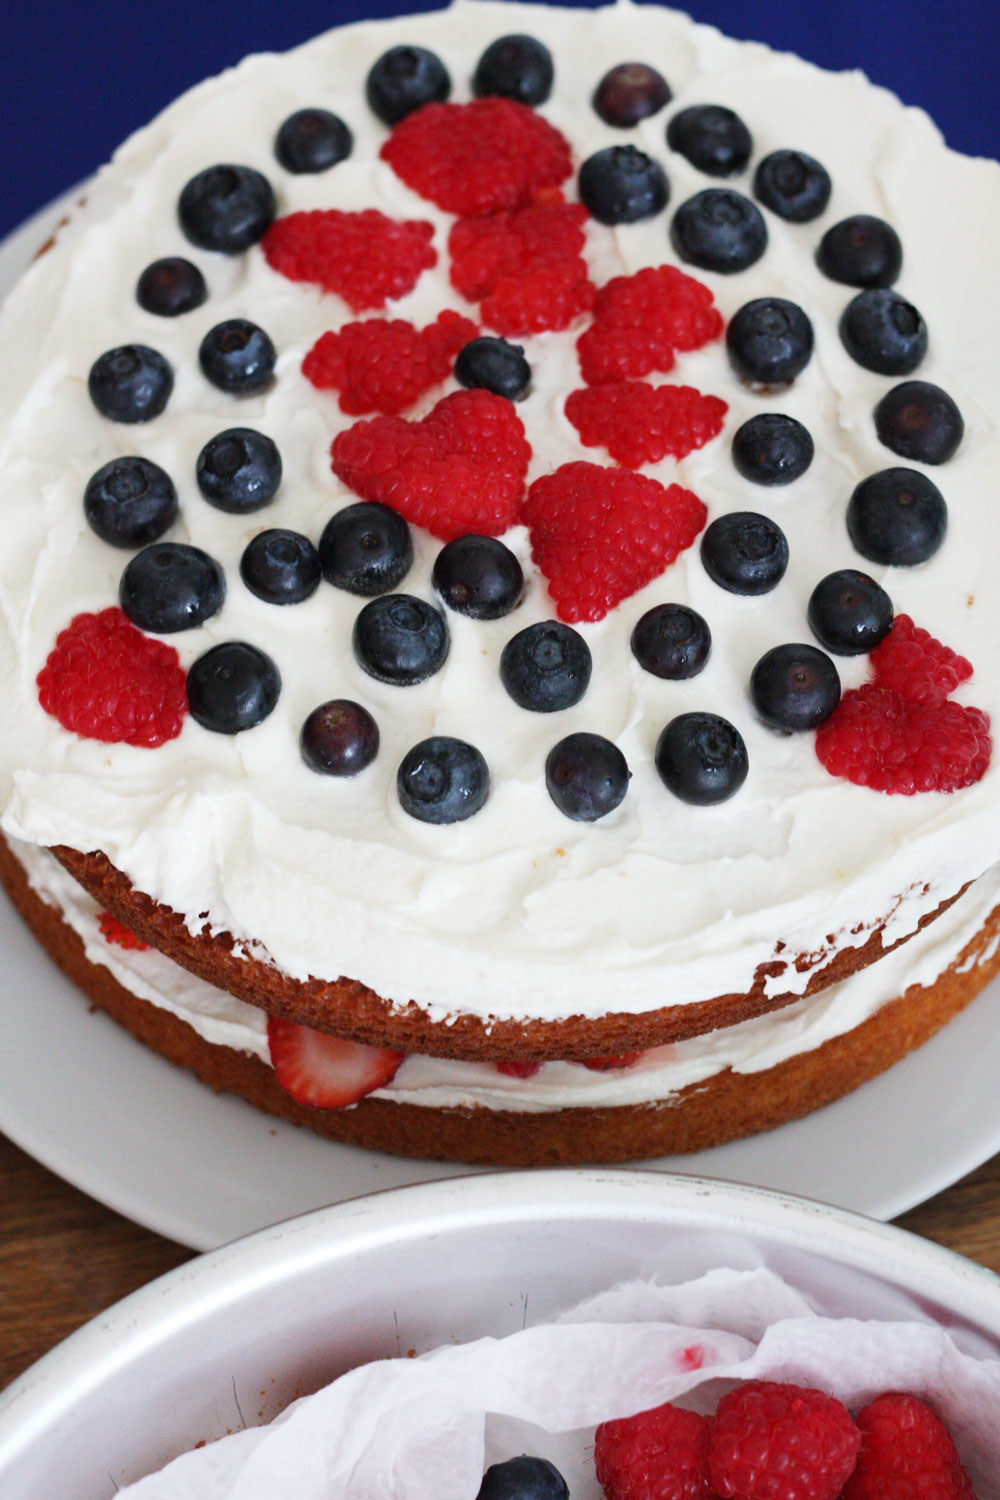
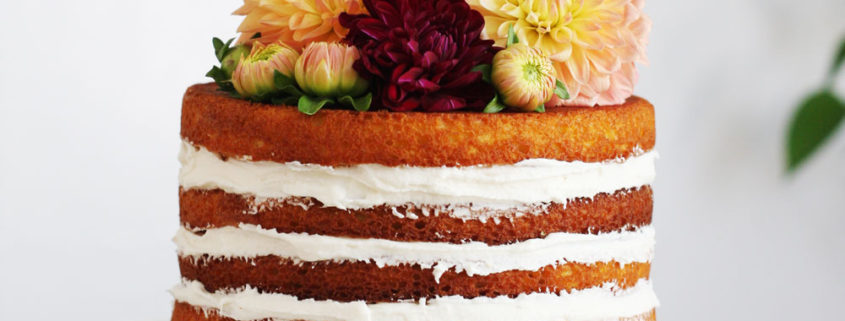
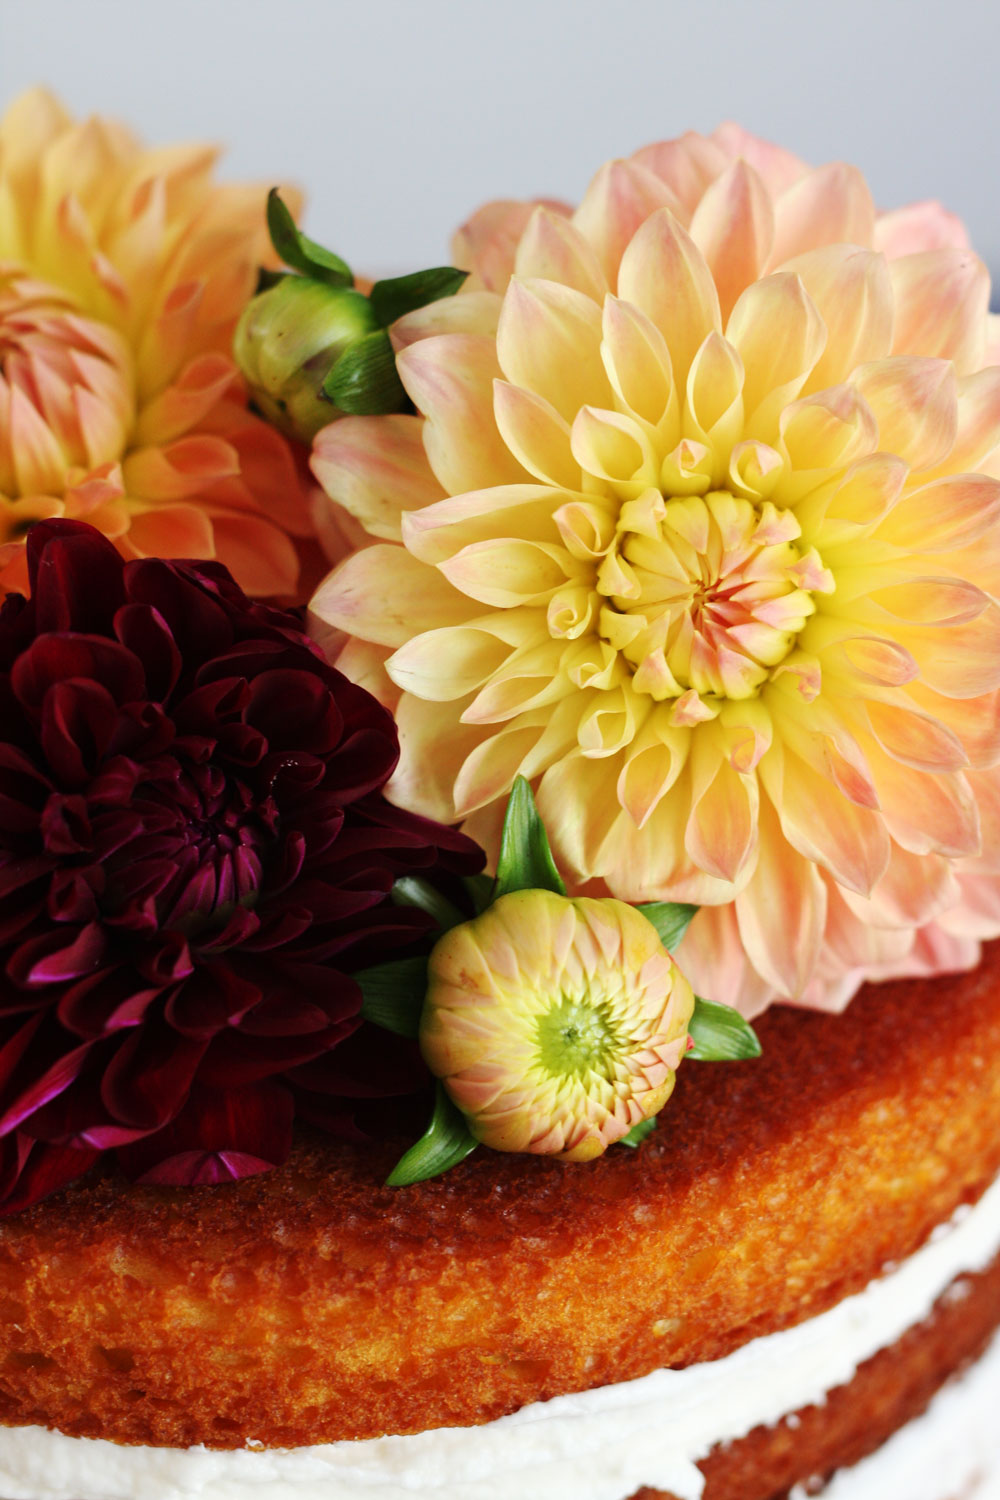
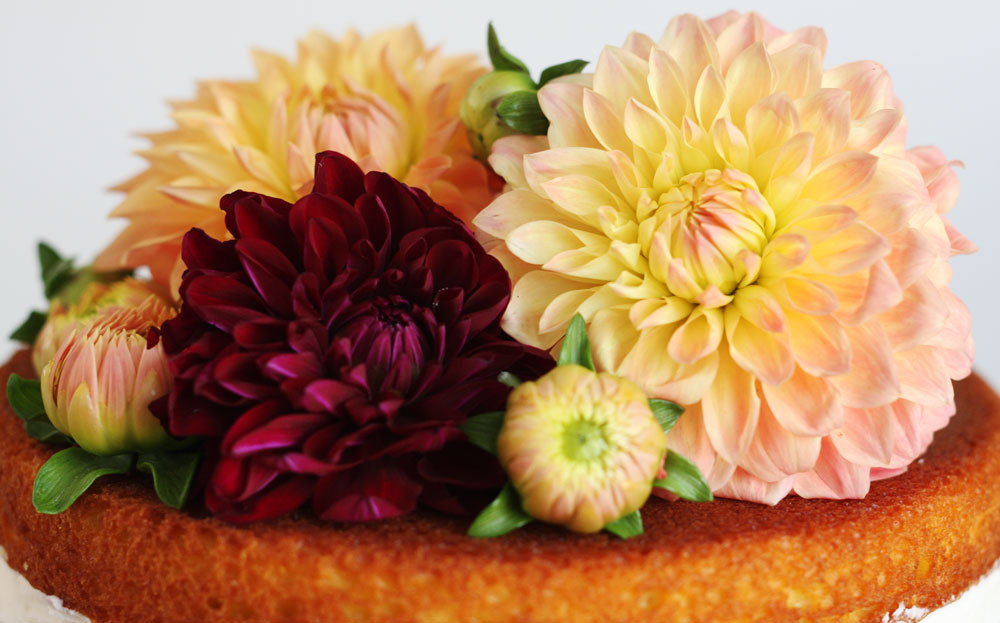
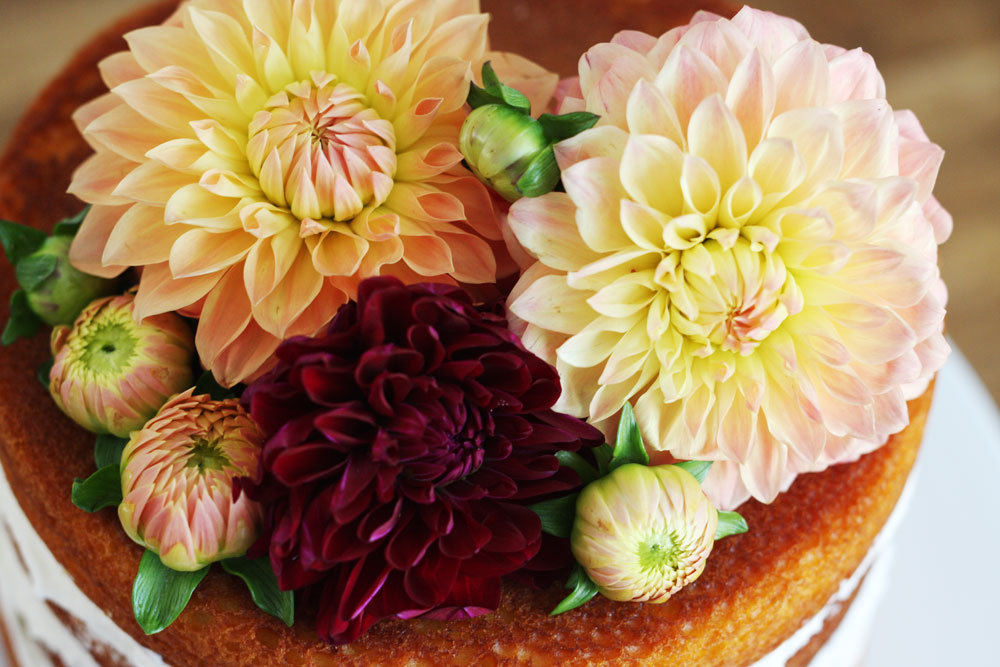
 The last layer of the cake needs to be upside down so the top of your cake is brown and with no imperfections. Fill up the gaps with more frosting, decorate the top, and you are done! I used dahlias for decoration. So easy and beautiful.
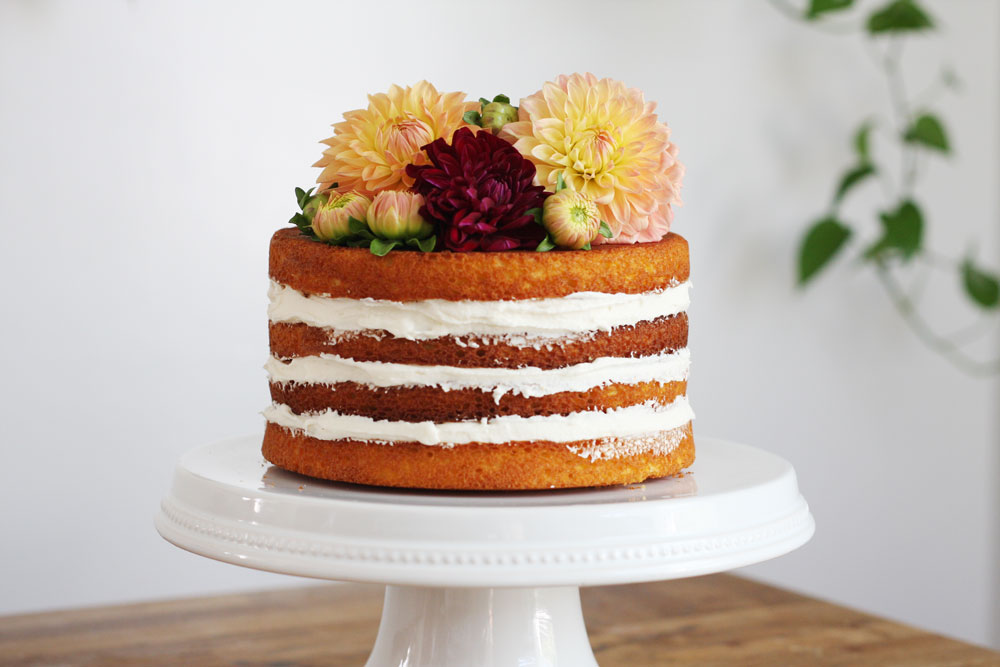

 I went to the
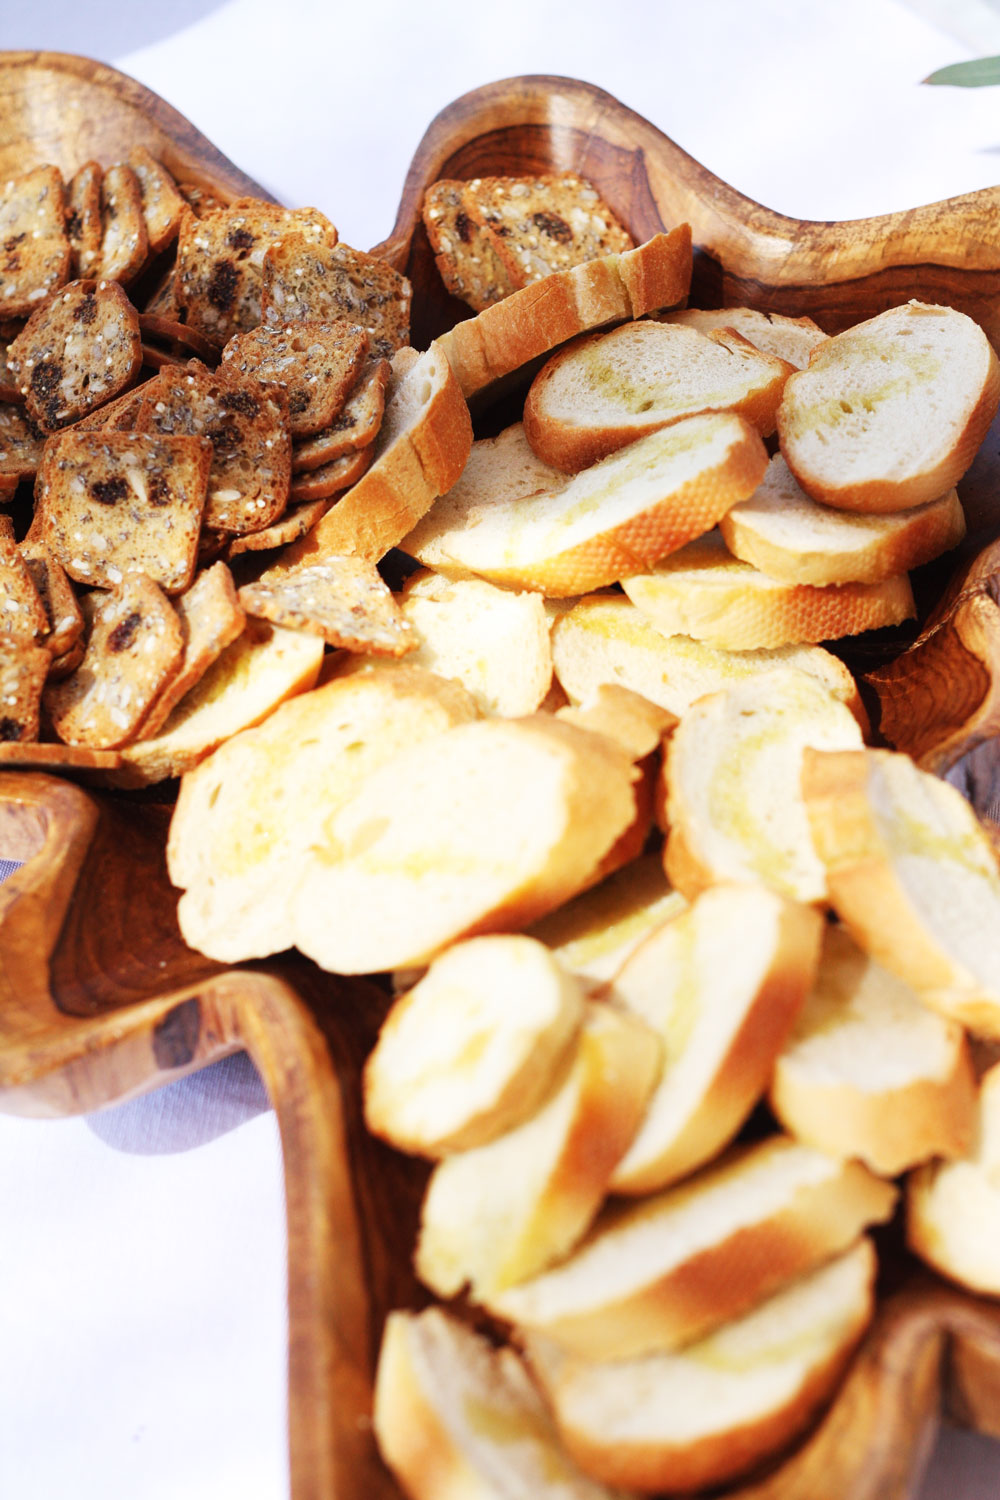
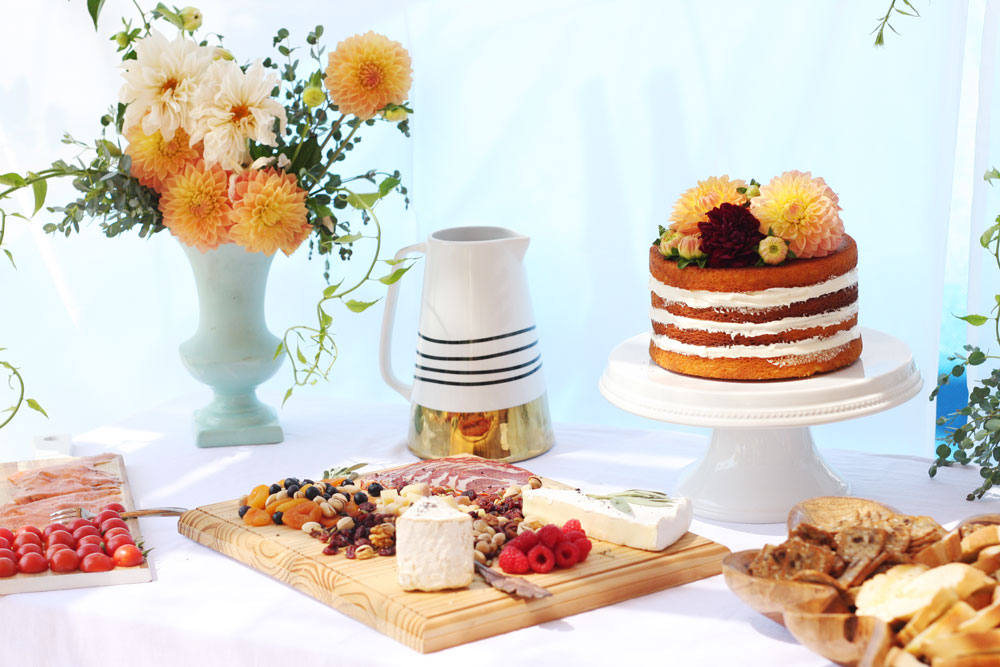 I didn’t take many photos of the buffet table and the event. I didn’t allow enough time for a proper photo shoot before the baby shower started and I wanted to enjoy the company instead of taking pictures, but here you can find some of the ones I was able to take.
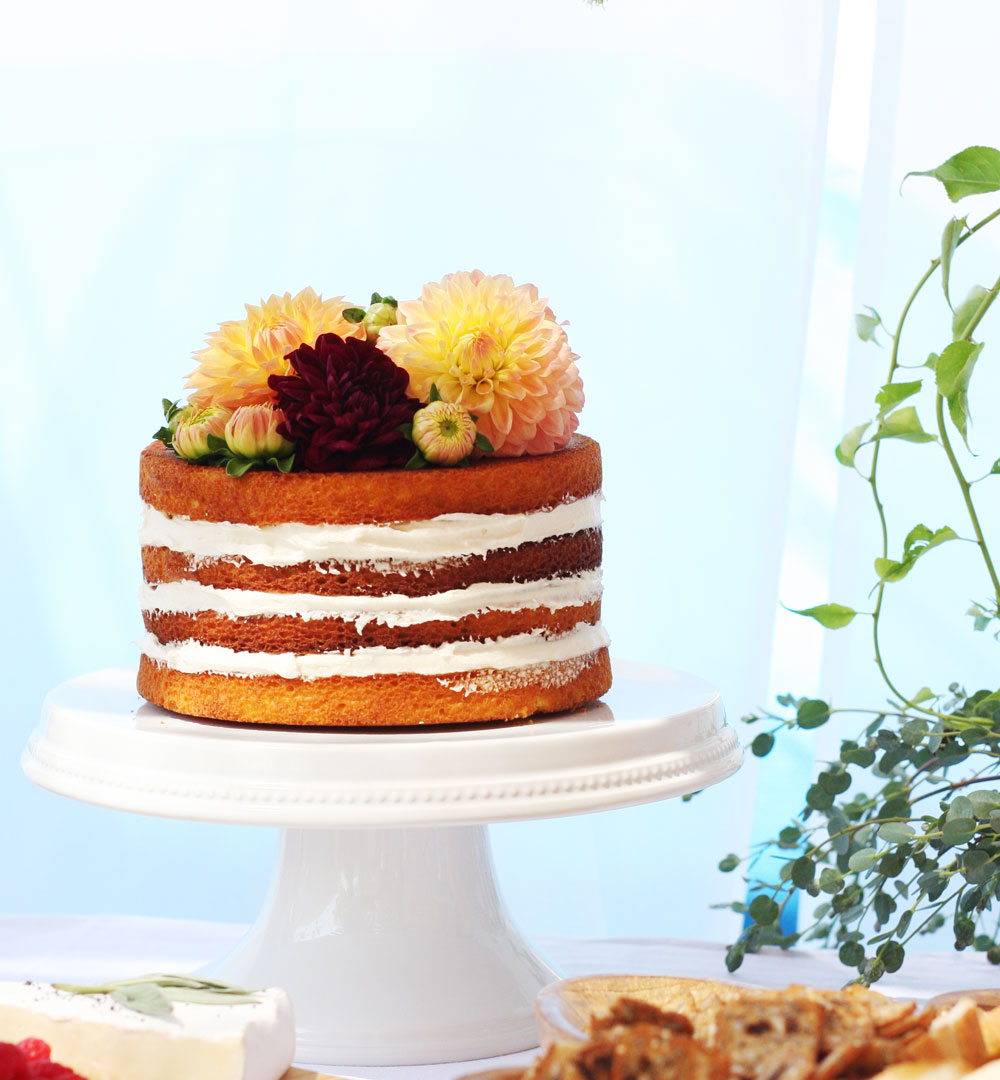

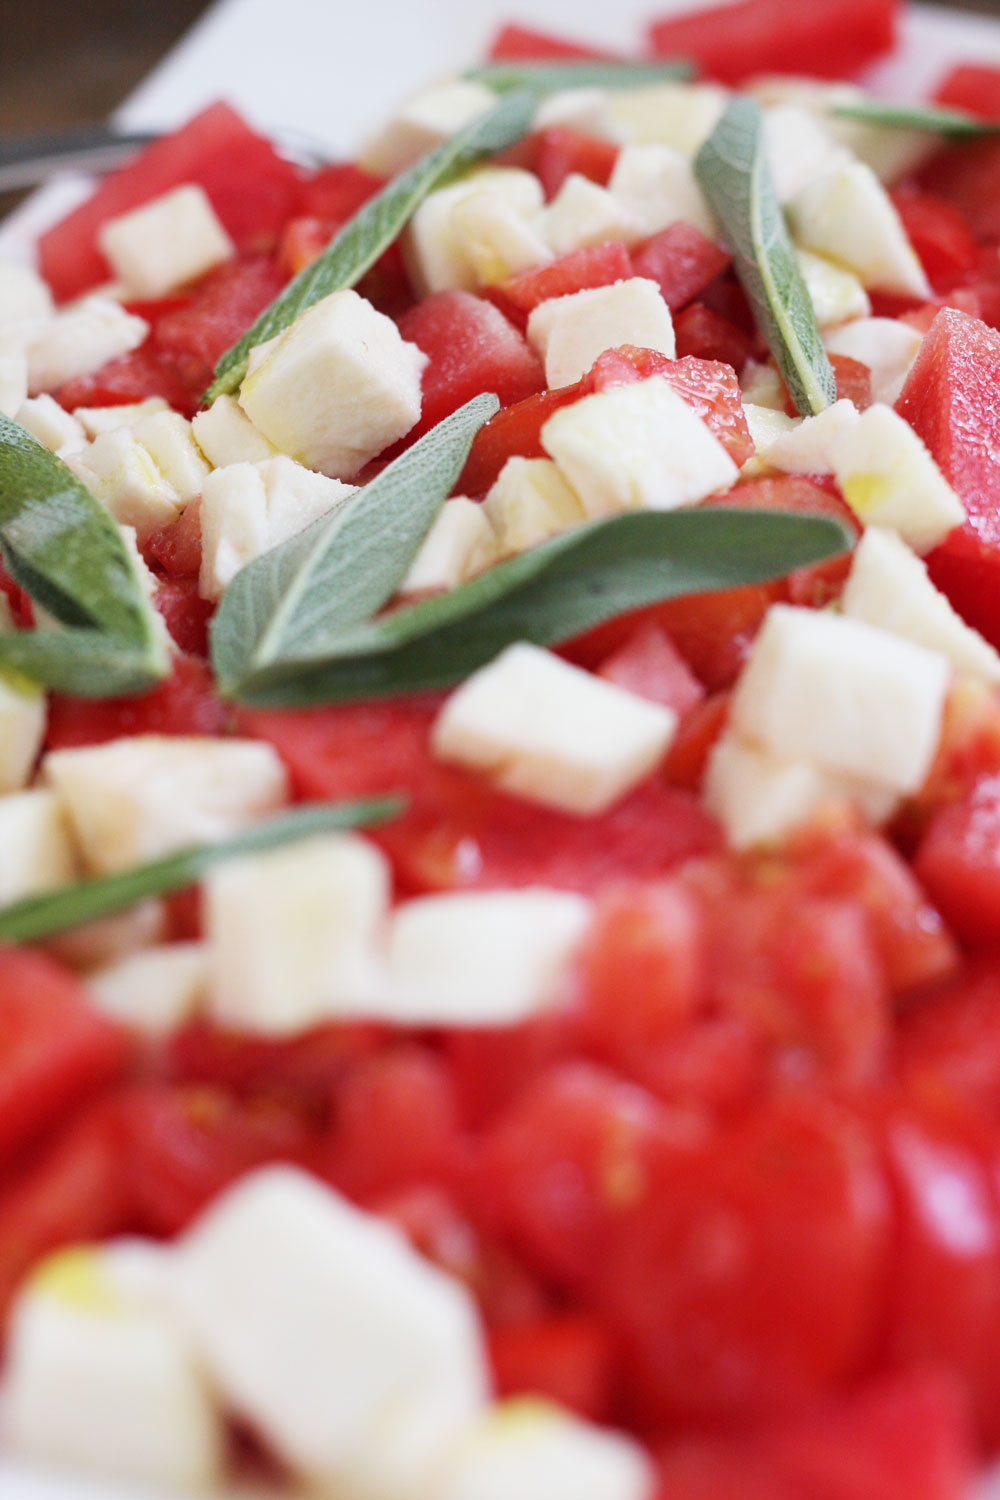 This watermelon, tomato, mozzarella, and sage salad was so good. I have tomatoes growing in my backyard and they made this salad very delicious.
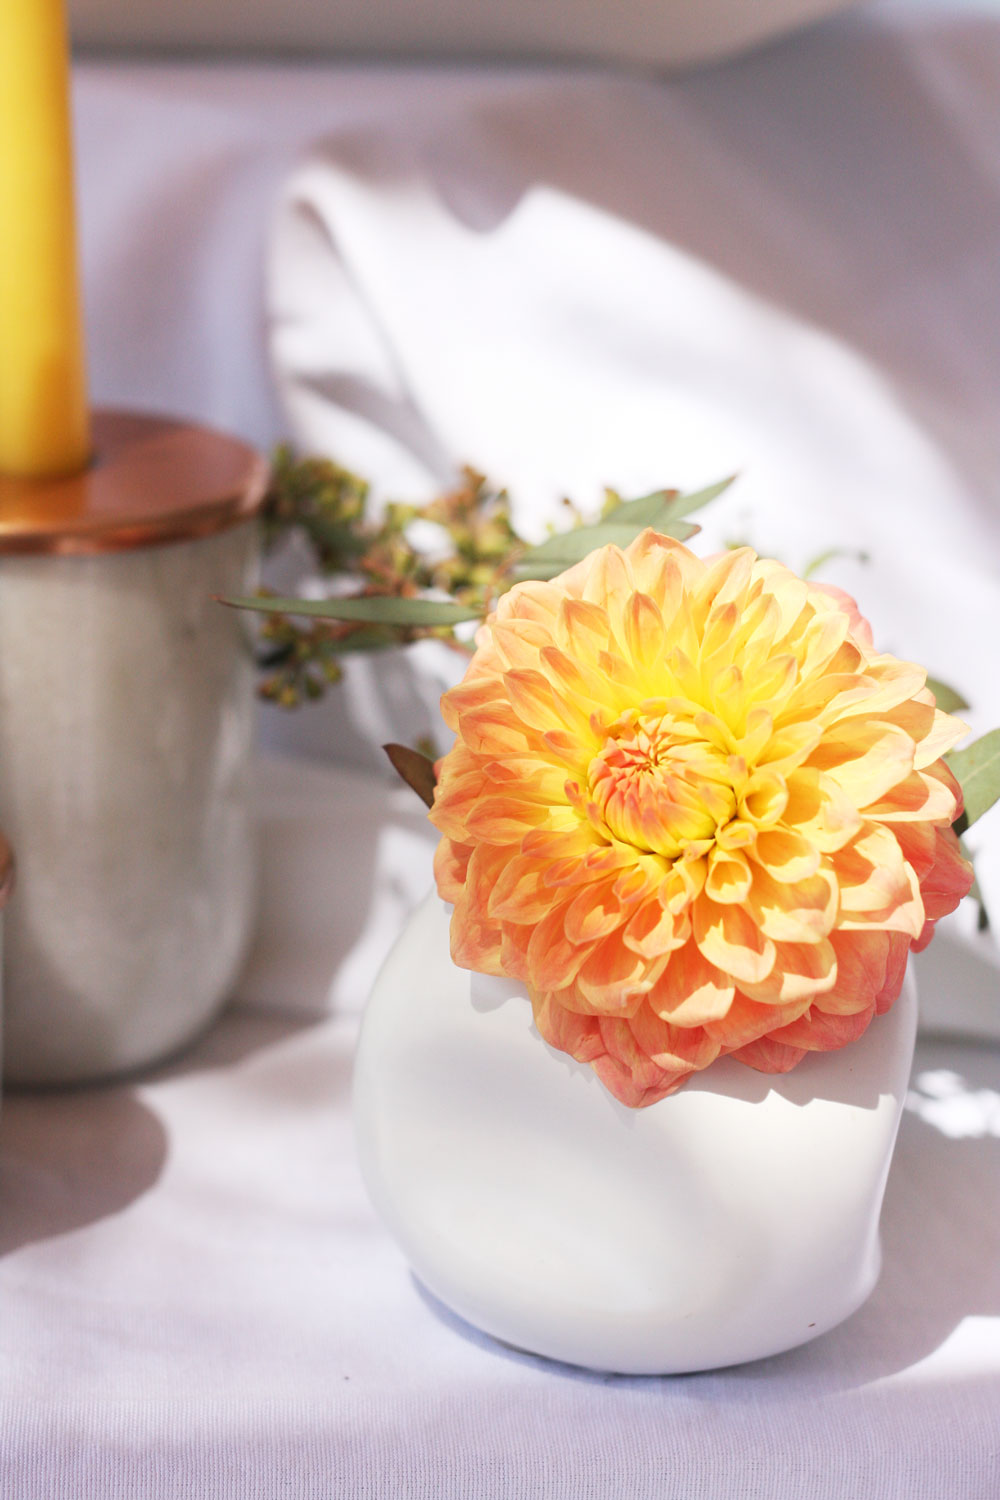
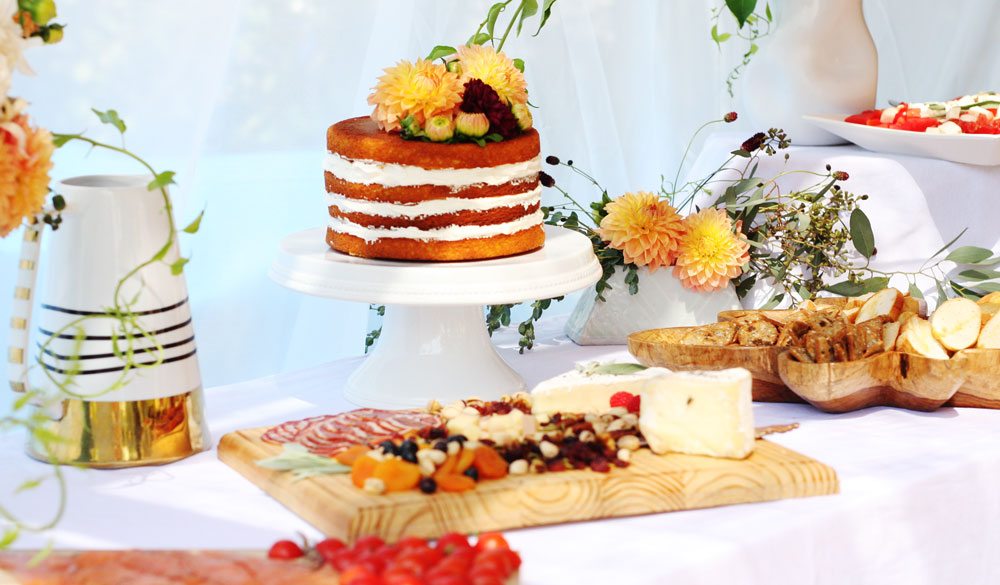
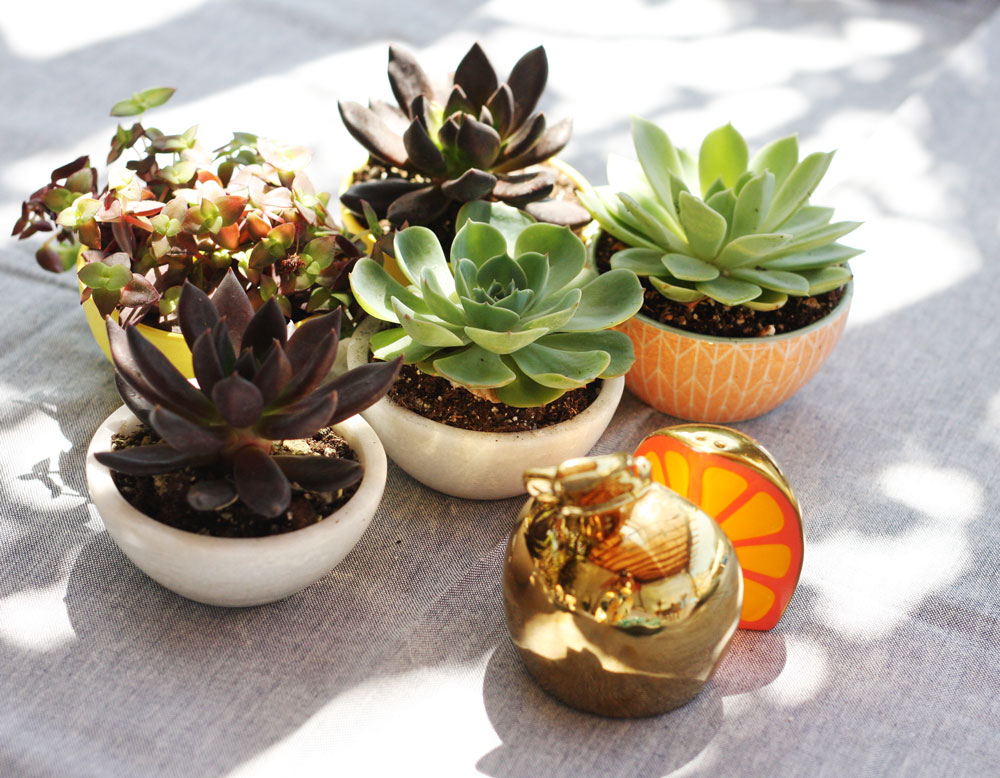 I used succulents as the table centerpiece. Bought small bowls, filled them with succulents and voila, all done.