
How To Make A Copper Garland With Cricut
Doing a copper color garland for my kids’ room has been on my to-do list since I designed their room last year. I have wanted to add shapes and texture to their bedroom but I couldn’t figure out how to cut the shapes (moon, ring & circle) in a thicker material, little did I know that help was around the corner!
(Drums of excitement!)
Enter the Cricut to save the day! Or, at least, make my dreams come true. From the moment I knew I was going to get my hands on a Cricut, I knew I wanted to do this garland first.
I mean, it is pretty amazing to see how far has technology come to create wonder machines like this one. I don’t remember (or probably don’t want to remember) how I survived before the existence of things like a cell phone, Waze or Lyft. Well, now add to that list of essentials: the Cricut,
You know I am a crafty aficionado, but with Cricut, I have become a crafty expert because this machine simplifies so many projects that seemed really difficult to accomplish before, like this garland that I am talking about.
Here is what I did:
How to make a copper garland with Cricut
Difficulty (1-5): 2 Time: 2hr Cost: $50
Materials
- Cricut Explorer Air 2
- Deep Cut Blade
- Cricut 12″ x 12″ StandardGrip Mat
- Basswood
- Copper Paint Spray
- Drill
- Soft twine
 Instructions
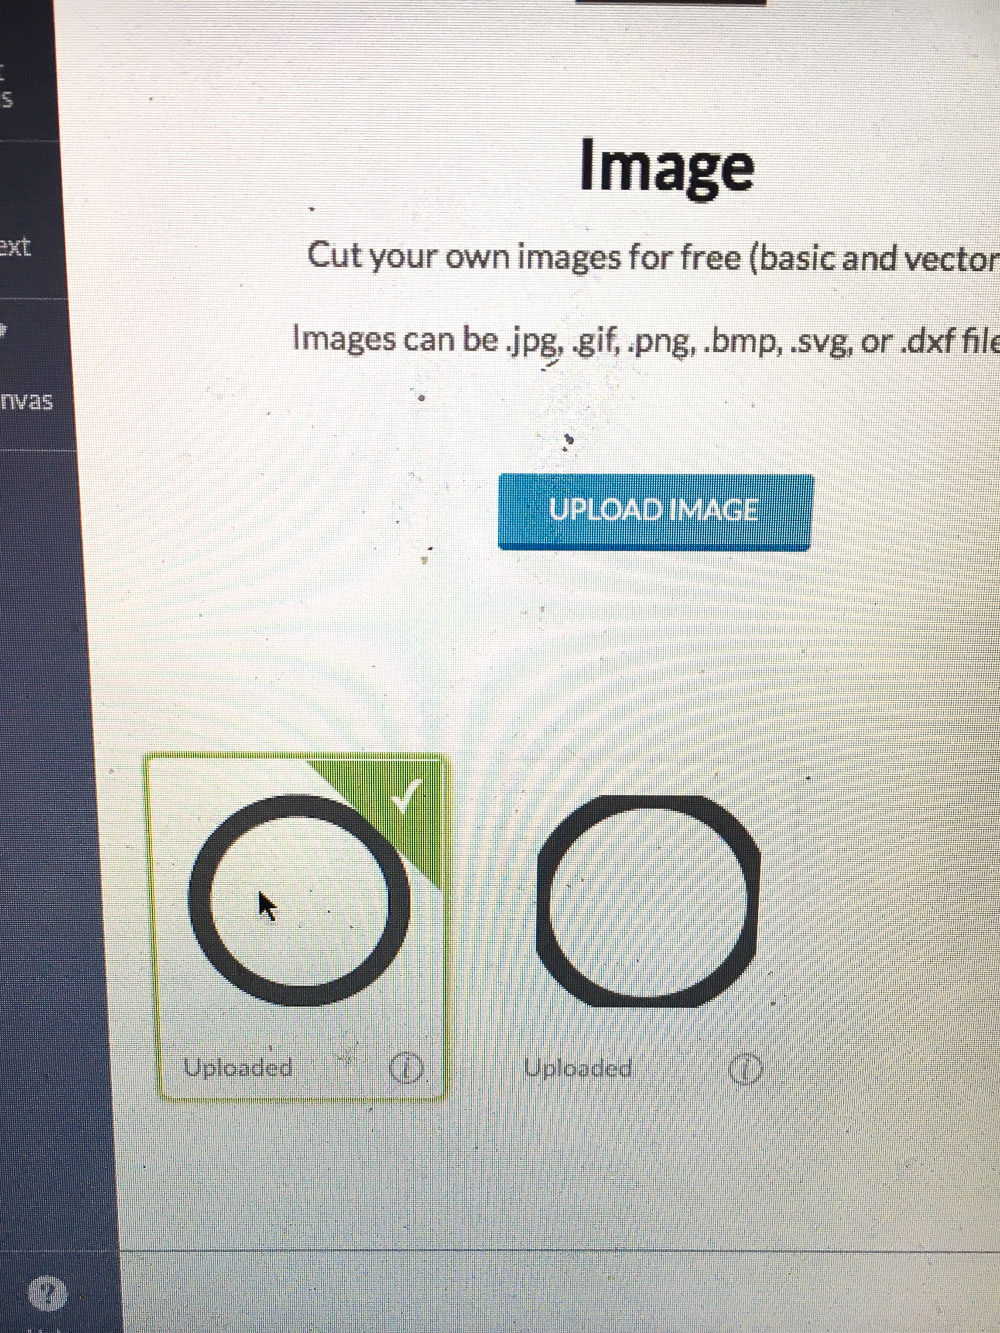
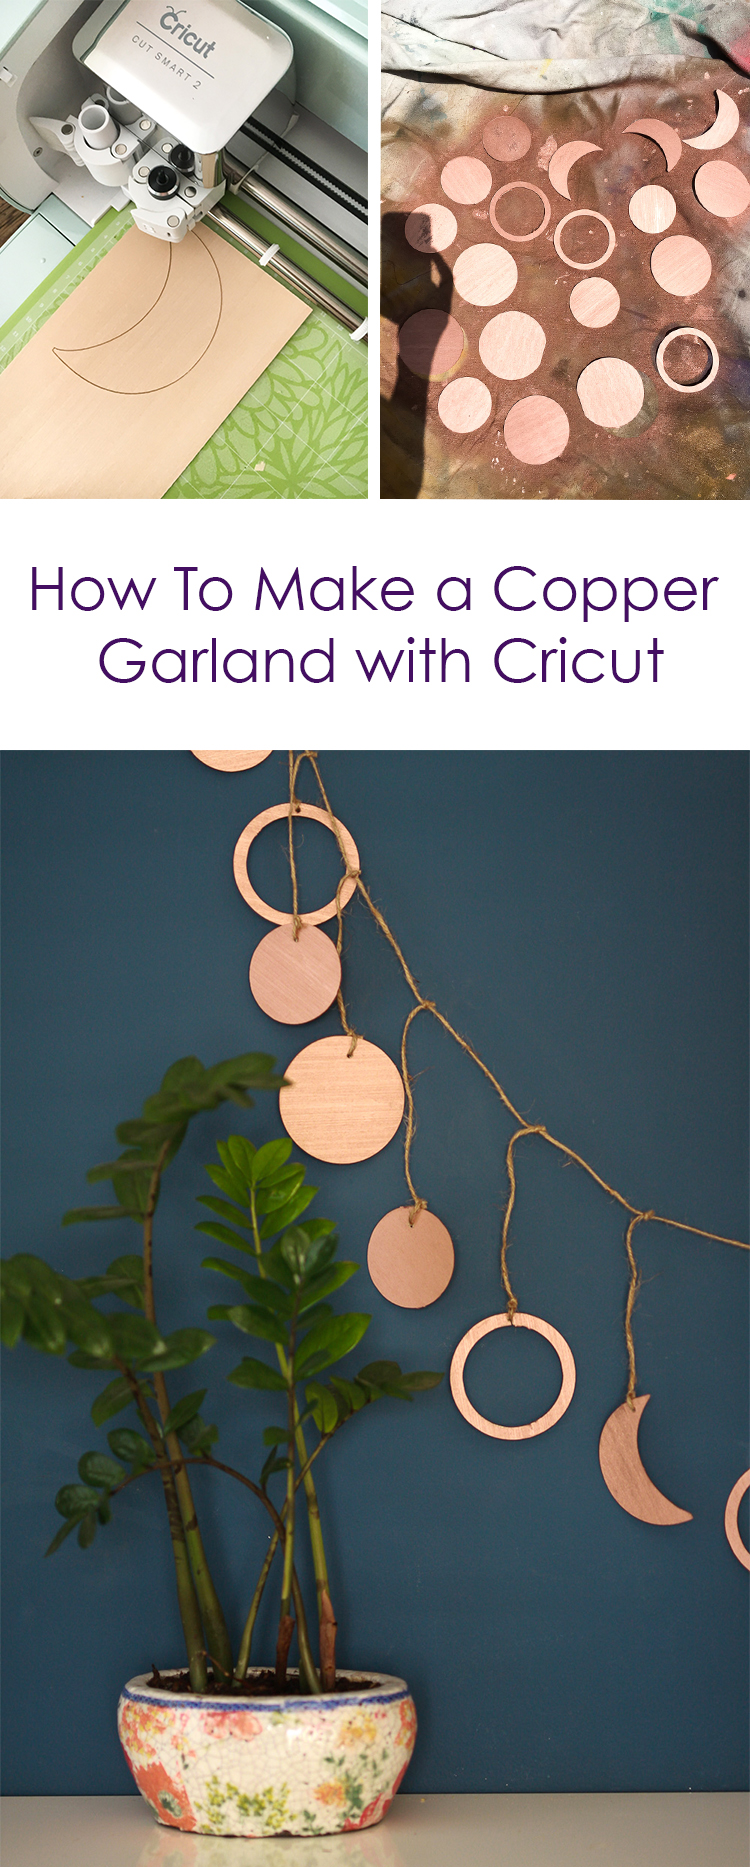
1) For this project, you need to use Cricut Design Space which is on the Cricut website. I found images with a ring, the moon, and a circle on the Internet, uploaded the images to Design Space and then told Cricut to cut the shapes accordingly.
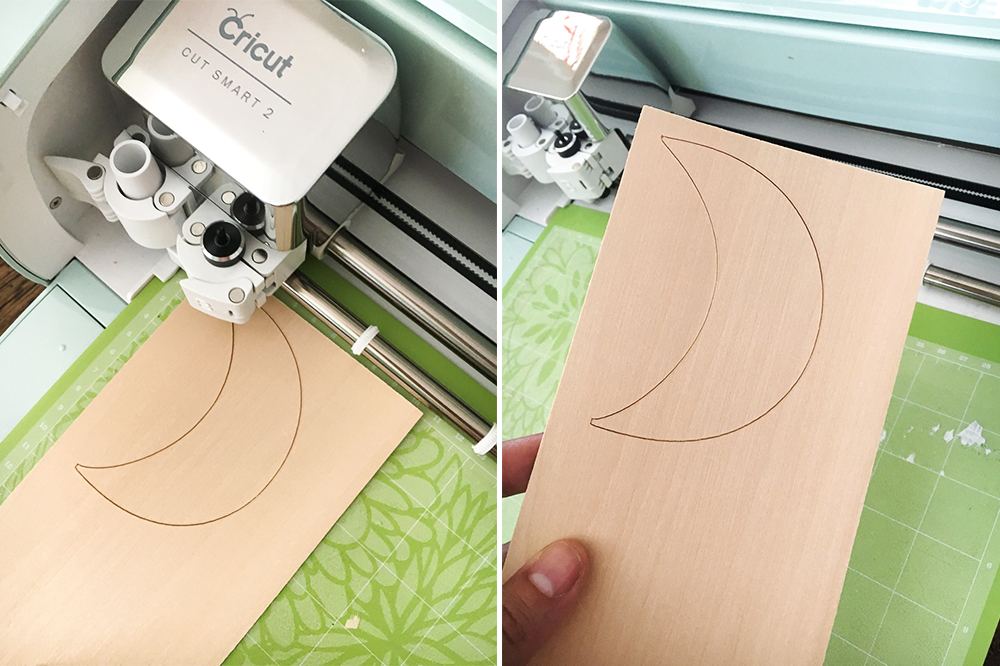
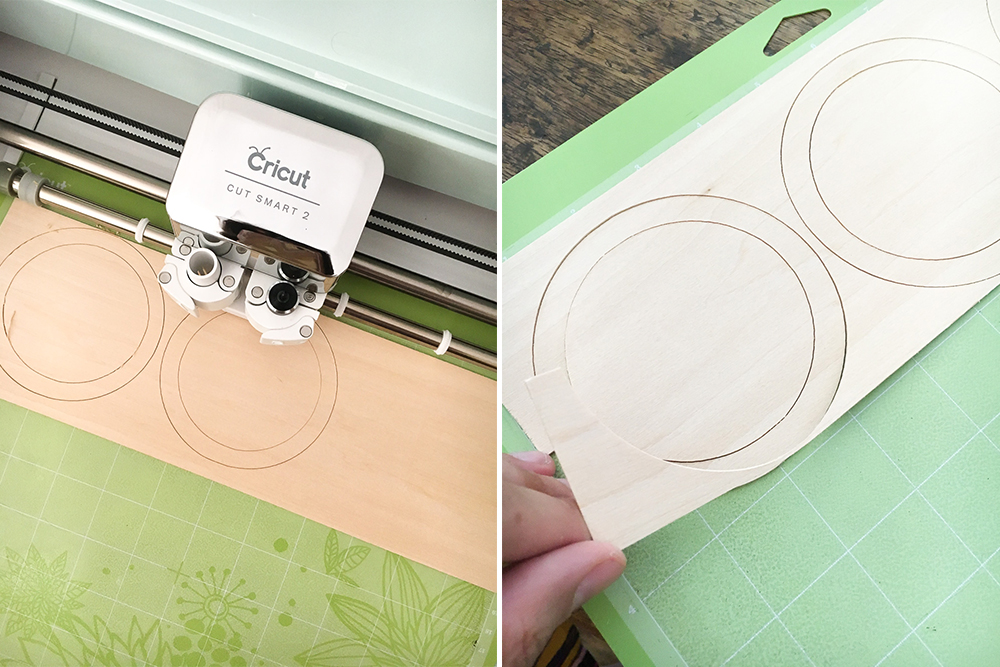
2) I used a Deep Blade and strong settings to do the cutting and it worked! Look:
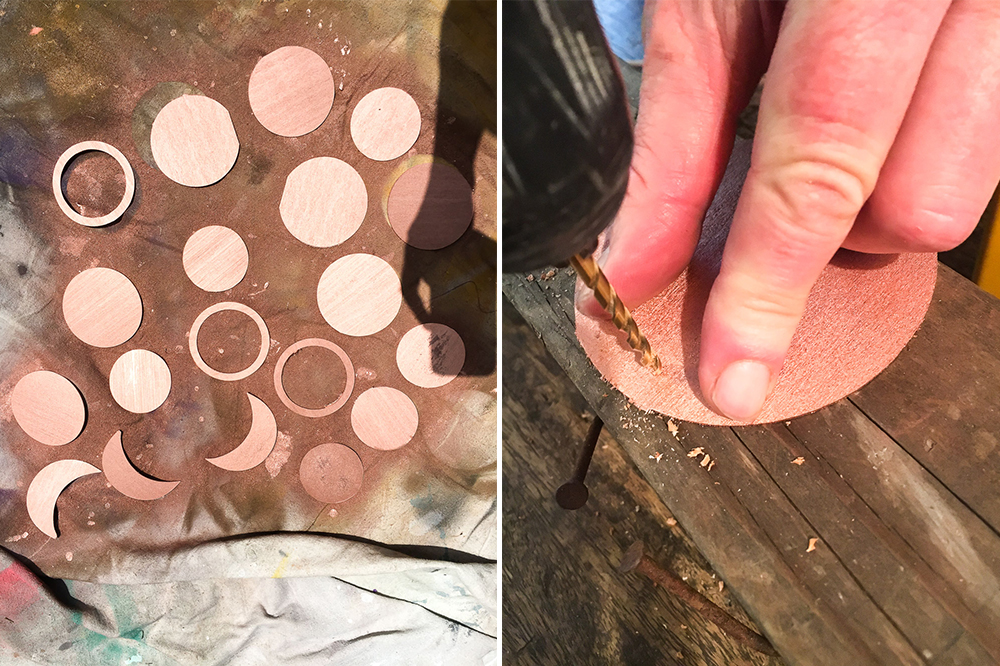
3) I sprayed the figures with copper paint and then drilled a hole through them.
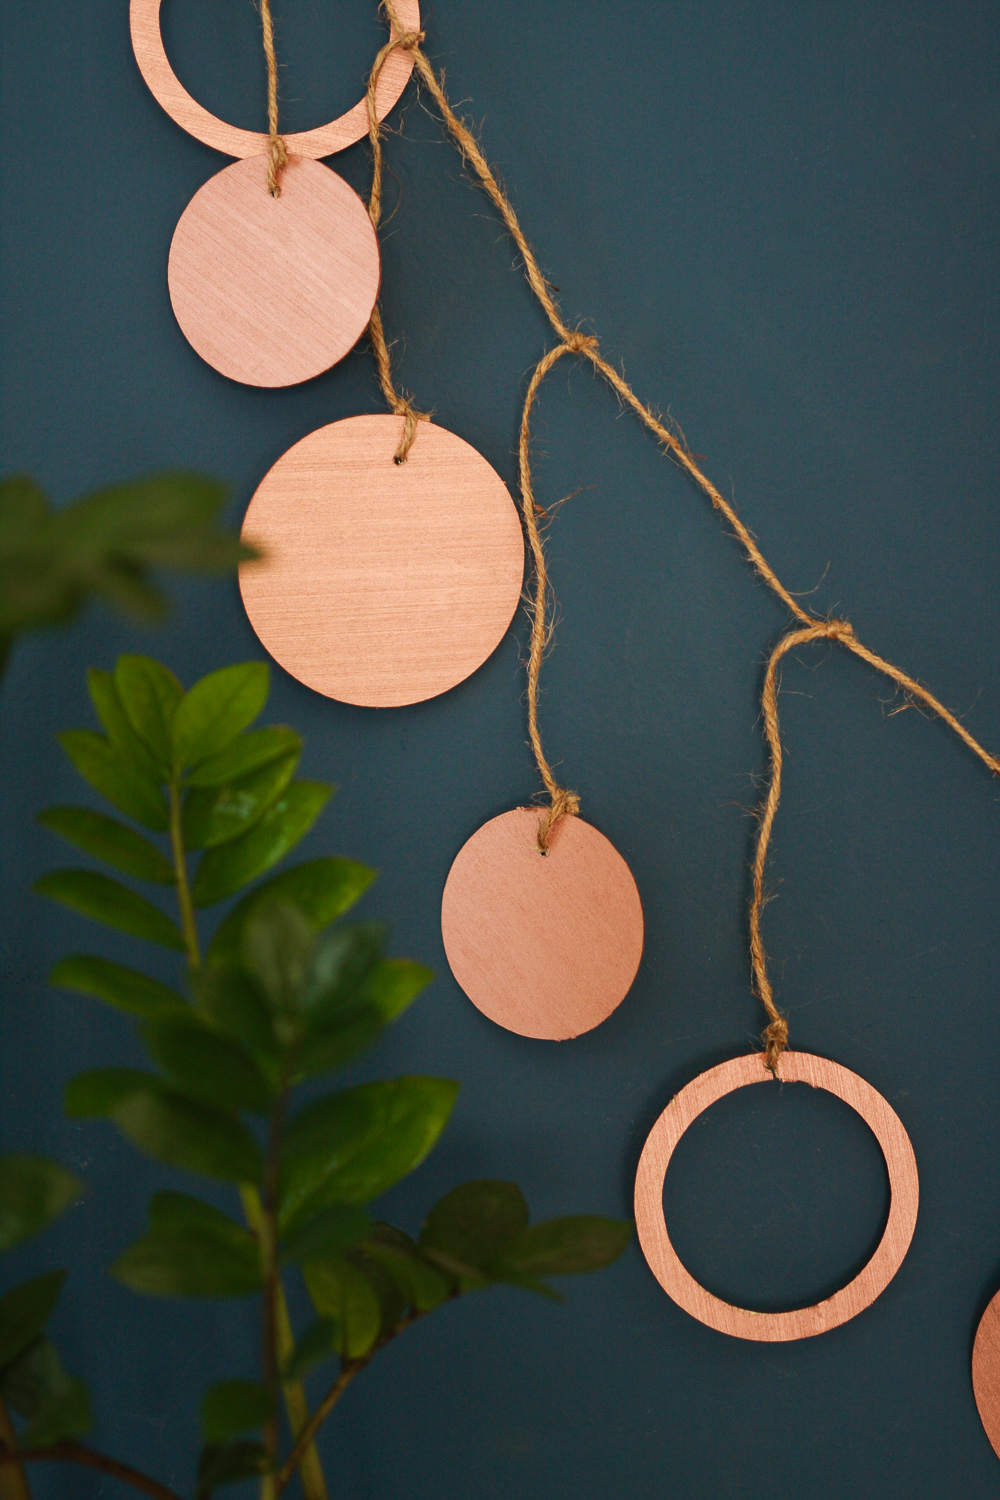
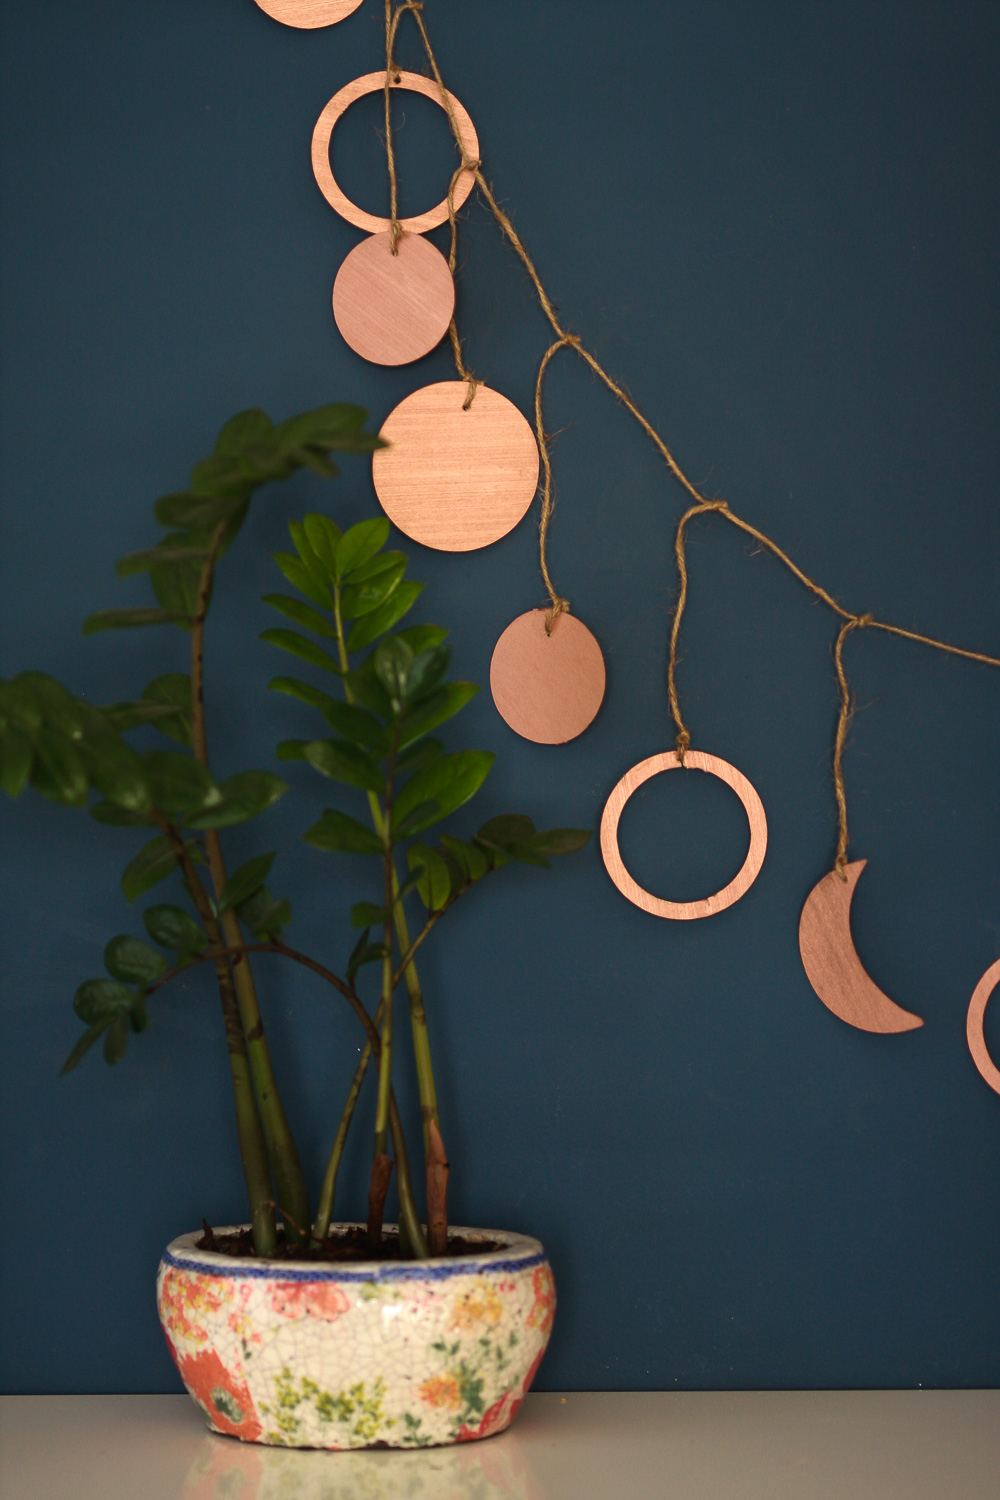
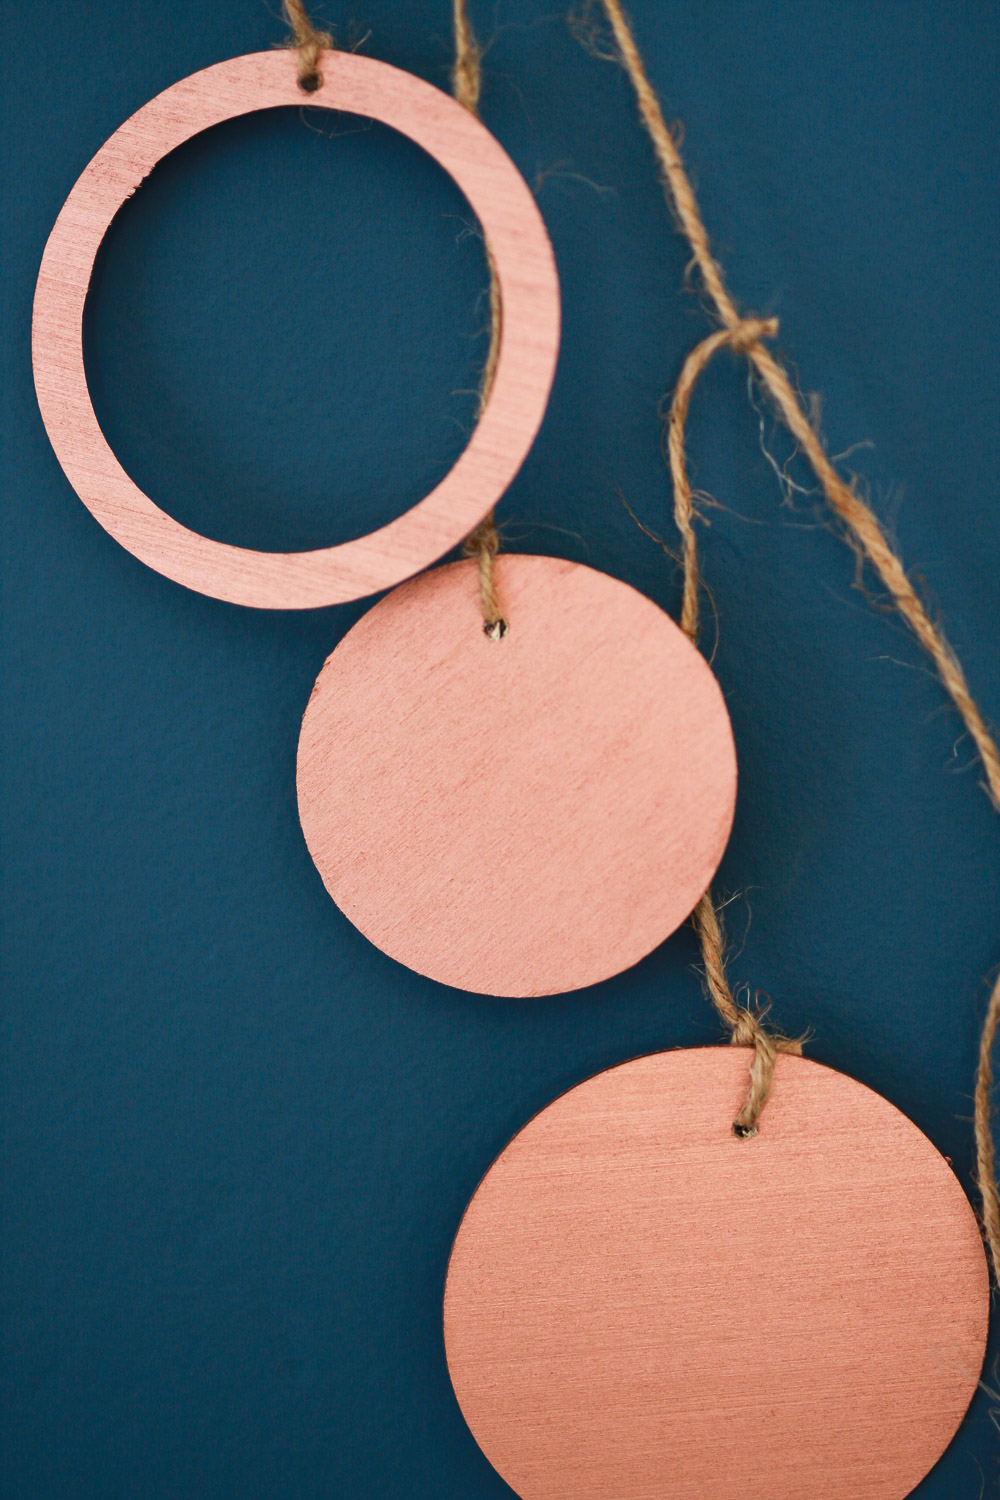
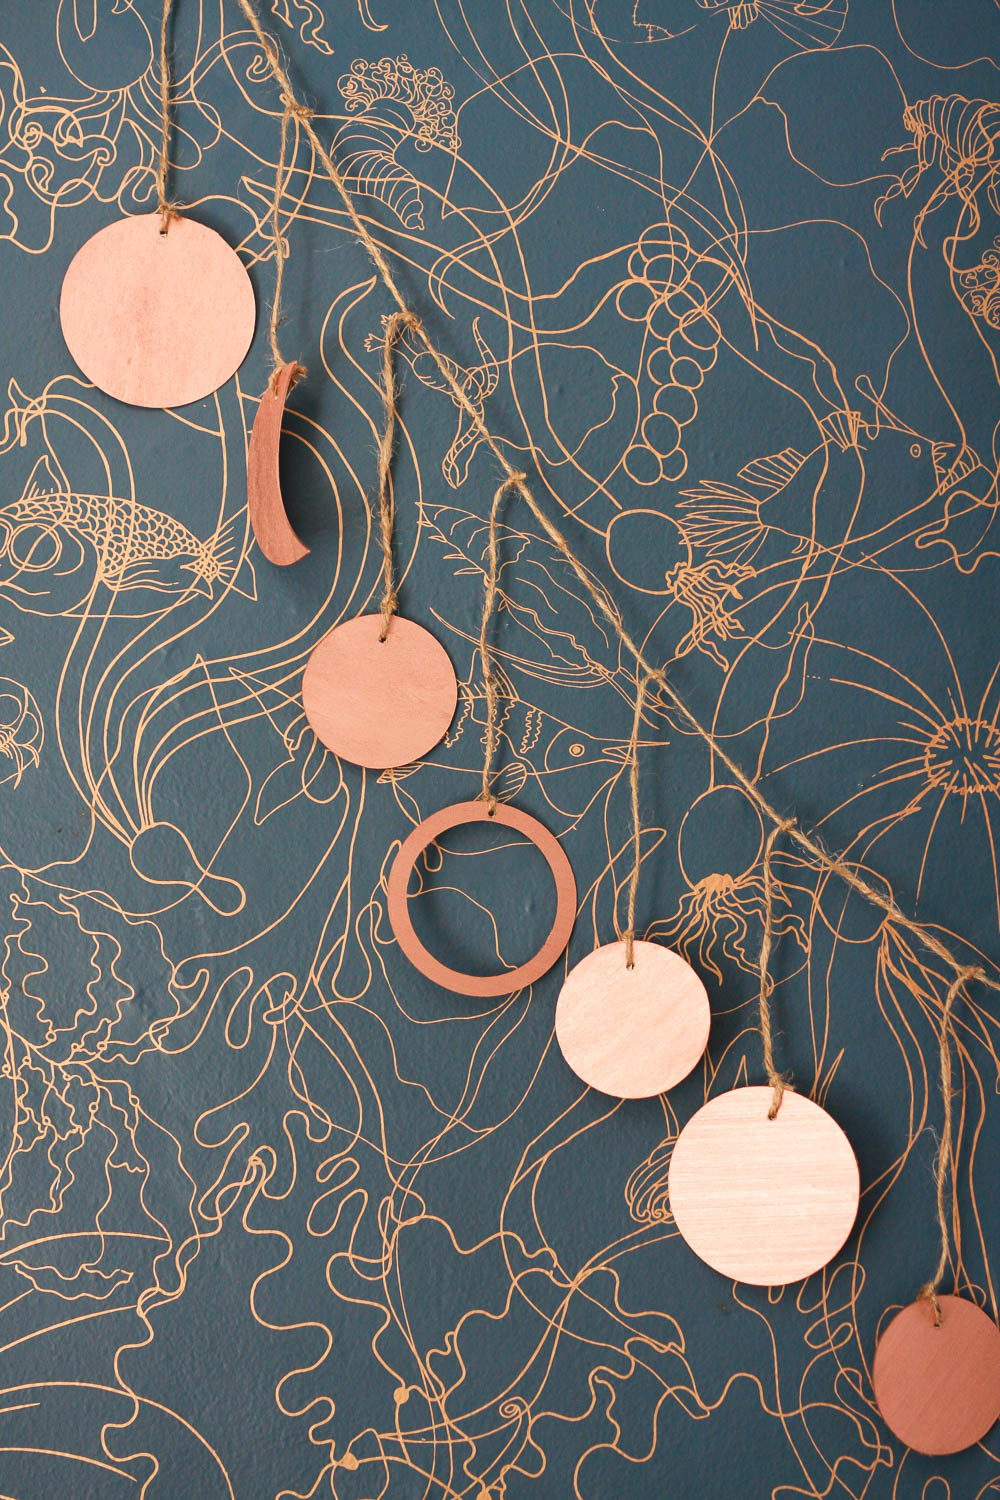
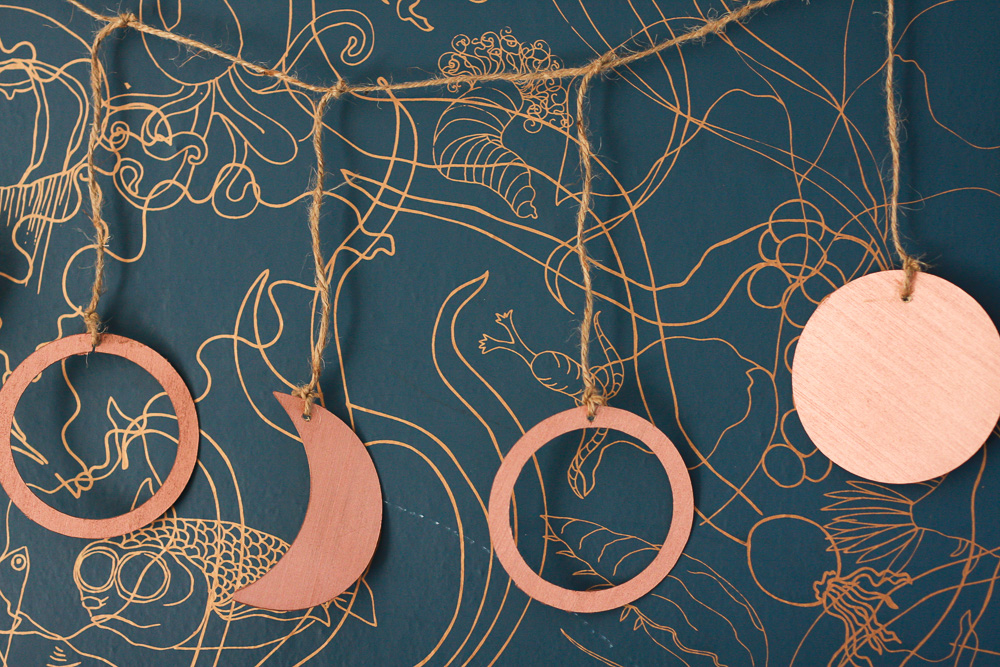
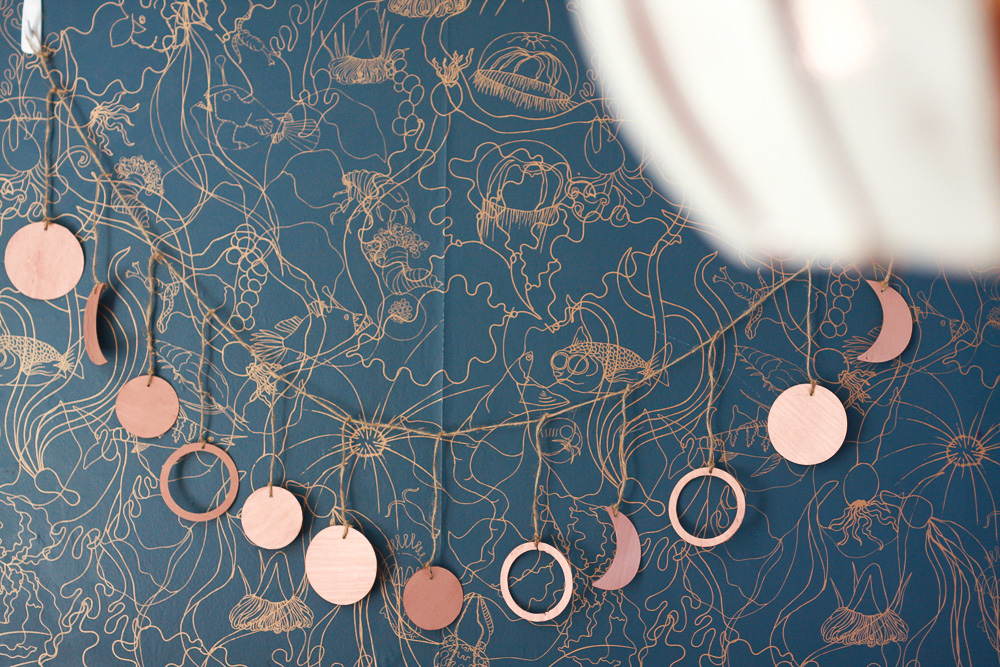
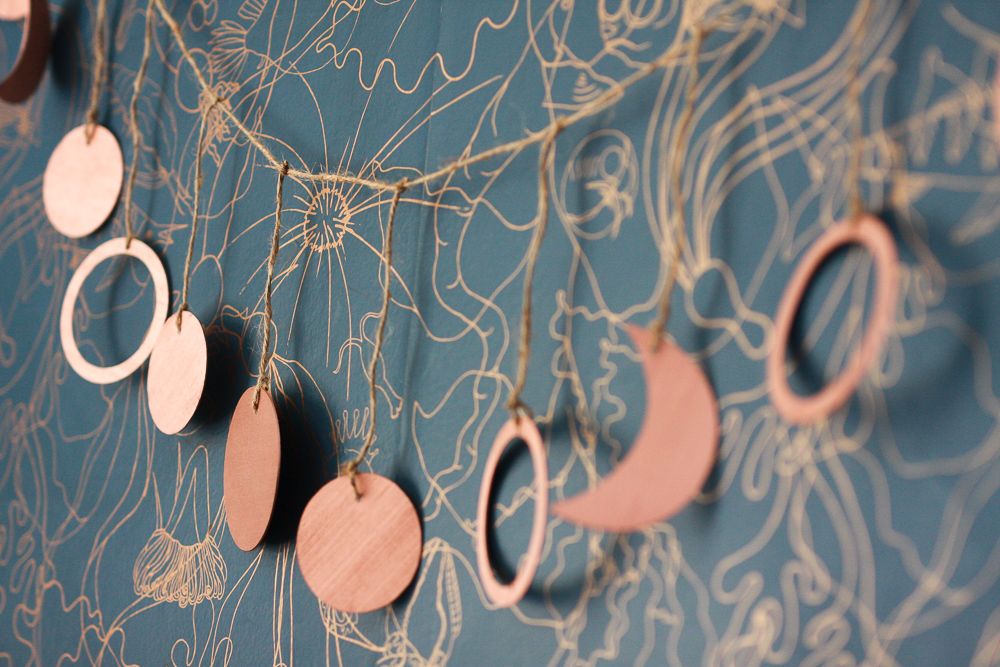
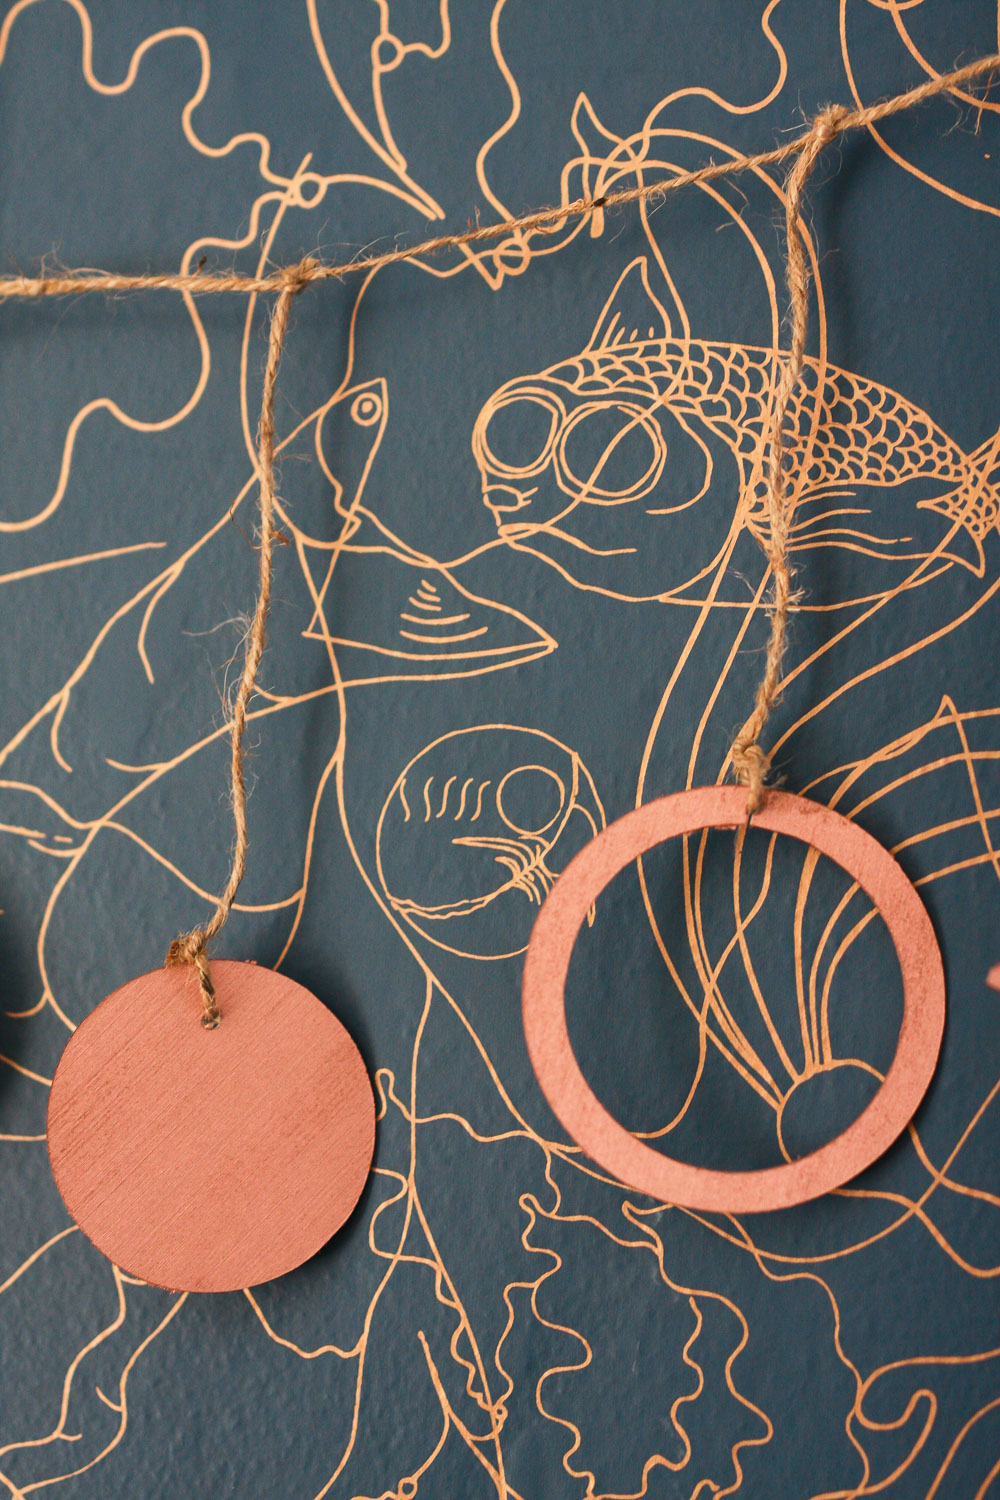
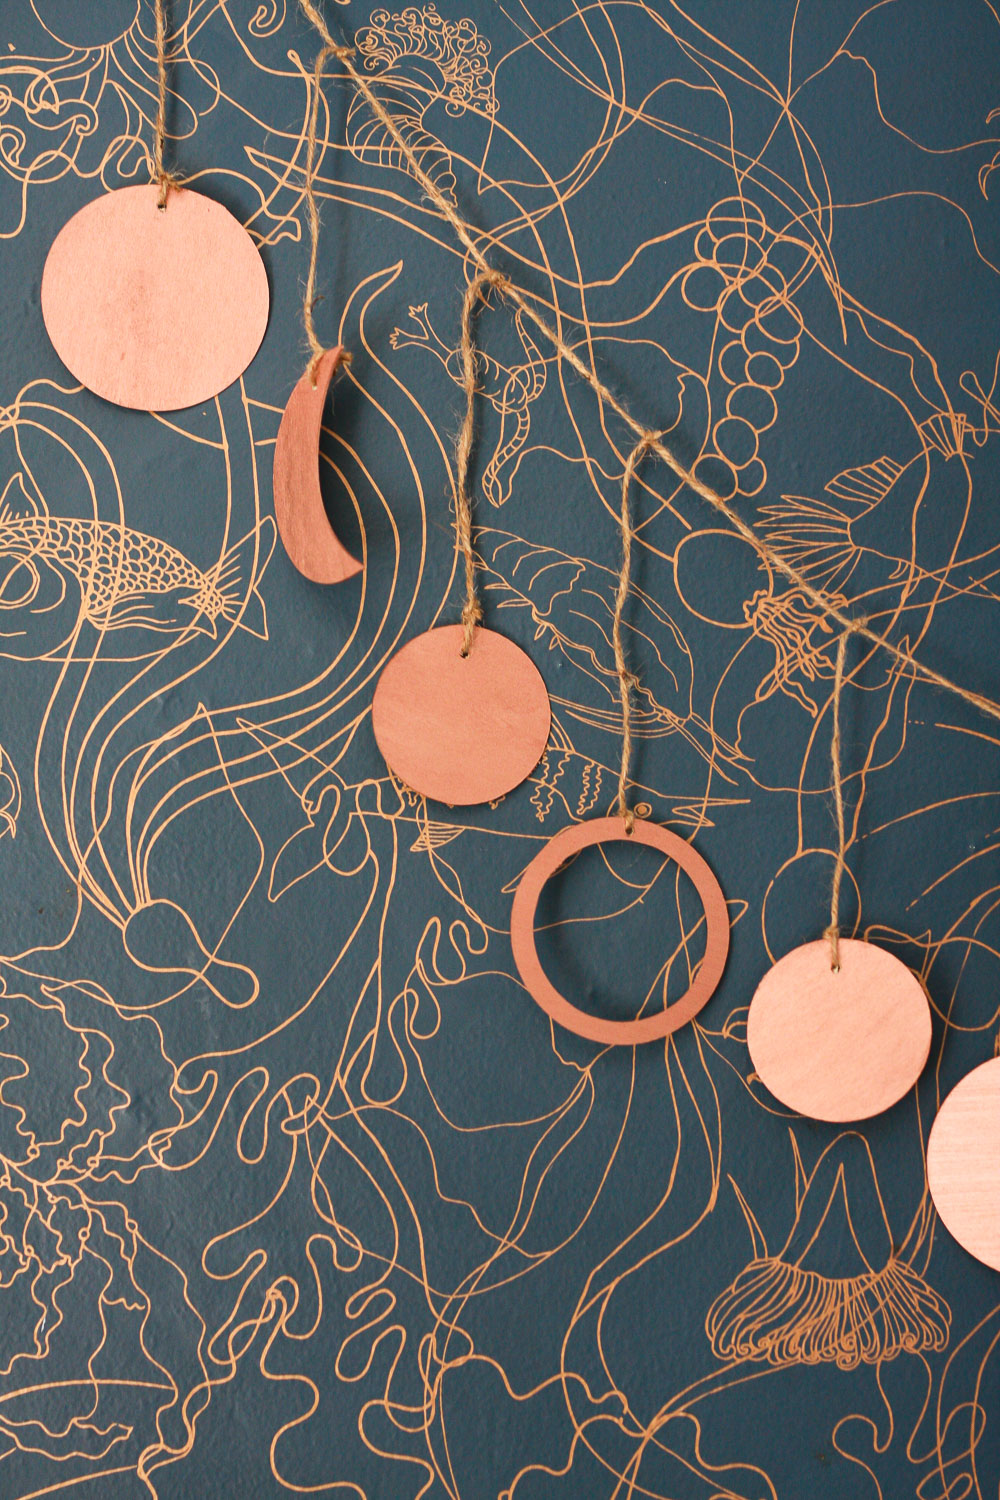
4) I used the twine to hang the figures to a main piece of twine. This is how it looks:
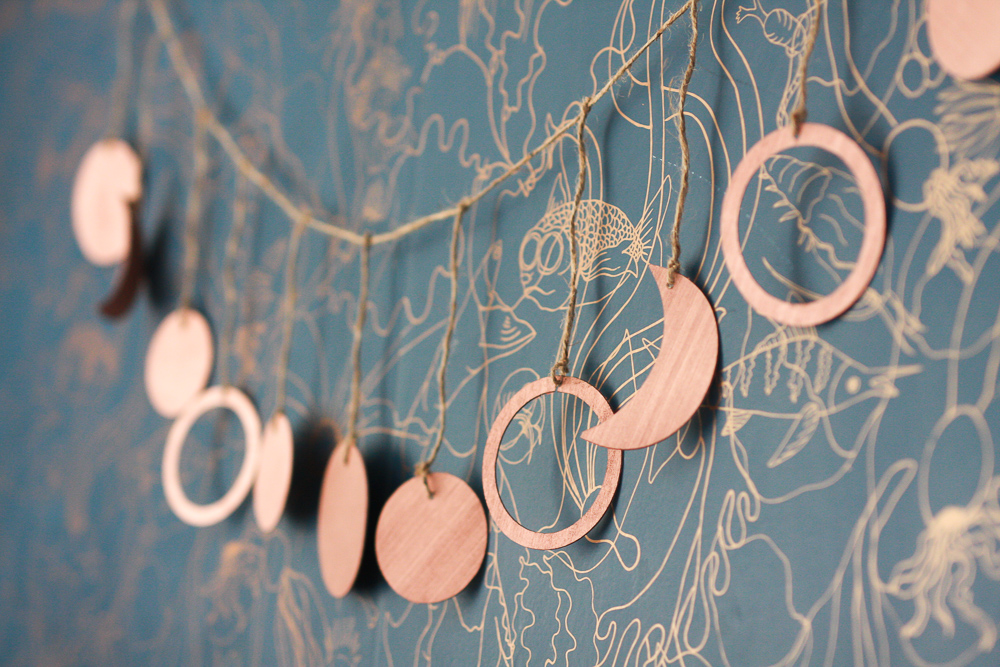
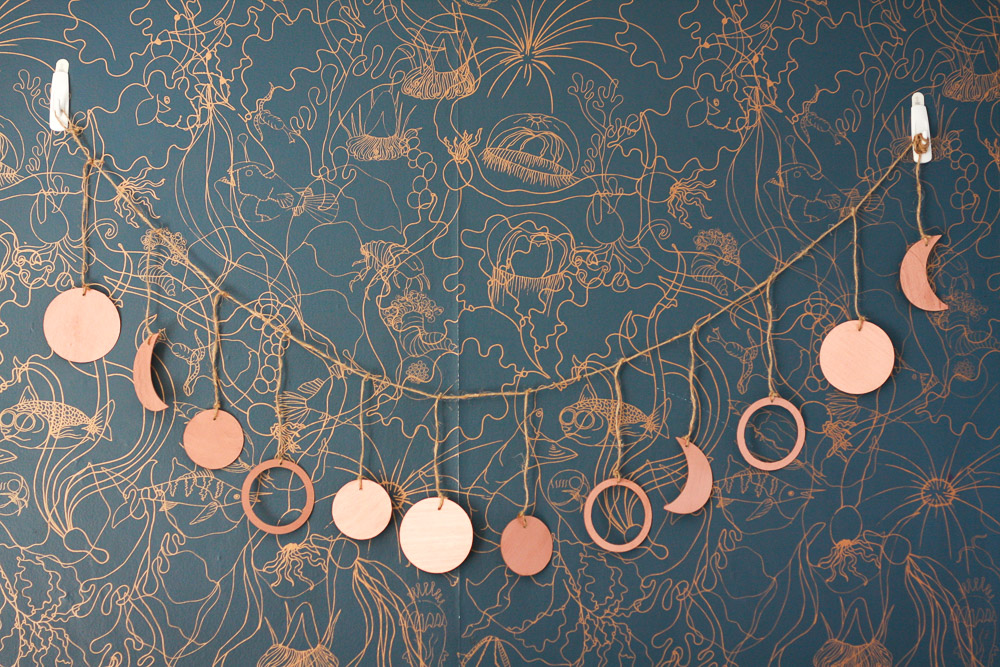
I like how it looks against the copper and blue wallpaper, don’t you?
What do you think? I kind of like it. I am happy it turned out OK and that Cricut was able to cut the thin basswood. It was fun to watch.
Now, this garland hangs in my kids’ room making the space more happy and beautiful. Perfect combo.
Ok, so here concludes the three-part series of “how to craft your way to a beautiful home with Cricut.” I really hope you liked it. I know I really enjoyed the opportunity and sharing these projects with you.
Thank you so much!This is a sponsored conversation written by me on behalf of Cricut. The opinions and text are all mine.

