Posts

halloween wreath

How To Make A Halloween Wreath

halloween wreath

Creating a Halloween wreath is VERY easy. Do not be discouraged or overwhelmed. If you have done a wreath before, you know how easy they are to make, if you haven’t, try it and you will see what a beginner’s project this is. You don’t need a lot of experience doing anything DIY to be able to tackle this.

The first time I created a wreath, I was surprised at how undemanding the project was. Anything I did, any piece I added, looked so good. I was flabbergaster and so proud of myself. I thought I was a DIY queen.

Then I realized that it wasn’t only me, but all my friends that were in the workshop had the same experience. All of them were able to create gorgeous wreaths effortlessly.

Since then, I have found myself doing more and more wreaths because they are a beautiful way of decorating the house, plus, I have all the materials left over from the wreath making party I hosted last year. I find that I can collect almost any greenery from my yard and add to it, then, after 30 minutes of work, I have a beautiful wreath for my home.

My favorite to do was the lavender wreath I created for Easter. My home smelled like lavender for weeks to come – so good and calming. Although, doing that wreath wasn’t as easy because lavender is small and delicate. The larger the leaves and greenery you use for the wreath, the easier it is to make.

Wreaths are very forgiving and take no time. This Halloween wreath took me 45 minutes, the amount of time my husband took to go to the grocery store and do our weekly shopping.

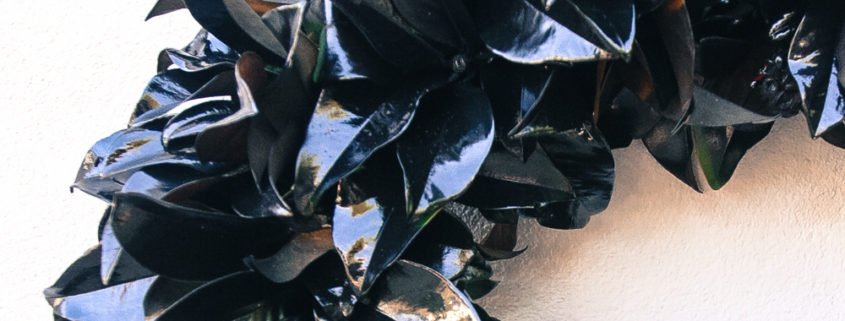
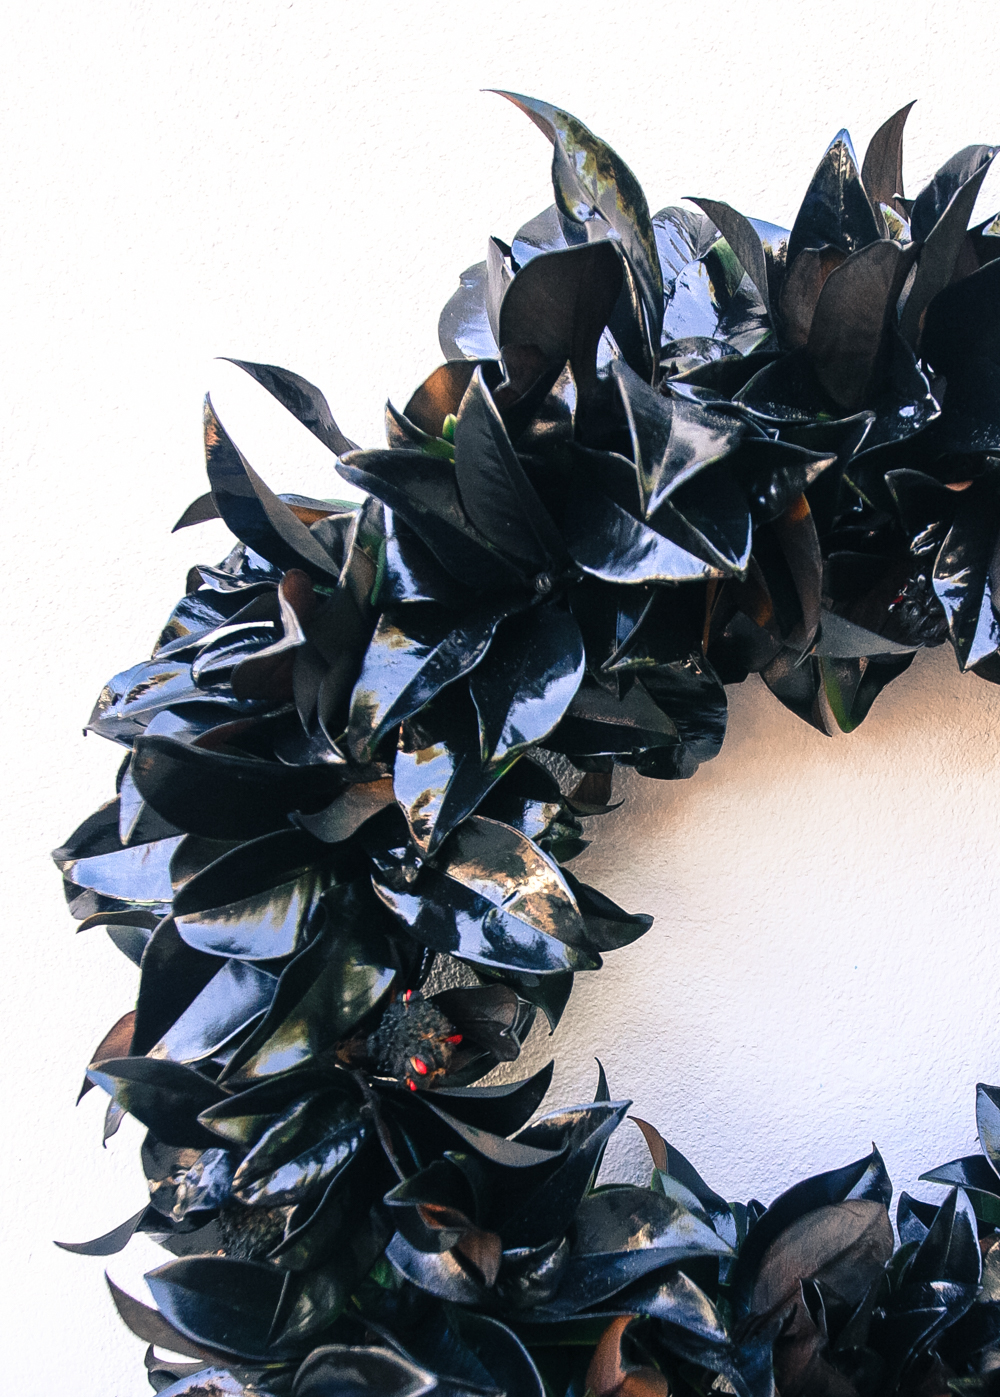
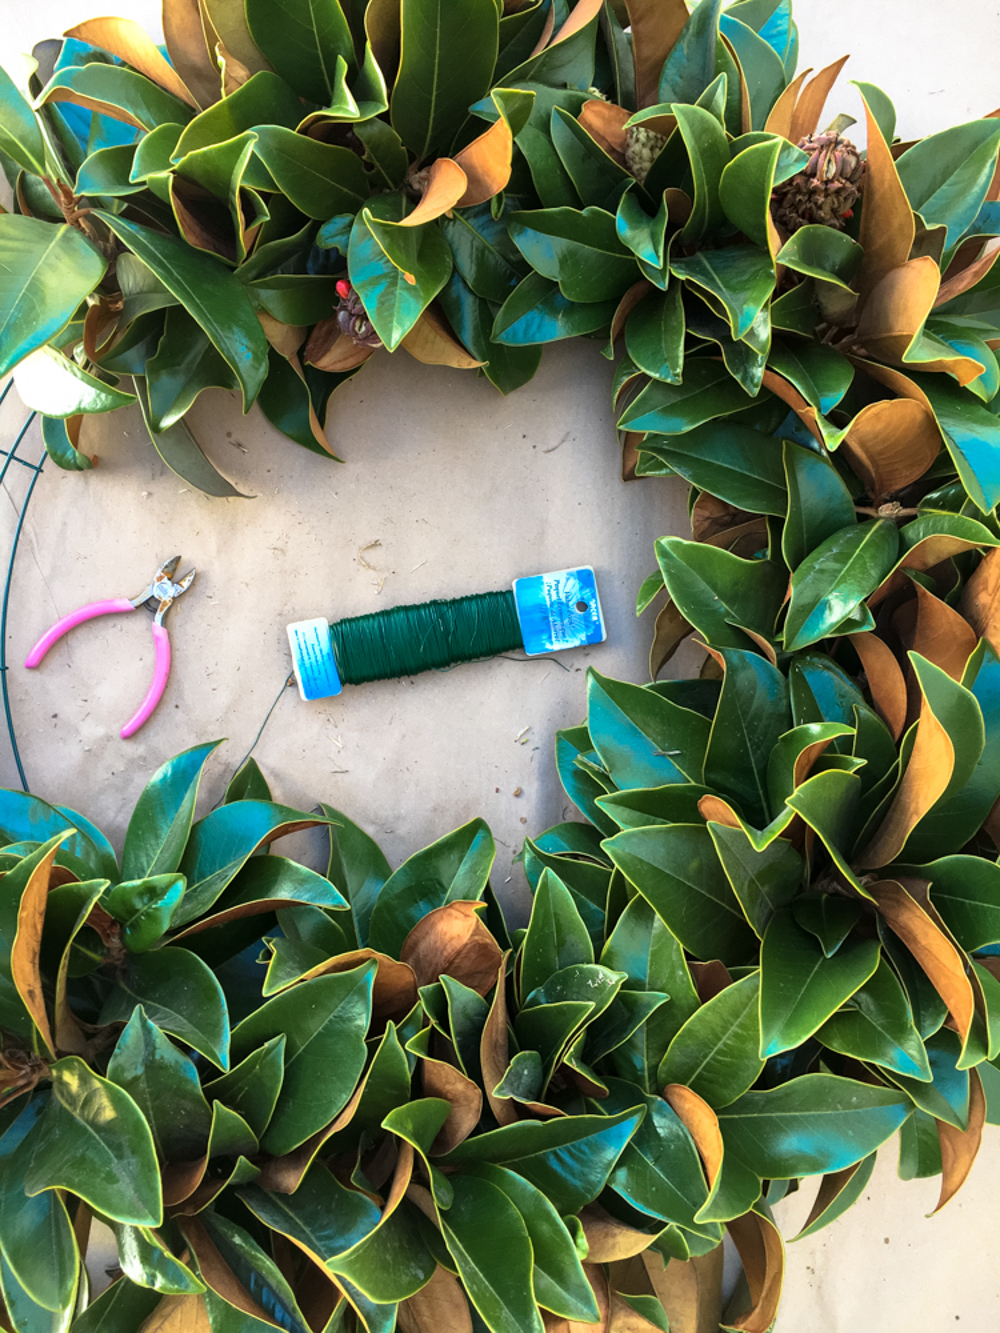
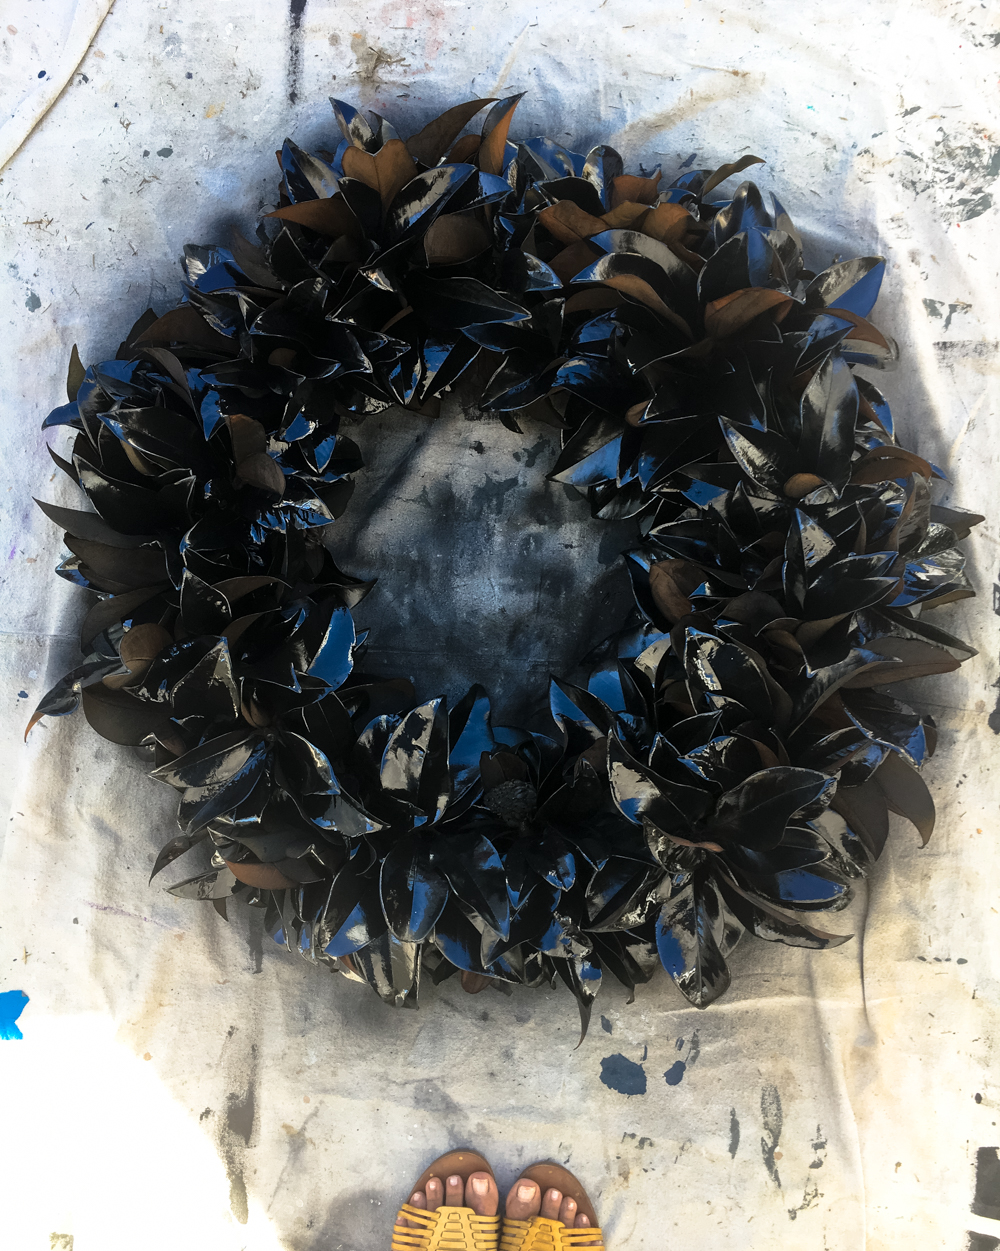
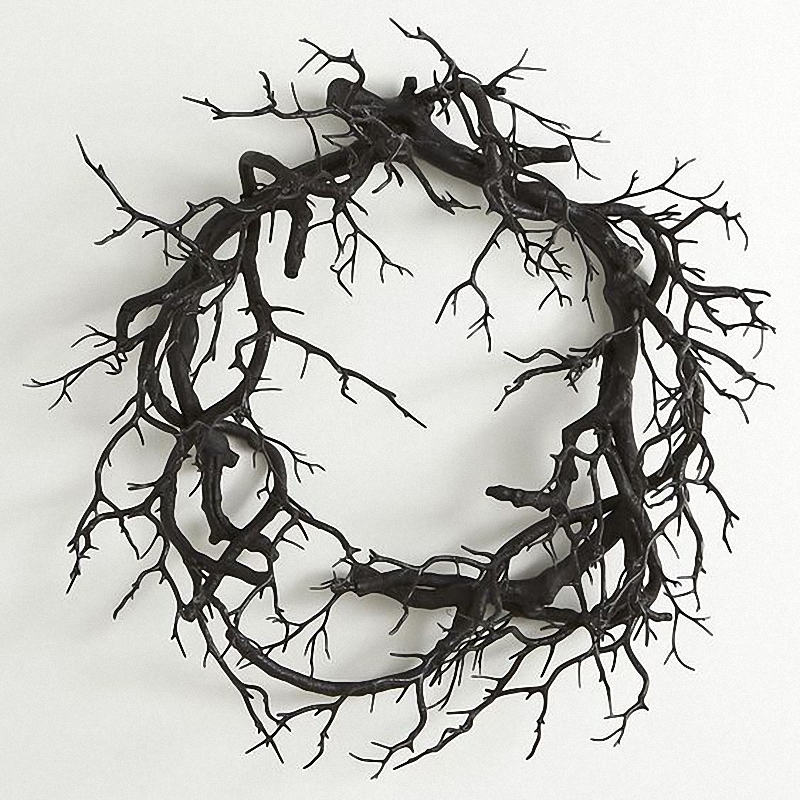
Because I didn’t want to spend a bunch of money on this project, I collected Magnolia leaves from the tree in my front yard. They were the perfect choice because Magnolia leaves are big and have a brownish back-side. My idea was to spray the wreath with glossy black, leaving some of the original color untouched. I didn’t want the whole wreath to be 100% black. A brown undertone gives it a creepy look. As you see, Magnolia leaves were the one and only choice – cheap, spooky, and available in my front yard. SCORE!

Okay, let’s get to it. These are the steps I took to create this wreath. For more details on how to create a wreath, go here – that post explains very well how to make a wreath, too.

halloween-wreath-3

Difficulty (1-5): 2  Time: 45 mins  Cost: $10
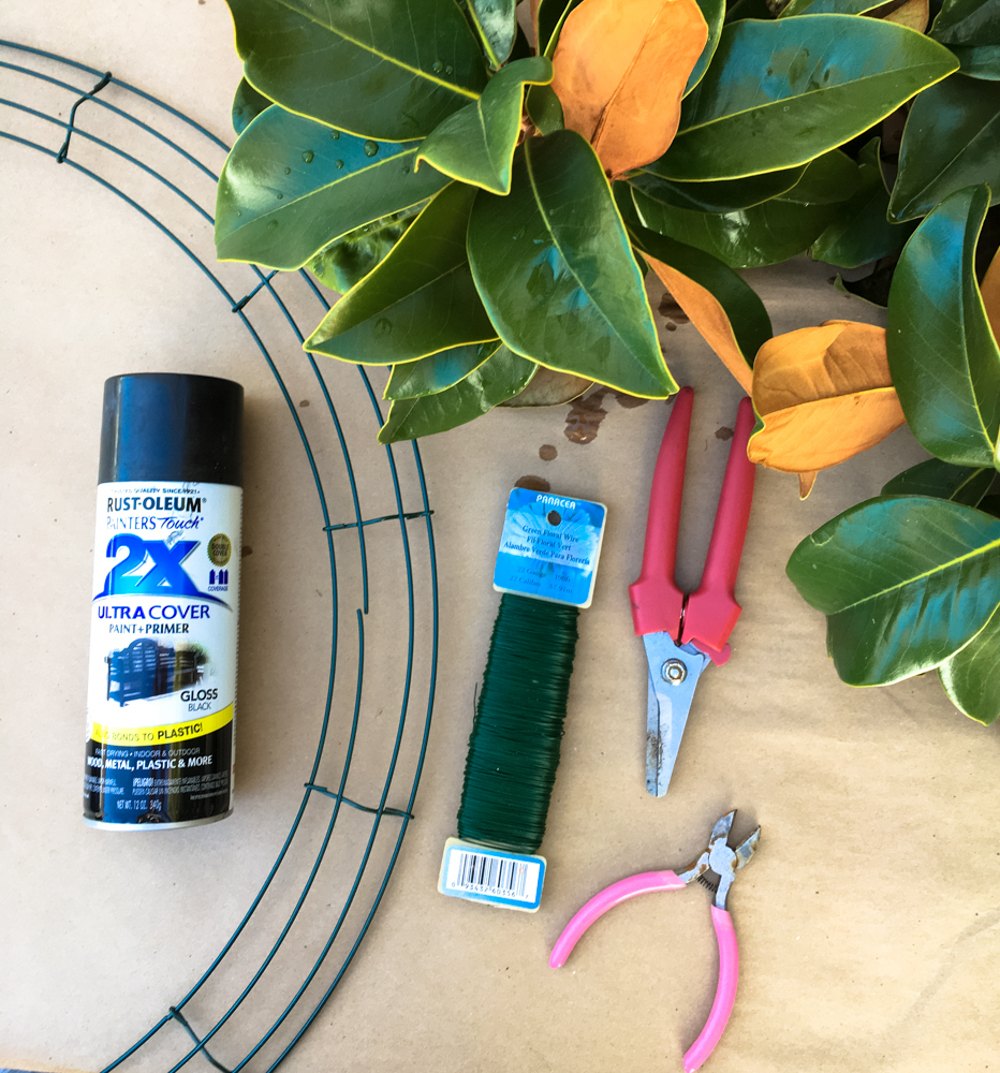
Materials:

  • Magnolia branches
  • 24” Wire Wreath
  • Floral Wire – I used 22 gauge.
  • Wire cutter
  • Pruning scissors
  • Black Spray. I bought black gloss Rustoleum.
  • Rugs – You will need something to put under the wreath when you are spraying it.

halloween-wreath-5

STEP 1:

Attach the wire floral wire to the wire wreath. A simple double loop will do.

STEP 2:

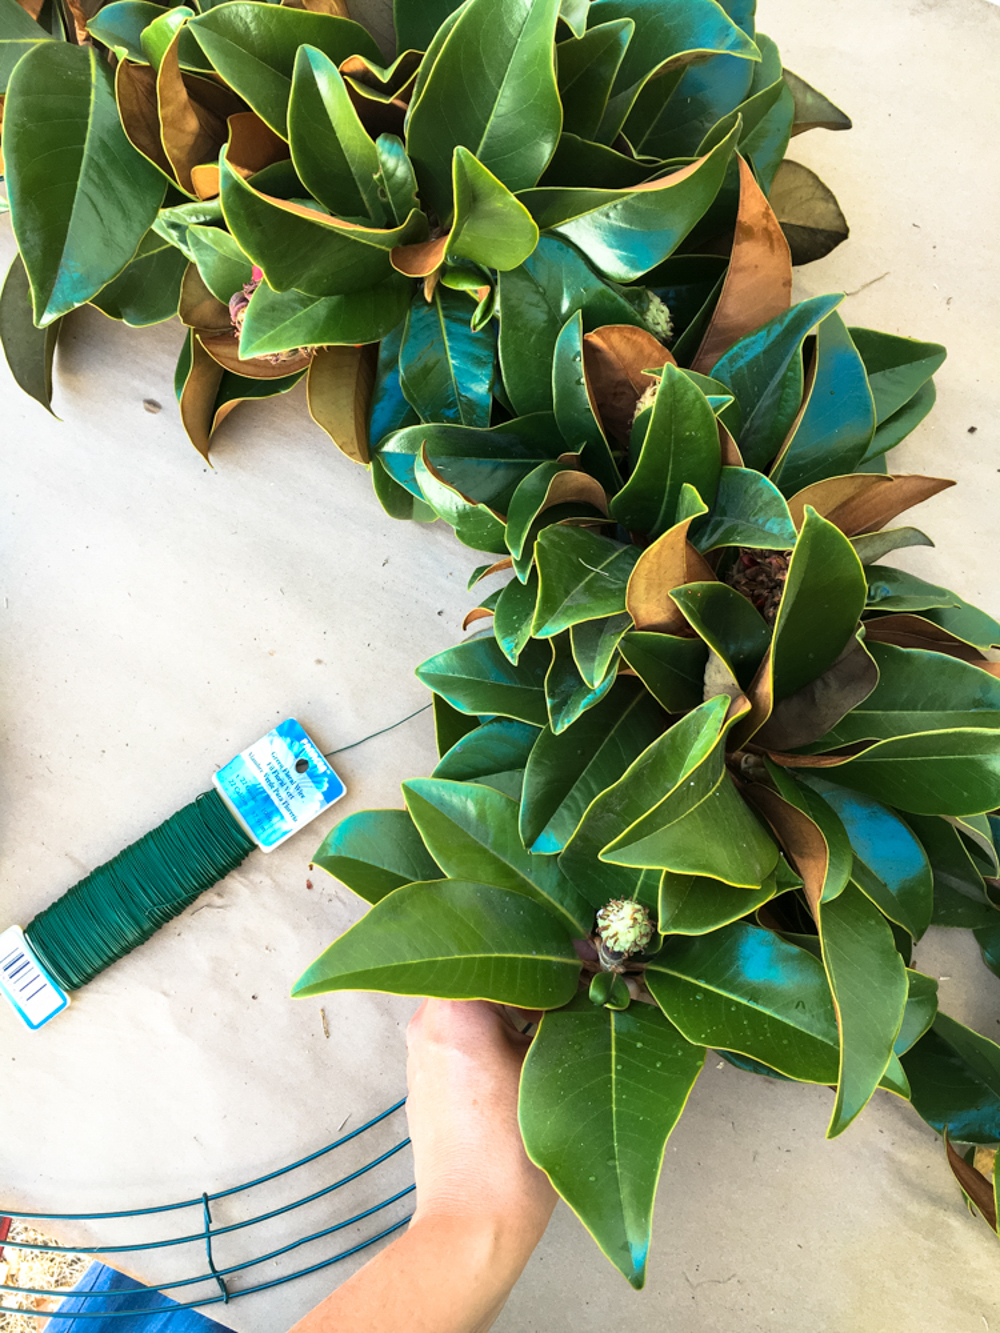
Clean your leaves and branches before starting the project. Prune the branches and add them to the wreath, attaching them with floral wire. For more details on how to do this, go here.

halloween-wreath-6

STEP 3:

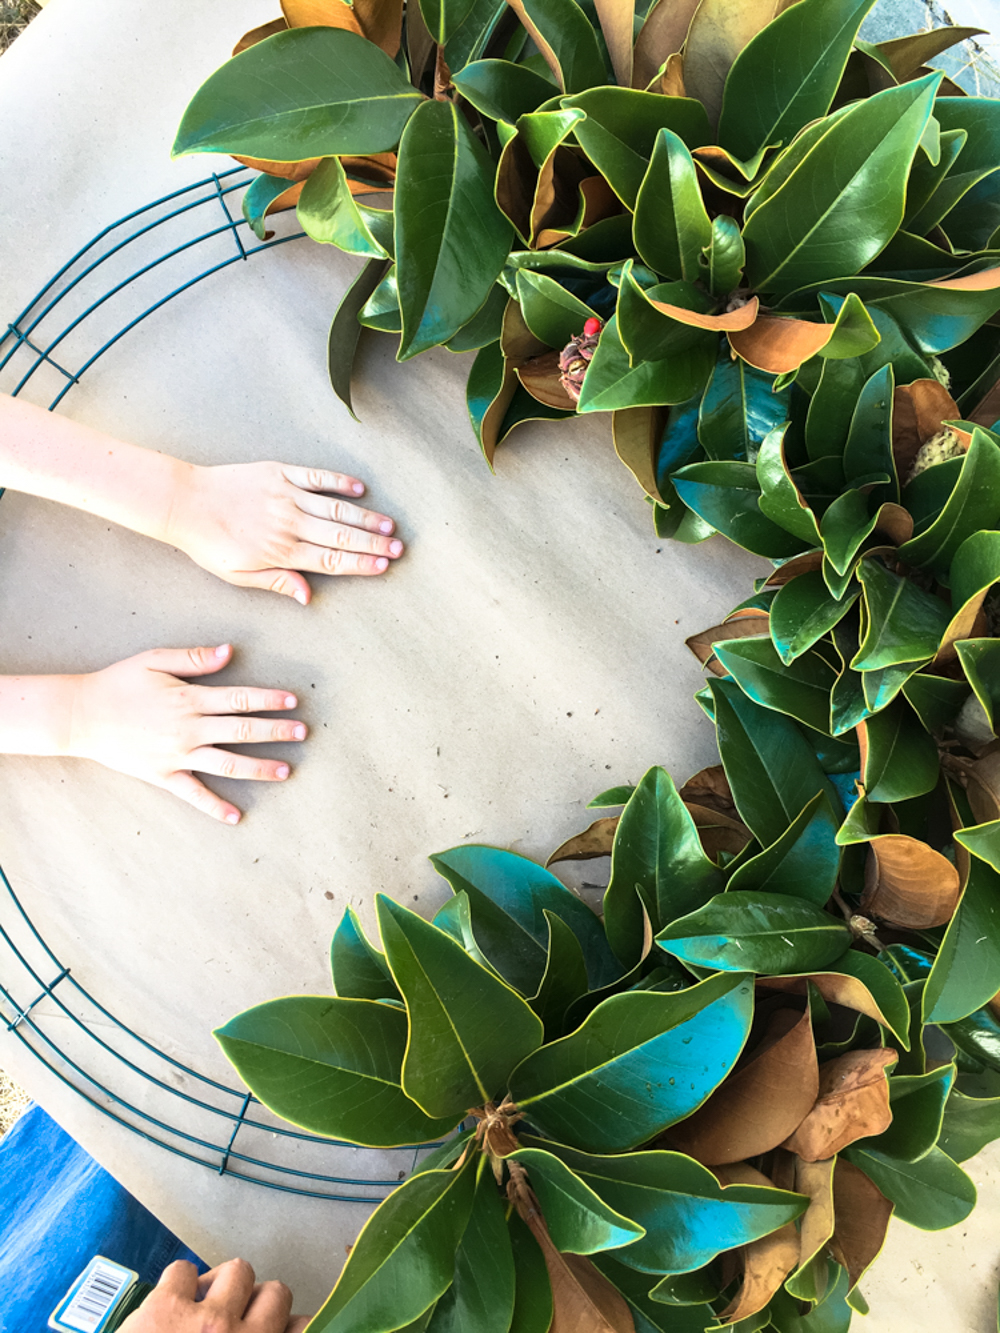
Go around the floral wire until it is covered with greenery. Make sure your wreath is balanced, meaning that all sides have a similar amount of greenery. If not, add more branches to the “skinnier” places.

halloween-wreath-7

STEP 4:

Cut the wire with the wire cutter and attach the loosing end to the wire wreath. Again, a simple knot or loop will do.
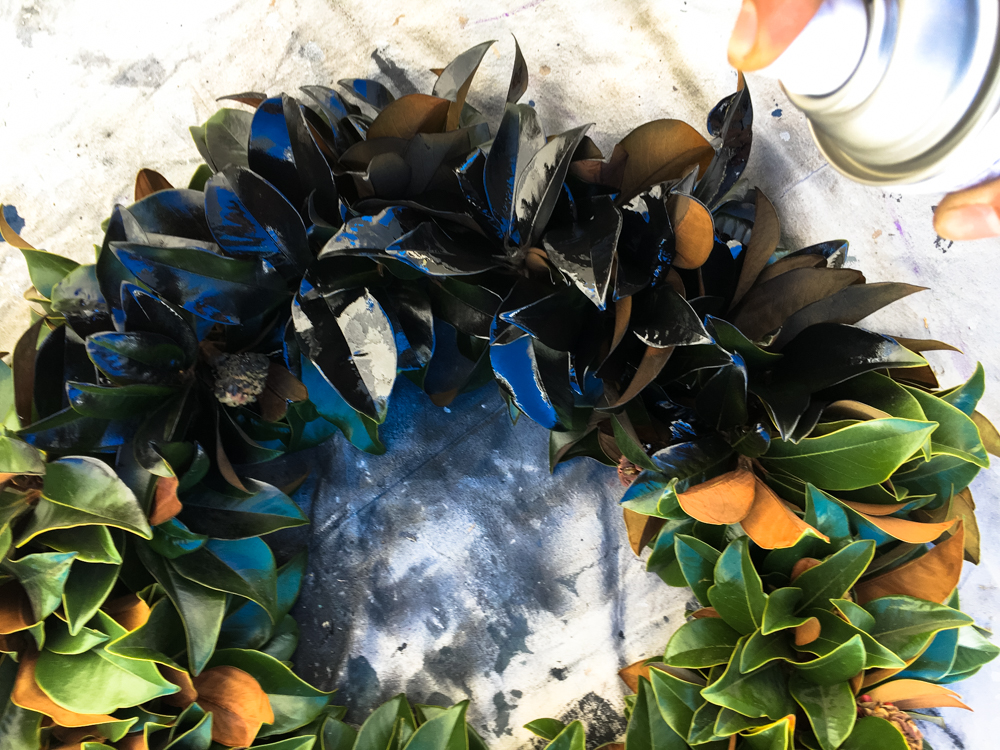
halloween-wreathhalloween-wreath-10

STEP 5:

Place the wreath on a rug. Spray it with black spray. You will need to try and spray inside the branches. I wanted some of the natural color of the leaves to show, so I didn’t do a hardcore spray job.

TIP: If you want a wreath that is completely black, I would recommend spraying the branches before assembling the wreath. It is easier to paint all places by doing that.

halloween-wreath-2halloween-wreath-8


Let Us Connect:

Day Of The Dead Halloween Inspiration

jestcafe-com-halloween-inspiration4Oh Happy Day

Halloween decorations can be awesome or extremely tacky. There is no middle ground.

This year I have decided to stay away from gaudy and embrace some kind of stylish décor, if possible. Against me, as always, are my kids. They want blood and plastic. A hard line to walk! I want them to participate and be creative, but I also need to teach them the importance of decent taste- a major lesson for a 2 and a 4 year old, surely.

What I am planning to do for Halloween this season is to keep a simple color scheme and embrace “Day of the dead” décor. This Mexican holiday is beautiful. Full of bright colors and cute Calaveras, I think it’s the perfect middle ground for my kids and I to achieve a peace deal where I am the sole decider and they become my lovely minions.

On the other hand, I am worried about it not being spooky enough because “Day of the dead” decorations are far from scary, unless I bring some kind of twist to it. I will do a Mexican-American version of Halloween, I have decided.

Here are some photos and DIY projects that I found for inspiration. Let me know what do you think:

jestcafe-com-halloween-inspiration-8Design Love Festjestcafe-com-halloween-inspiration-11Source Unknown
jestcafe-com-halloween-inspiration9Mom.me
jestcafe-com-halloween-inspiration10 Happy Thoughtjestcafe-com-halloween-inspiration7 Oh Happy Dayjestcafe-com-halloween-inspiration2Woman’s Dayjestcafe-com-halloween-inspiration-12 Brit.cojestcafe-com-halloween-inspiration-13Etsyjestcafe-com-ghosts-for-halloween6Jest Cafejestcafe-com-halloween-inspiration6 The Lettered Cottagejestcafe-com-halloween-inspiration-5 Country Livingjestcafe-com-halloween-inspiration-3 Deco Pequesjestcafe-com-halloween-decoration-ideas1The Green Head

Let Us Connect:

An Afternoon Doing Flower Arrangements

jestcafe.com-flowerdaywithmom18

My mom is visiting from Chile this week. She likes flowers, so I took her to the Flower Market in DTLA, obviously. What a gem that place is. One of the reasons I love this city so much.

The idea was to buy flowers and spend the afternoon creating flower arrangements. If you follow this blog, you know that I have been trying to improve my flower arrangement skills in the last year (you can find proof here and here). This time, I wanted to do something special.

Choosing the right flowers for the arrangement is a very important first step. We chose the color scheme and the right flower sizes for the bouquet we wanted to do. My mom went big and bright. I went small and dark. In retrospect, I wonder if these choices have hidden psychoanalytic meaning.

If you like flowers, you know it is dahlias season right now, and who doesn’t love dahlias aside from a heartless and sad soul. We went for dahlias and many other flowers at the market. It was beautiful to see. (Remember to bring buckets with water to take your flowers back home, so they last longer.)

We also bought flower vases. My mom wants to take some to Chile and you can find a wonderful variety at the market. She bought 10. You might be wondering how is she going to take all of them back home. I am wondering the same.

We spend the afternoon arranging flowers and listening to music. It was so nice and relaxing. A beautiful day. My mom loved the “activity,” so I recommend doing this if you have visitors and want to do something outside of the tourist circle monster trap.

Next week, I will share some tips and tricks to do better flower arrangements. It is not as hard as it looks.

If you are going to the Flower Market, DTLA:

  • There is parking on the second and third floor of the Flower Market, entrance is on Maple Ave, between 7th and 8th Street.
  • Some of my favorite vendors close at 9 am, so be there early!
  • You can rent carts at the parking lot for $1.
  • Bring buckets with water for your flowers. If you don’t, your arrangements will last a lot less. I have proof.

jestcafe.com-flowerdaywithmom20jestcafe.com-flowerdaywithmom19jestcafe.com-flowerdaywithmom14jestcafe.com-flowerdaywithmom5jestcafe.com-flowerdaywithmom21jestcafe.com-flowerdaywithmom12 Hi there, Mami!jestcafe.com-flowerdaywithmom17jestcafe.com-flowerdaywithmom13jestcafe.com-flowerdaywithmom15 jestcafe.com-flowerdaywithmom8jestcafe.com-flowerdaywithmom10 jestcafe.com-flowerdaywithmom11jestcafe.com-flowerdaywithmom6jestcafe.com-flowerdaywithmom4
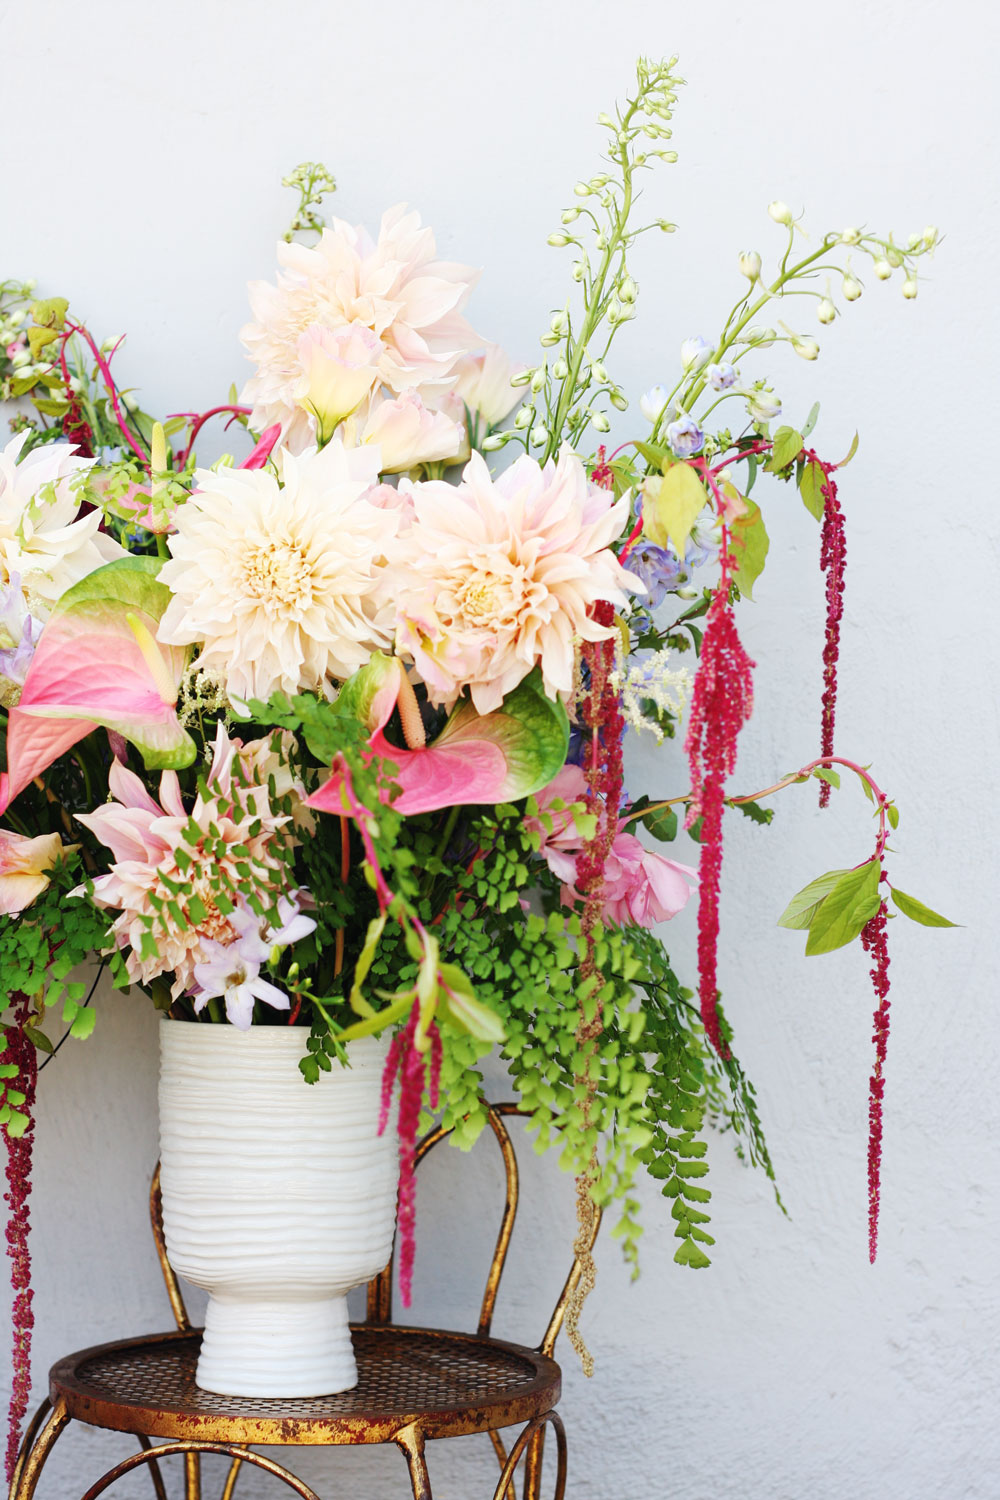
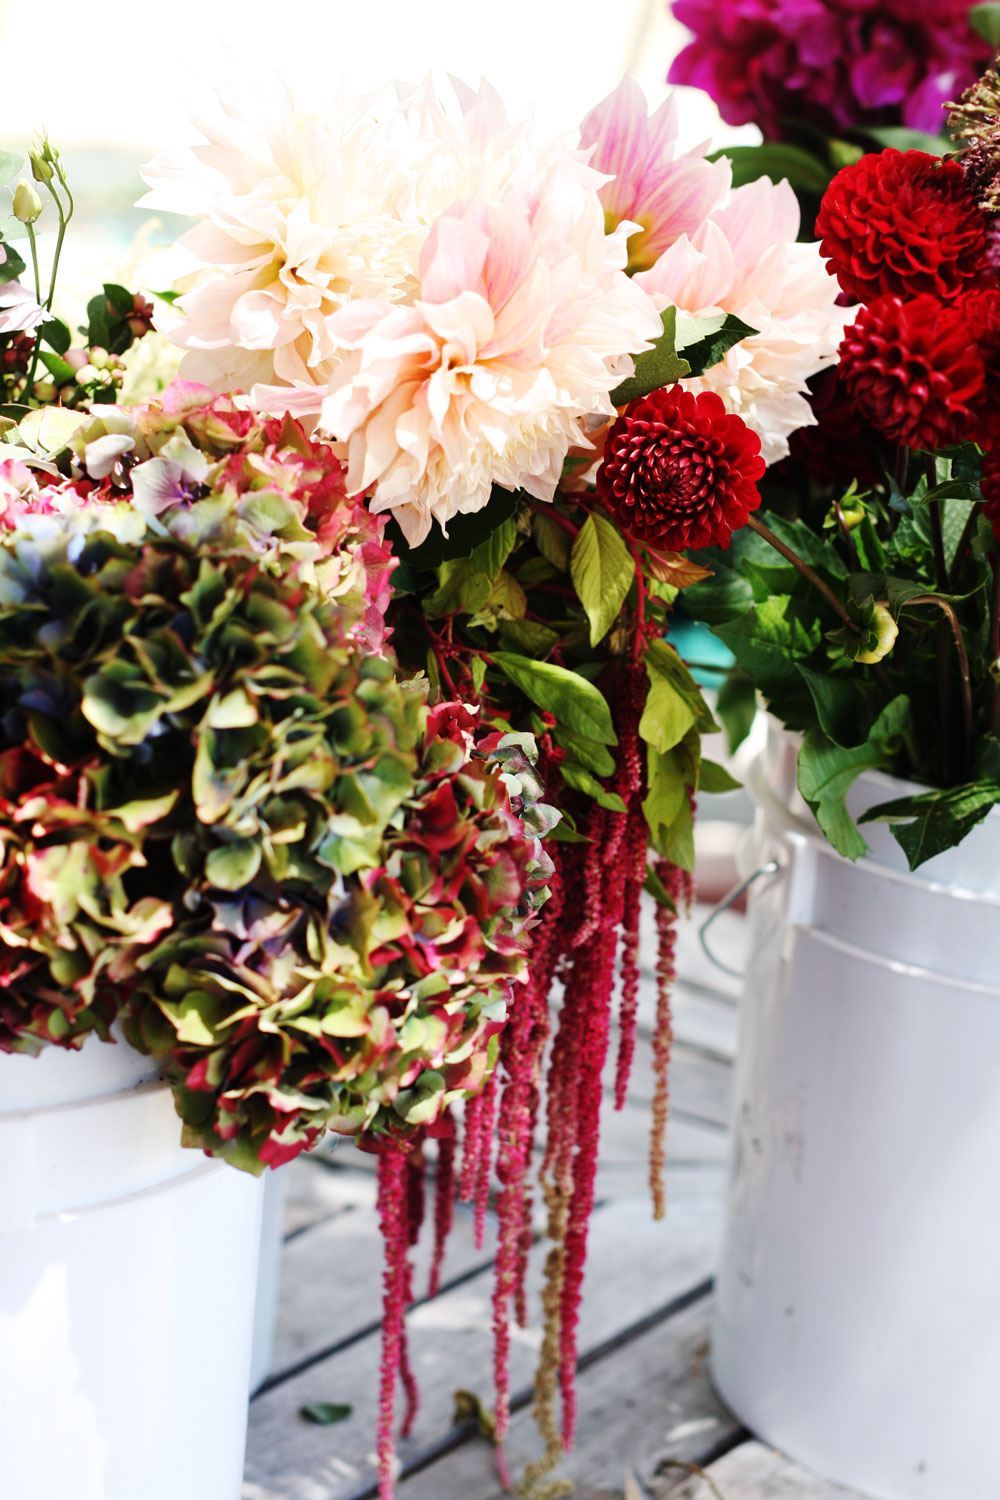
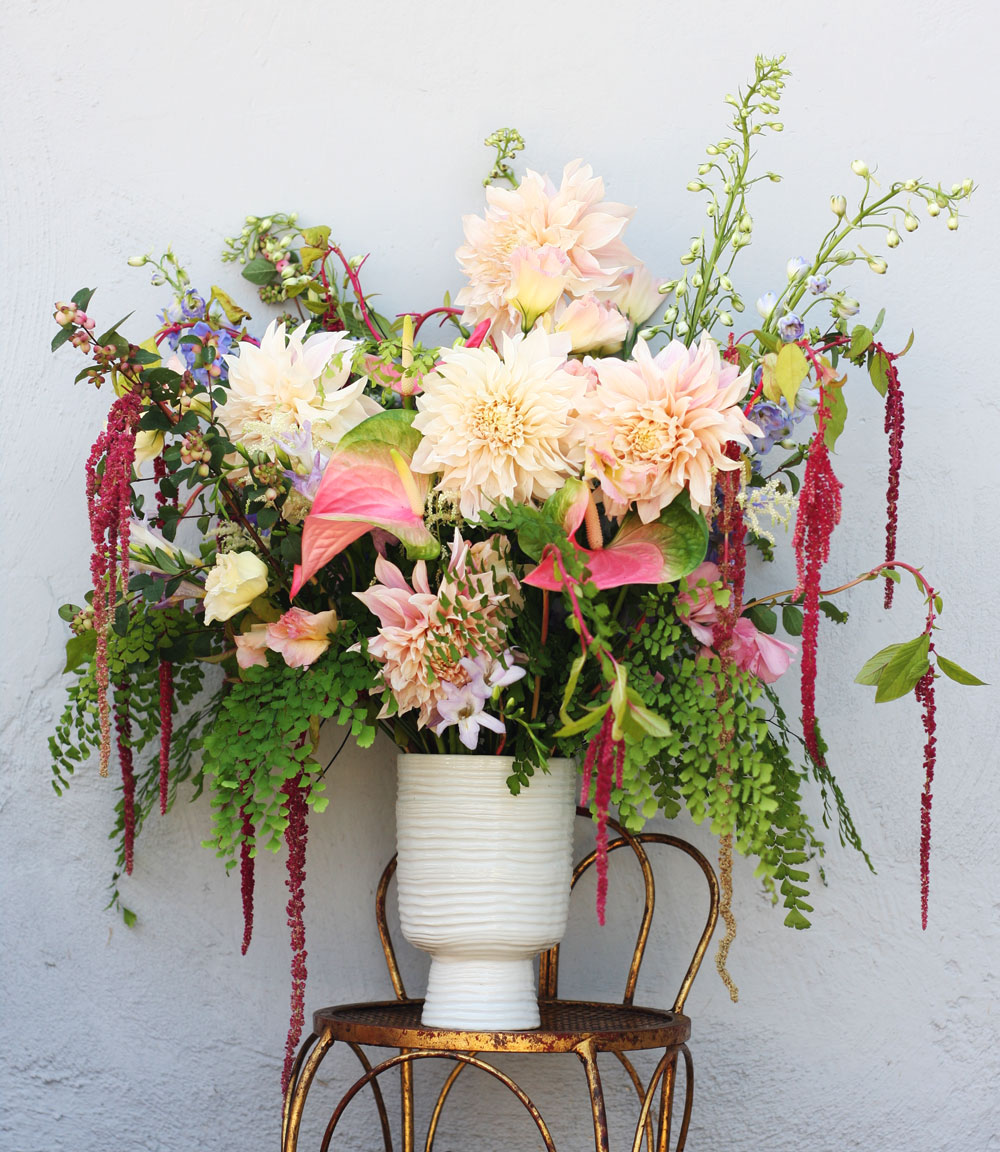
This is the arrangement my mom did. Her way of doing it was to place her main flowers in the middle and then add fillers as she felt like. jestcafe.com-flowerdaywithmom2jestcafe.com-flowerdaywithmom3

This is the one I did.

Hope you like them. Have a fun day!

Let Us Connect:

A Couple Of Ideas To Entertain Kids During The Summer

jestcafe.com-kids-activities14

Now that the kids are on vacation, I have been coming up with ideas to keep them entertained at home. Here are a couple of activities we have done in the last couple of weeks with great success.

(In the spirit of full disclosure, I don’t love staying home alone with the kids. I will much rather go out. Wouldn’t you agree that at home the kids get restless, rowdy, and annoying? Well, at least mine do. There, I said it, now let’s move on)

Making Masks

Materials

  • Paper Plates
  • Cardboard – different colors
  • Scissors
  • Multi-purpose glue or glue gun (I used a glue gun in low temperature but be careful with the children)
  • Pencil
  • Utility knife
  • Tape
  • Bamboo skewers or short sticks
  • Animal children books for inspiration (or the Internet)
  1. I asked the kids which animal mask they wanted to make. Víctor wanted a frog, Max a puppy. I looked over children animal books to find the features that made those animals recognizable. The frog, for example, needed high eyebrows, something I would have never thought about without looking at frogs in children’s book.
  2. Cut the holes in paper plates for the eyes. Make sure the distance between holes is similar to the distance between your kids eyes. I have a punch hole but it wouldn’t reach the place where I wanted to cut the holes, so I drew them and cut them with an utility knife.
  3. Draw the different shapes you will need to create the masks on the cardboards. You can be very creative about this. The kids can help cutting them.
  4. Assemble the mask to make sure it looks like you want it to. If it does, go ahead and glue the different pieces to the plate starting with the ones at the bottom.
  5. Tape bamboo skewer to the back of the mask so your kids can grab is and play with it.

jestcafe.com-kids-activities13jestcafe.com-kids-activities12 jestcafe.com-kids-activities11 jestcafe.com-kids-activities9jestcafe.com-kids-activities10 jestcafe.com-kids-activities8jestcafe.com-kids-activities7 jestcafe.com-kids-activities6 jestcafe.com-kids-activities5jestcafe.com-kids-activities4 jestcafe.com-kids-activities2 jestcafe.com-kids-activities1jestcafe.com-kids-activities20Building A Teepee

The morning of 4th of July, my kids were pretty restless so I built a teepee for them in the backyard. 3 hours later they were still playing in there! They took food, books, and toys and played with each other for what it felt like a beautiful eternity. If you don’t have a yard, you can do this inside home, too.

Materials

  • Large blankets, sheets, or tablecloths.
  • Long sticks. Any material would do. Be creative! We even used a ladder.

Built the structure with the sticks. The best is to position all the sticks on one branch and spread them out to create the teepee style figure. Cover the sticks with whatever you have available. I used blankets and tablecloths.

Don’t forget to give your kids some snacks and toys to play in there. You will see the teepee will become their secret magic place for a whole morning. Good luck!

Here is another craft idea for your kids, in case you are looking for more.
jestcafe.com-kids-activities29 jestcafe.com-kids-activities28 jestcafe.com-kids-activities27 jestcafe.com-kids-activities24jestcafe.com-kids-activities22jestcafe.com-kids-activities21

Let Us Connect:

Vintage Brunch Inspiration

jestcafe.com-brunch-inspiration13

Hosting is one of my favorite things but I haven’t done it much lately. We are trying to save and I haven’t had time to invite people. Of course, there are some exceptions. A couple of weeks ago we had friends over for brunch, my favorite meal of the day. I wanted to have a nice buffet table without buying any new stuff. I used vintage pieces from my home to decorate and it came out really cute, so I wanted to share some photos with you.

Sometimes it is so easy to add simple touches to a setting and make it look more appealing. Throughout the years, I have been collecting nicer serving plates. Cake stands are a must for me right now because they give height to a table and help layering it. I use them to serve chesses or pastries. I don’t think I have ever used them for an actual cake!

Another way of adding height to a table is using tall flowers and brunches. I cut long branches from our rosemary bush and placed them in a vase. One of my favorite serving pieces is a Bauer tiered tray I found at an estate sales years ago (see the image with the berries). It is colorful and it also helps with layering.

I added flowers in small vintage red wine glasses and made use of art I had in the bathroom plus other findings I have around my home.

I hope this post inspires you to use uncommon items to decorate a table. Beauty is in the details! And let me know if you have any suggestions or other ideas to beautify a table. Would love to hear. Have a great day!

Also, a post about a flower arrangement workshop, three flower arrangement ideas, and how to take a successful Instagram shot.
jestcafe.com-brunch-inspiration24jestcafe.com-brunch-inspiration23 jestcafe.com-brunch-inspiration4 jestcafe.com-brunch-inspiration5jestcafe.com-brunch-inspiration22 jestcafe.com-brunch-inspiration16jestcafe.com-brunch-inspiration8jestcafe.com-brunch-inspiration9jestcafe.com-brunch-inspiration6jestcafe.com-brunch-inspiration19jestcafe.com-brunch-inspiration15jestcafe.com-brunch-inspiration18jestcafe.com-brunch-inspiration14jestcafe.com-brunch-inspiration10
jestcafe.com-brunch-inspiration20 jestcafe.com-brunch-inspiration3

Let Us Connect: