Installing wallpaper for the first time is not for the faint of heart. It is difficult, time consuming and frustrating so you are better off leaving it for professionals.
My issue is that I don’t have the budget to leave it for professionals so I tried to do it myself, but I soon realized this project was way above my skills set so I brought my handy husband to the rescue like a damsel in distress.
There were two reasons why this project was more difficult for us than it should be for you:
- The wallpaper I chose had a pattern that had to match exactly. No room for error.
- My house was built in 1941 and has not been updated so the walls are crooked and uneven.
So, how did we do it and what did we learn? Let’s go step by step.
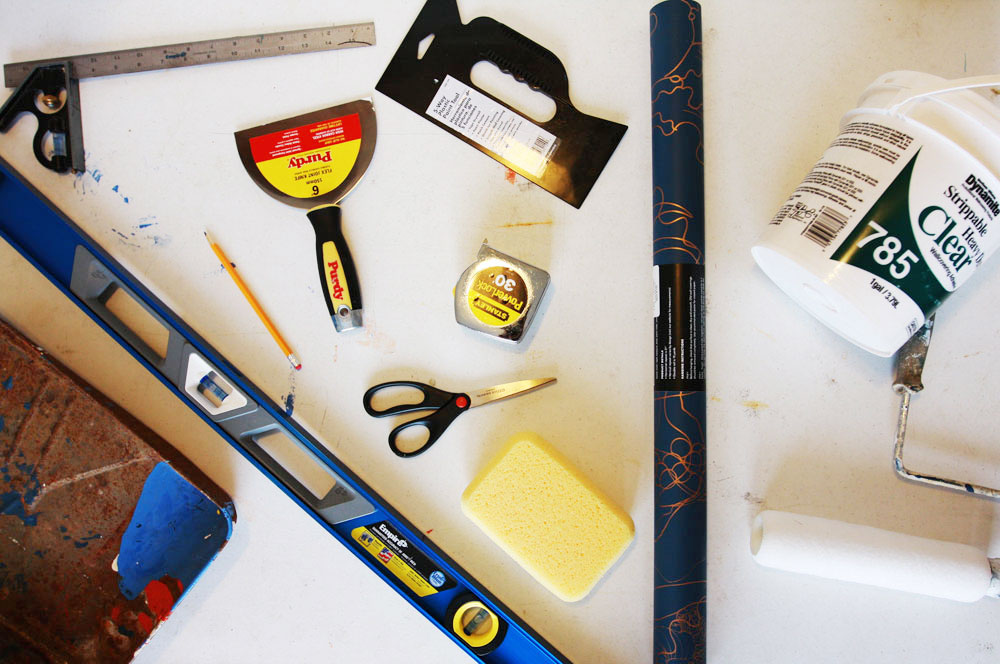 Materials
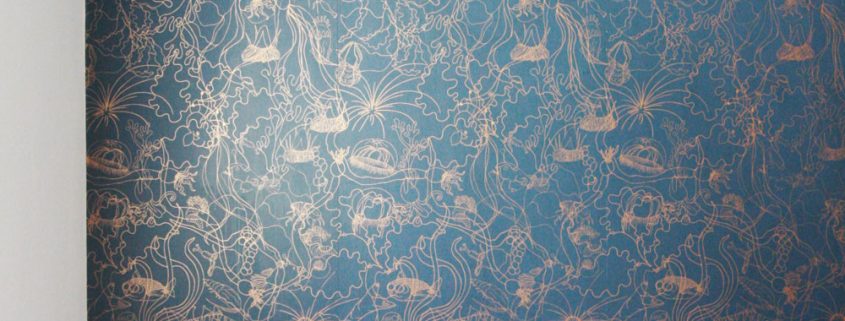
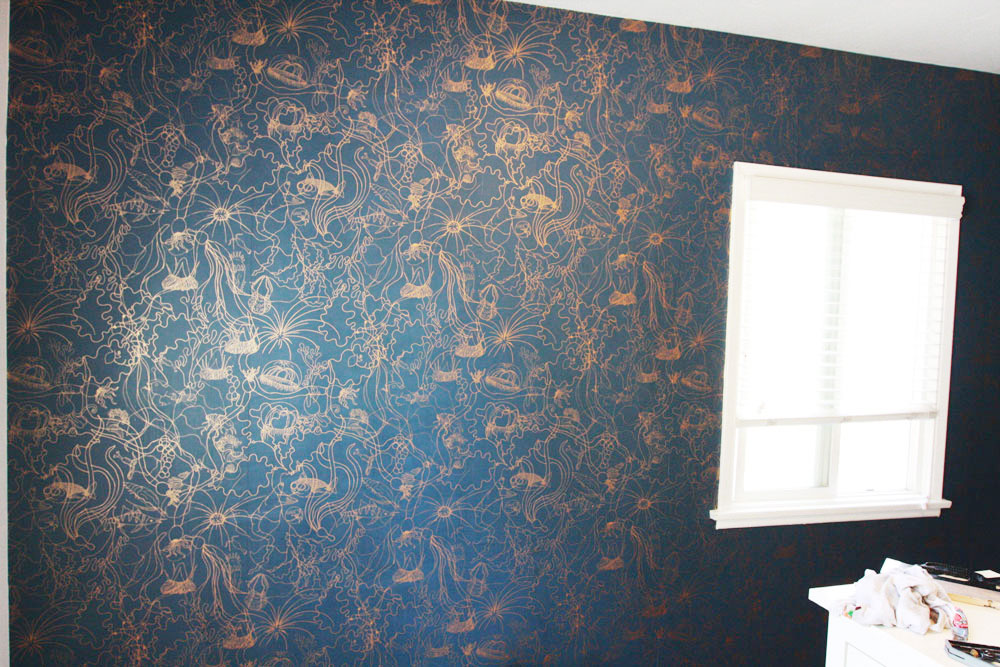
– Wallpaper – we used Underwater World from Hygge & West
– Wallpaper paste- we used a basic one that was very thick, so we had to add water to thin it
– Drop cloth
– Measuring tape
– Scissors
– Sponge
– Utility knife
– Bucket for water
– Tray to mix the paste
– Pencil
– Level
– Paint roller
– Smoothing tool
Instructions
1) Prepare your walls
Most instructions on how to install wallpaper wants you do add wallpaper primer. Well, we didn’t. The wallpaper primer helps you stick the wallpaper to difficult surfaces like glossy paint…our walls are not glossy so my husband thought it was not necessary. We installed the paper 6 weeks ago and so far so good.
What did we do to prep the walls? We washed them and covered the holes. Also, please, sandpaper small imperfections! We didn’t do a good job at sanding small bumps and we almost ripped the paper when trying to smooth it out!!!
2) Cut the wallpaper
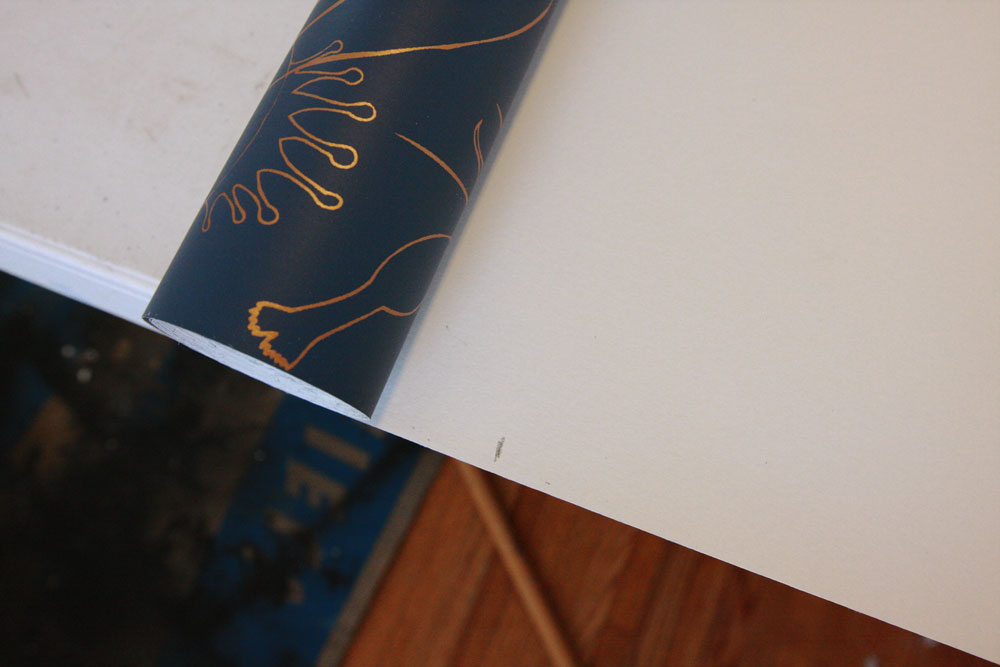
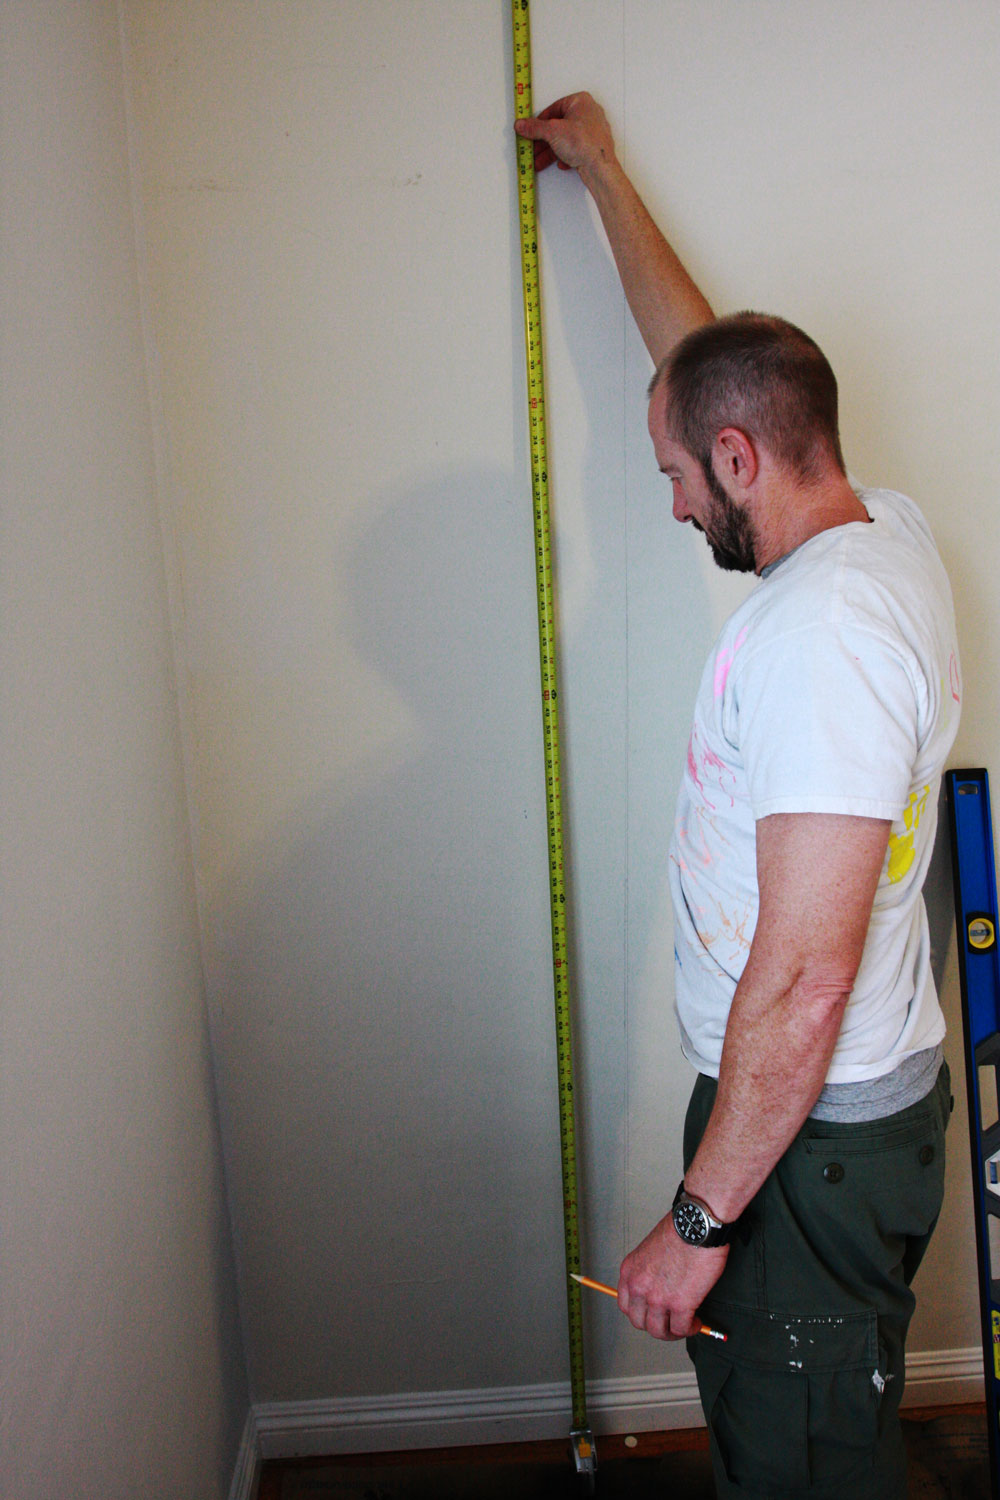
Measure the height of your wall and cut your first piece of wallpaper 4 inches longer than your wall’s height. If you care about which part of the wallpaper motif is on top of your wall and which one is in the bottom, you need to consider that when making these cuts. We didn’t care about this, so our starting point was the beginning of the roll.
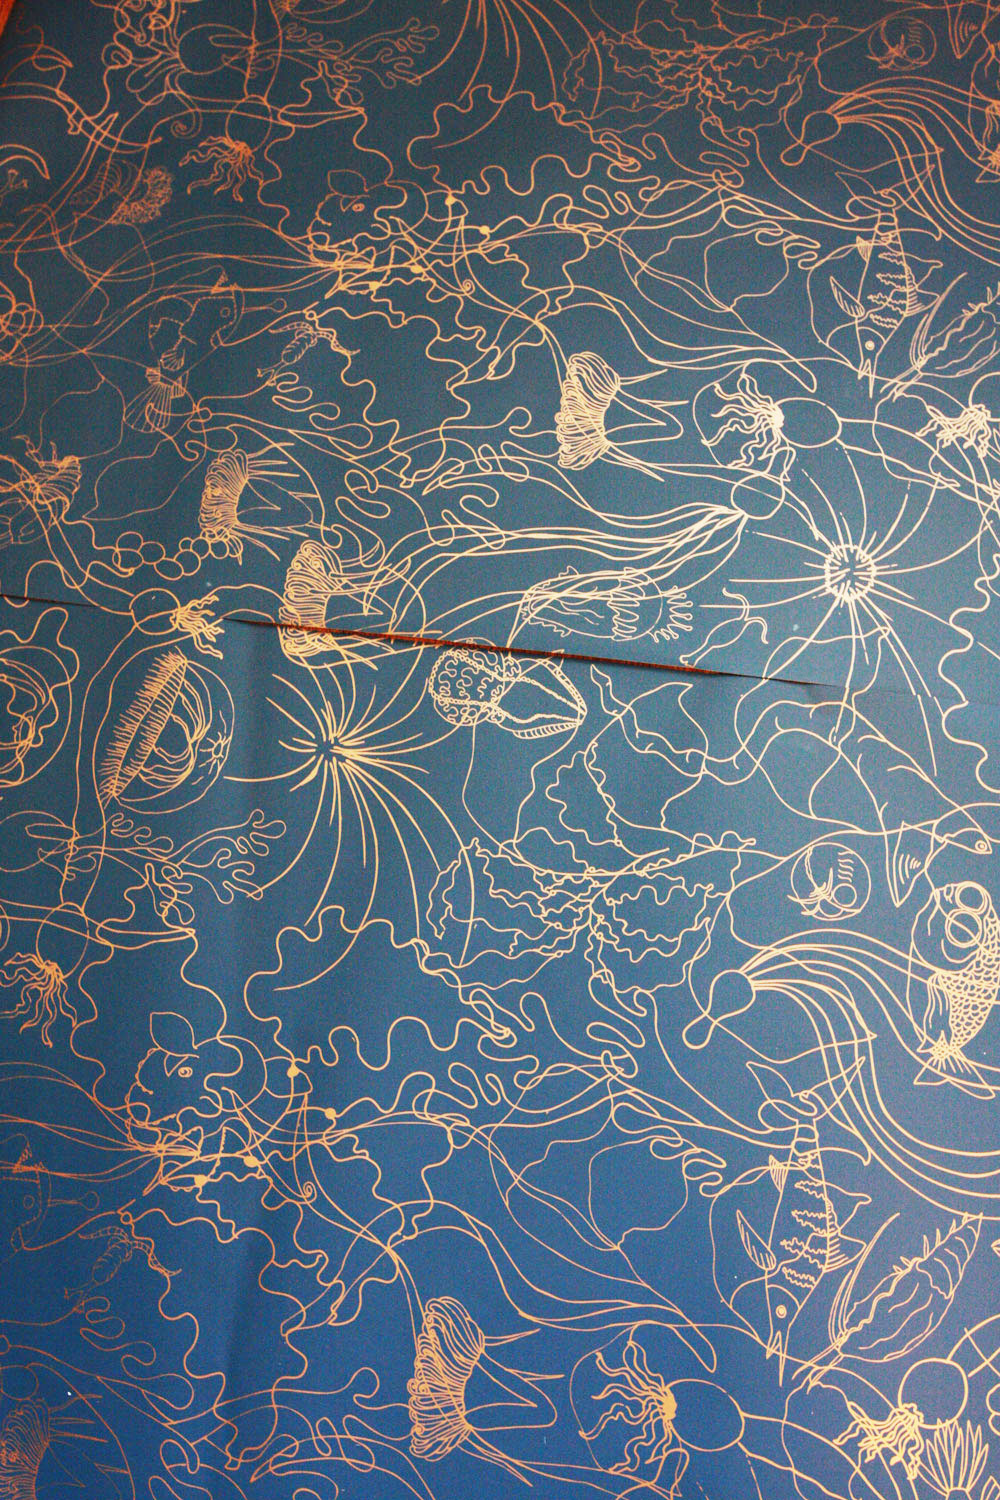
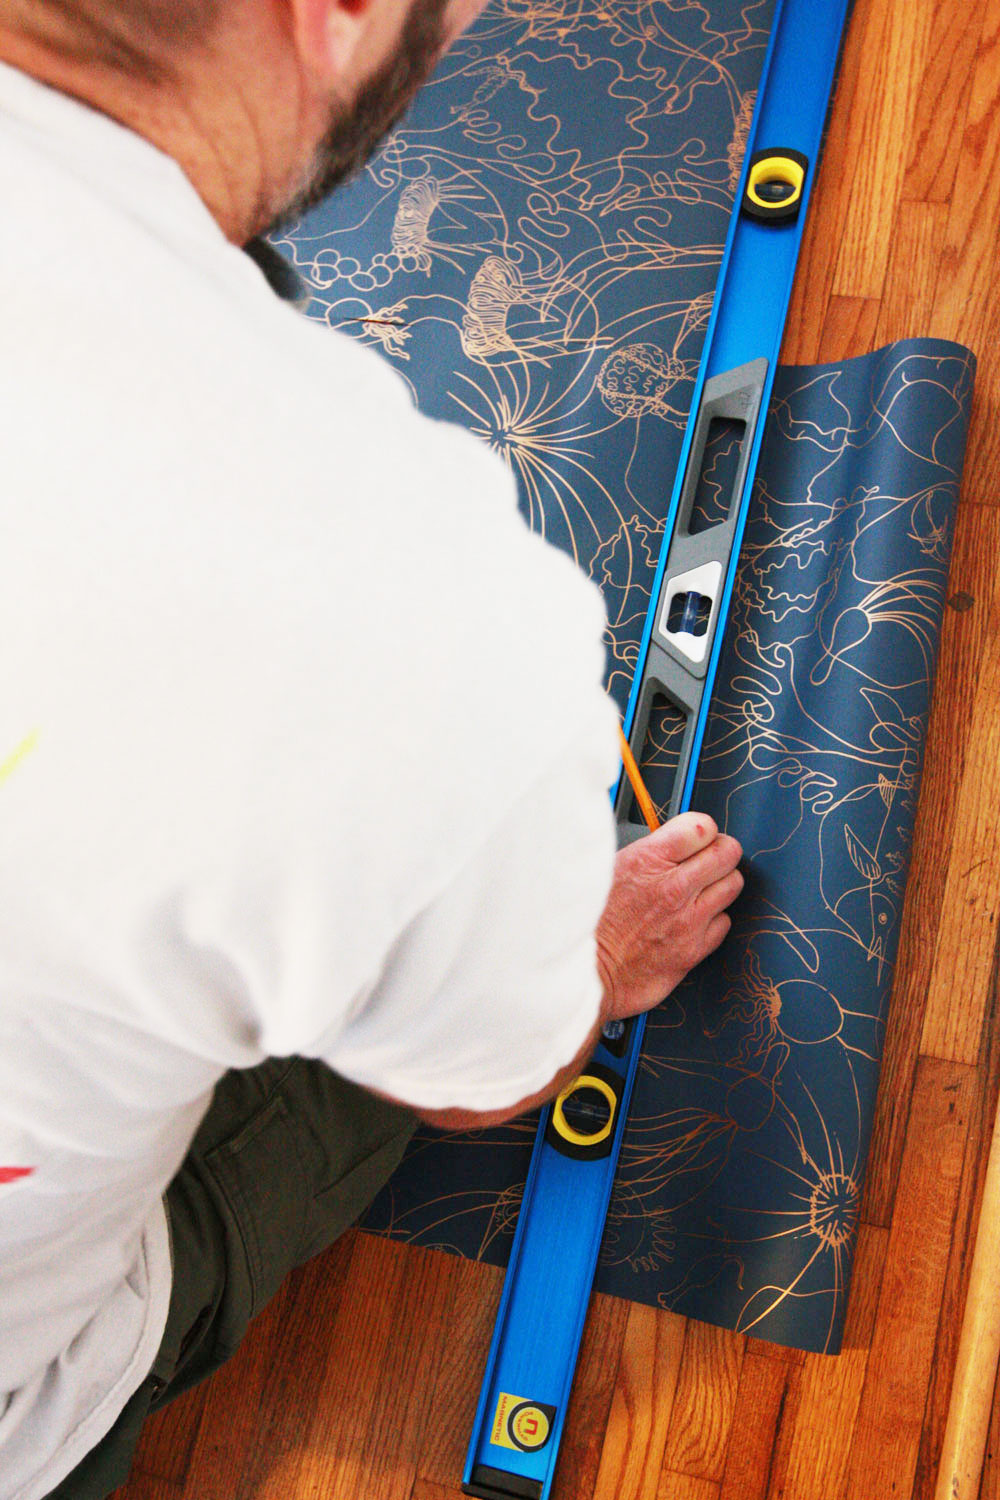
 Arrange your wallpaper on the floor and line up patterns correctly. Cut the rest of your wallpaper so the pattern matches exactly.
 3) Mark your wall
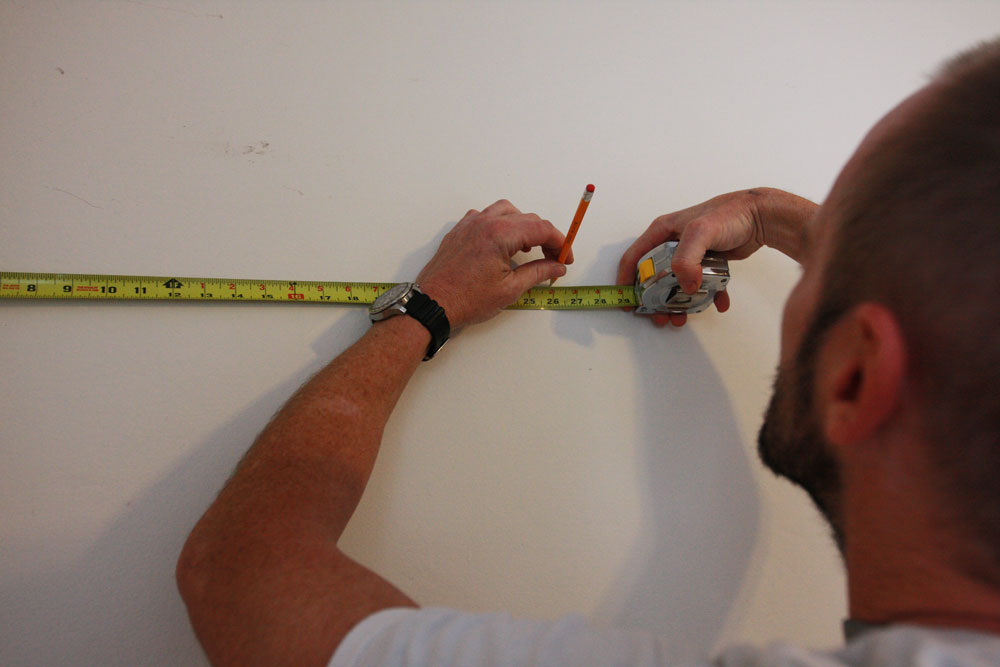
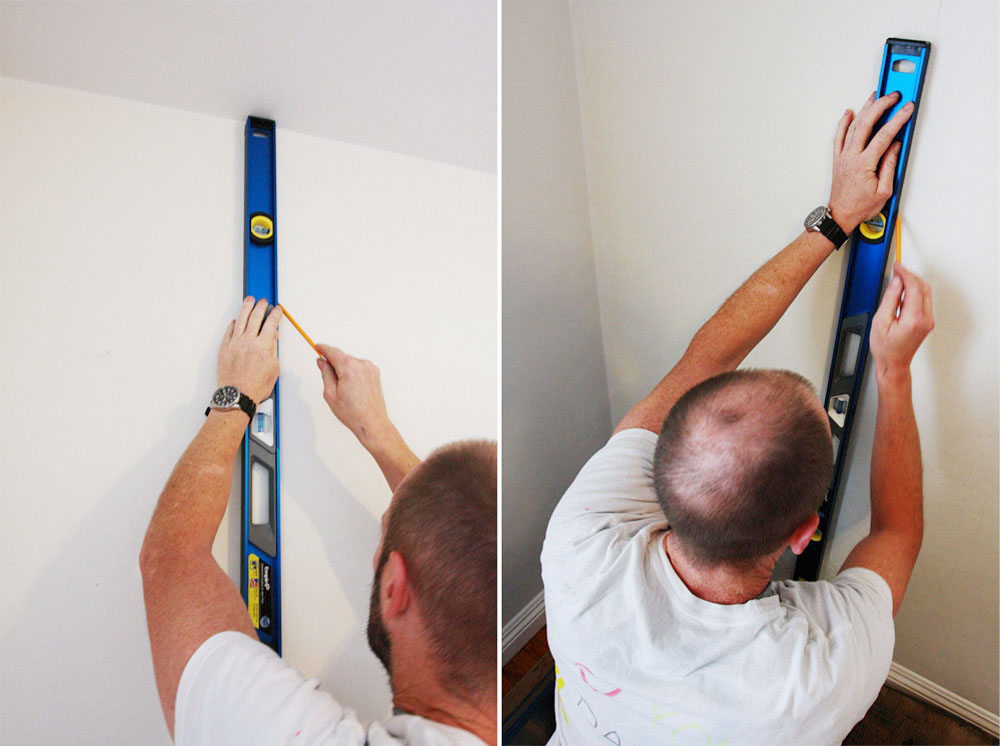
Our wallpaper was 27 inches wide, so we marked our wall 26 inches from the edge (1″ less than the width of the wallpaper), to give us room for error (in case your walls are crooked).
 George did a line from the top to the bottom of the wall that was perfectly vertical, with the widest part being 26 inches. Again, our walls are uneven, so the line was not 26 inches from the side of the wall on all places. Use your level to create a vertical line.
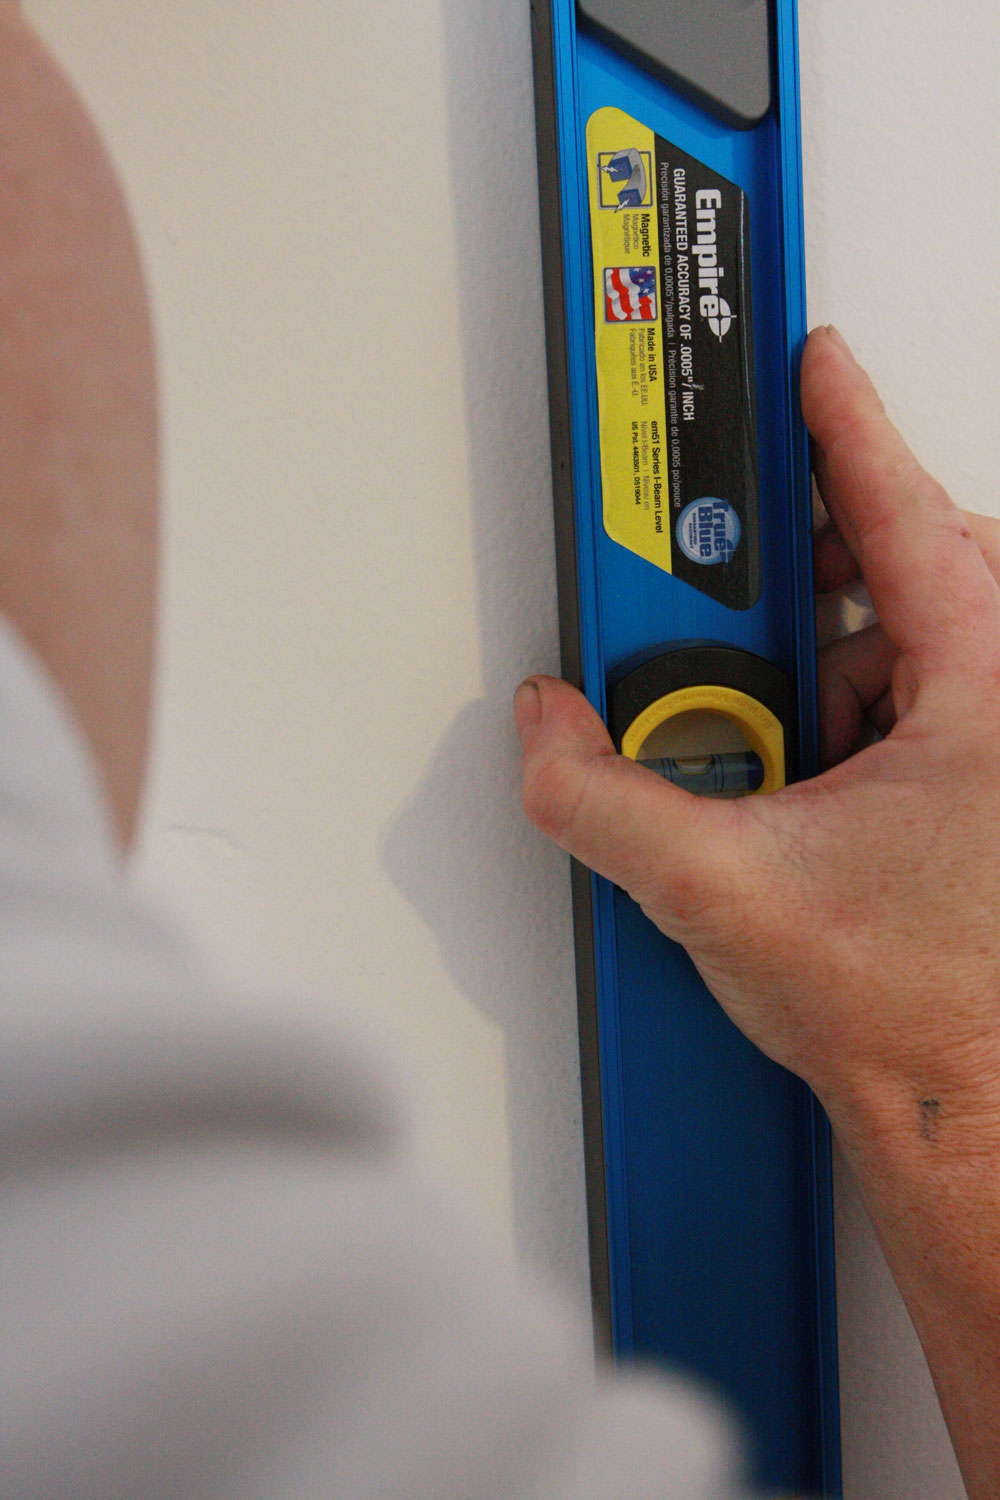
 4) Apply wallpaper paste
We soon realize our paste was too thick, see for yourself: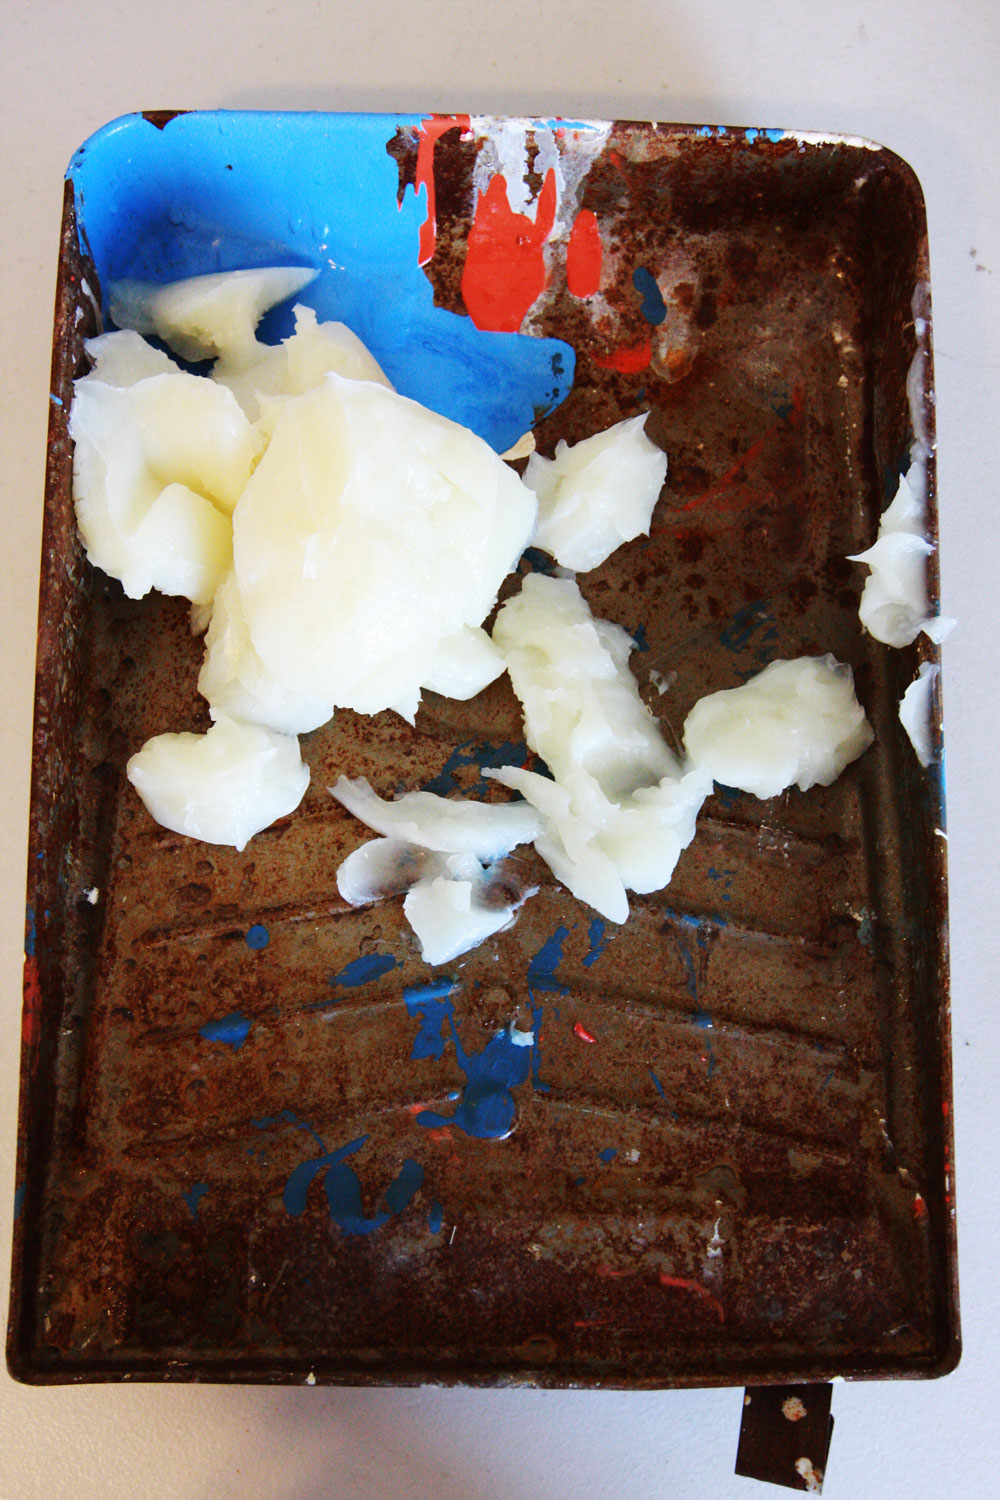 So we added water to thin it and then applied it to the back of the wallpaper. Place your drop cloth under the wallpaper to keep the paste from sticking to the floor.
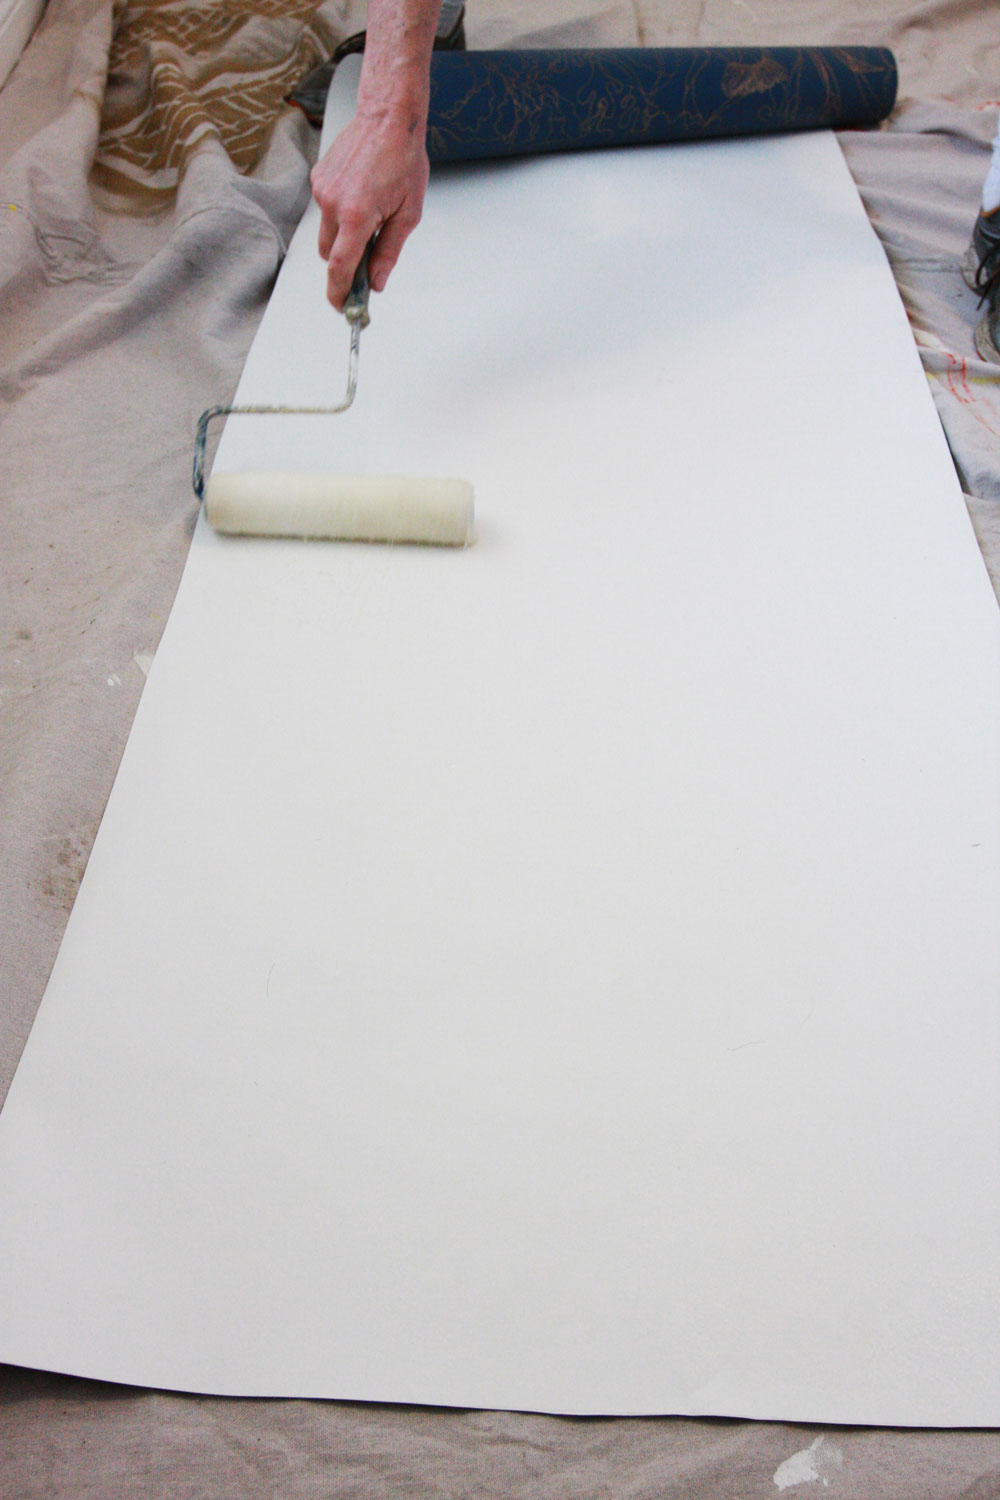 5) Hang the wallpaper
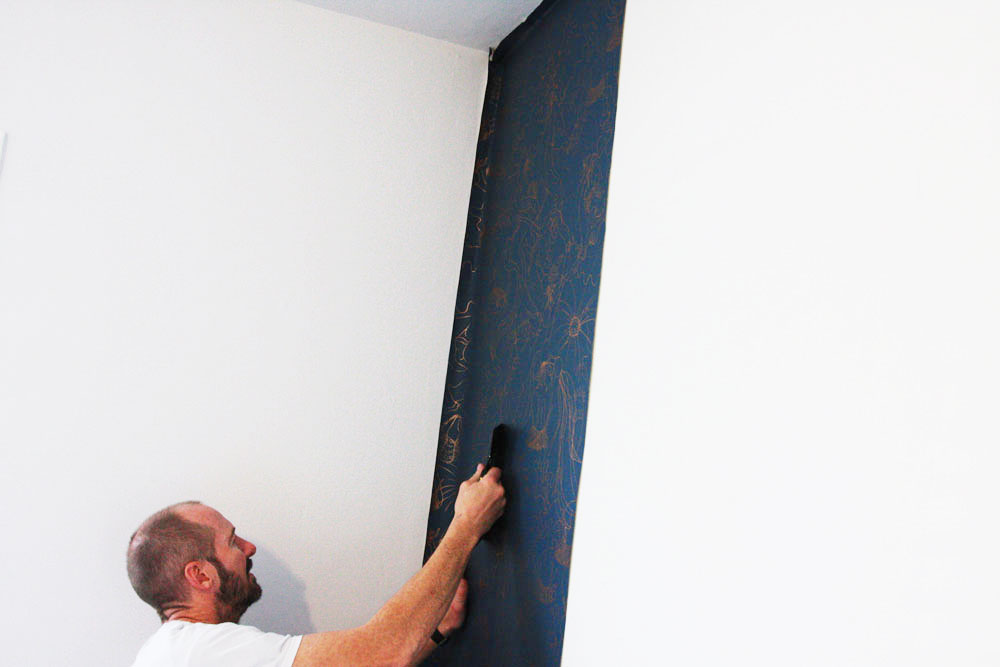
Line up your first strip to the vertical line you created in step 3. You should have extra wallpaper on top, bottom, and side.
You have around 10 minutes to adjust your wallpaper after you hang it. It is important to keep that time frame in mind when you are trying to align the different strips.
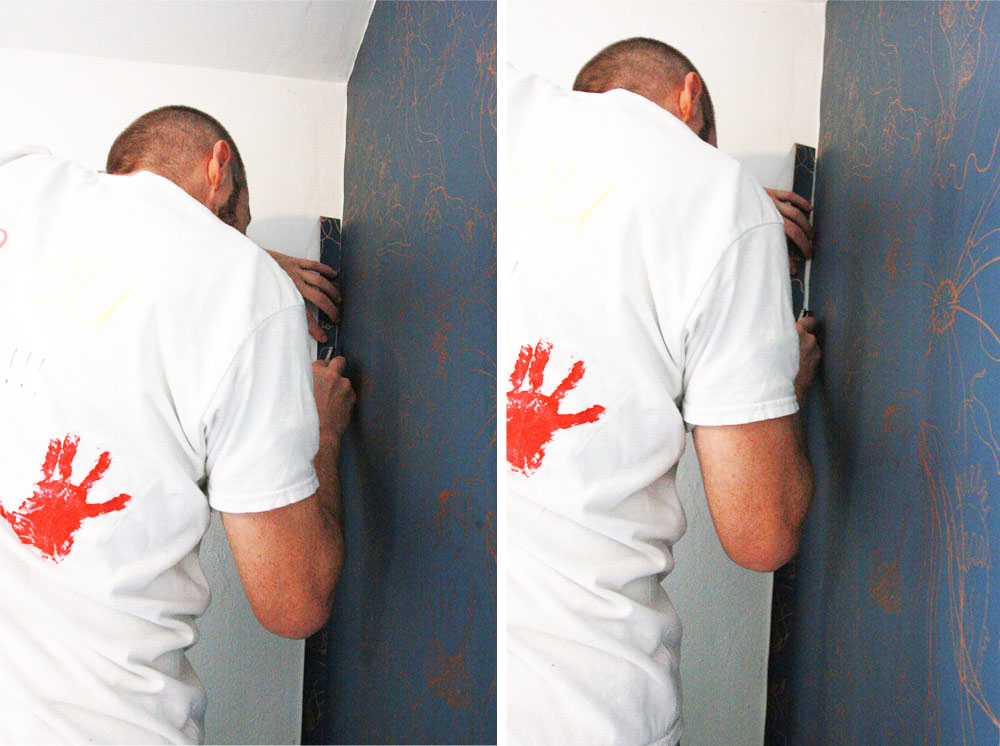
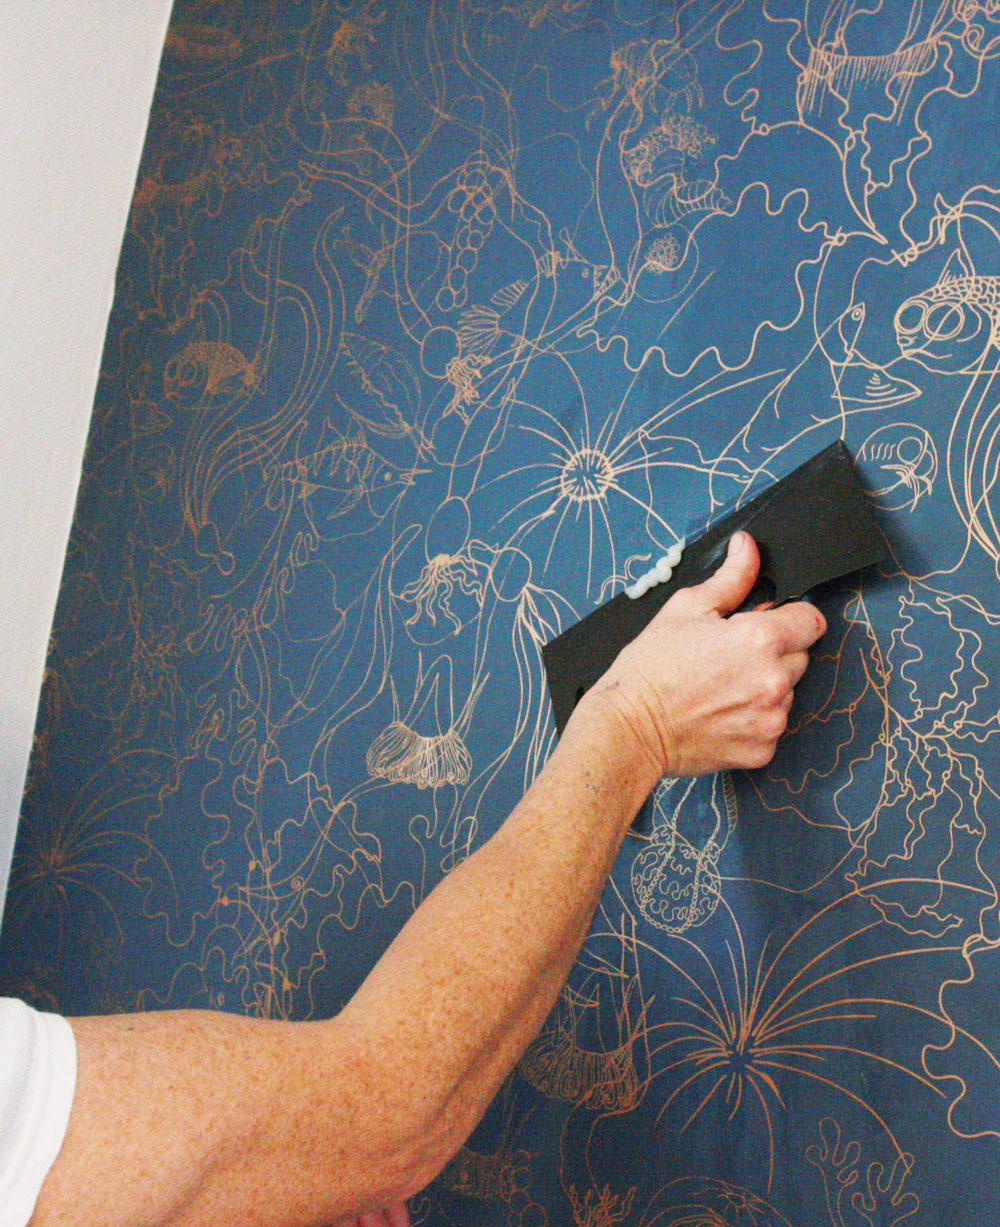
 6) Smooth your wallpaper
After you hang the wallpaper, you will see it has wrinkles and bubbles. You need to smooth those out with a smoothing tool – we used one that was 6″ wide. Do this gently! from the center to the outside.
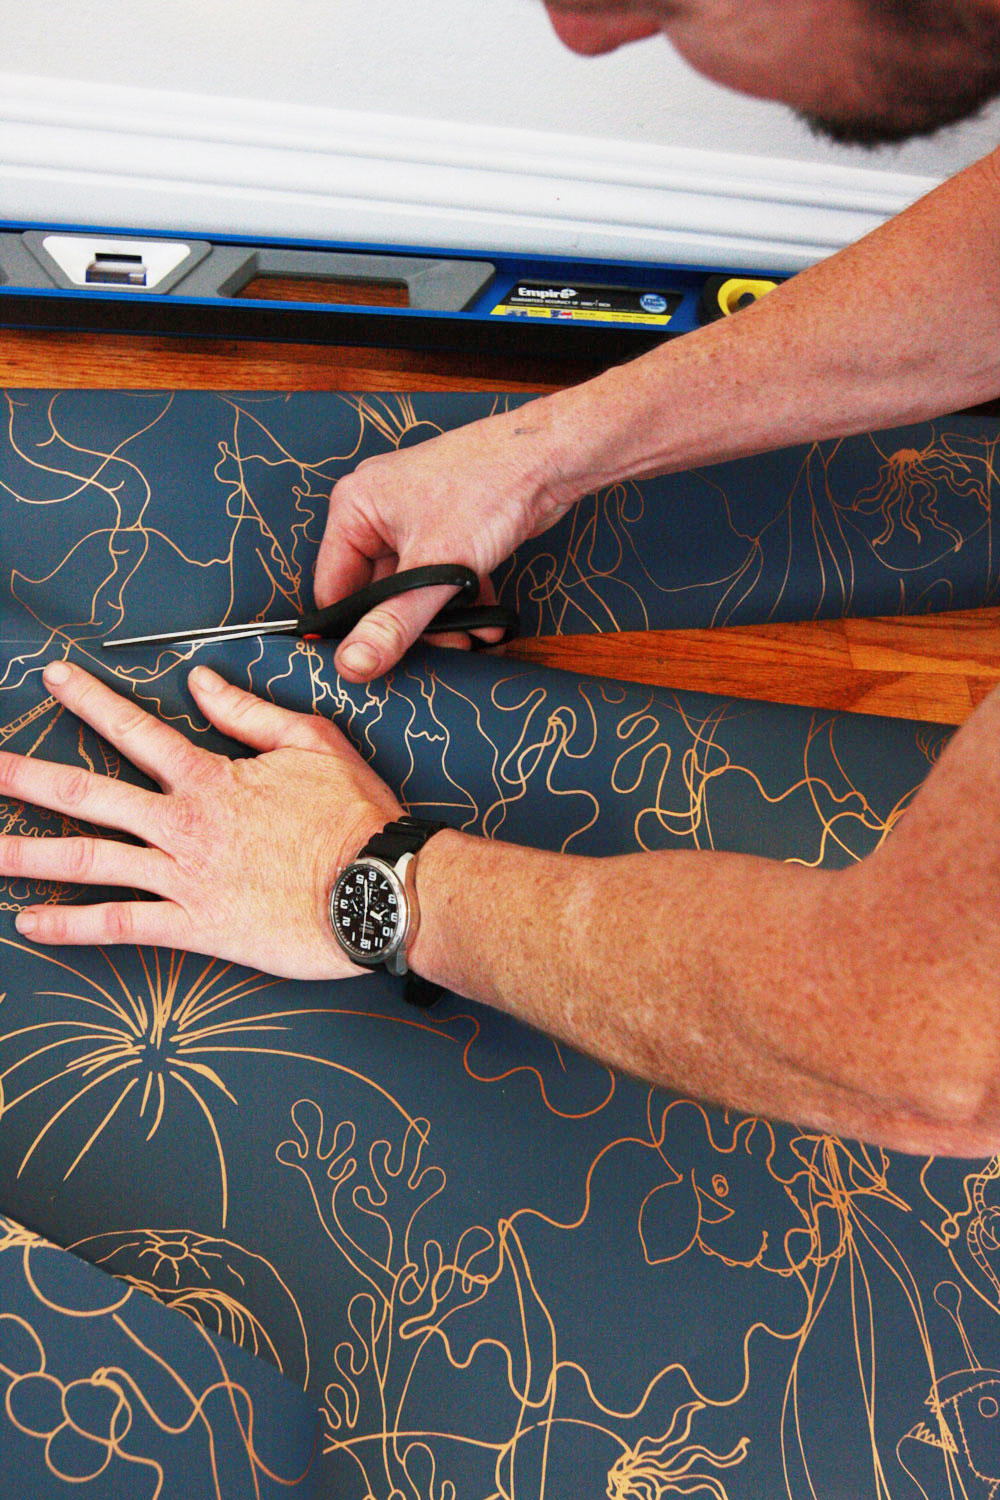
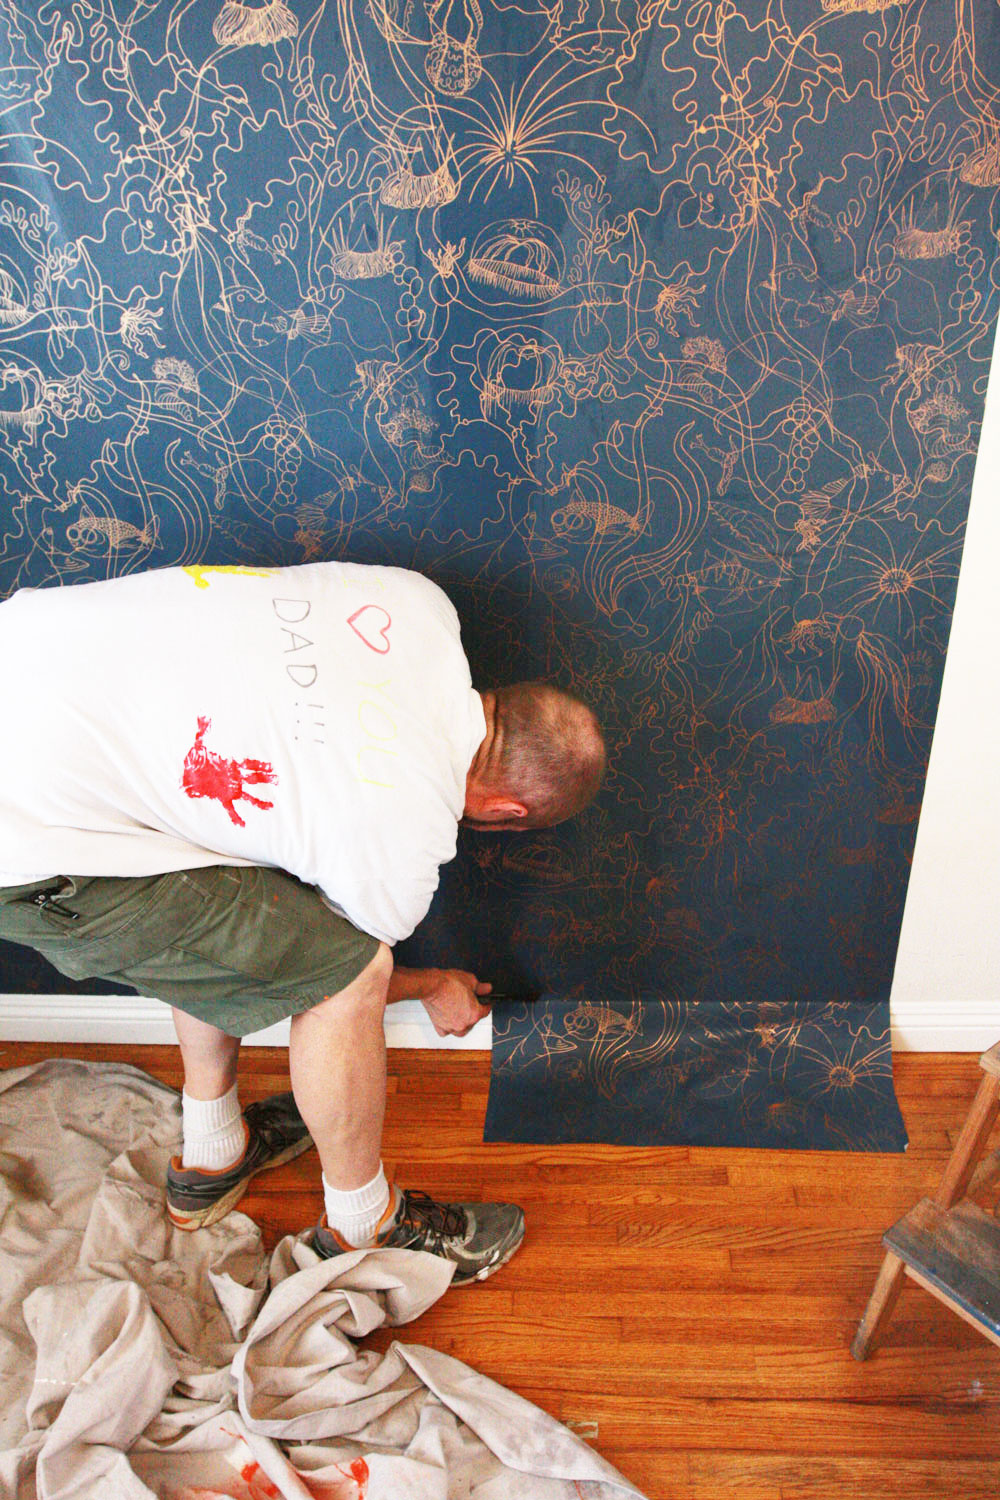
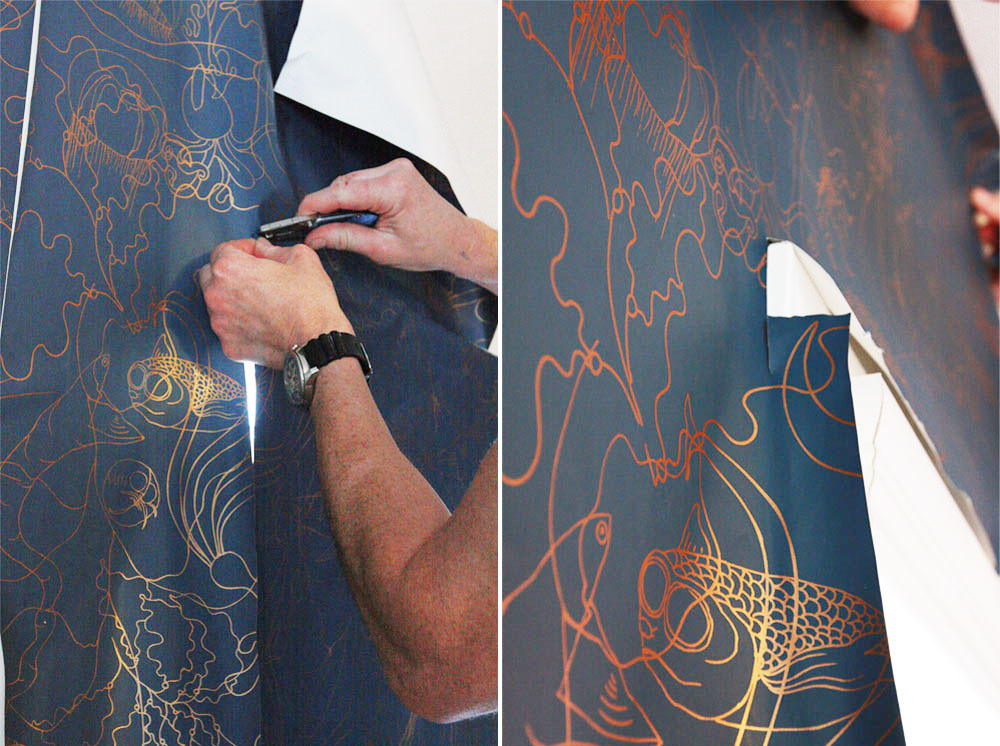
 7) Trim the edges
Use your utility knife to trim the edges and make sure the blade is VERY sharp, or you will tear the paper when trimming it.
 8) Remove excess paste
Use your sponge and bucket with water to remove excess paste. If you don’t remove the extra paste, your wallpaper might get stained.
9) Hang next strip
When hanging the rest of the strips, you will see that it is difficult to have the patterns match exactly. Make sure that the pattern matches at eye level first; this helps align lower and higher levels later. Butt the edges together, don’t overlap them! And remember the wallpaper will dry out in around 10 minutes, so you have that time to align patterns. Clean the seam with a wet sponge to remove excess paste.
10) Repeat and don’t stress out
Because installing wallpaper is hard and stressful, take your time to do this project and try to relax. A project like this will take you all day to complete if it is your first time so don’t hurry.
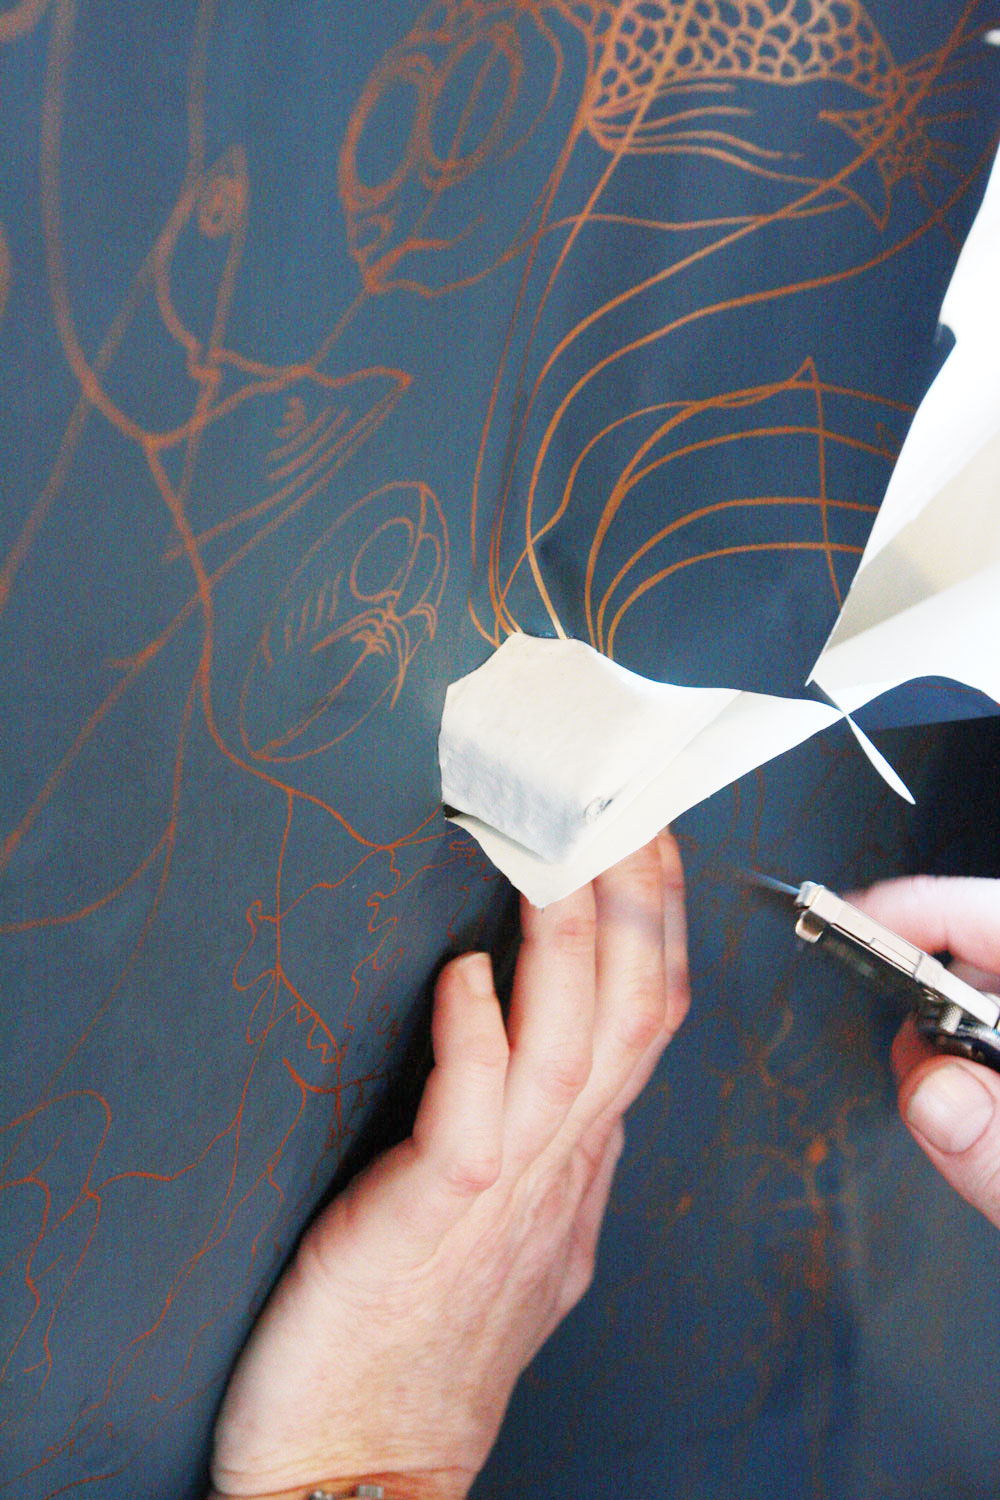
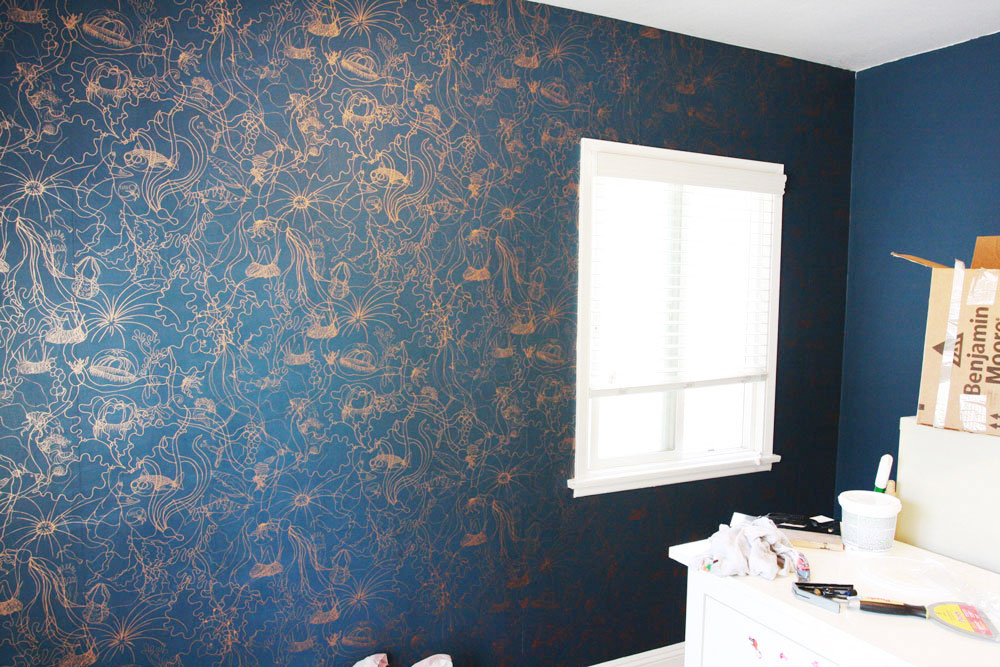
How to trim around windows
When you reach a window hang the next length of paper so that it overlaps the recess. Make horizontal cuts in the paper to release it and, using your utility knife, trim the paper so it fits around the window sill. Trim the edges.
 On applying too much paste
For beginners like us, it was hard to figure out how much paste to apply on the wallpaper. Now we know that you don’t need a lot. Lightly damp is enough paste. If you apply too much this will happen to you:
Lots of paste can ruin your wallpaper because it can stain it and because it requires using your smoothing tool a LOT to get rid of the bubbles formed by the extra paste – if you have uneven walls this process could rip your paper, so be careful.
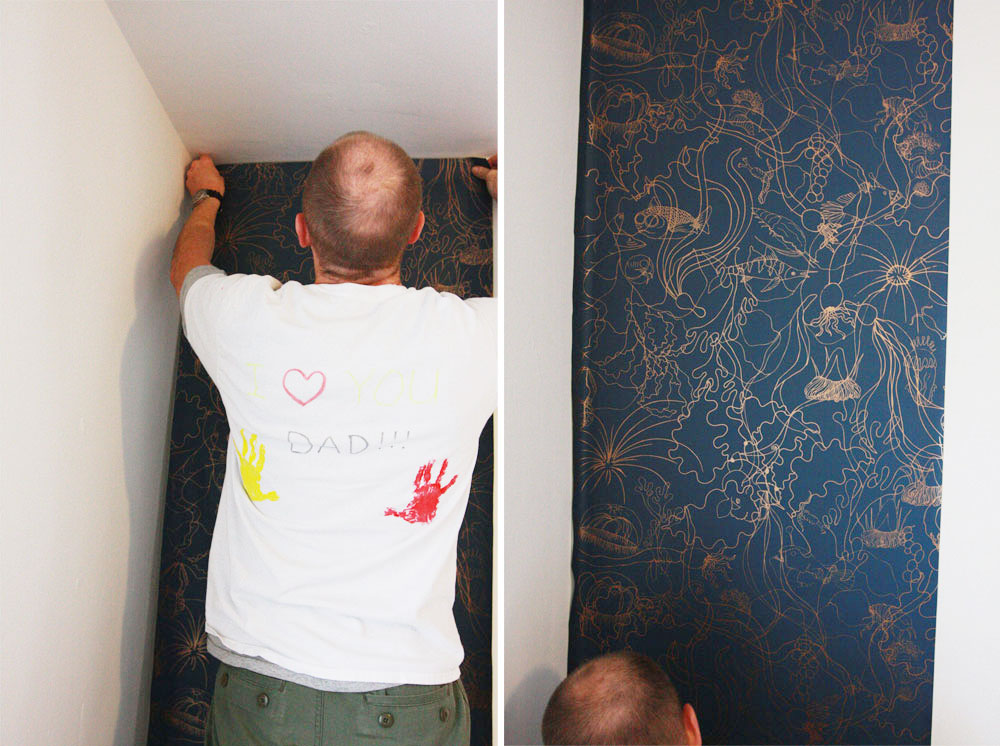
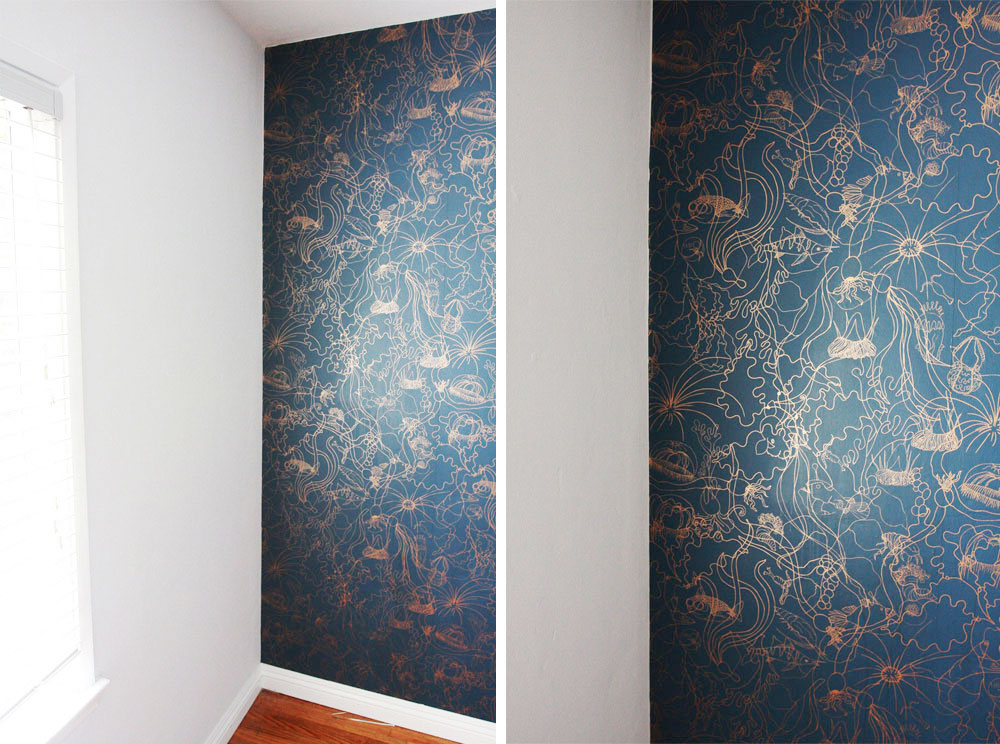
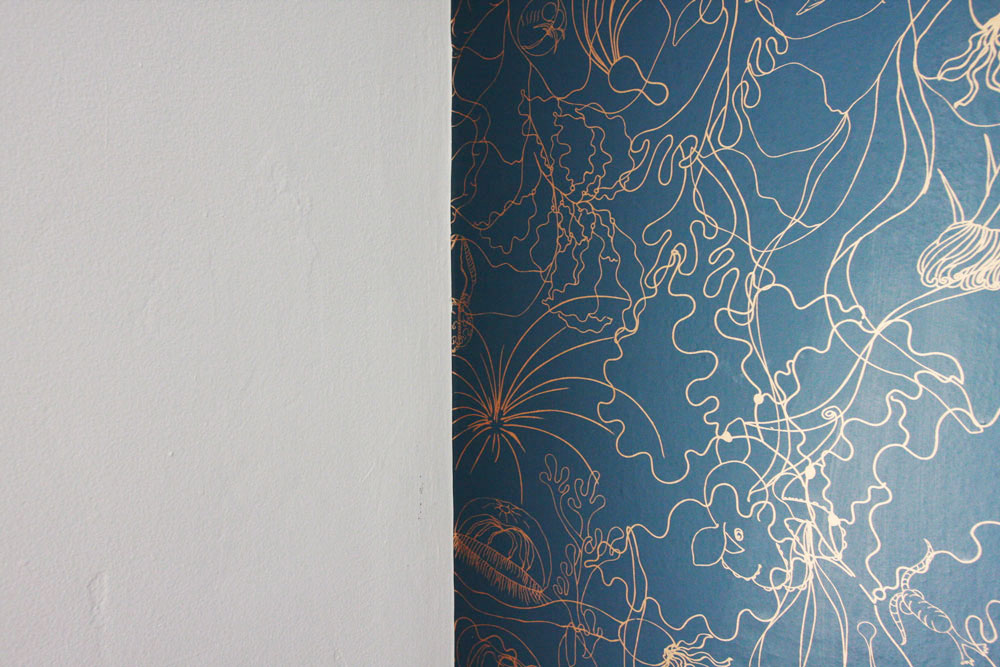
Final result
As hard as it was to do this project, it was totally worth saving the money by doing it ourselves. The wallpaper looks great and the job looks professionally done. Can you spot the seams in final photos below?
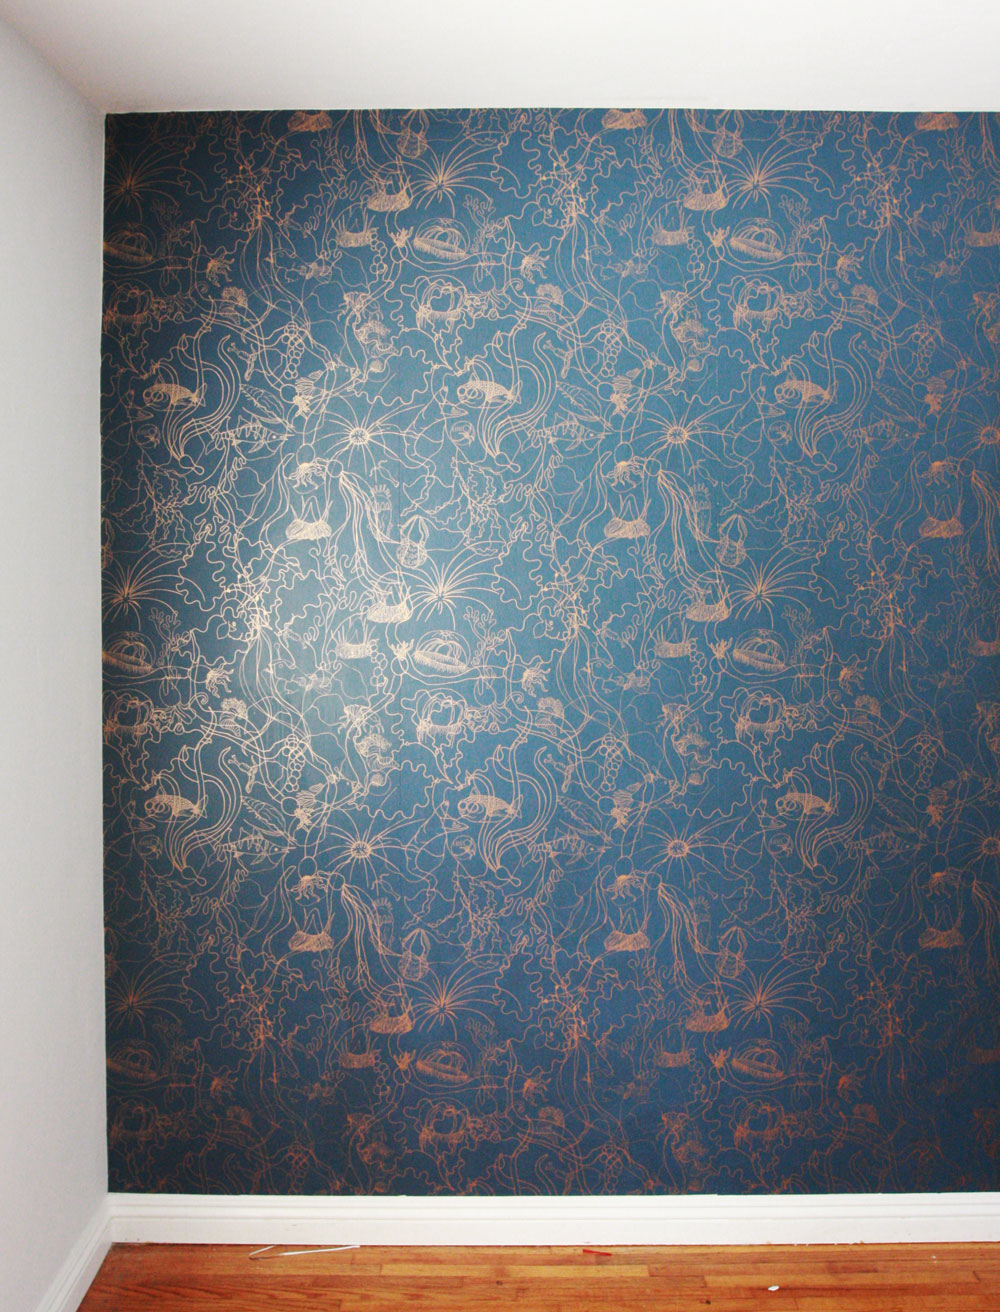
I hope these instructions are helpful! and good luck installing your own wallpaper! It will be hard but rewarding, just like creating this post.
Also, a post about how to paint your walls, cool wallpapers for a nursery, and, light fixtures for your living room.


 Design Love Fest
 Source Unknown
 Mom.me
 Happy Thought
 Oh Happy Day
 Woman’s Day
 Brit.co
 Etsy
Etsy Jest Cafe
 The Lettered Cottage
 Country Living
 Deco Peques
 The Green Head


 Hi there, Mami!
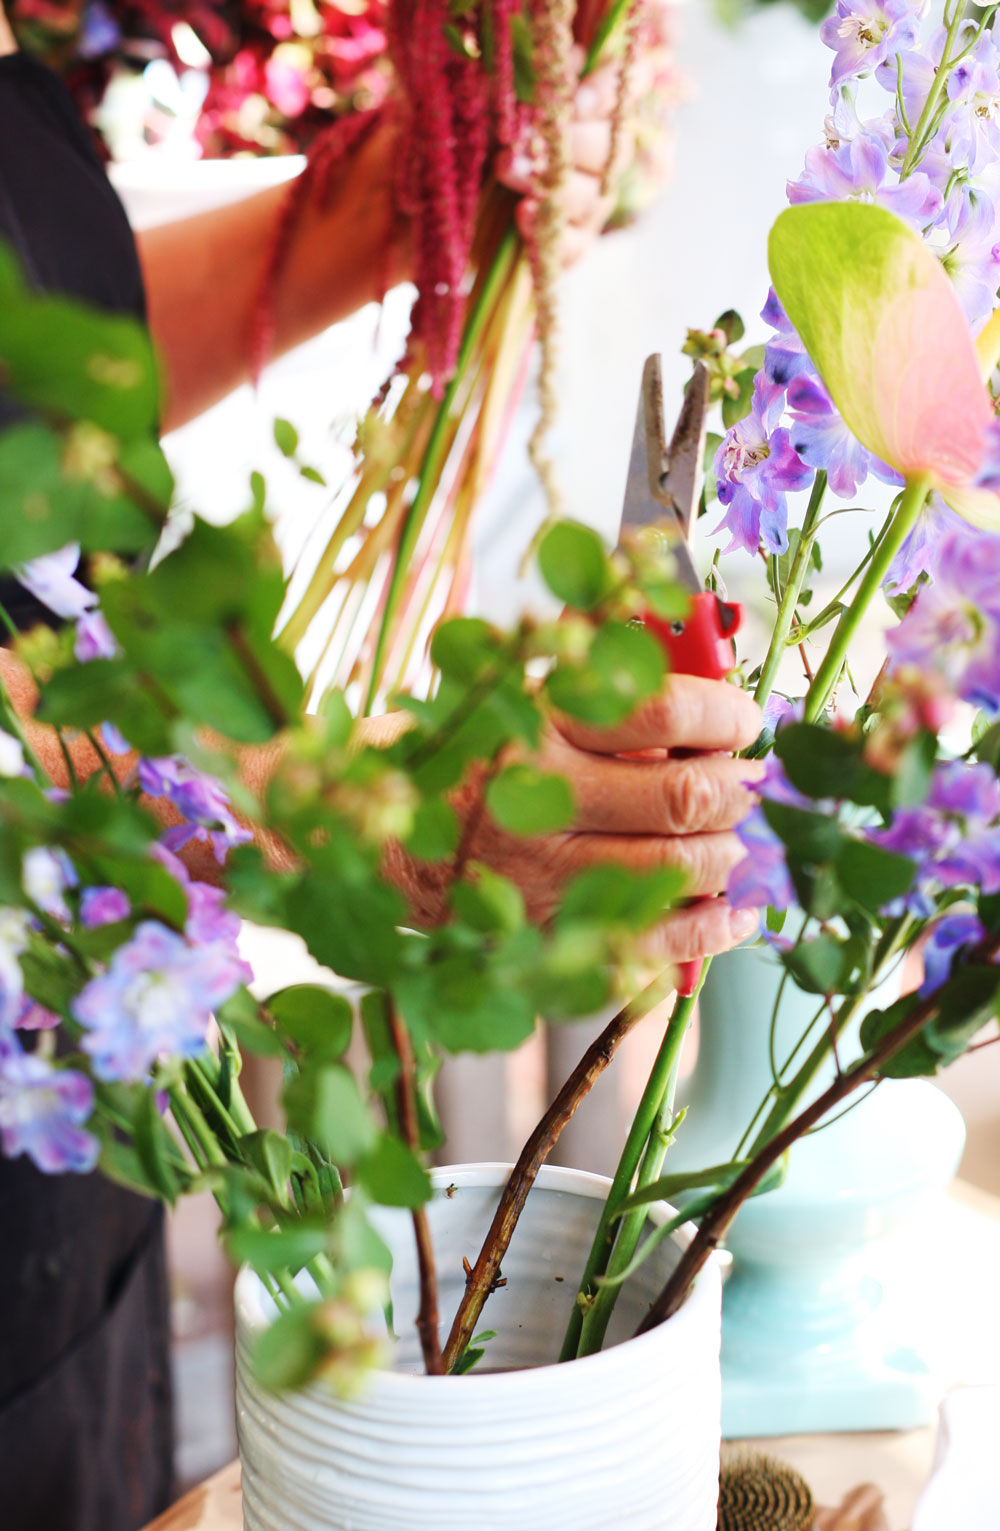


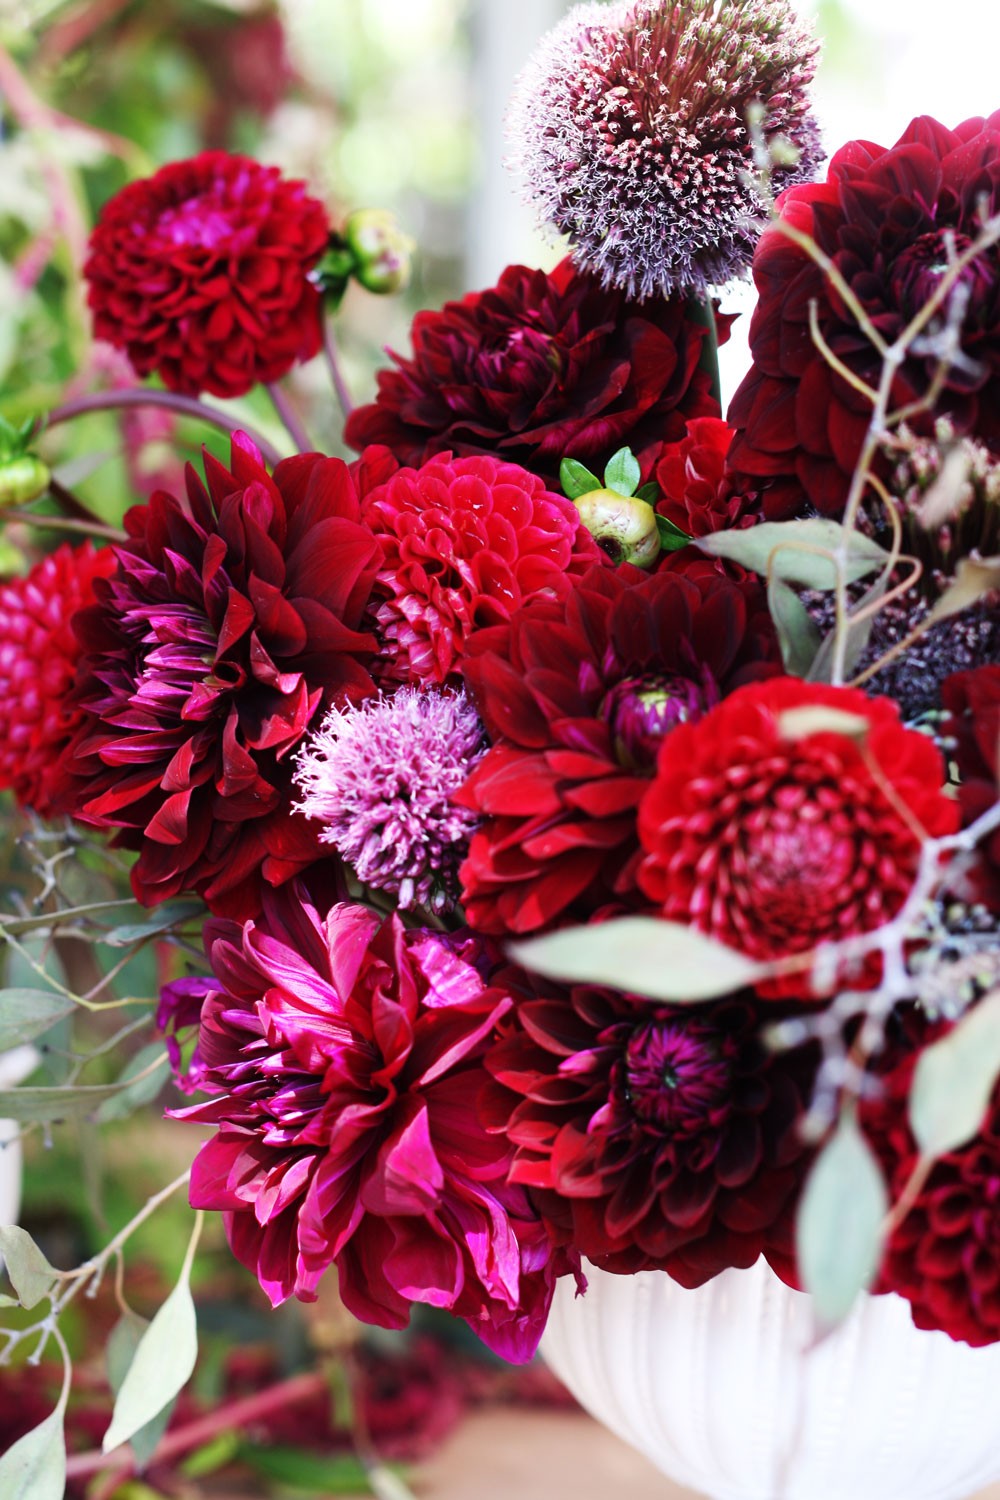

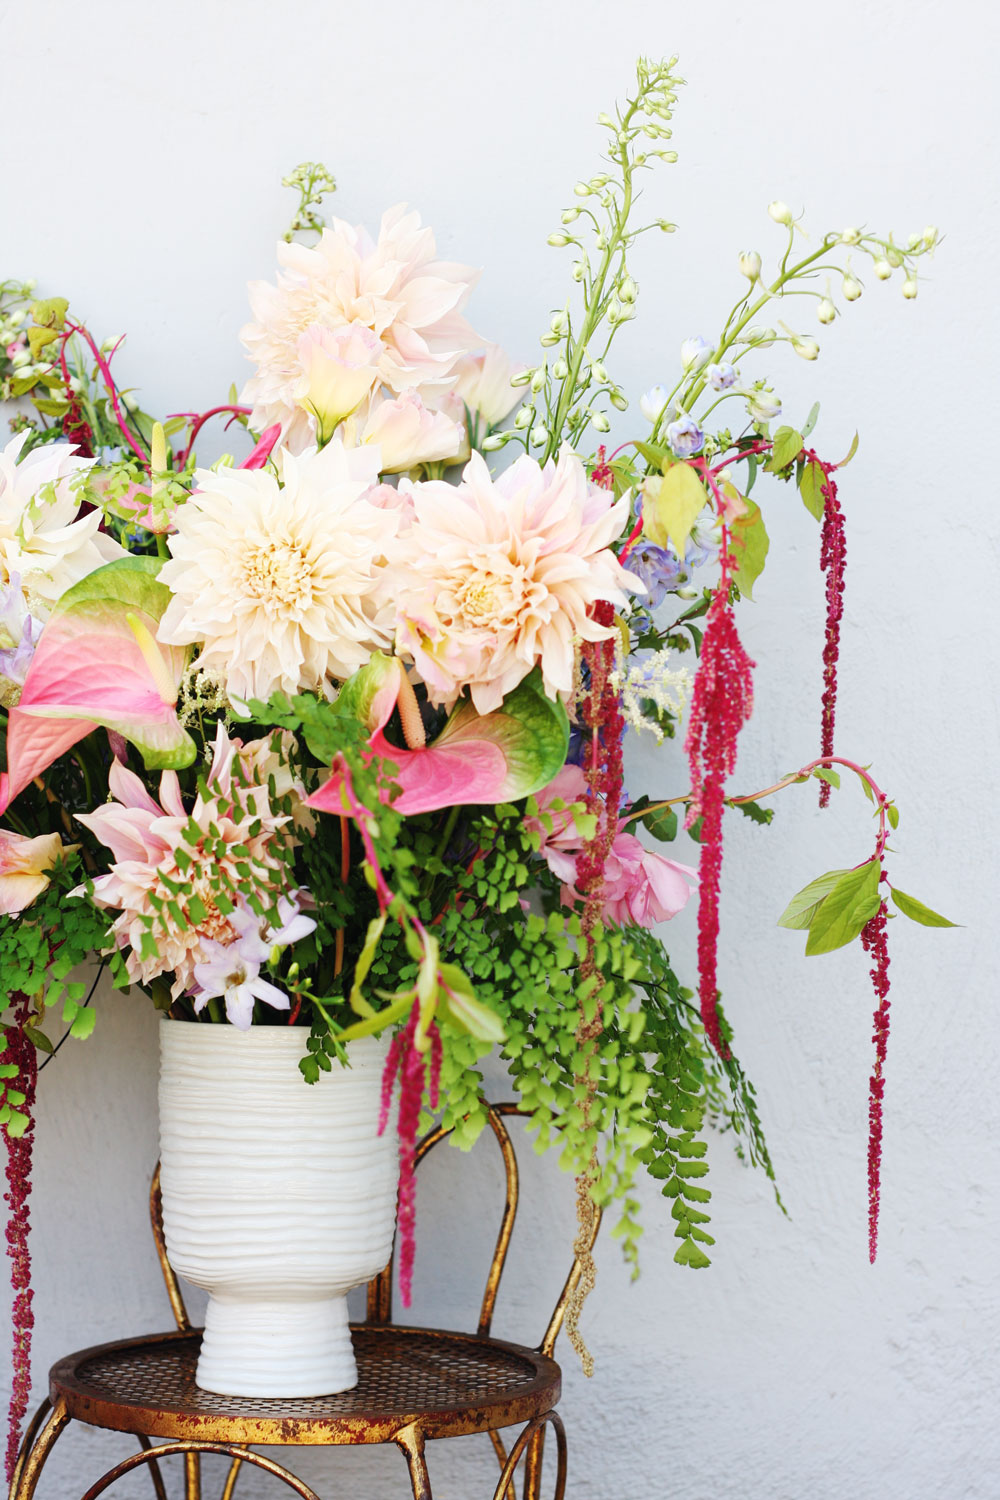
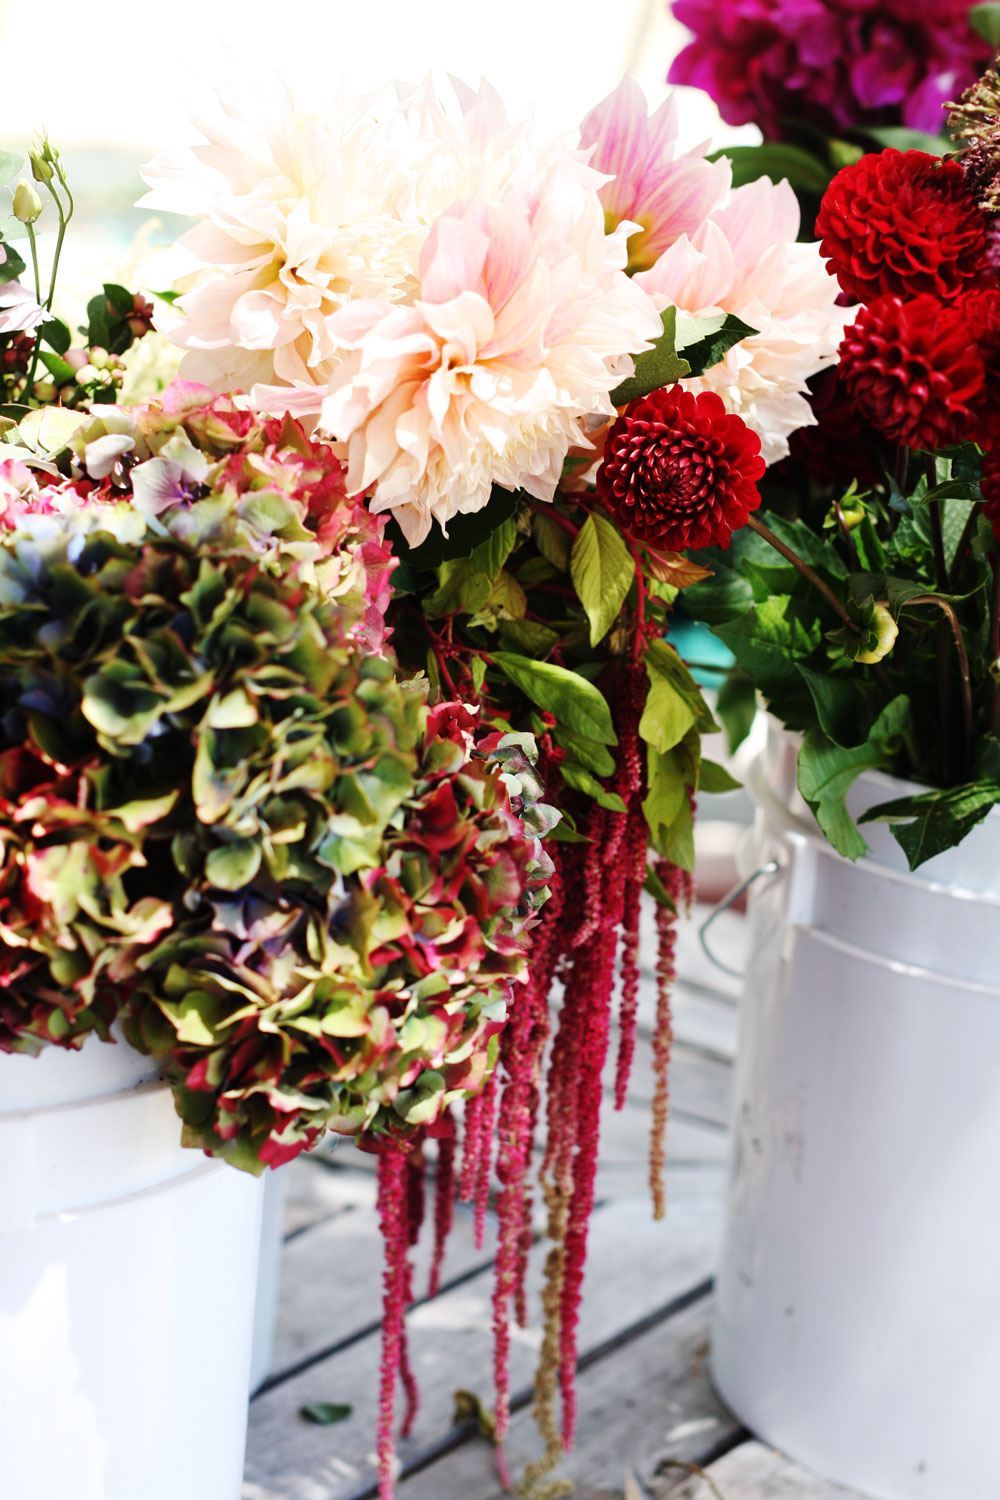
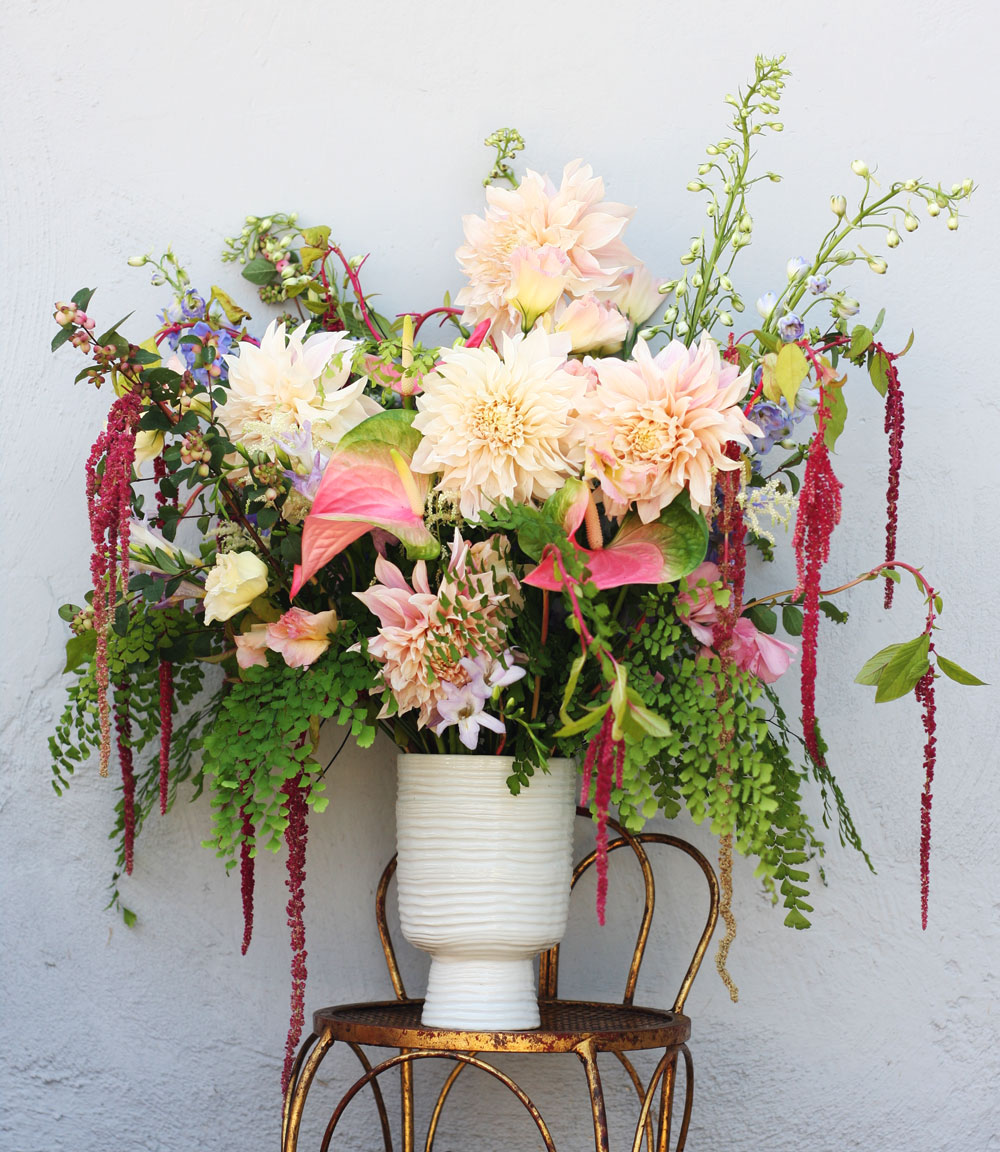 This is the arrangement my mom did. Her way of doing it was to place her main flowers in the middle and then add fillers as she felt like.


 Building A Teepee


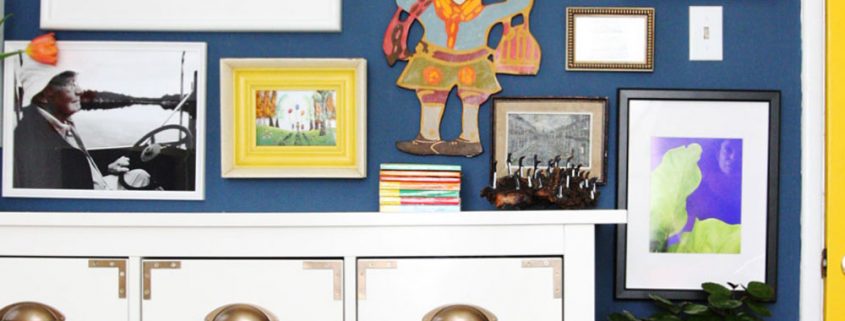
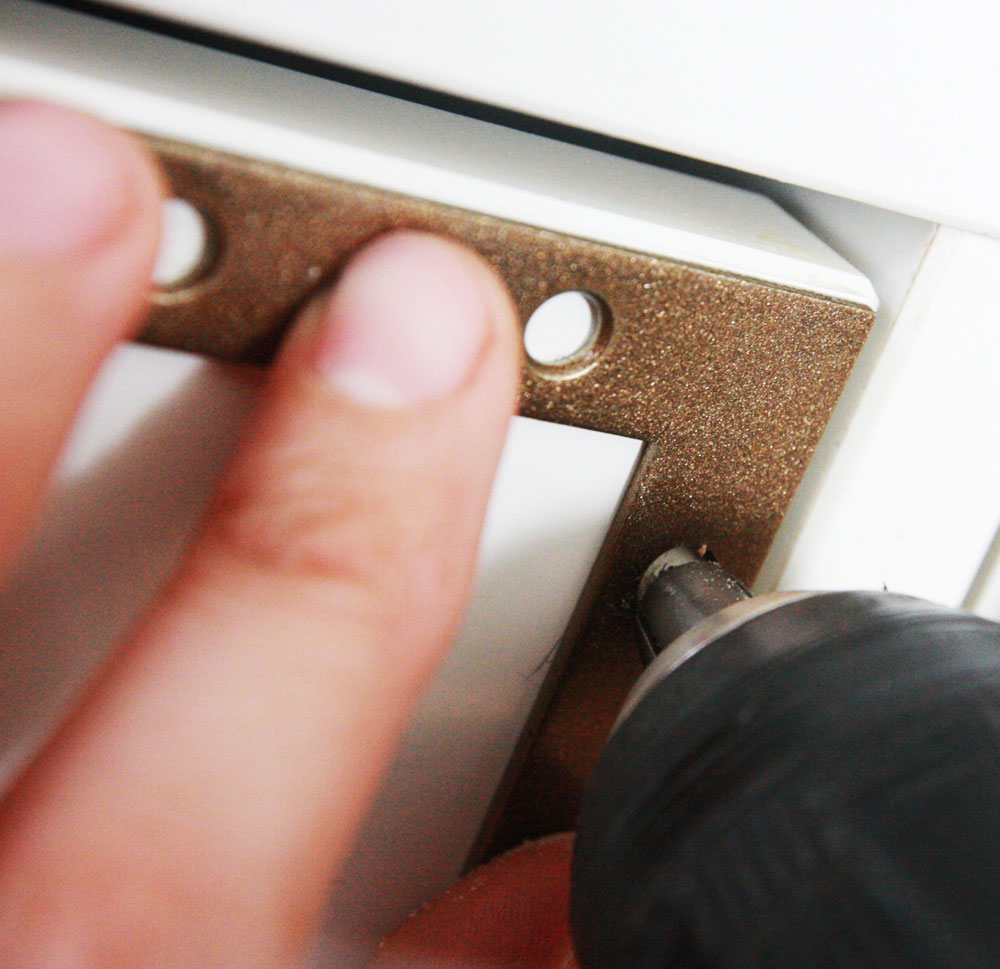
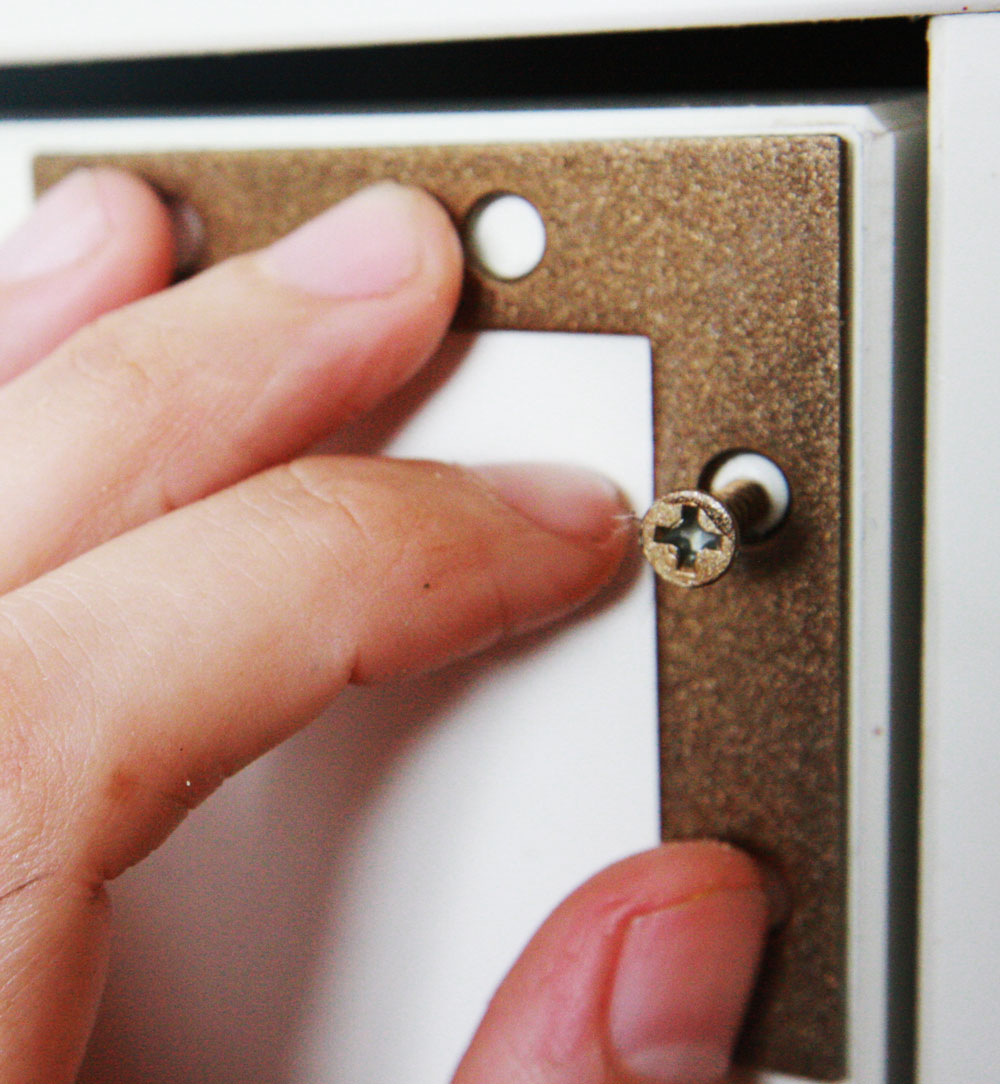
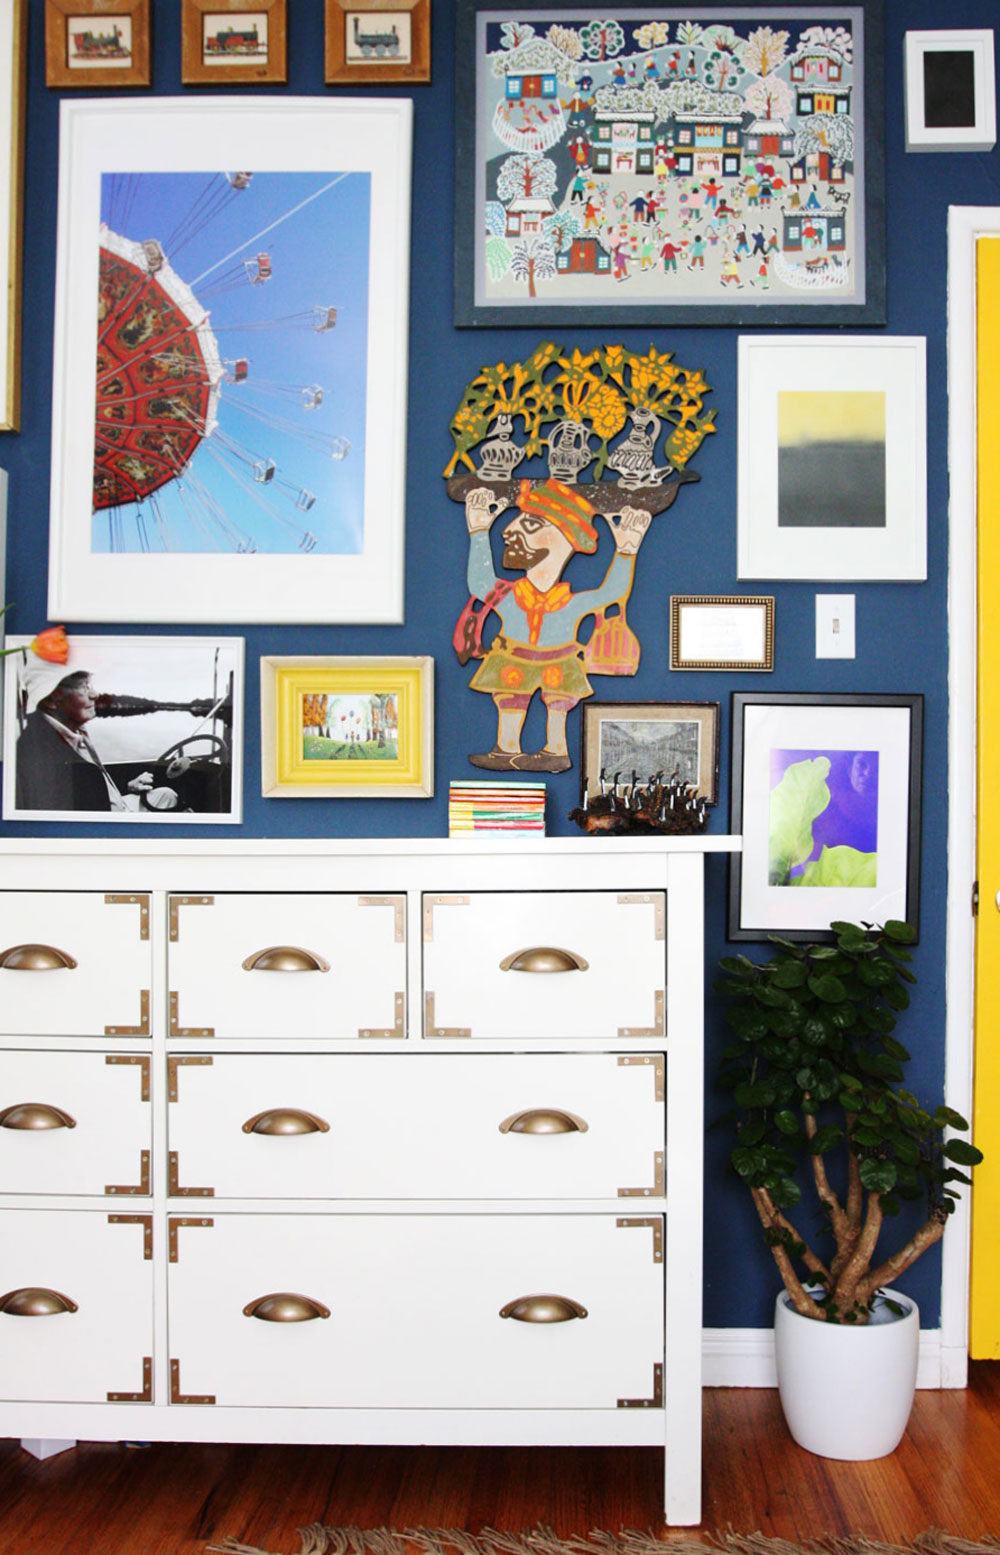 I had to drill 128 wholes to finish this dresser in the photo above. 128 wholes that needed to be perfectly straight. Not an easy task.
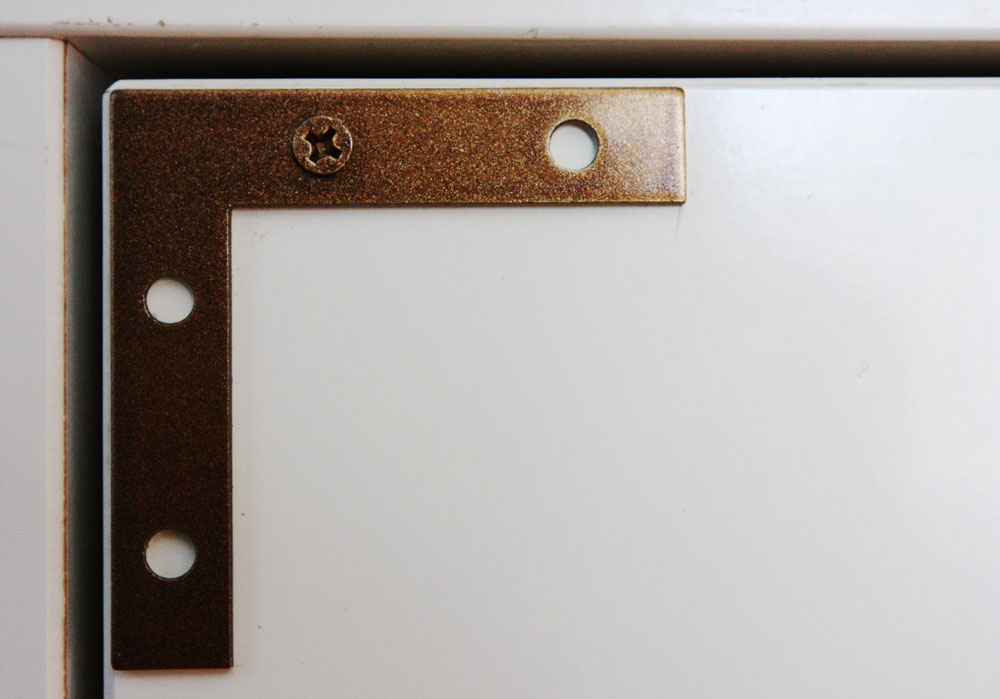
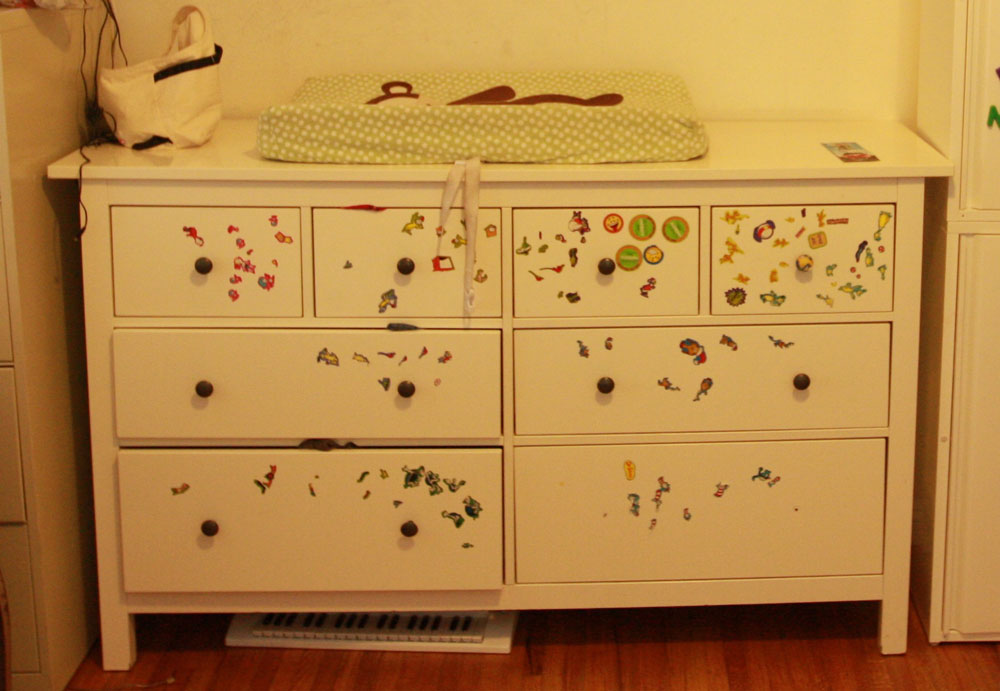 Here is how it looks now:
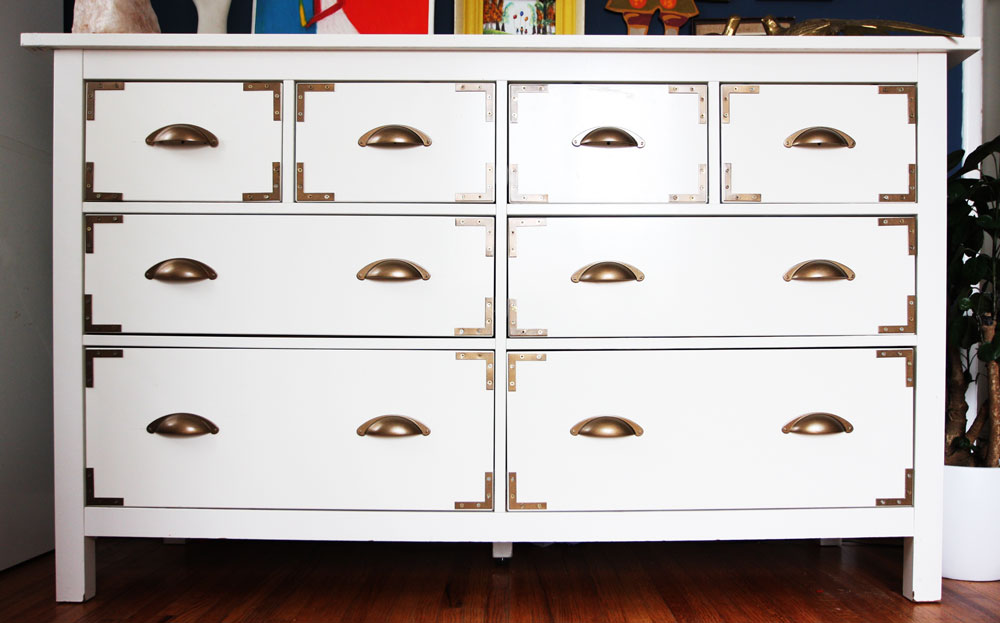 Much better, don’t you think?
 When I started drilling, I failed miserably. I couldn’t do a straight hole! If you don’t master a straight hole, the brackets end up crooked, so I needed to figure this out. Interesting how DIY bloggers mention drilling like it is the easiest thing to do when it is NOT. But it is not the hardest neither, once you learned this one trick that George mentioned:
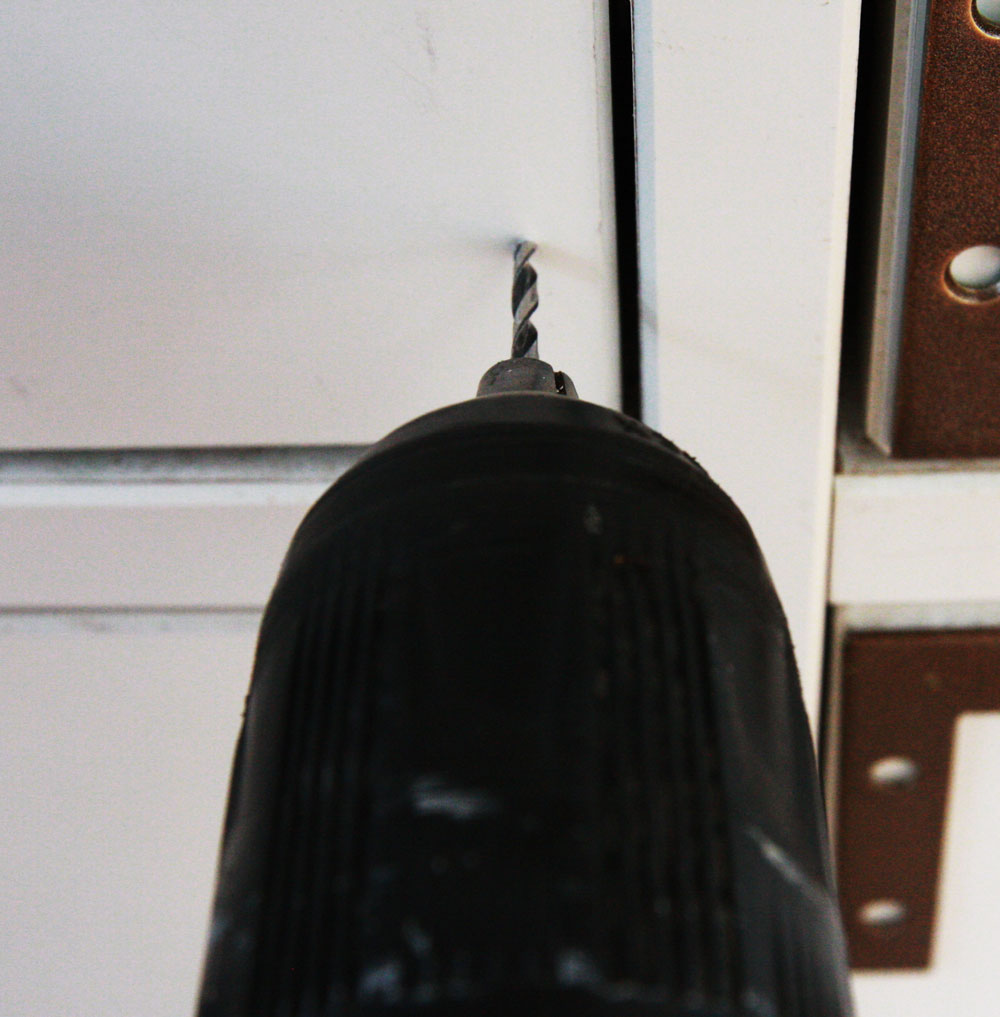
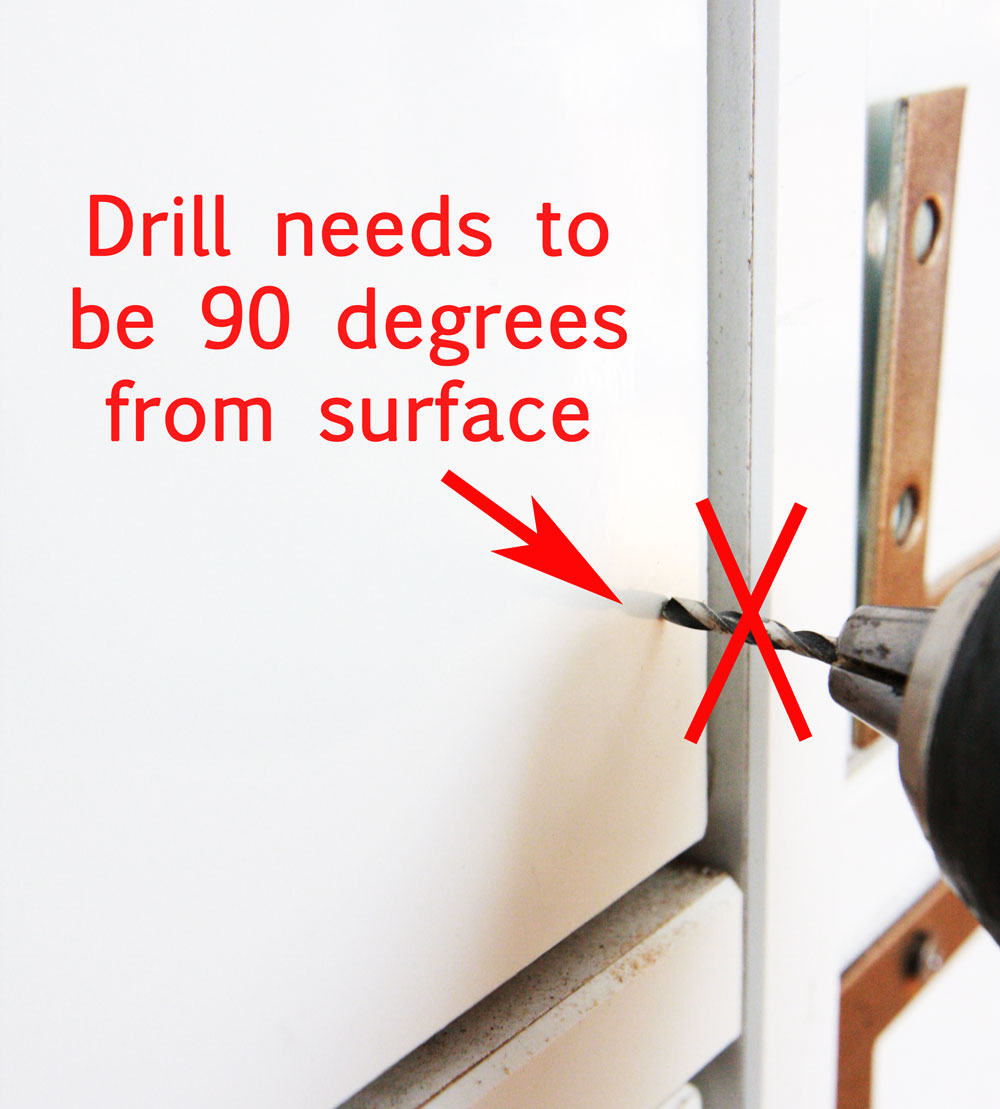 Do this:
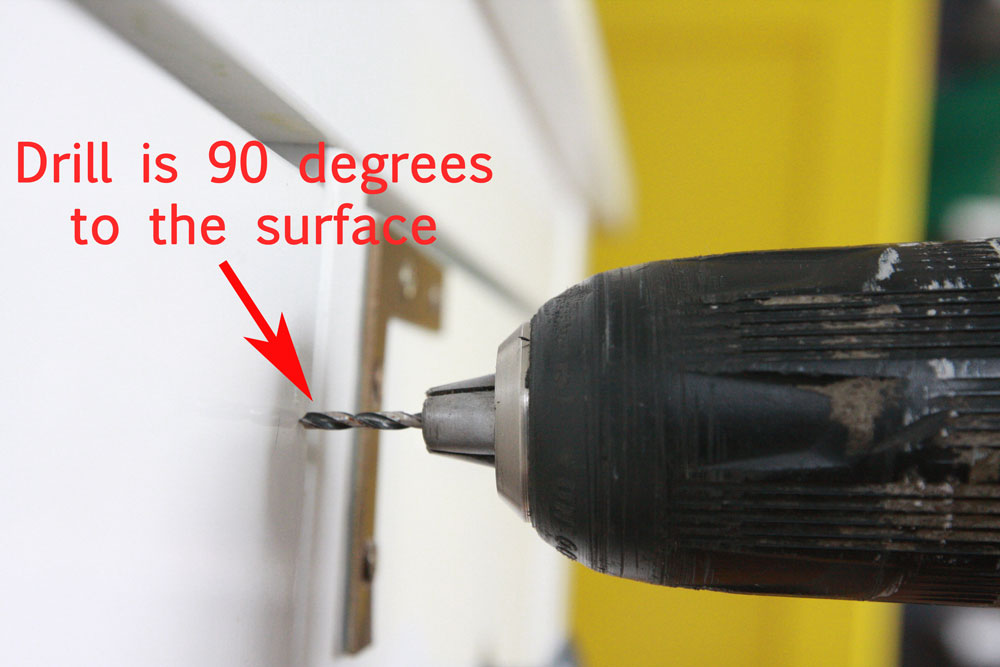 3. After making sure Step 1 and Step 2 are in place, apply force when drilling and you are done.