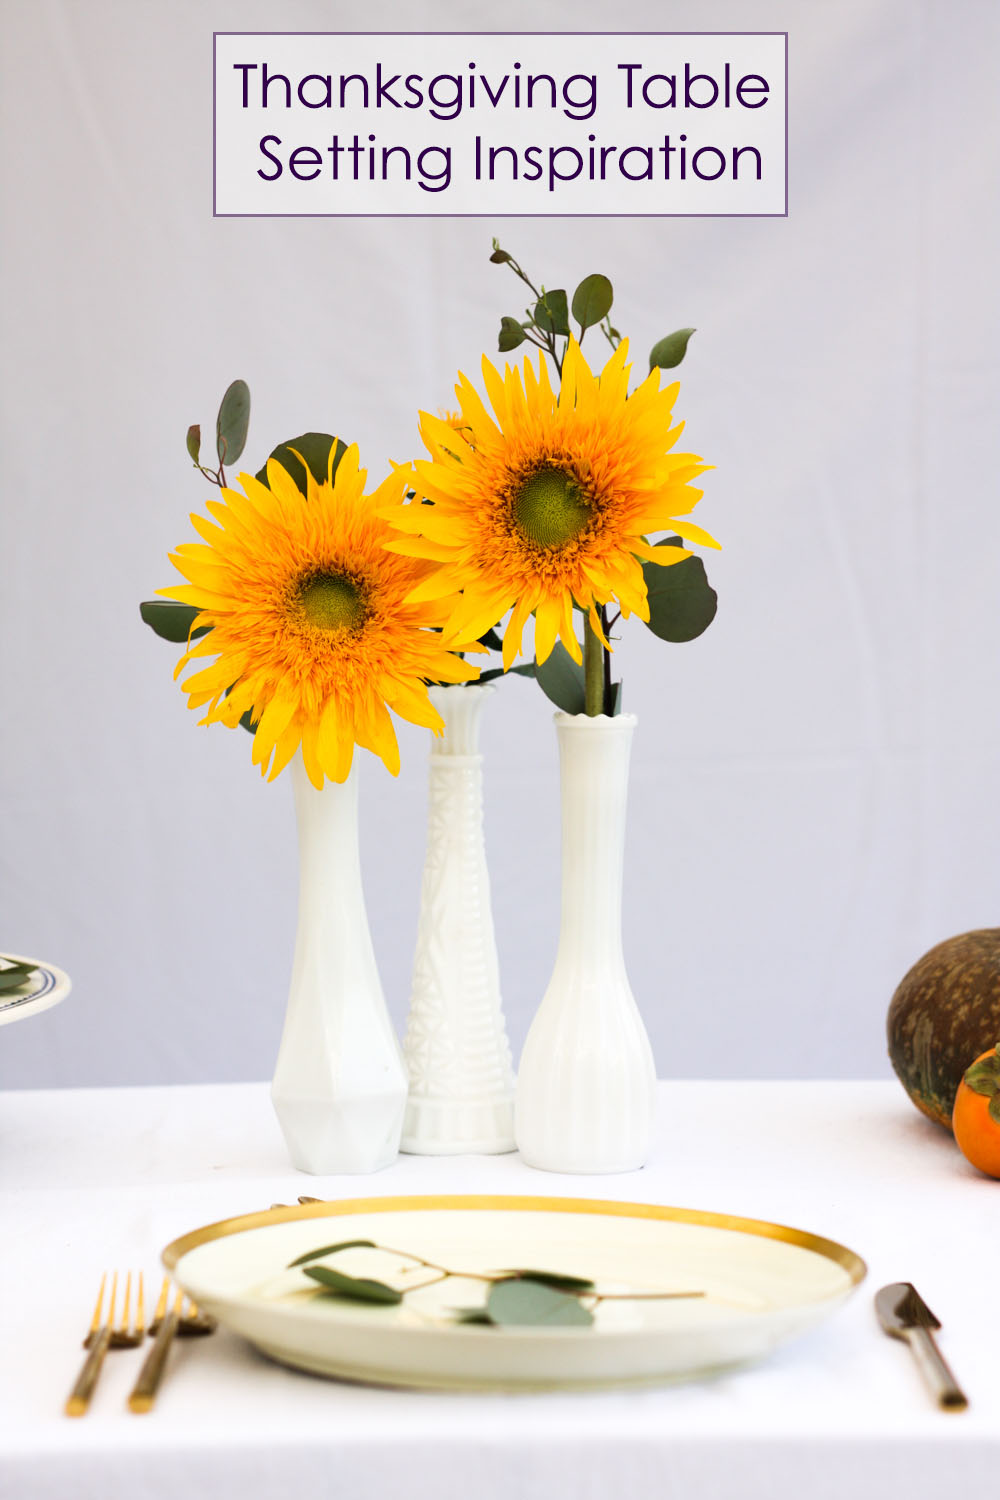
Thanksgiving Table Setting Inspiration
We host Thanksgiving every year and we love doing it.
Before kids, we used to host 20-30 people in our home. It was a big party for all of our single and “orphans” friends in LA, meaning our friends who had no family to spend Thanksgiving with. We cooked, drank, and ate all day. It was fun, so much fun.
Now that we are real life adults (see my passport), things have changed. Thanksgiving has become a lot more professional. Stakes are high. Food is gourmet. Decoration is important.
In recent years, we have been roasting a pig in the backyard and smoking the turkey (have you tried smoked turkey? It is the BEST way of cooking a turkey – Seriously). Everybody brings something really good to eat. We are talking about our version of epicurean food: crafted drinks, fancy appetizers, tasty side dishes, and wonderful desserts.
As always, I am in charge of decorating the table. I take my job VERY seriously. With months of anticipation I come up with ideas that I try out before the big day. I posted about our last year’s table decoration here.
For this Thanksgiving, I want to have an eclectic mix of vintage dishes. I like the mismatched look of dinnerware, so I have been going to the thrift store often to search for possibilities. To nail a good mismatched setting, you need to choose a “theme” for your plates. You can’t just buy random dishware and expect it to look good. I decided to go with off-white, pastels, and gold plates. Once you choose your “theme,” it is easier to focus and find the right pieces, but it takes time and a lot of trips to the thrift store.
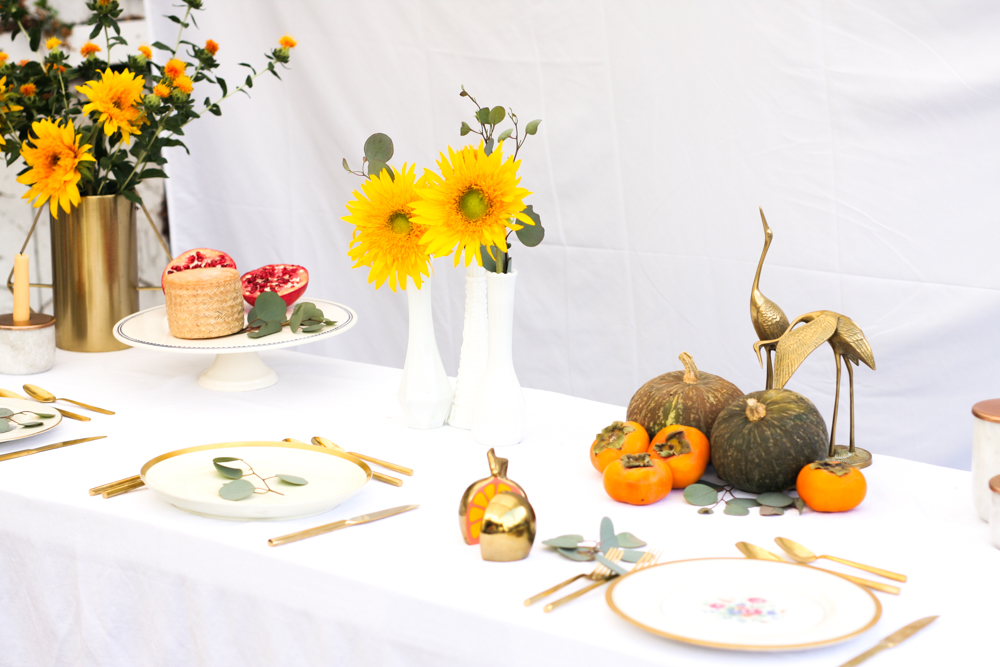
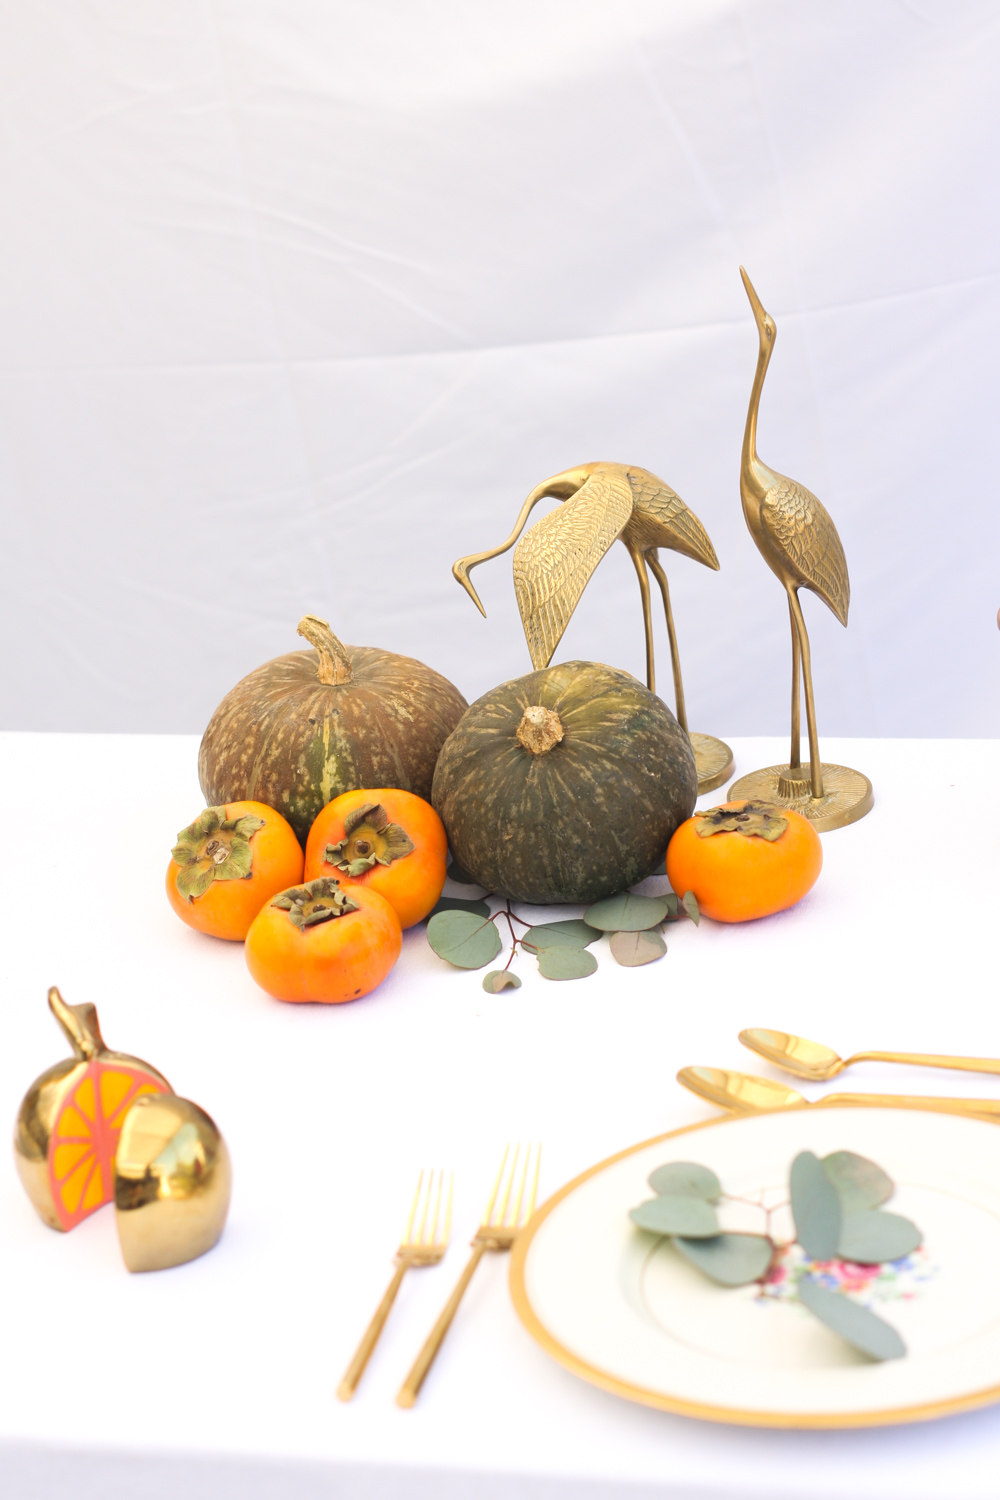
This last weekend, I did a run through of our table decoration to look at colors and decide on the final setting. Here are some photos if you wish to see.
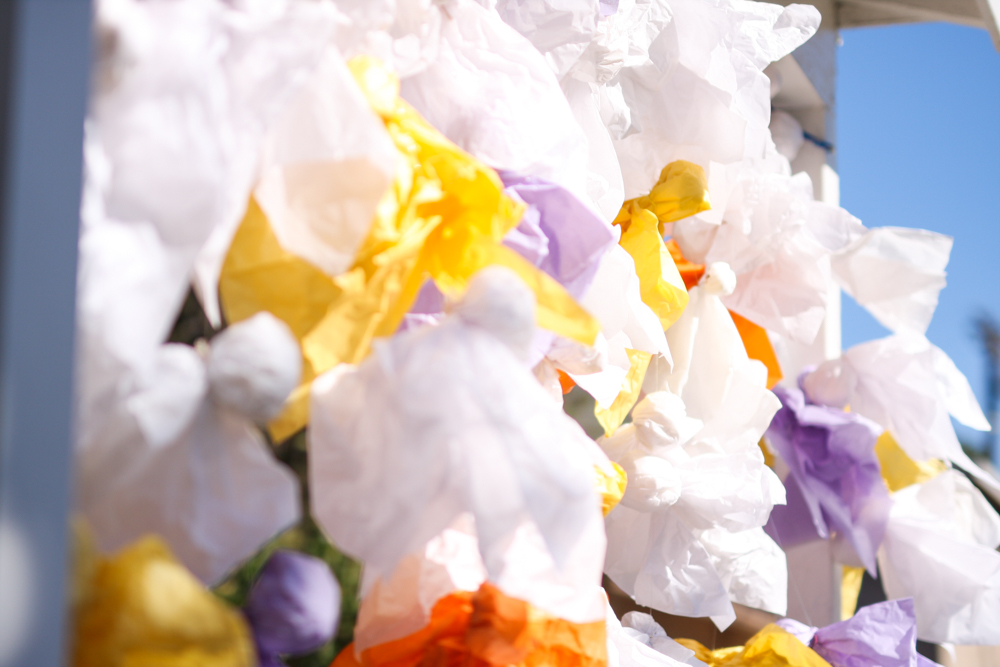
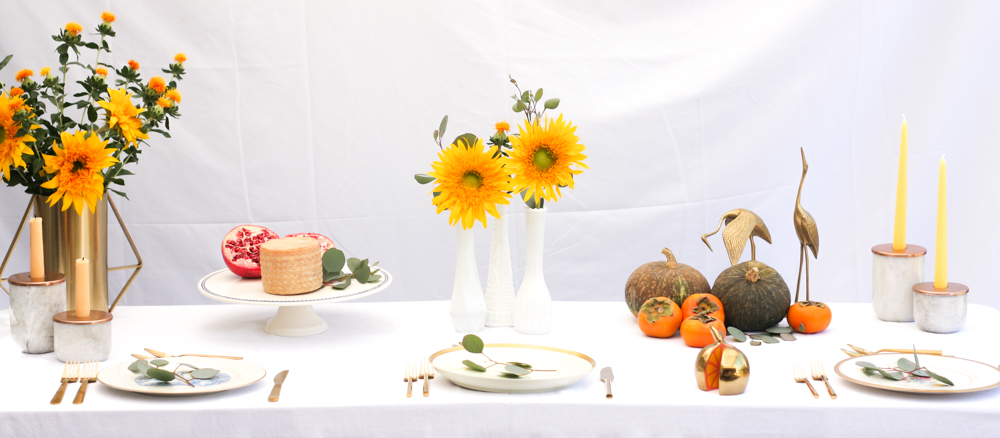
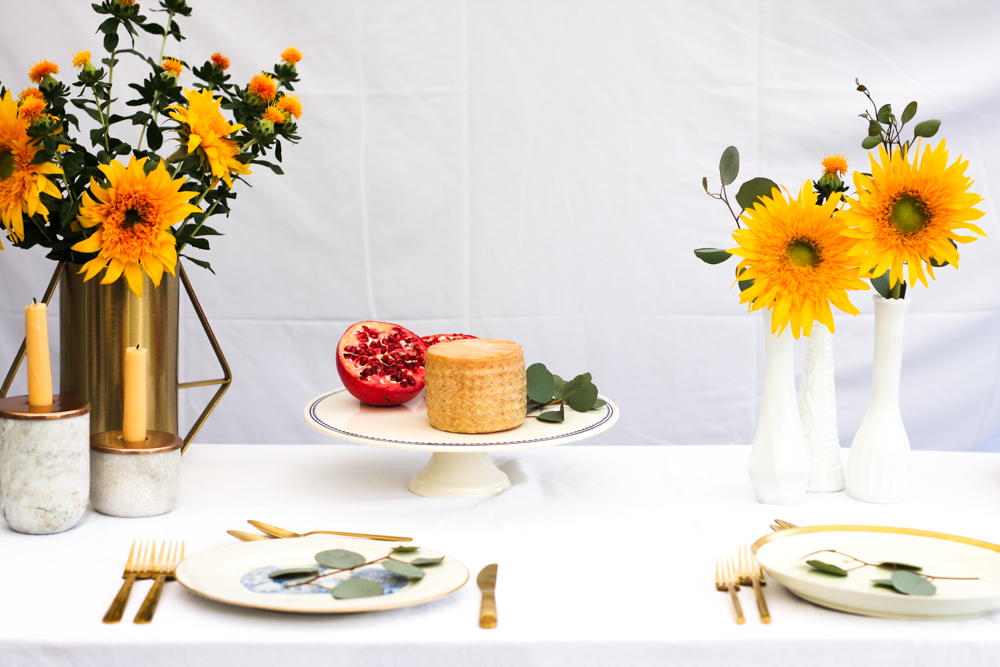
I went for a vintage and golden look. My main goal was not to spend too much money buying table decorations (aside from the plates which you can buy for cheap at the thrift store). I used décor from around the house and bought a couple of flowers at the farmers market. Here is the result:
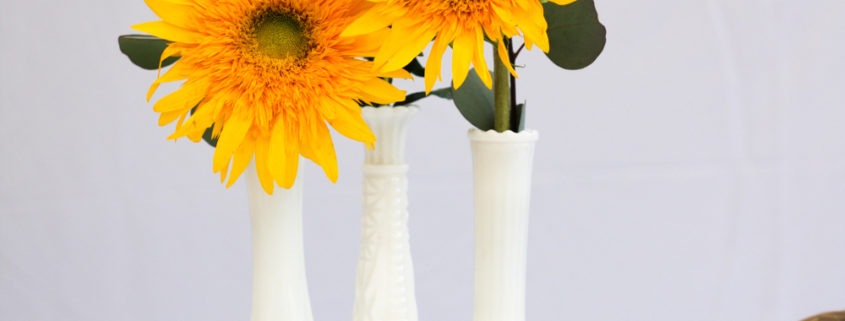
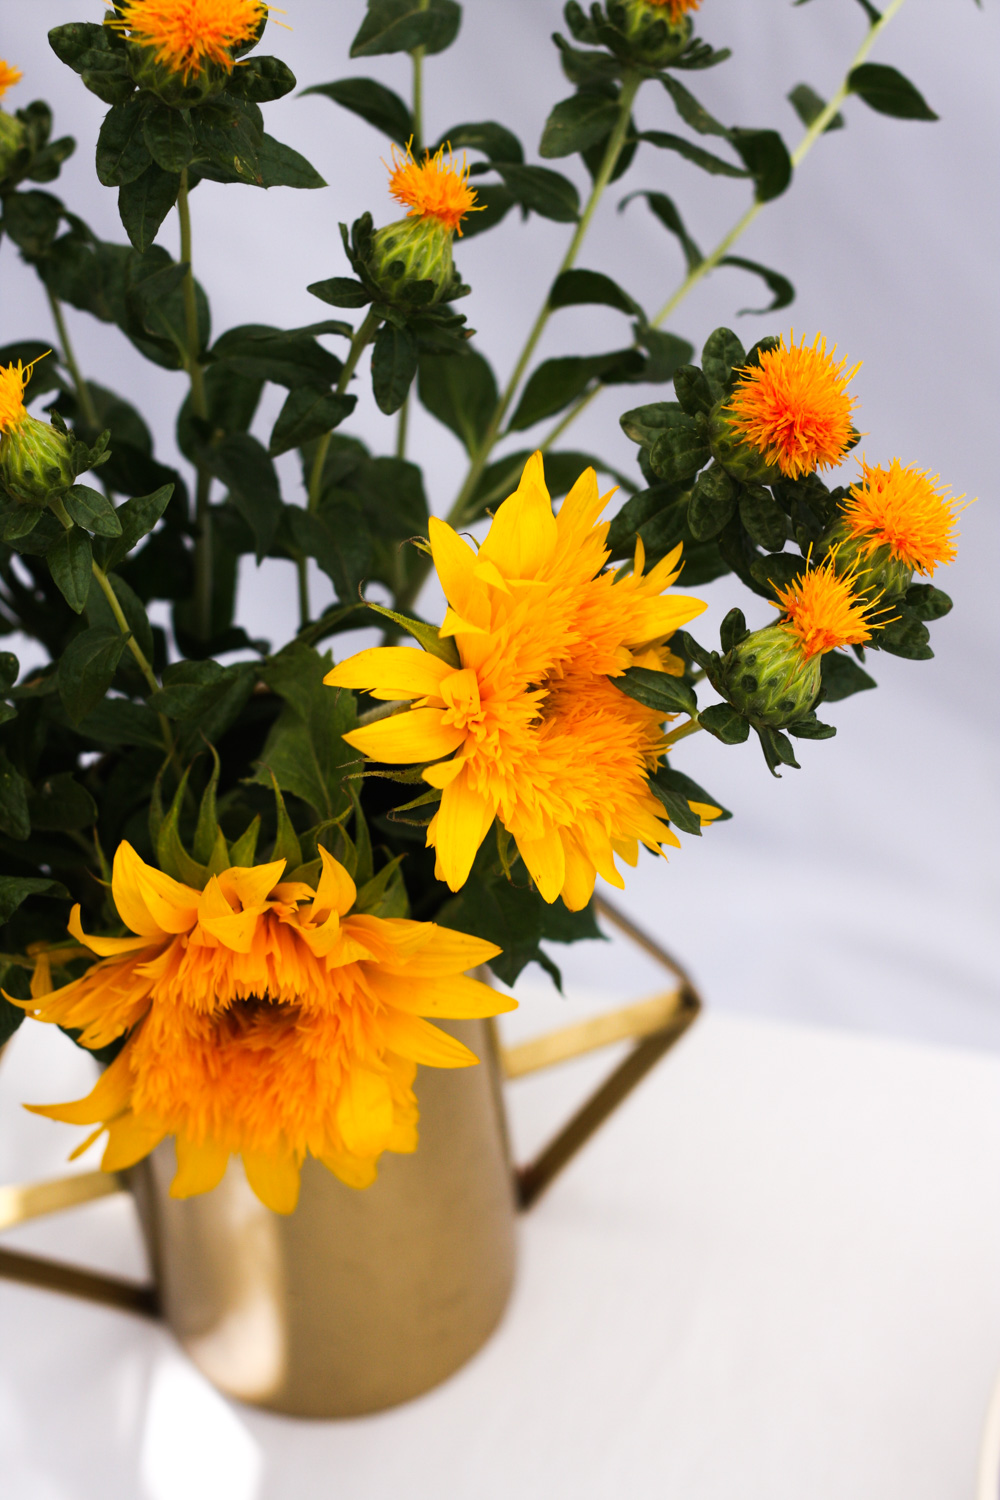
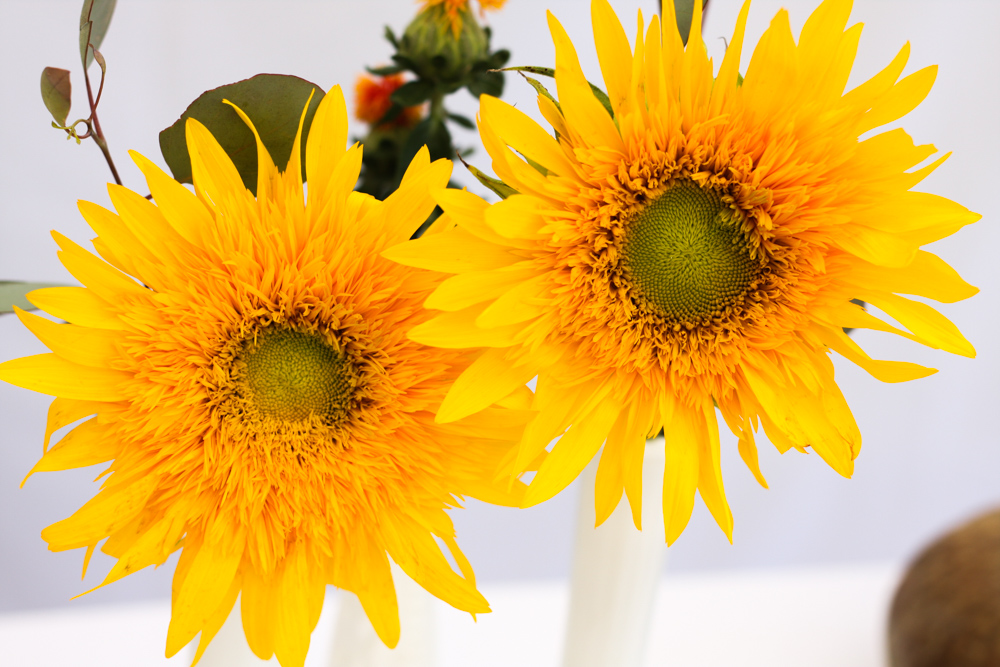 These are teddy bear sunflowers. So cute!
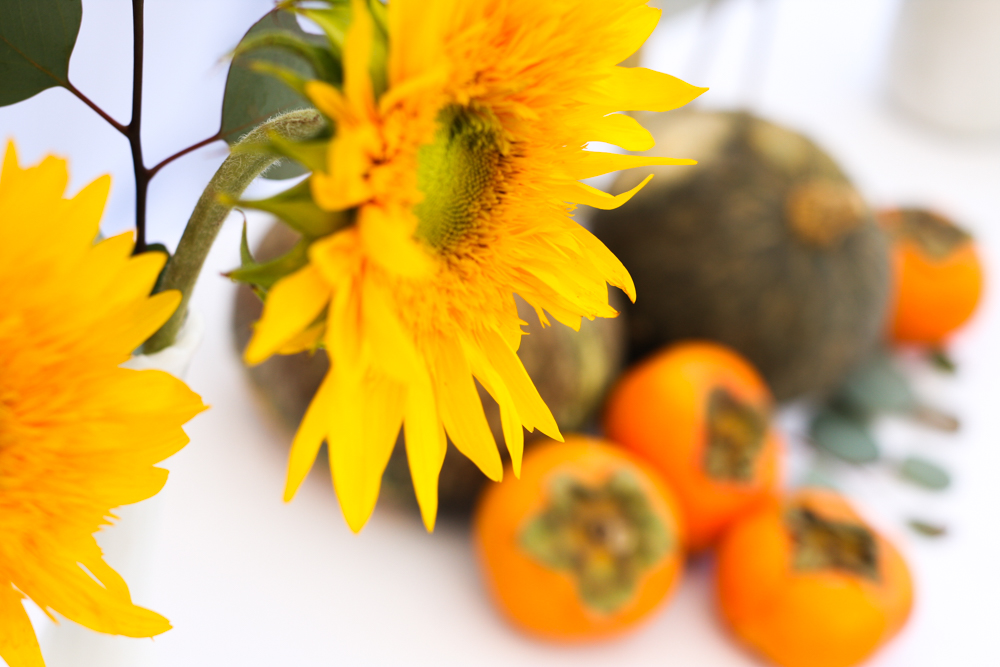
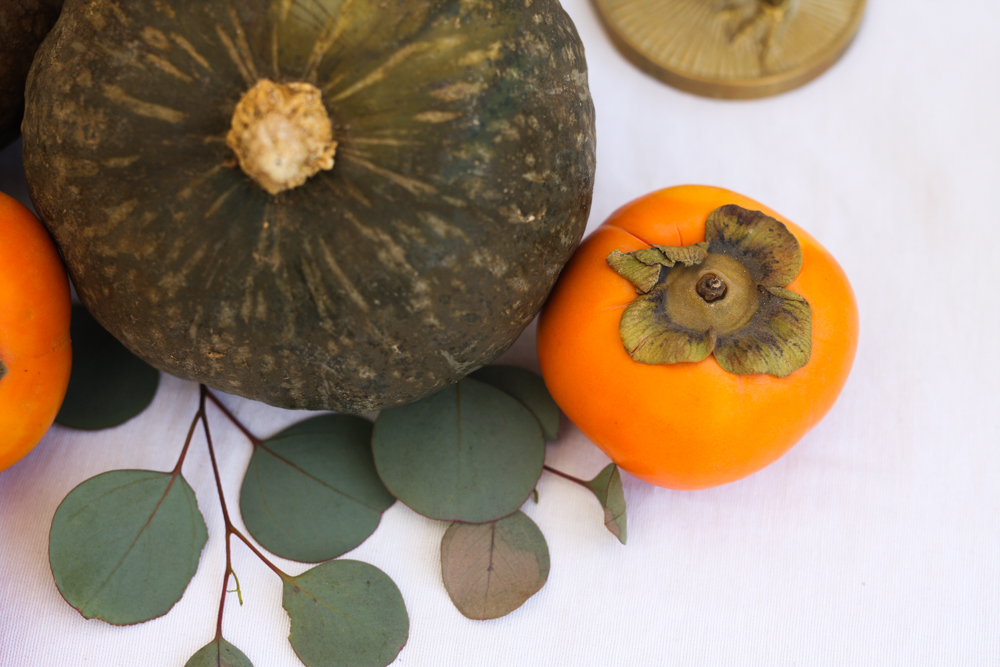
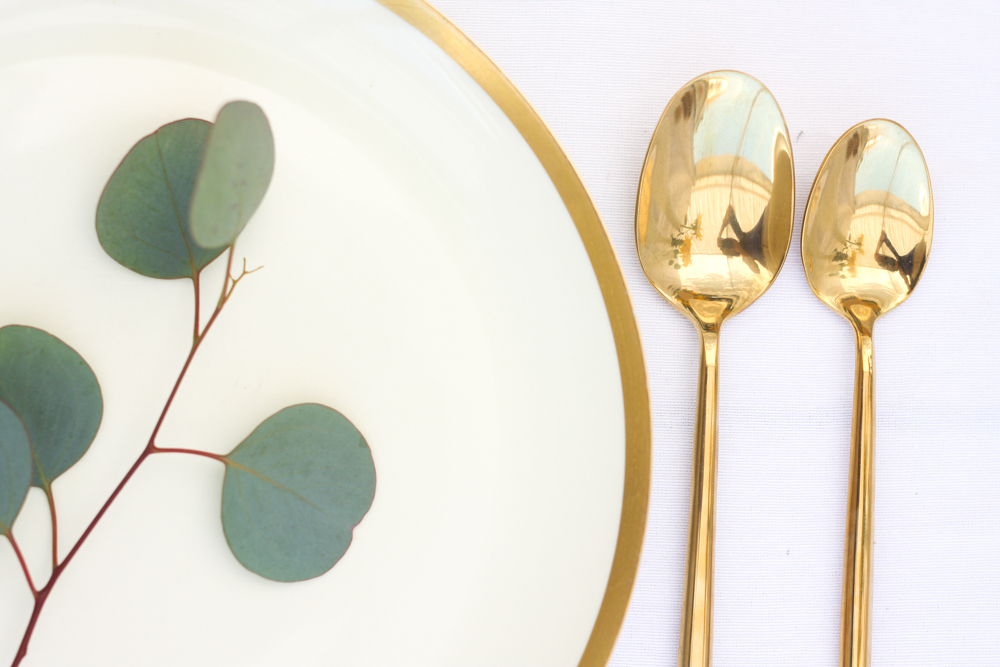
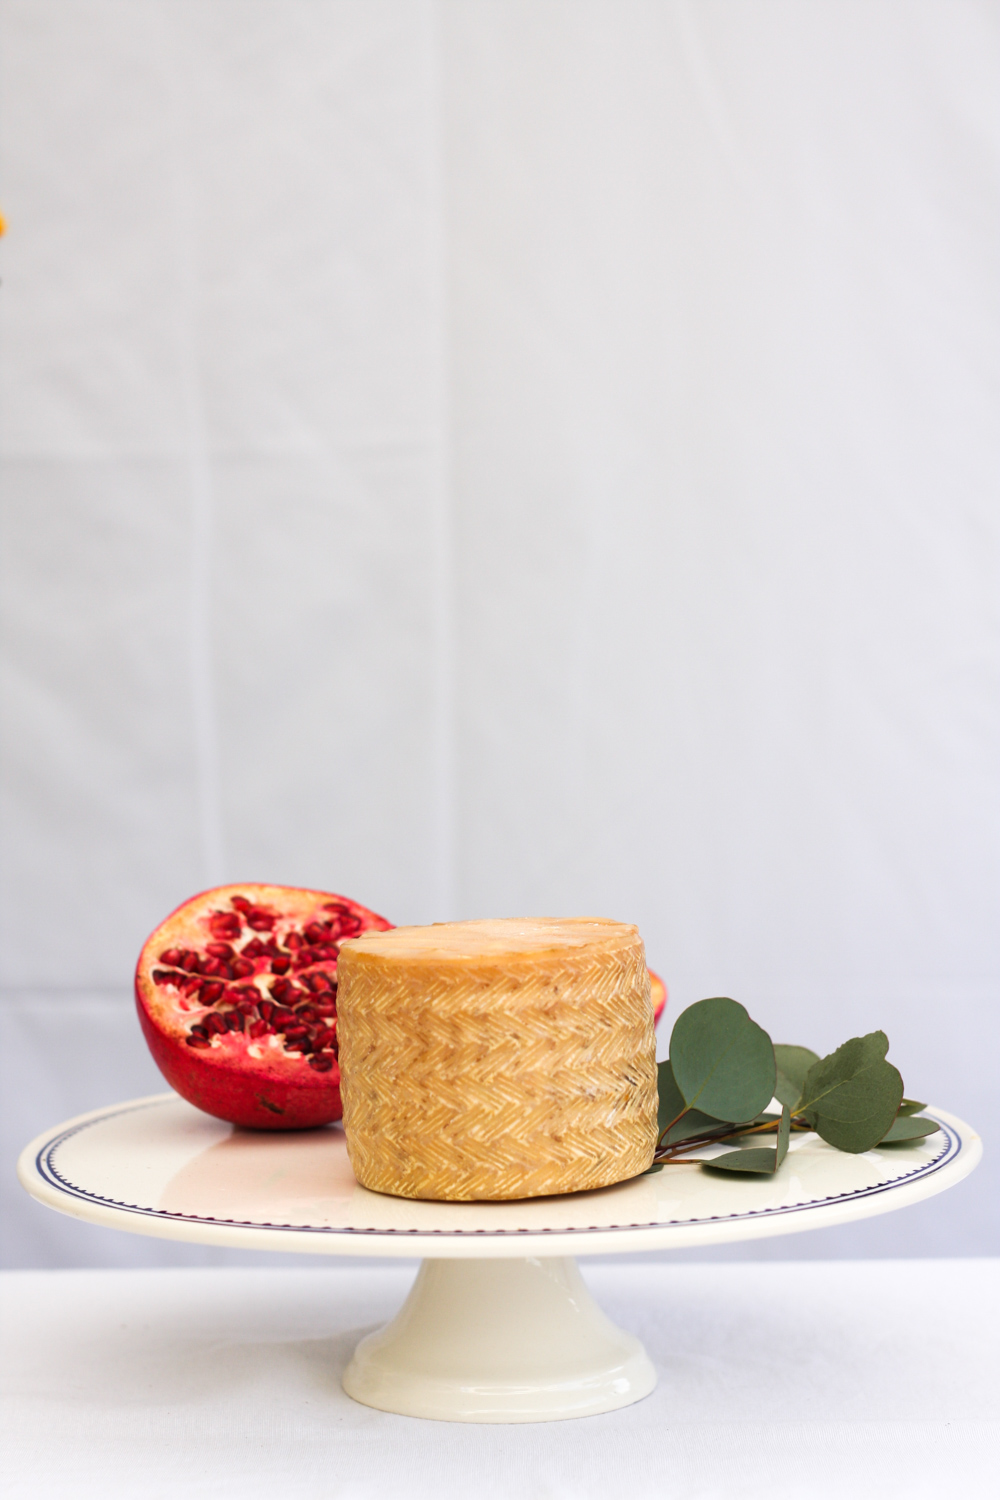
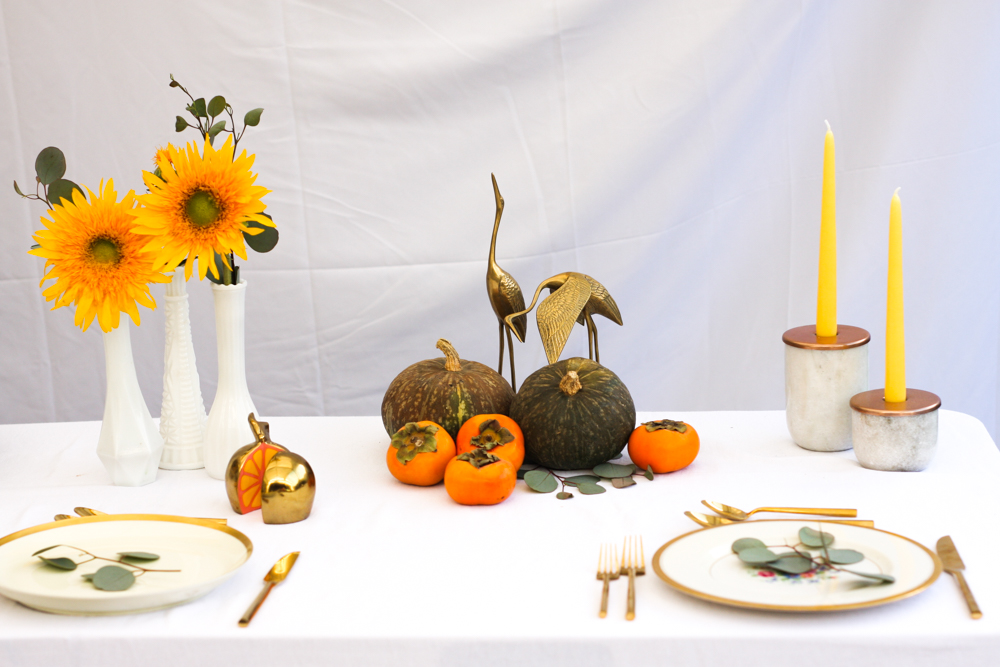
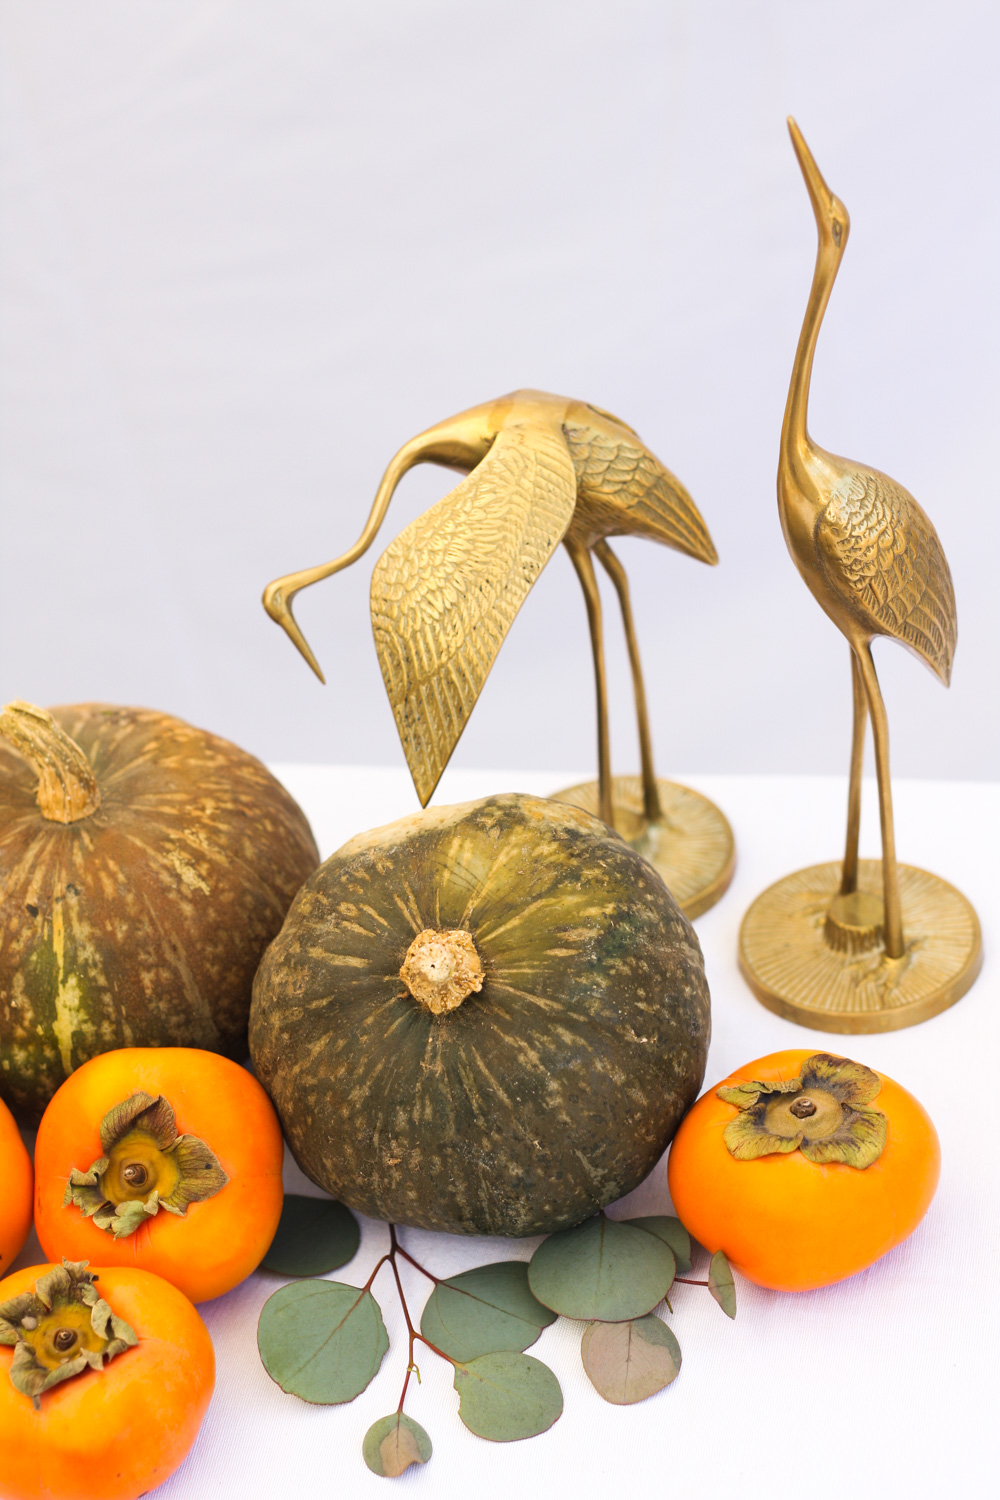
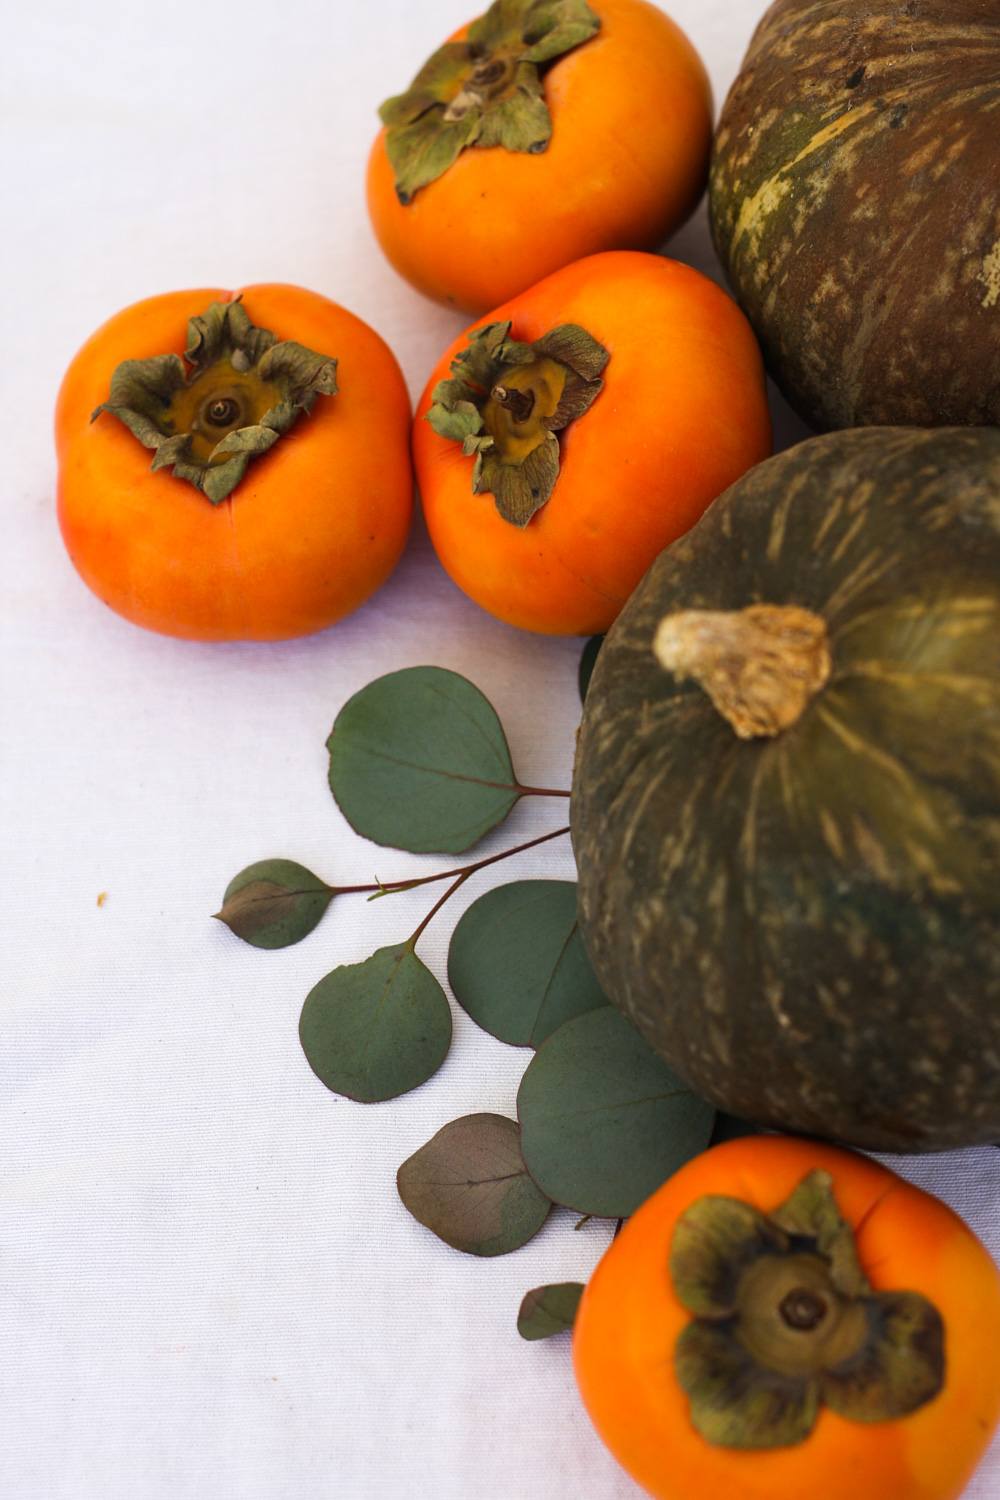
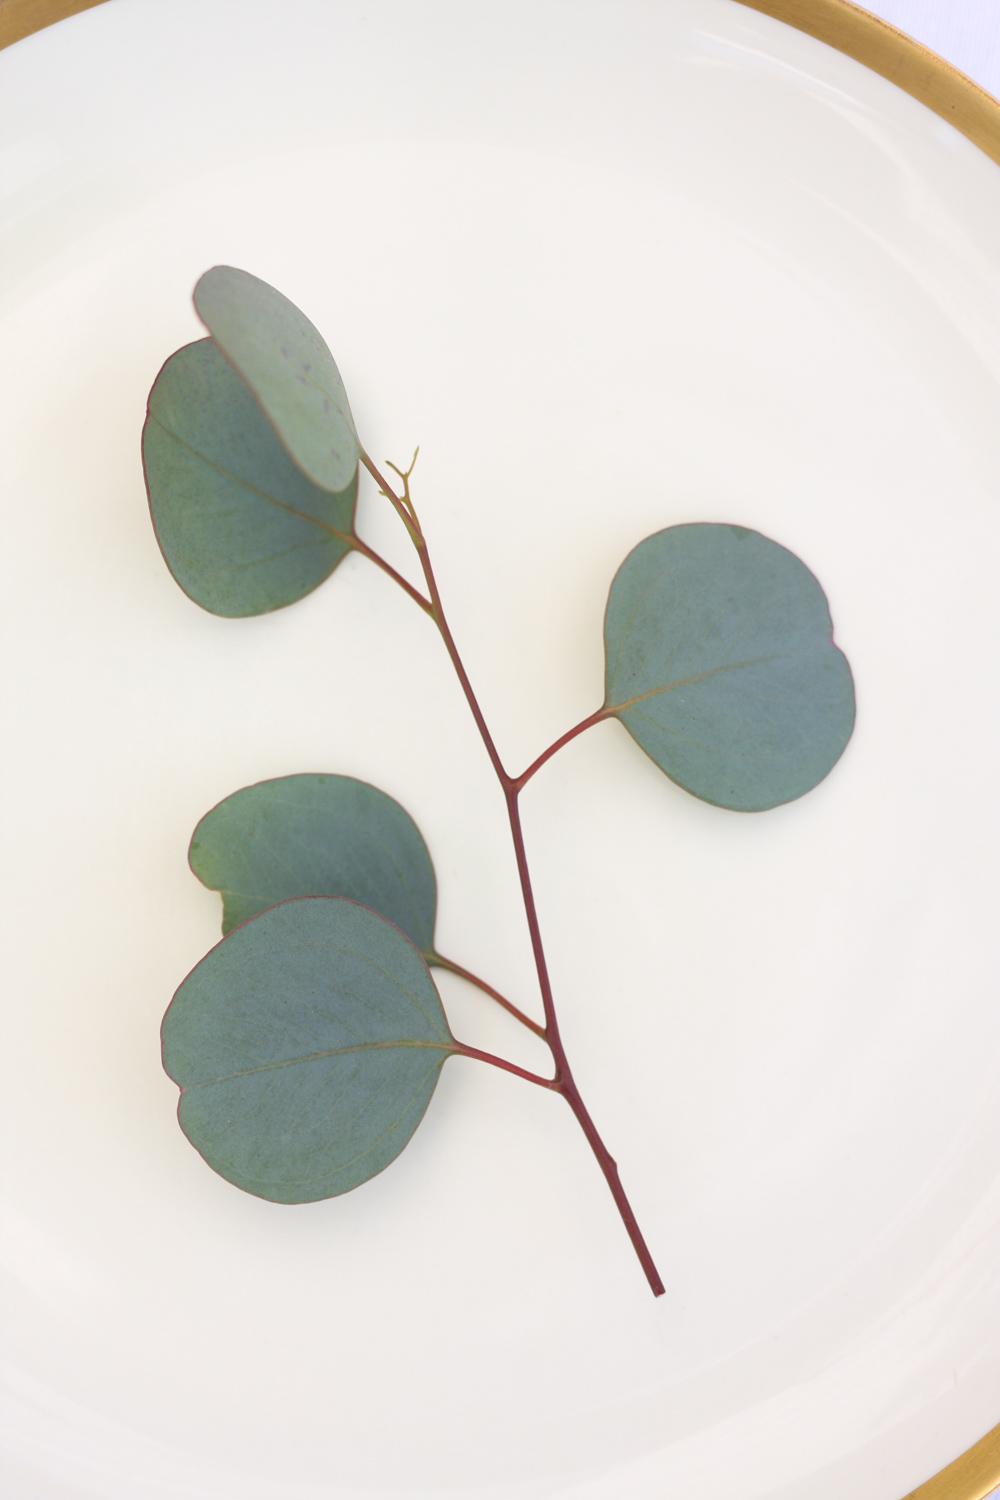 Using eucalyptus is an easy way of decorating and bringing neutral colors to the table.
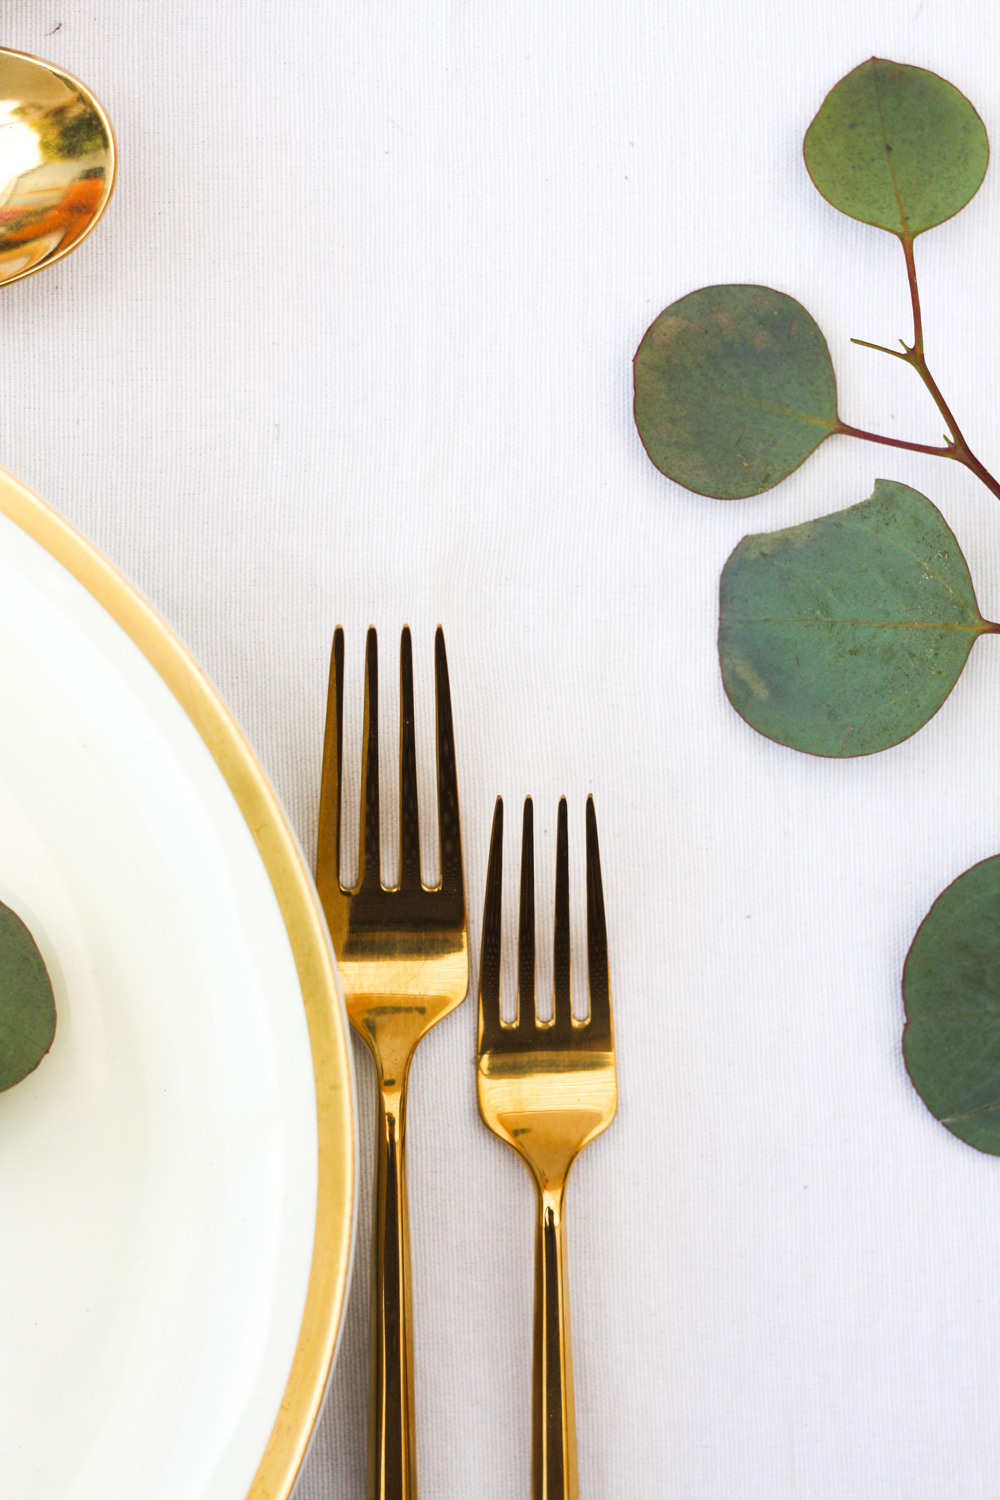
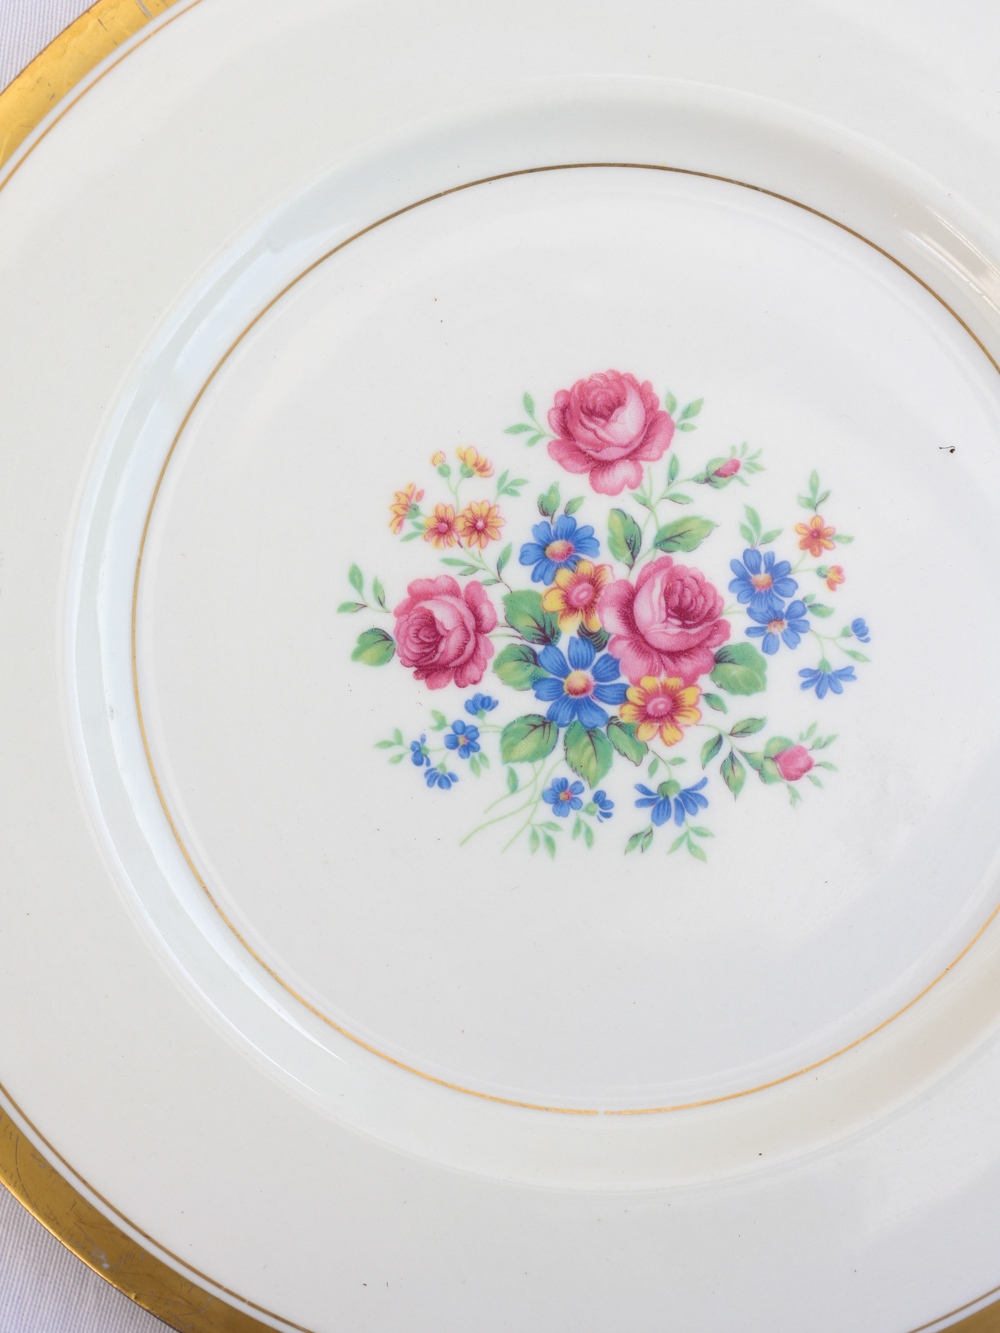
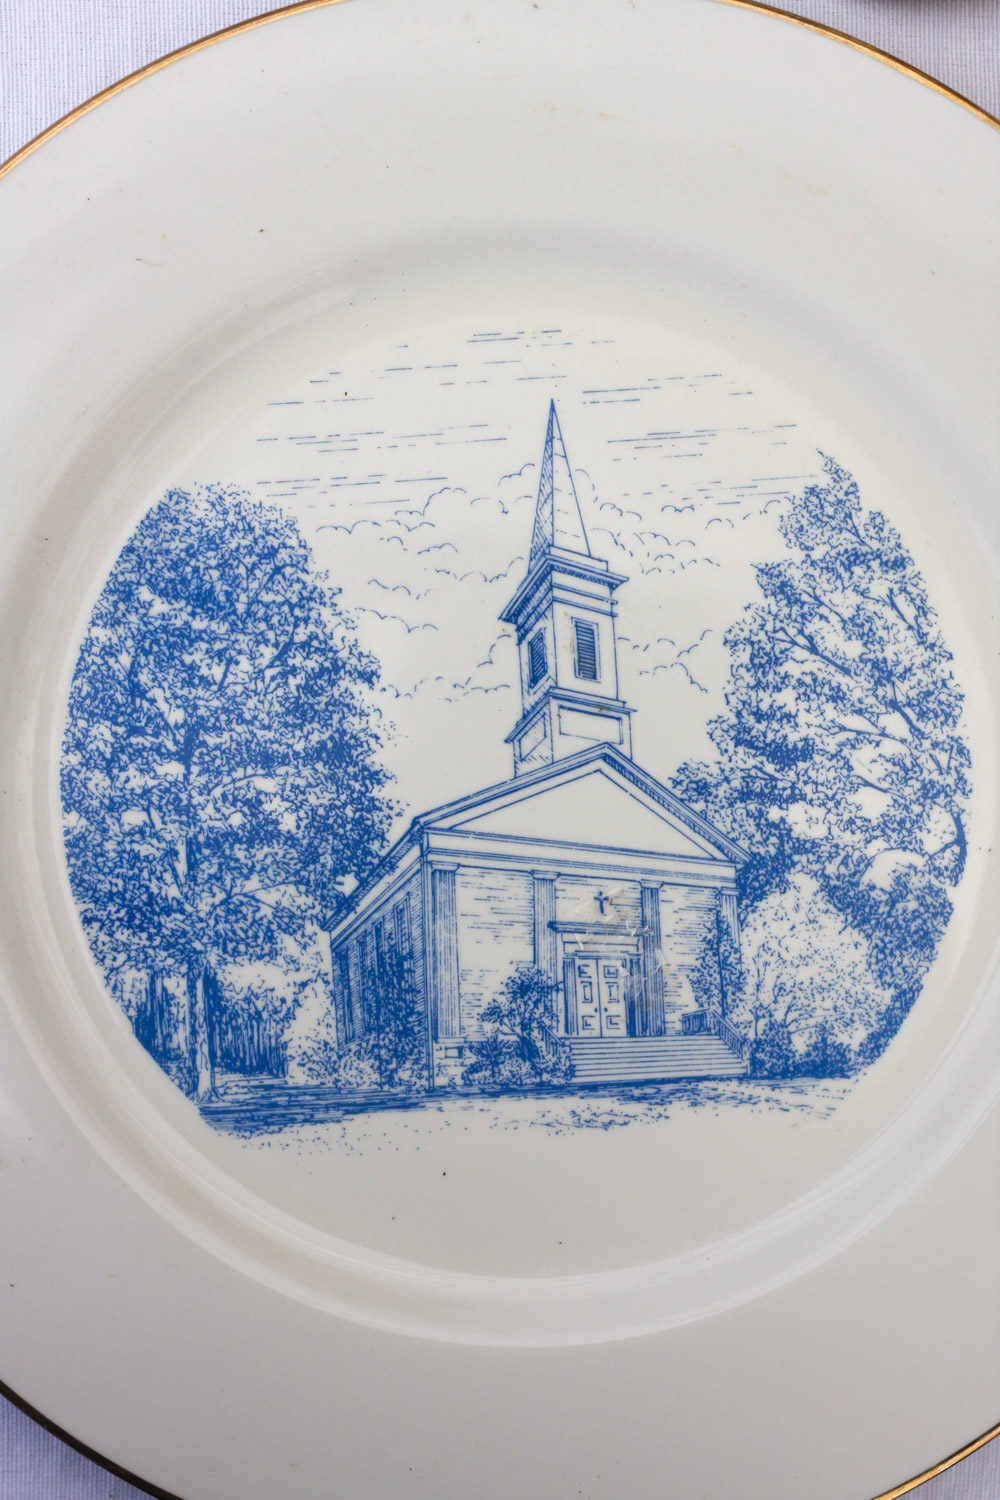
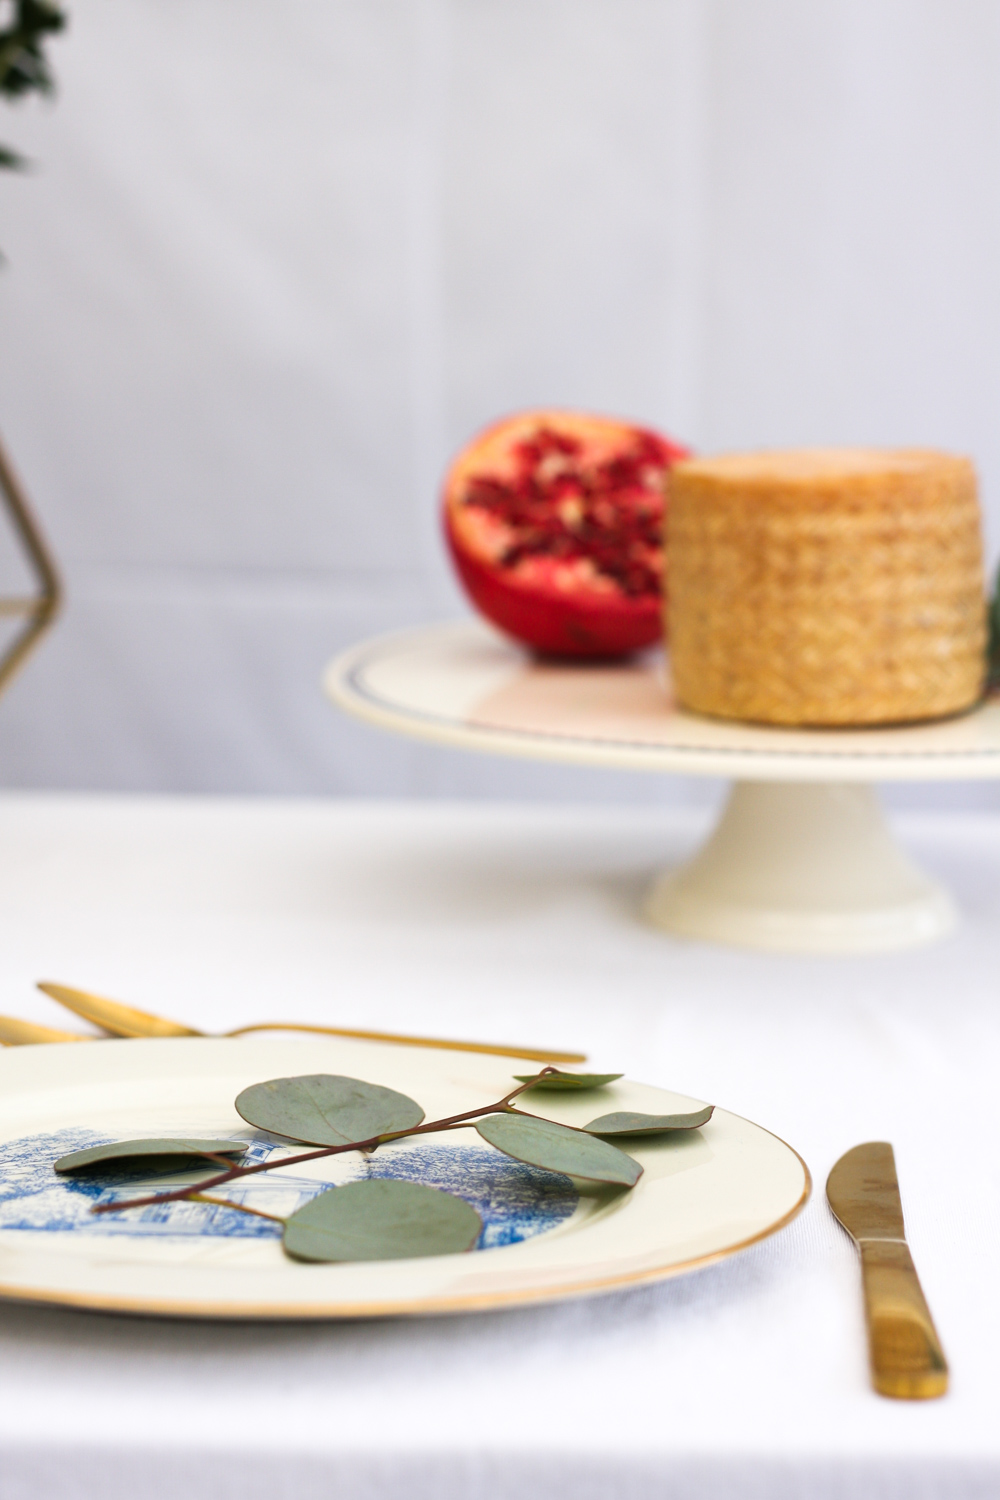
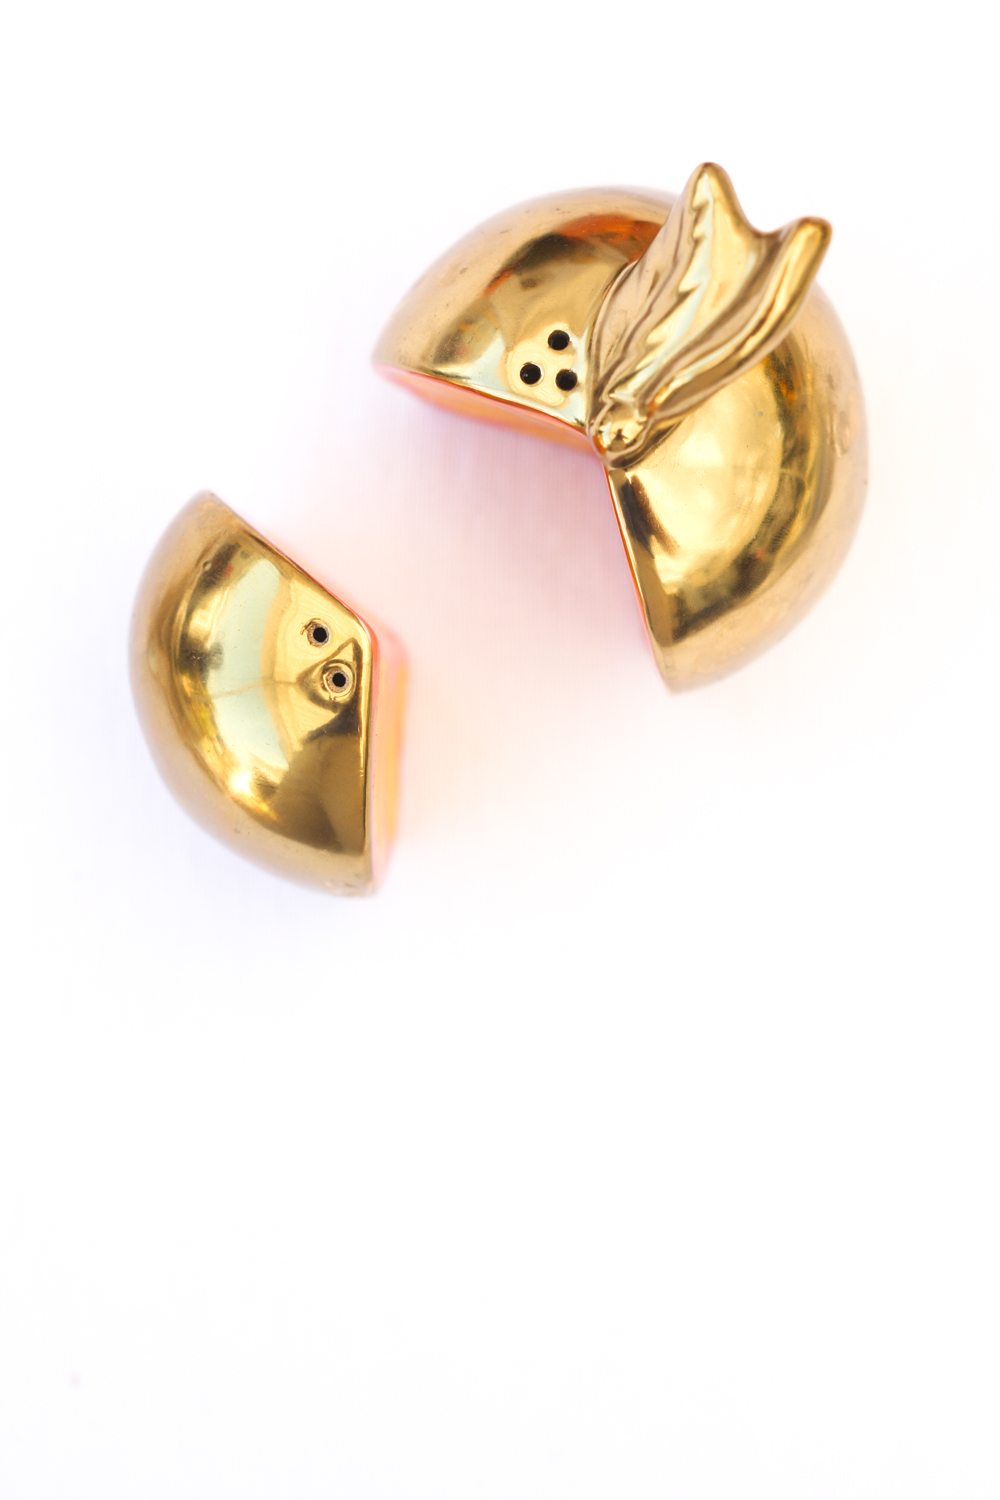
I have been collecting serving plates for a while, so it is easy for me to find cute pieces for the table. The same goes for flower vases. I am vase hoarder.
OK, so that is the general idea. What do you think?
Also, a post about a vintage inspired brunch, and what we did for Thanksgiving last year. Thanks for stopping by!
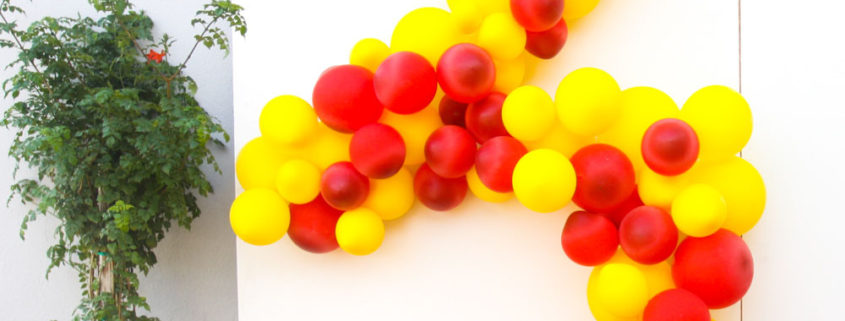
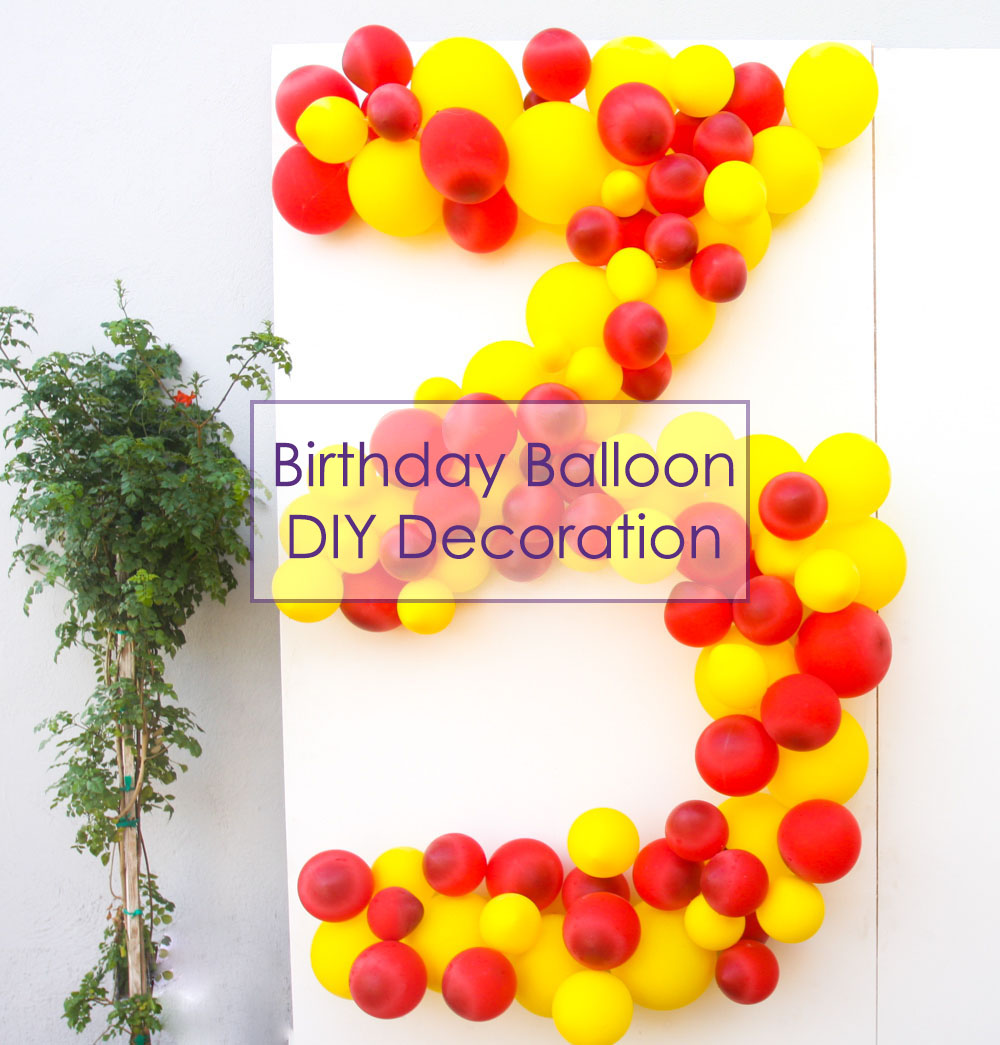
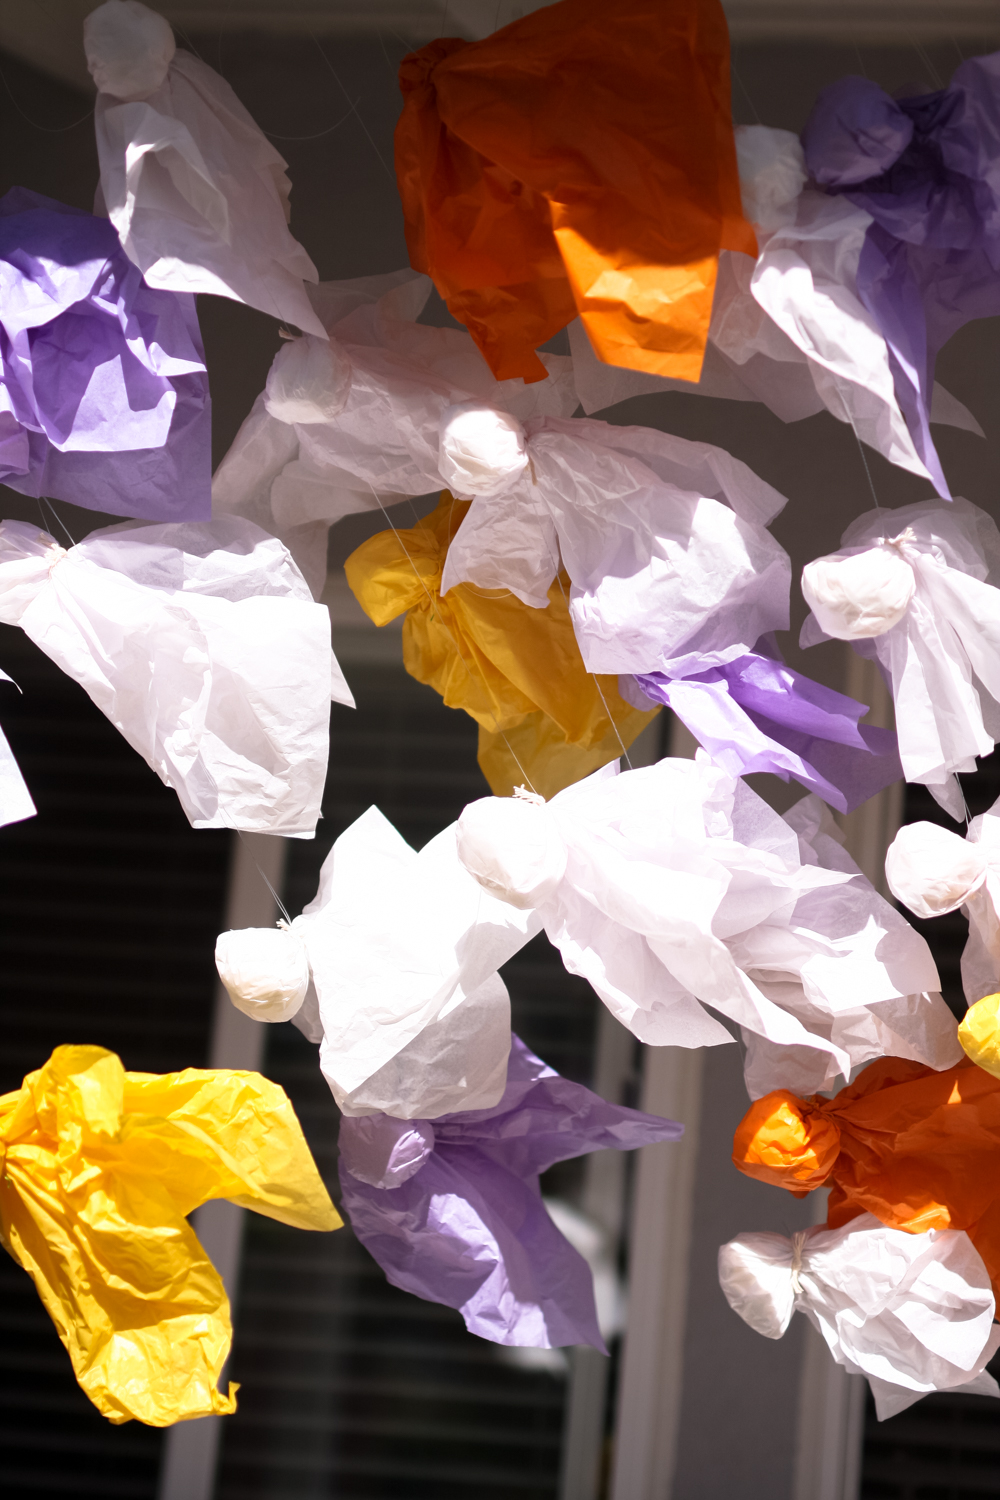
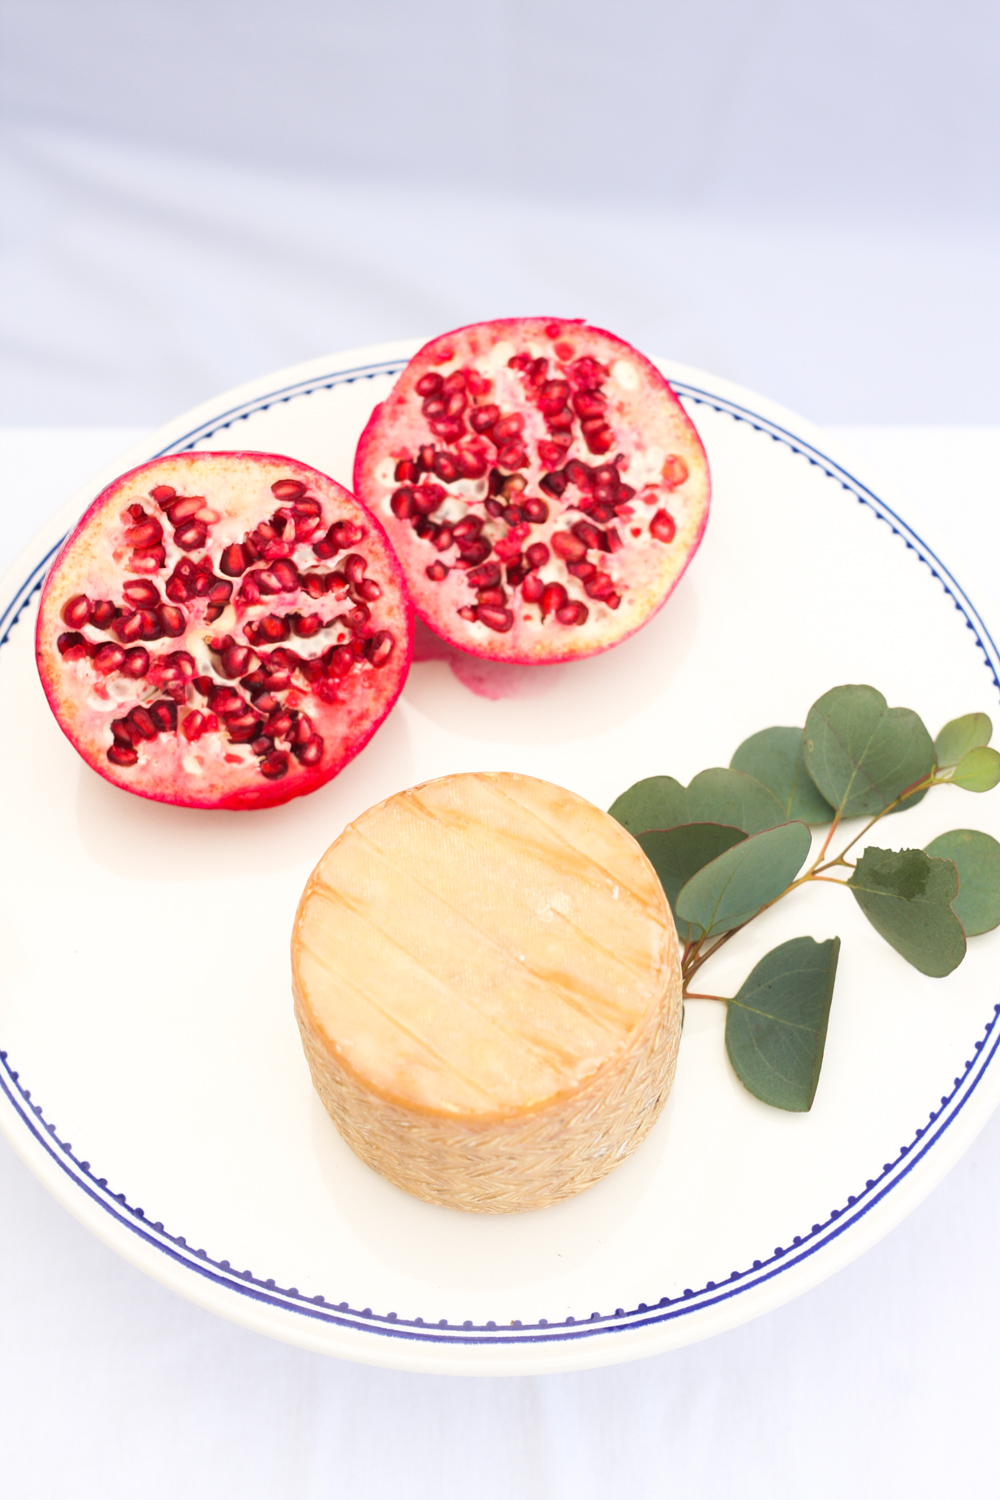
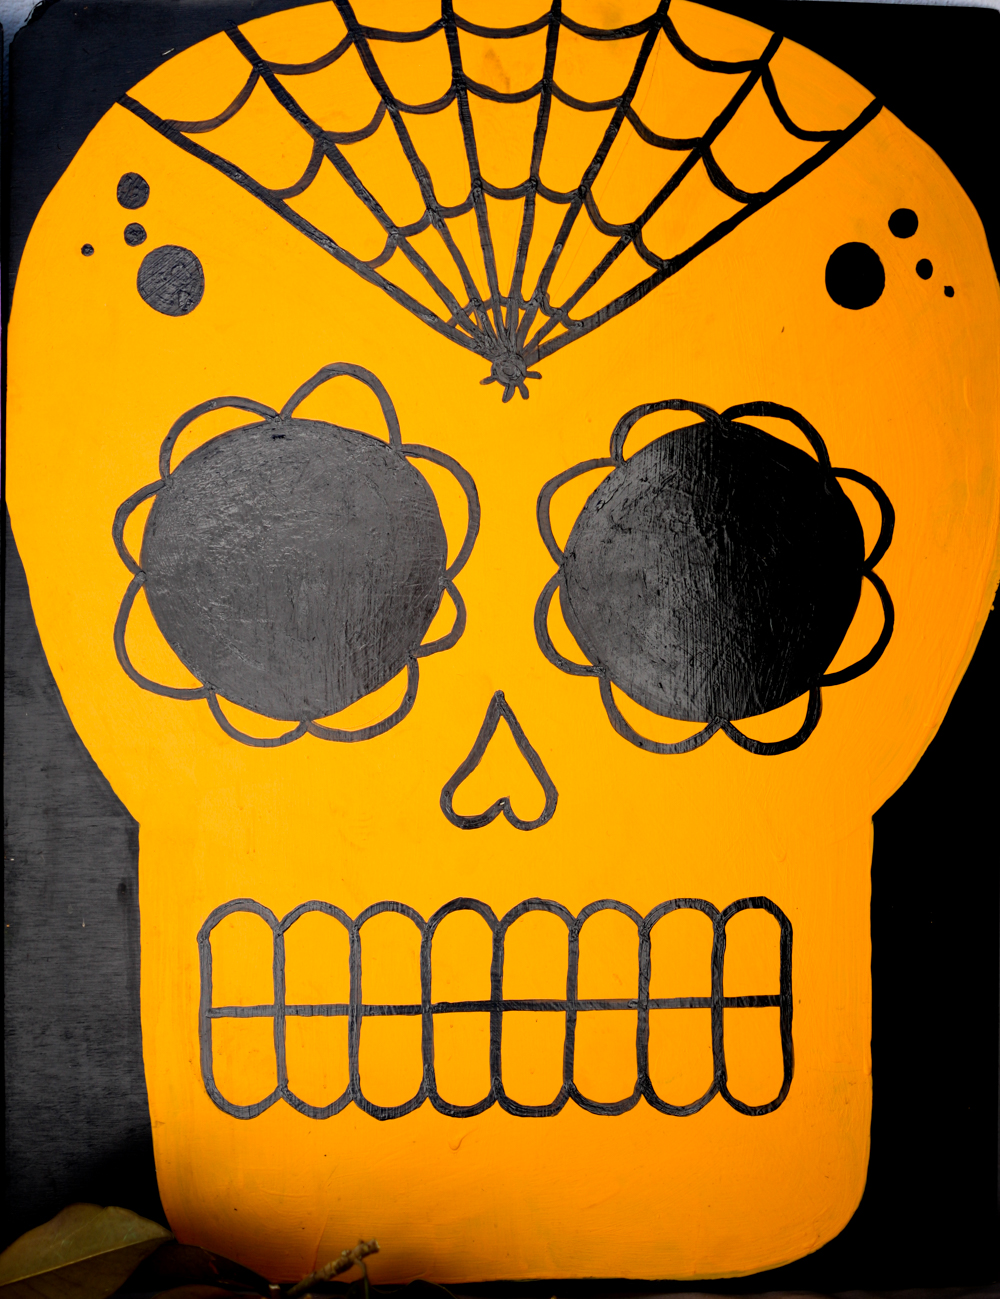
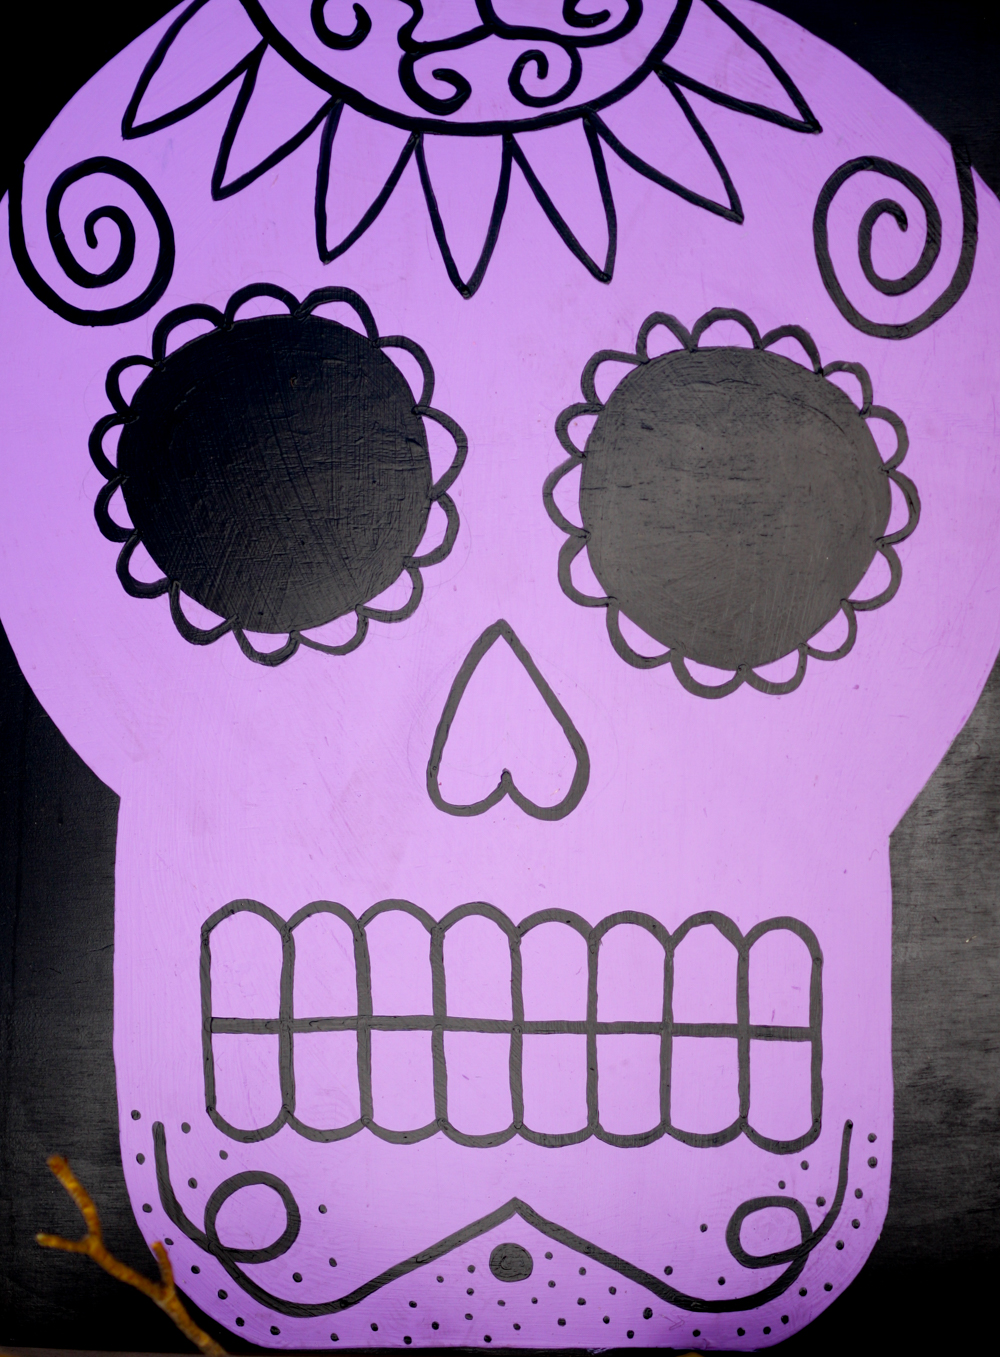
 Here is the final result:
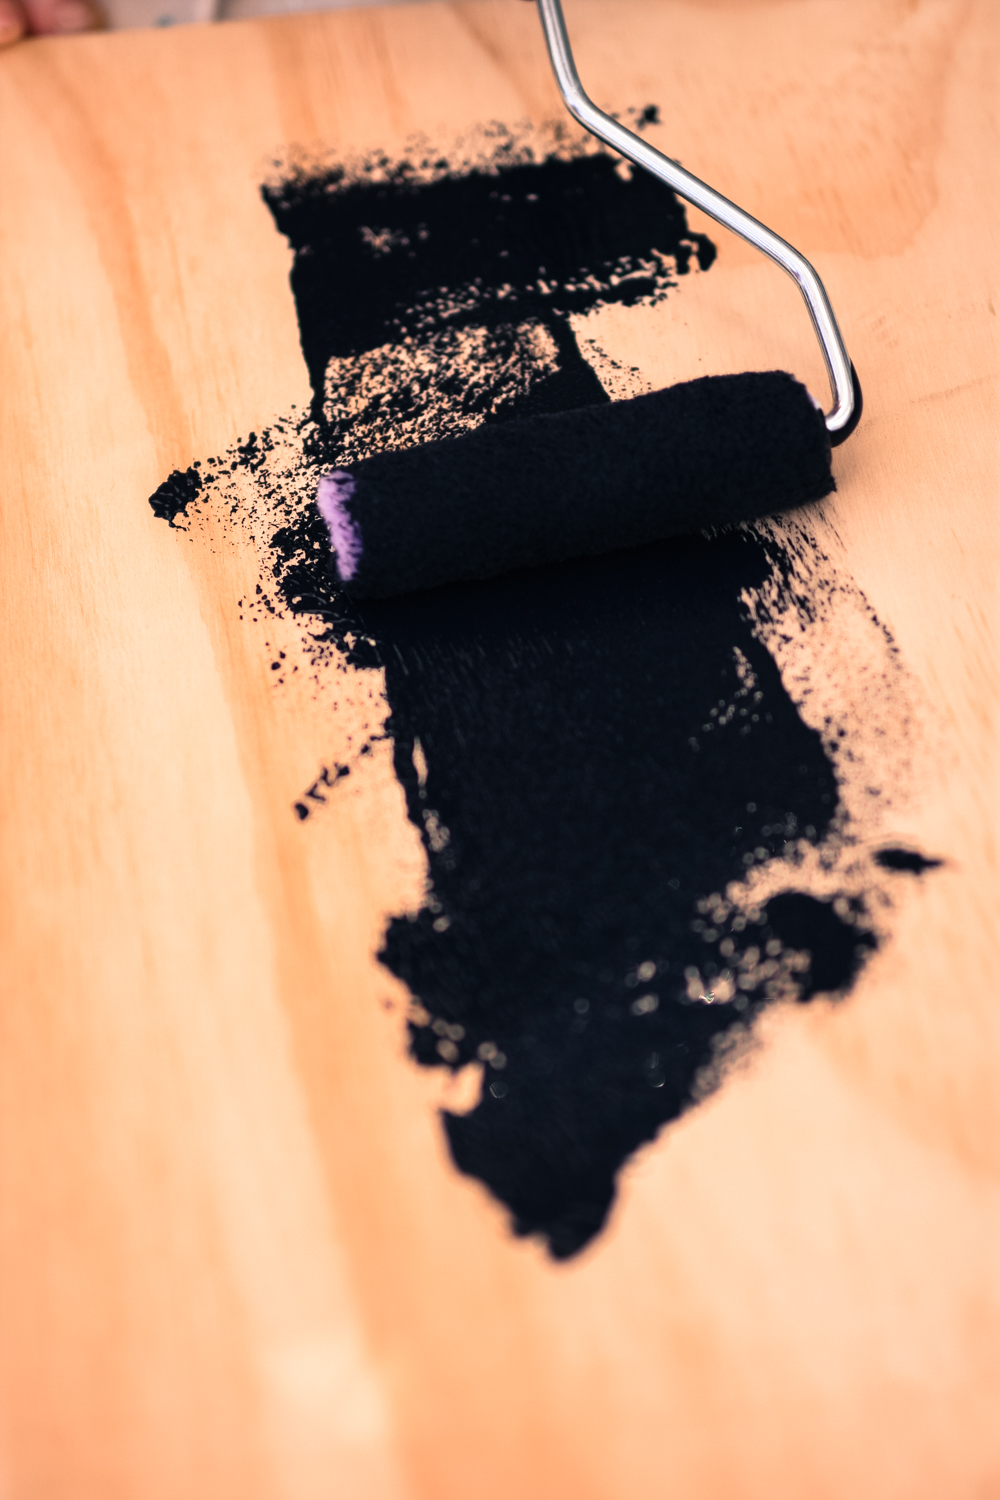
 STEP 2
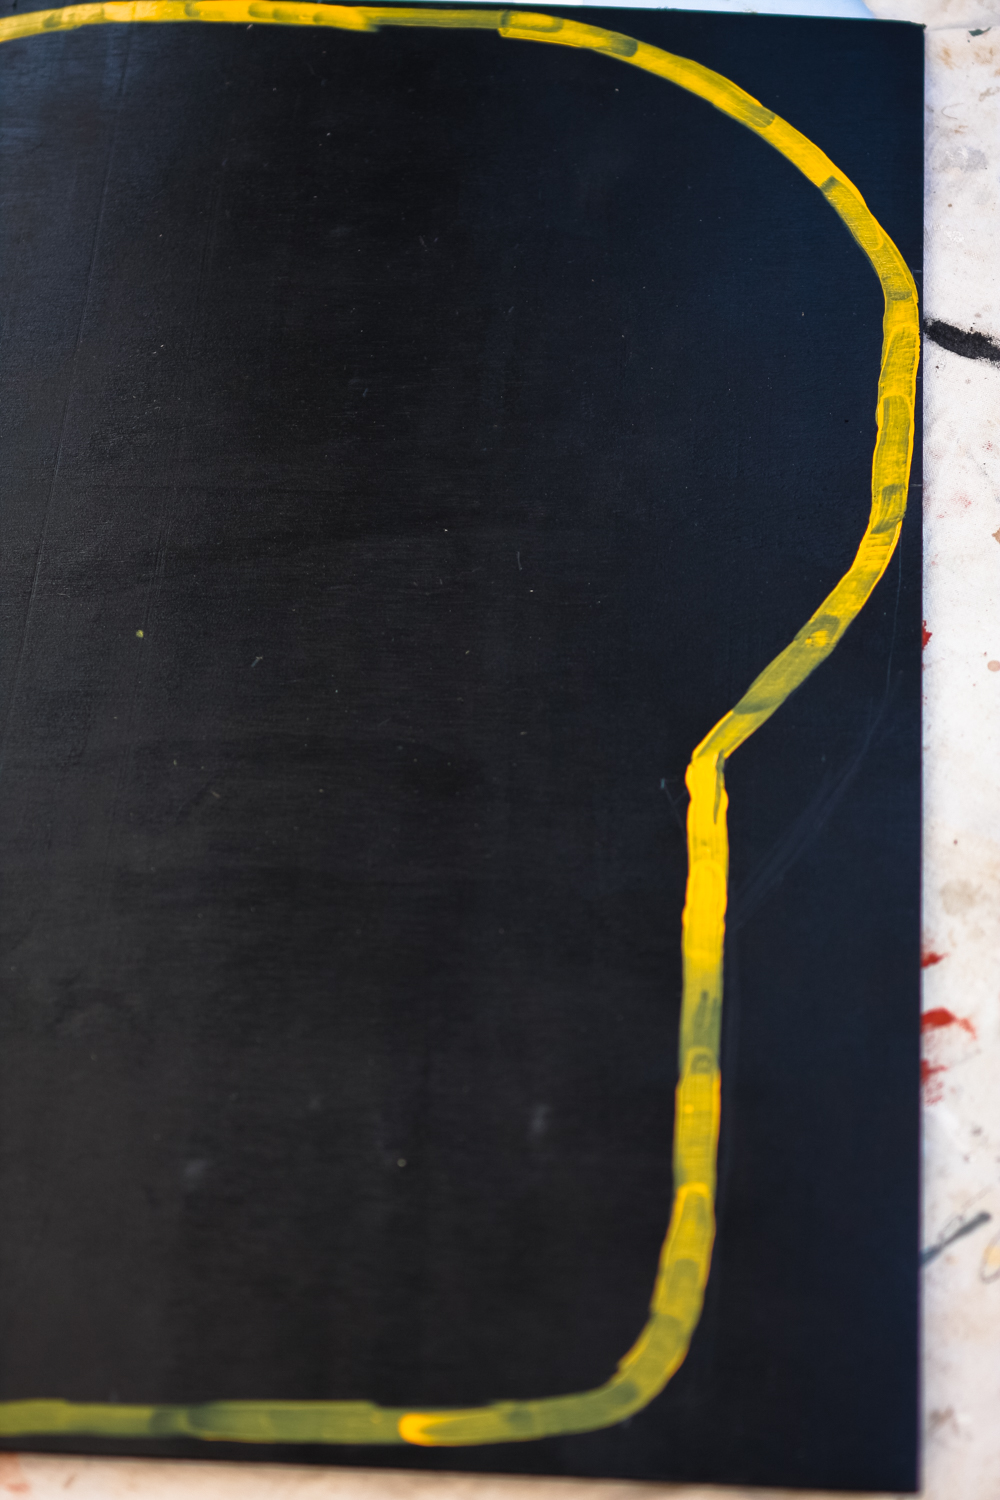
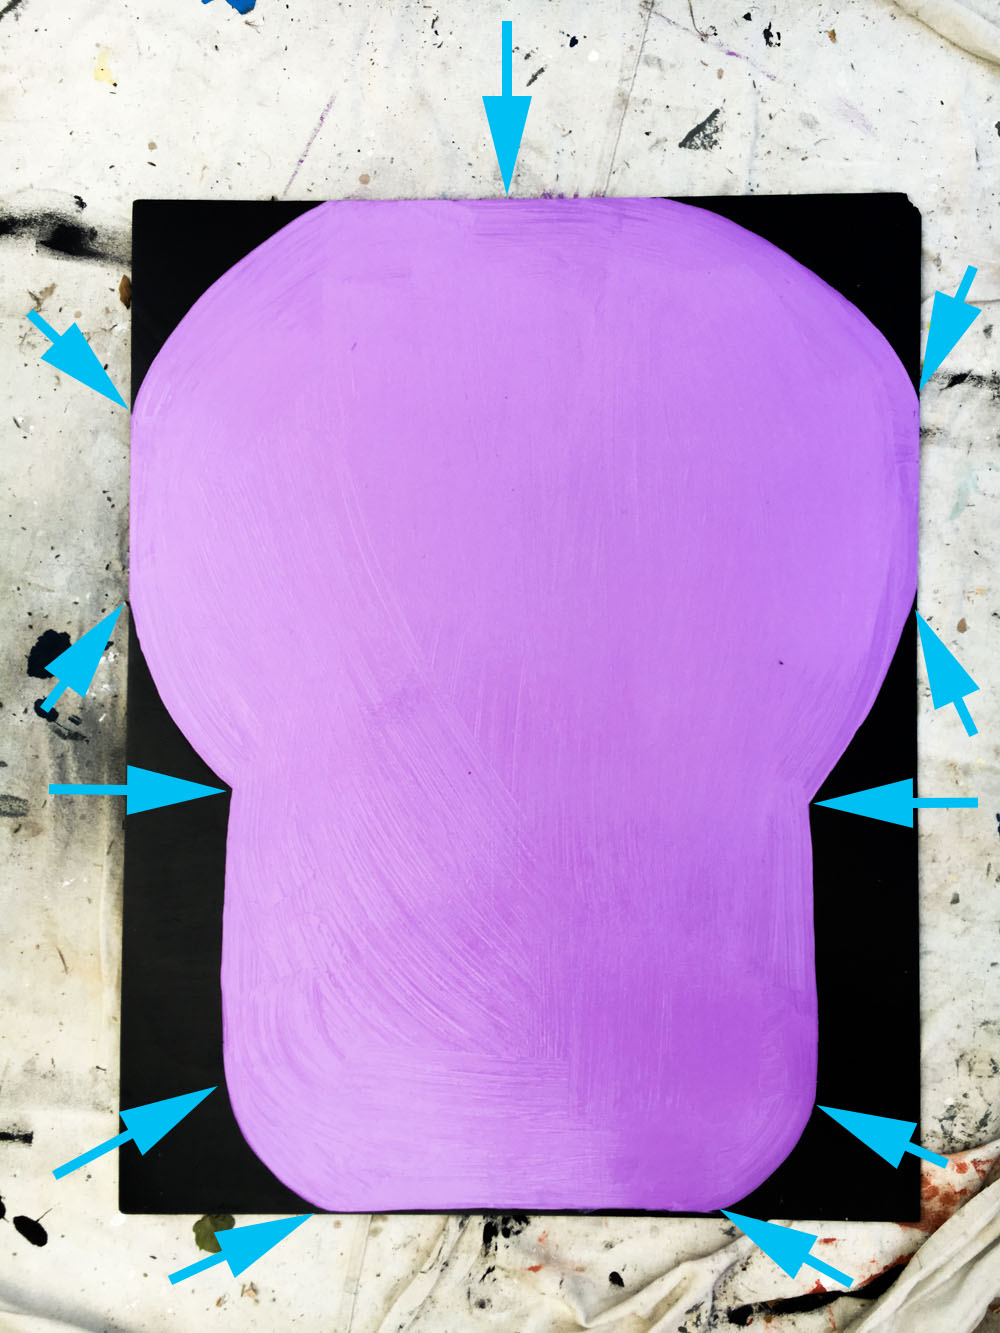 STEP 3
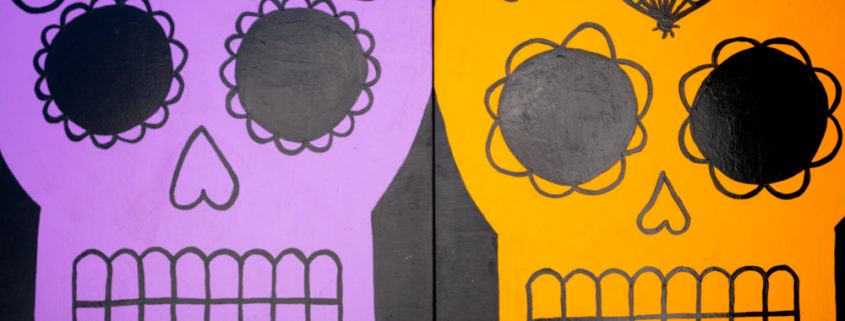
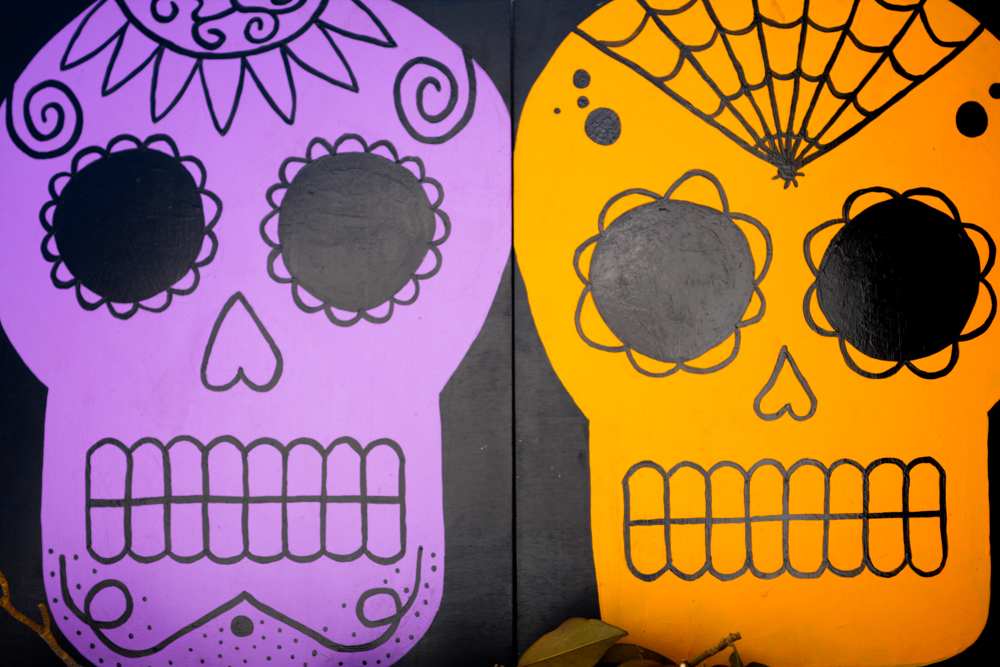
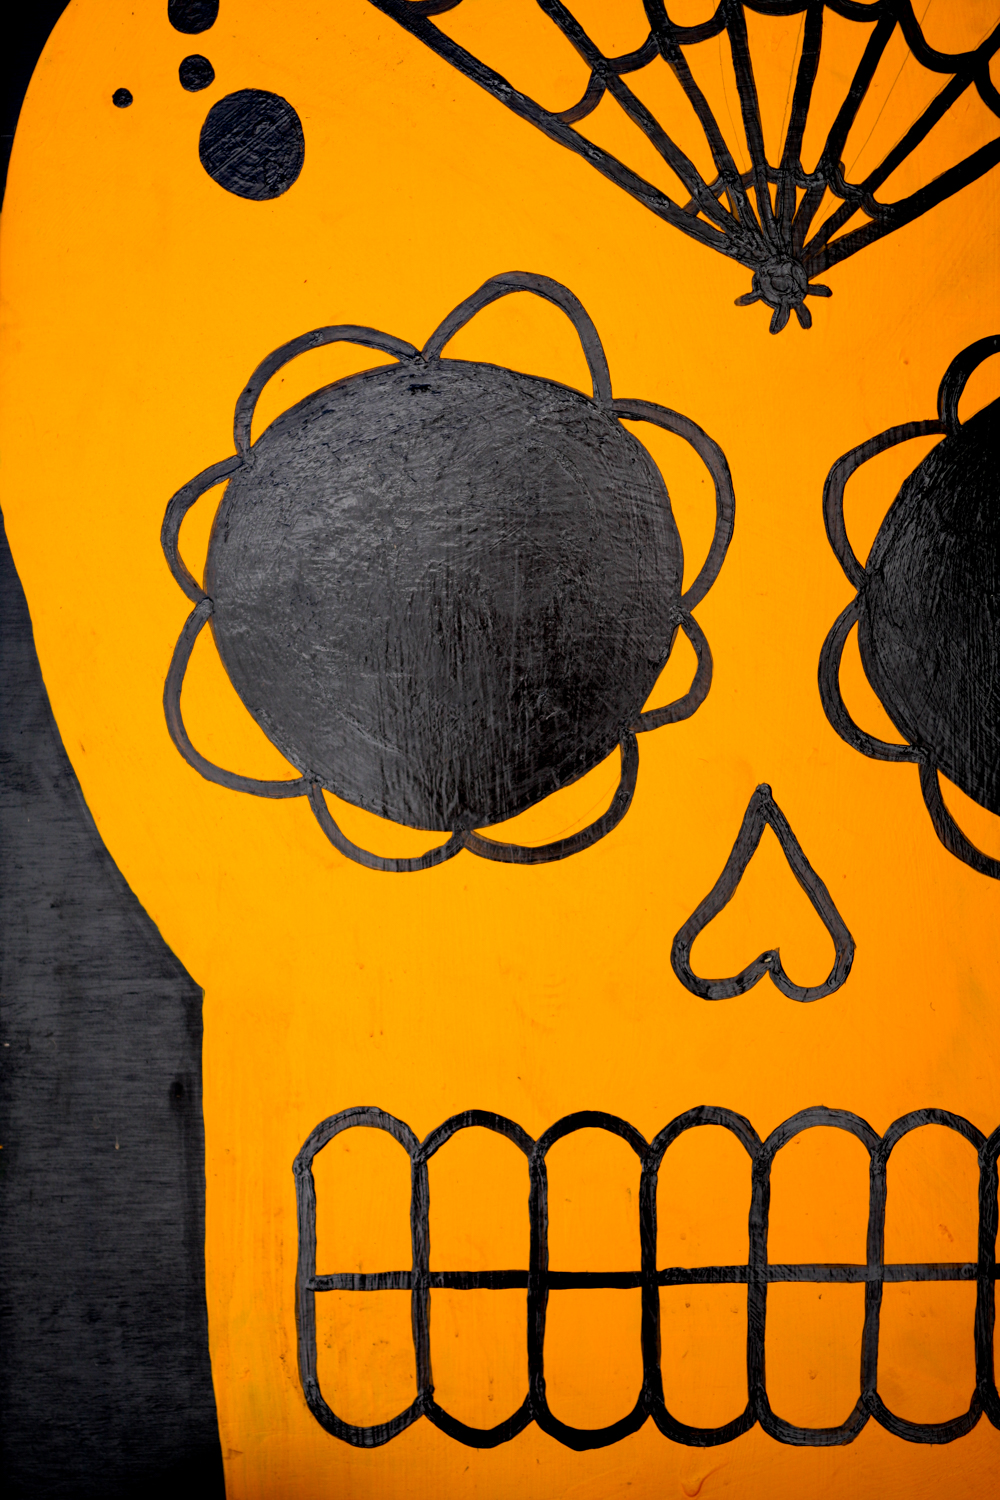
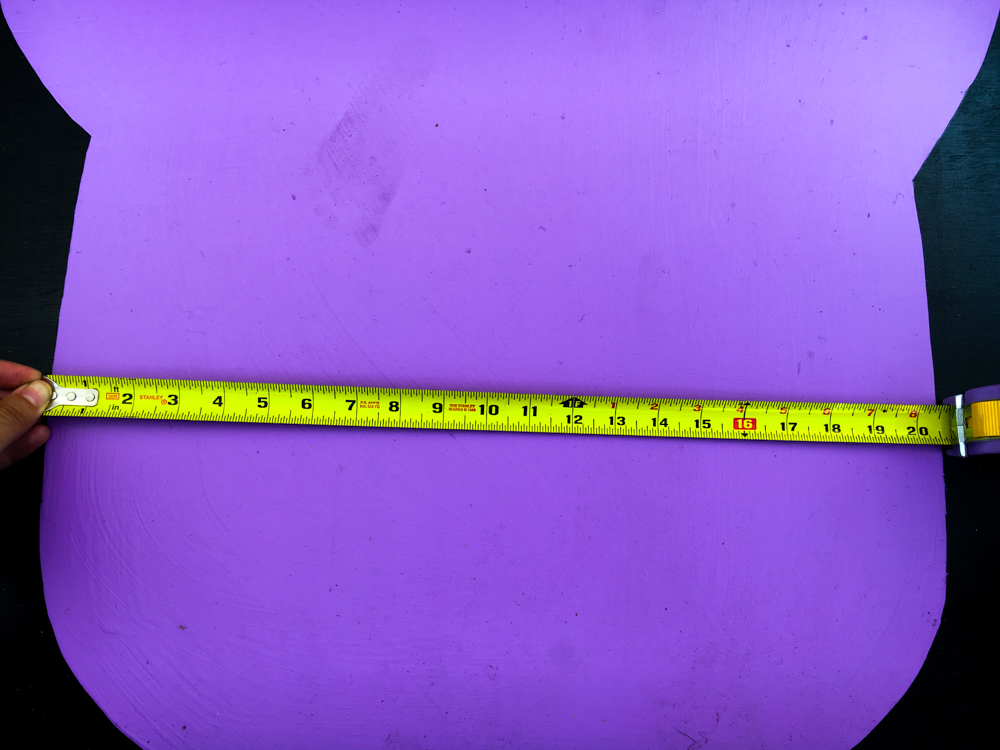 For the teeth, for example, I marked how wide (2 inches) and long (3 inches) each tooth had to be. I made sure the line in the middle was straight and then draw the rest of lines with a pencil. It looked like this:
 For the eyes, I just marked a middle point and then eight points 4 inches away from that middle point at different sides. Then I made lines between these points and made a big circle. I used these eight points as reference to create the outside petals for the eyes in the orange calavera.
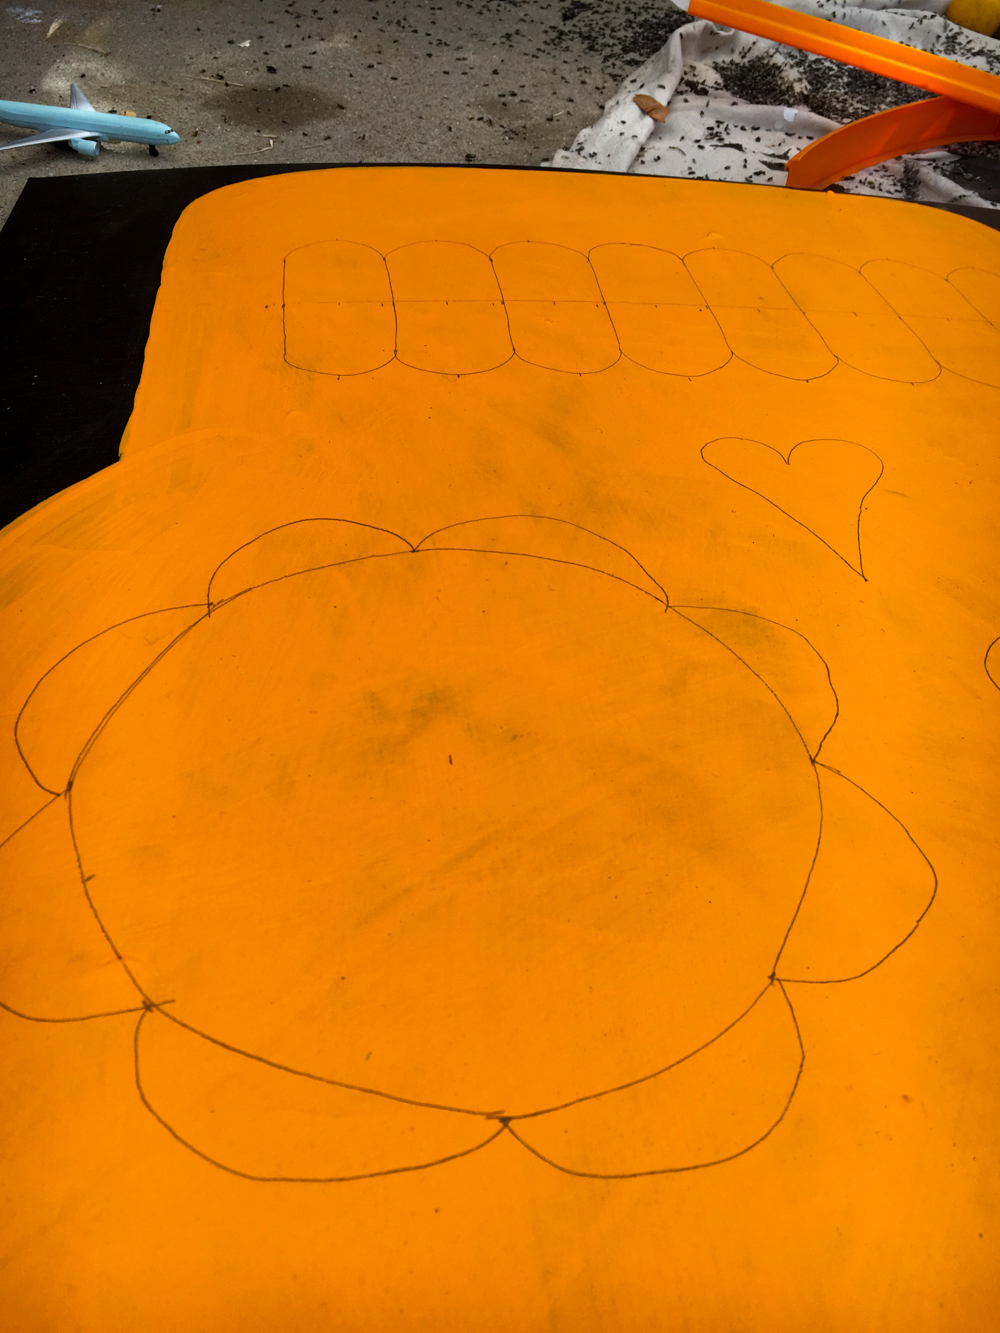 Step 4
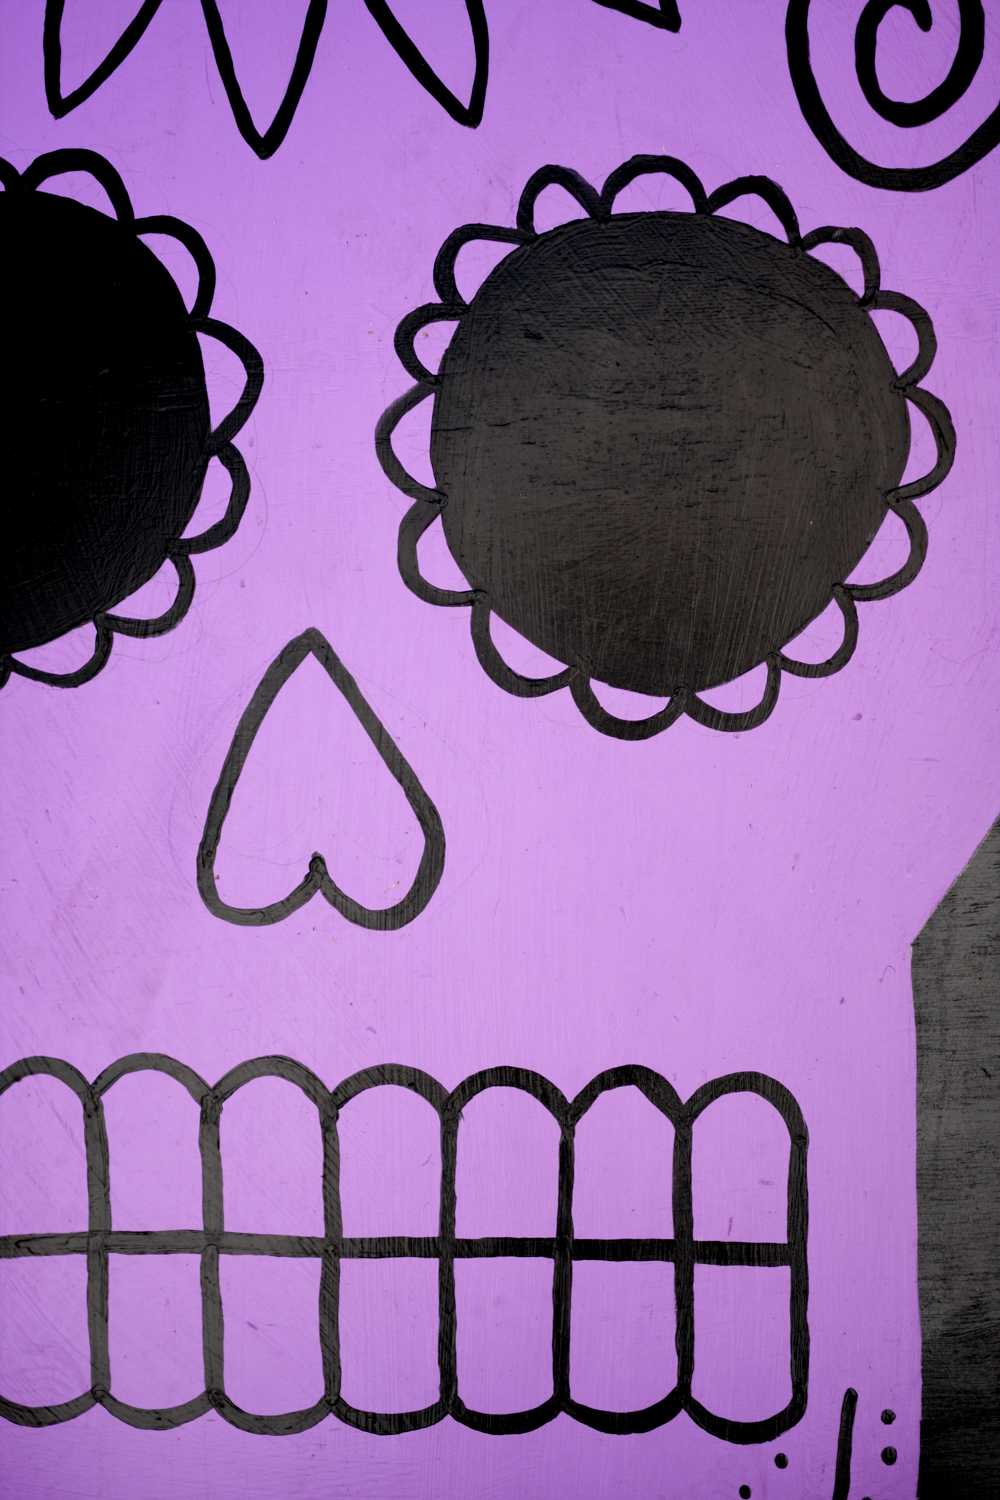

 STEP 5