
String Light Christmas Tree Decoration
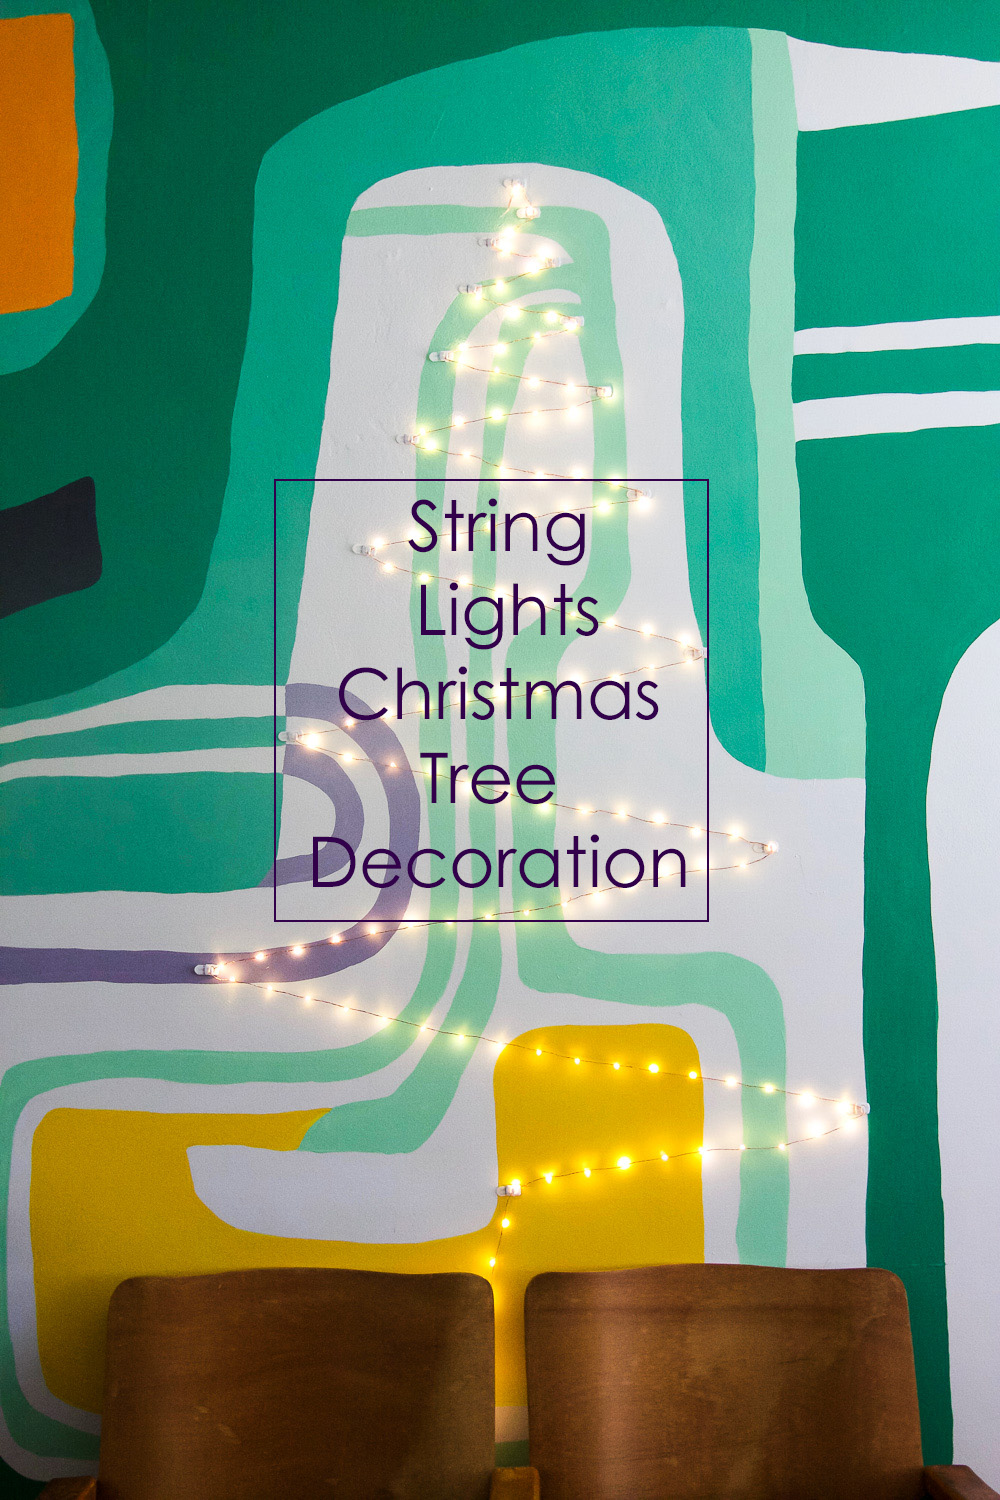 I have seen many photos of string light trees made on living room walls this season. I think they are a thing on Pinterest. Definitely a trend, so I decided to create one in my living room, in front of our mural – feeling inspired! Hint: It was not hard at all.
Difficulty (1-5): 1 Time: 20 mins Cost: $20
Here is what you need (my tree (above) is approximately 4 feet tall by 3 feet wide at the bottom)
–Small Command Hooks
–LED Starry String 20 ft Copper Wire Lights-Warm White
–Blue tape
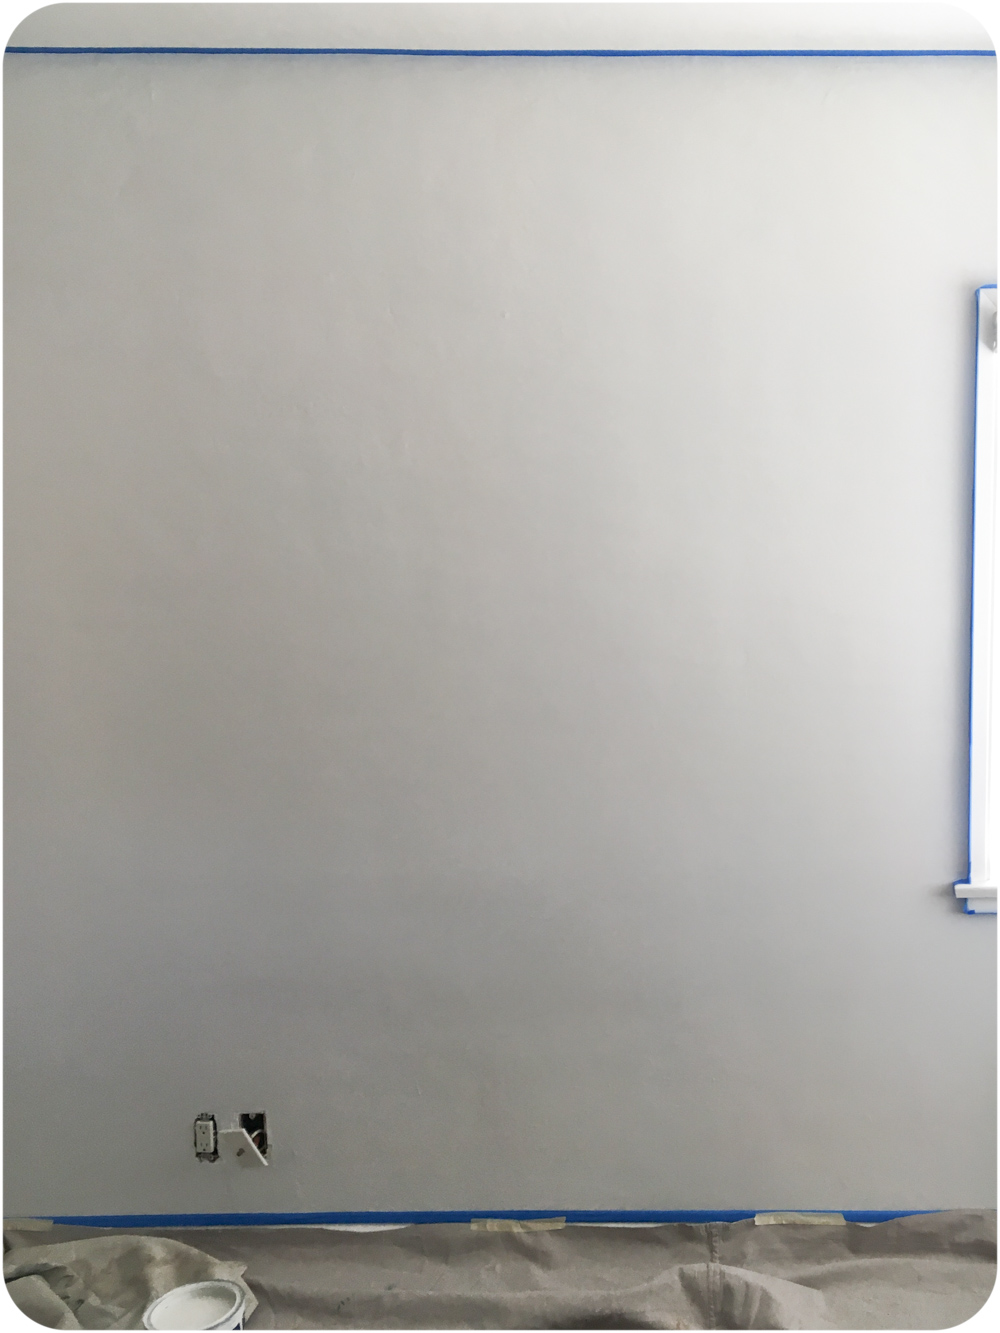
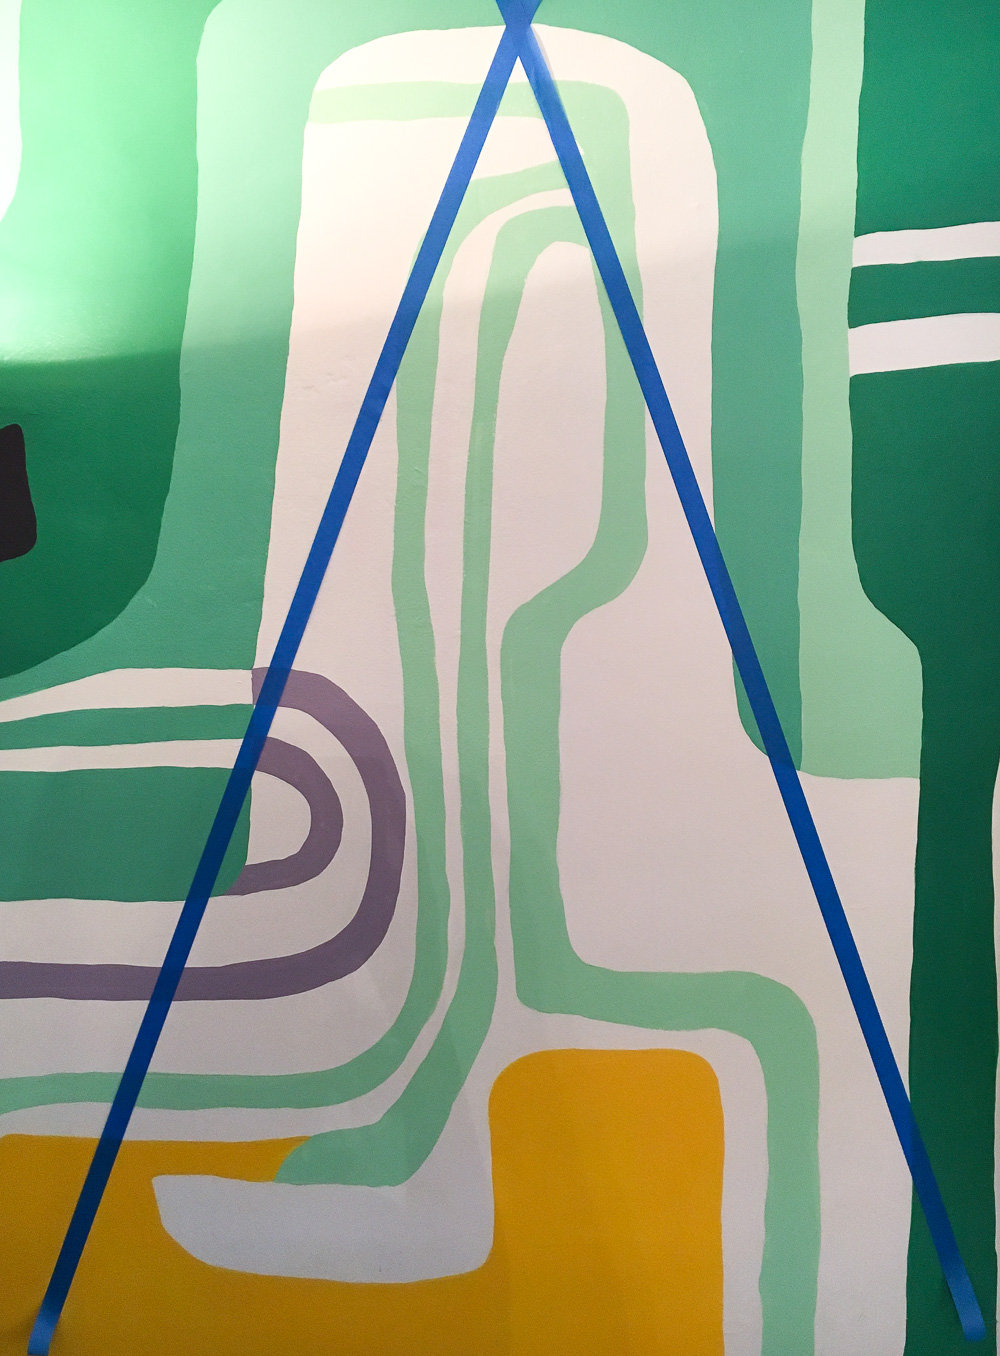 1) Start with marking your triangle shape with blue tape. This way you make sure you get the shape right without defacing your wall with pencil.
 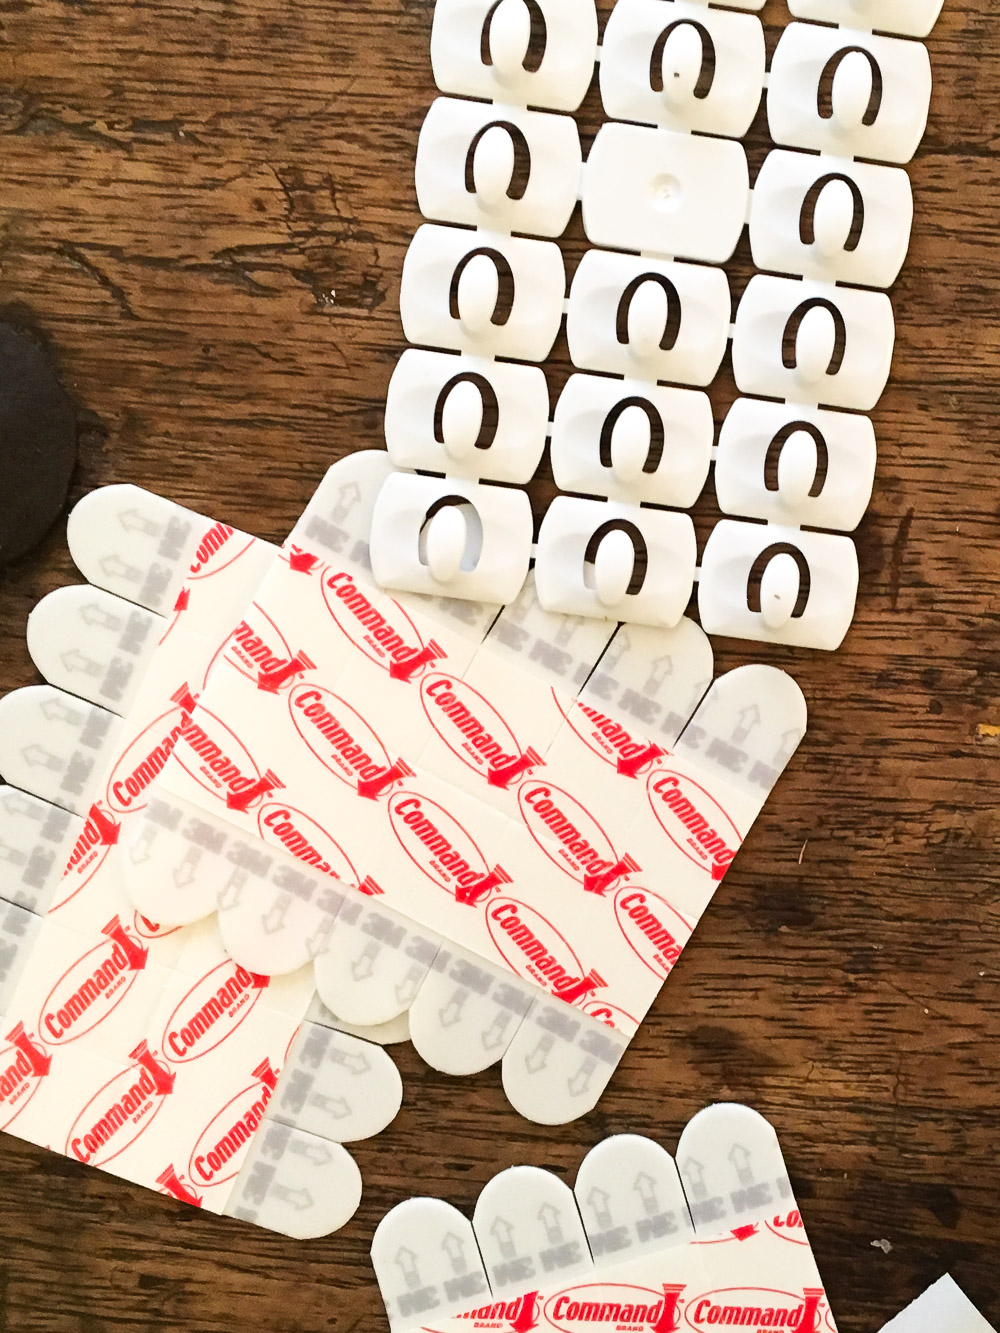 2) Start applying the command hooks from the top – before I continue this explanation, I have to say that I am a huge fan of command hooks!!! They are perfect to hang all decorations without ruining your wall. I did not want to ruin that mural we worked so hard to paint for the One Room Challenge, so these hooks were the perfect solution. I also hung these wreaths with them. I have also used them for garlands and paintings. I bought them in all sizes so it is a command hook love fest around here.
 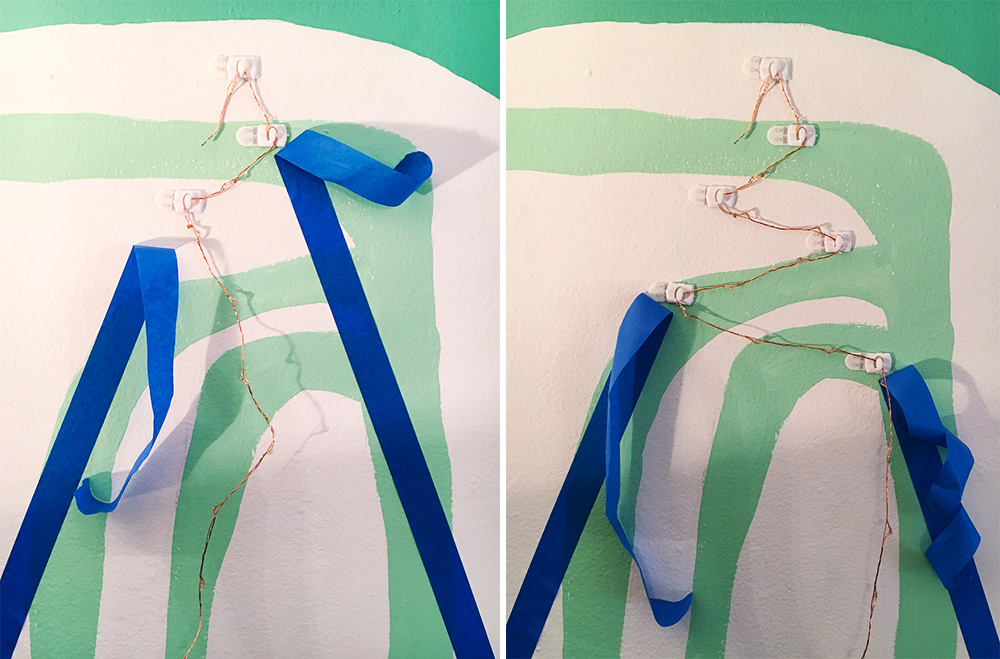 3) Depending on how long your LED string lights are, you can decide if to go wider or closer between lines. I didn’t want a super full tree – I went for a minimalist look-, so I decided to use a 20ft string. For a fuller look, get a 30ft LED string light or longer. Also, the copper wire lights are CUTE! Copper is the new IT metal, so if you want your tree to be trendy, get the copper instead of normal string lights which are not as elegant.
 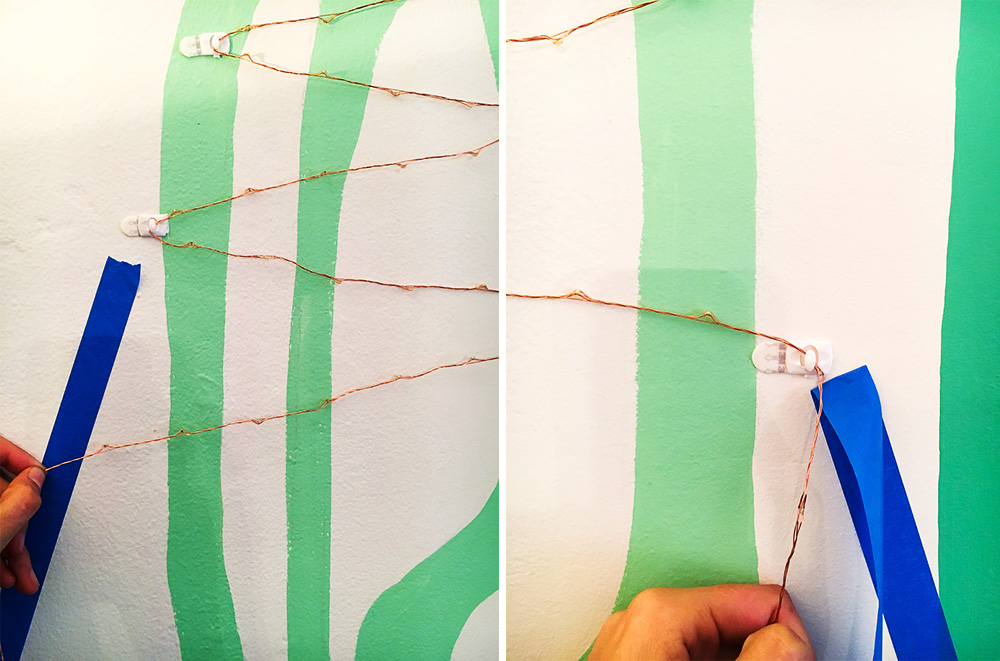 4) Work your way down the blue tape, adding command hooks as you peel off the tape.
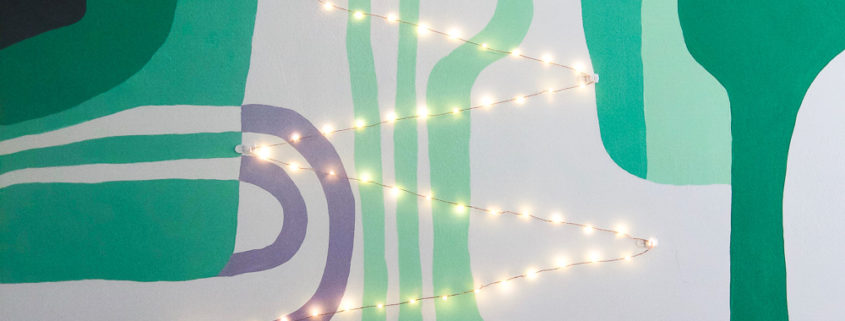
 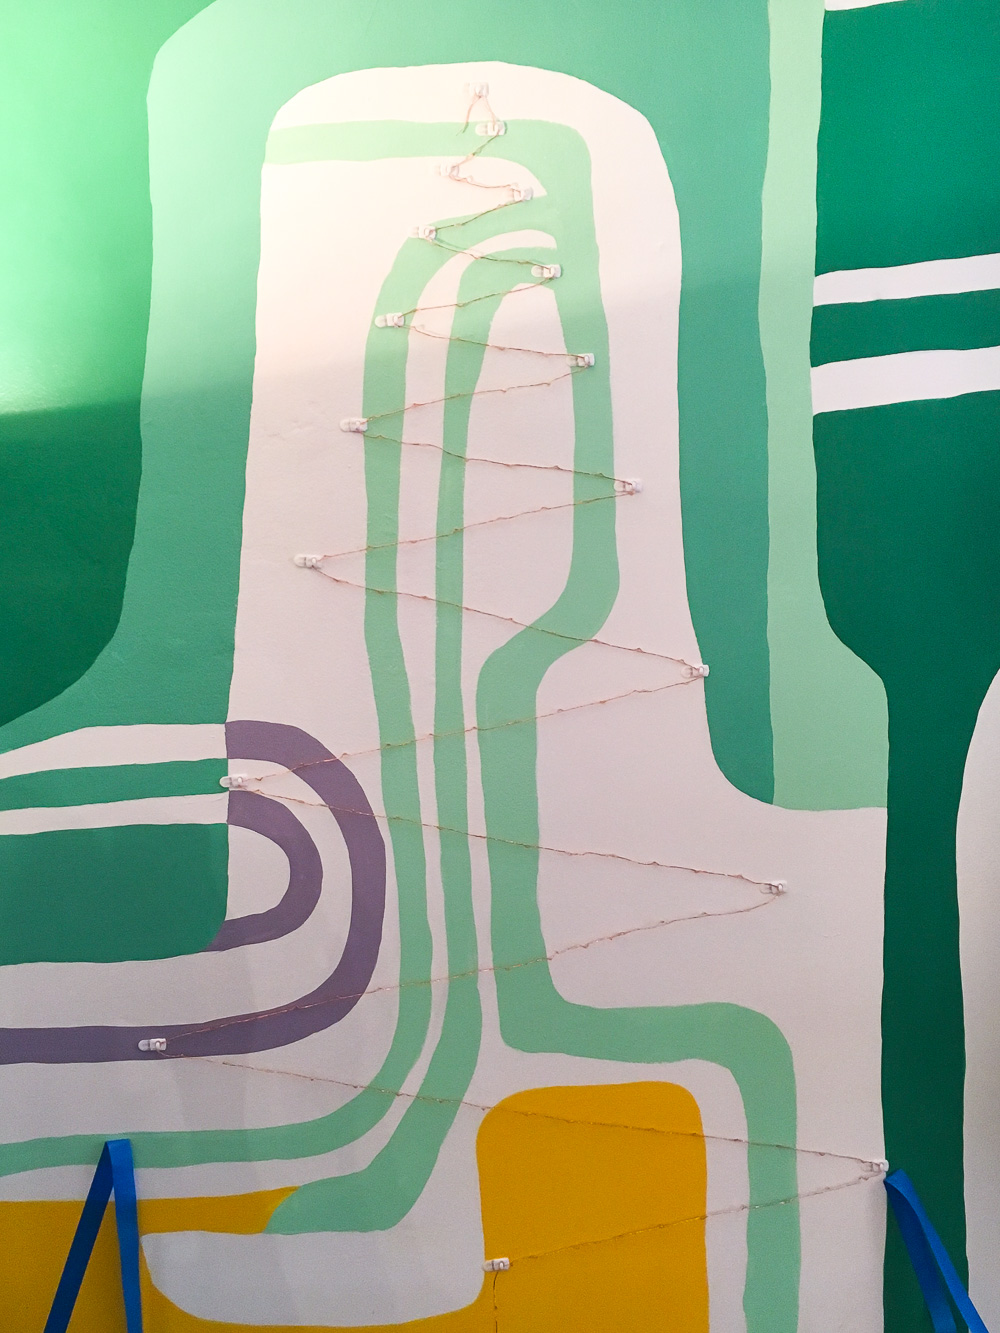 5) Turn on the lights and cry with happiness:
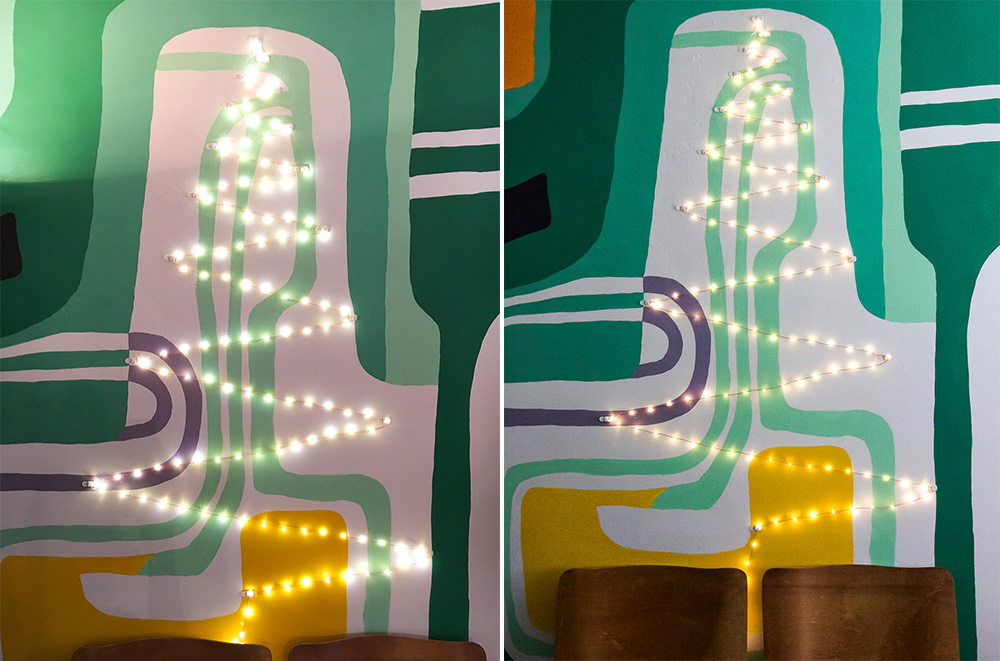

Ok. Now that you read that easy and fun DIY that could transform your living room into a sophisticated one in seconds, let us look at what others have been doing around the web and where I got my inspiration from:
 Cox and Cox
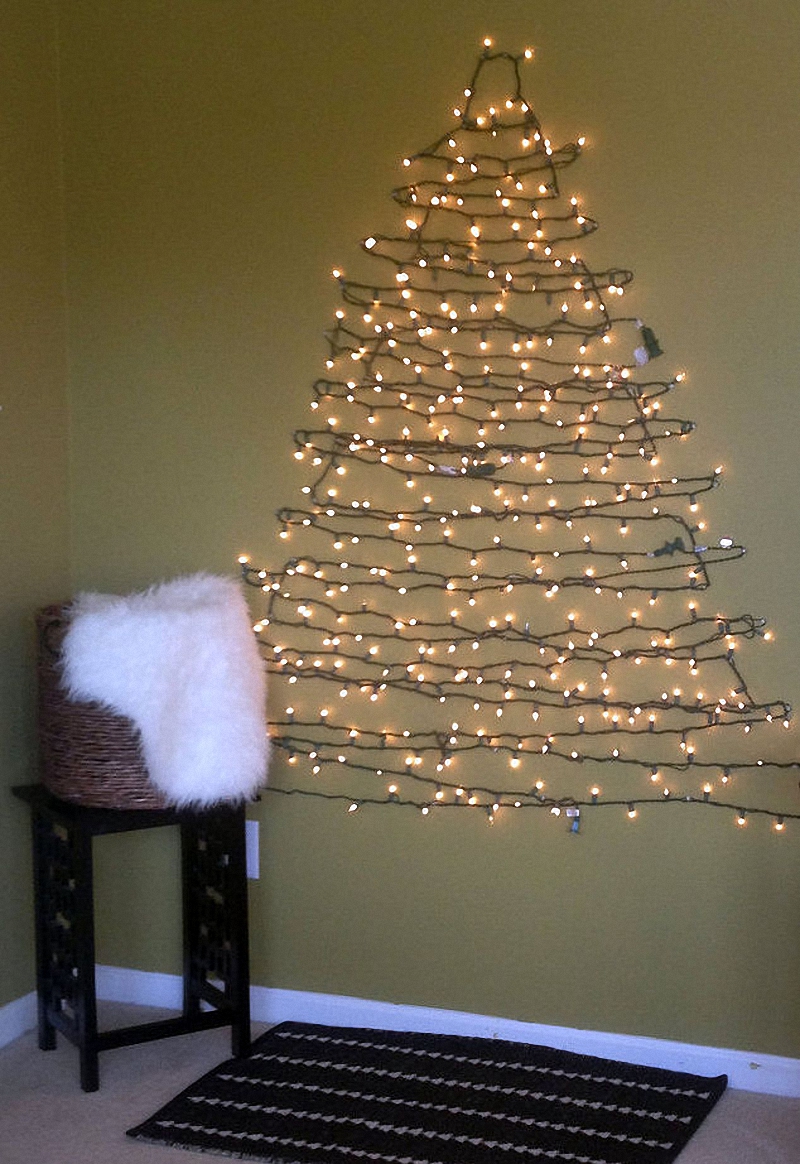 Behind The Big Green Door
 A Pair & A Spare
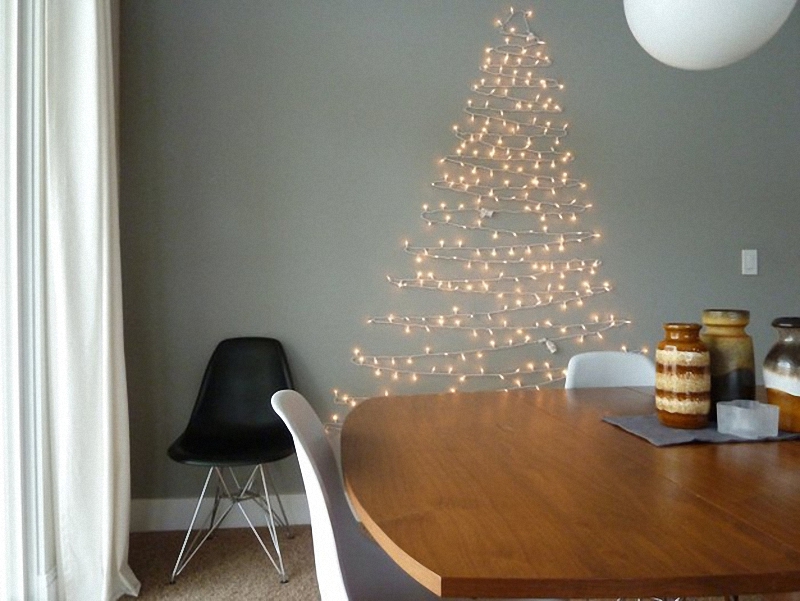 AMM
AMM  Motanu Home Decor Ideas
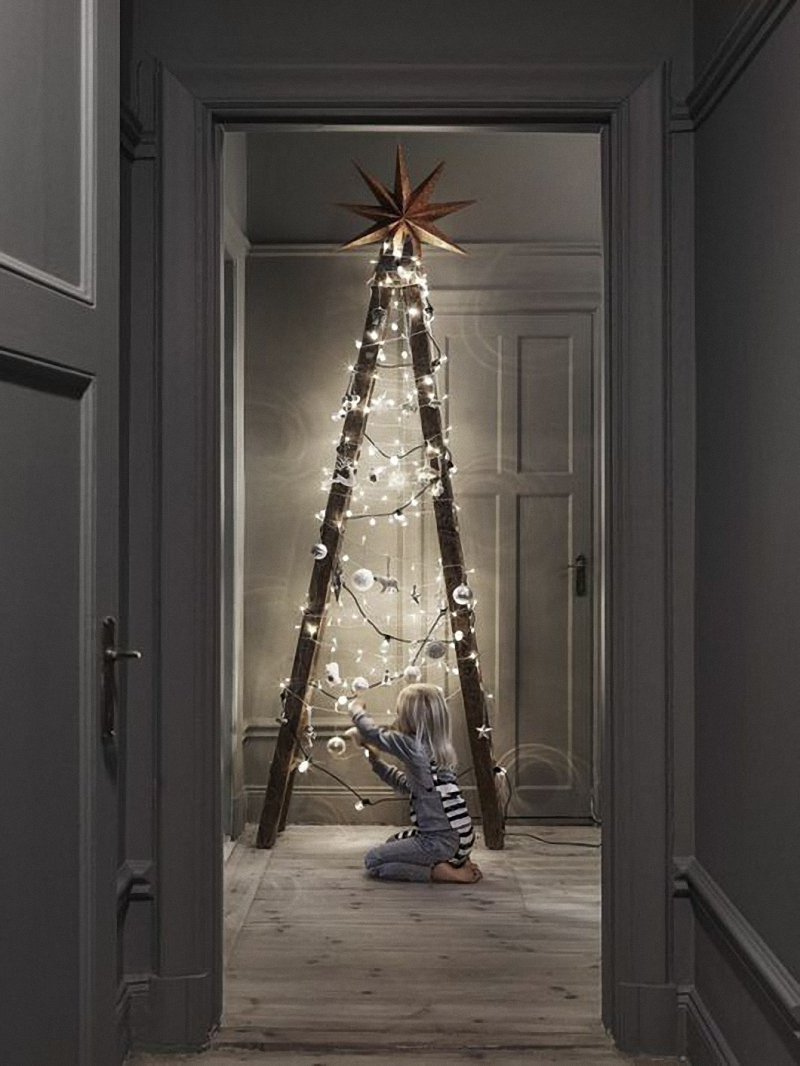 Trendenser
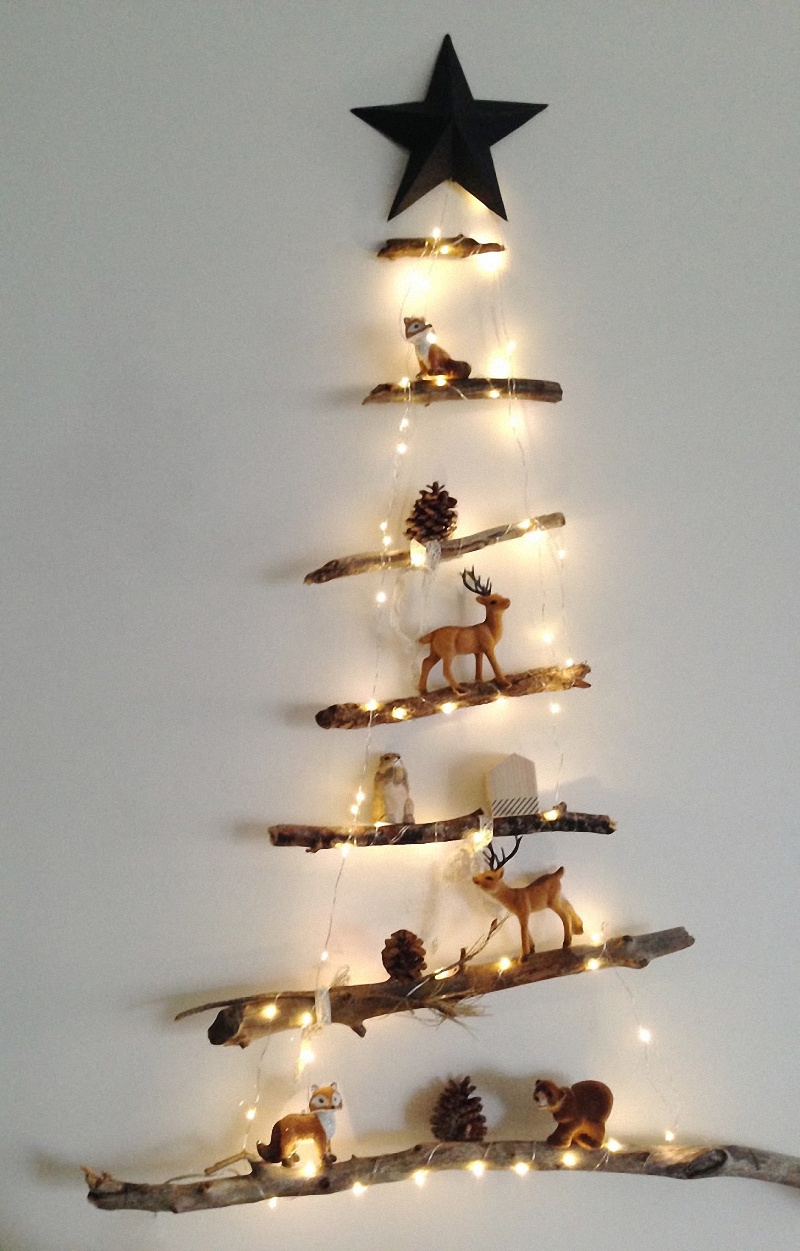
Some of these are pretty gorgeous, don’t you think?
About my tree, I wish my photos would have come out better. I didn’t know how to take a good picture of the lights and the mural at the same time so this is the best I could do. In truth, I don’t think the photos do this cute little LED tree justice. Everybody that comes to my place comments on how cute it looks, so, once again, you will have to take my word for it. It is much nicer than what the photos show. 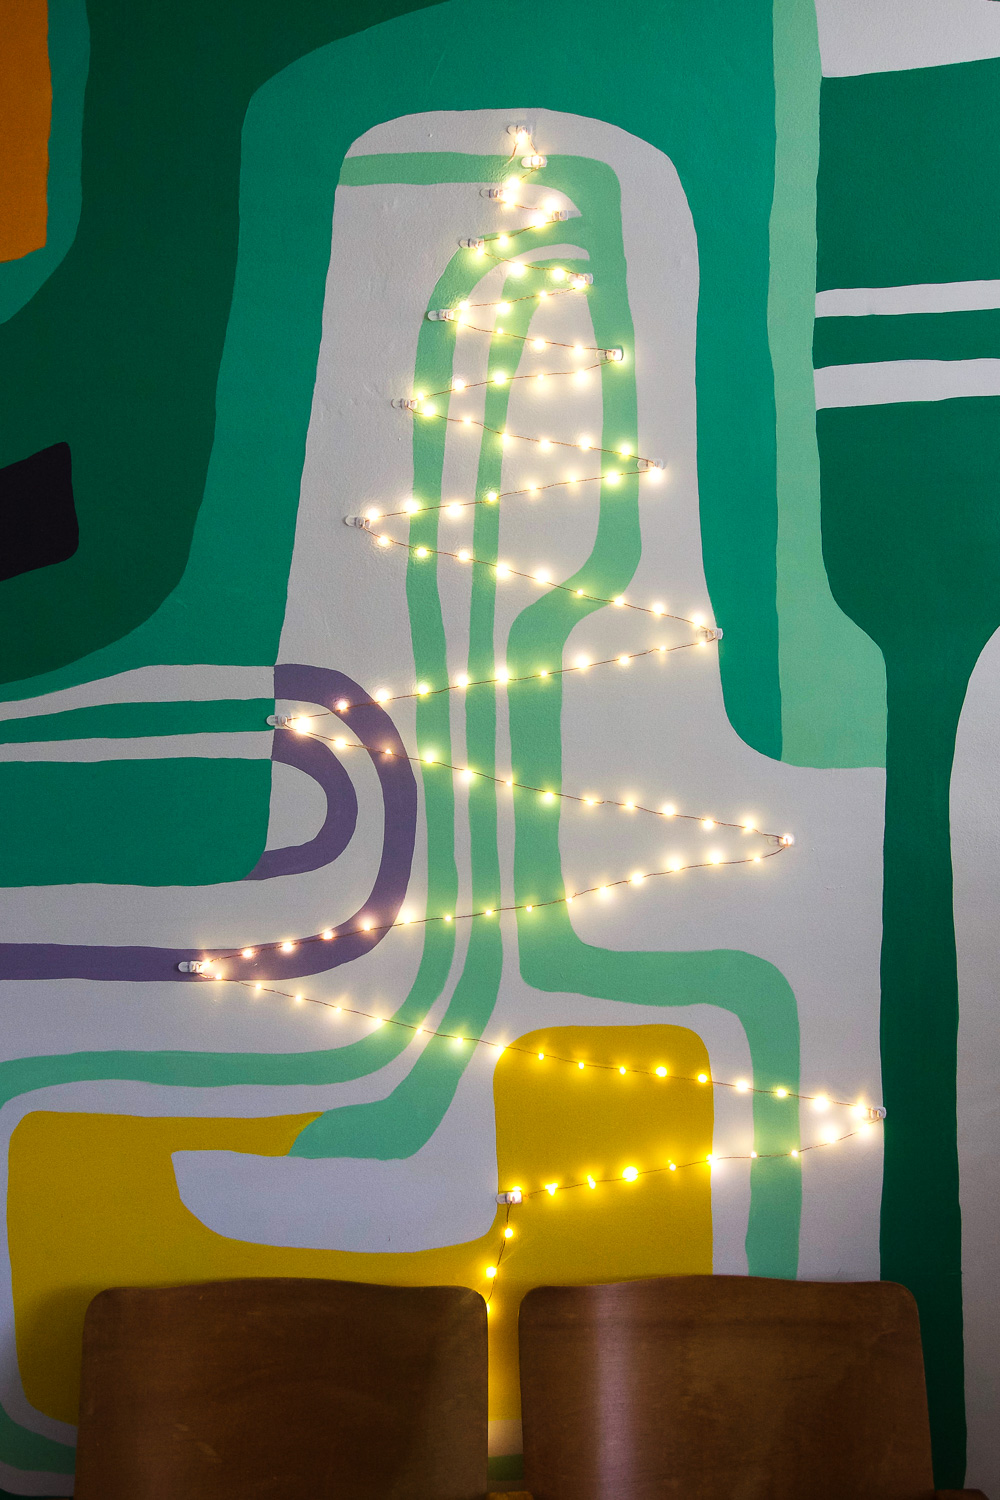
Hope you liked this one and, in case you haven’t seen how the rest of my home looks for Christmas, you can take a look here.
Thanks for stopping by!
*This post contains affiliate links. If you click and buy through them, I get a small comission. Thanks for supporting Jest Cafe. Creating this content is not cheap nor easy, but it is super fun. Thanks for reading. I mean it.


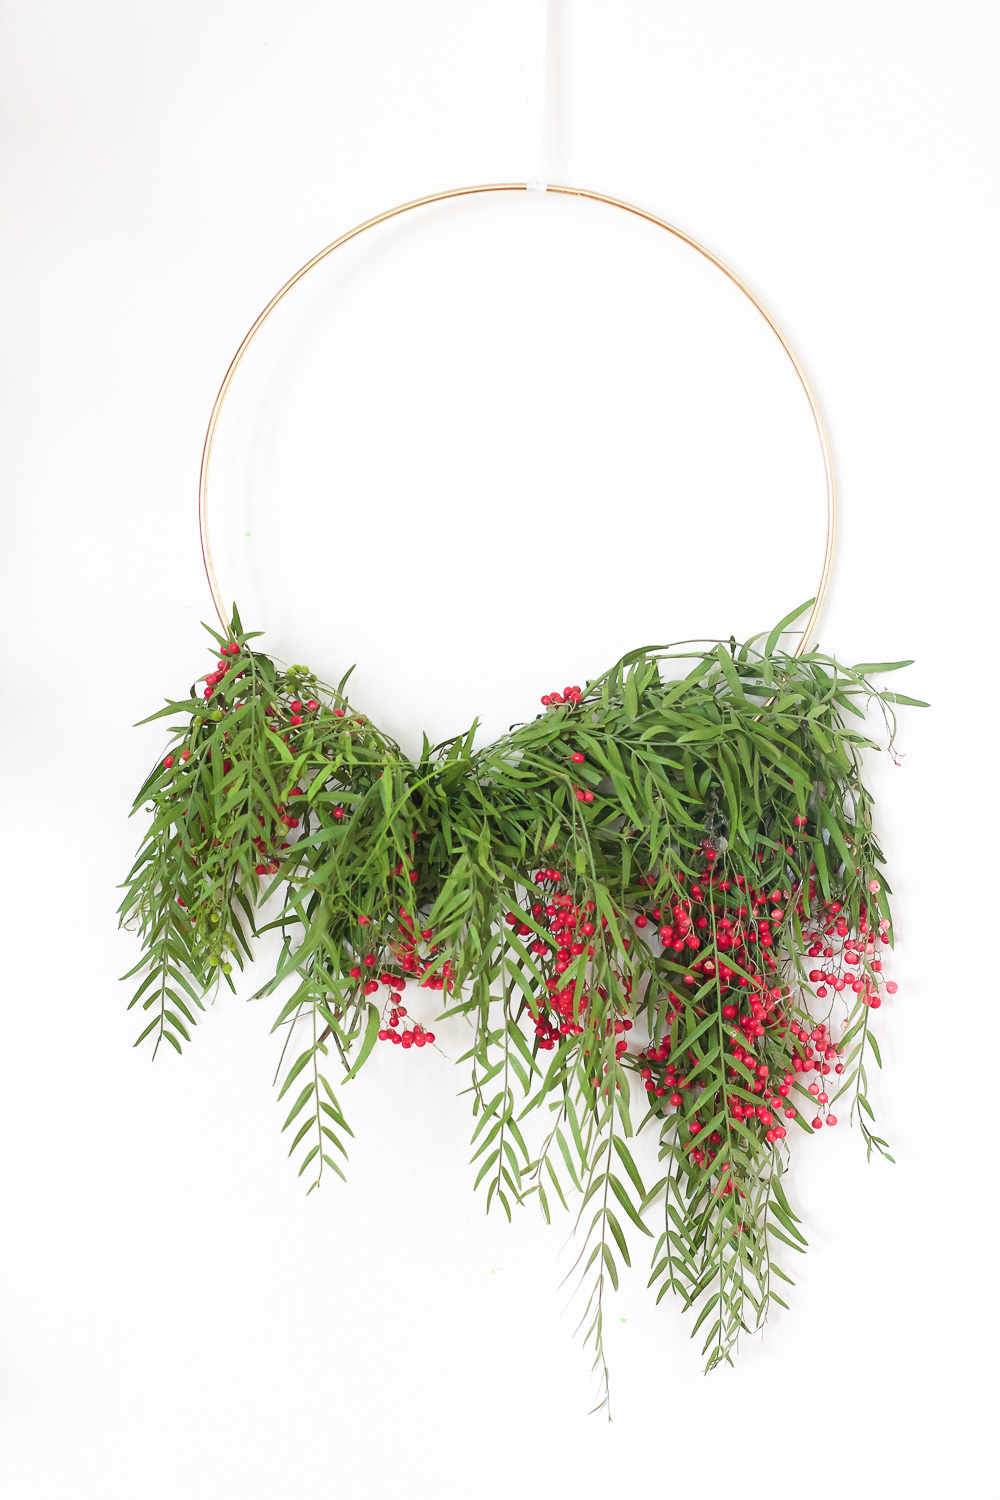

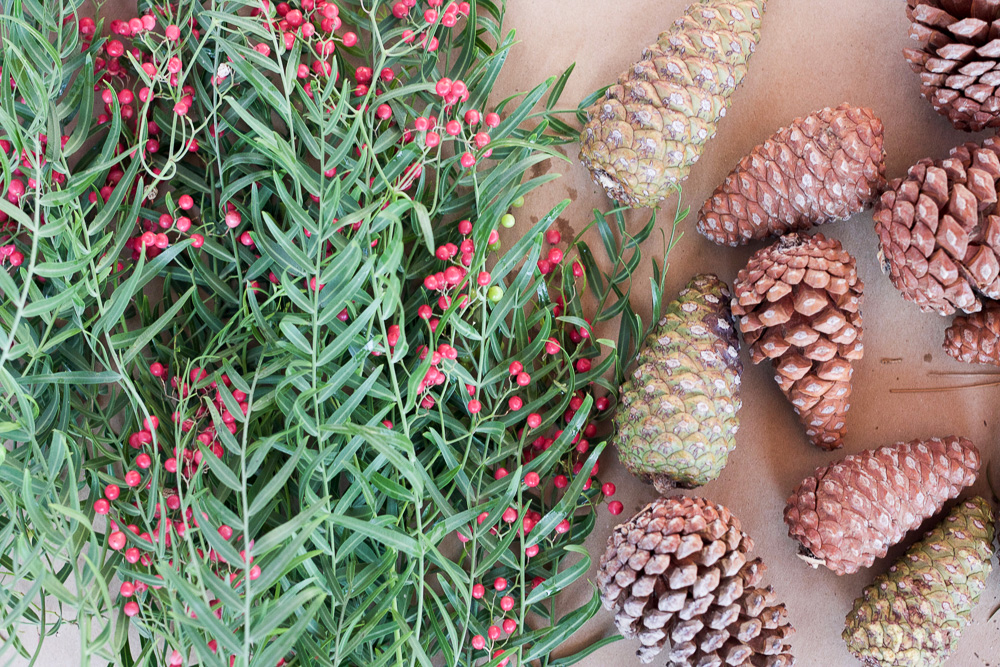
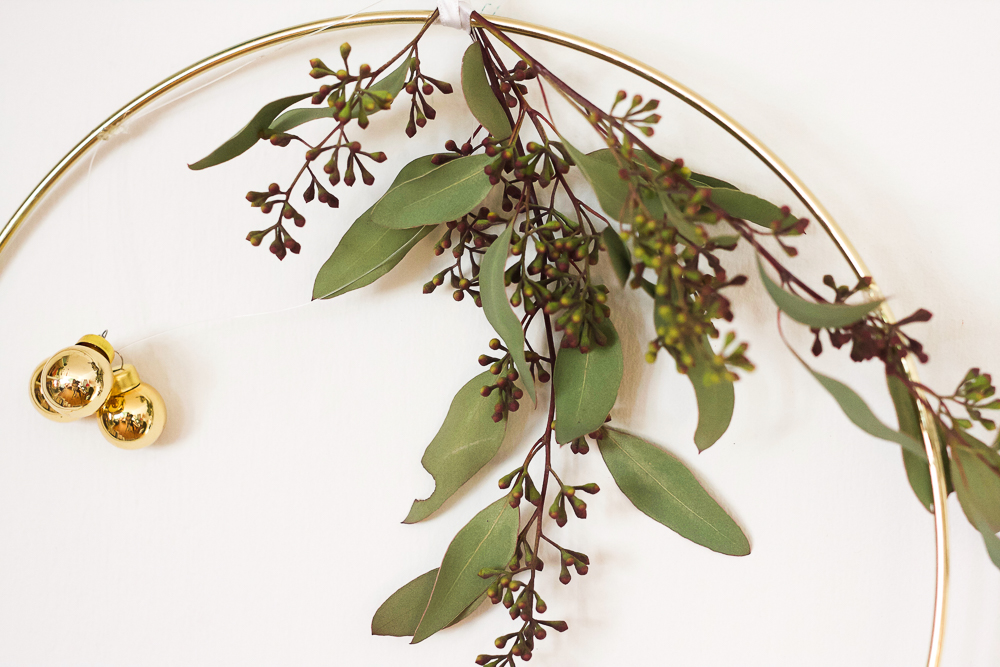
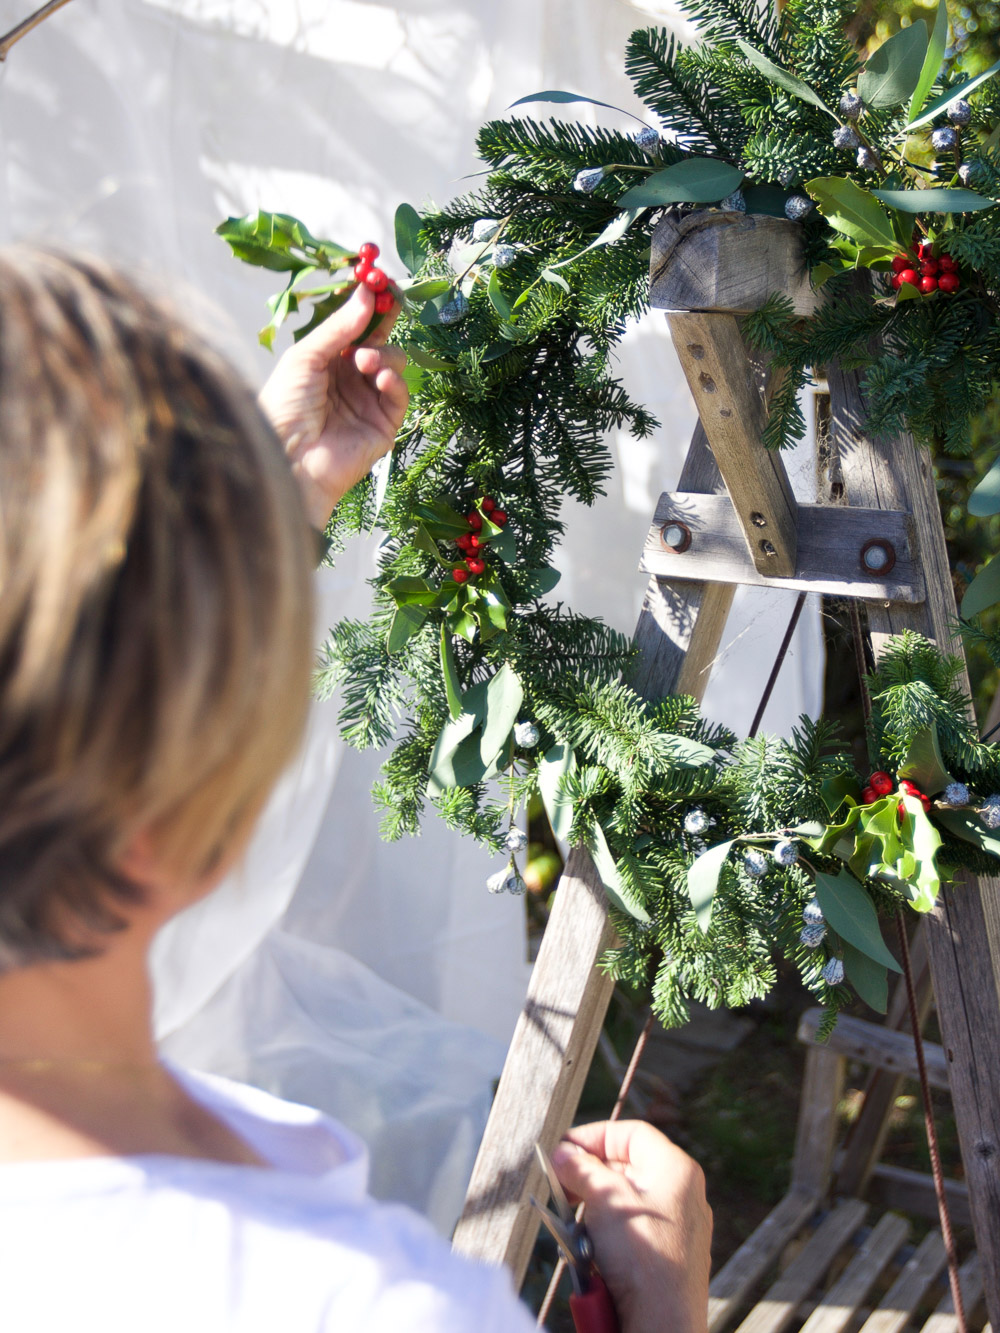
 1) The first step was deciding the length of the leaves. How far did I want them to fall? I didn’t want them too long, so I went for half of the ring size: around 6″.
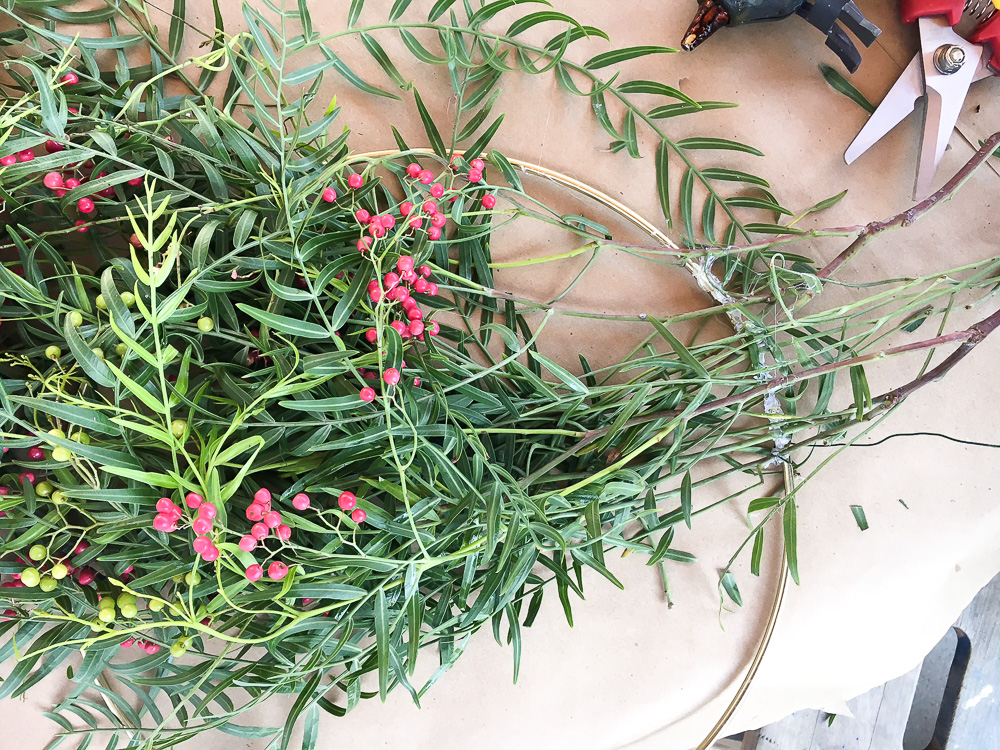
 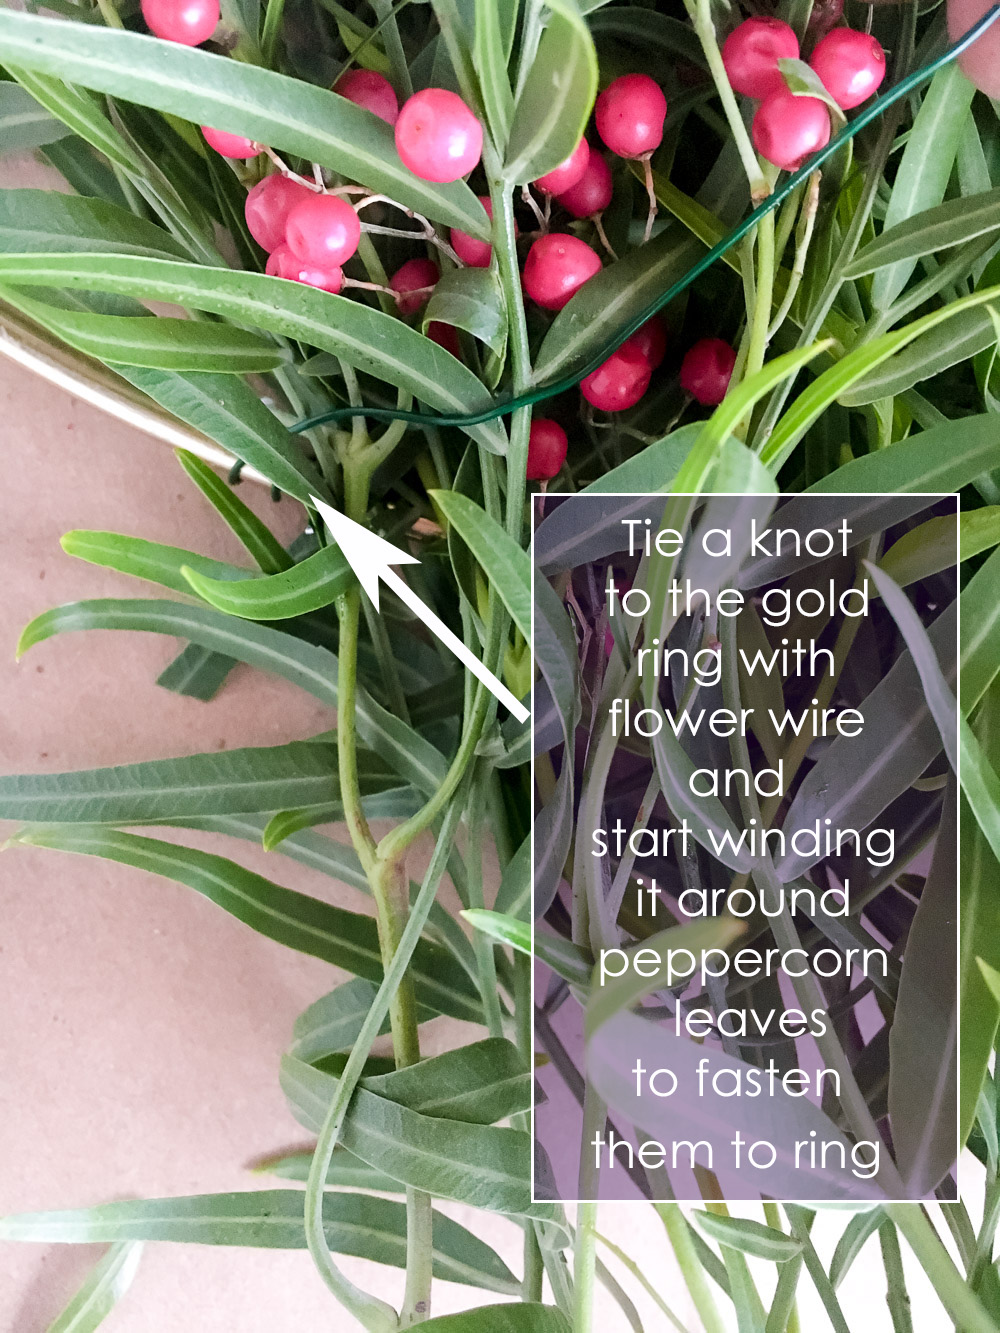 2) Once I decided on the right length, I cut the leaves and fastened them to the gold ring with a floral wire. The idea is to do a little knot with the wire on any place of the ring – your starting point- and then wind the floral wire around the leaves to fasten them to the ring. I also used a glue gun but it was not necessary. The wire is strong enough to support the leaves. Cut out any extra greens you don’t need.
 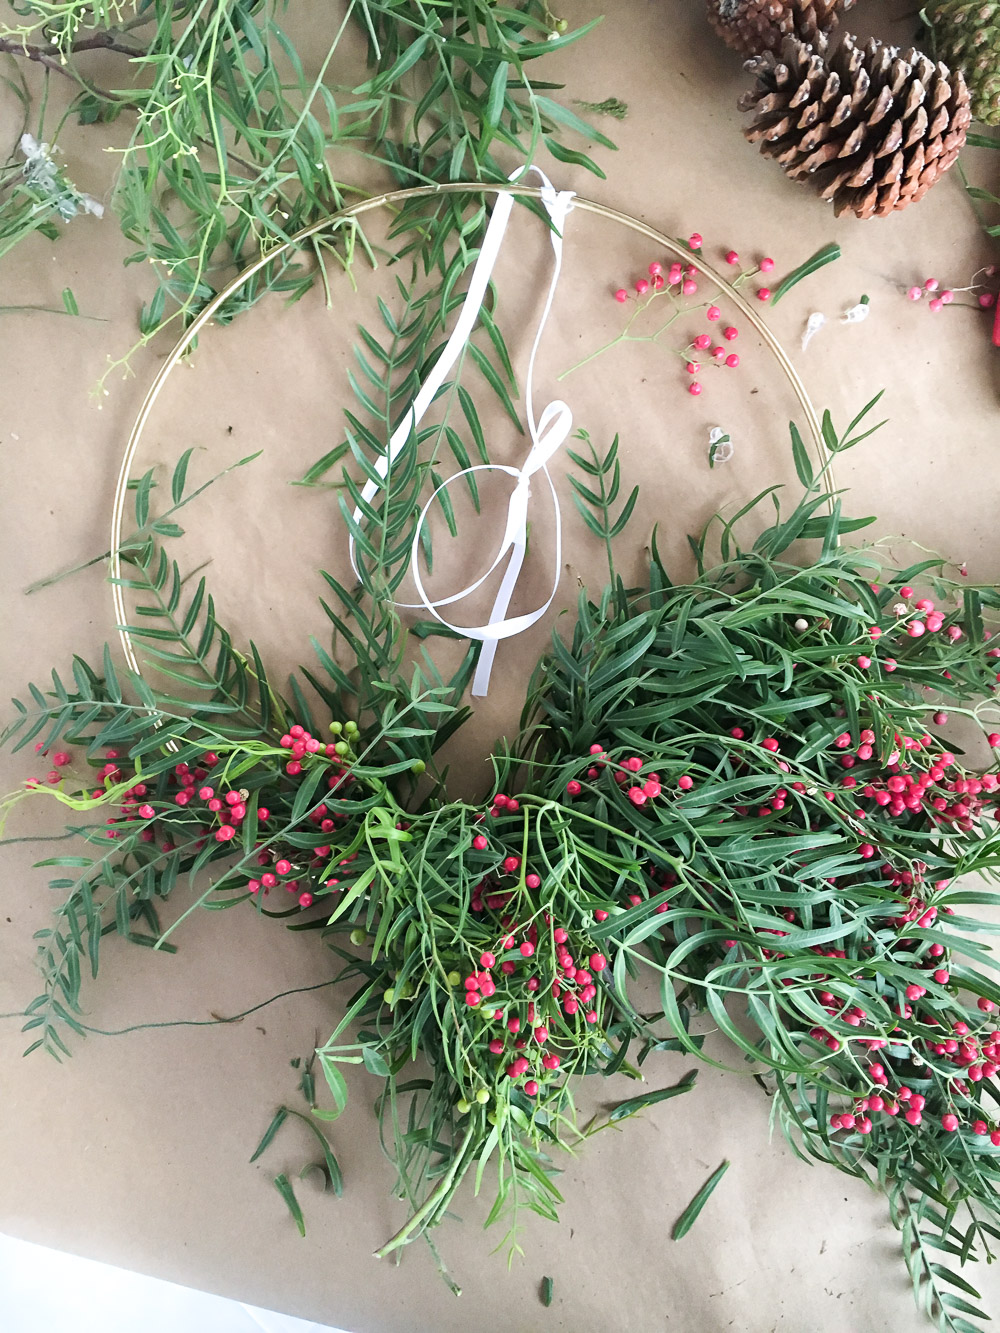 Here is the result. As you can see, I went heavier on the right side to give the wreath a “falling” shape, more organic. What do you think?


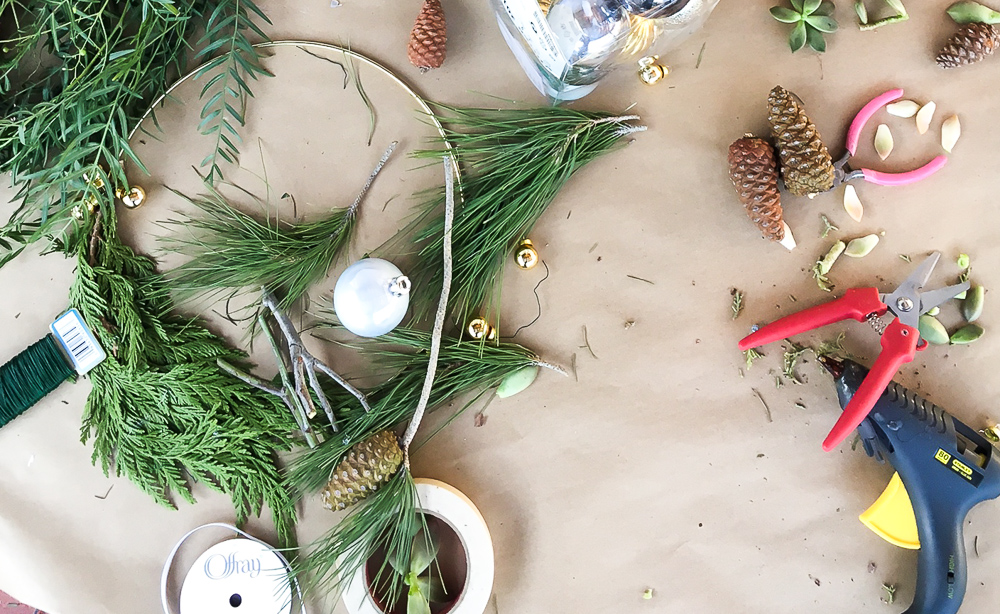
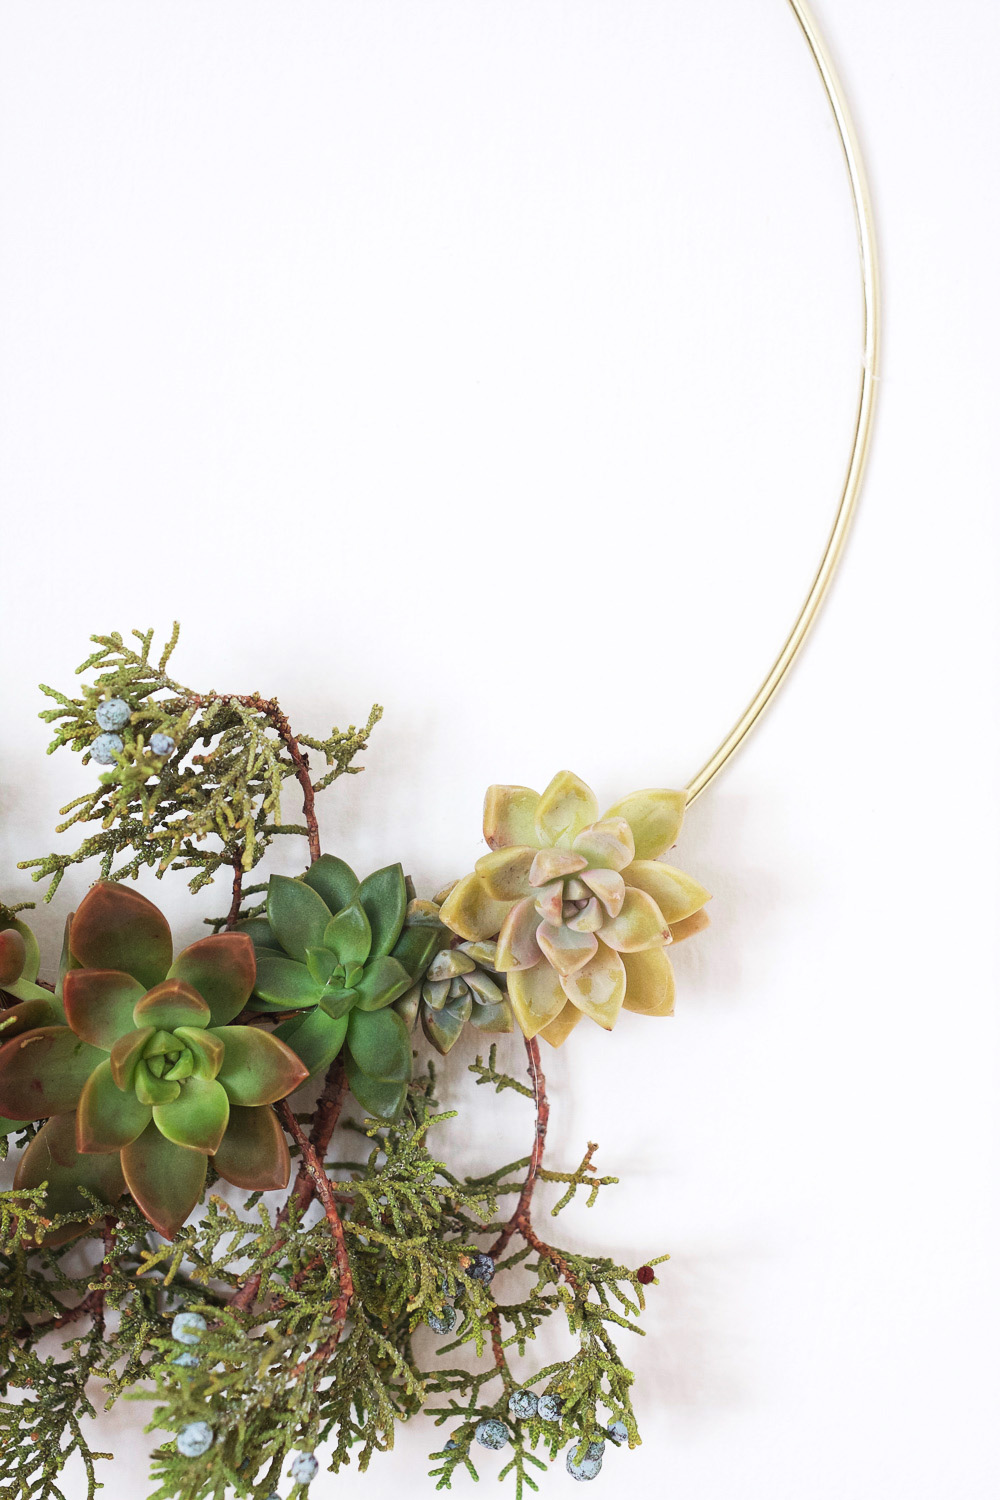
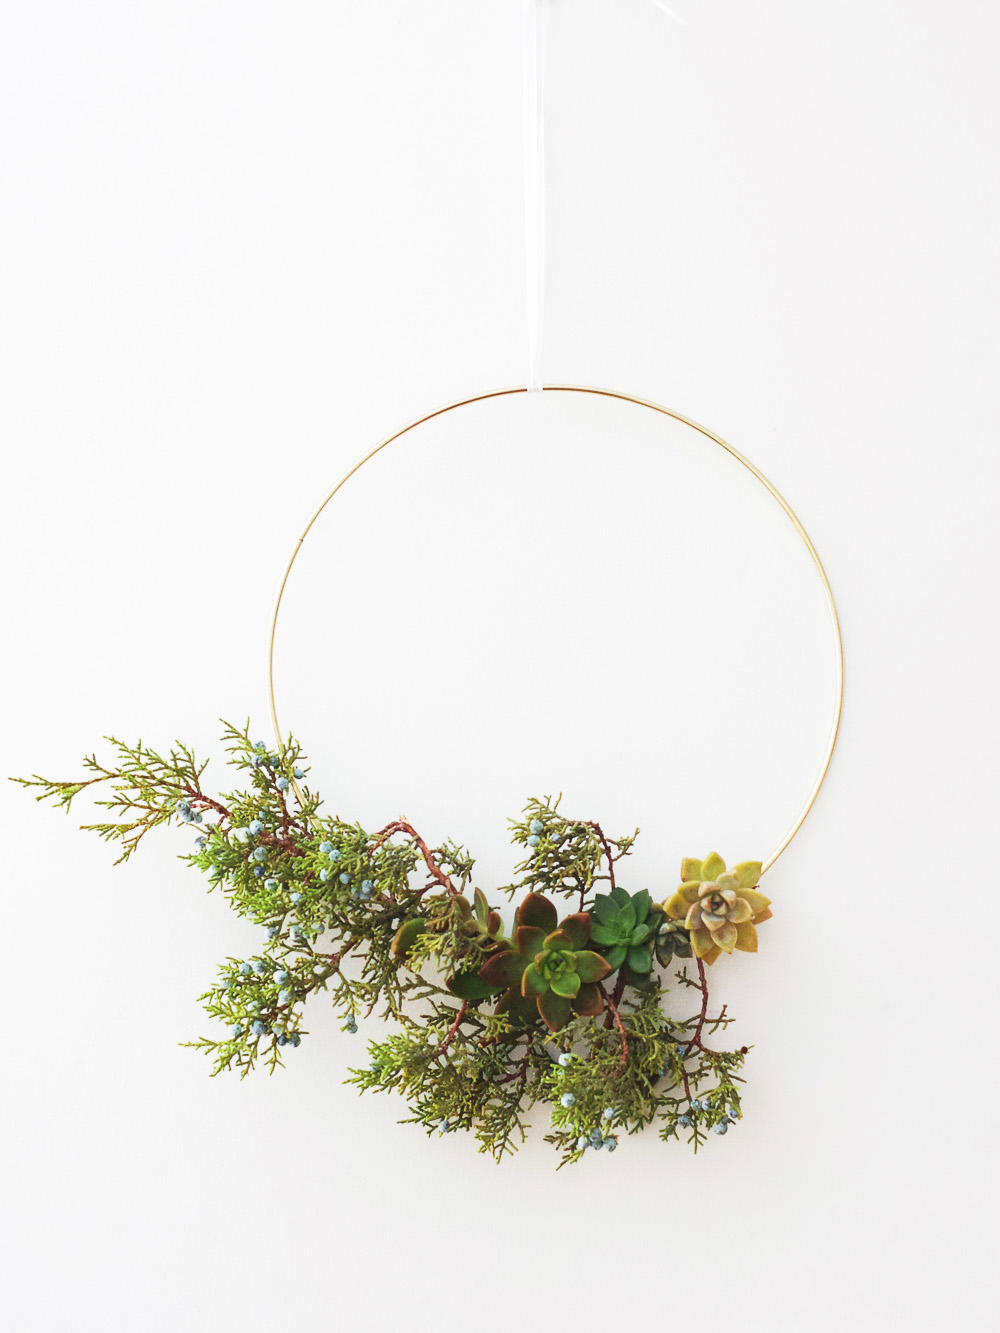
 Pine and succulent wreath
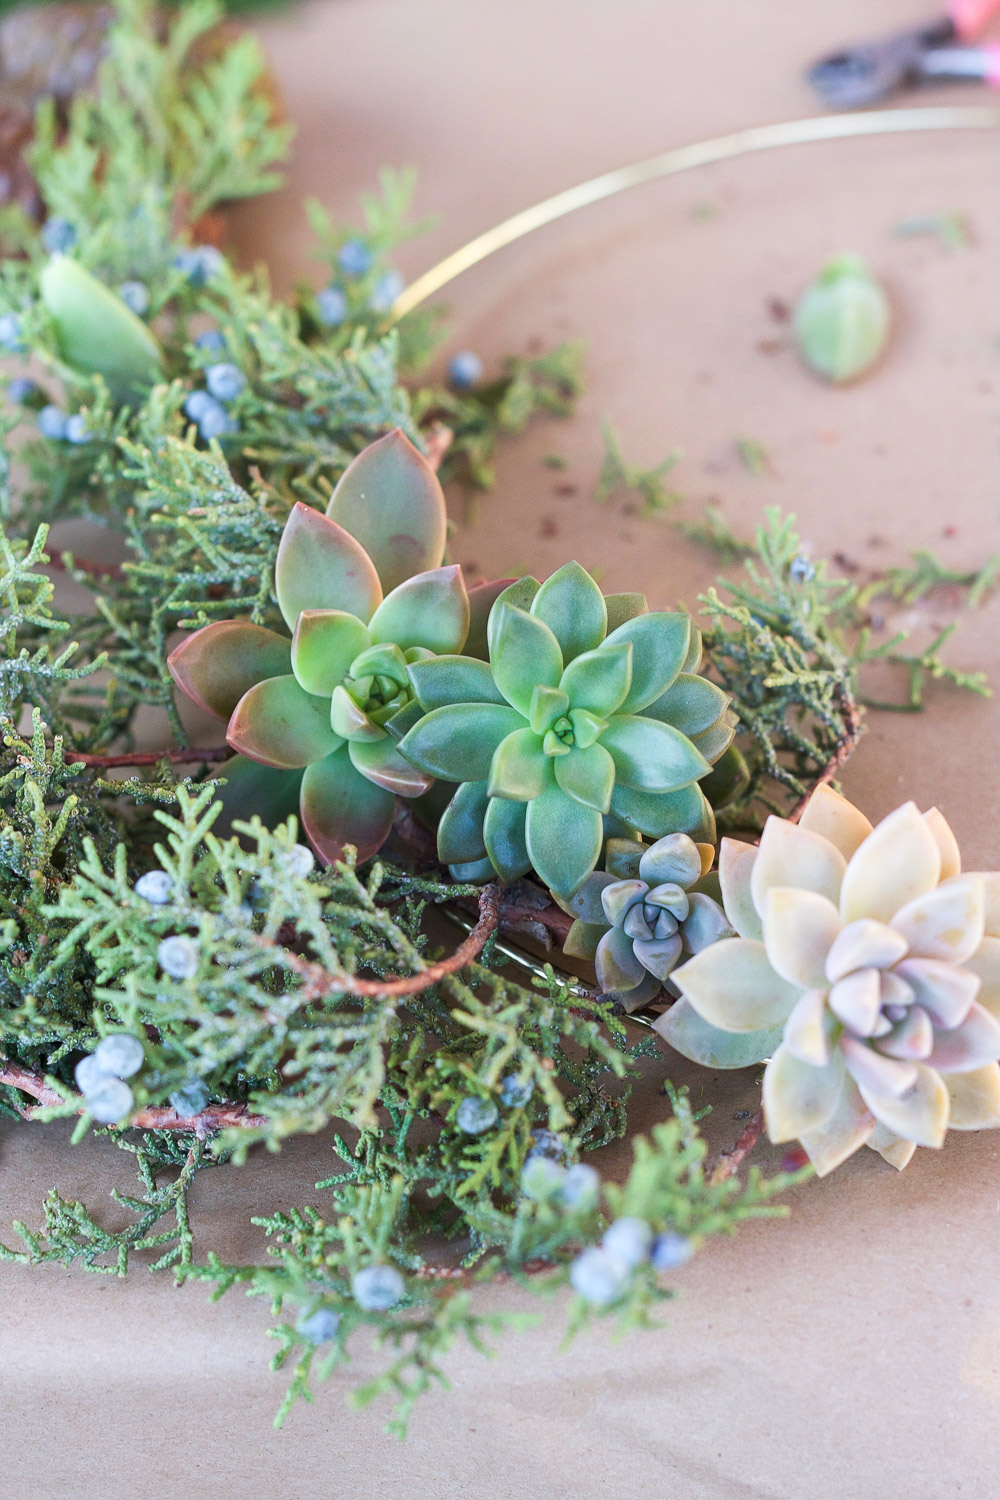
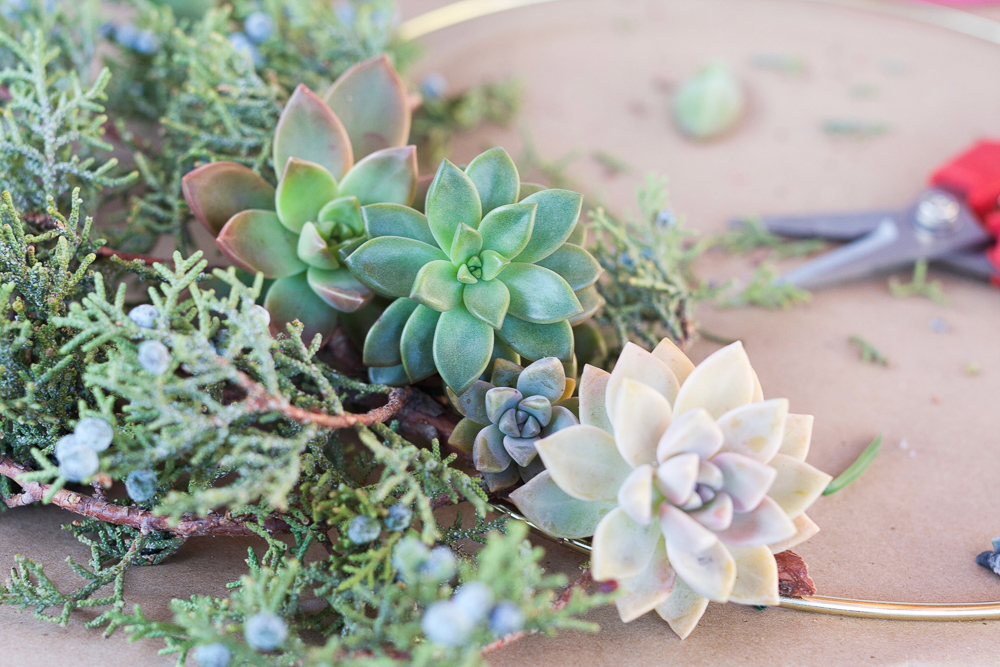 2) I fastened the pine tree branch in this wreath with wire to the ring, but glued the succulents with the glue gun. I was impressed at the durability of this wreath. I made it two weeks ago and it still looks great.
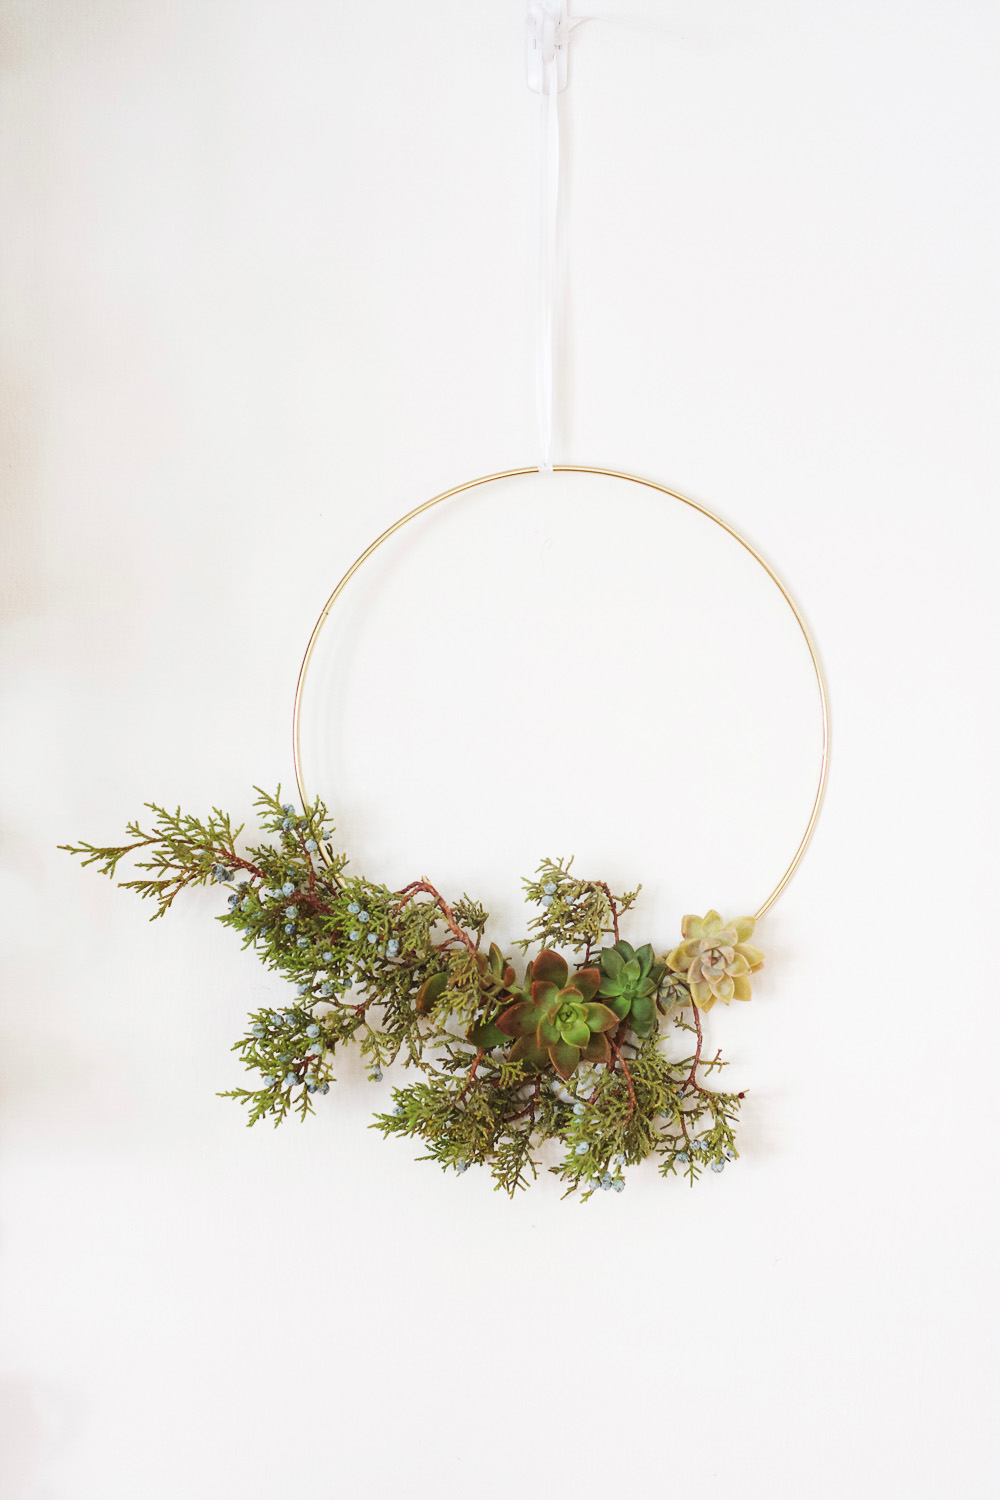
  Final result:

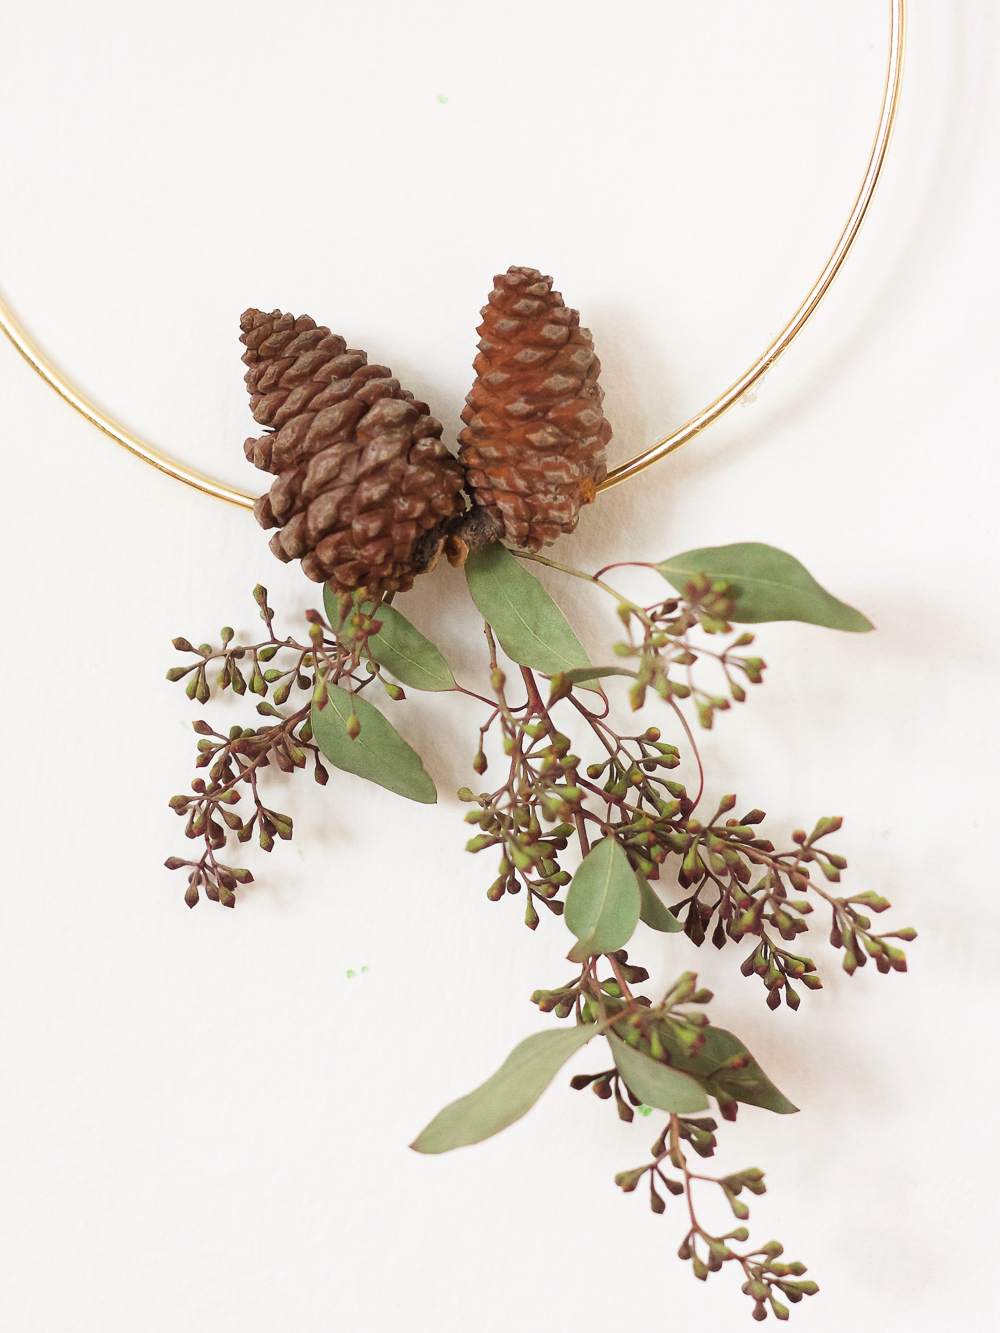
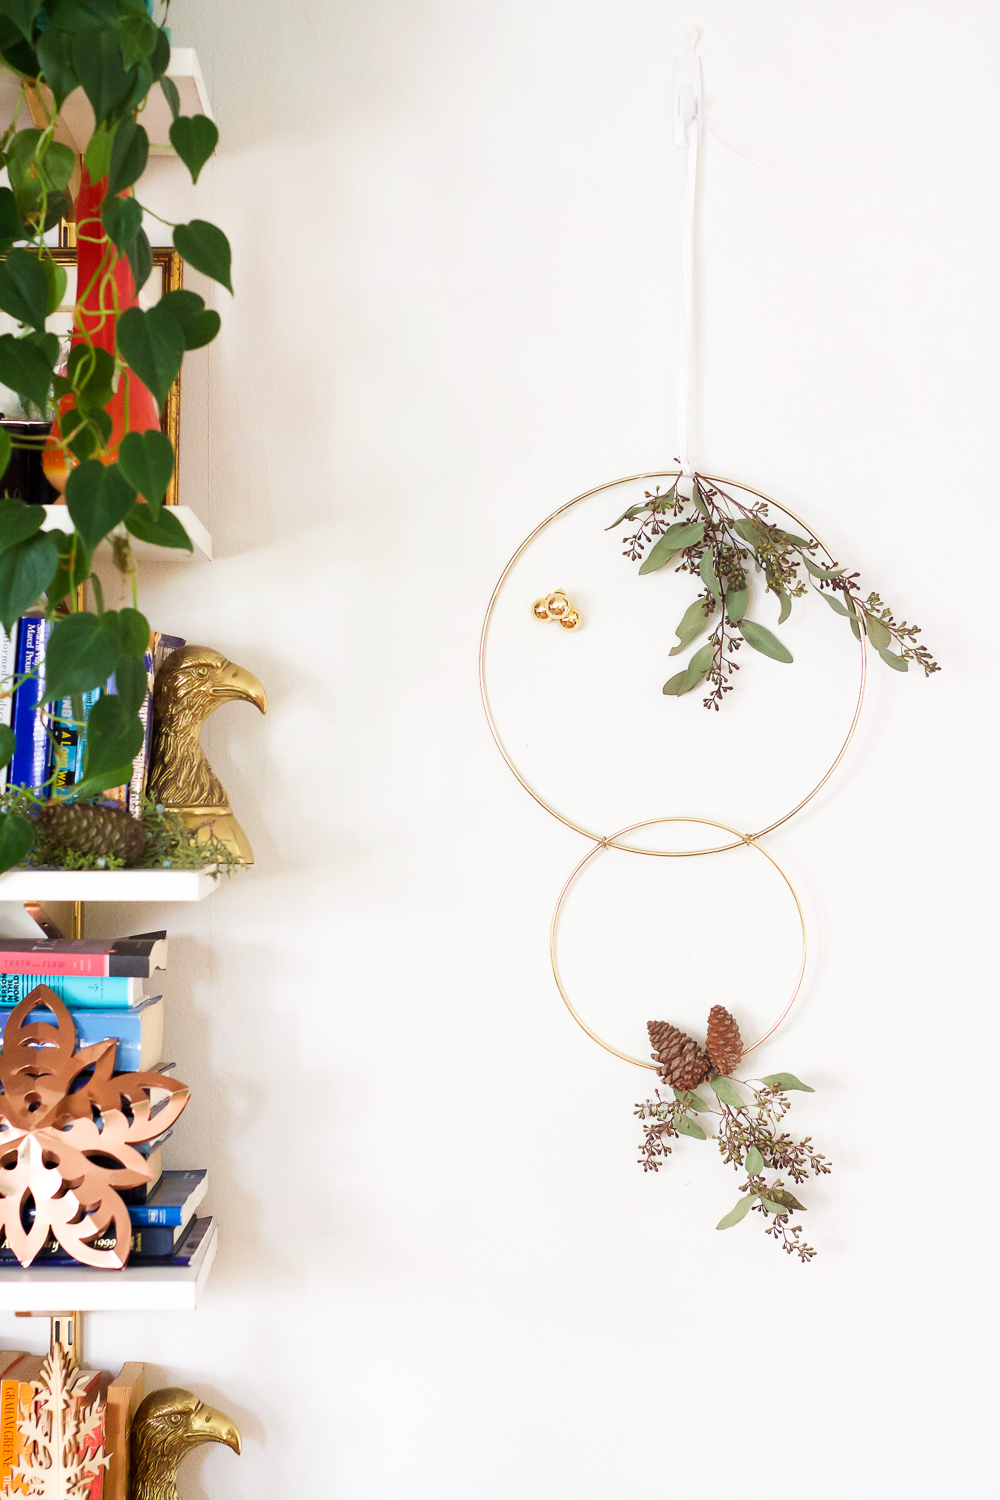
 Double ring wreath with pinecones
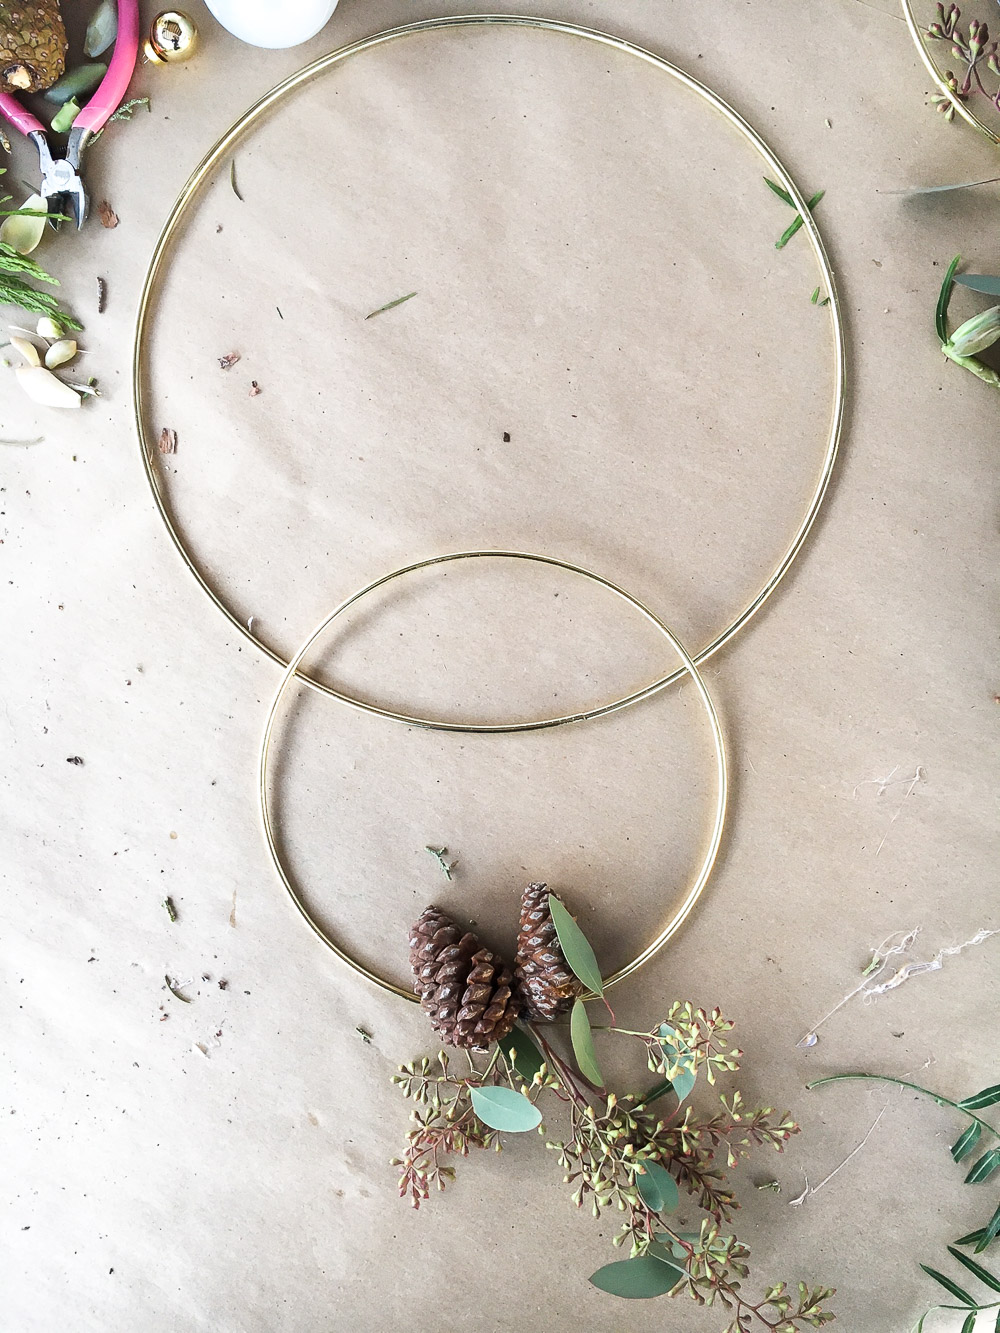 1) For this wreath, I attached a 12″ ring to a 8″ ring. I used floral wire sprayed with gold paint to do this.
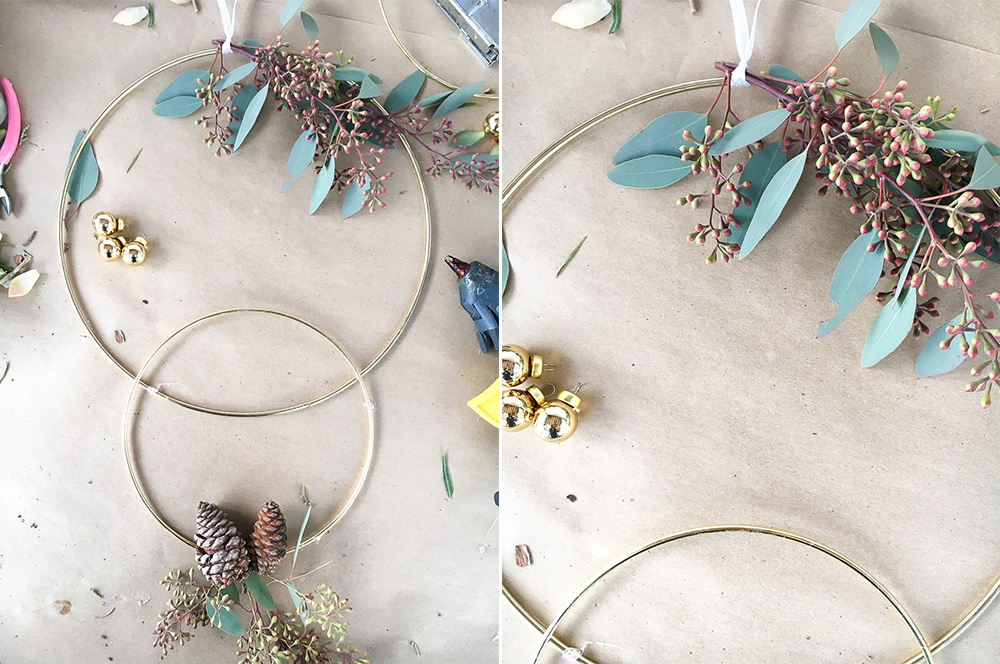 2) After attaching the two rings together with wire, I started playing with different designs. I went with a very simple design for this wreath. Just eucalyptus and pinecones.
 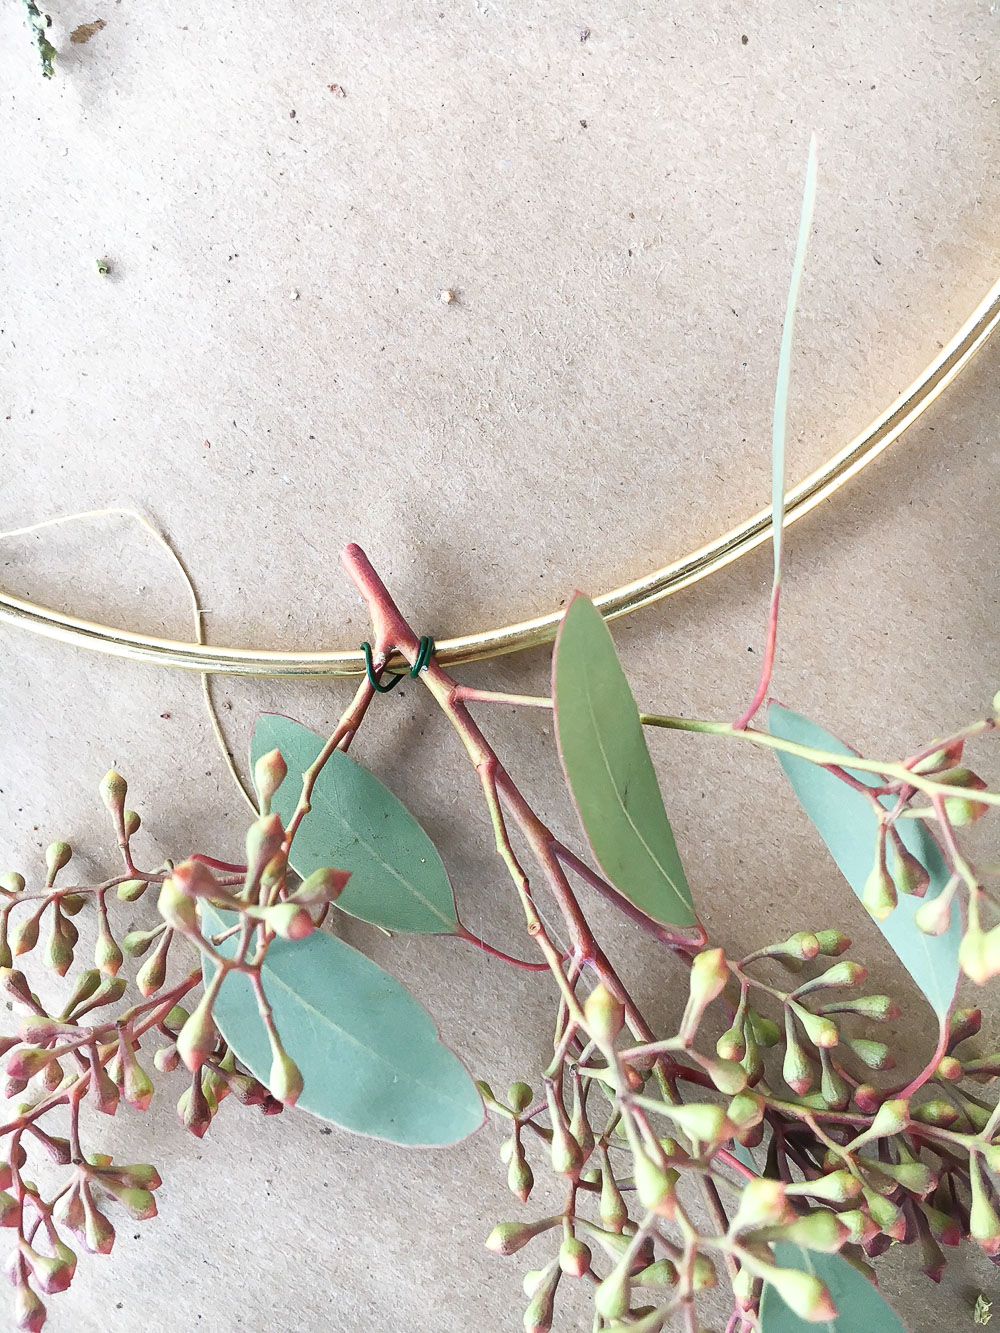 3) I attached the greens to the ring with wire and the pinecones with glue.
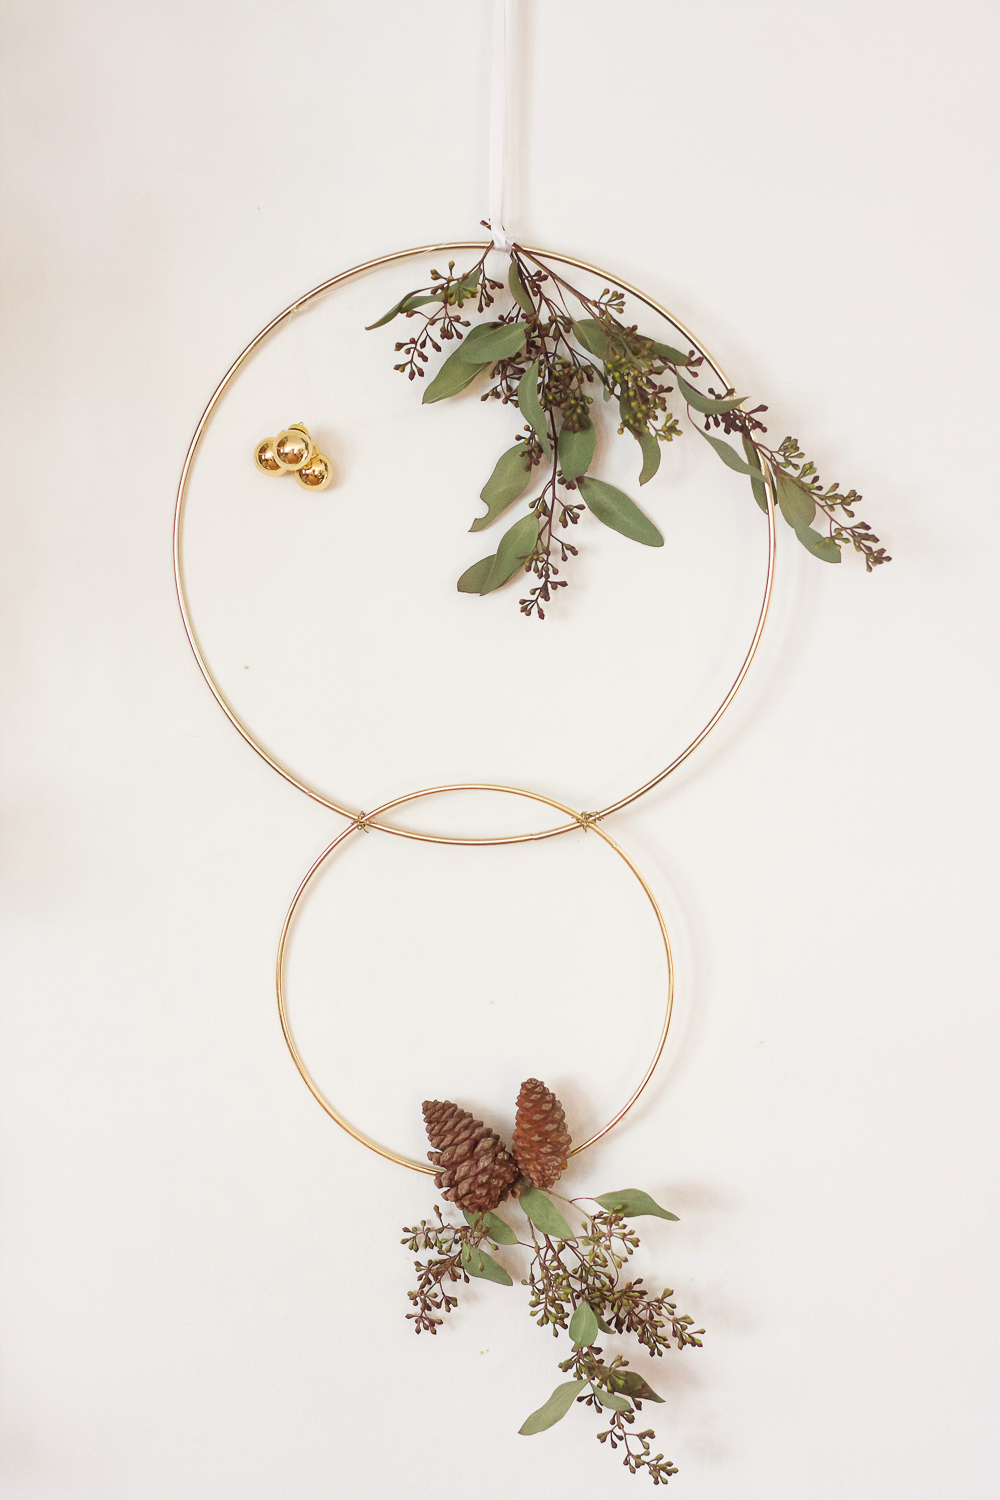
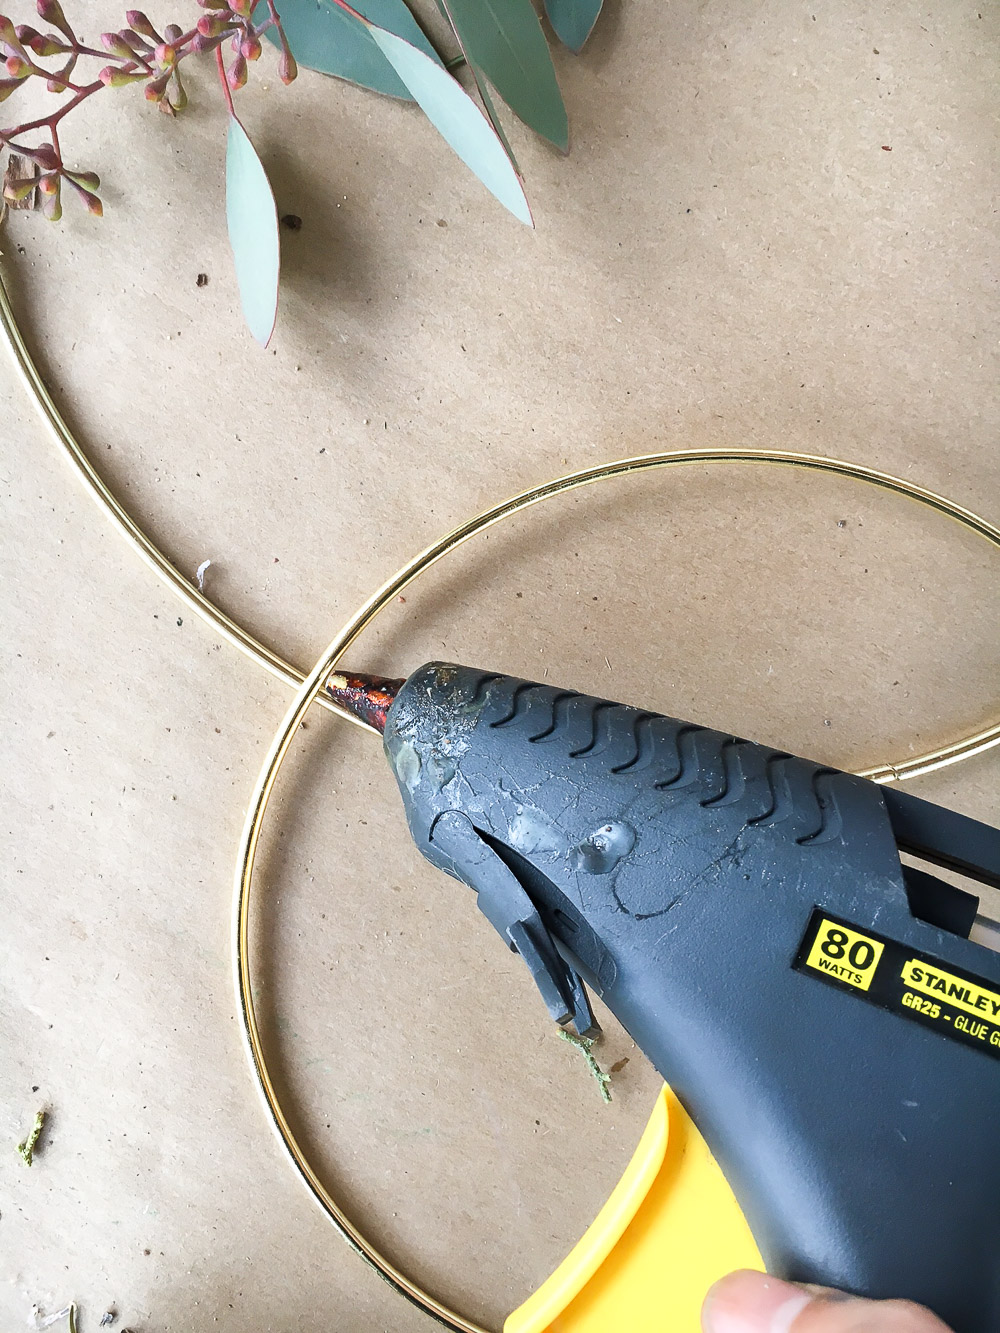 Here is the result. Pretty simple.
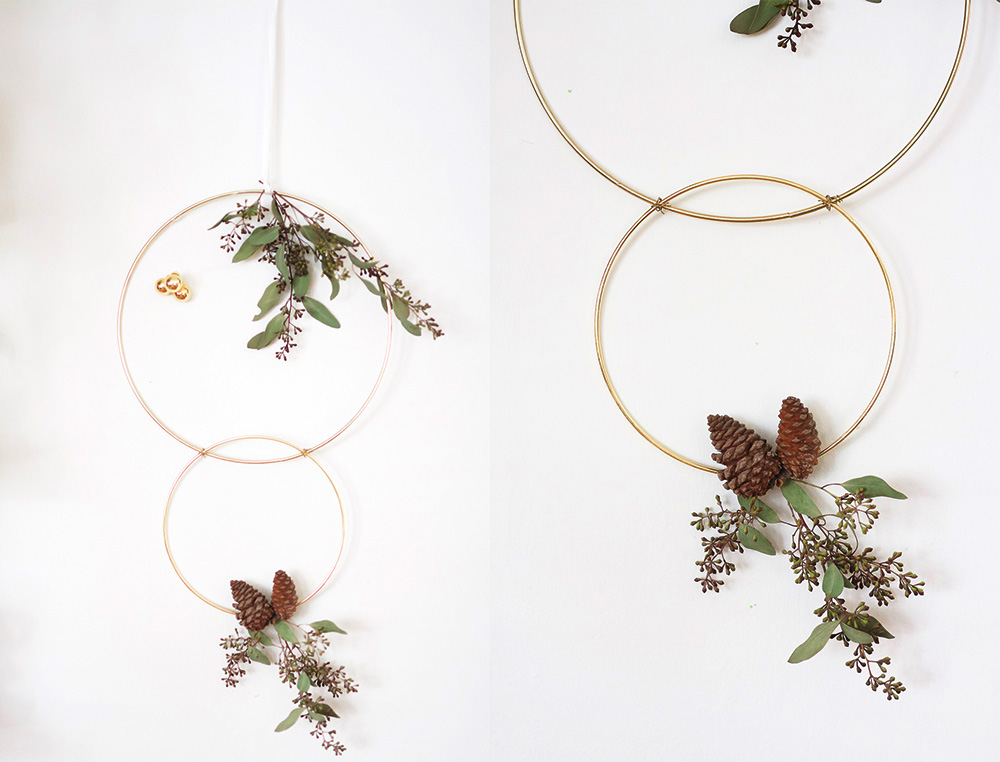
 Hope you liked this tutorial. You would be surprised at how long it takes to do these kind of posts! It is crazy, so I really appreciate you stopping by to take a look at my blog today.


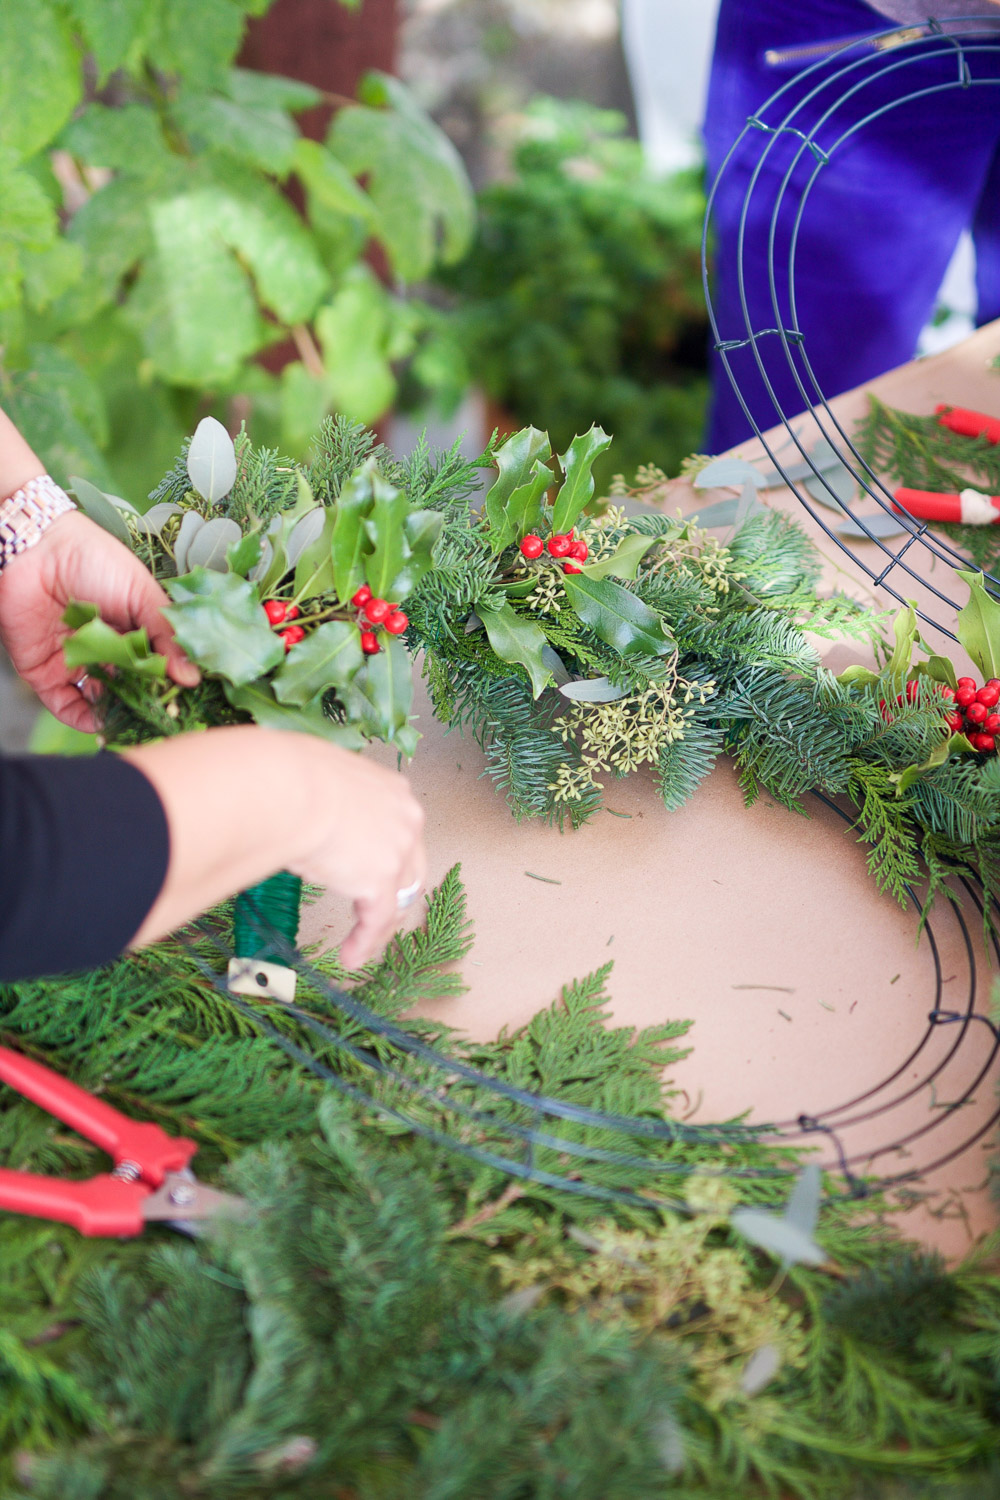
 If you are reading this post because you are planning to throw a wreath making party, let me assure you, it is easy and FUN – No fear. Your friends will love it and you will be the super hostess hero.
 Holly
Holly


 Last year, we used


 Here are the results. They all look pretty good, don’t you think?


 I didn’t have time to do a wreath until later because I was teaching the workshop, so I posed with the golden ring wreath I created the day before. BTW, tutorial for gold ring wreaths coming up on Monday!
 I love this group of friends.
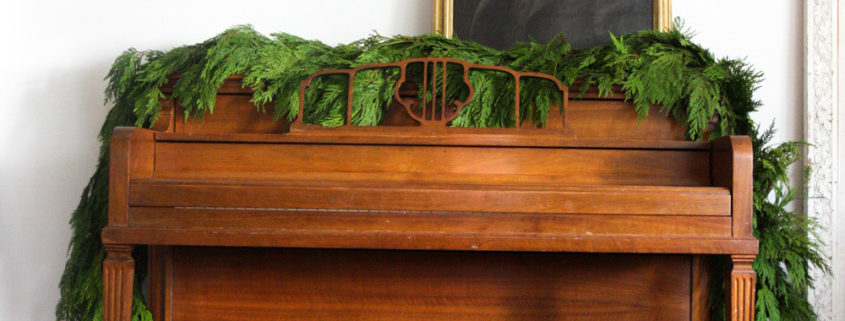

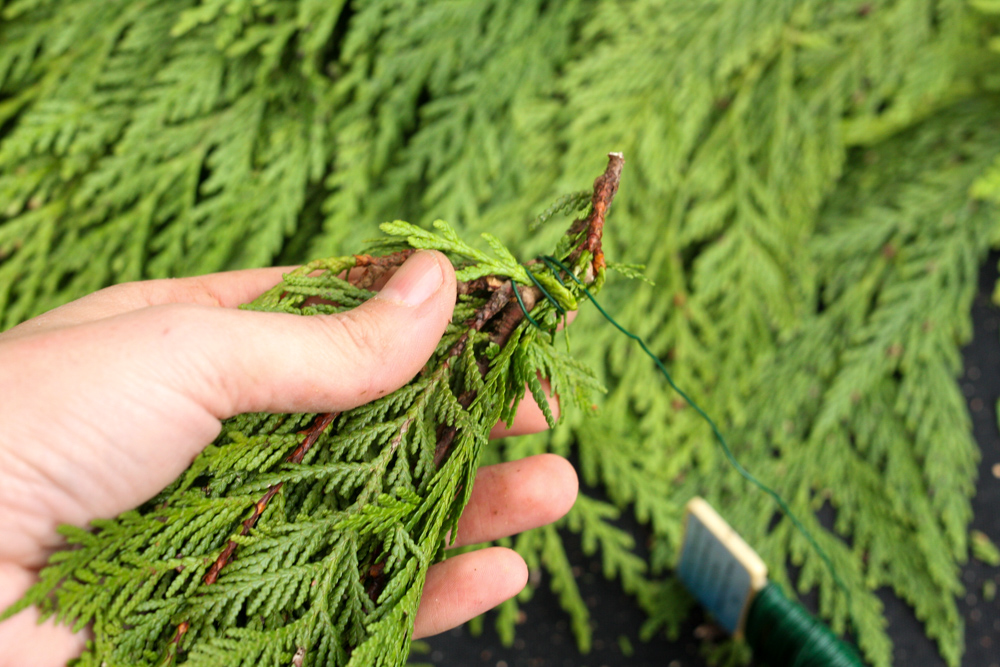
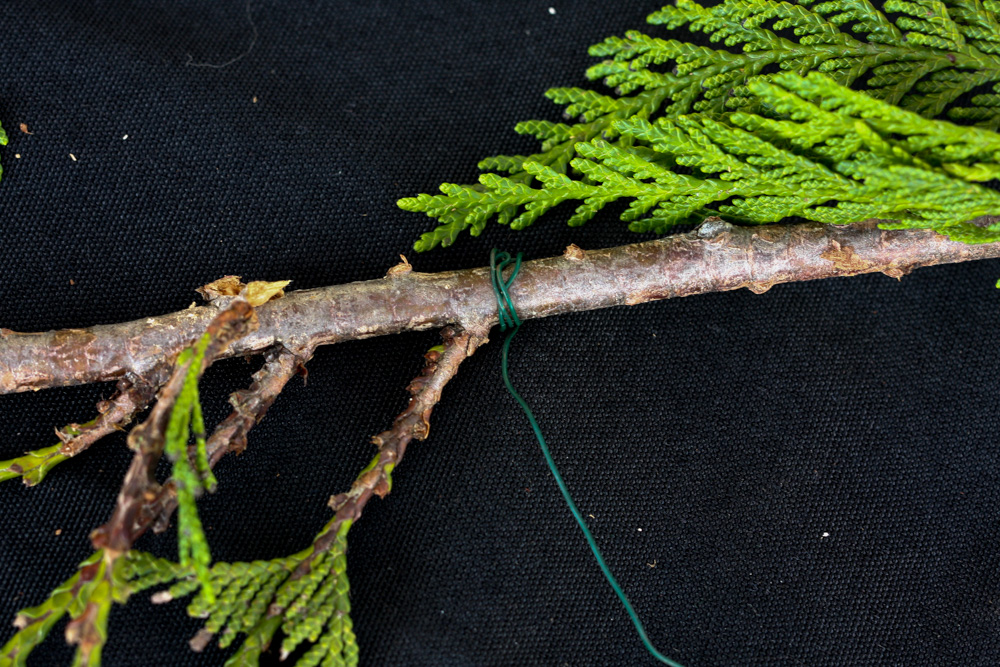 1) Make a knot on your starting branch with your floral wire.
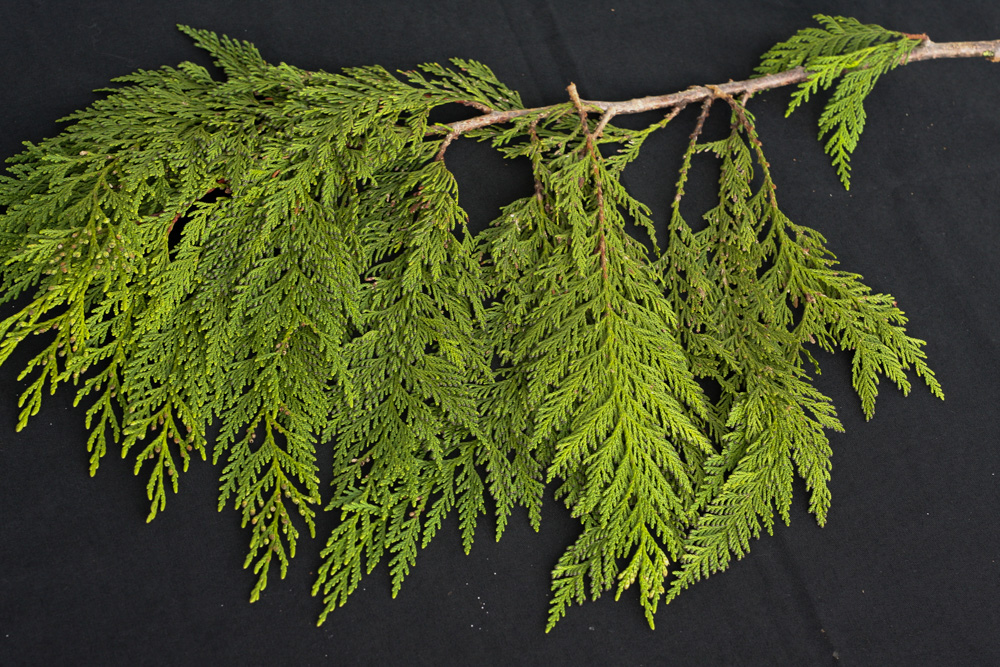
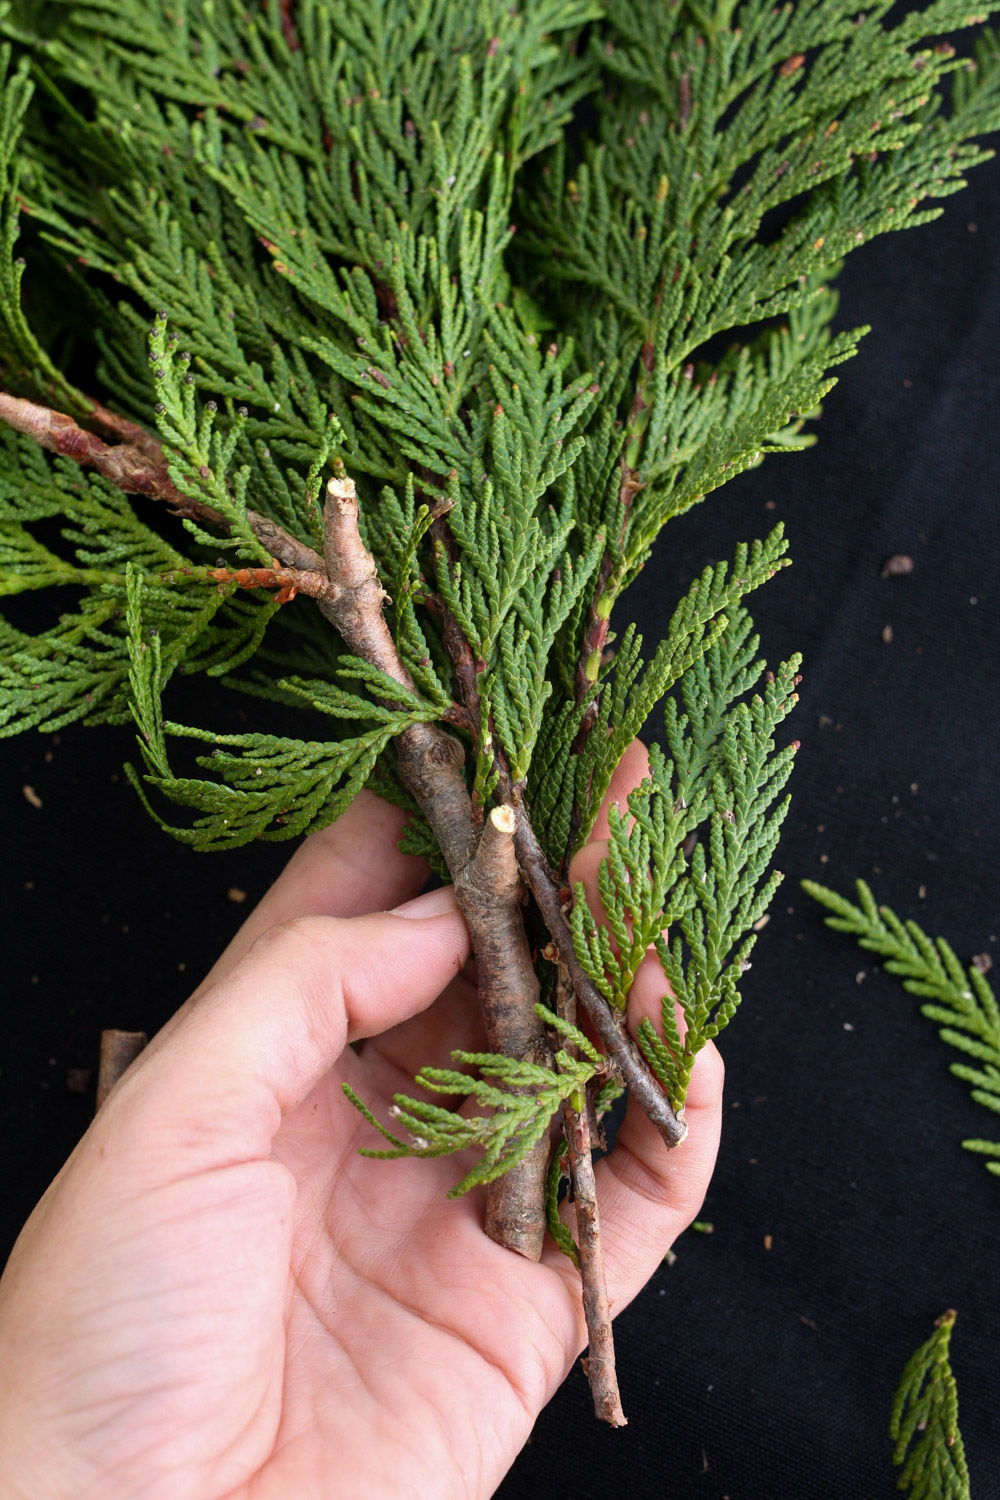 2) Make a bunch of 3 cedar branches of smaller size.
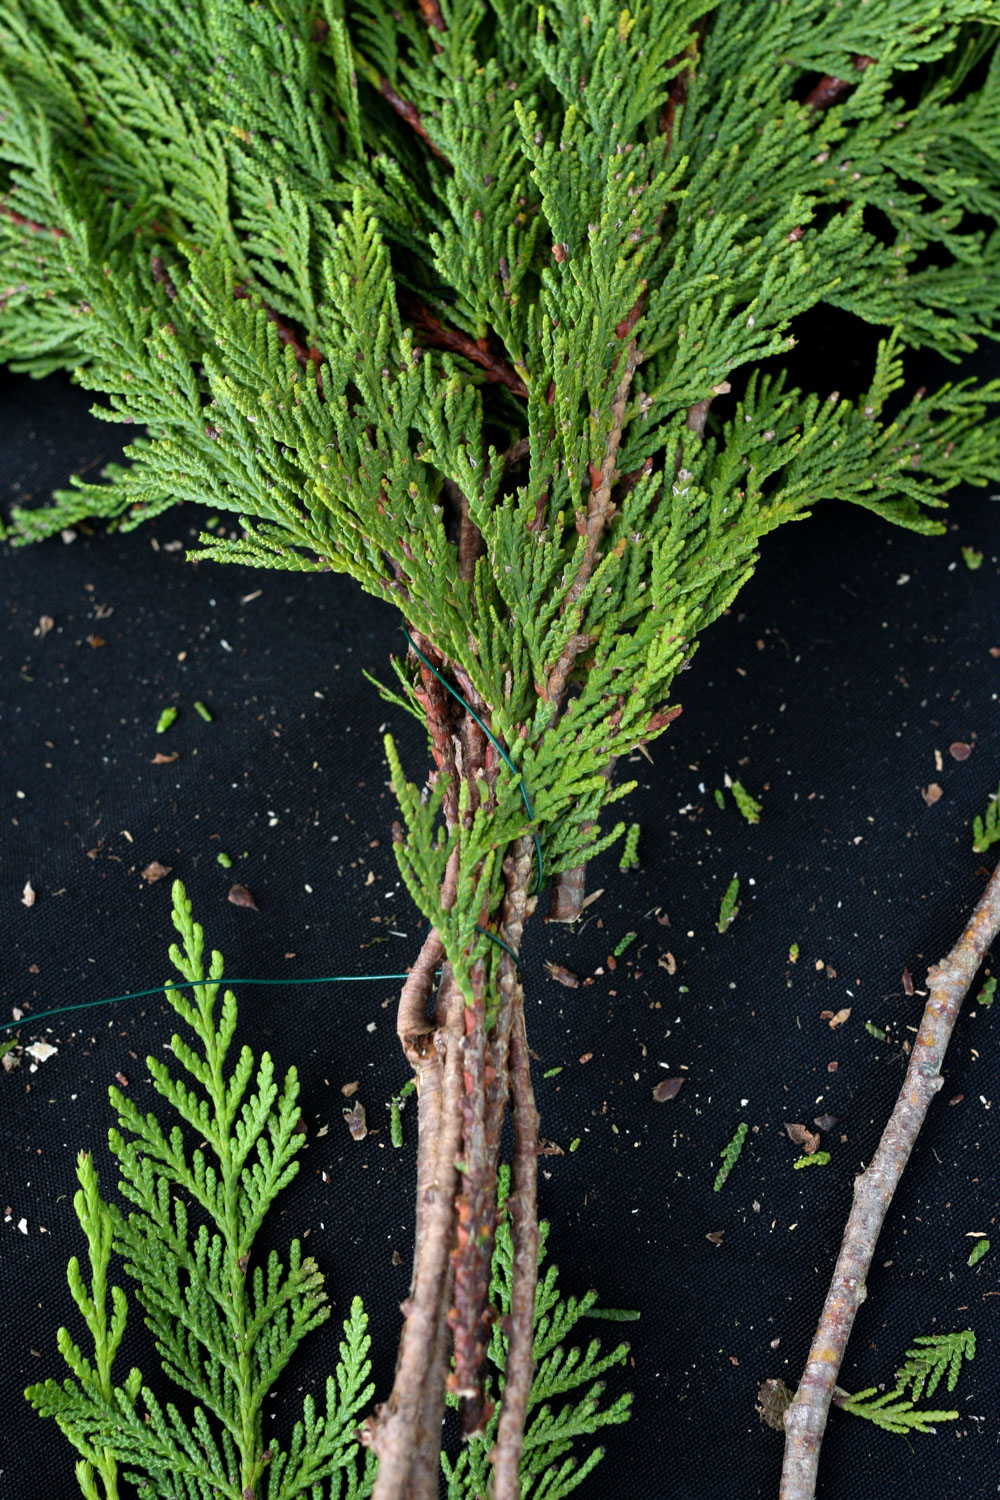 3) Attach the bunch to the first branch with floral wire. There is no need to cut the floral wire, just keep on winding it around the branches to create your garland.
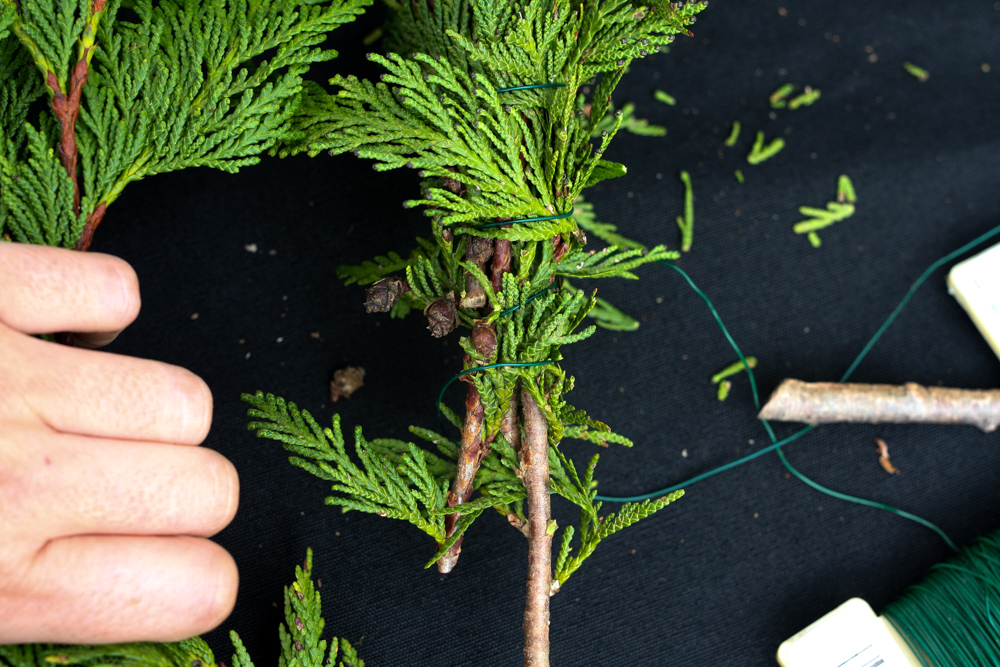 4) Repeat until your garland has the desired length.
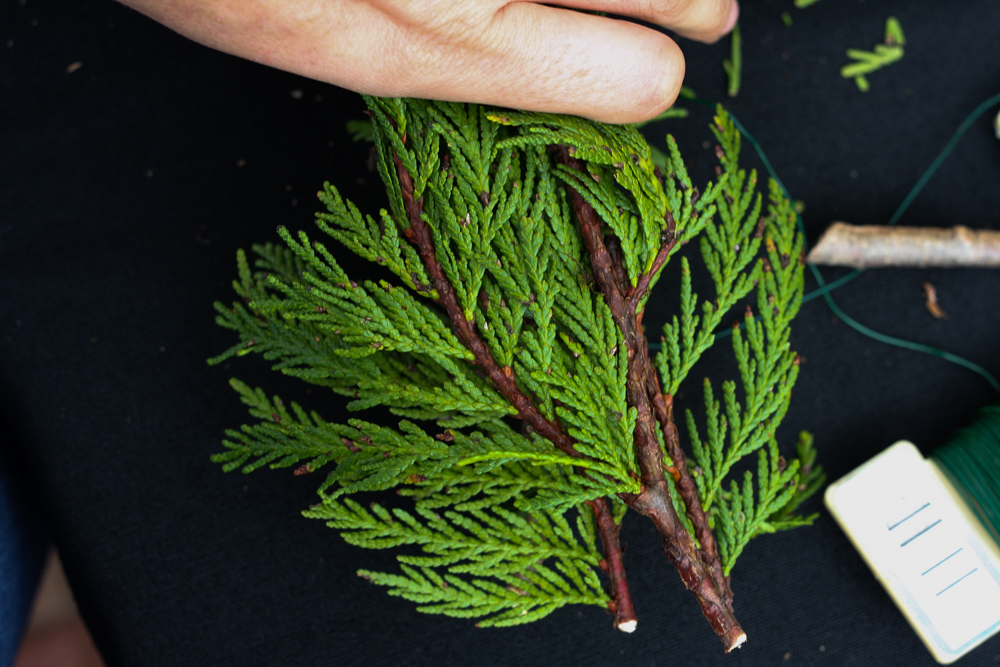
 5) At the end of the garland, create another bunch of three branches and attach them with floral wire. Add them to the end of the garland in the opposite direction to the rest of the branches. This will give the end of the garland a nice cascade shape.
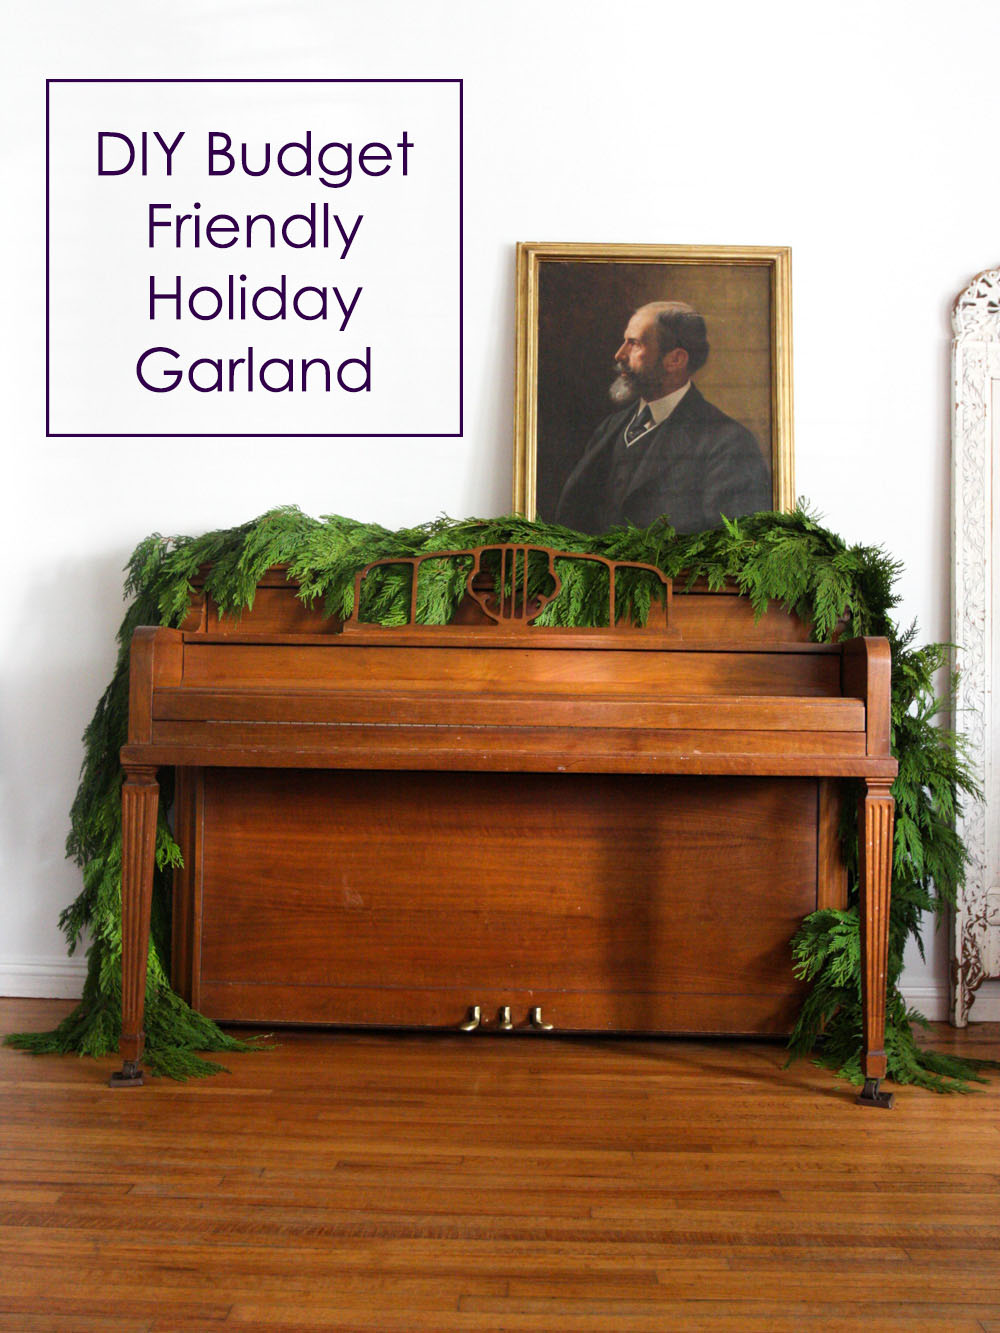
 I placed my garland on the piano. Here is the result (without extra Holiday decorations):
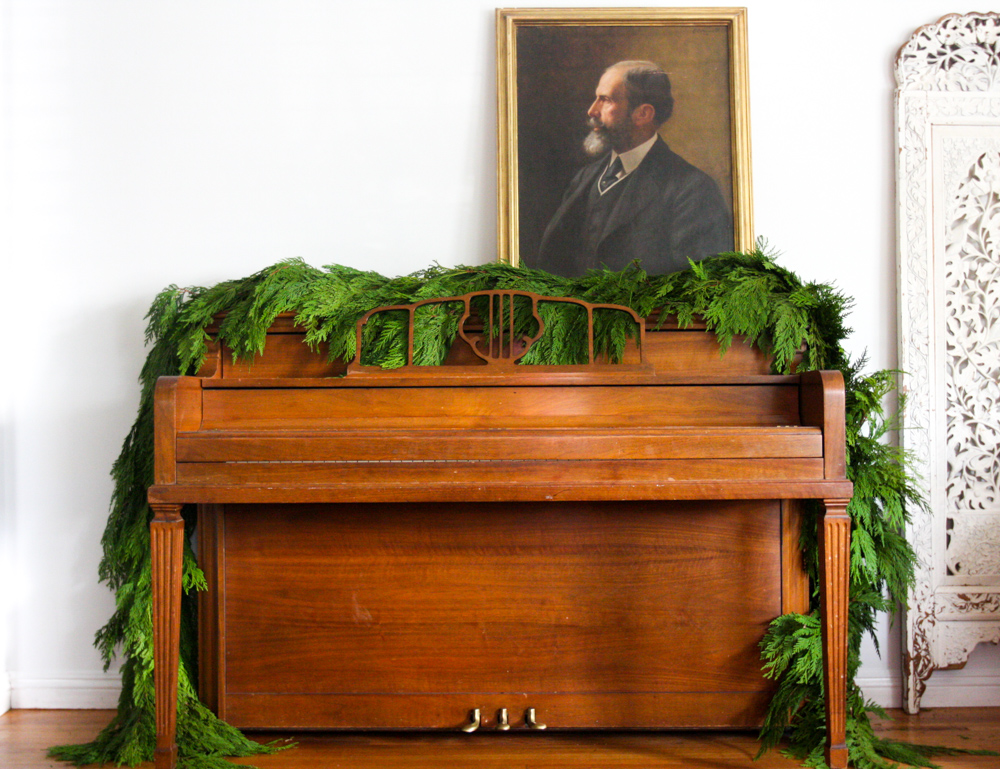
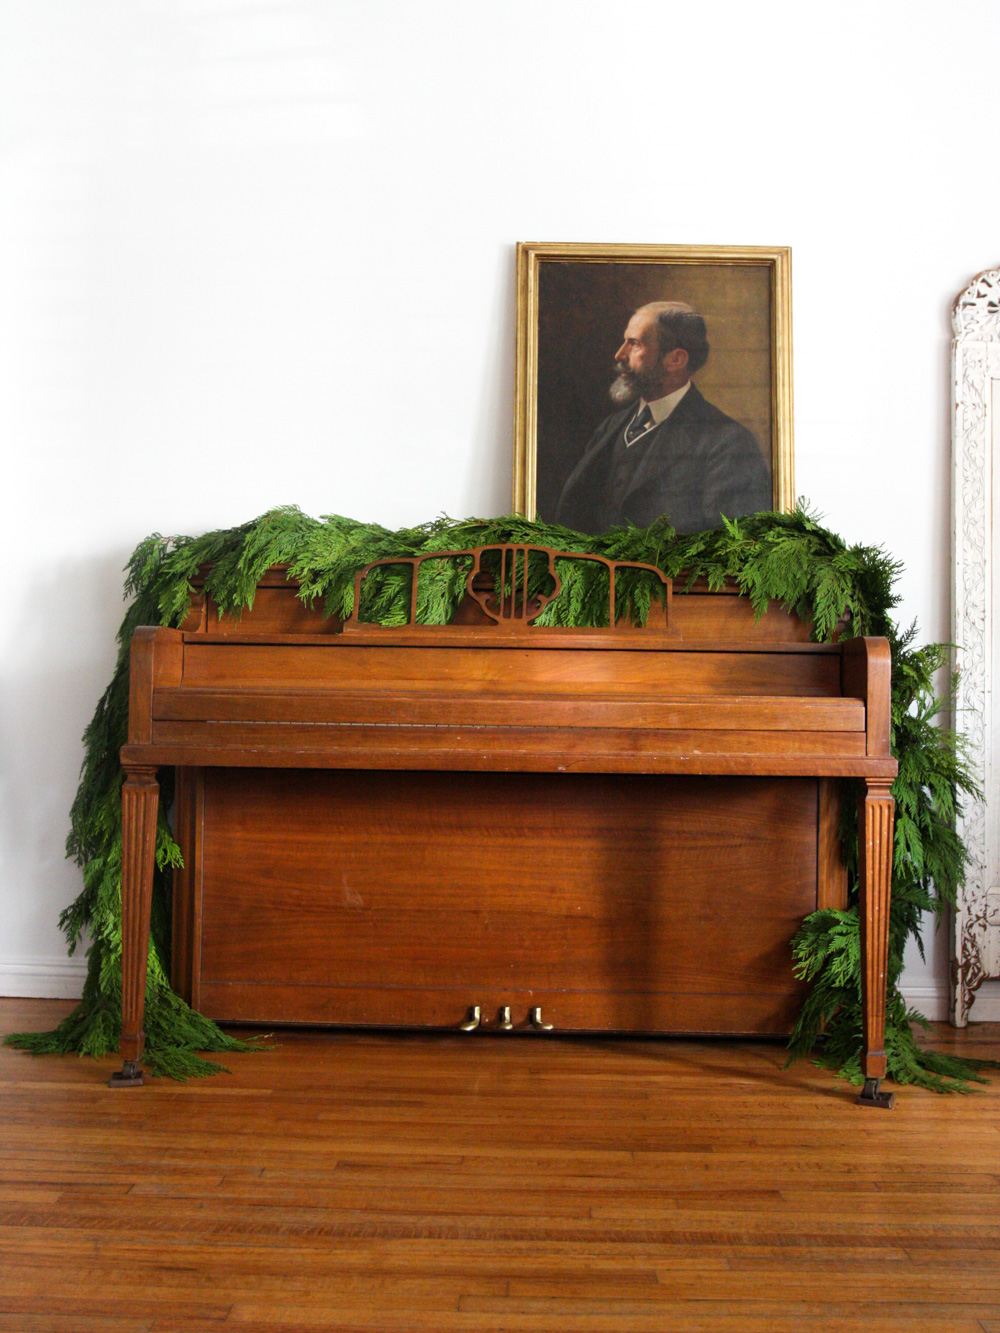 I am very happy with the result. I wish the photo could really show how elegant the living room looks with this addition! So cheap and easy. It is surprising to see how small details like this can take your Holiday decorations to the next level. Thanks for visiting!


 6. Paint. We started with the main colors first. Those colors that we were sure we wanted to use. After doing this, we started making decisions on which colors to use as we worked. For example, we decided to use more white and less color for middle places, this kept the mural bright. Don’t you think?
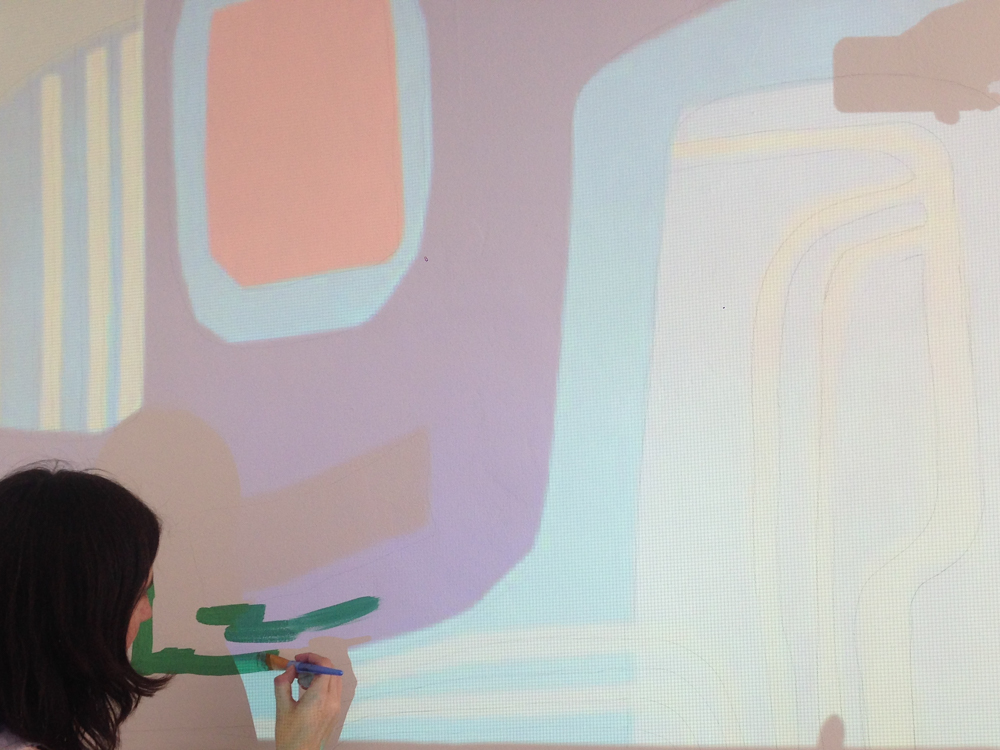

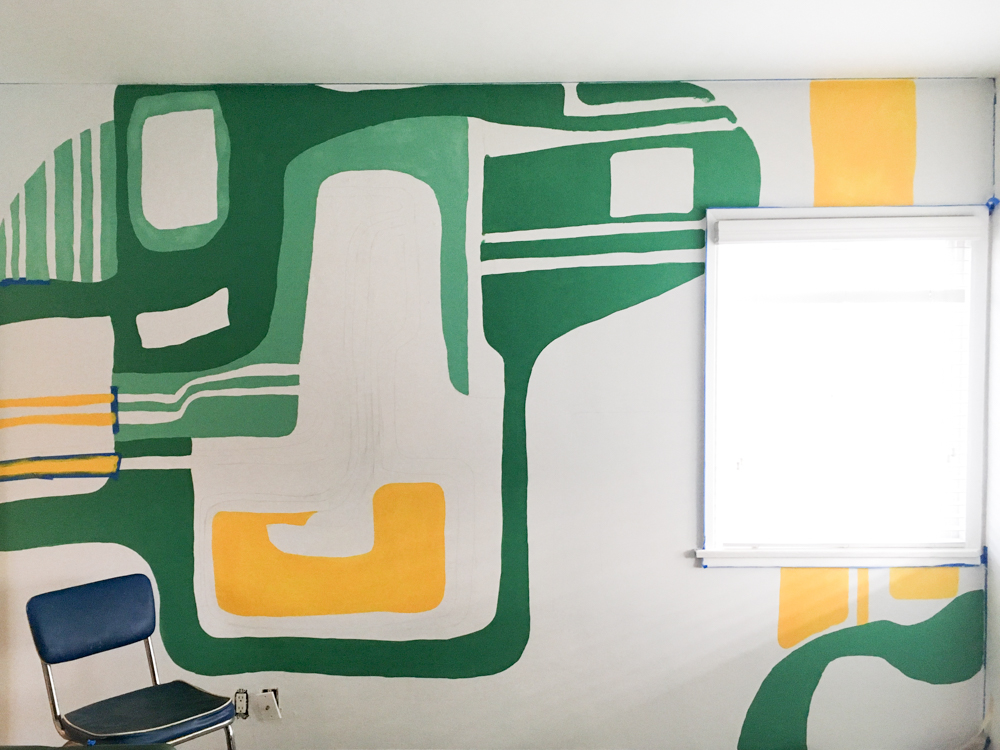


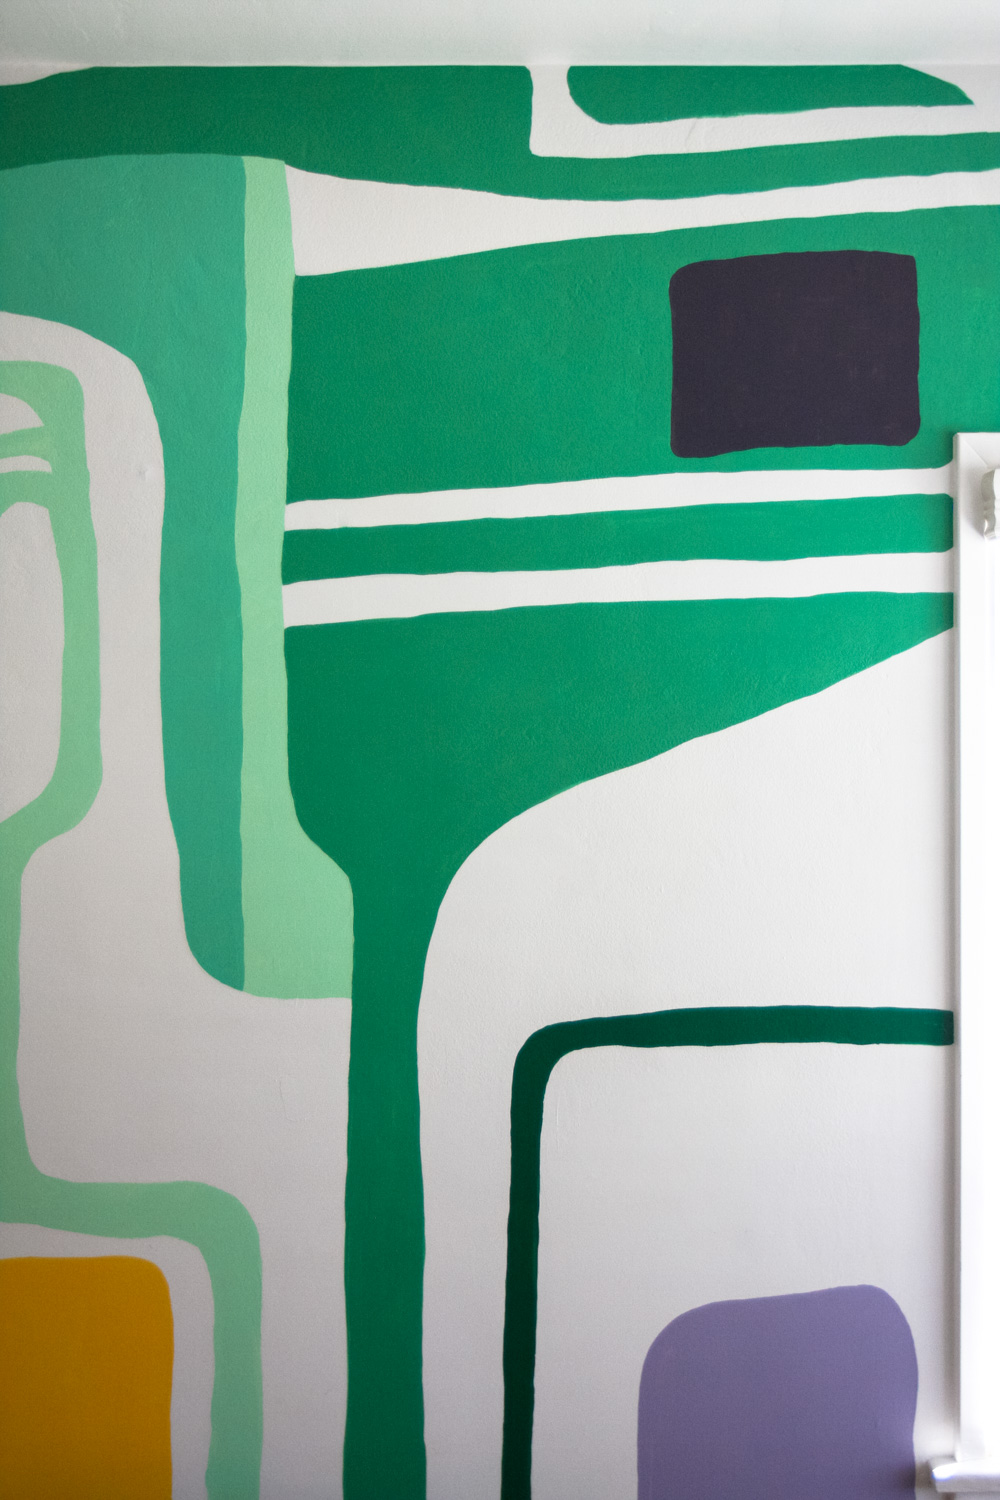


 And that was it! Took 8 hrs and 2 people.