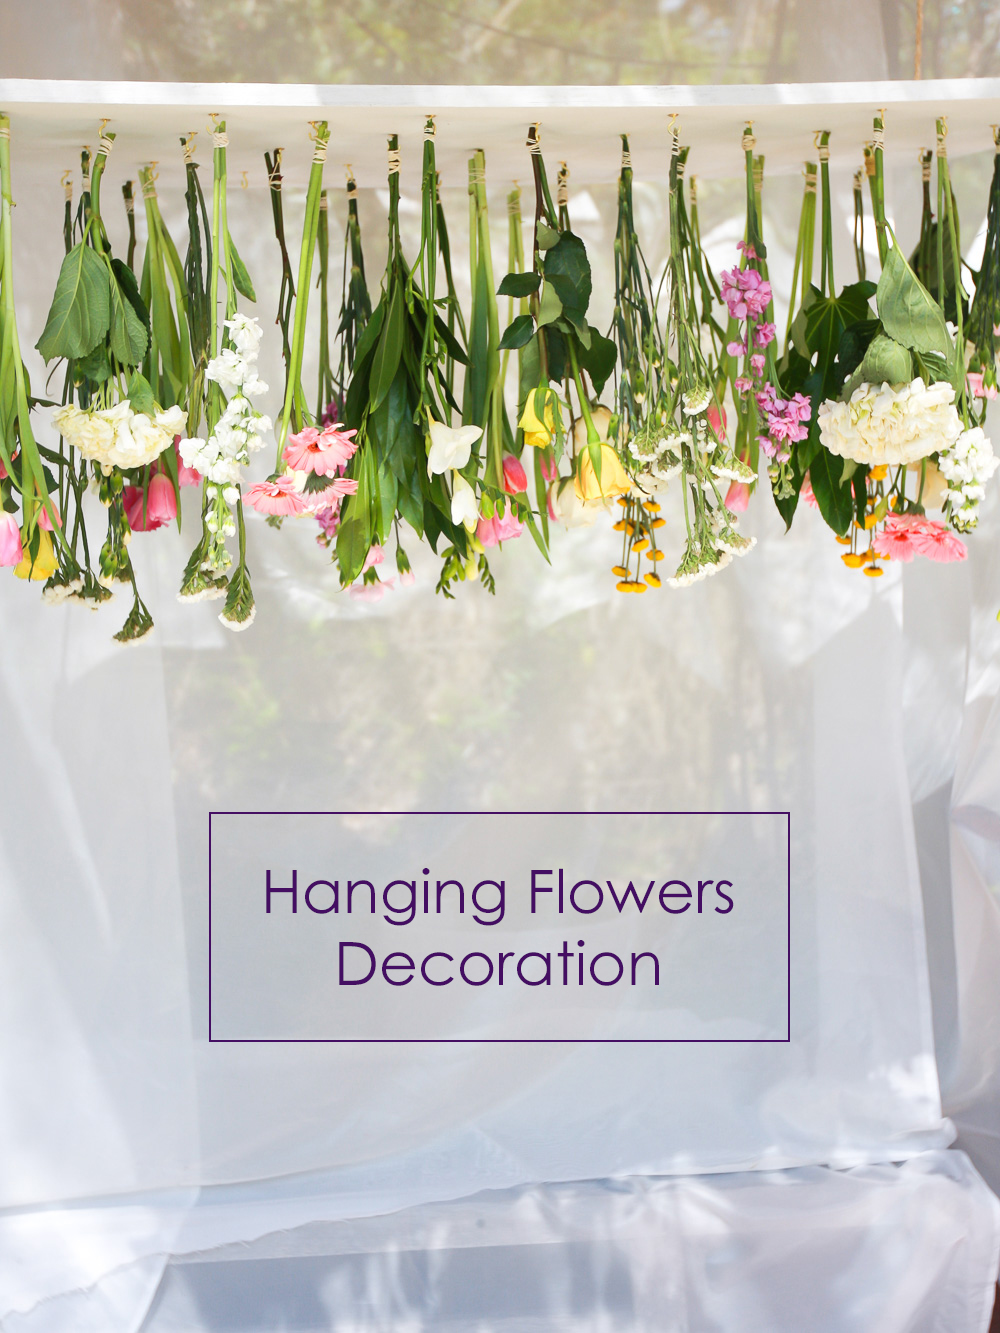
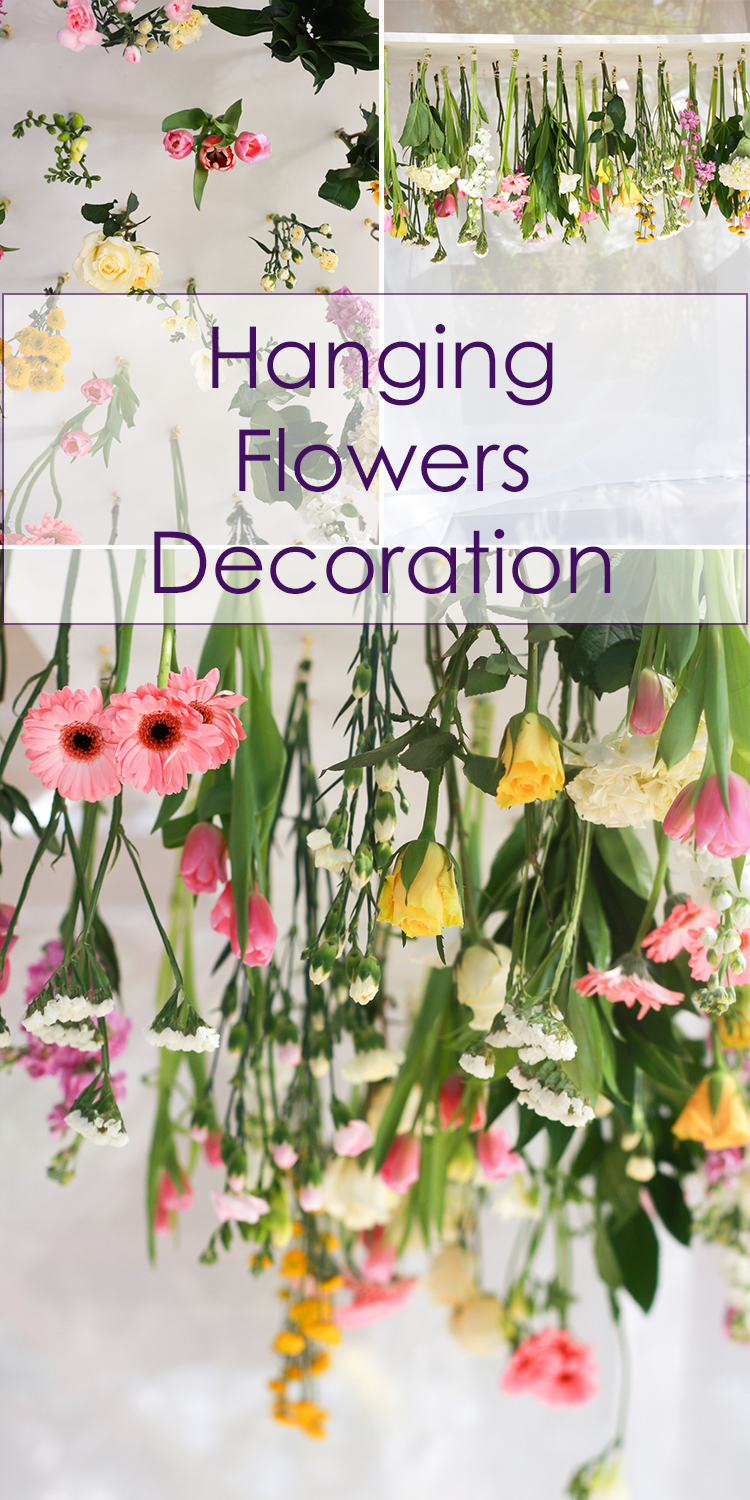
Hanging Flowers Decoration
This post contains affiliate links. If you purchase an item through one of the links, I may receive a small percentage of that sale. Thank you for supporting Jest Cafe.
My dear friend Janna is getting married and I am SO happy for her. [I know you are reading my friend so congrats!]
As you know, organizing a wedding can be overwhelming. There are so many possibilities! That is why Pinterest is such perfect place to get started. Are you getting married? Well, create a board and pin your way to a perfect wedding, I would say.
There are so many gorgeous images in there that make me wish I was the one getting married, but I am sure George won’t be up for it. Maybe vow renewal? No, that is not going to happen, so my best bet is to live my dreams through friends, in this case, Janna. (Btw, I have a board with images for wedding inspiration, in case you want to see click here)
The weekend before last we spent a lot of time looking for photo inspirations and I realized, once again, that I am attracted to photos that have a LOT of flowers, specially hanging flowers. Weddings are beautiful! I could spend hours pinning wedding photos! There is so much cute stuff out there!
After hours of pinning and drooling (yes, very productive, I know), I decided to create a statement piece of my own that uses flowers and is cheap and easy to do. Something that could be used at a wedding or when entertaining, this is how the hanging flower decoration was born.
Humans! This decoration is simple, budget friendly, and it looks so good. Here is how you do it!
Hanging Flowers Decoration
Difficulty (1-5): 2 Time: 2 hrs Cost: $70
Materials
- Plywood – I used size 2ft x 4ft
- 42 1/2 “ Brass Cup Hooks
- 4 1 3/4″ Eye Screws
- Rubber bands
- White paint – I used a Behr sample from Home Depot.
- Flowers
- Rope
- Drill
- Measuring tape
- Pruning scissors
- Pencil
Instructions
1) Paint the plywood with white paint on all sides. Let it dry. Paint it again.
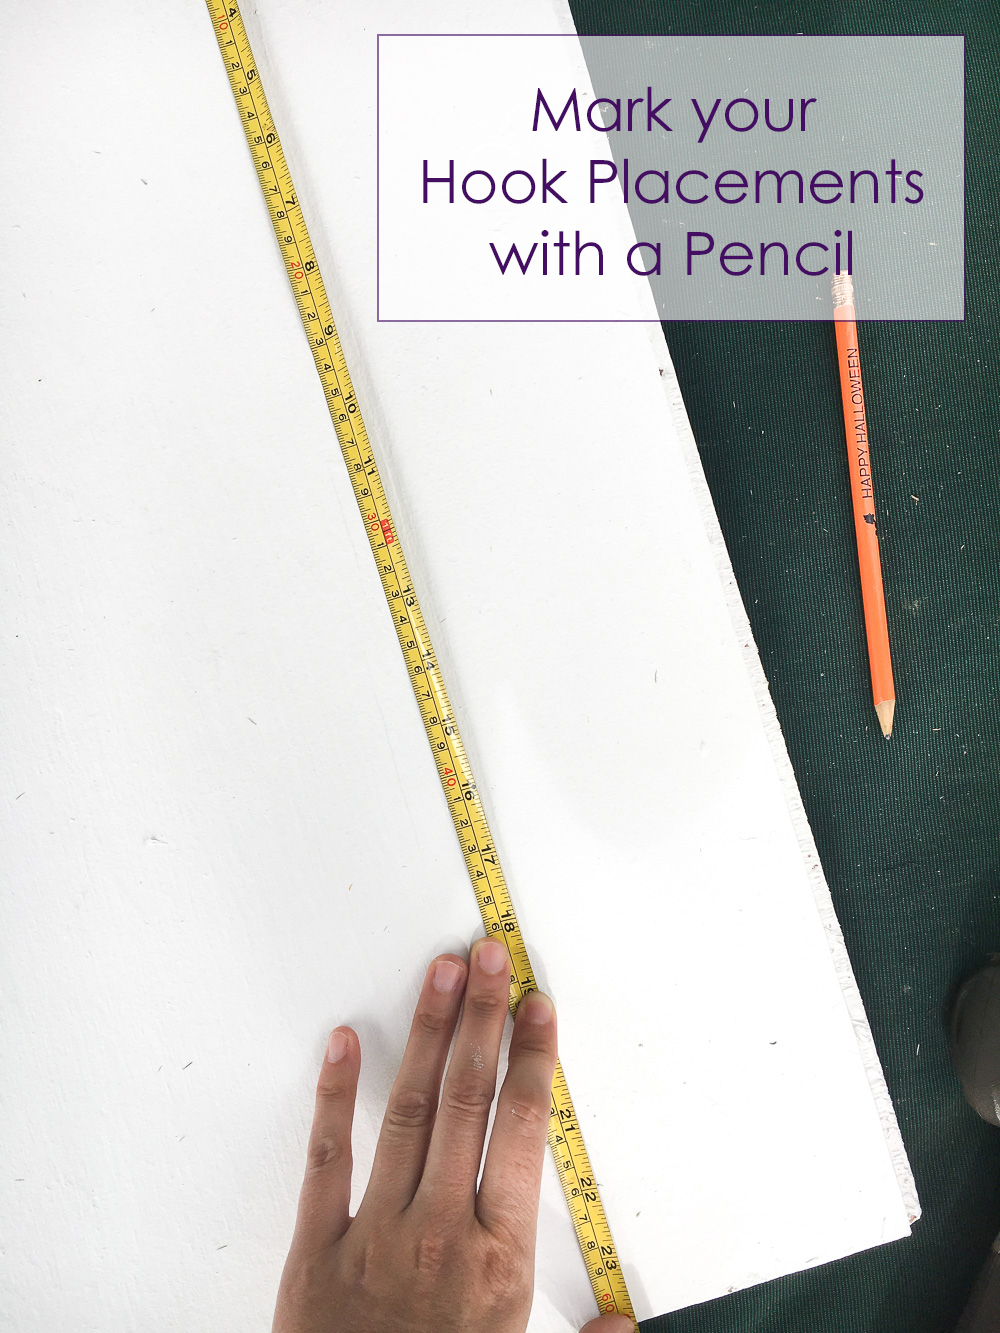 2) Mark with your pencil the places where you want to drill holes. I marked 42 holes with 6in. in between and 4in between rows. I alternated rows of 4 and 3 holes.
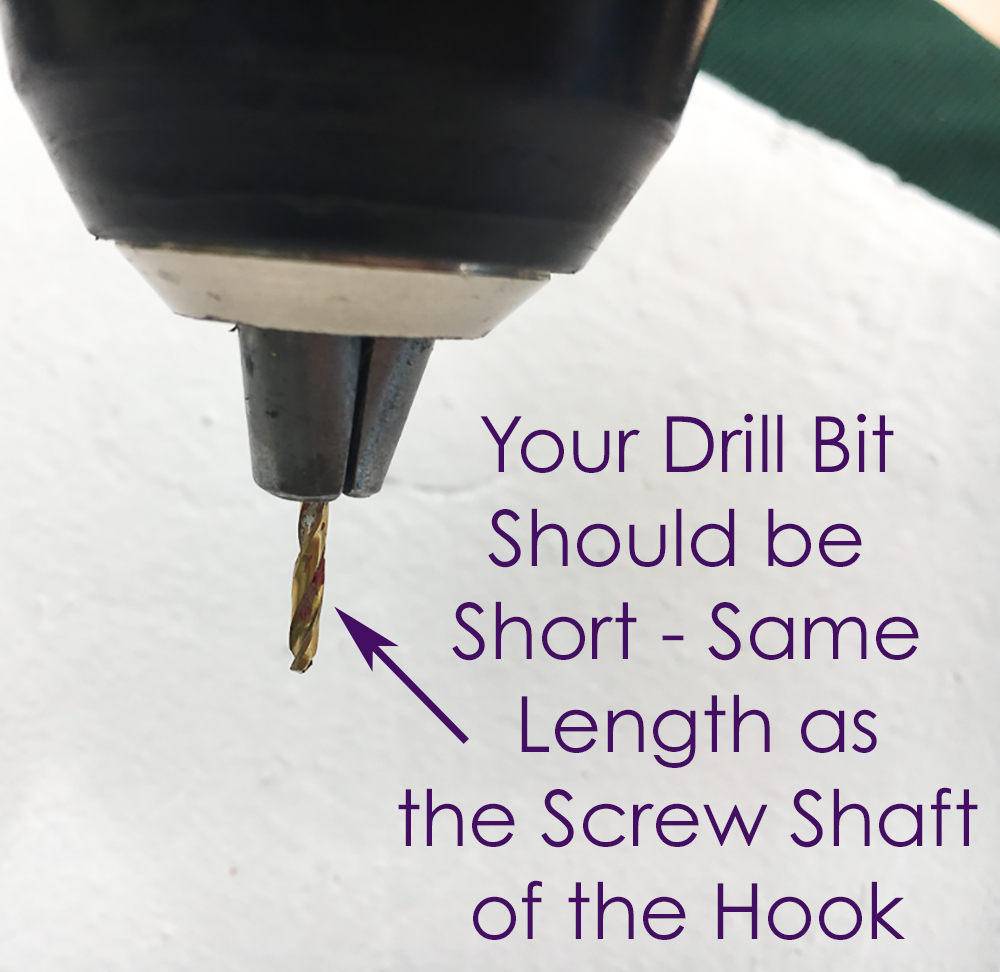 3) Drill the holes
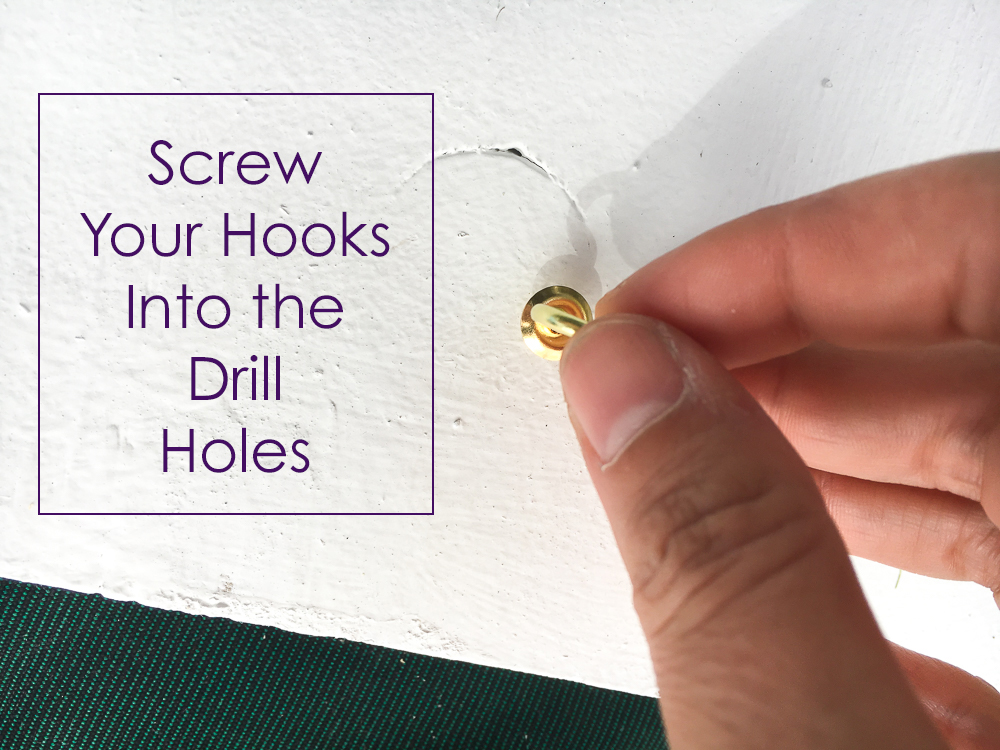 4) Screw the hooks into the drill holes
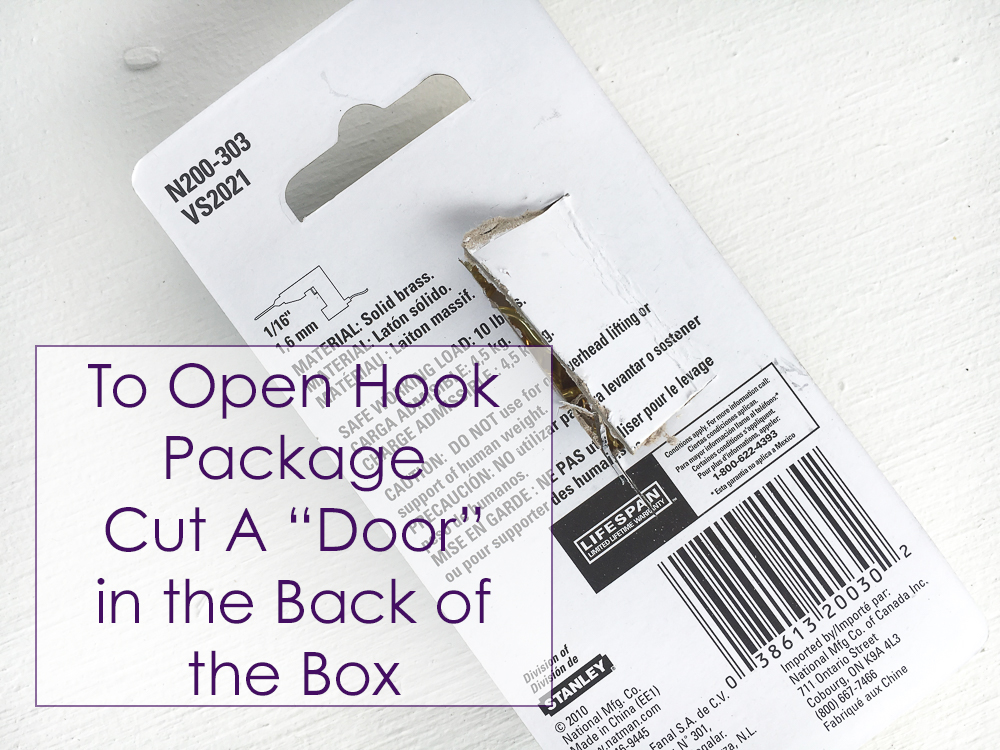
Also, a little tip from my handy man… when opening packages with hooks or other small pieces, it helps to cut a door in the back of the box instead of fully opening the package. This way, you can keep the package for storage.
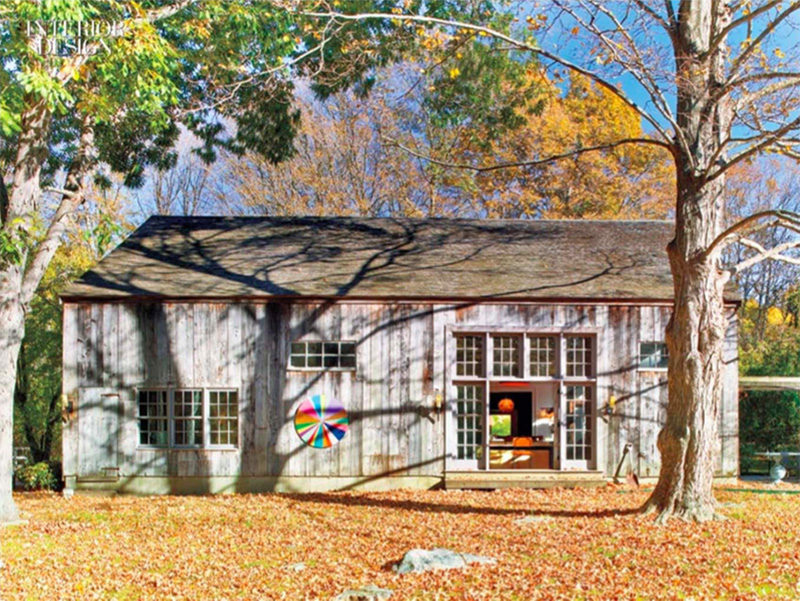
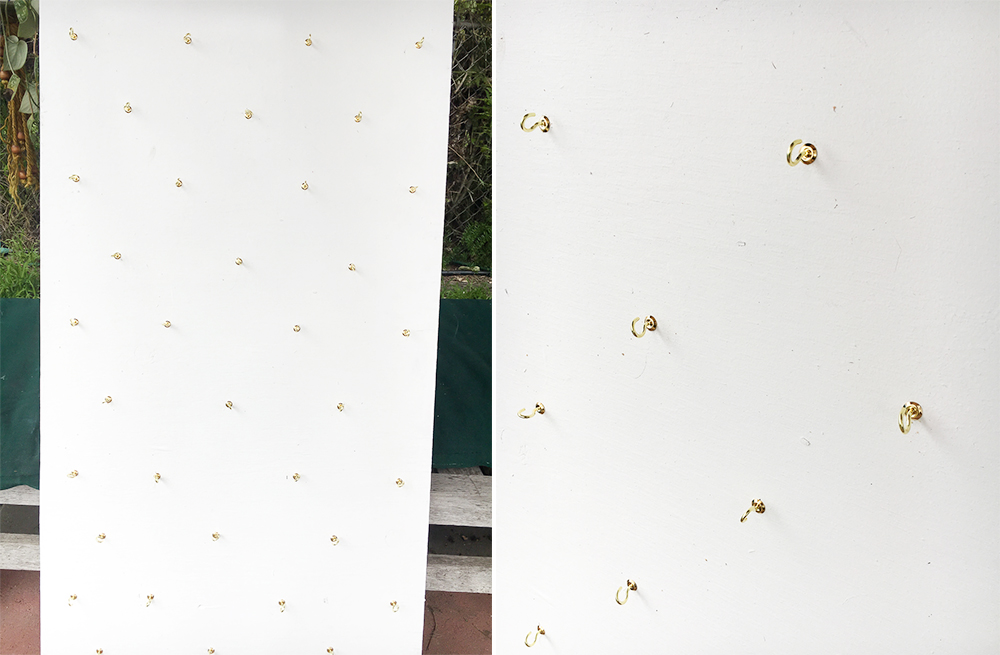 5) Drill and screw 4 hooks to the other side of the plywood. One on each corner. Attach a rope to the hooks. You will use this rope to hang the decoration (see full photos below).
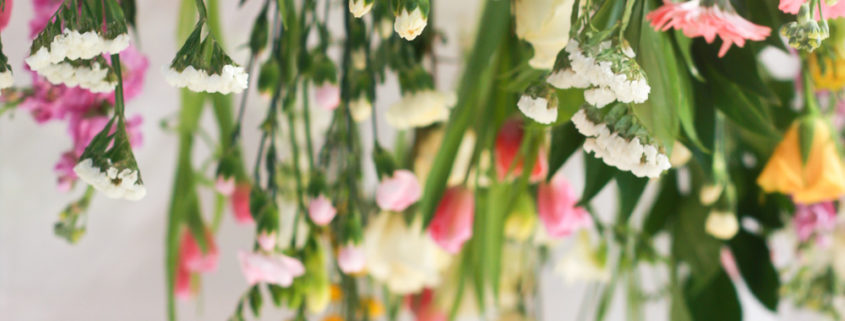
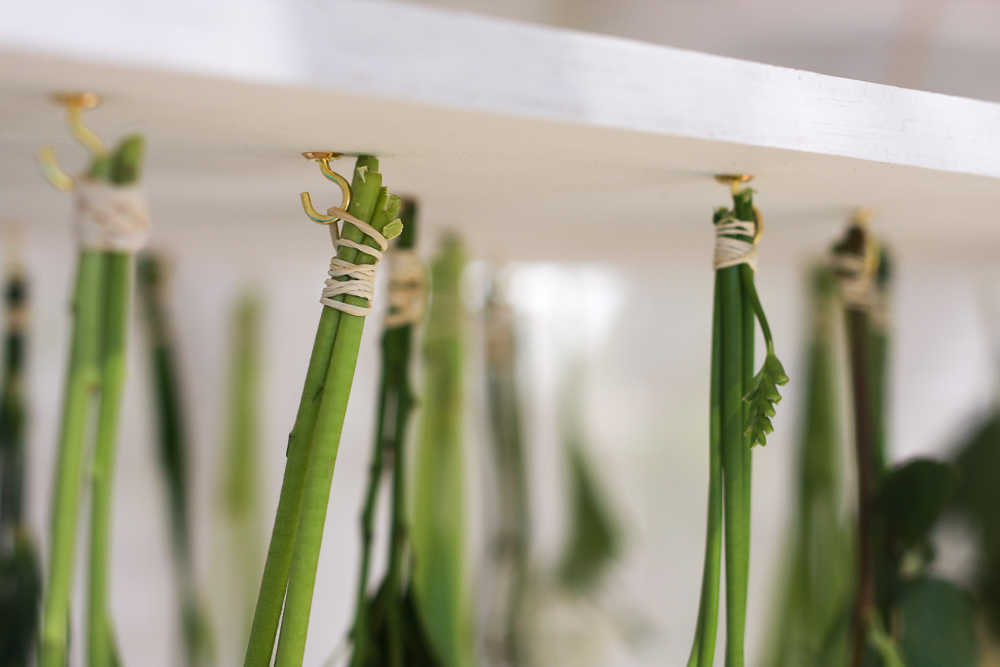 6) Start hanging your flowers with rubber bands. Choose the length and colors of your flowers and hang them one by one. I used bundles of 2-3 flowers at a time. You can use anything that is in season on your local grocery store. Roses and tulips are good options.
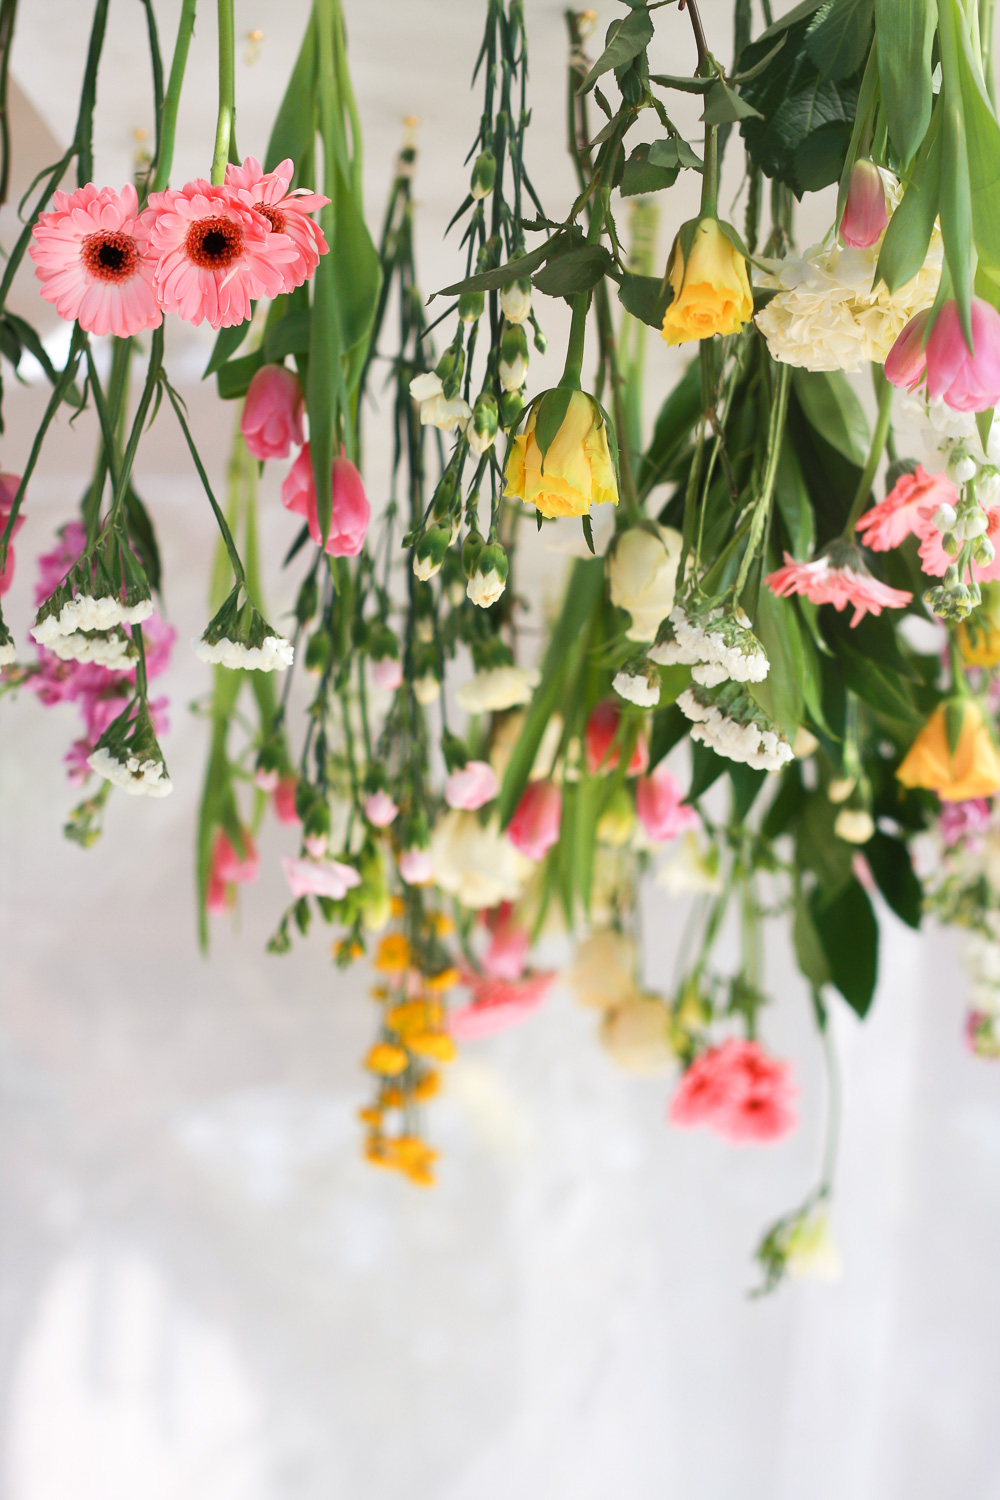
And, here is the result. Let’s take a look at some beautiful photos:
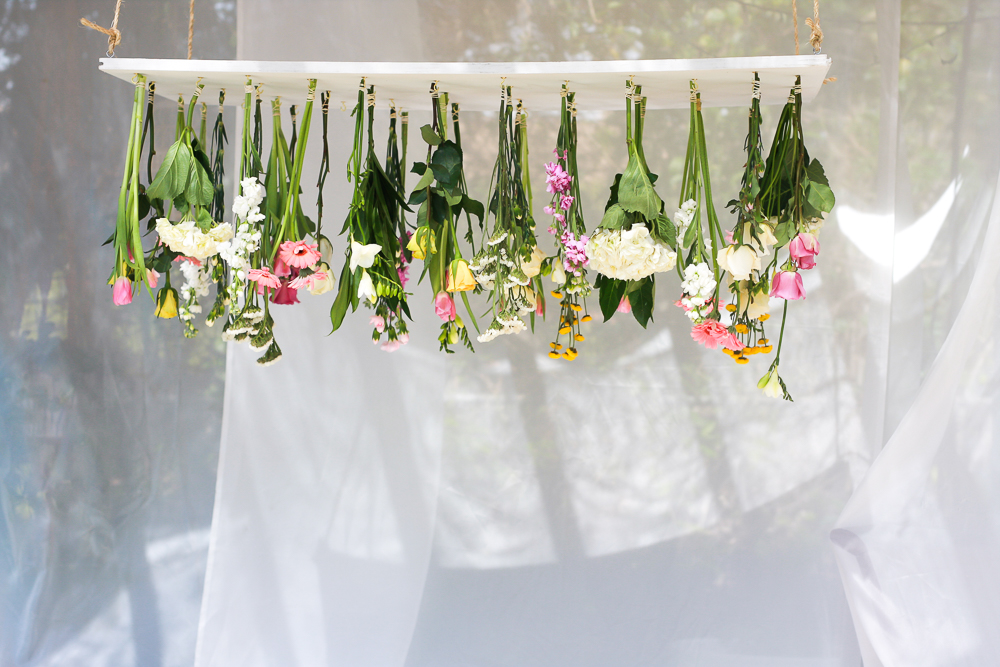
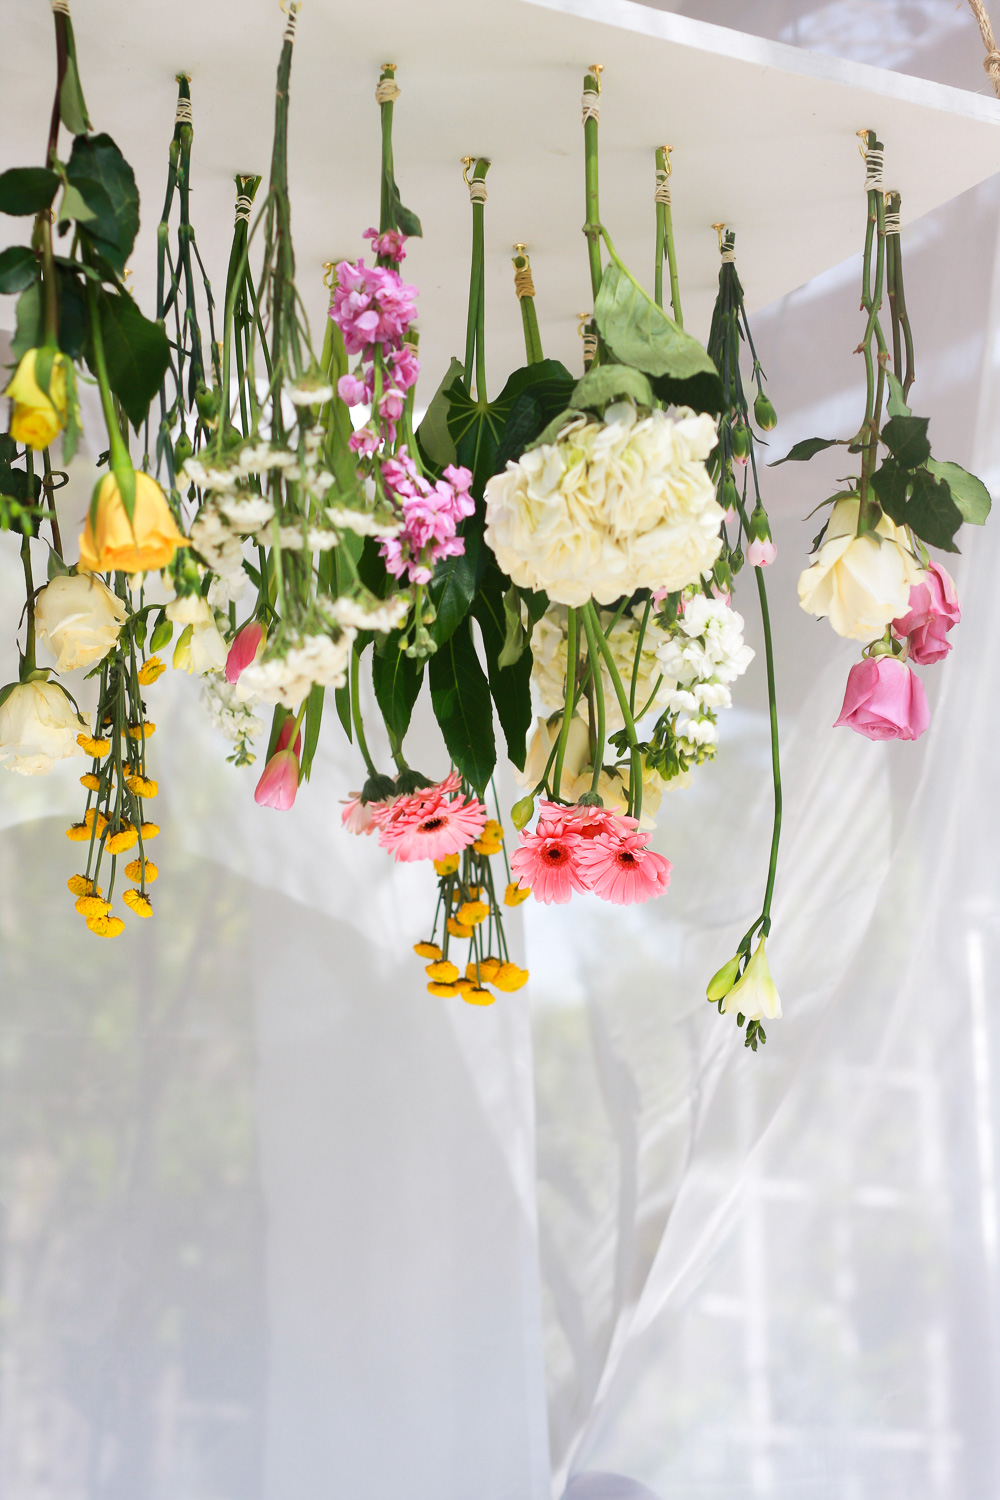
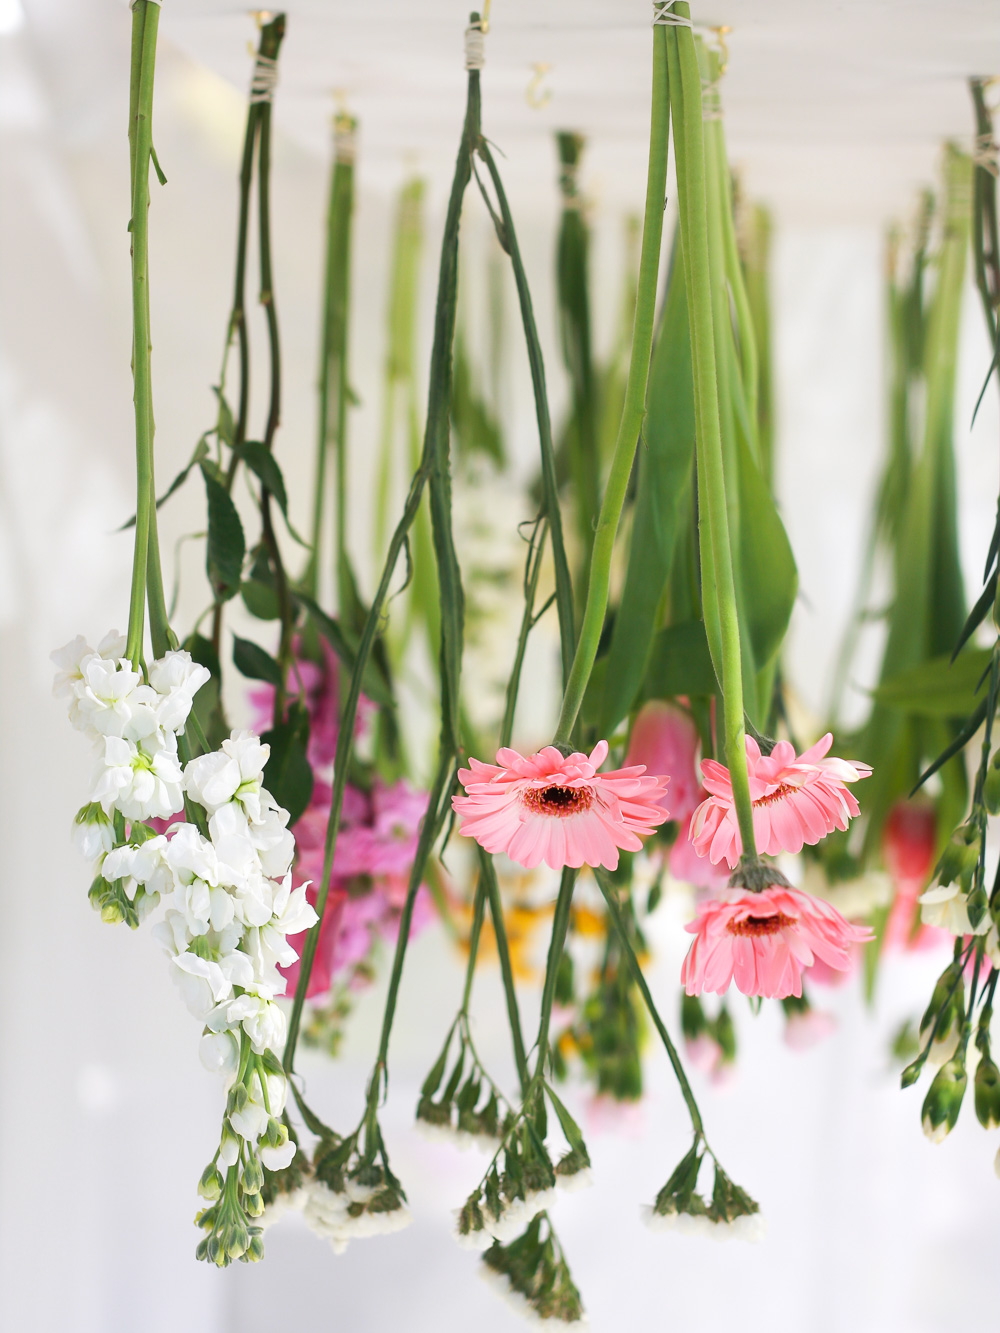
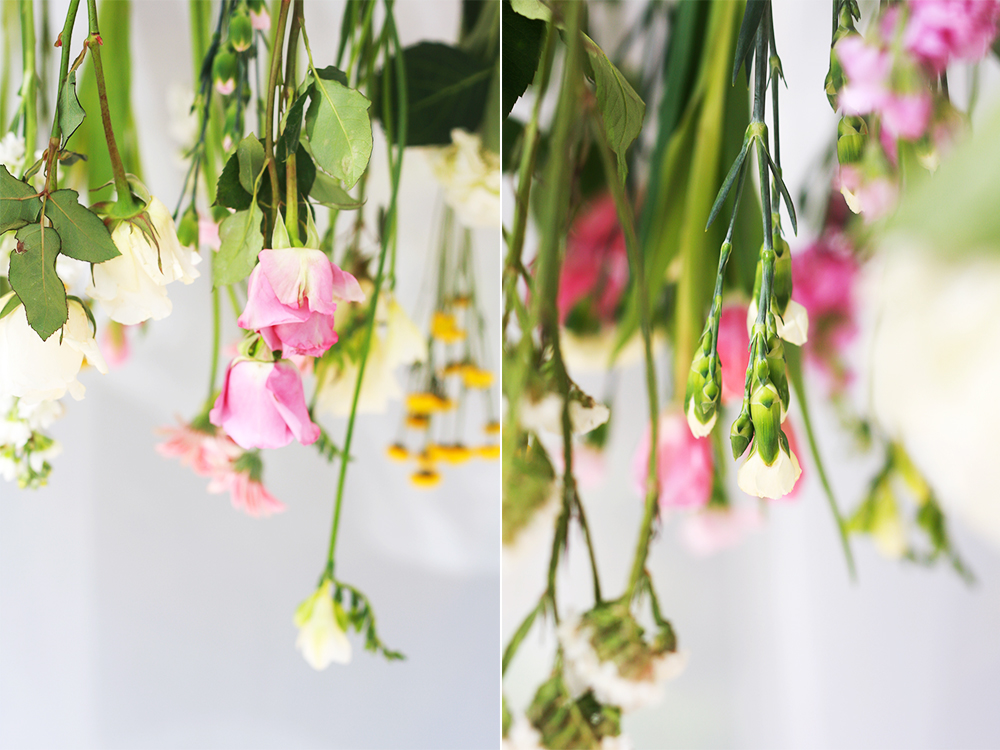
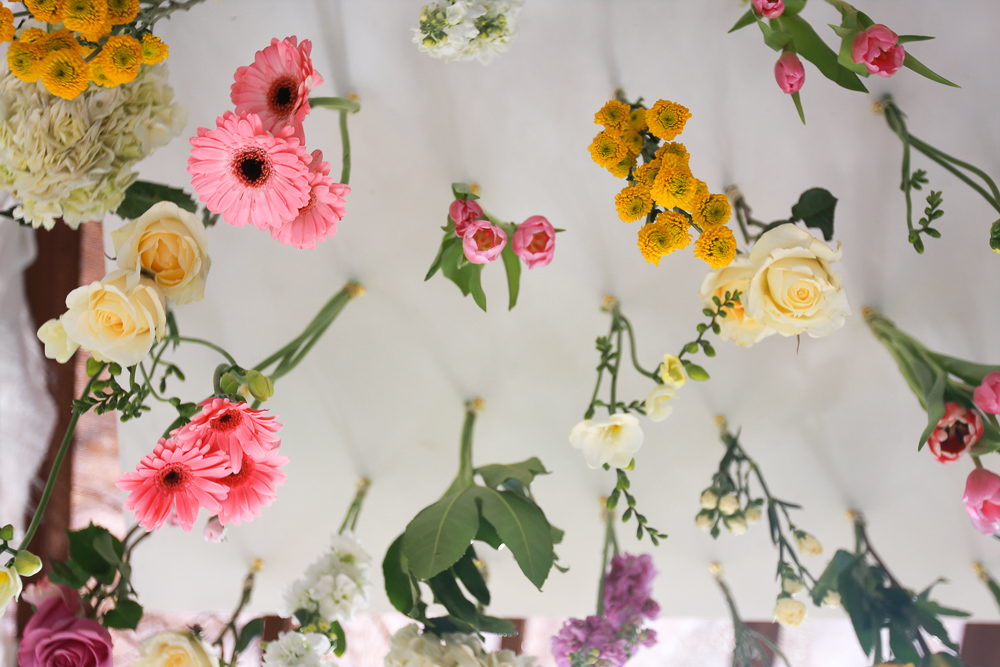
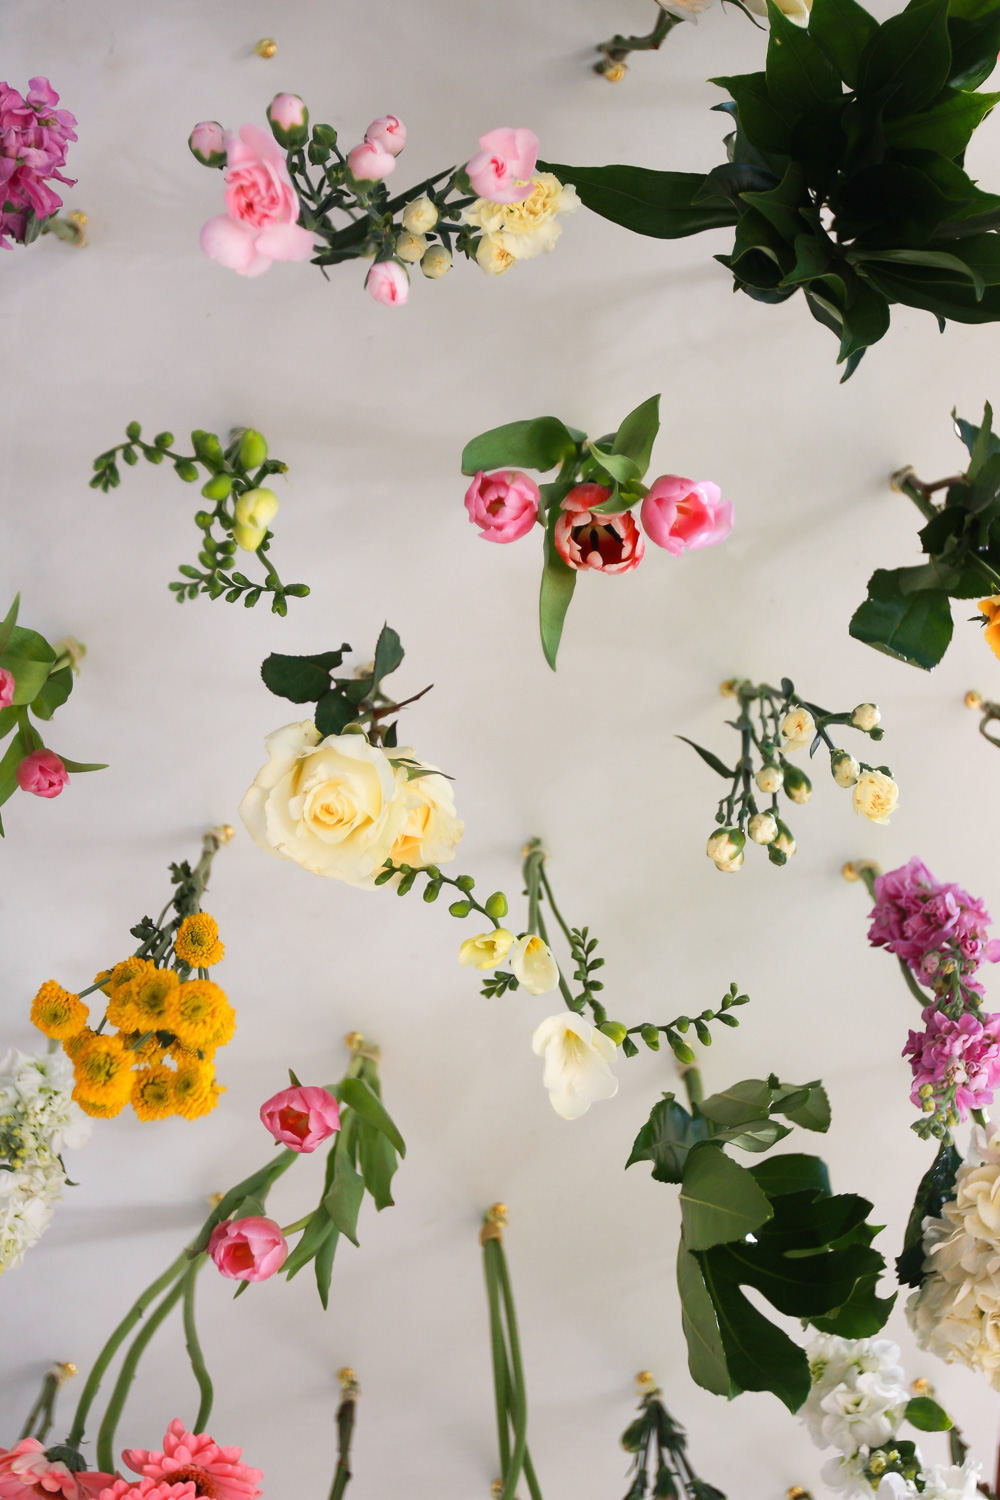
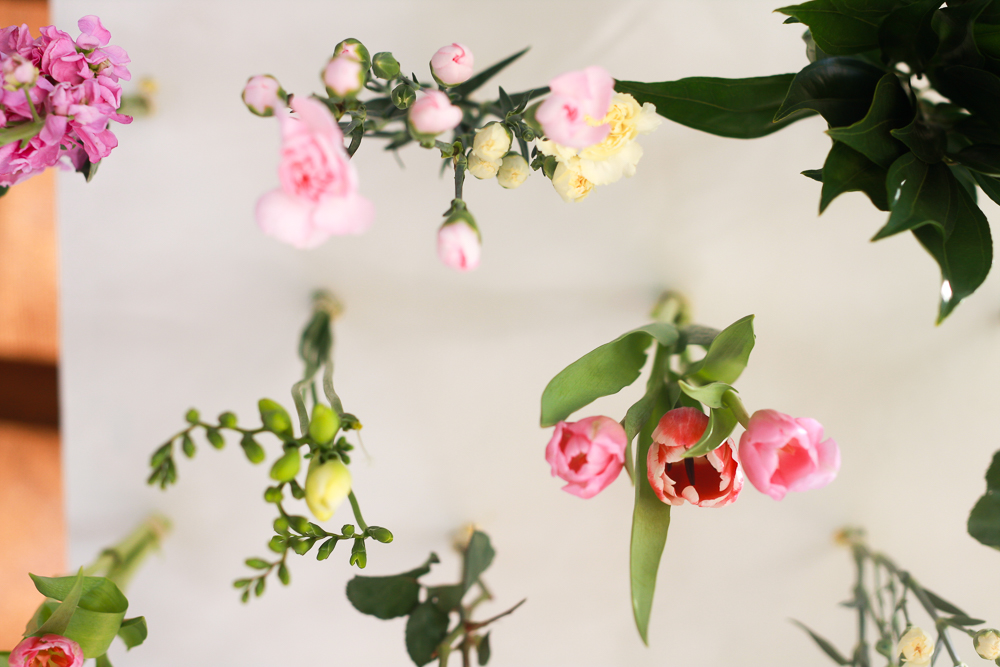
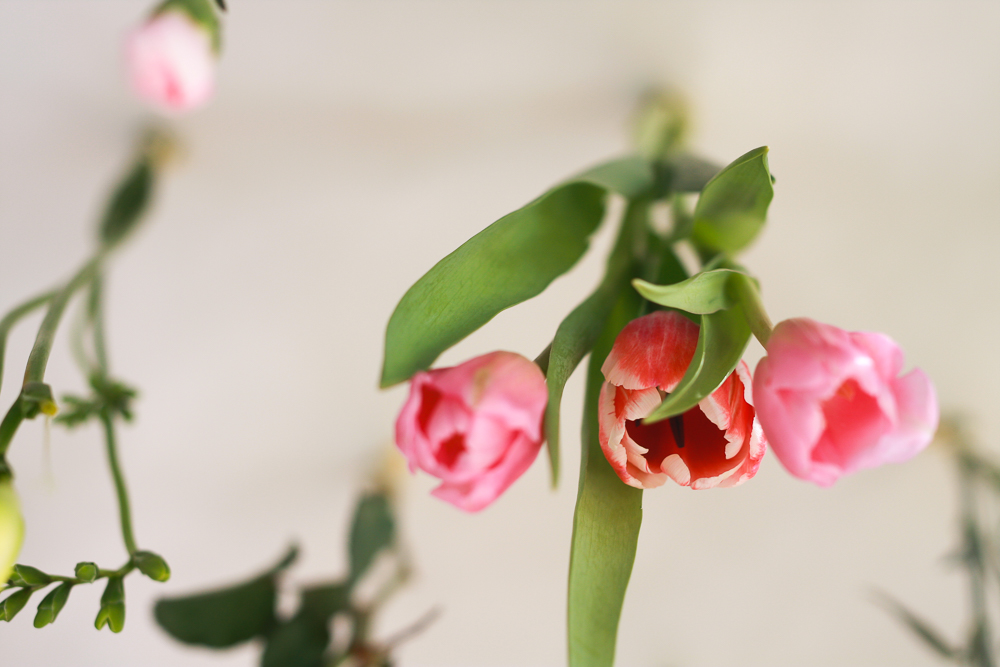
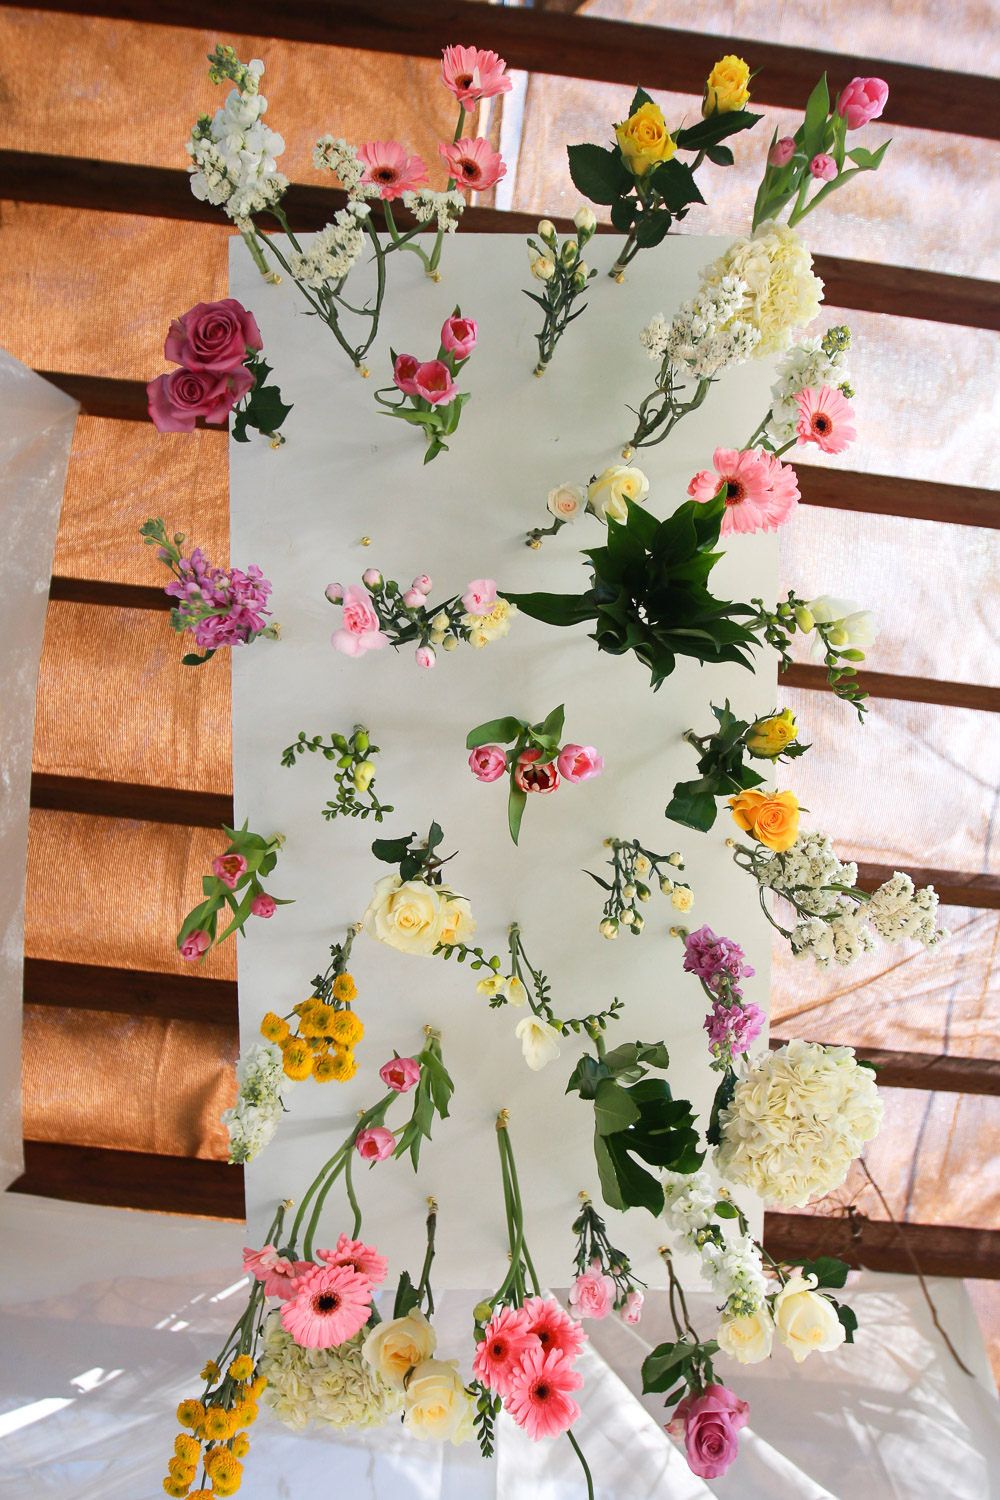
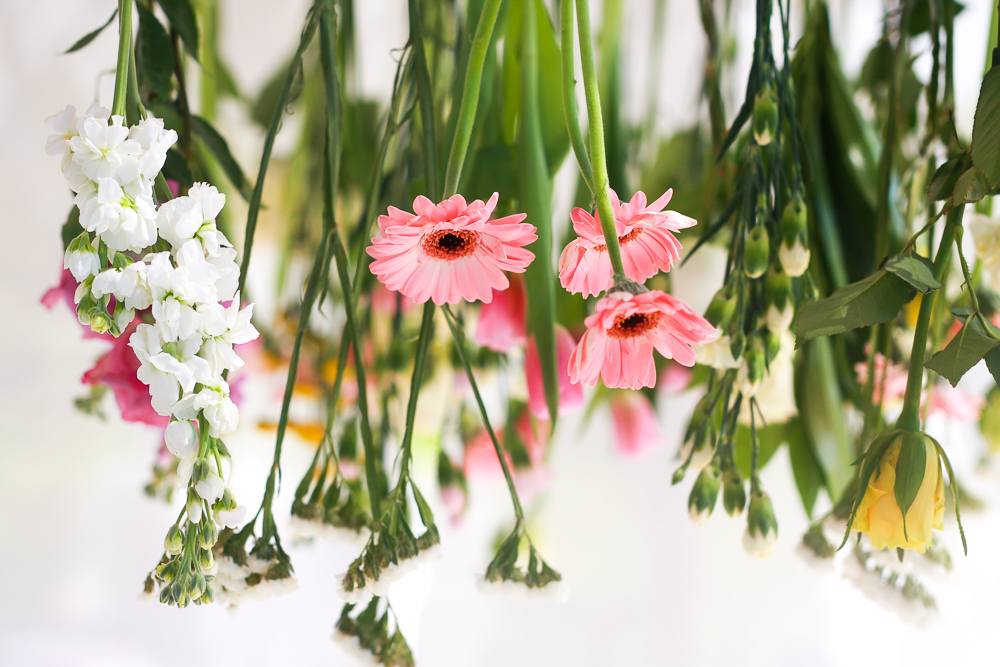
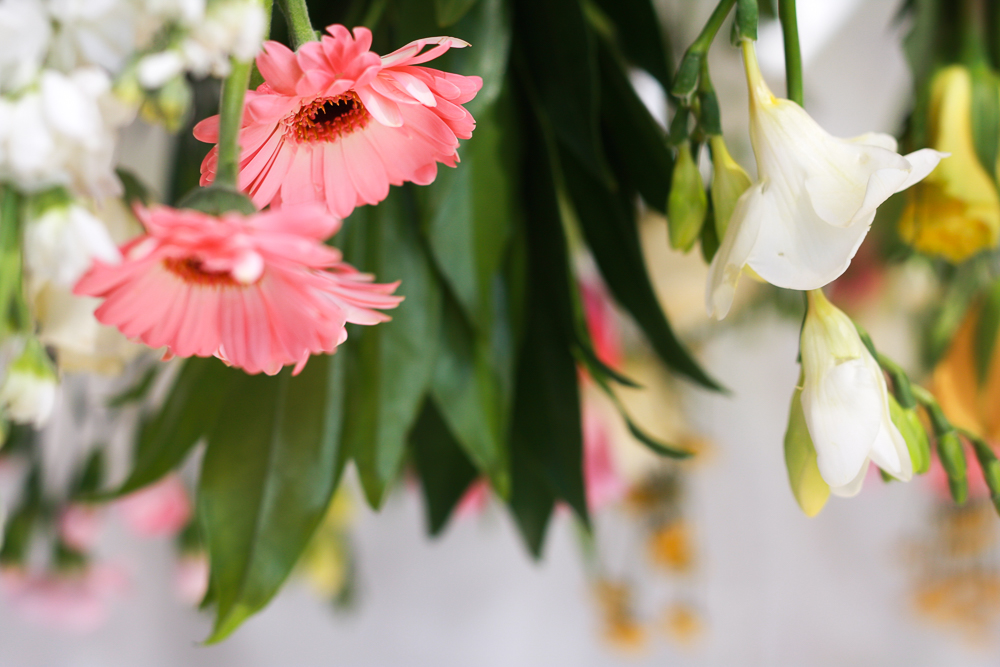
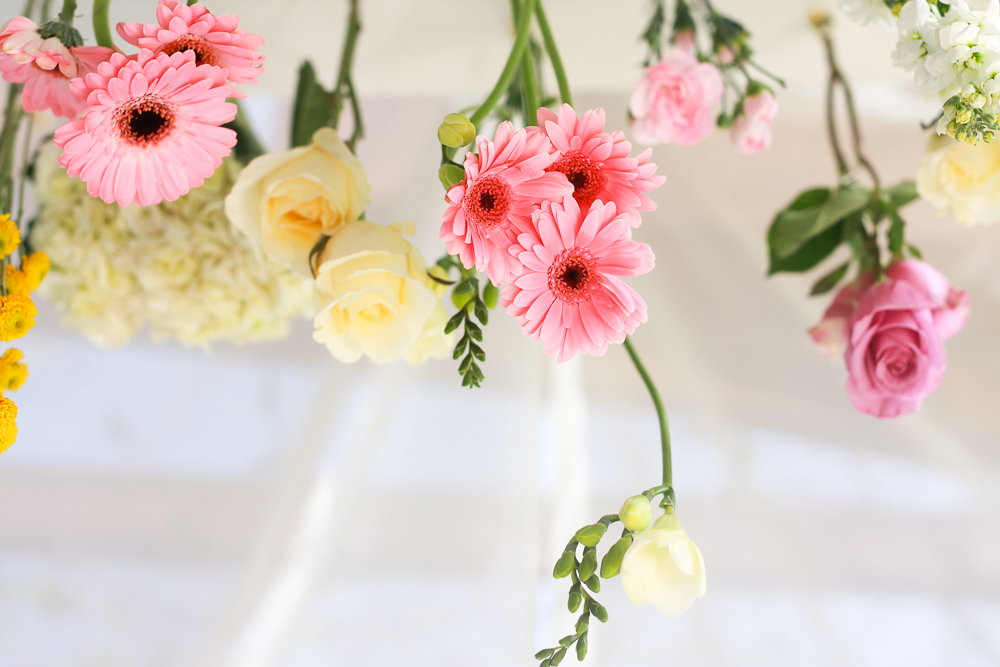
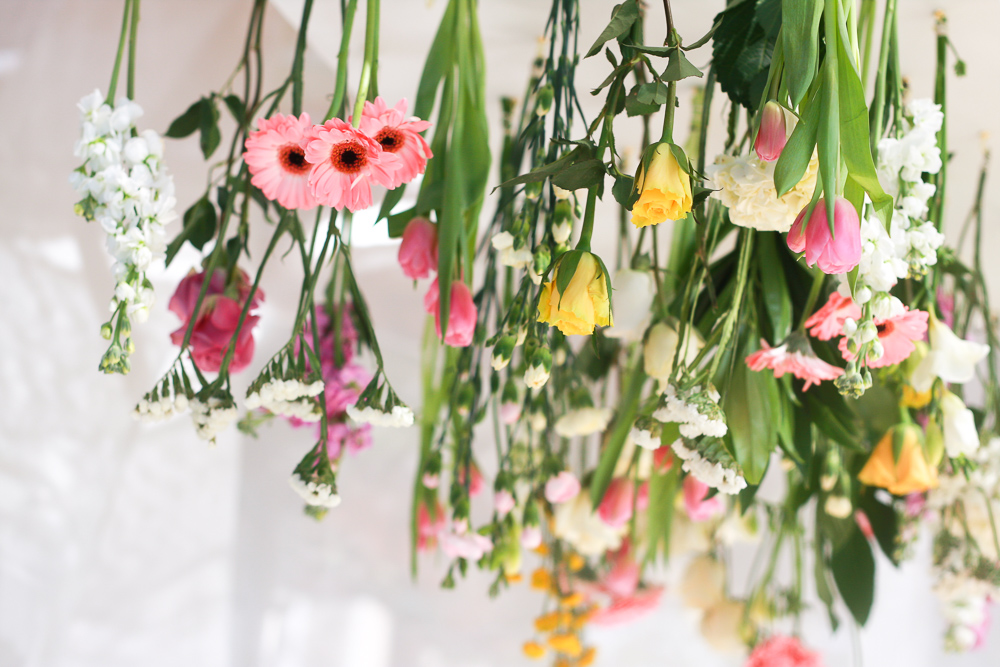
The result was better than I expected. The flowers looked so good, especially from down below. The project was done in just a couple of hours. It was easy to make.
WARNING: Some flowers don’t last long without water. I would say that you have around 5-6 hours of beauty before you they start withering but the “withering” look could also be beautiful.
Hope you liked this project!

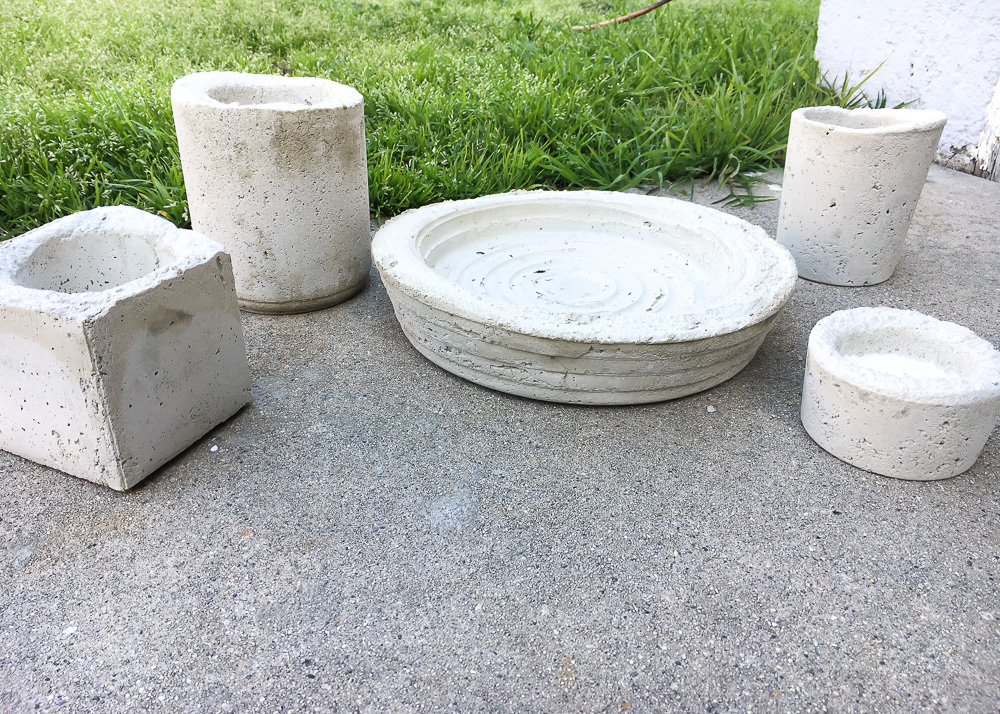
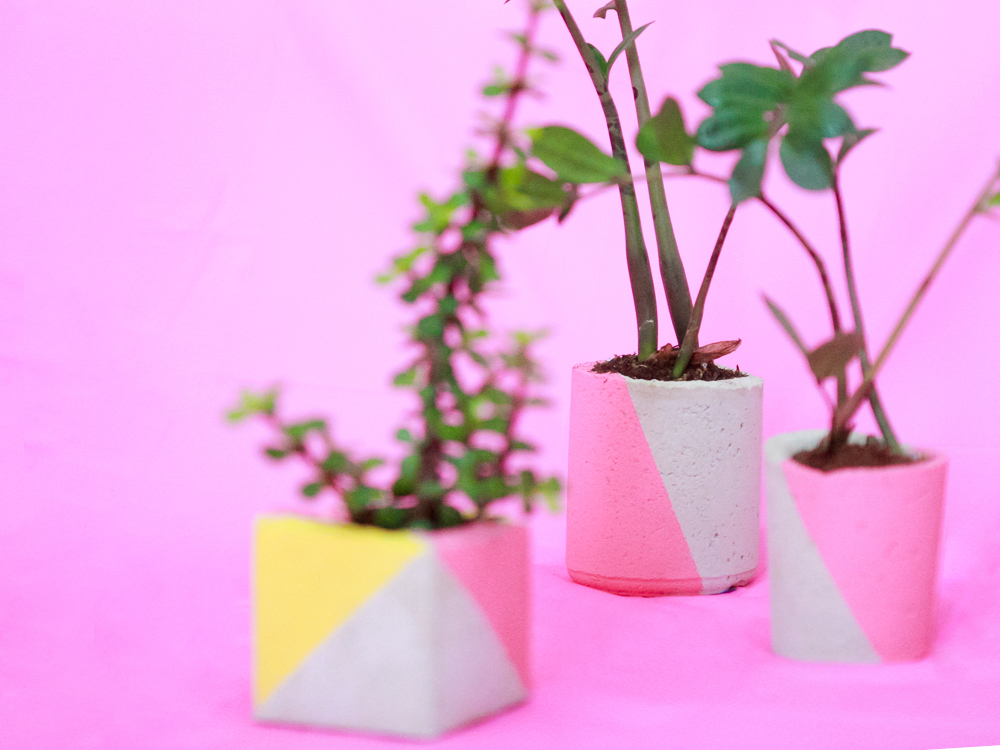
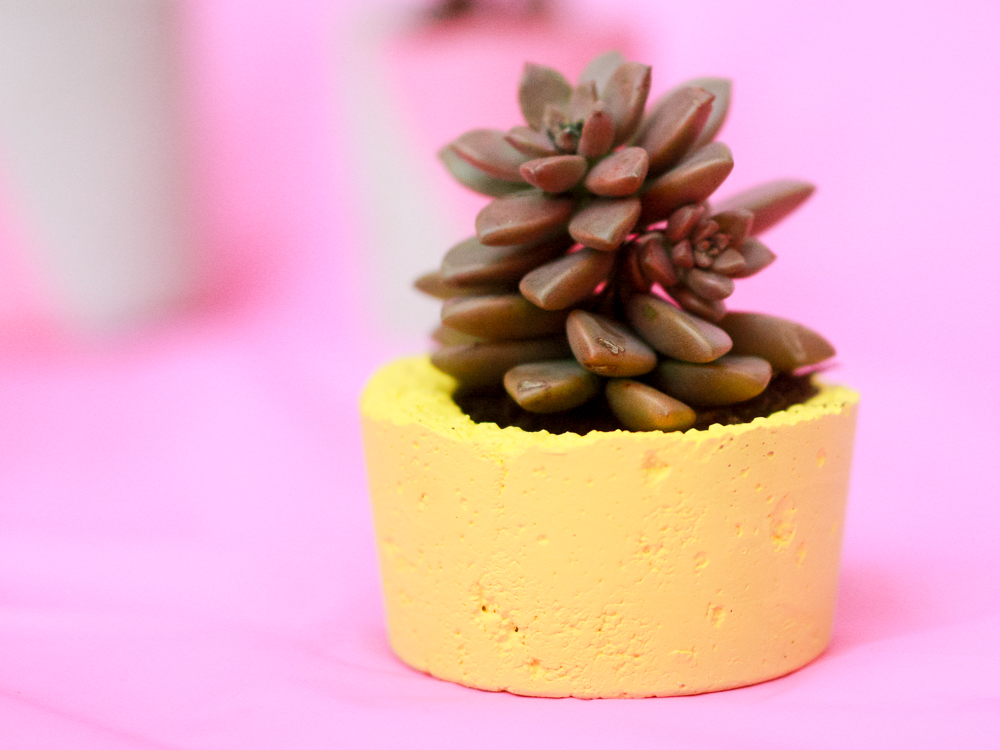
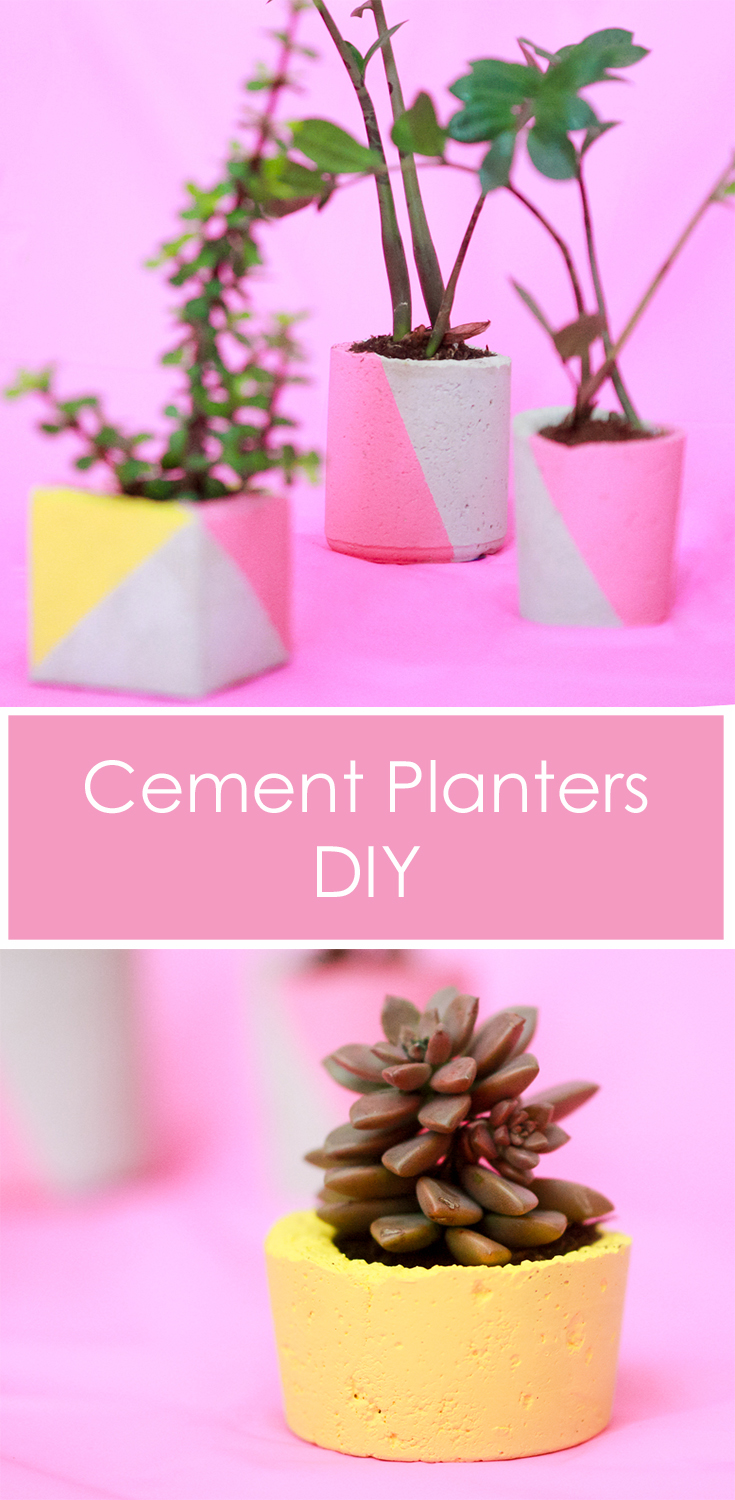
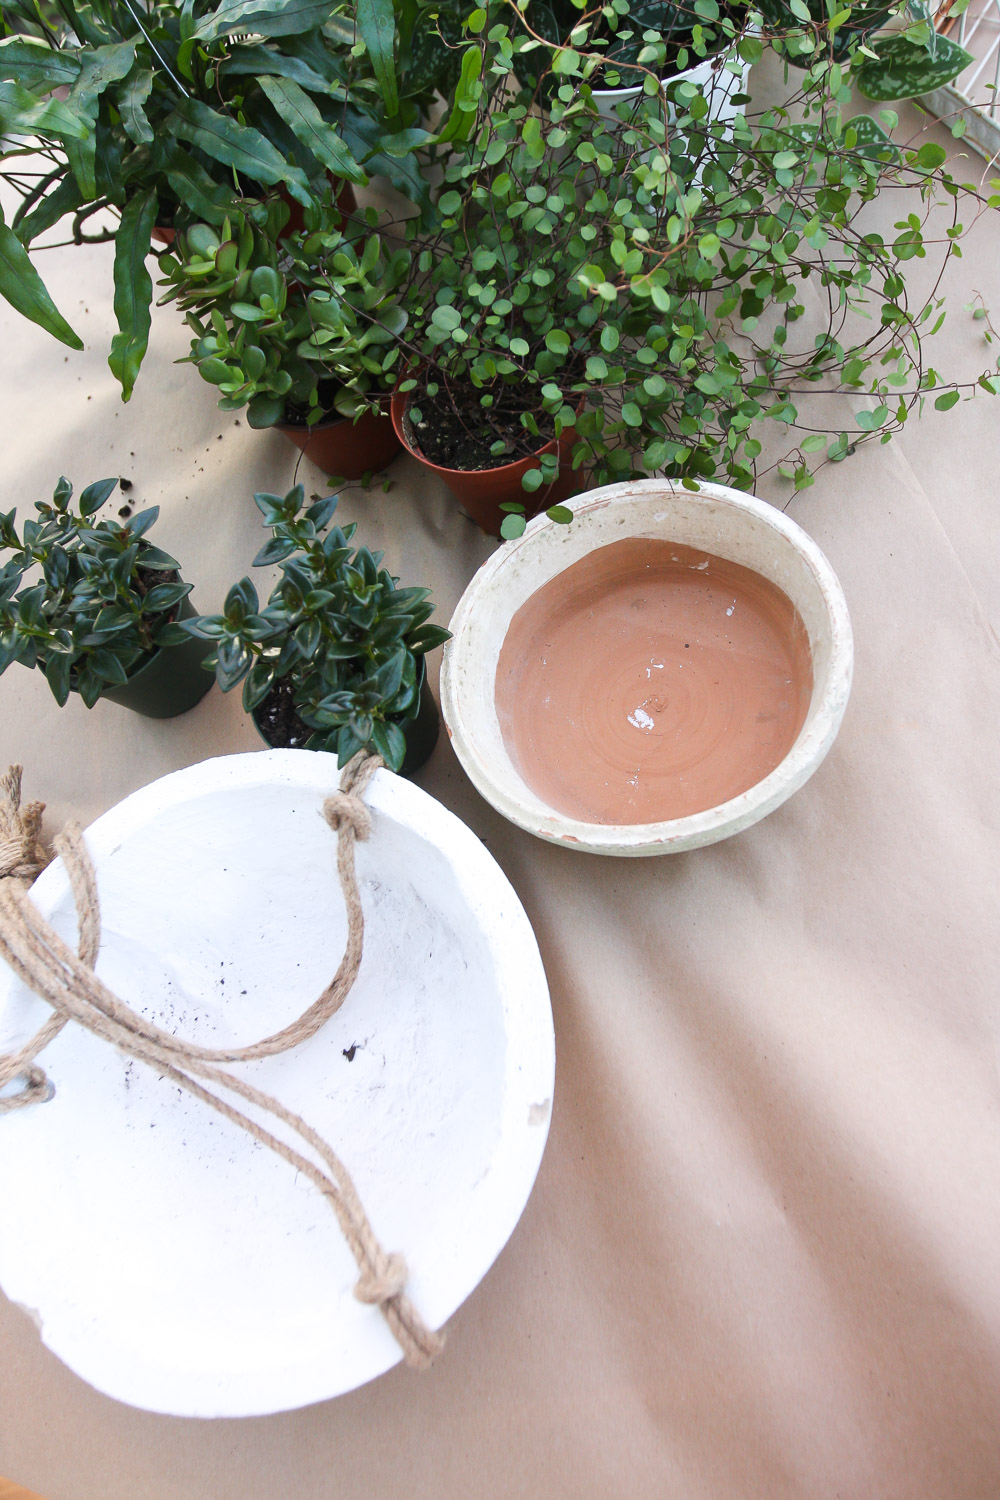
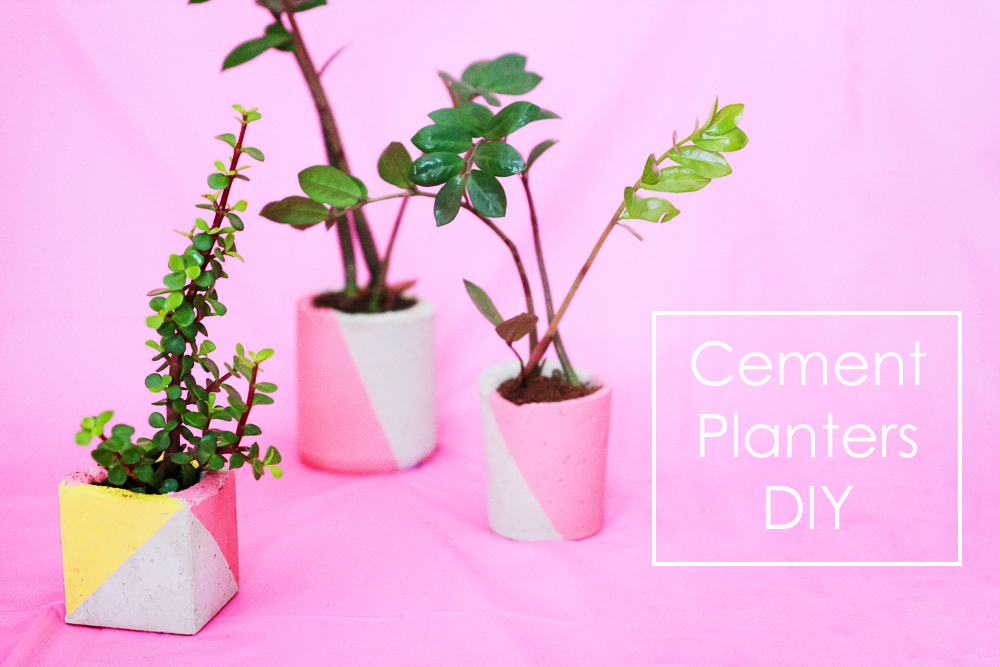 To my new beautiful cement planters: thank you for coming into my house to make it more appealing and for saving me hundreds of dollars in new planters! Also, thank you for being so easy to make and for looking good no matter what!
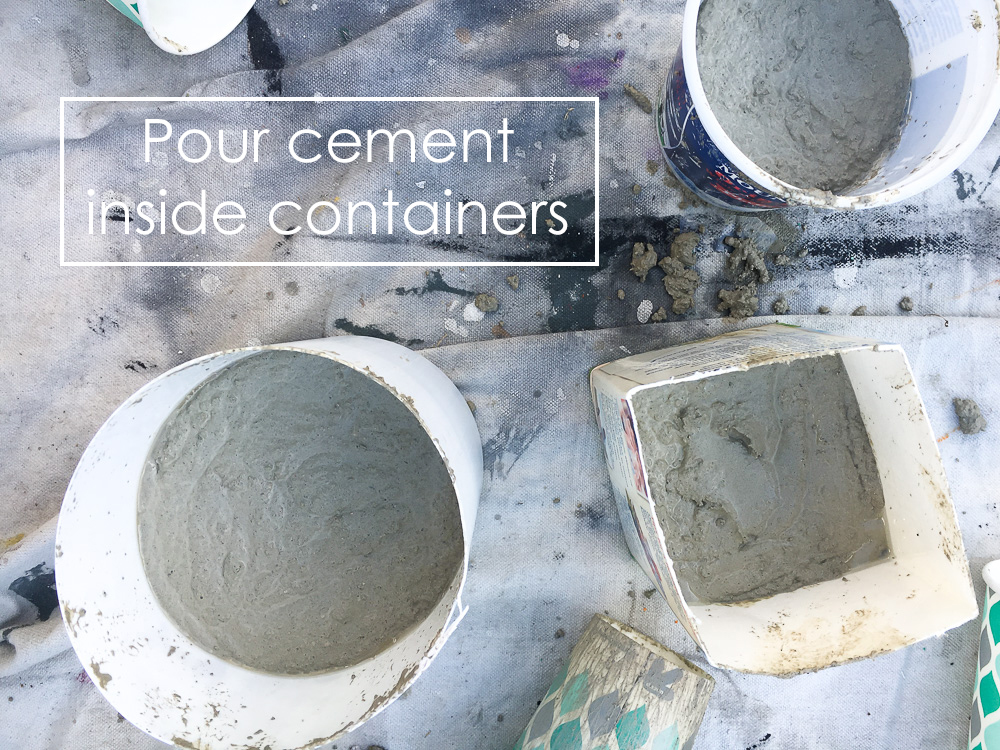
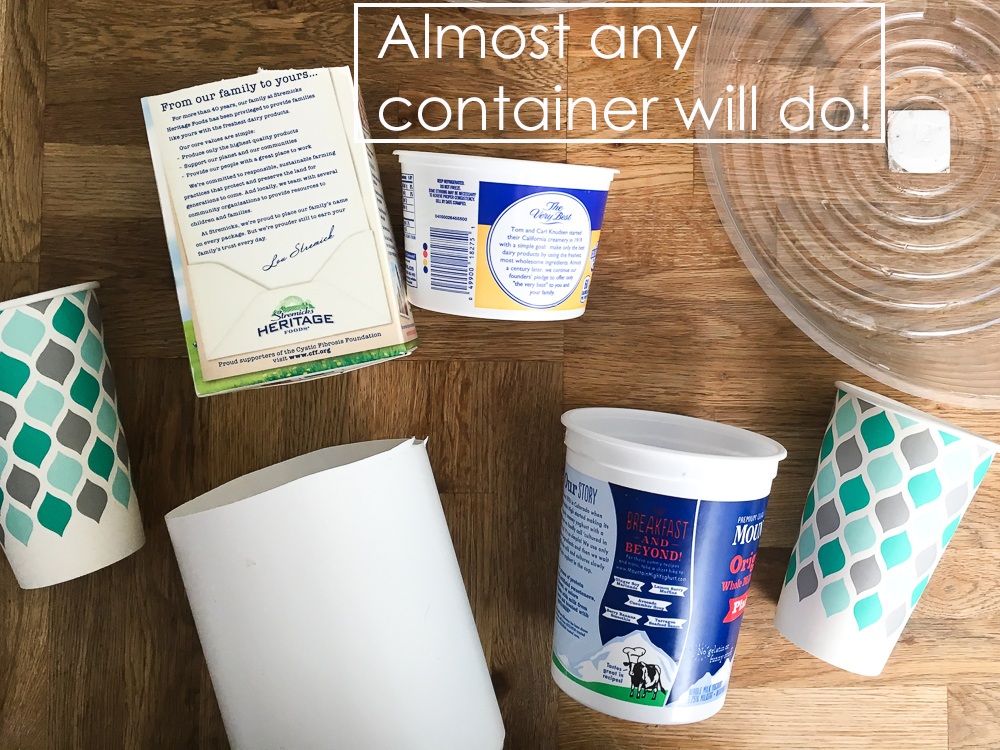 1) Prepare your containers. Decide how many planters you want to make. For each one of them you will need an exterior container to pour the cement mix in. You will also need an interior container to create the inside hole to place your plants. Make sure there is enough space between your exterior and interior container, this space will be the thickness of your planter walls.
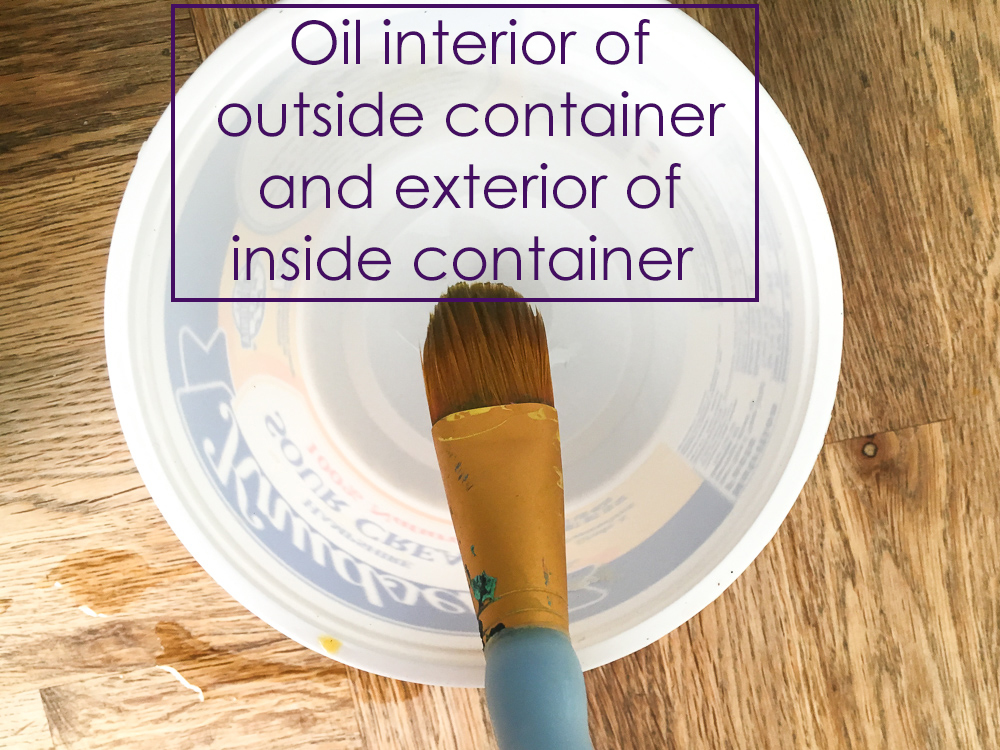 2) Oil the interior of outside containers and the exterior of your inside containers. This will help releasing containers after the cement dries.
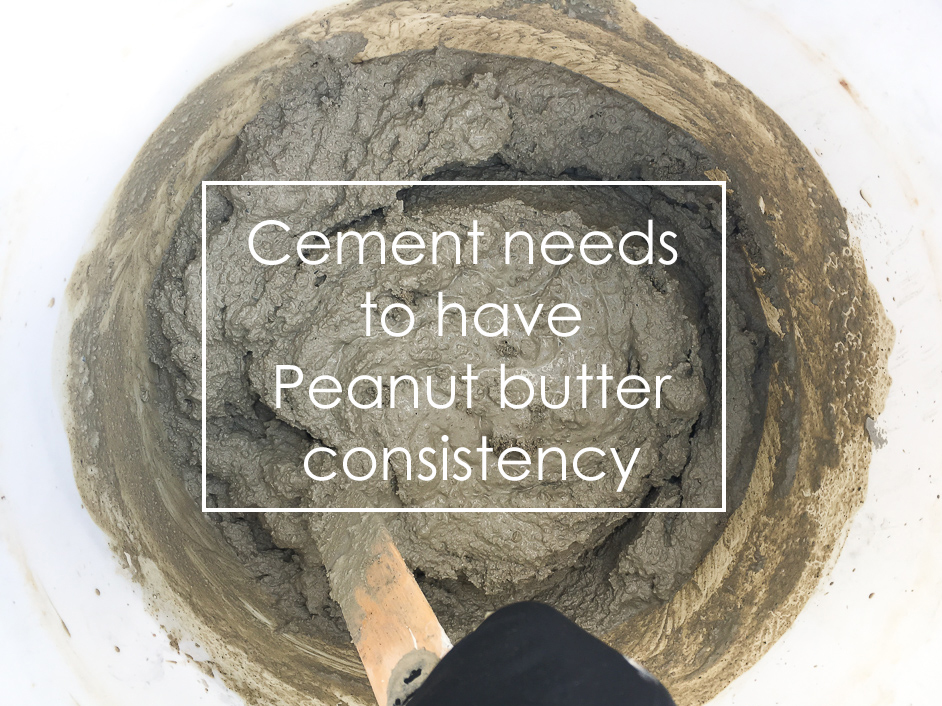
 4) After you pour the cement into the container, you need to bang them down on a hard surface to settle the mix. Press the interior container into the mix to create the interior hole.
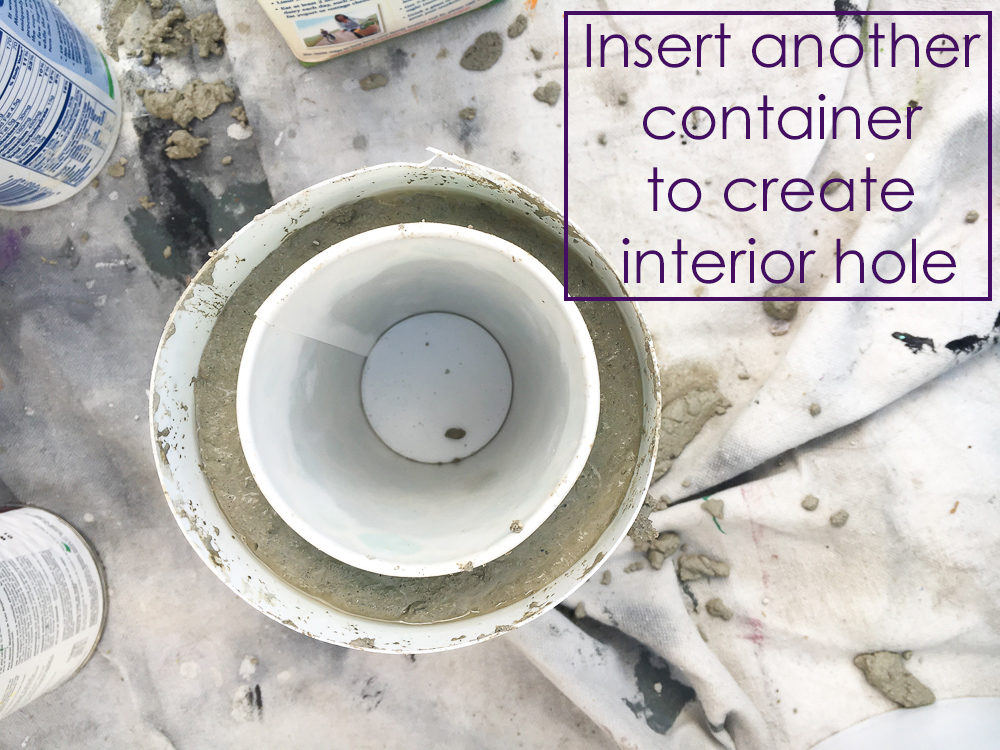
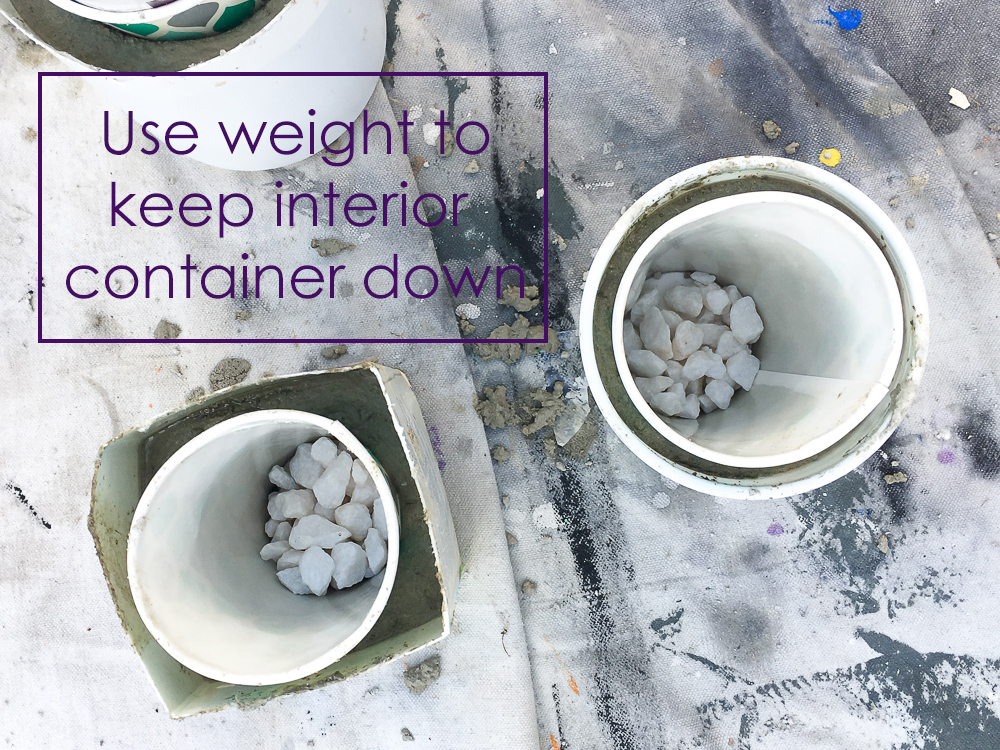 5) Add weights to keep interior containers down and wait 24 hrs for the cement to dry.
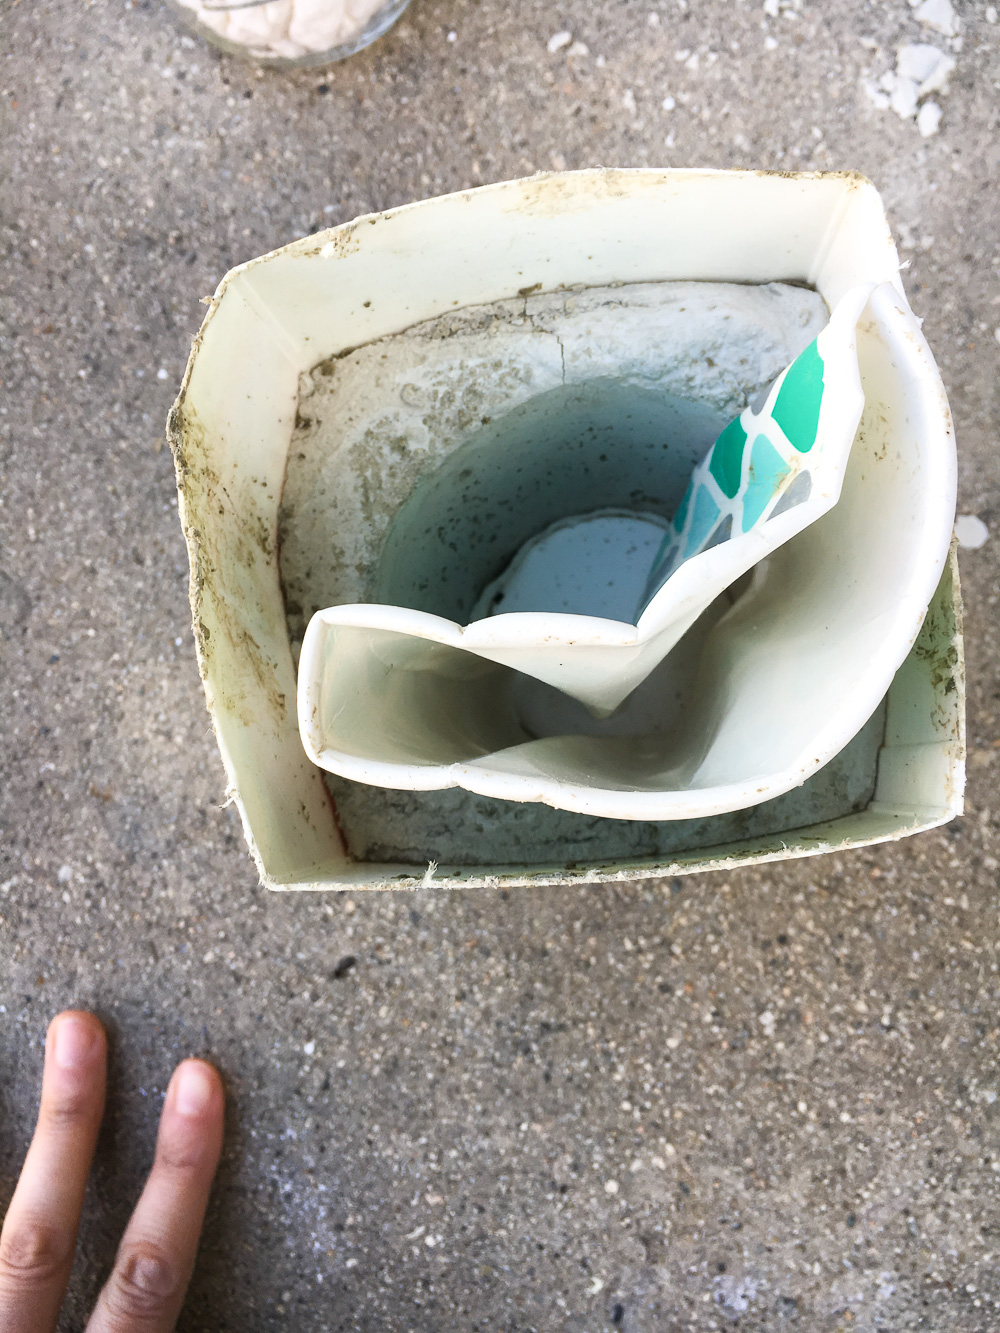

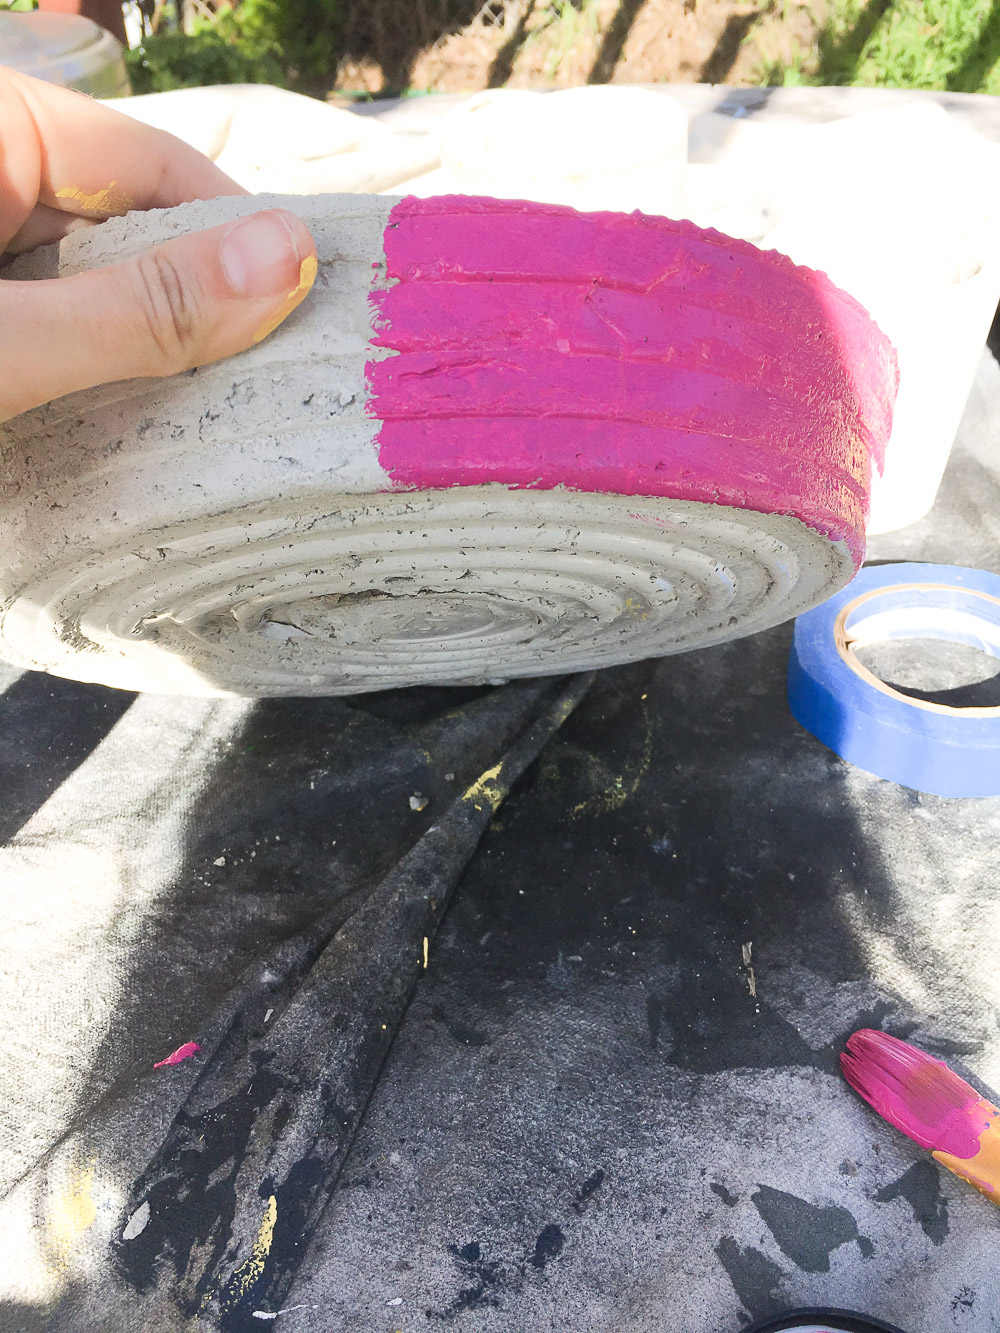 7) Paint! Choose your colors and a design and paint your containers. For some of the planters I used blue tape to create a straight line. I have a lot of extra paint from previous projects so I reused that. I used samples of flat wall paint. Spray would also work.
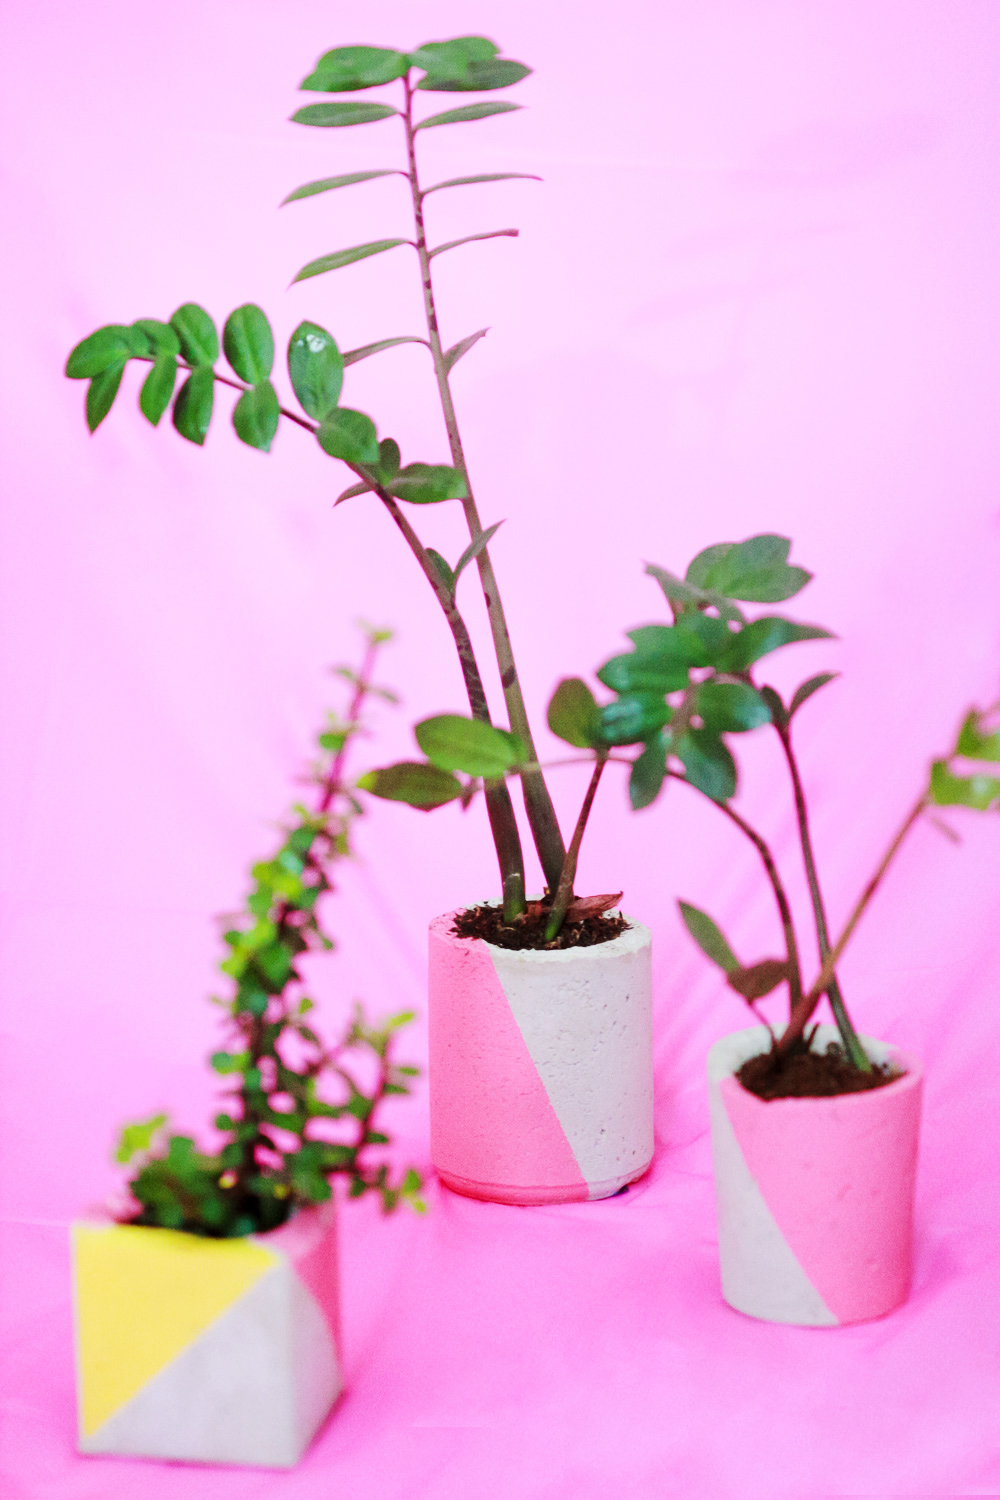

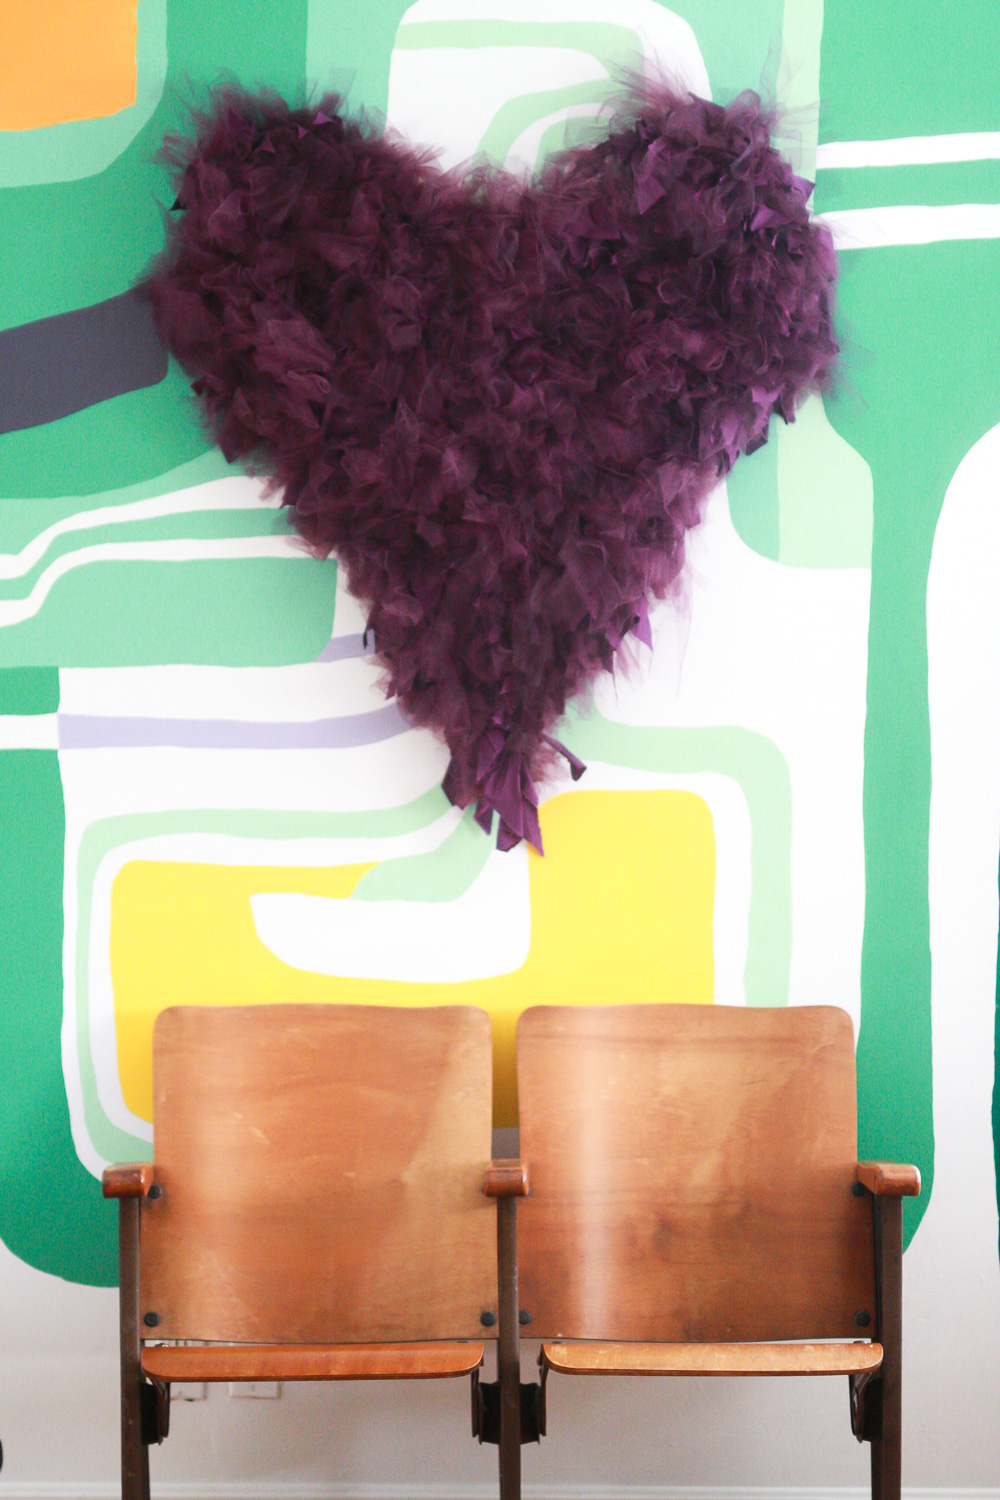


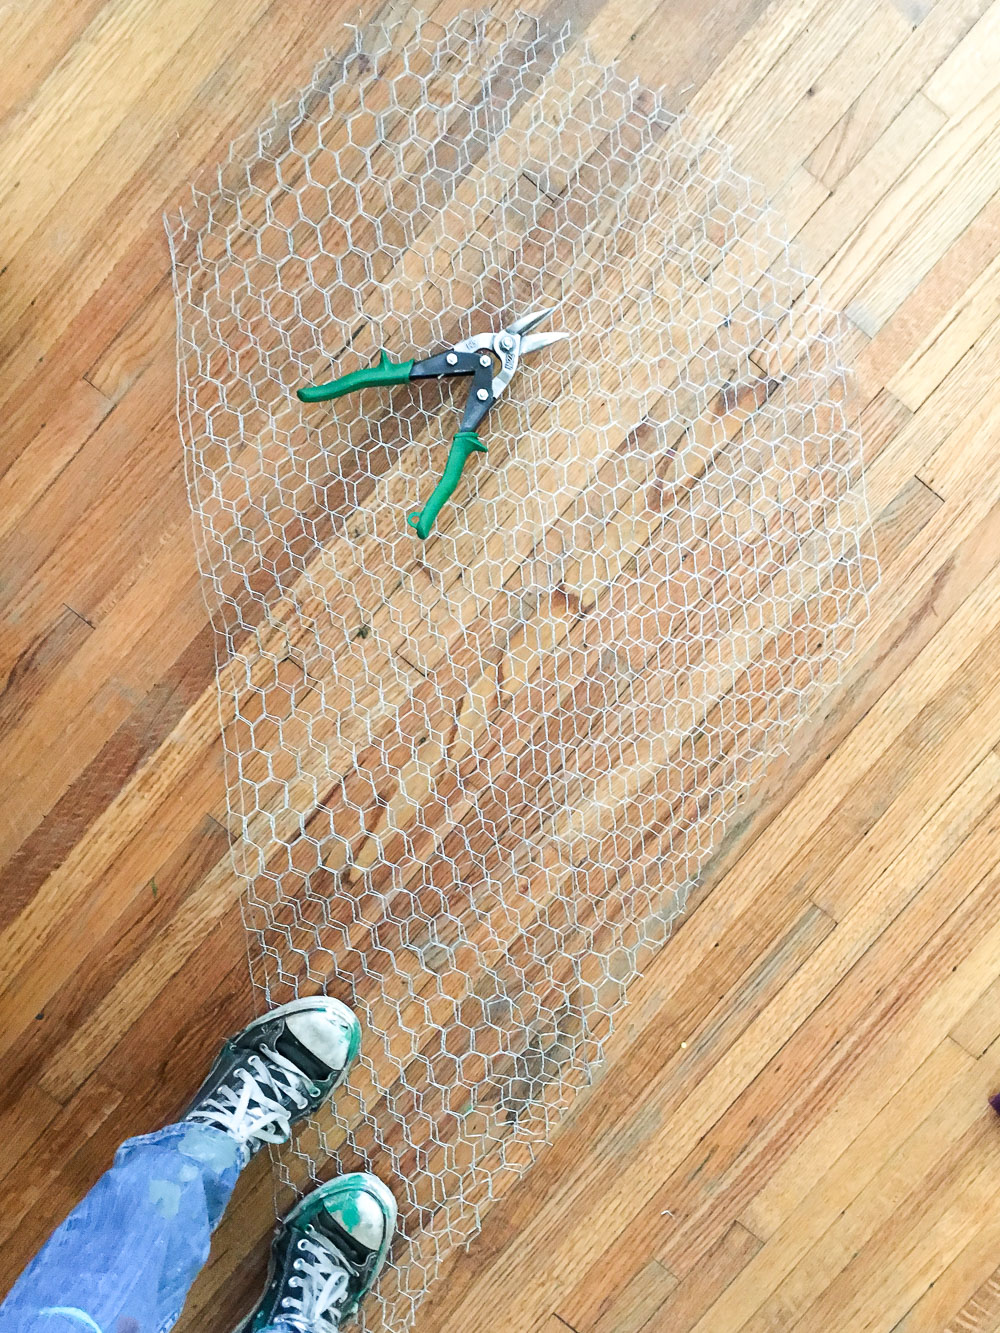
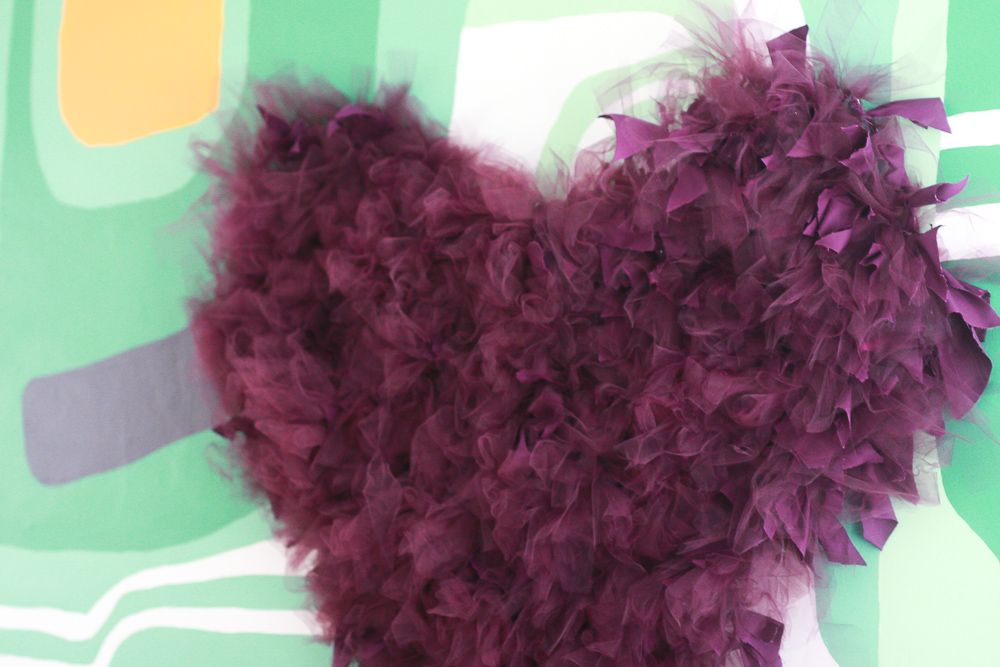
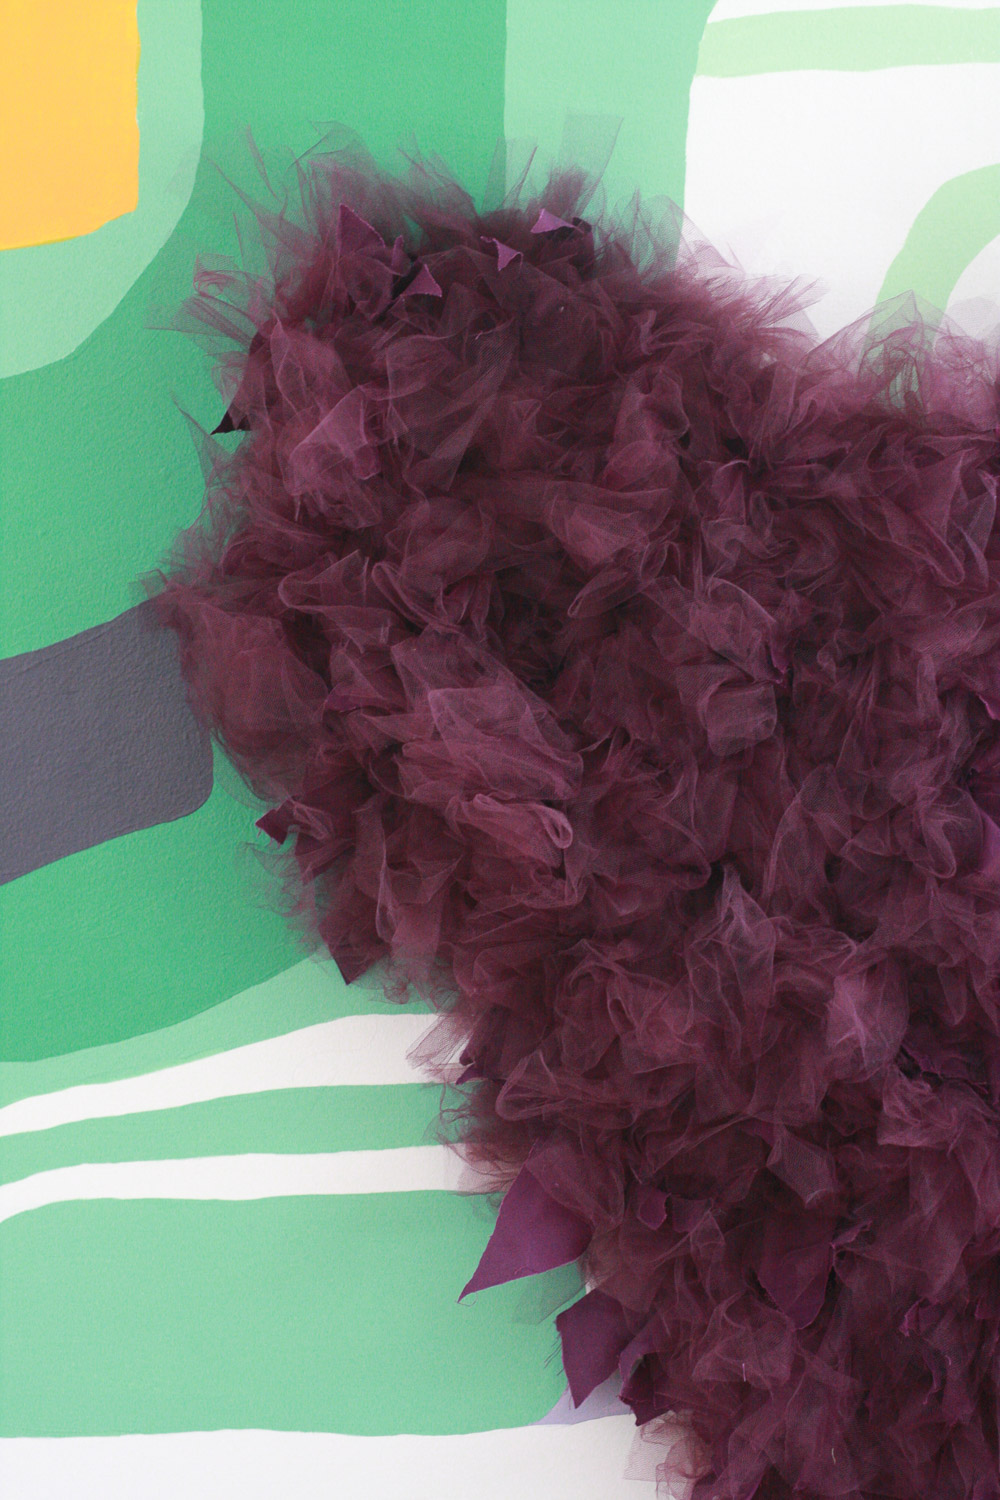
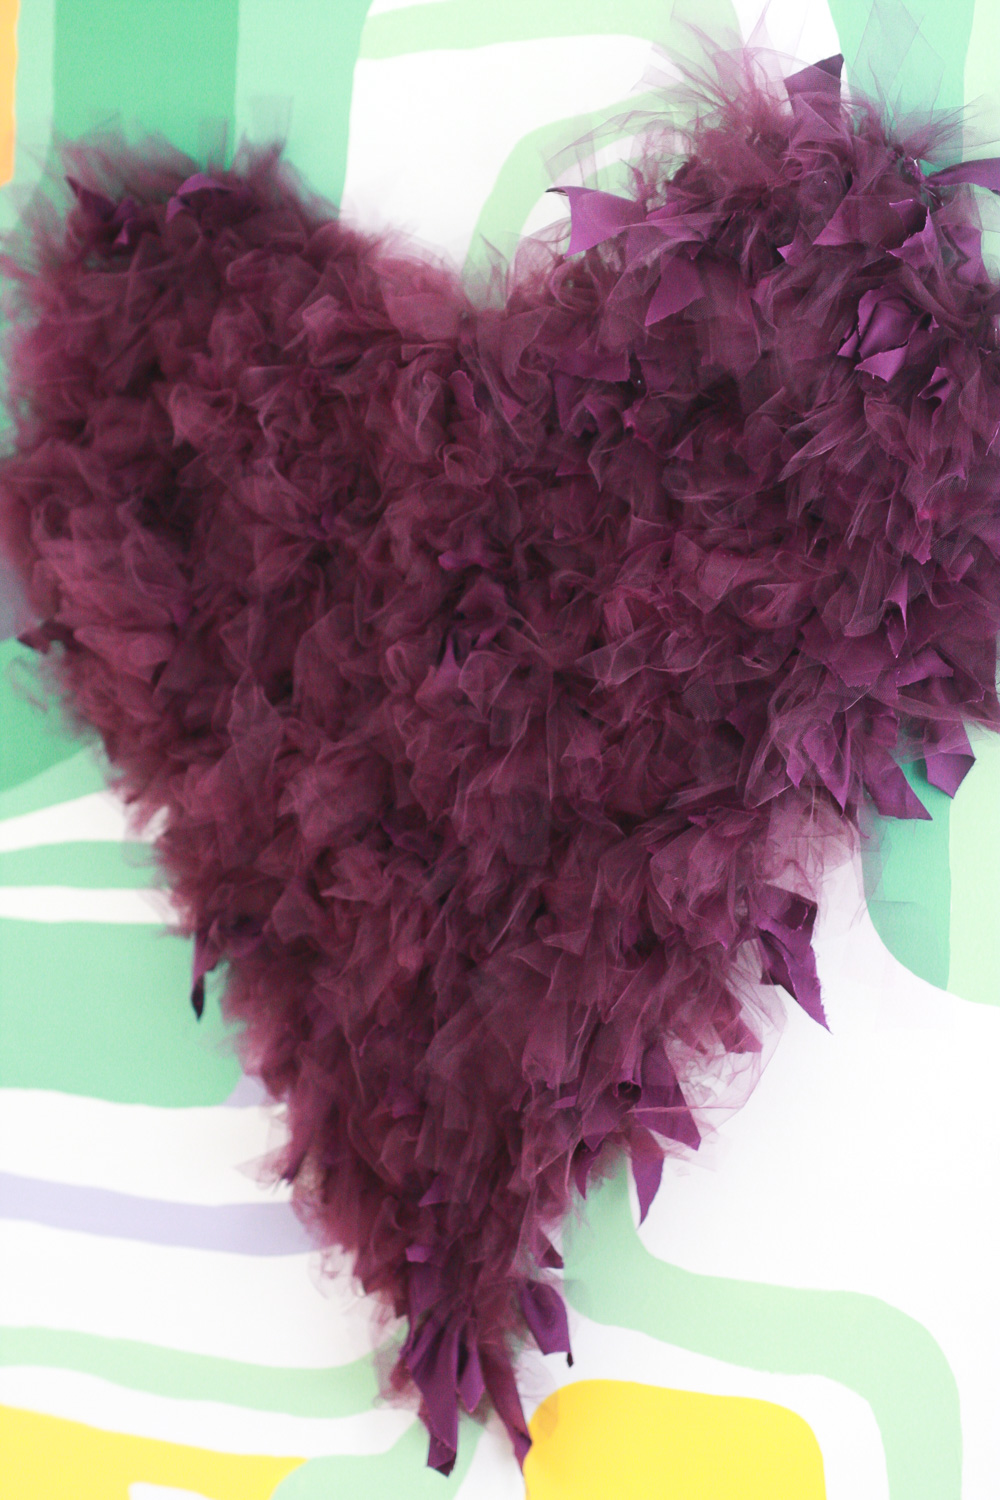
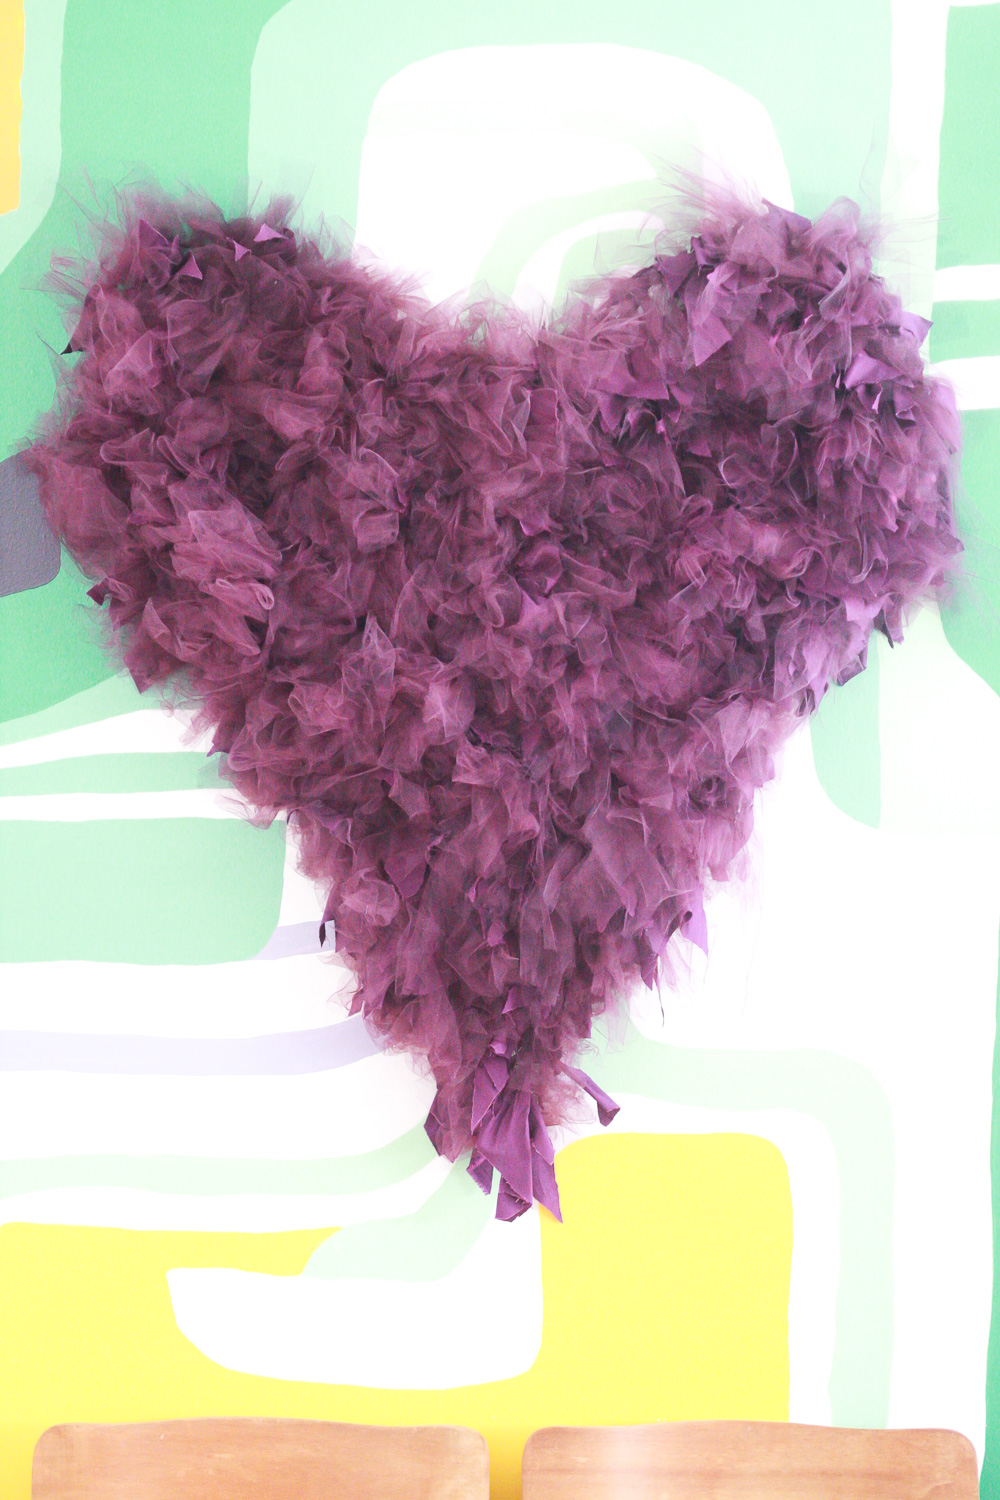
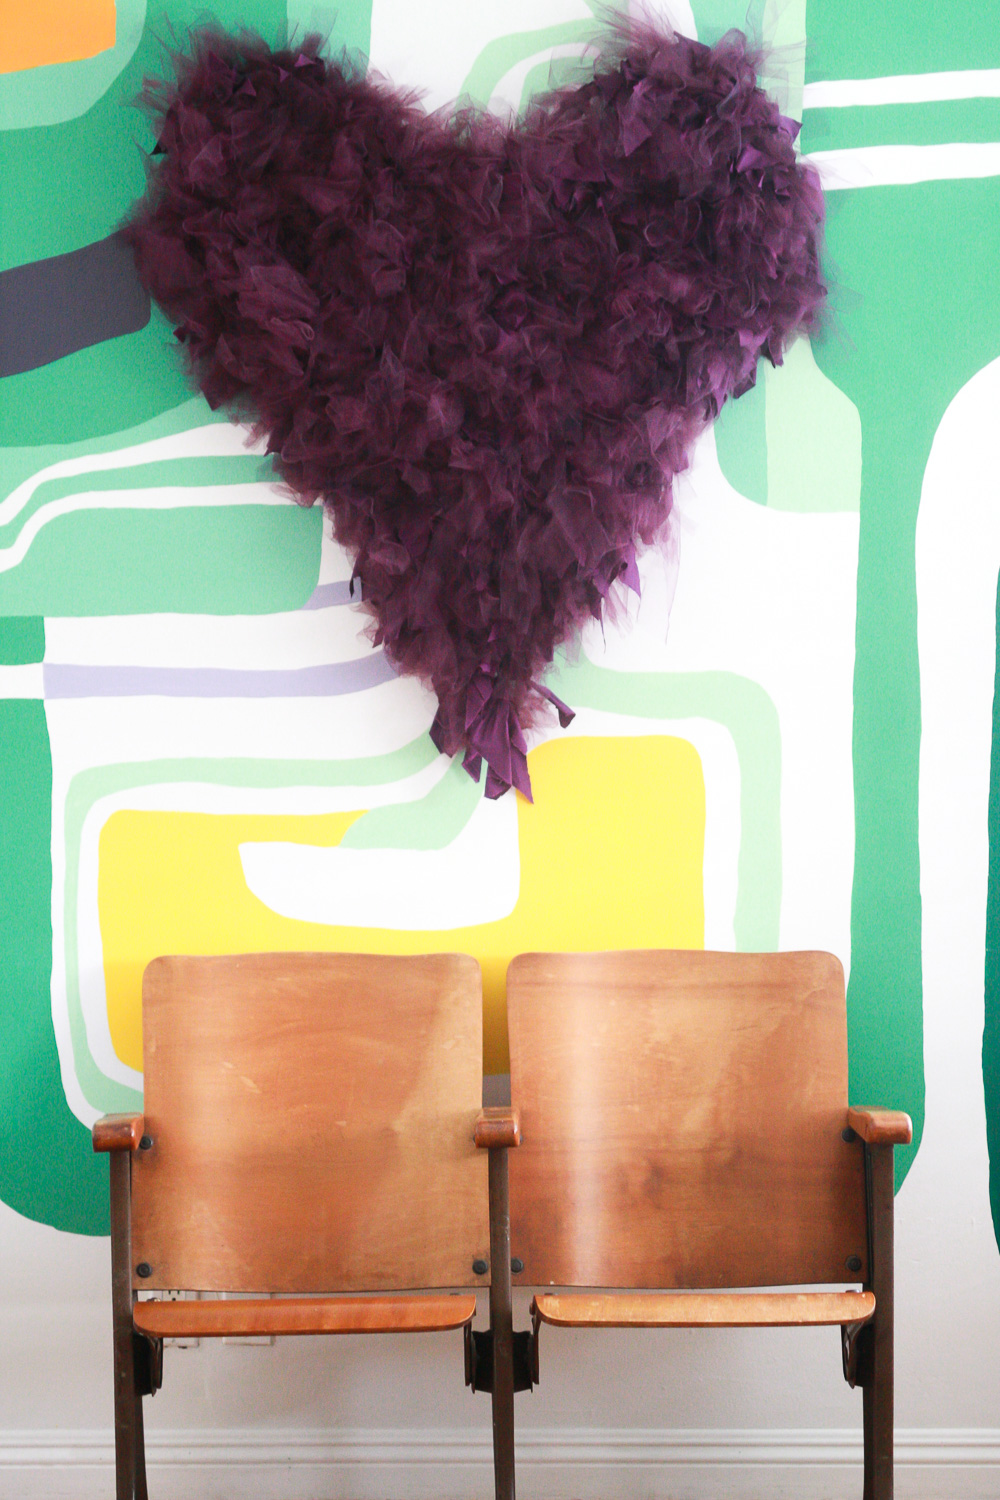
 1) Cut the chicken wire into a heart shape. You might need to make two halves depending on the heart size you want, as the chicken wire is not wide enough to accommodate a whole 3 ft wide heart shape.
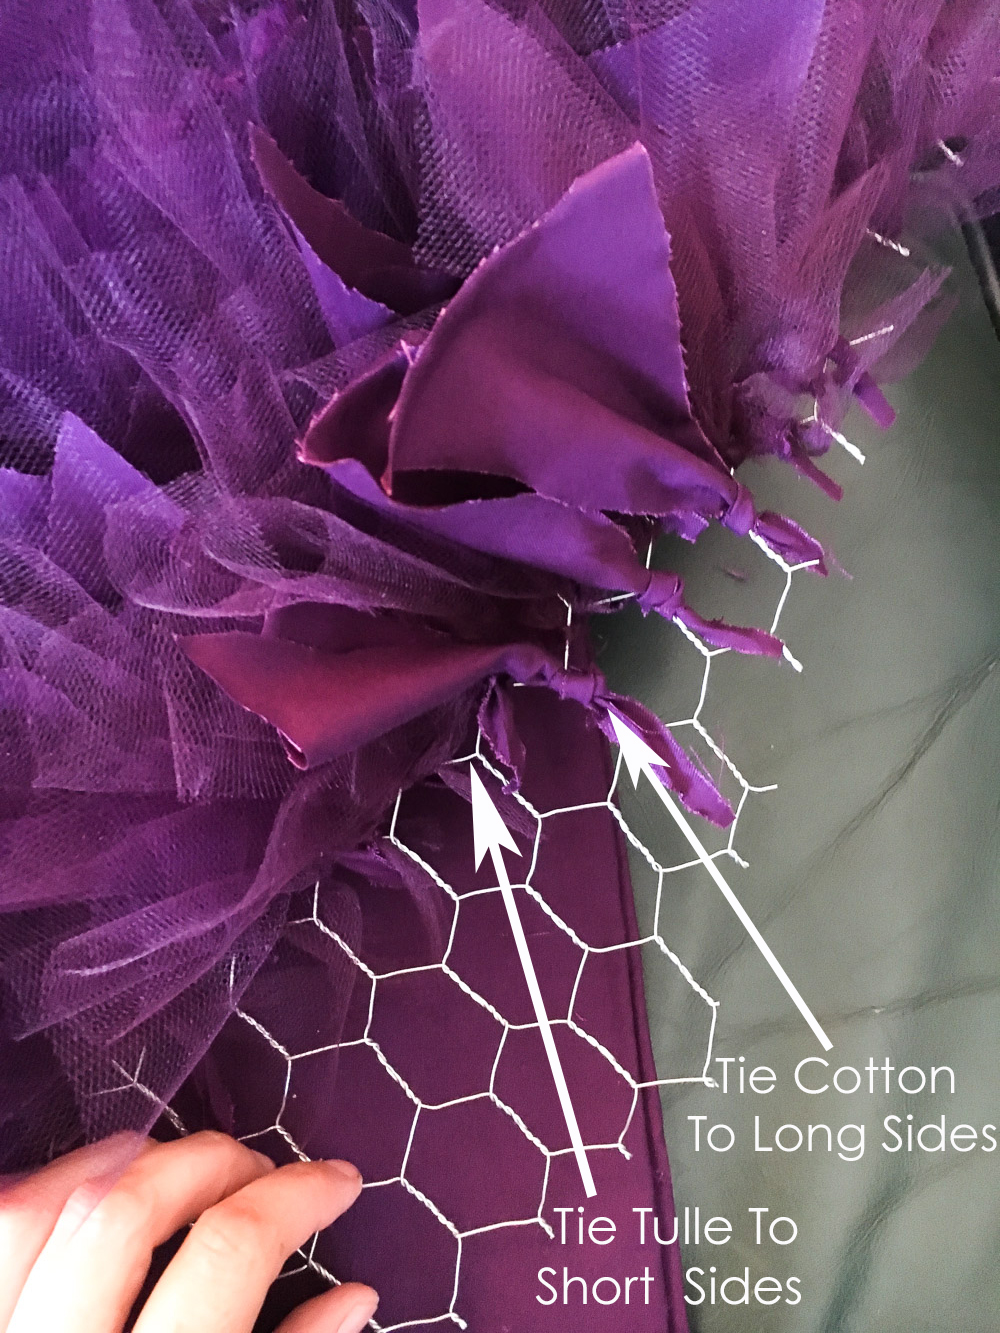 3) Start tying the fabric to the wire. I tied one piece of fabric per wire space. I also did one row of cotton and one of tulle. You need a big quantity of tulle for this heart to look organic and fuller, so I added the tulle on the rows that needed more fabric. The tulle is too transparent if you use it by itself. You need the cotton to fill in the translucent nature of the tulle.


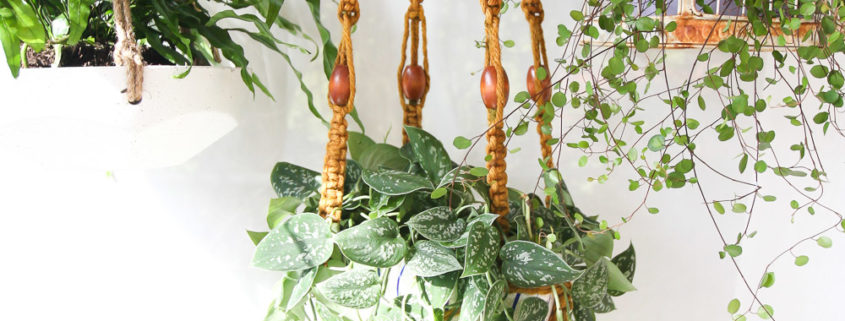
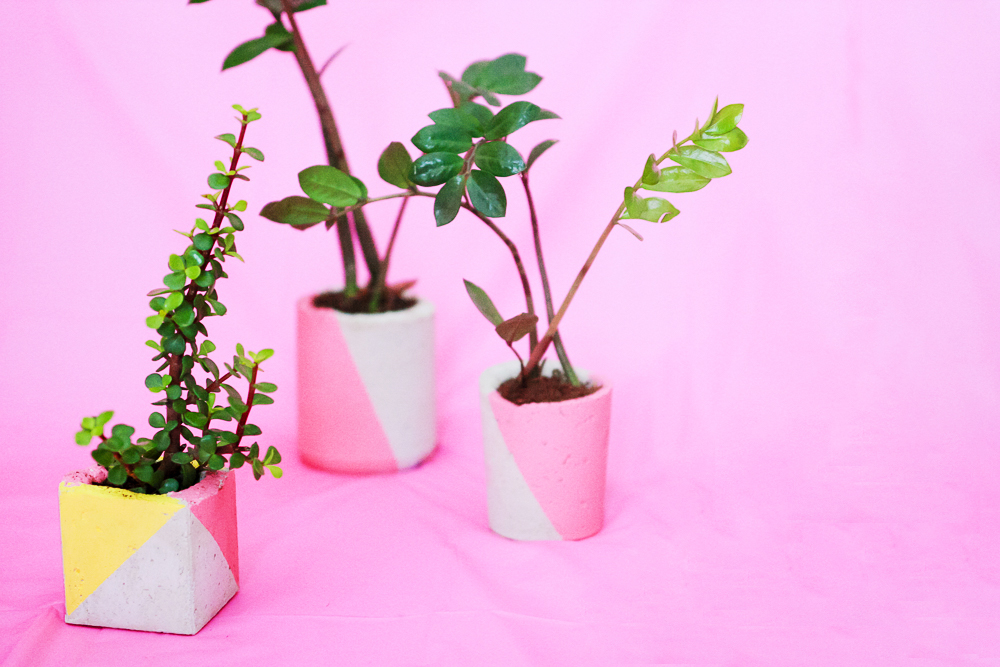
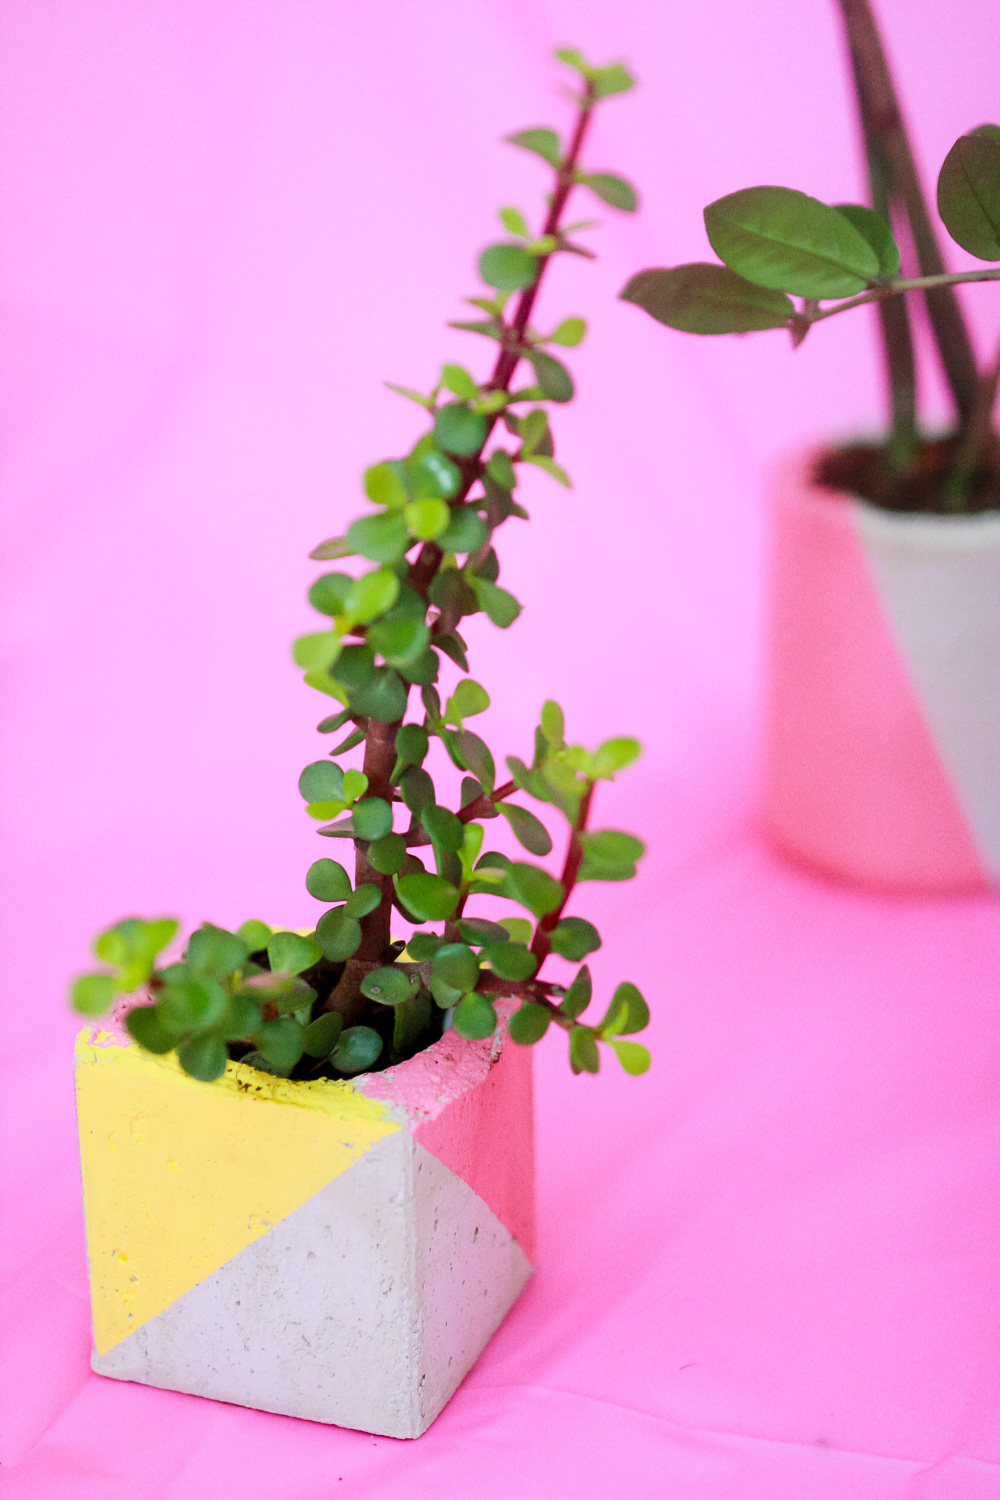
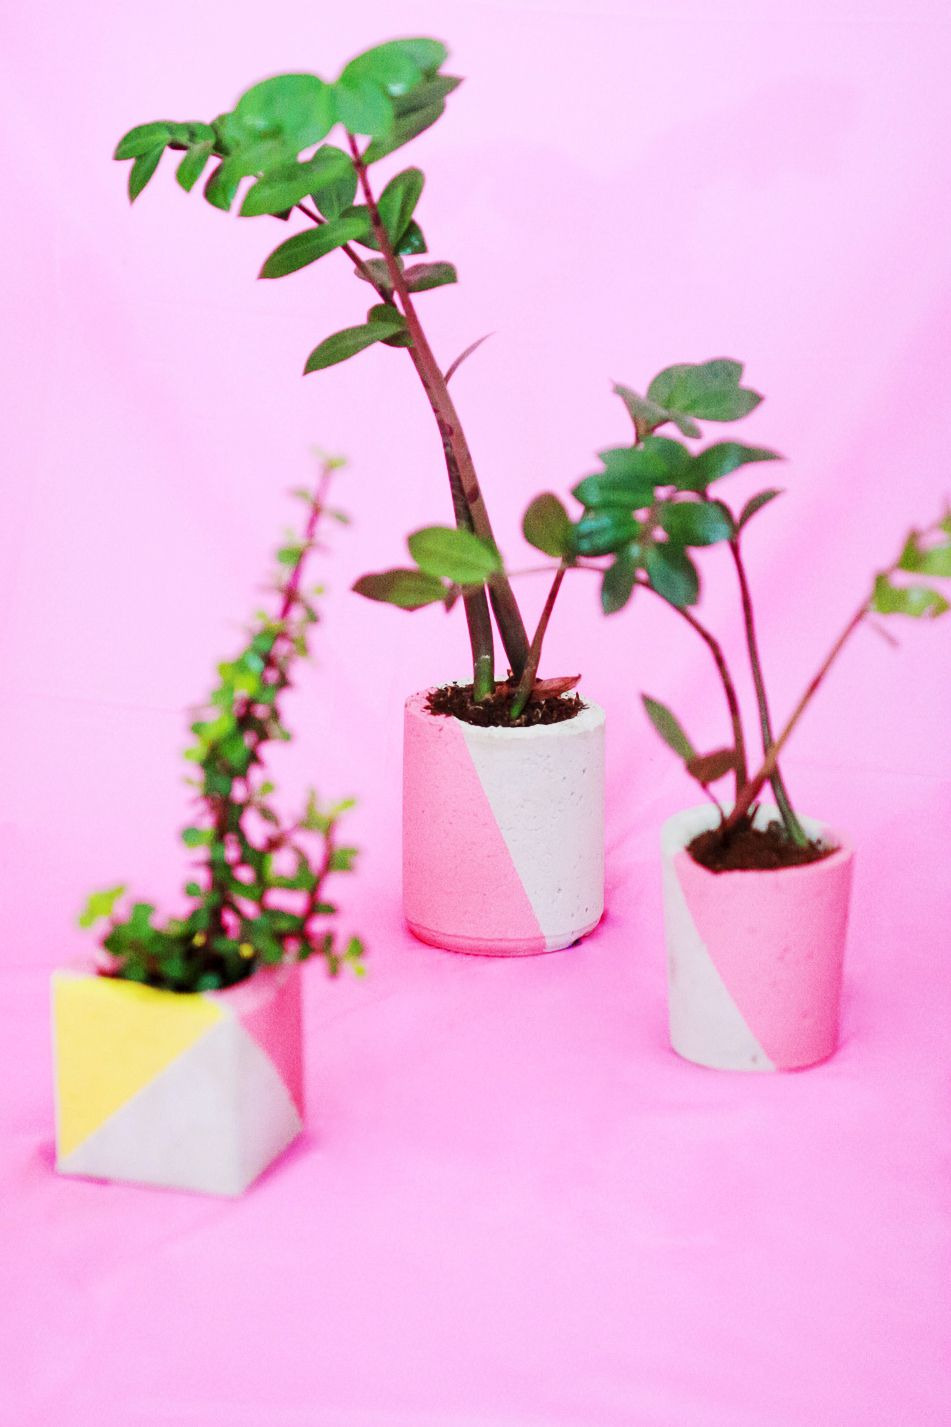
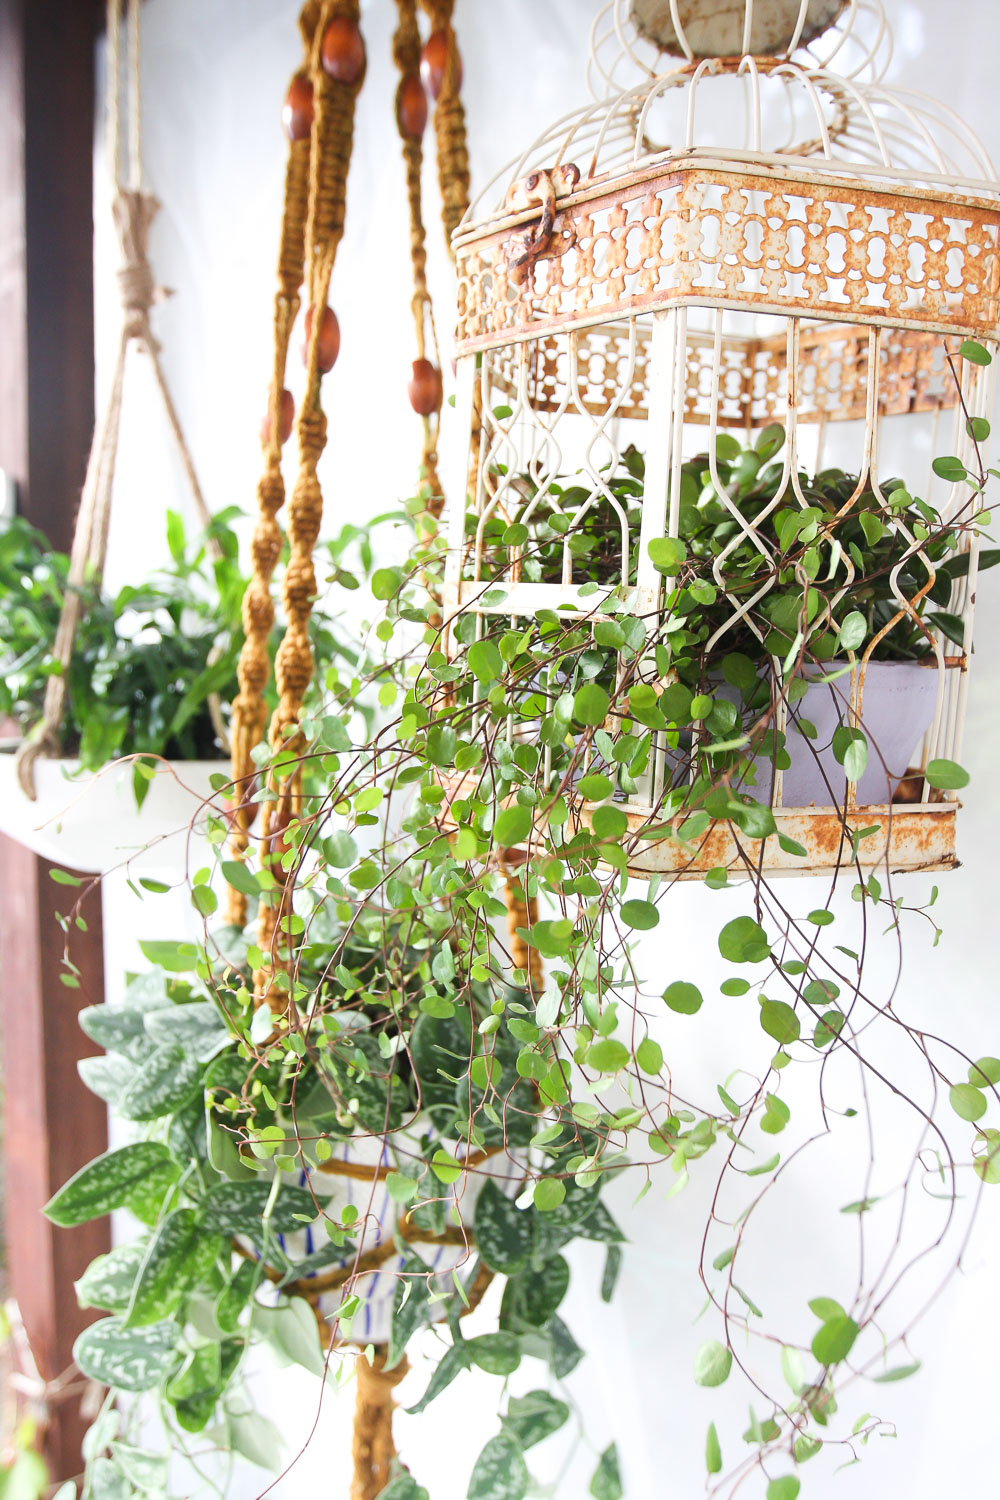
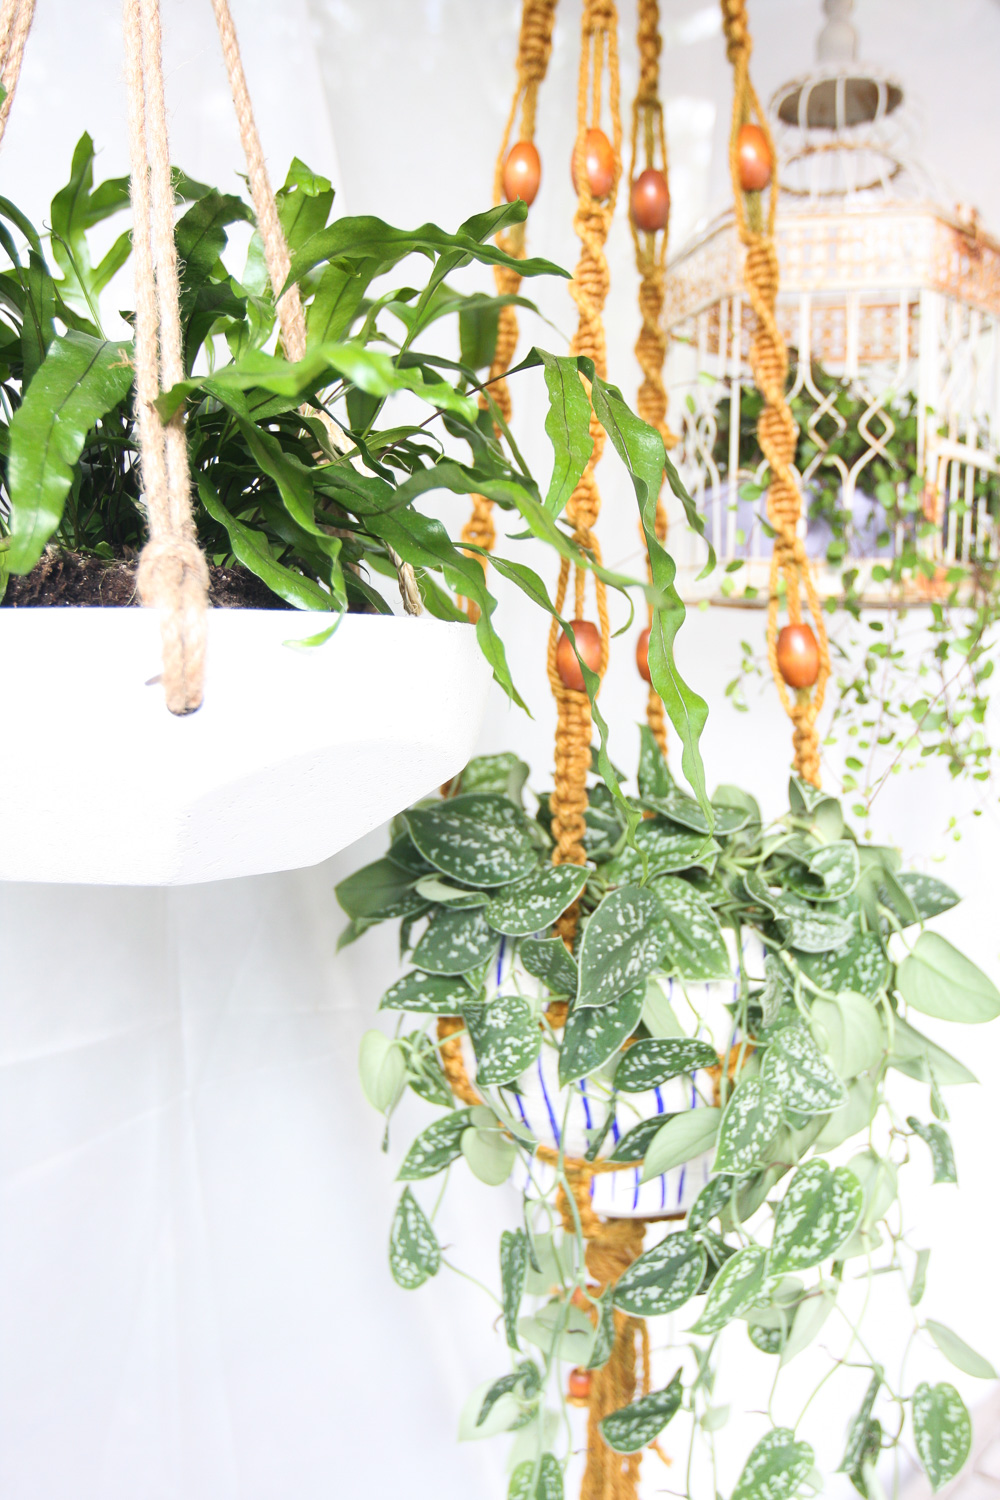
 I am a plant lover because they are a sure (and easy) way of decorating a room and making it look gorgeous. You can’t go wrong with plants, not matter how many, which kind, or where from, unless you steal one from the Botanic Gardens, which I wouldn’t recommend anyway for obvious reasons.
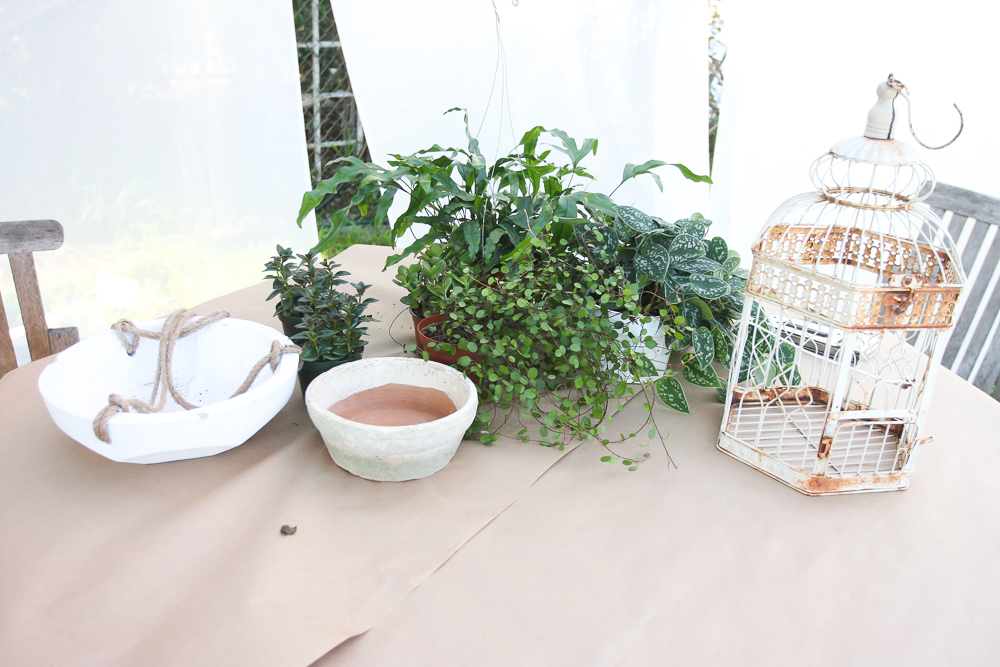
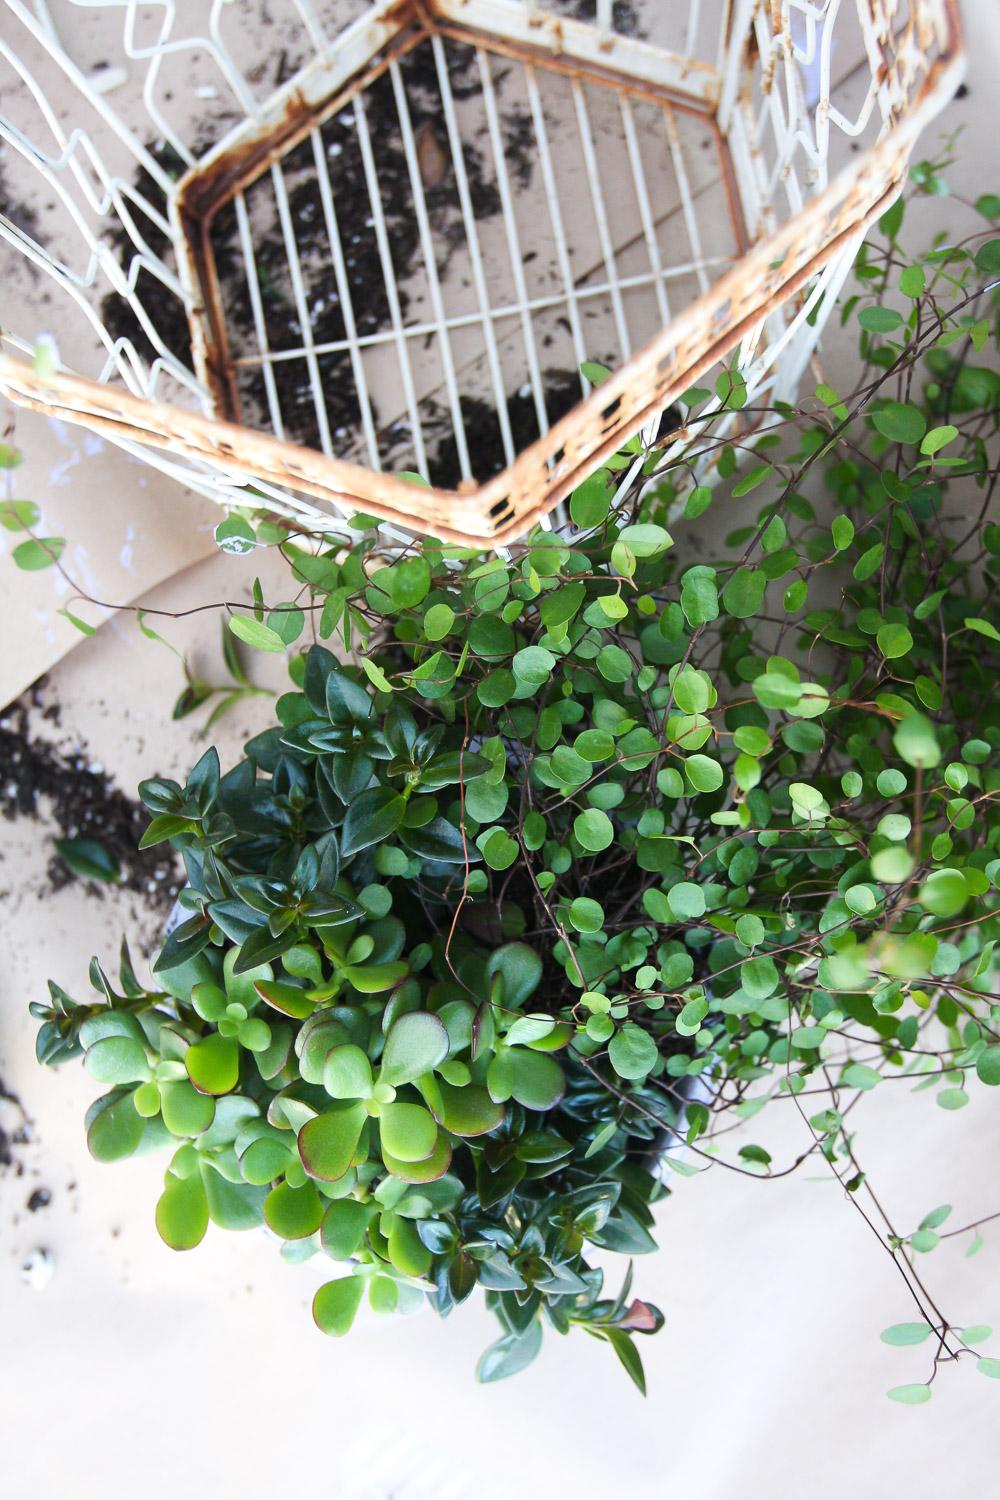
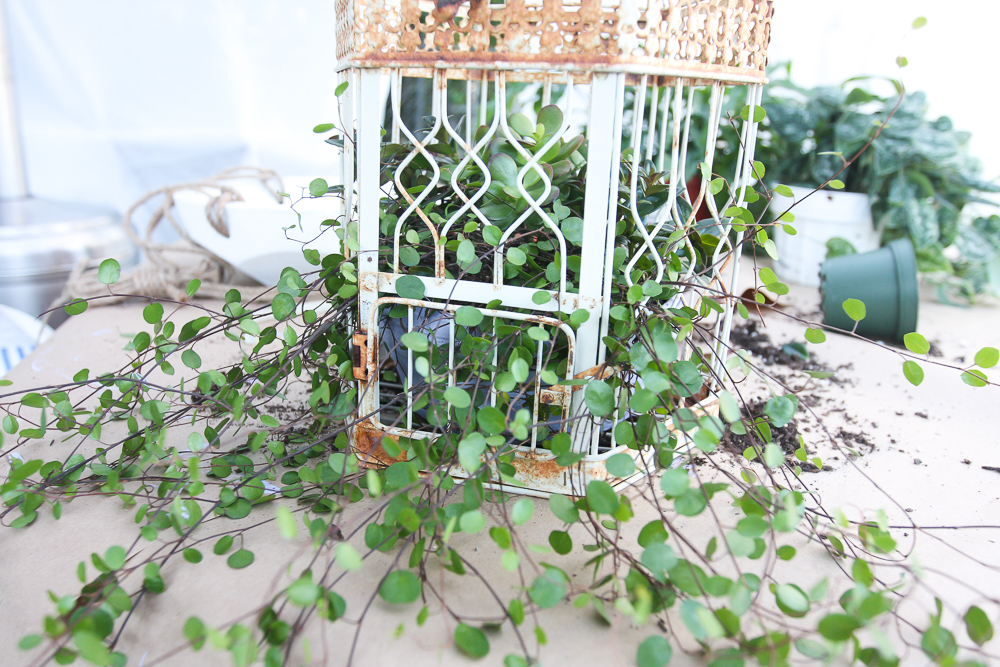
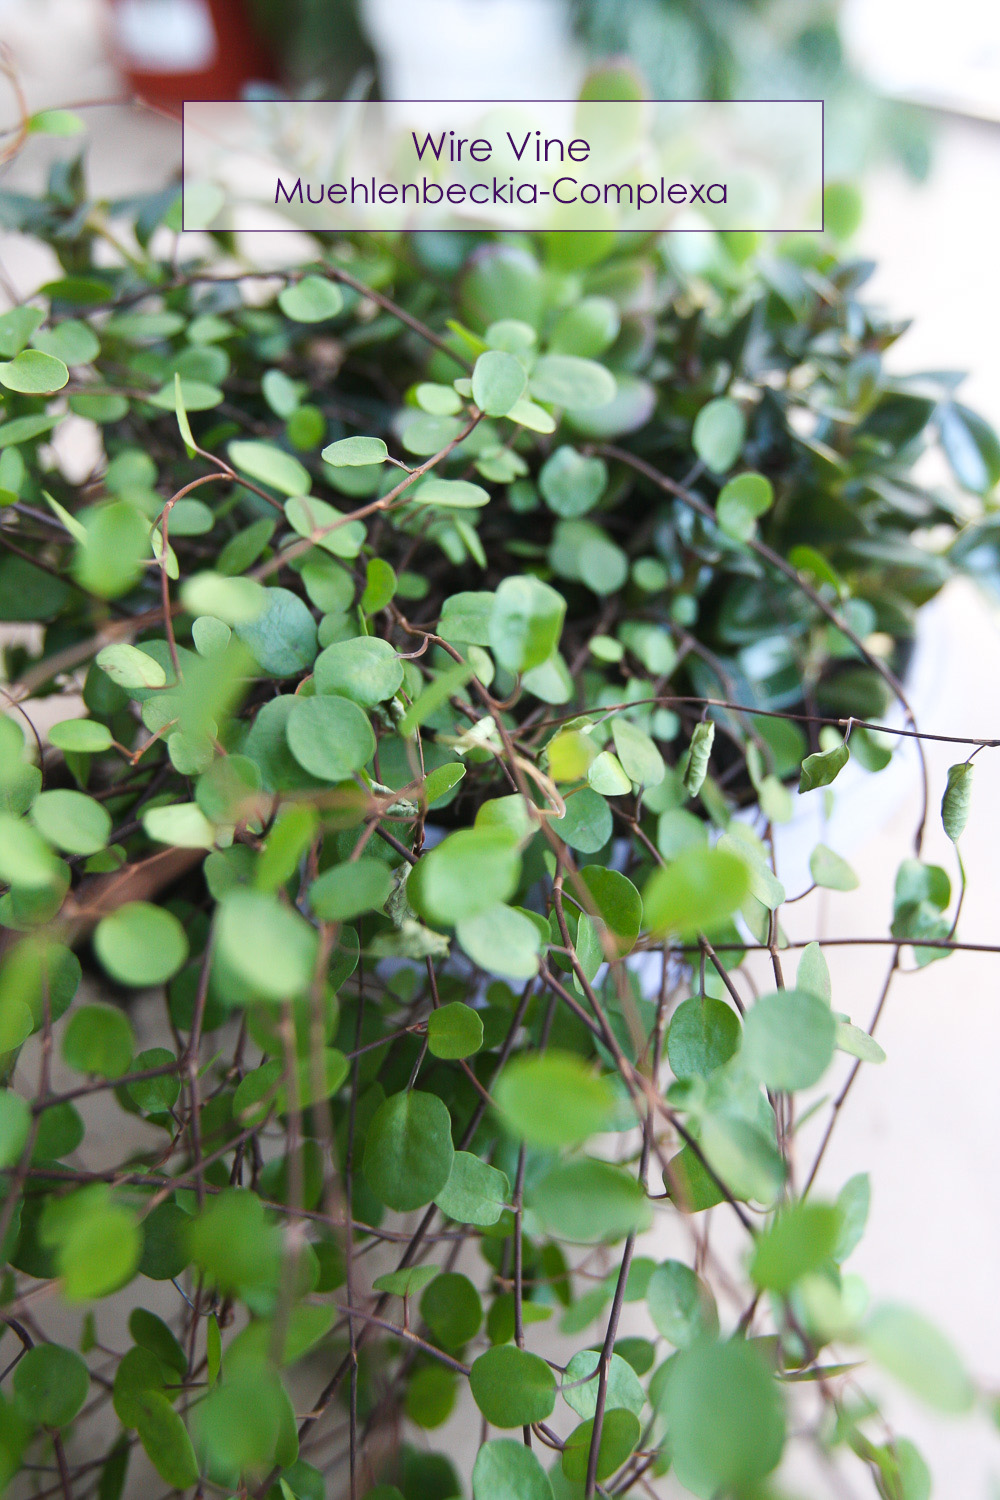
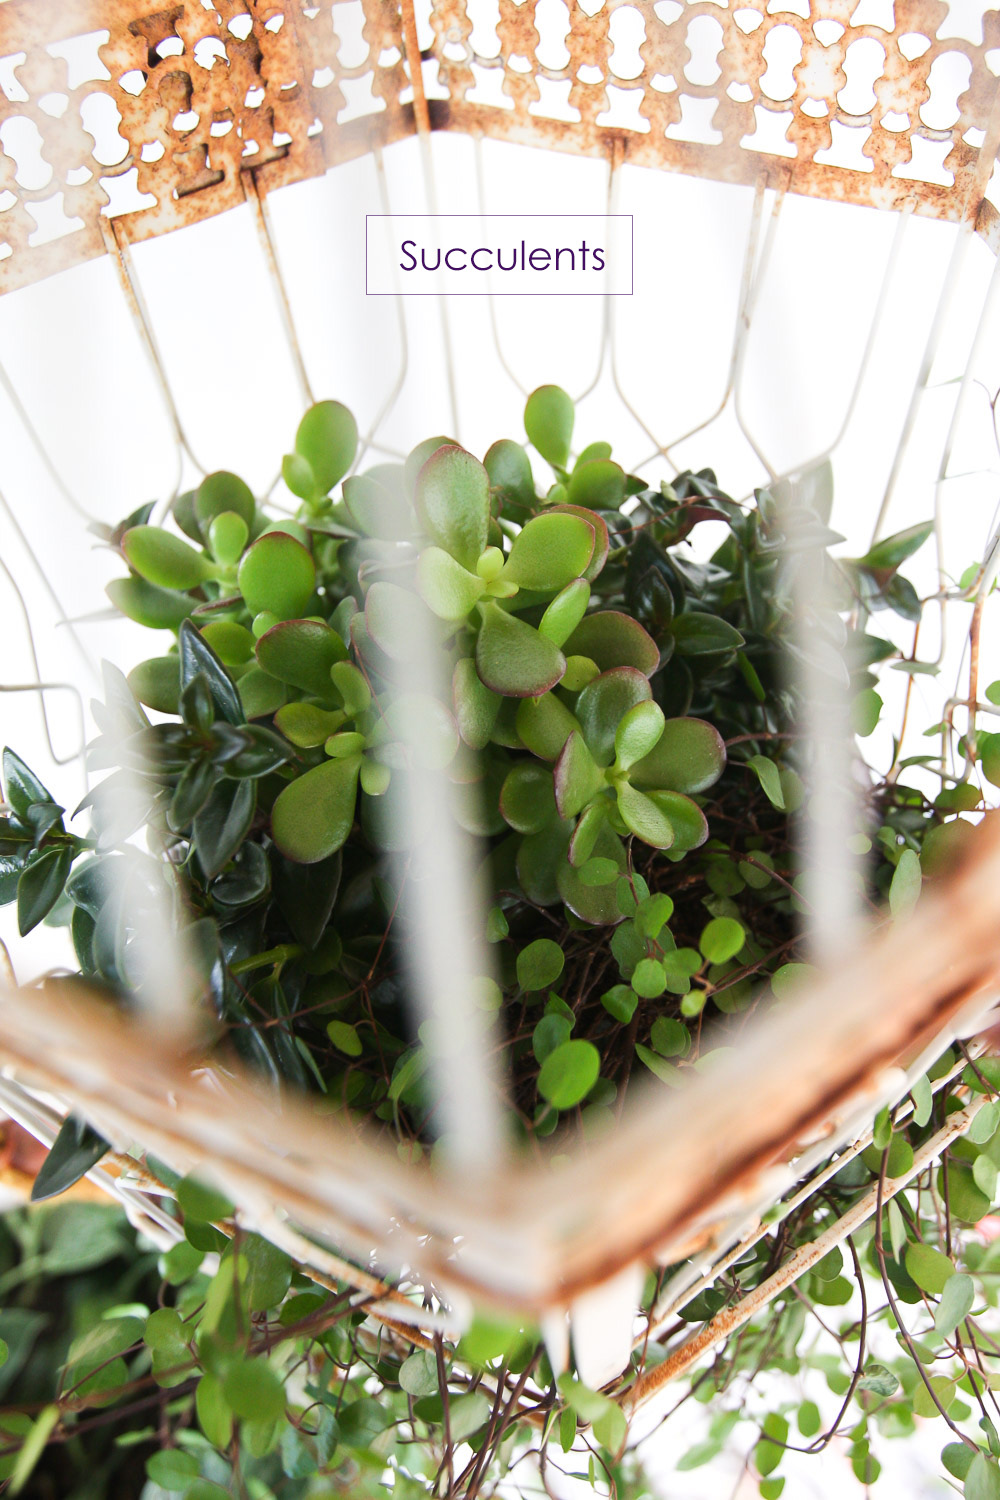
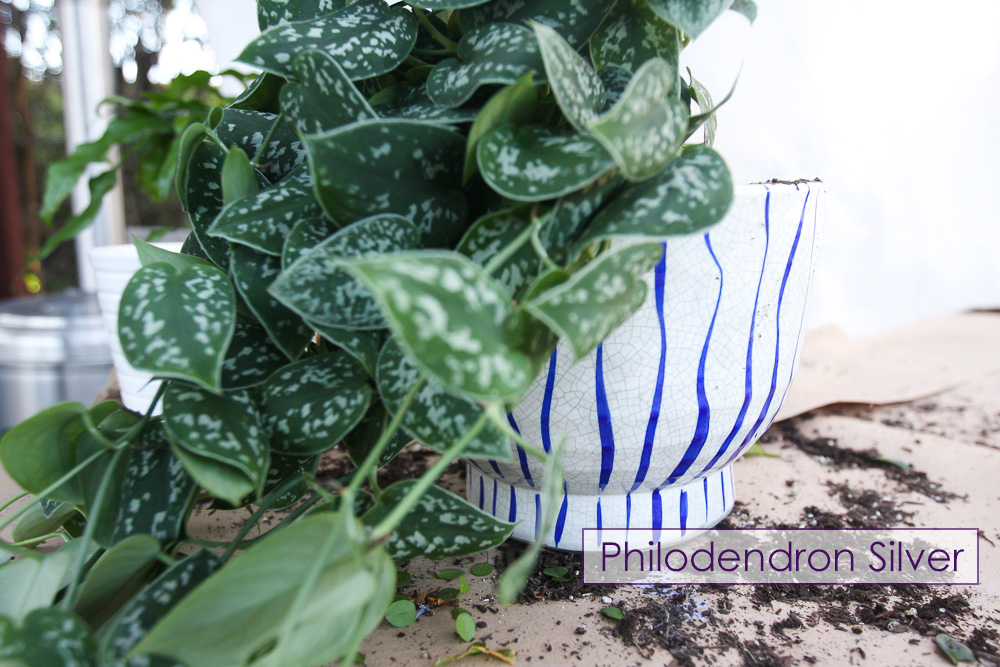
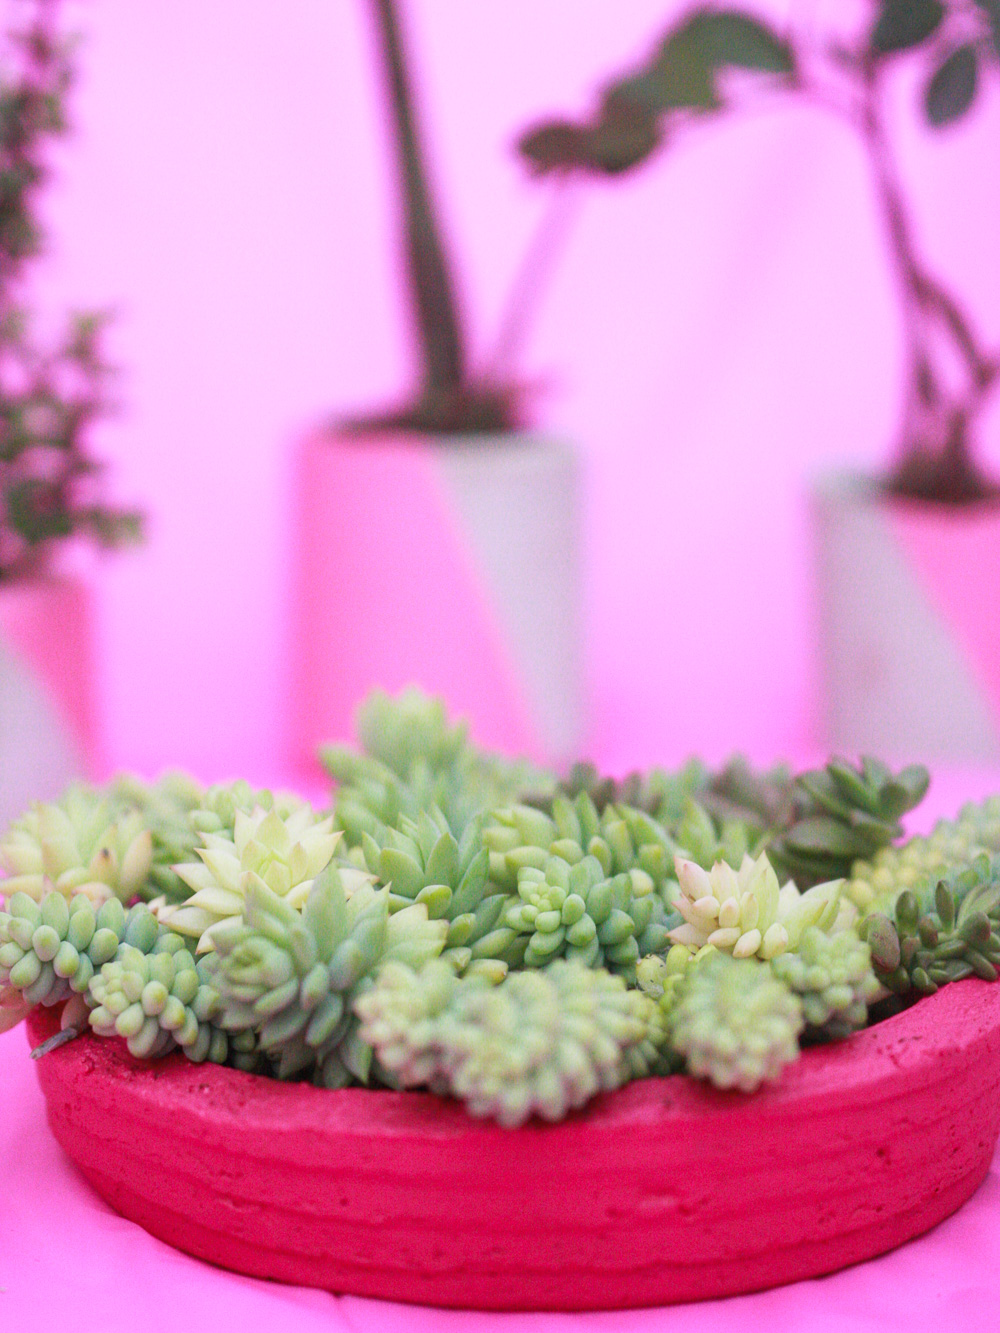
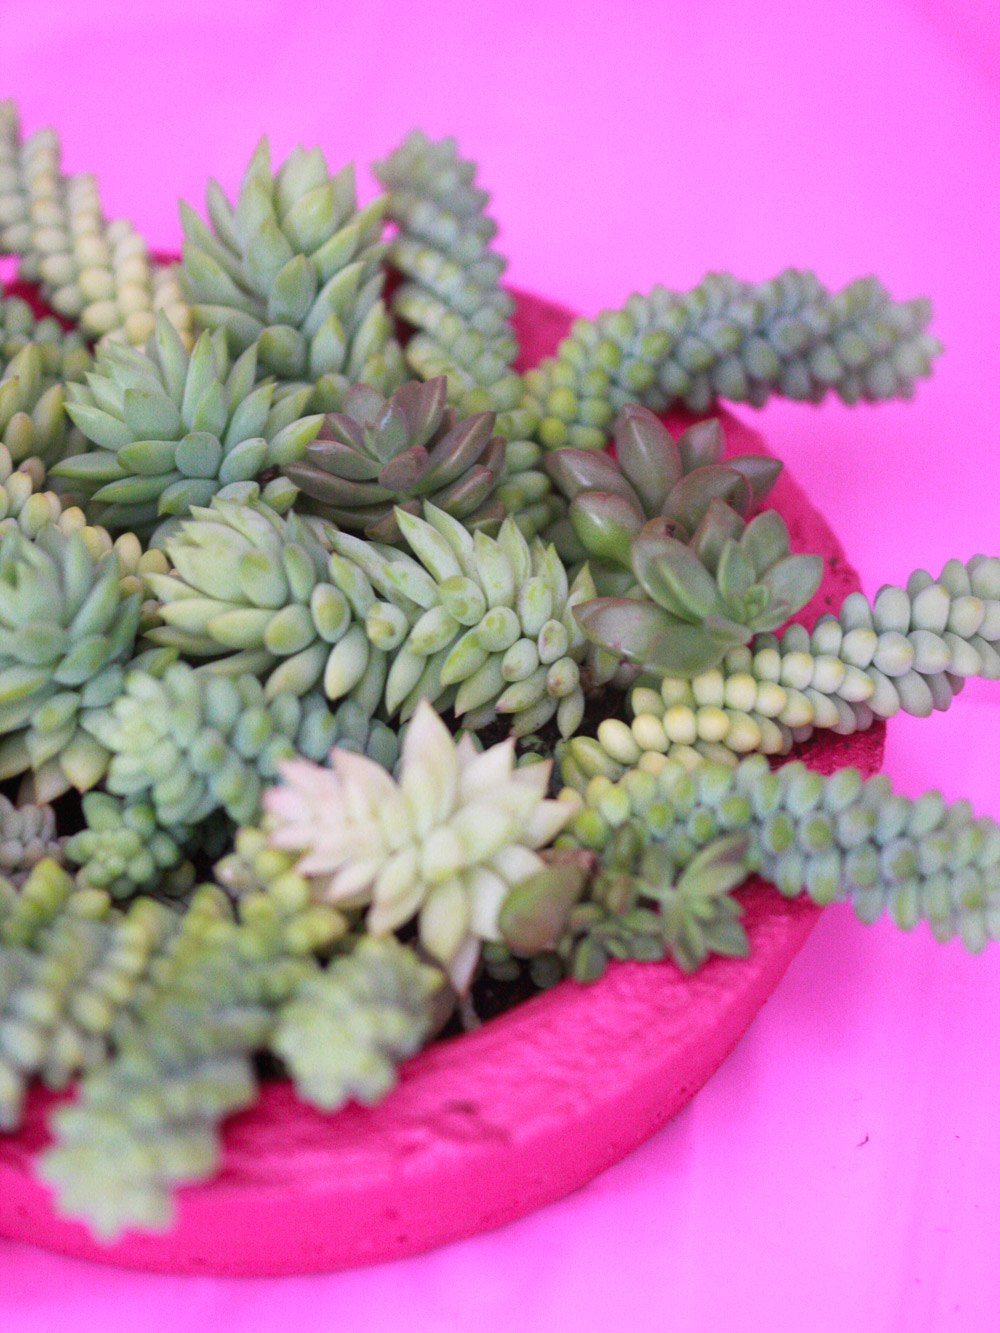
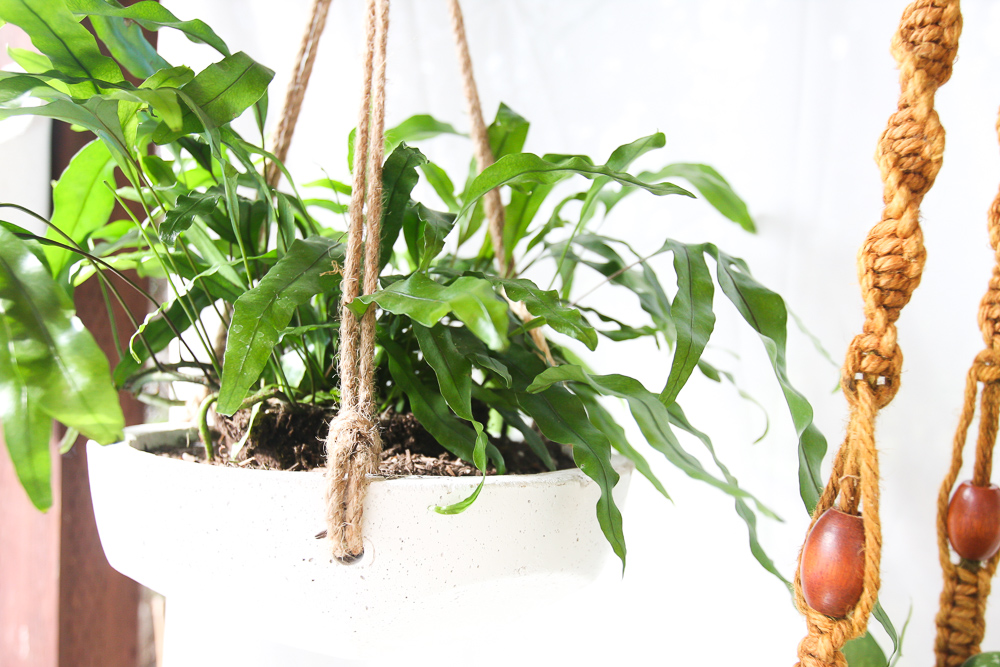
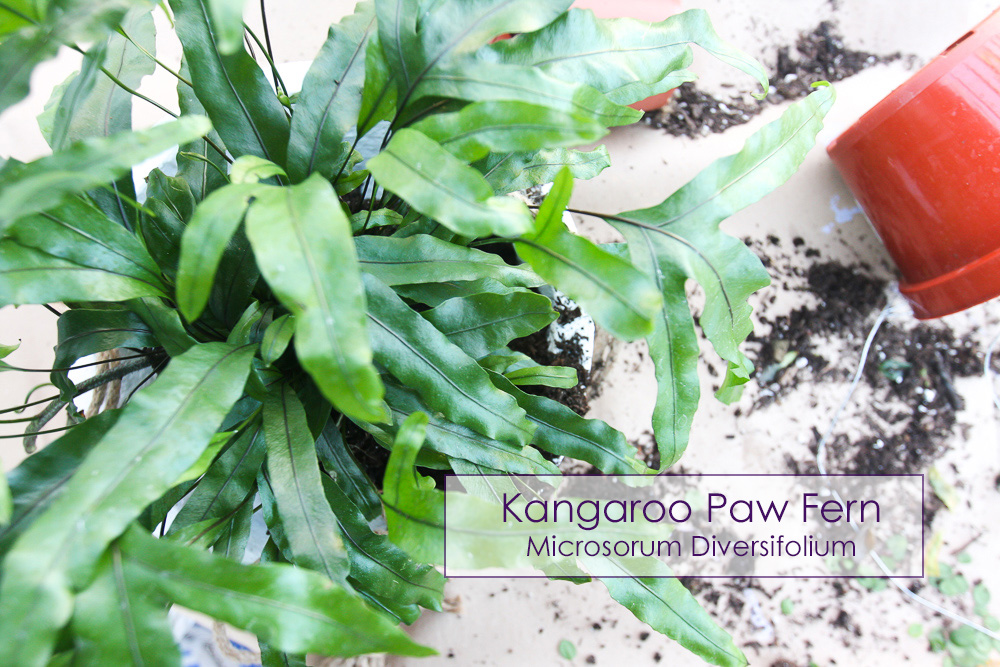 The wire vine has an unusual look that I am attracted to. A certain messiness and magic. The succulents are an obvious choice. They are easy to care for because they will survive a long time with no water, but they won’t thrive if they are dry. Make sure to follow the advice I gave you two paragraphs ago and water them every week no matter what. The philodendron silver has been a wonderful discovery. It refuses to die. I have one in a small container in my kitchen and it keeps on growing even when I over water it. Finally, the Kangaroo Paw Fern is elegant and durable, like a lot of ferns. I would recommend any of the plants above for a nice new friend.
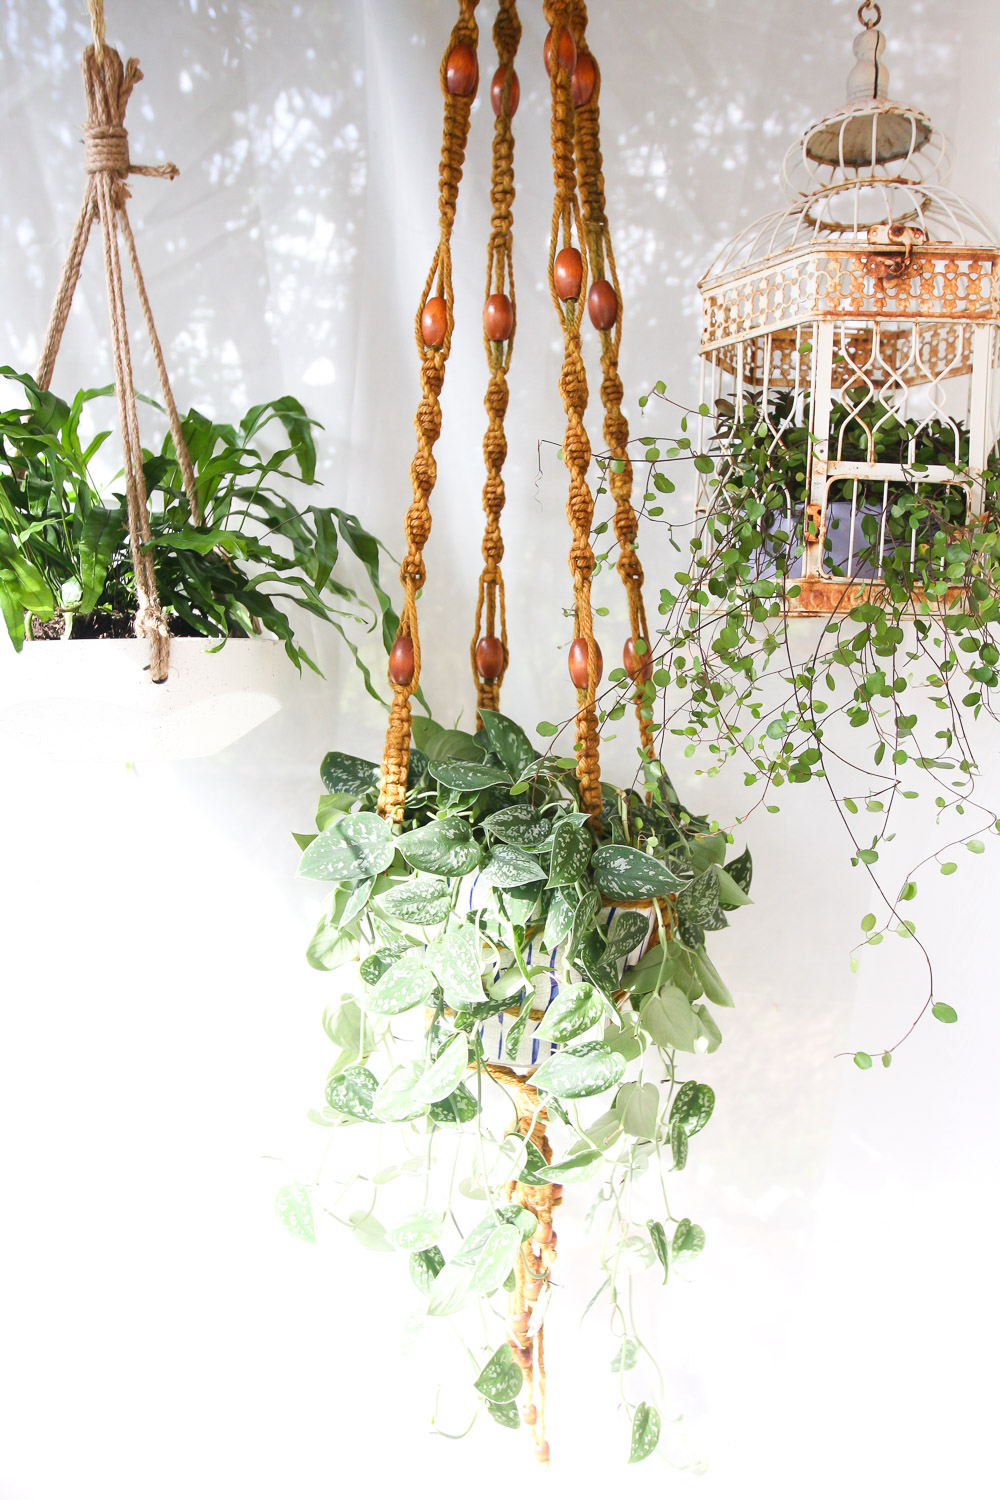
 3) Mismatch your containers.
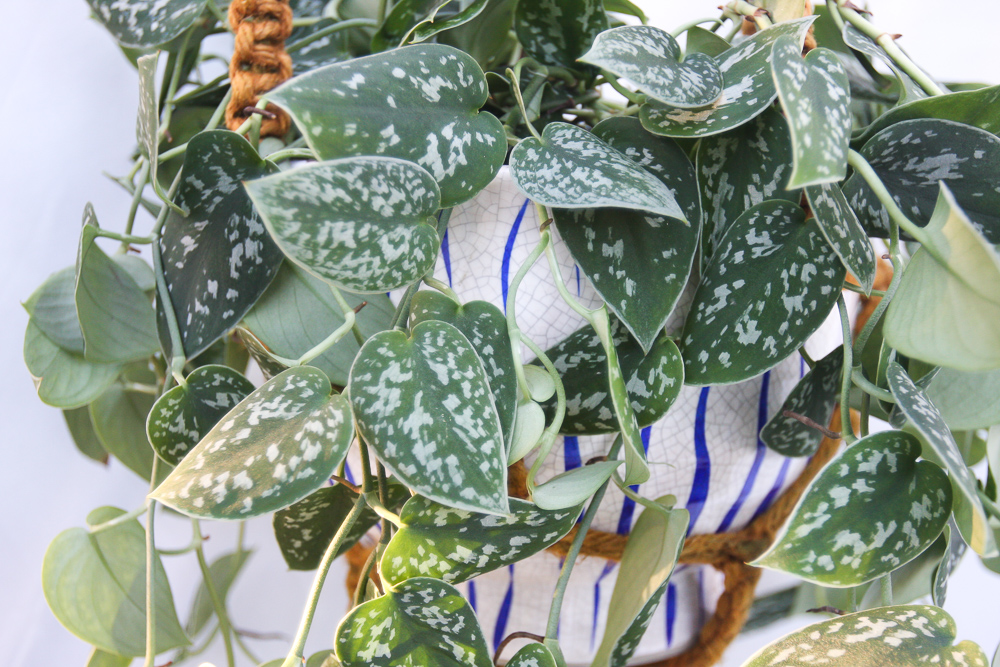

 4) Paint the pot.
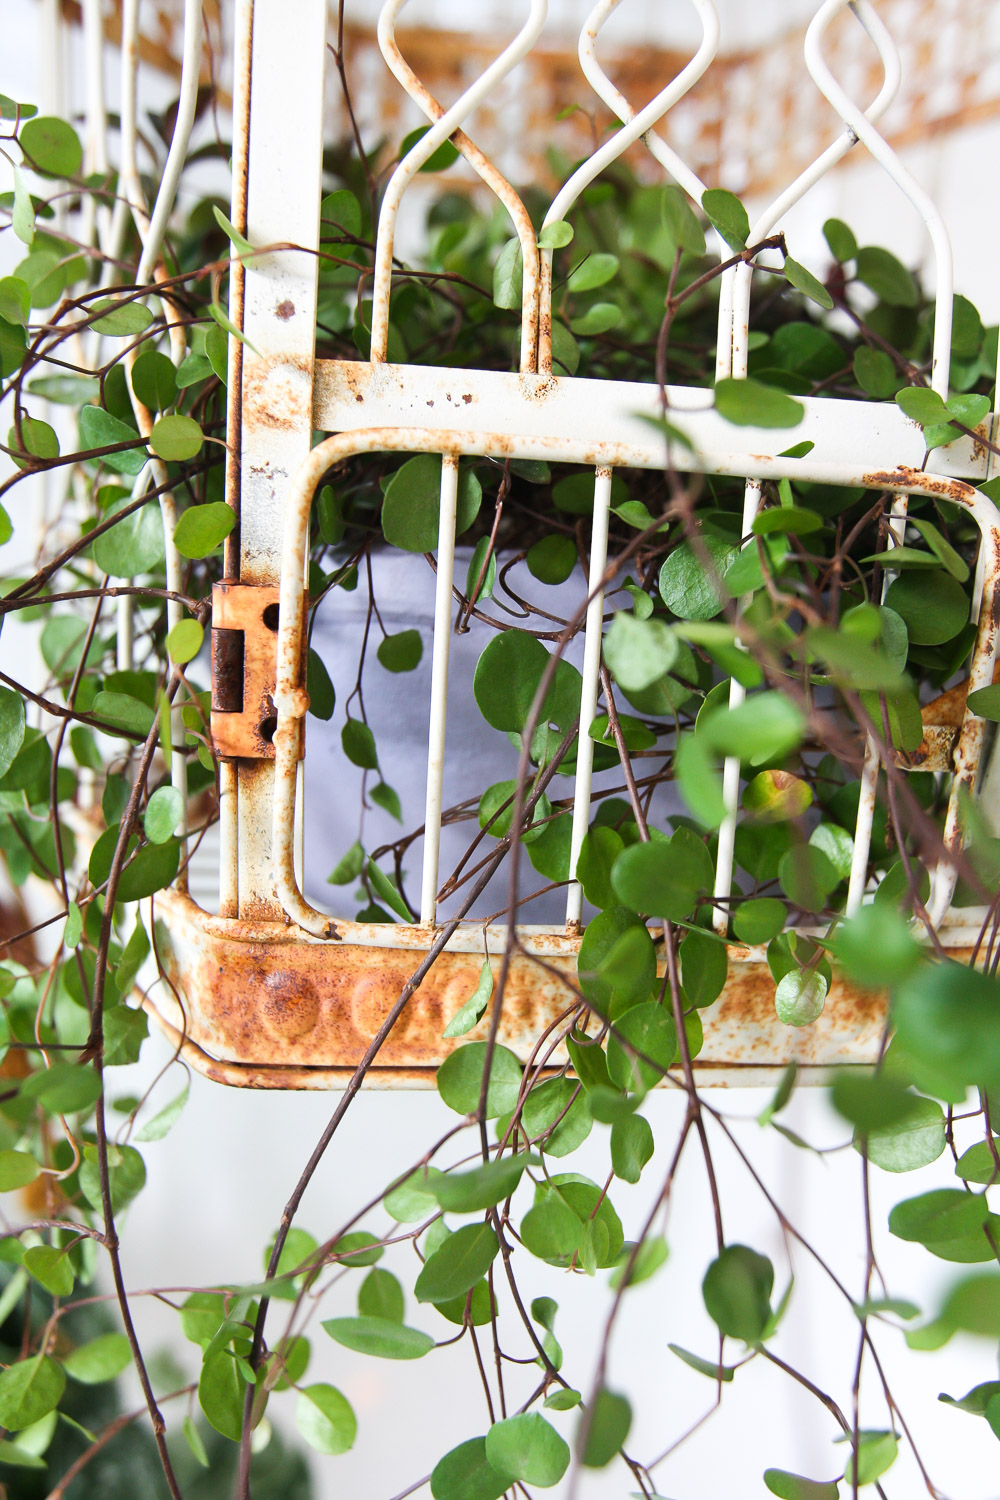
 To recap:
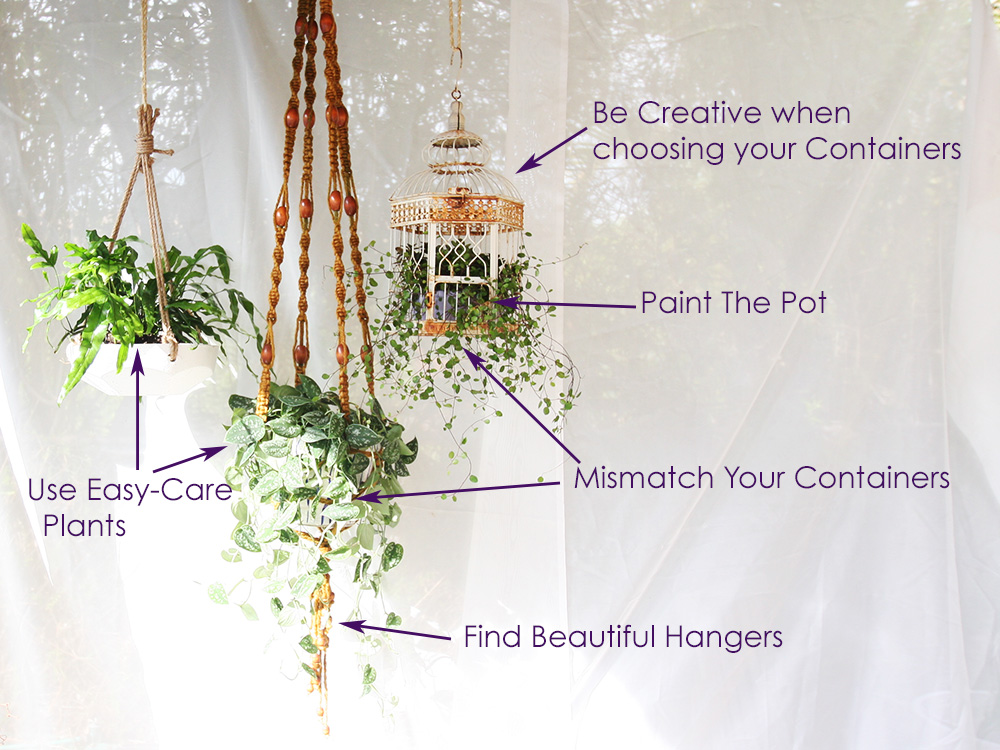

 It has been raining a lot in LA. A big difference from last year’s winter that was dry and hot even though it was El Niño. I don’t get it! What is going on “weather” people? Can you get it right? I need to know how the weather is going to be for the next 5 weeks to the hour to be able to pull off this outdoor project I have in the works. (Good news: the grass and plants are having a water makeover.)
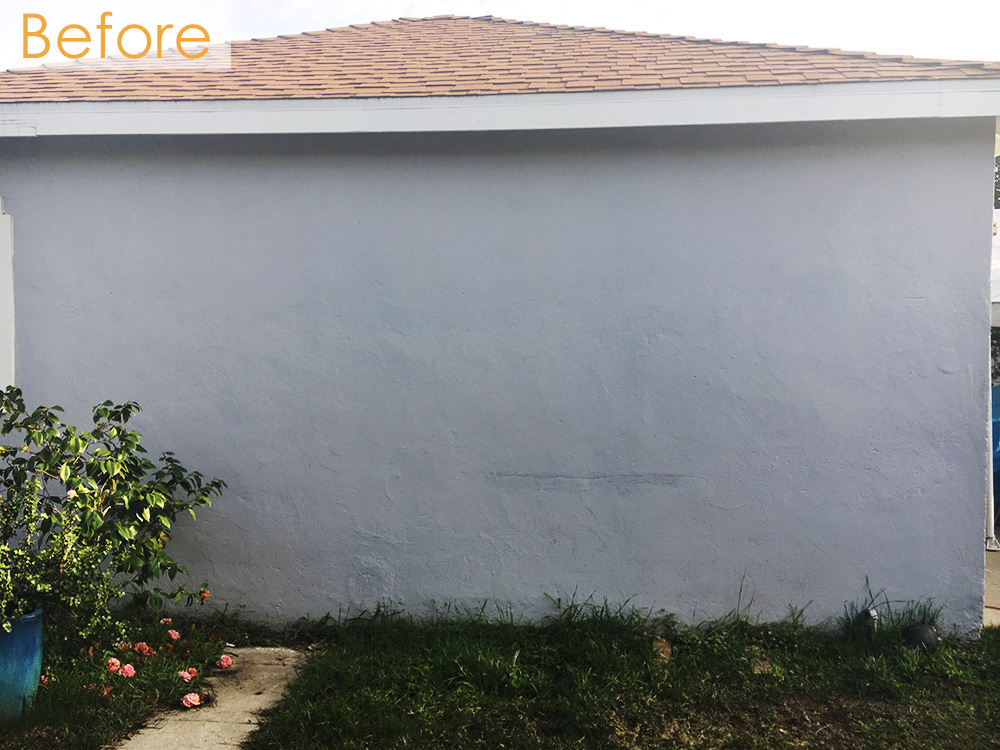 Just looking at this boring wall depresses me and I am saying NO to depression this year – one of those unwritten resolutions I have– so I had to come up with a plan. Luckily, I was reading the