How To Make A Fun Doormat With Cricut
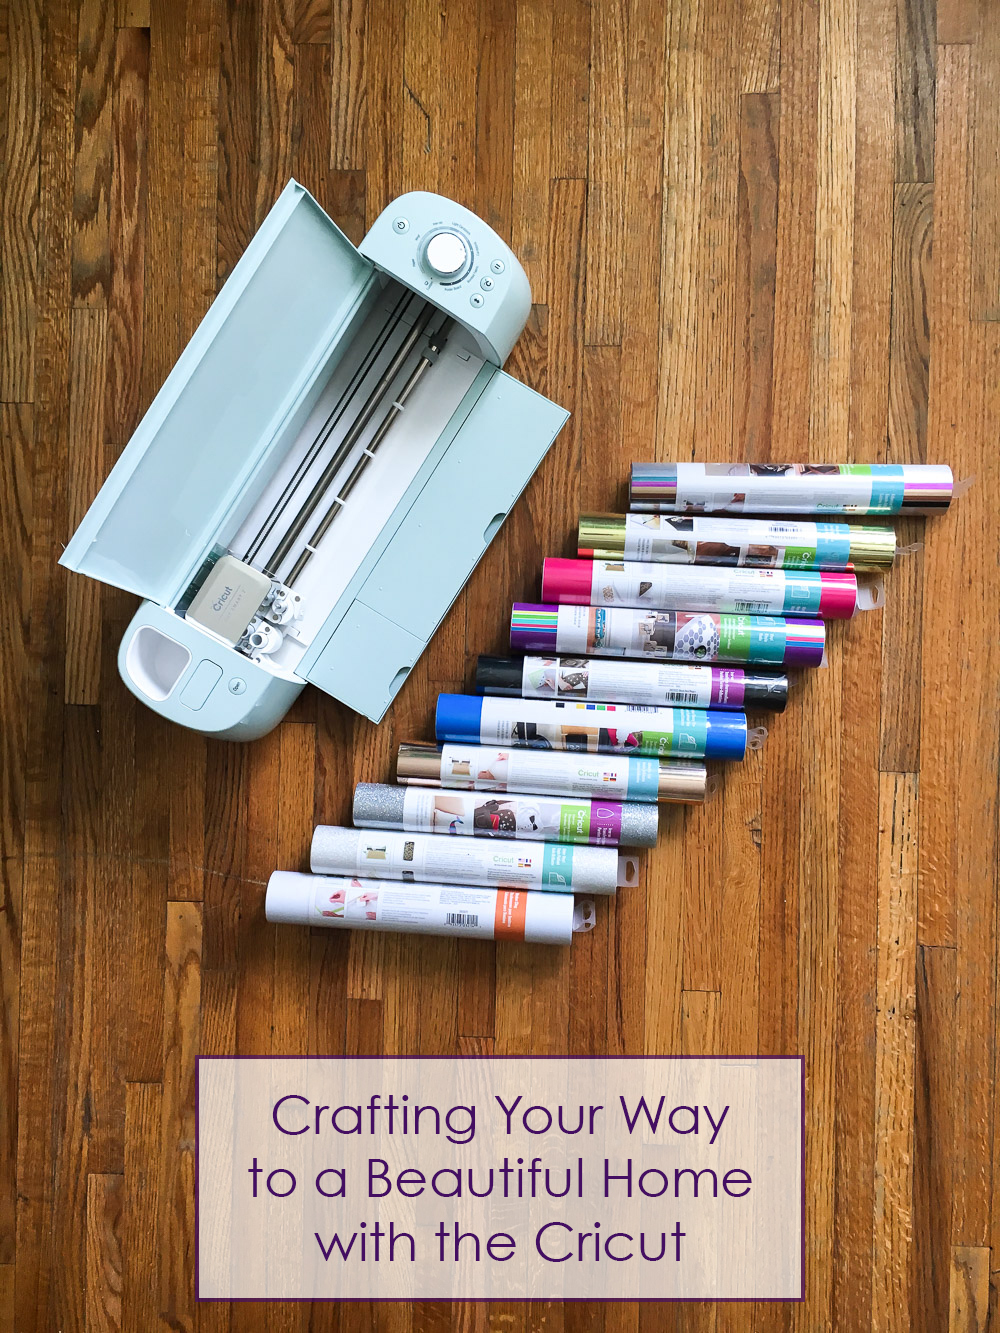
When I told some of my friends I have a Cricut, they freaked out. I am not exaggerating. It is the honest truth. It seems that Cricut is the holy grail of the crafty tribe. Literally.
Now that I have a Cricut and have used it a fair amount, I know why. It is so easy to use and very versatile, it makes my crafty dreams come true.
In this “Crafting Your Way To A Beautiful Home” series, I am focusing on home décor. Related to this, something that I have been needing desperately for the longest time is a new and colorful doormat, so I decided to tackle that project.
Am I the only one around here that has not been able to find a unique, colorful, and fun door mat for their home? I have looked everywhere and haven’t been able to find something to my taste.
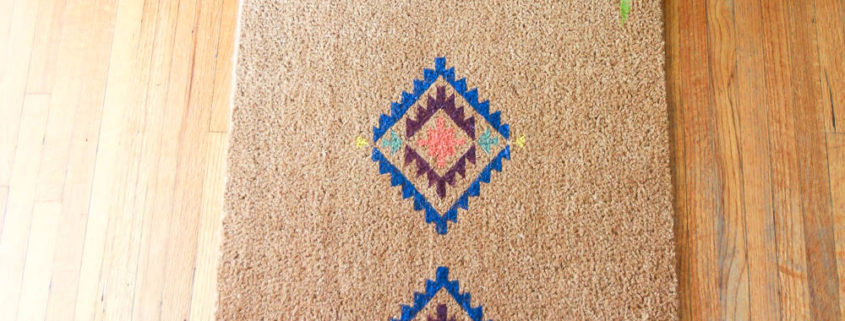
Well, thanks to Cricut, this is not a problem anymore because when I looked through the Home Décor projects available on their website, I found this project in the Cricut Design Space:
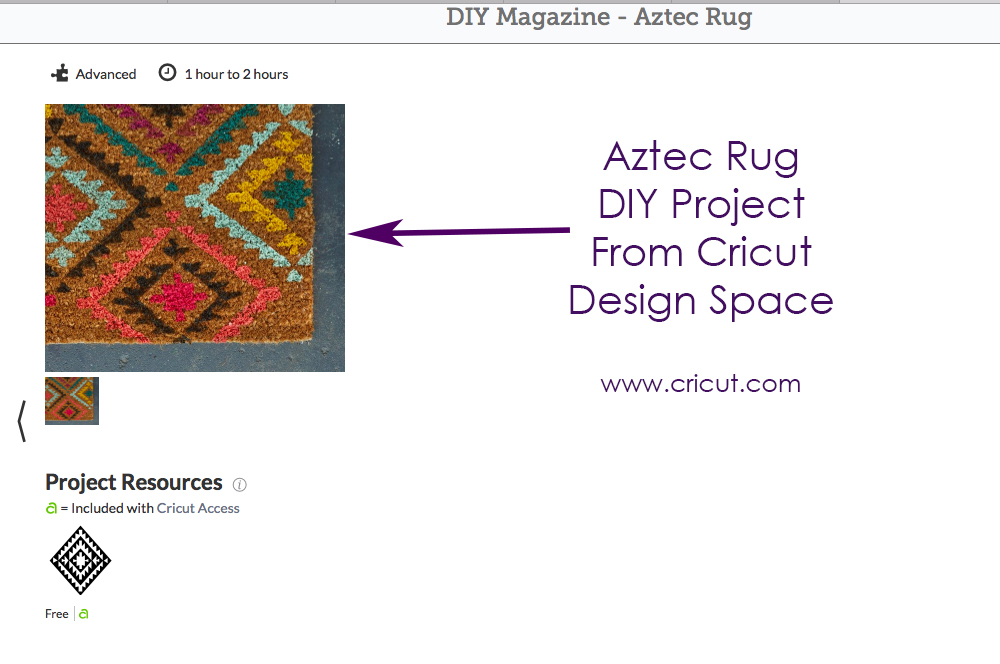
Cute, ha?
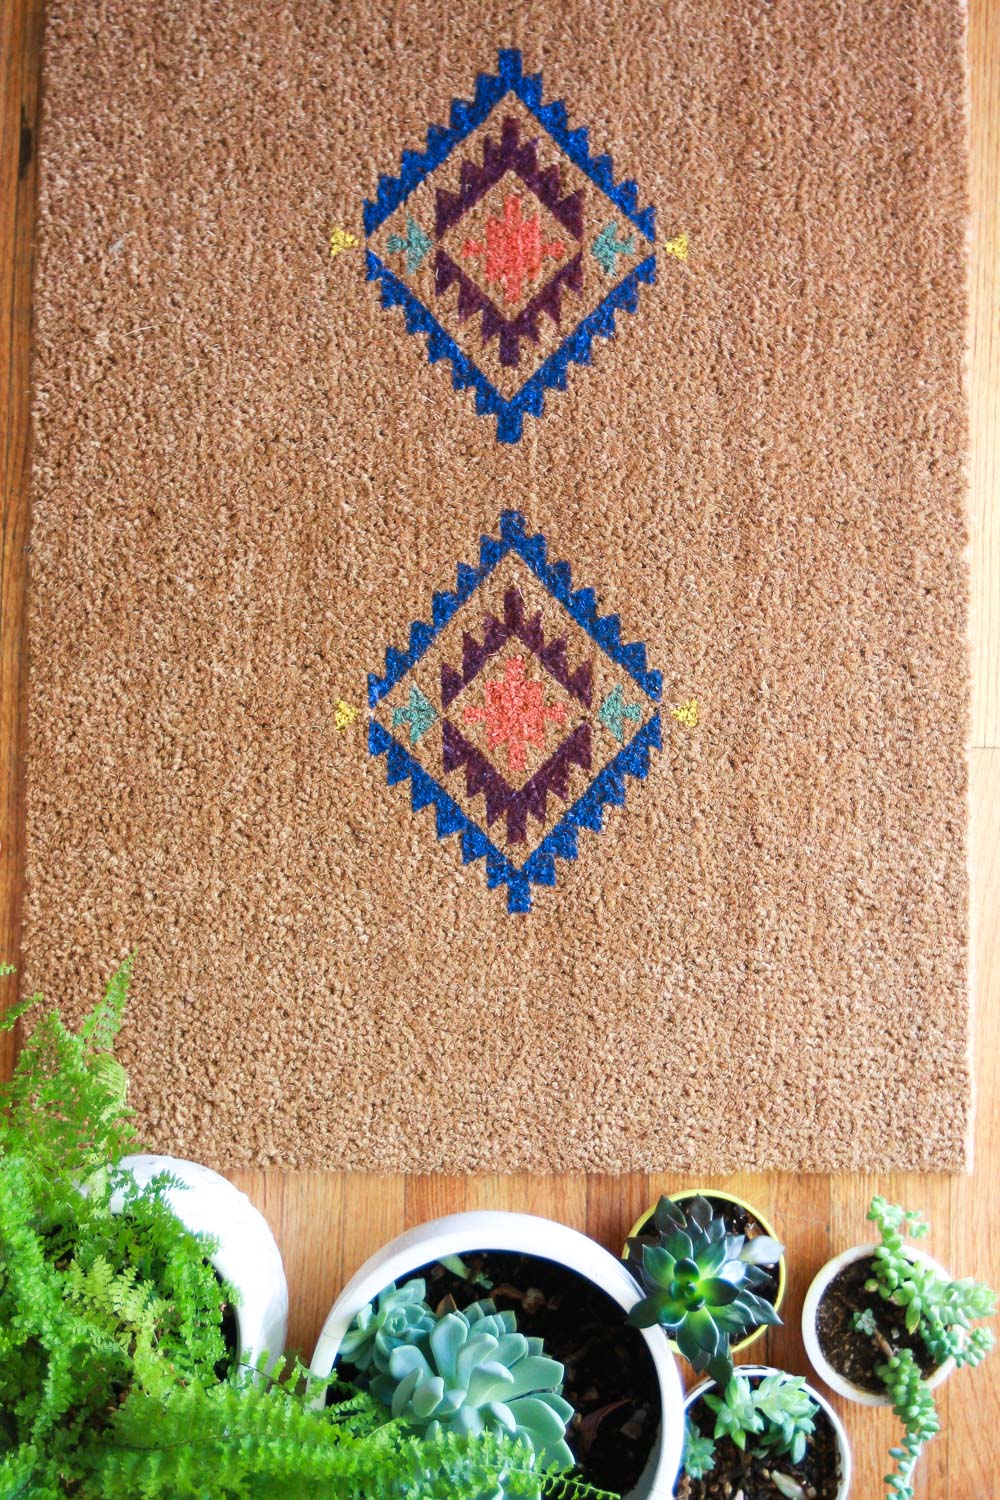
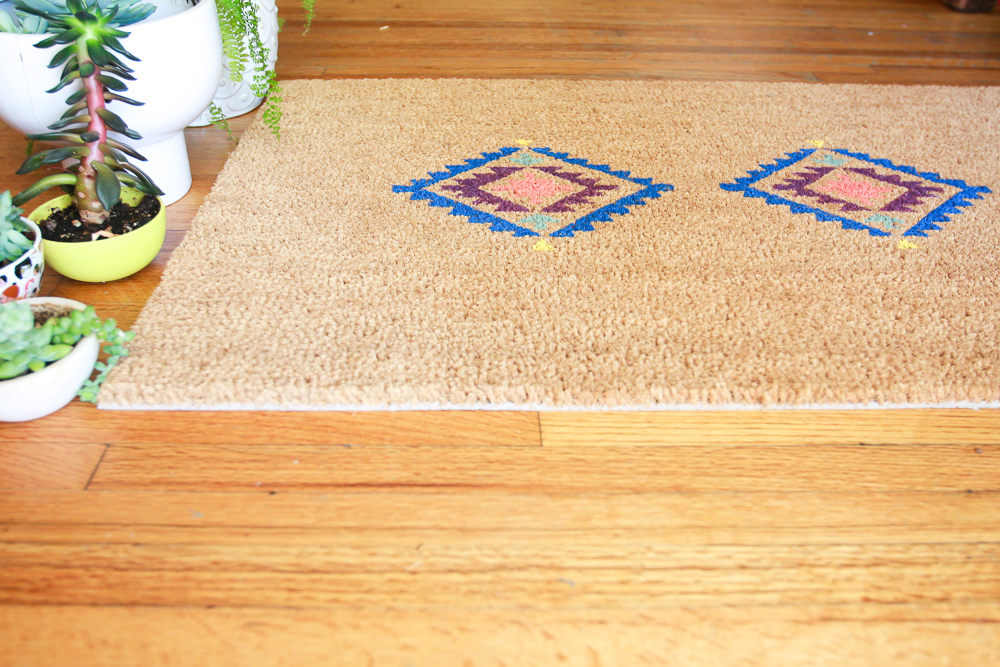
I didn’t want that much color or motives, so I decided to do only two in the middle. Here is what I did:
How to make a fun doormat with Cricut
Difficulty (1-5): 2 Time: 1 hr Cost: $40
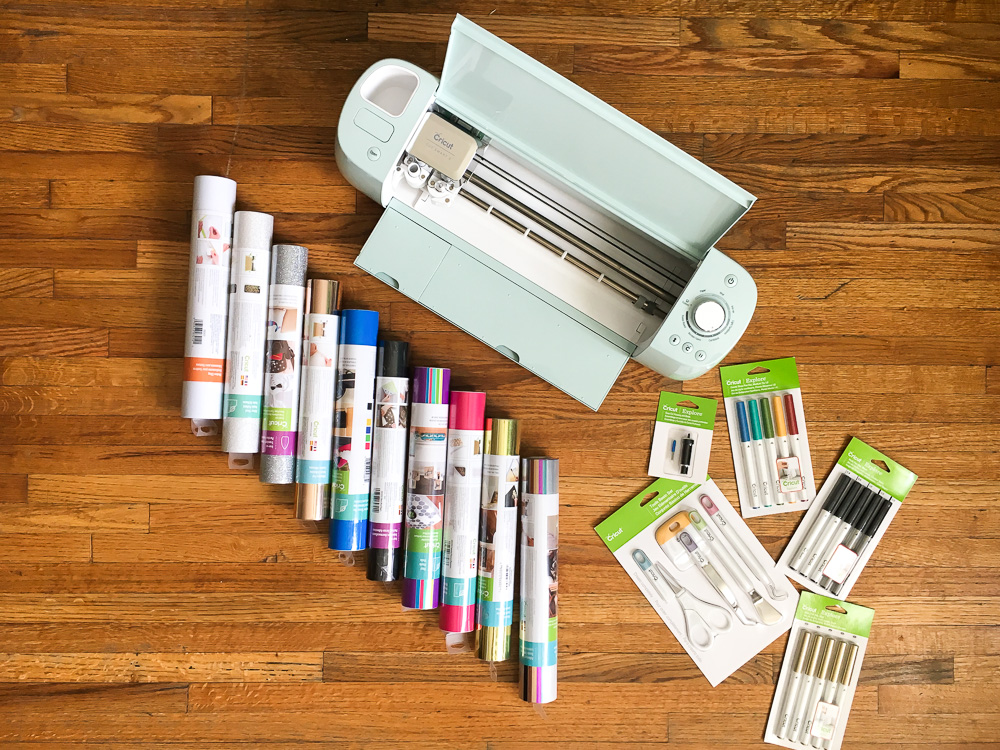
Materials
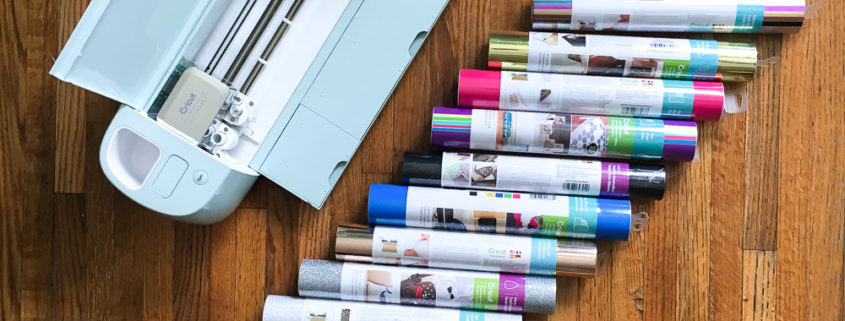
- Cricut Explore Air 2
- Cricut 12″ x 12″ StandardGrip Mat
- Cricut Stencil Vinyl
- Cricut Weeding Tool
- Blue exterior paint
- Purple exterior paint
- Peach exterior paint
- Green exterior paint
- Yellow exterior paint
- Small brush
- Natural fiber door mat
*I bought the exterior paint at Michael’s but couldn’t find the links to them online.

Instructions
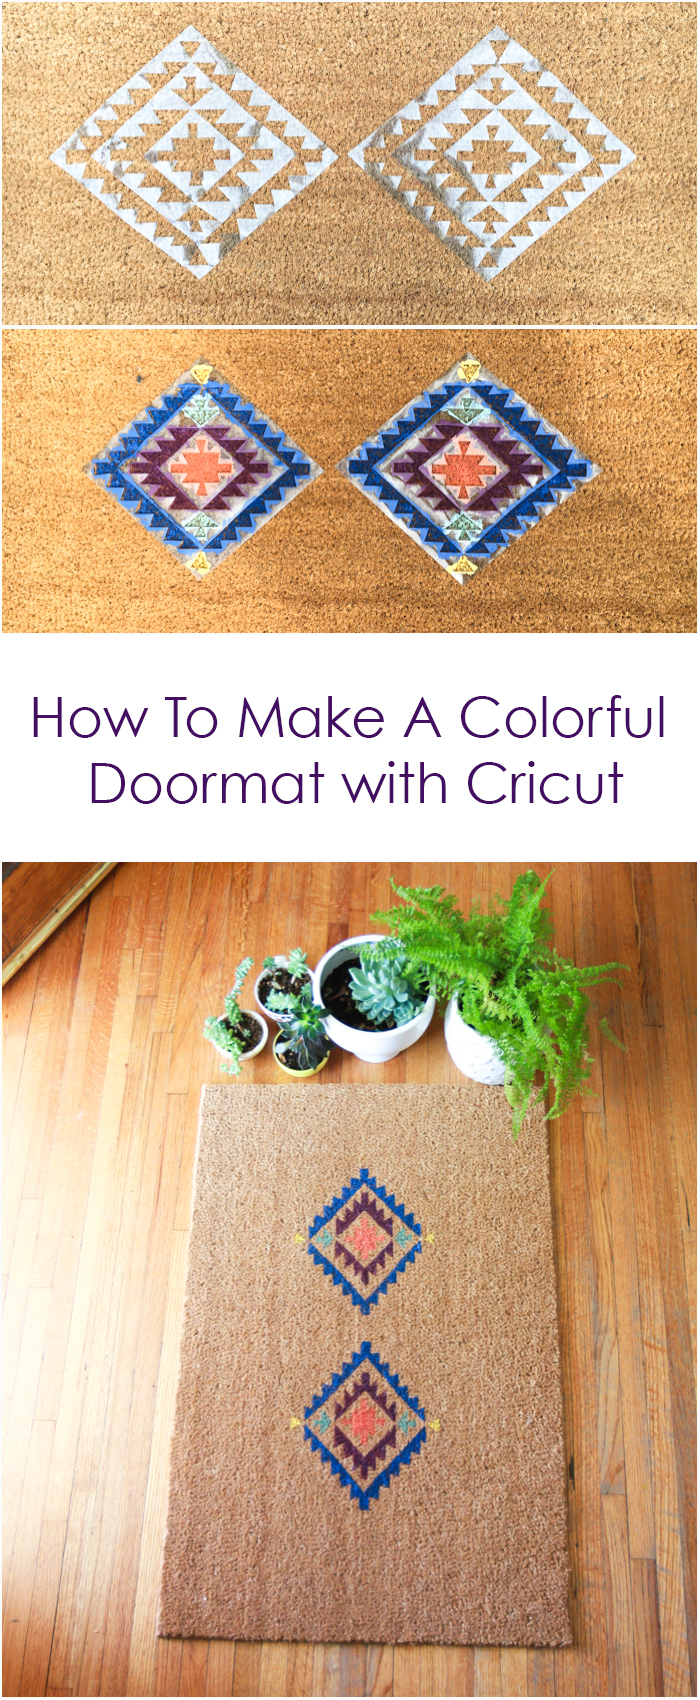
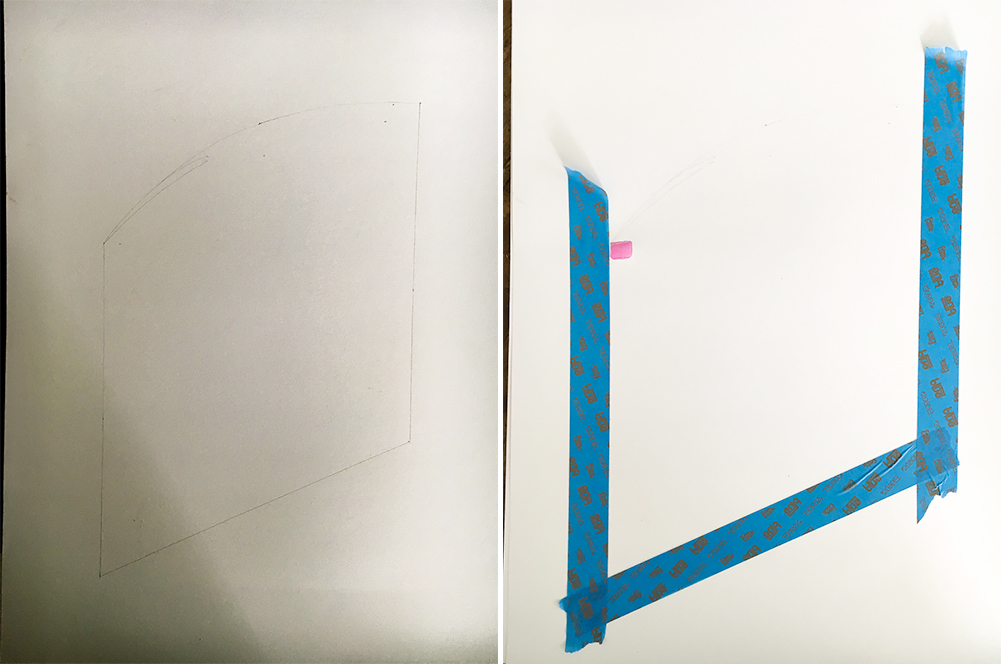
1) Find your project in Cricut Design Space for the DIY Aztec Rug. It has seven images on the canvas to cover the whole mattress but I only used it two for a simpler look. Place your vinyl on the StandardGrip Mat and let Cricut do its thing.
2) Weed excess stencil vinyl from around and inside the images with the weeding tool.
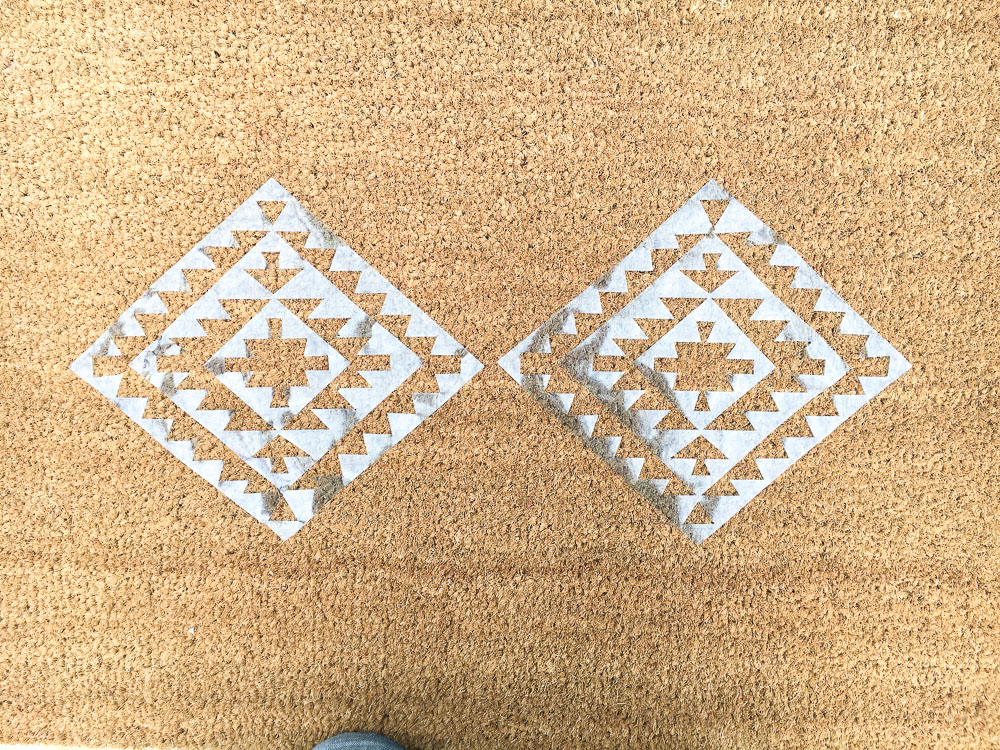
3) Find the center of your door mat and place the first stencil to the right and the other one to the left. Be careful doing this because the stencil is sticky and gets stuck together easily. Make sure this doesn’t happen.
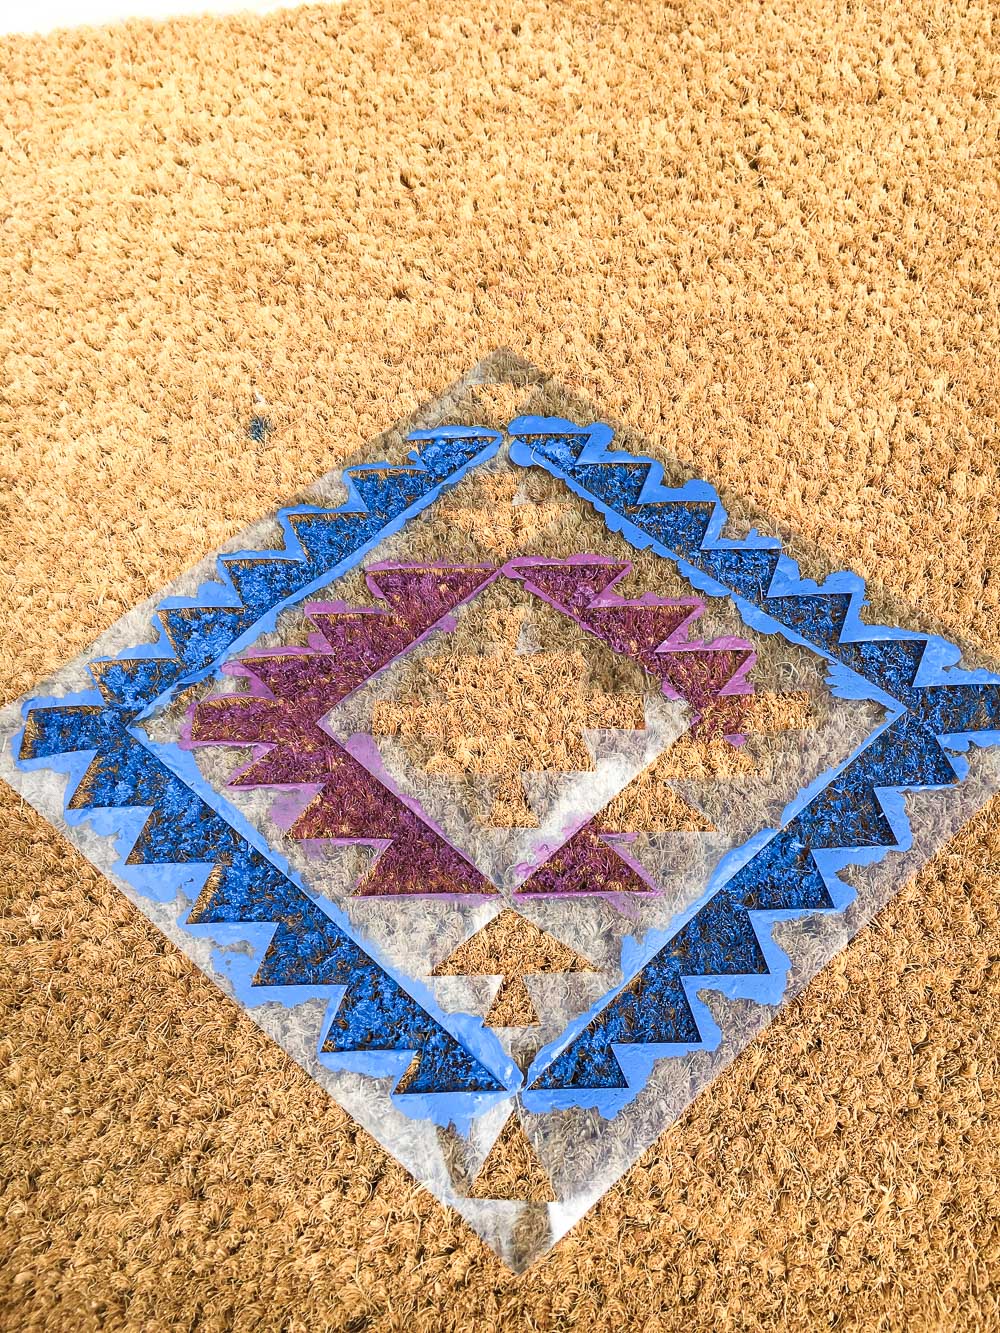
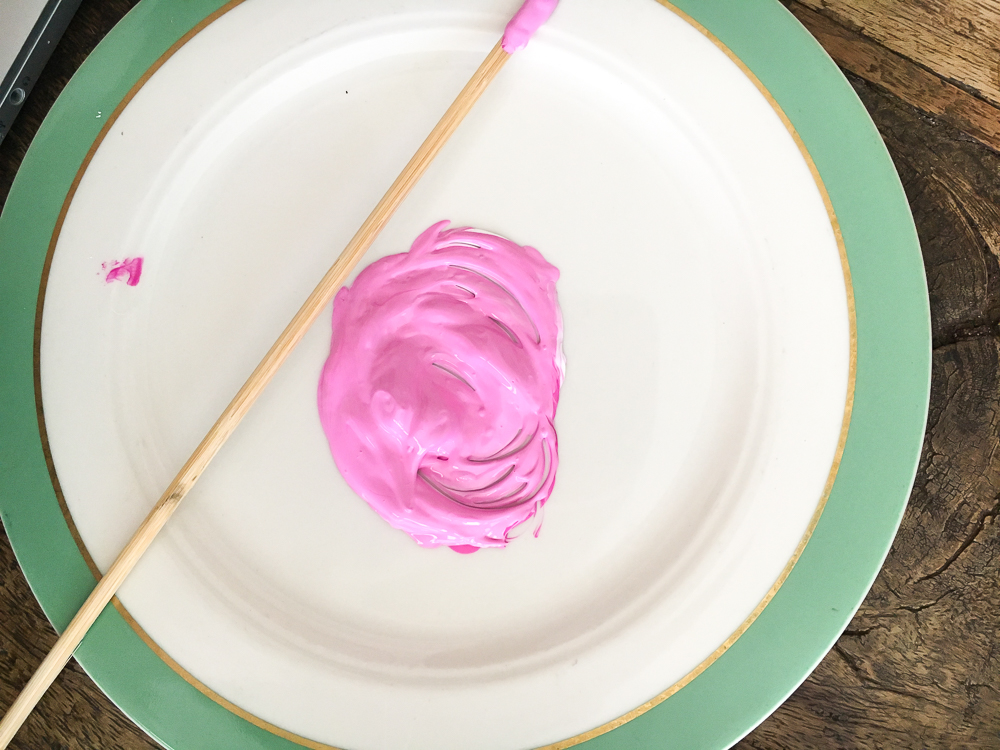
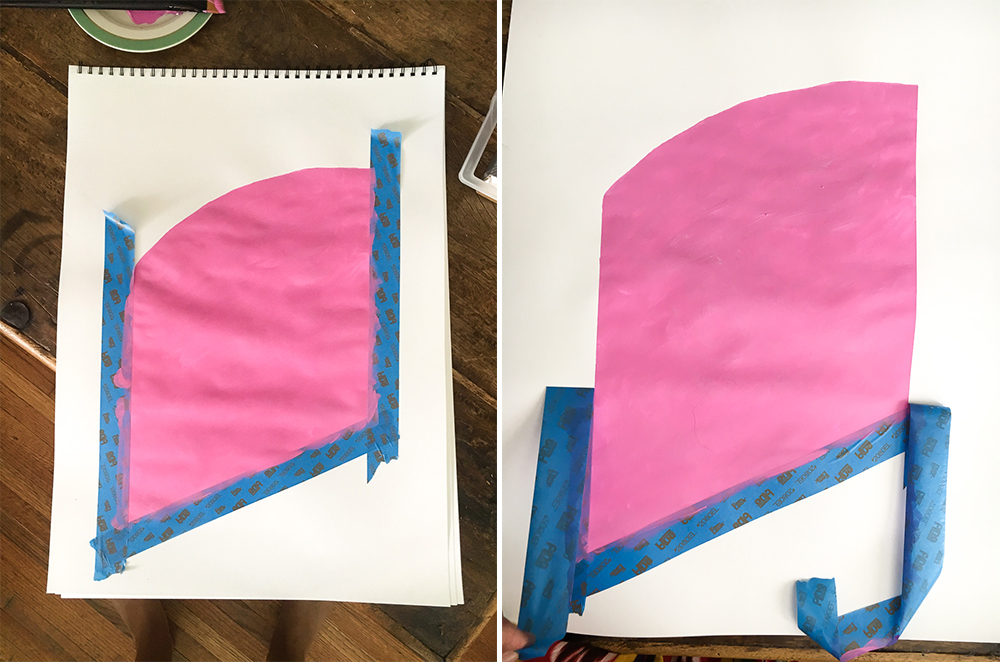
4) Apply paint to fill in the design using the small brush and the exterior paint.
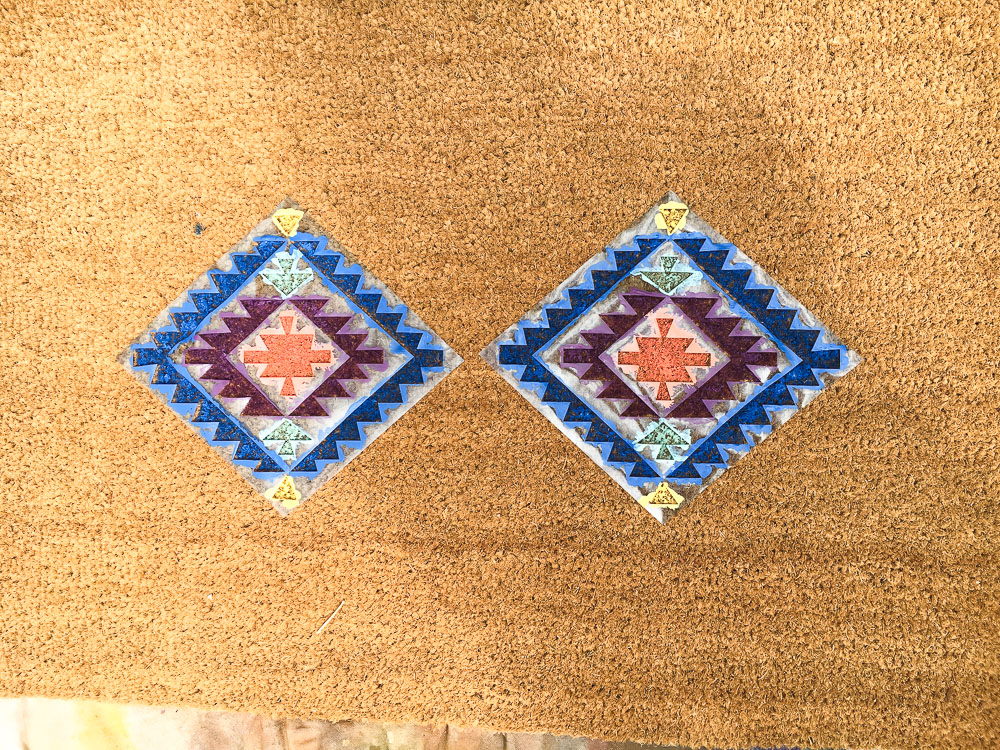
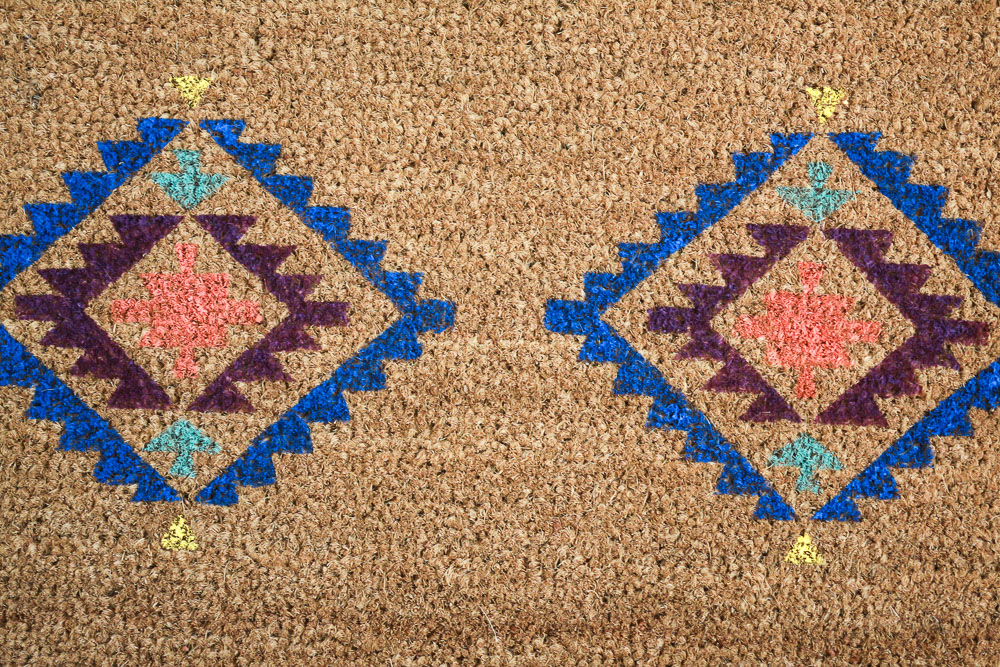
5) After the paint dries, remove the stencil and voila! Now you have a new, fun, colorful door mat! Very simple and cute.
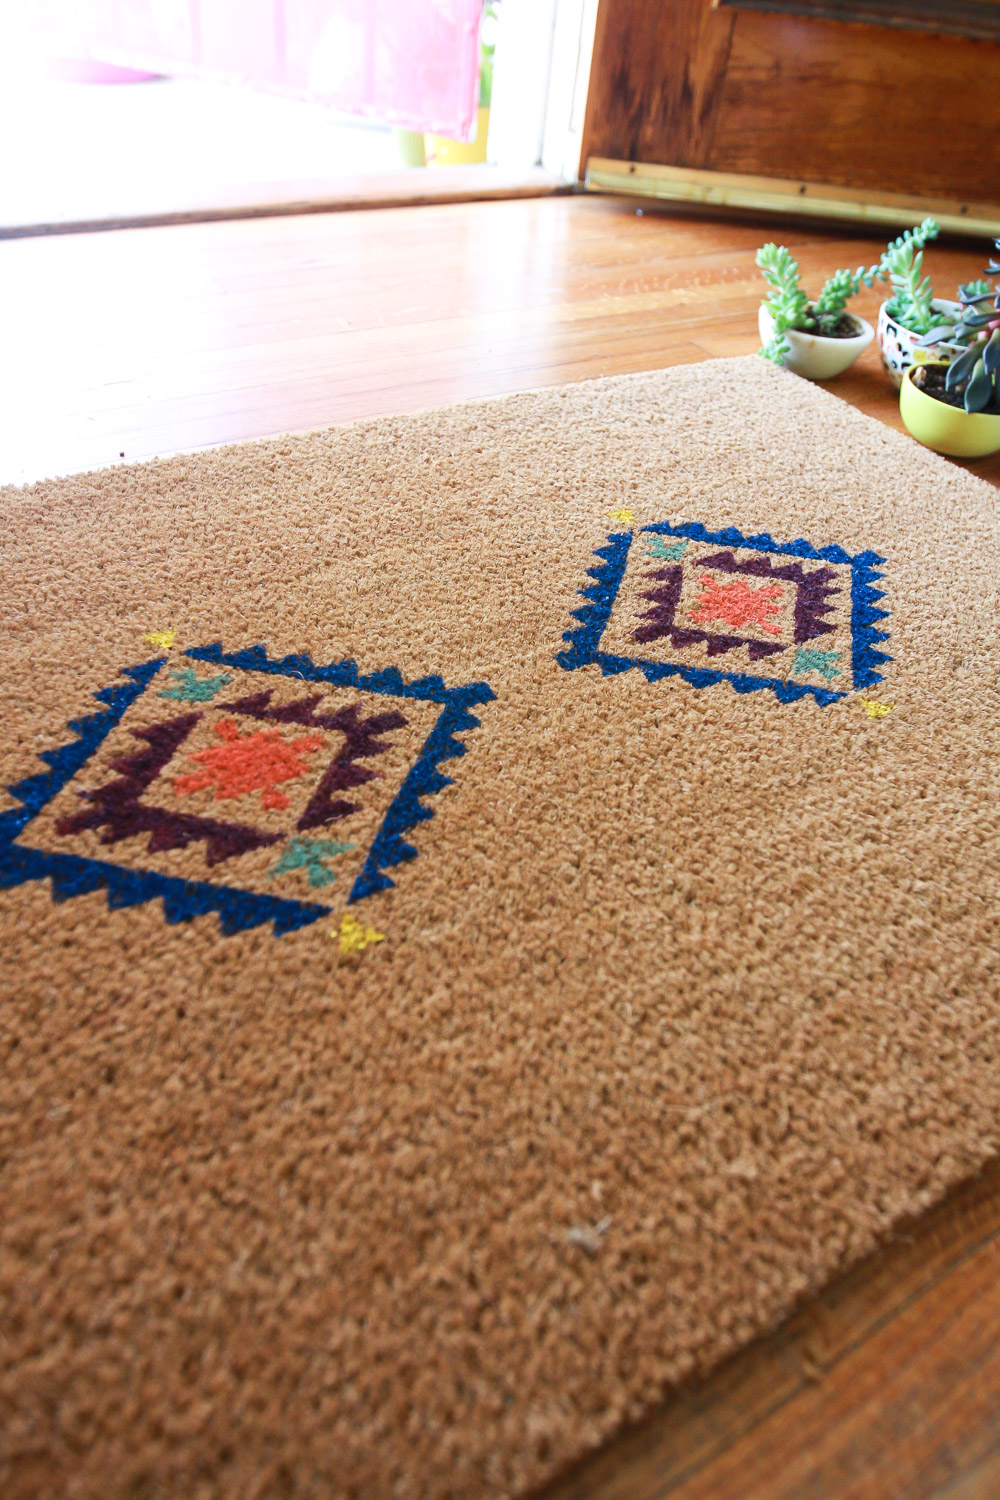
Here are more photos of the final product:
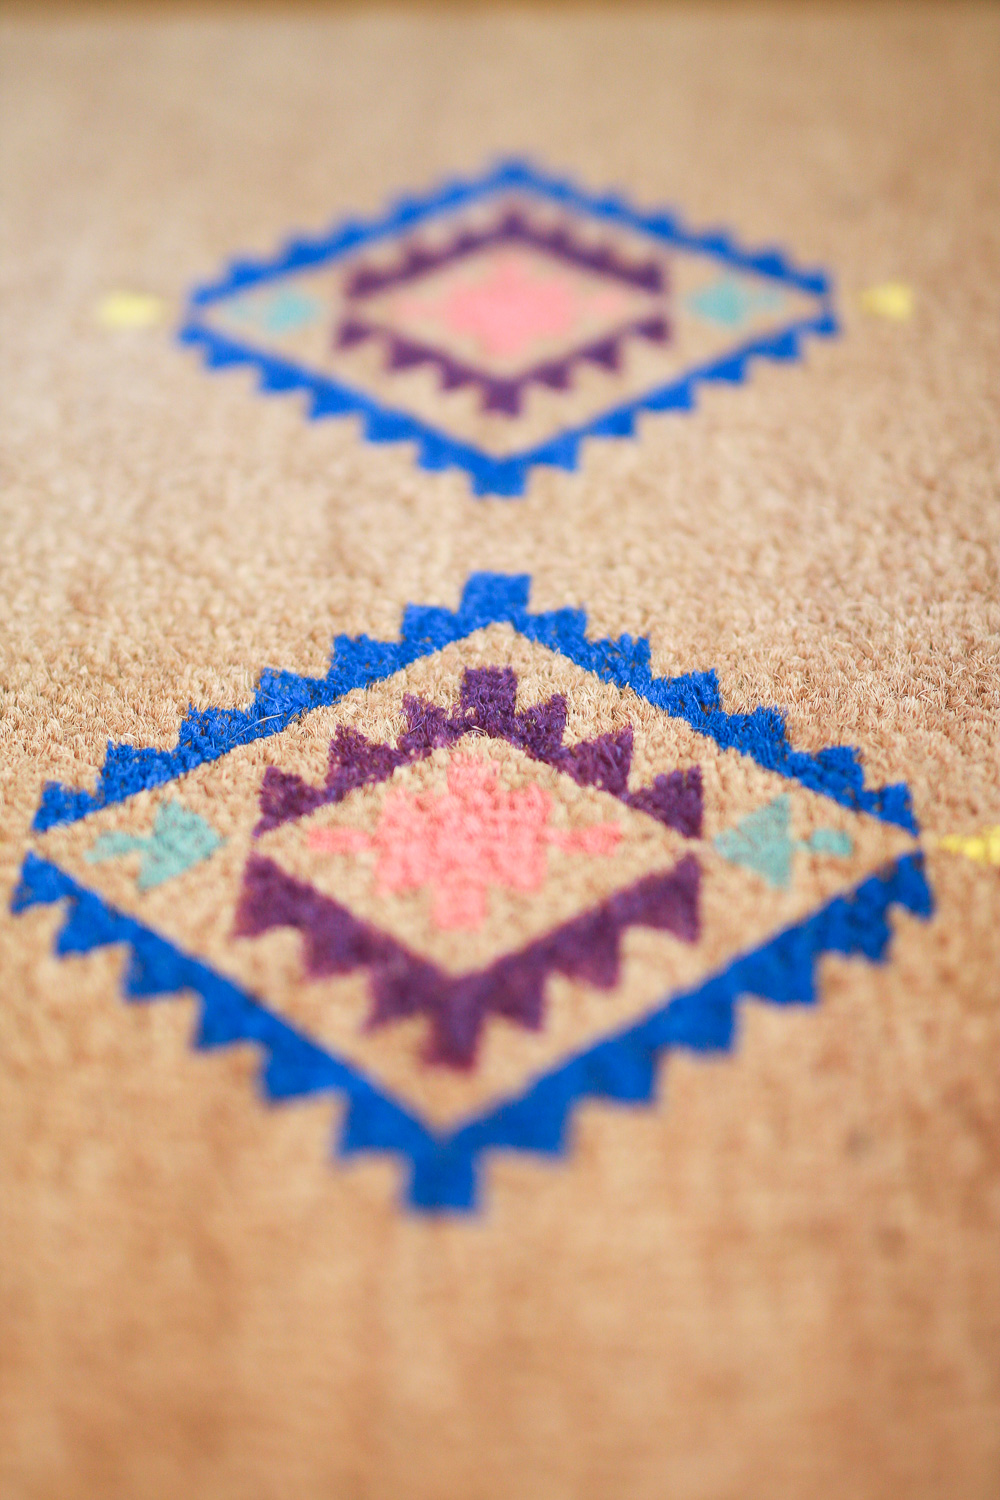
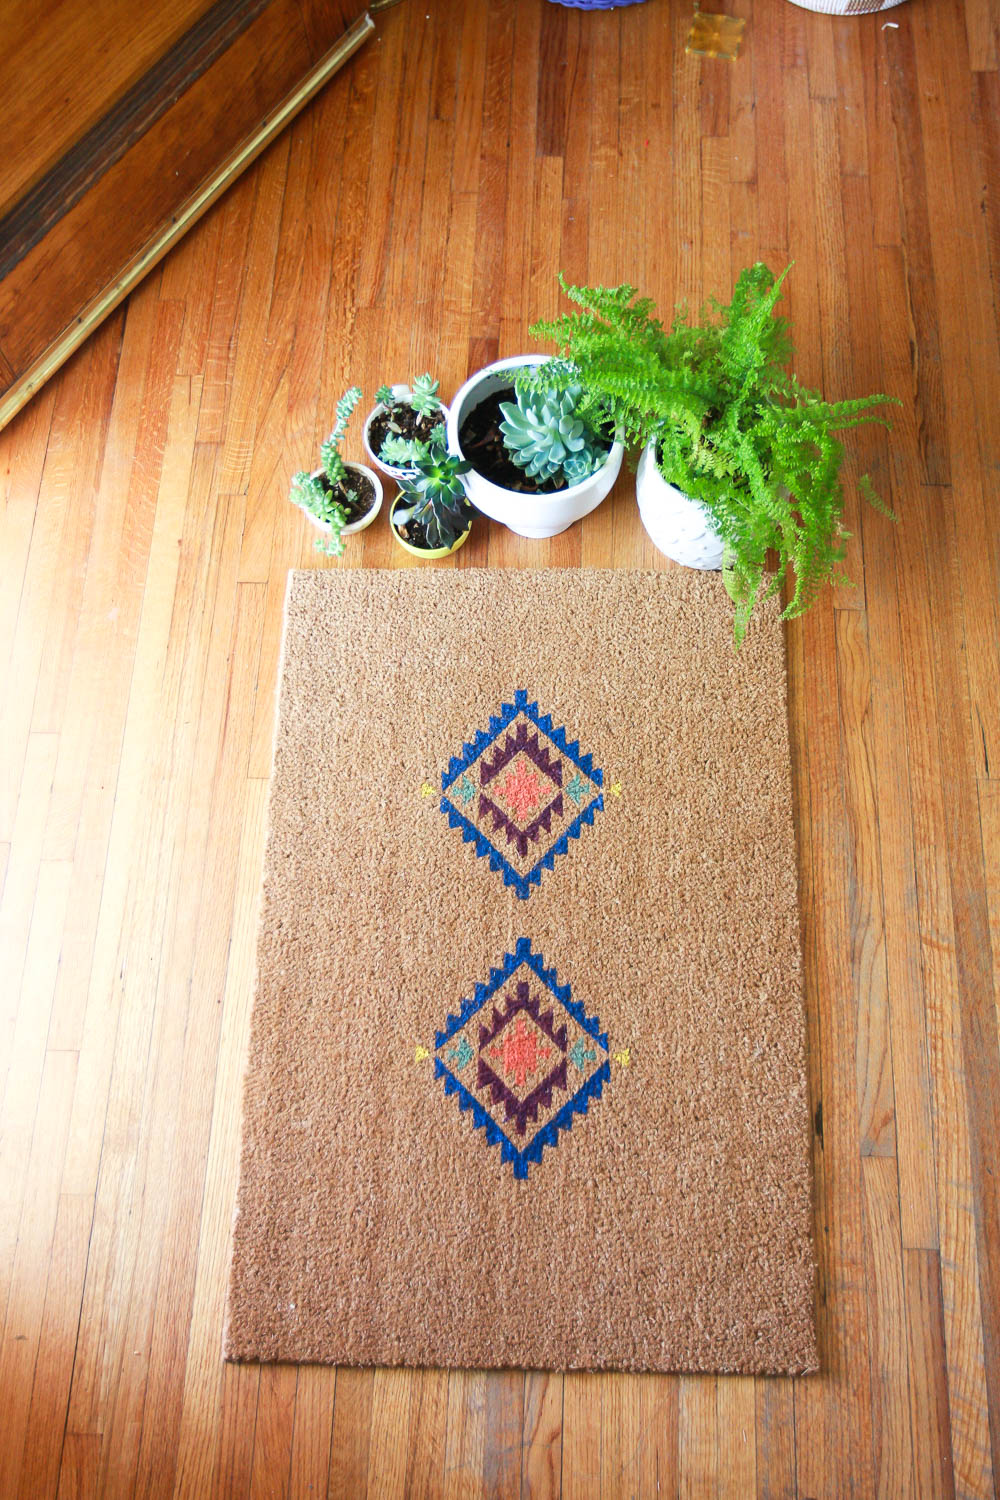
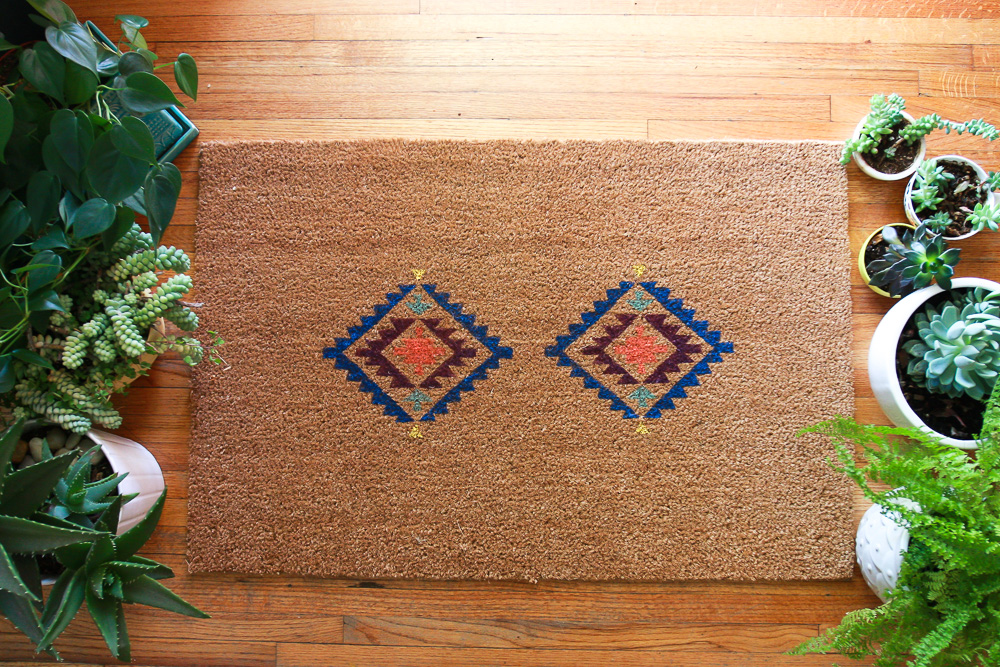
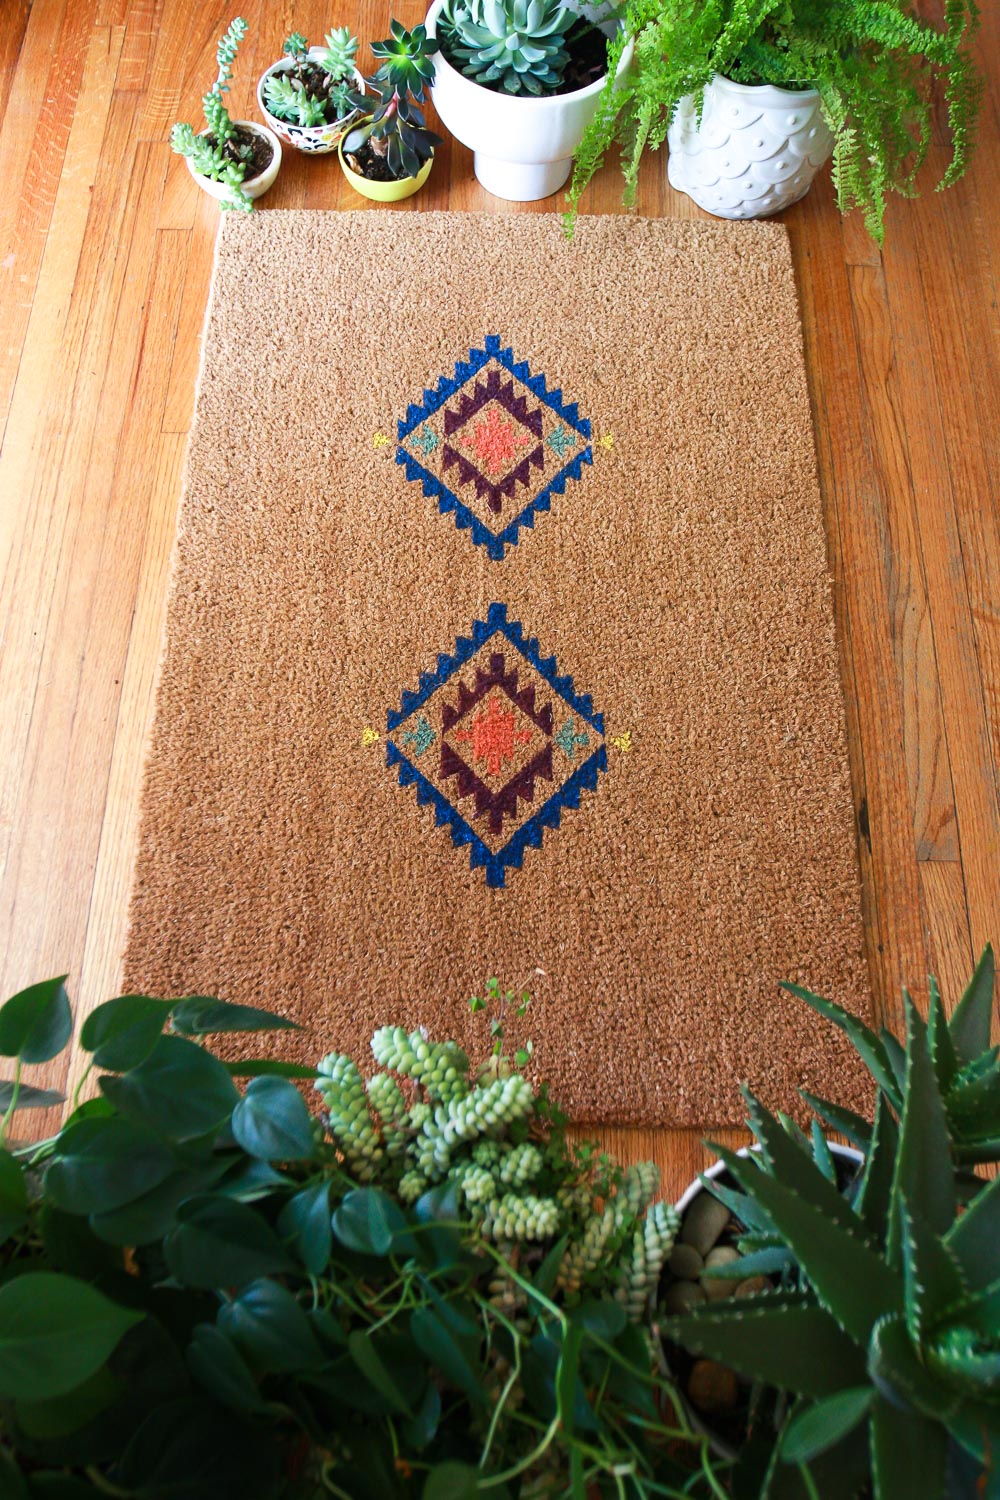
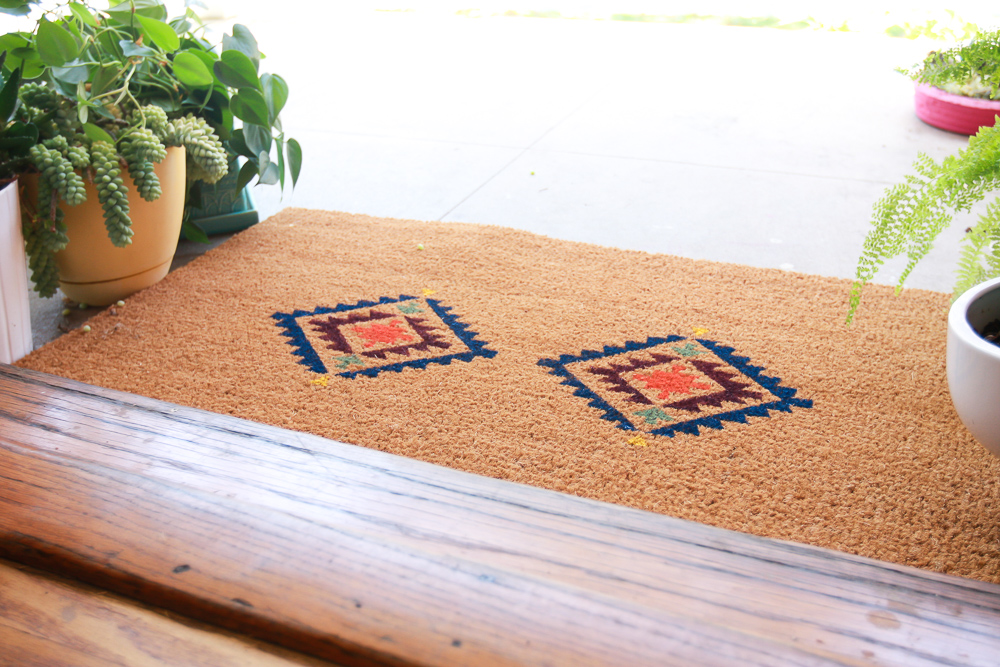
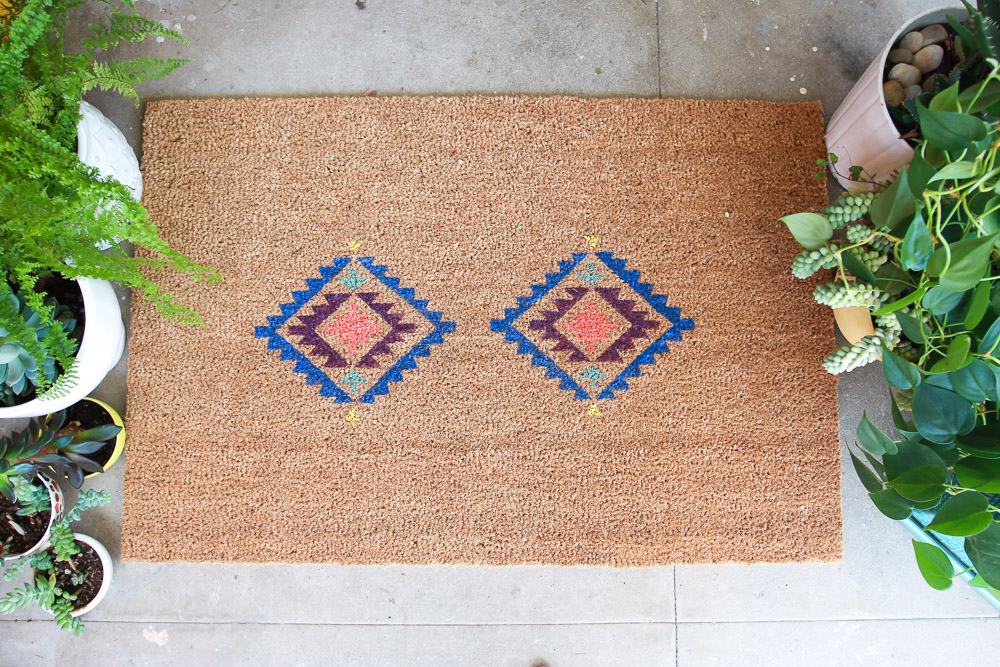
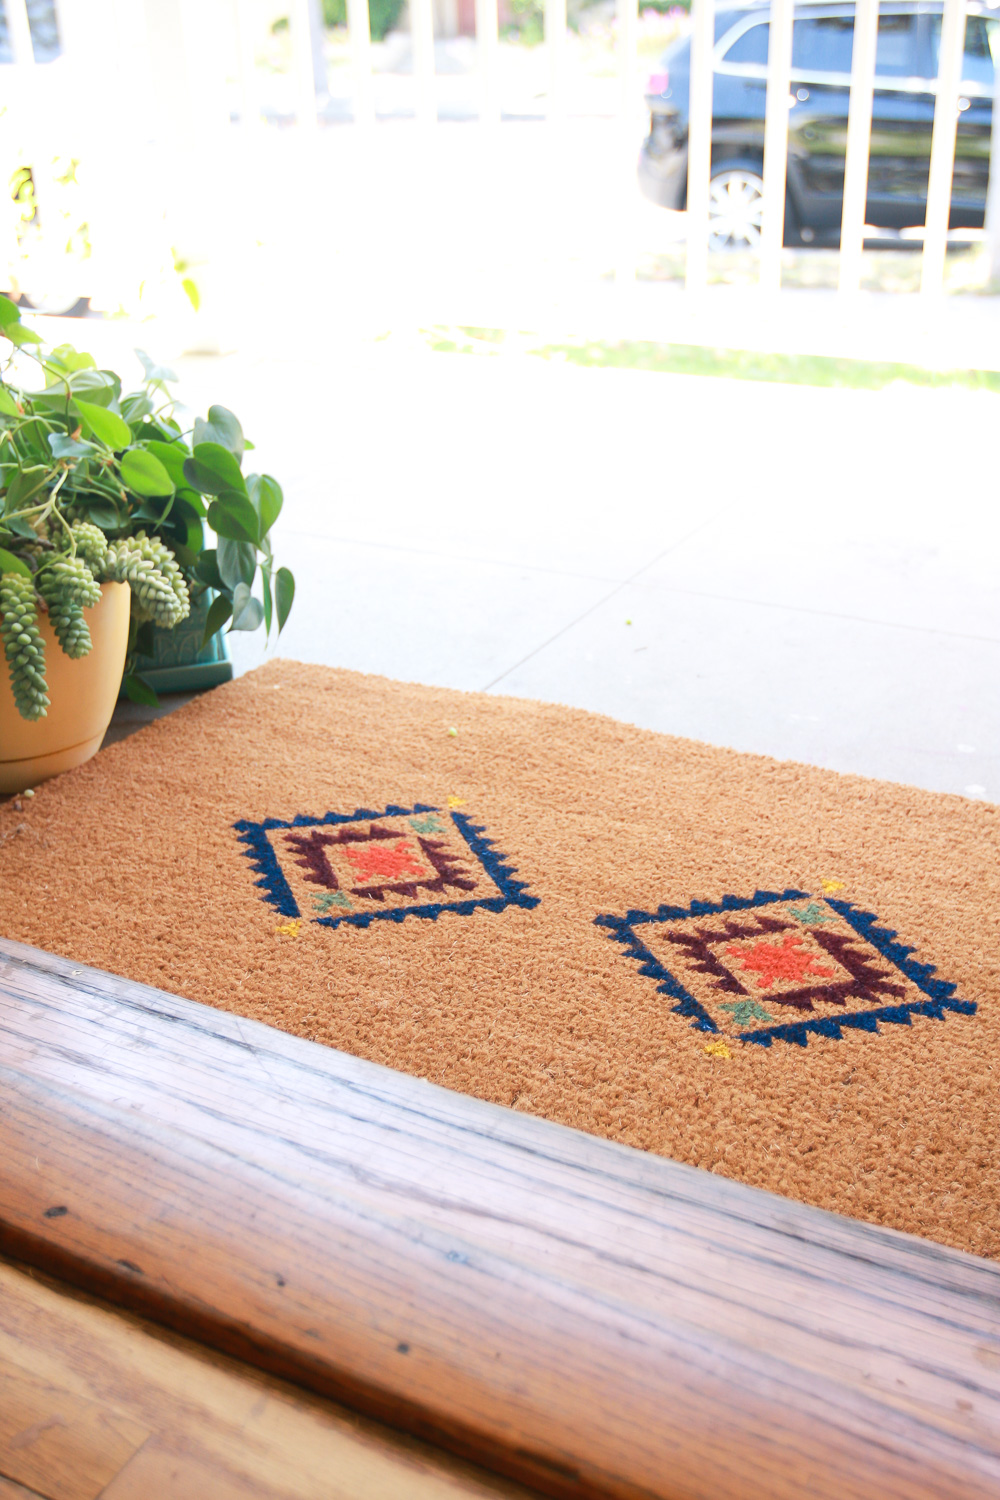
My entrance looks so much better, don’t you think?
Thanks for stopping by. Tomorrow I will post about another fun project I did with Cricut for my kid’s bedroom. To read about my opinions and general views on Cricut, go here.
This is a sponsored conversation written by me on behalf of Cricut. The opinions and text are all mine.
Comments submitted may be displayed or featured on other websites owned by Cricut.
 The easiest way to improve your home when you are in a budget is doing your own crafts and
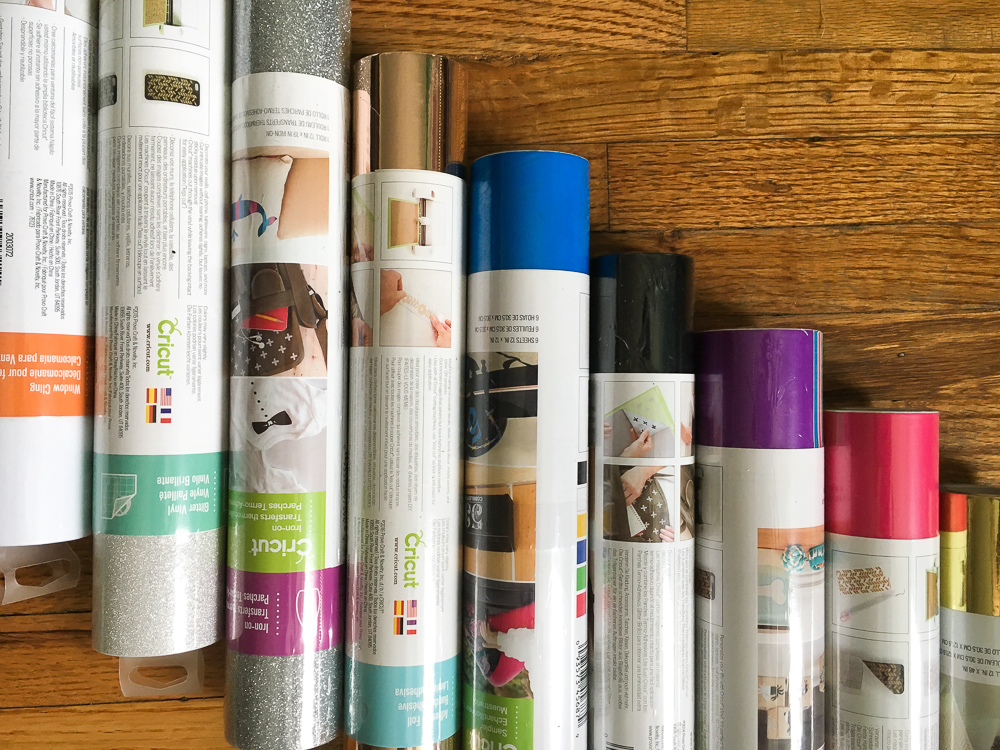
 Doing a project is as easy as going into the
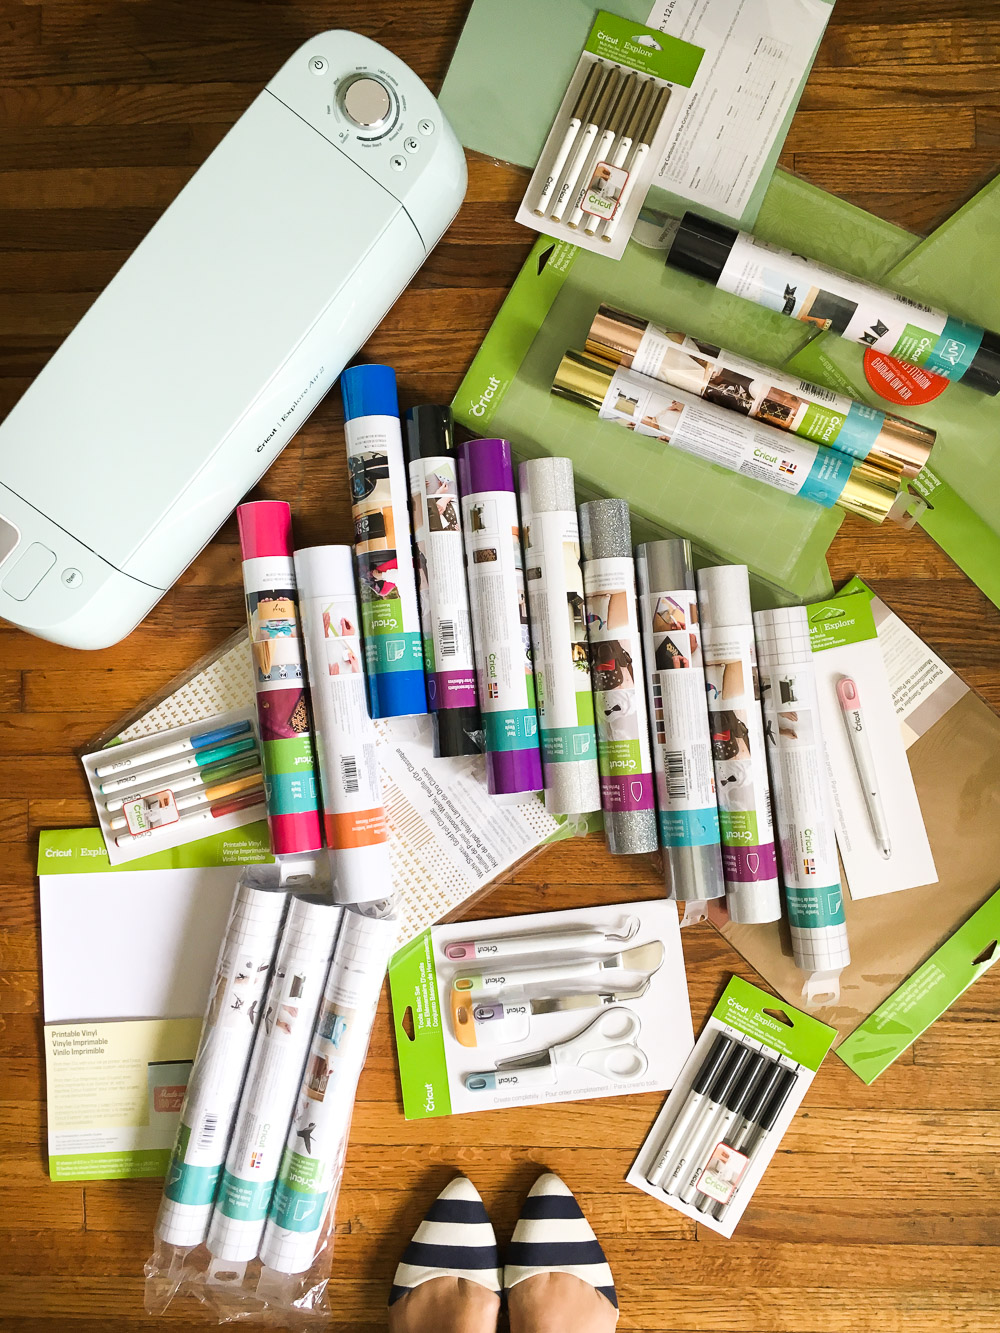


 Here we go with another installment of Inspired by DIY! If you want to take a look at what I did for the previous challenges, you can go
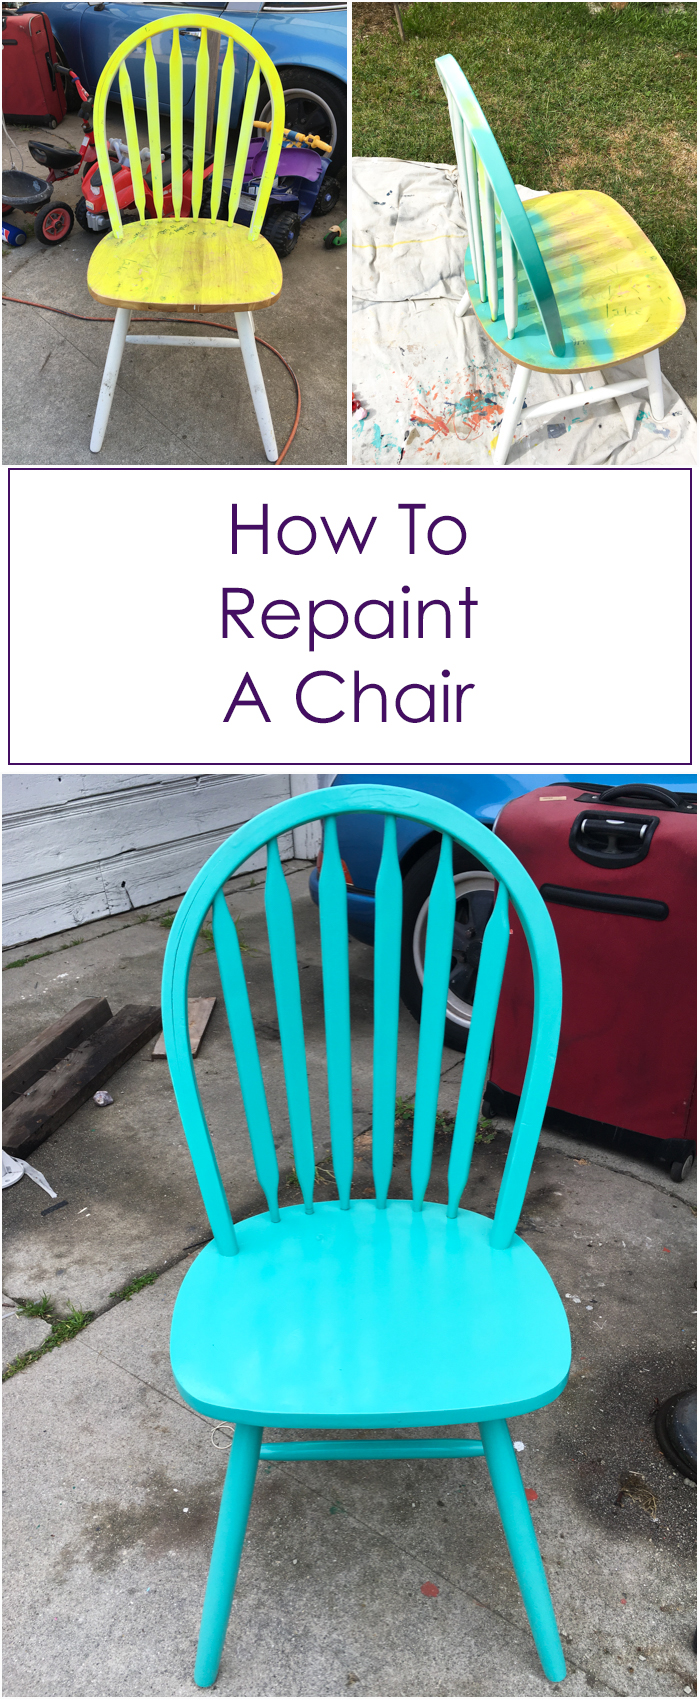
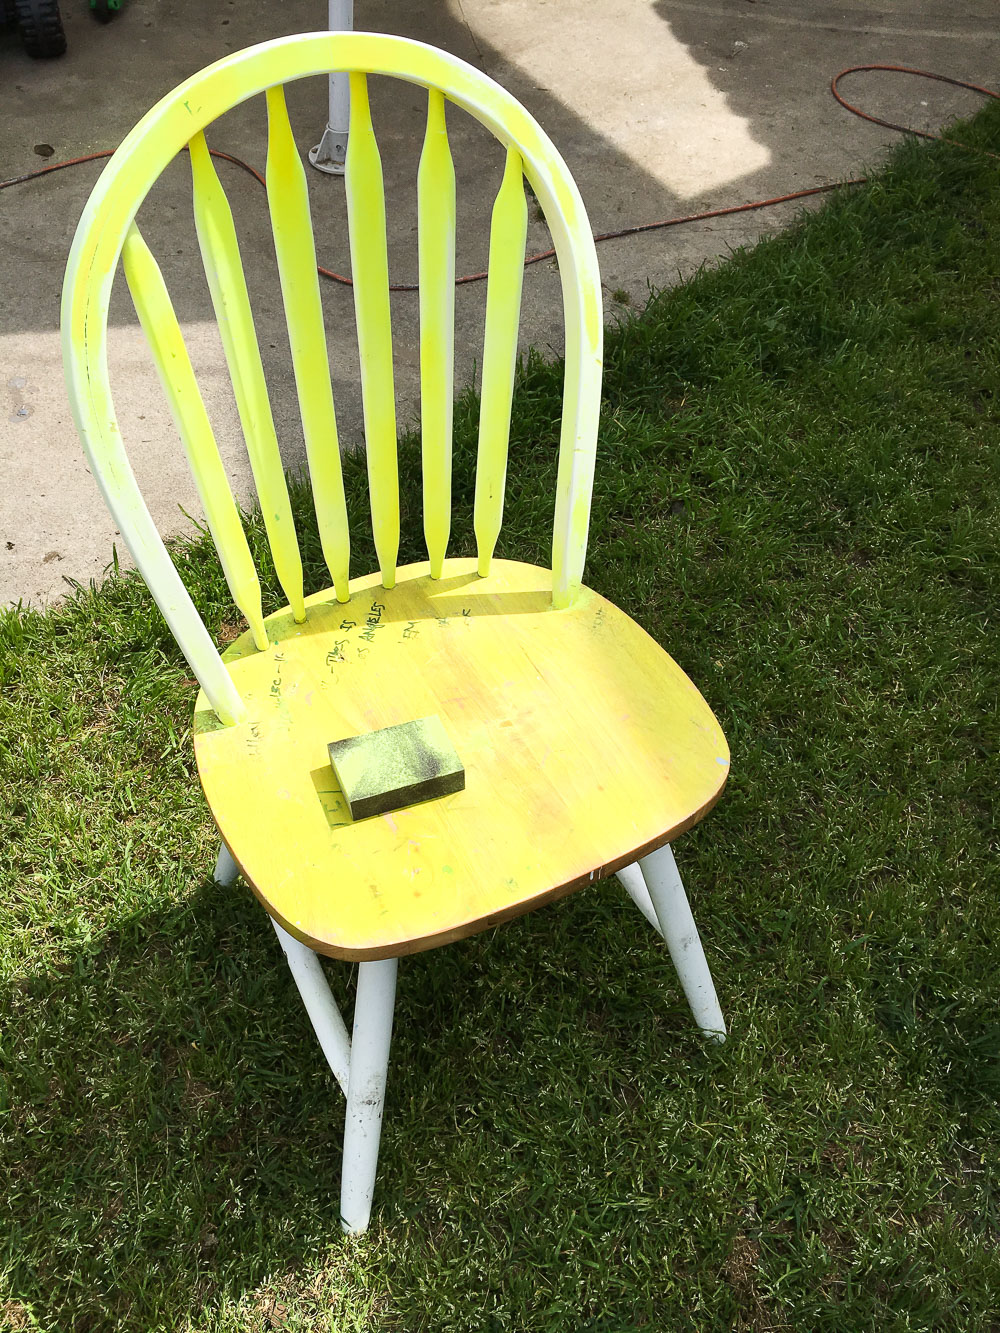
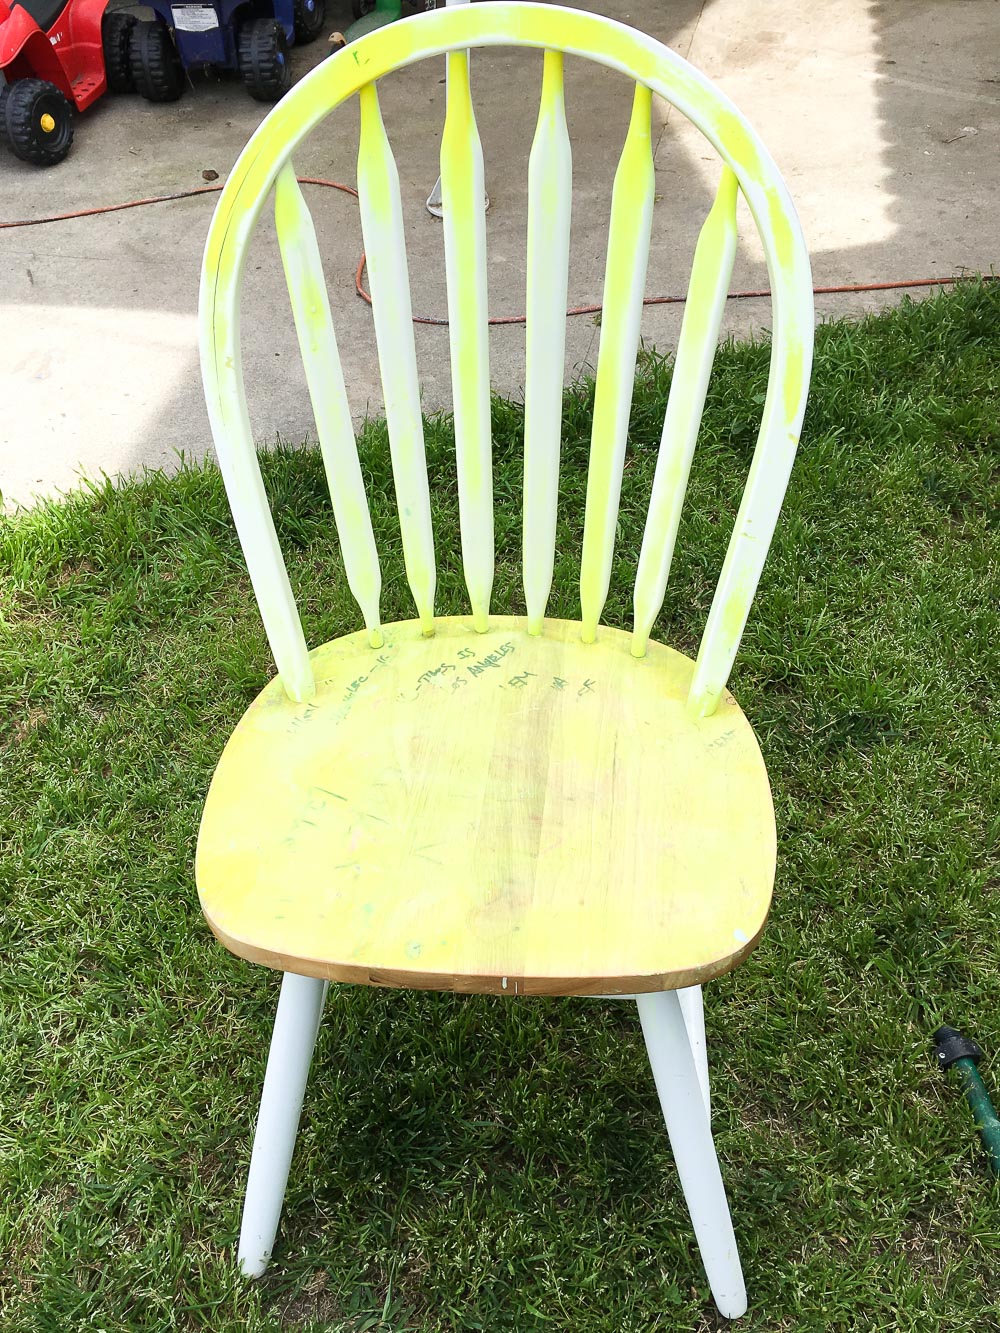
 2) Paint inside your lines with the color you chose.
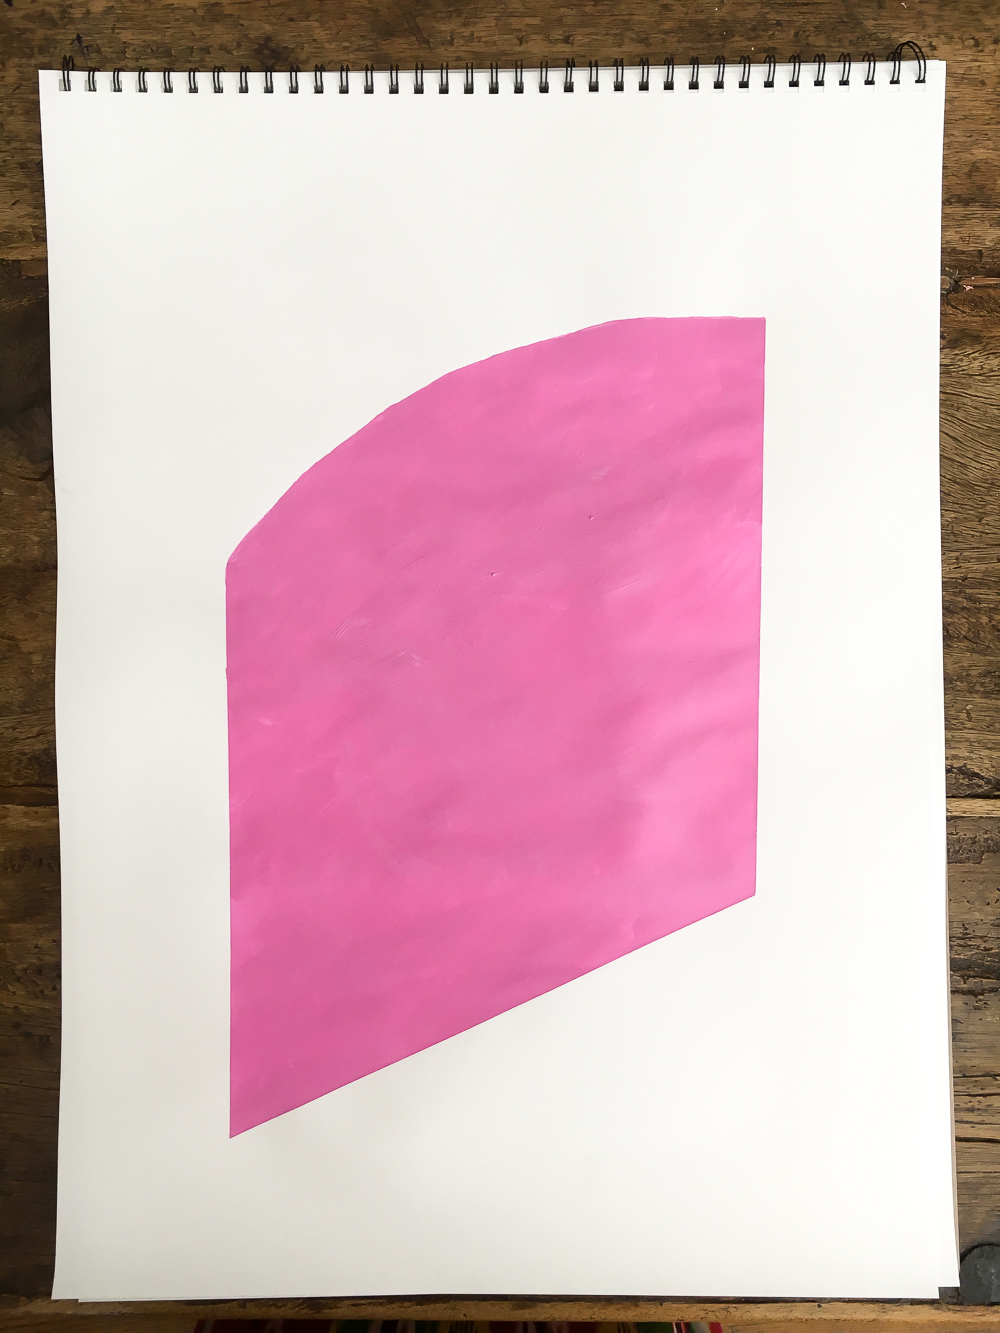
 The result:


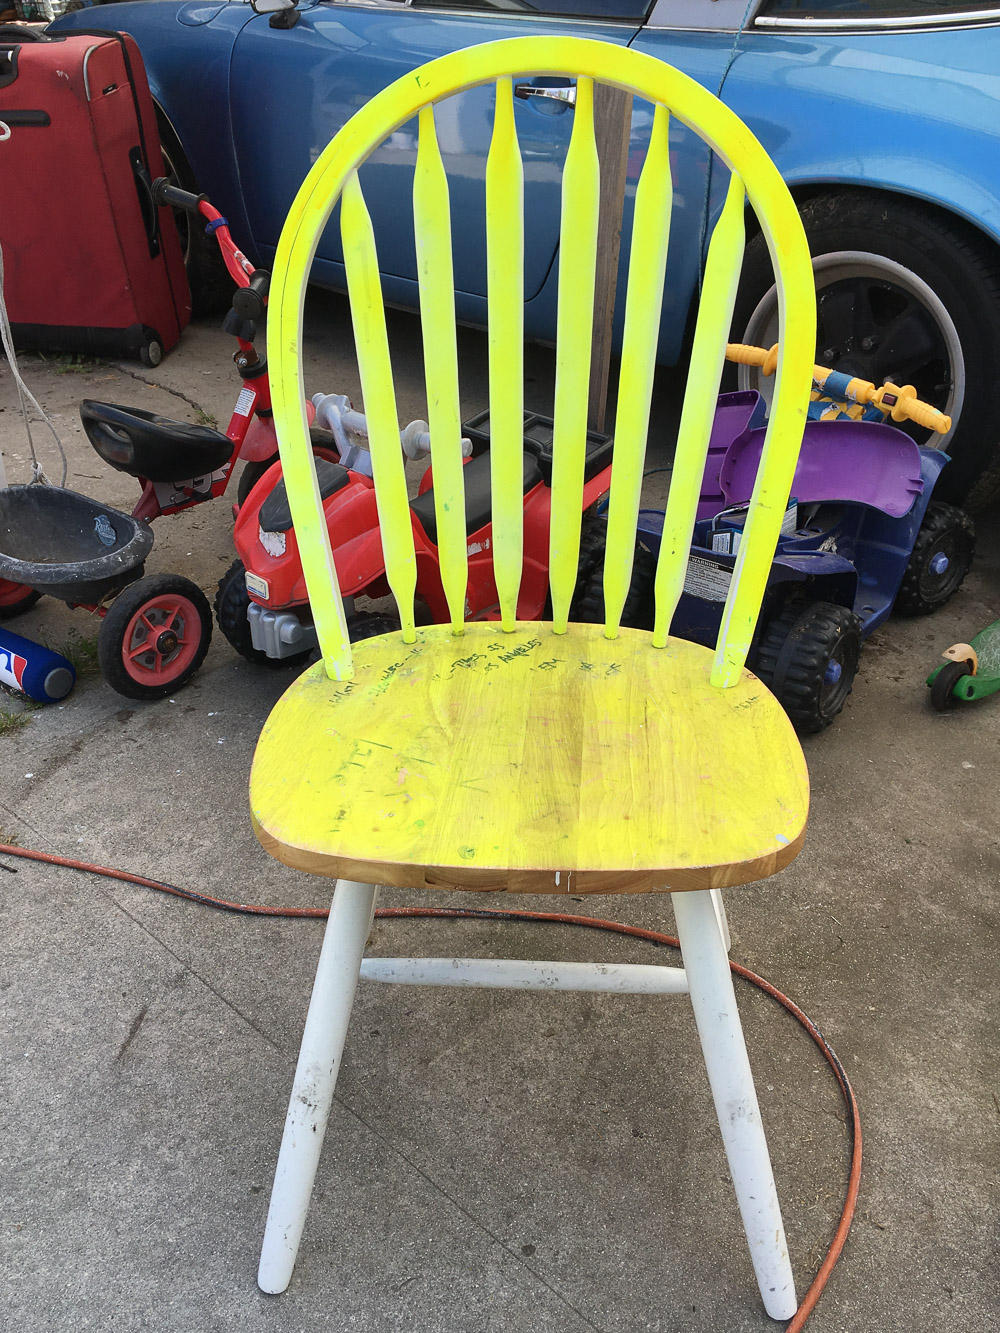
 3) Start spraying. Make sure the spray can is around 8″ -10″ away from the surface you are trying to paint. Don’t start spraying directly into the chair, this could create drips if you apply too much paint (see below). Start spraying by aiming away from the chair and then go into applying smooth strokes to the chair. Again, take your time with this step. You don’t want to create drips with your paint like these ones:
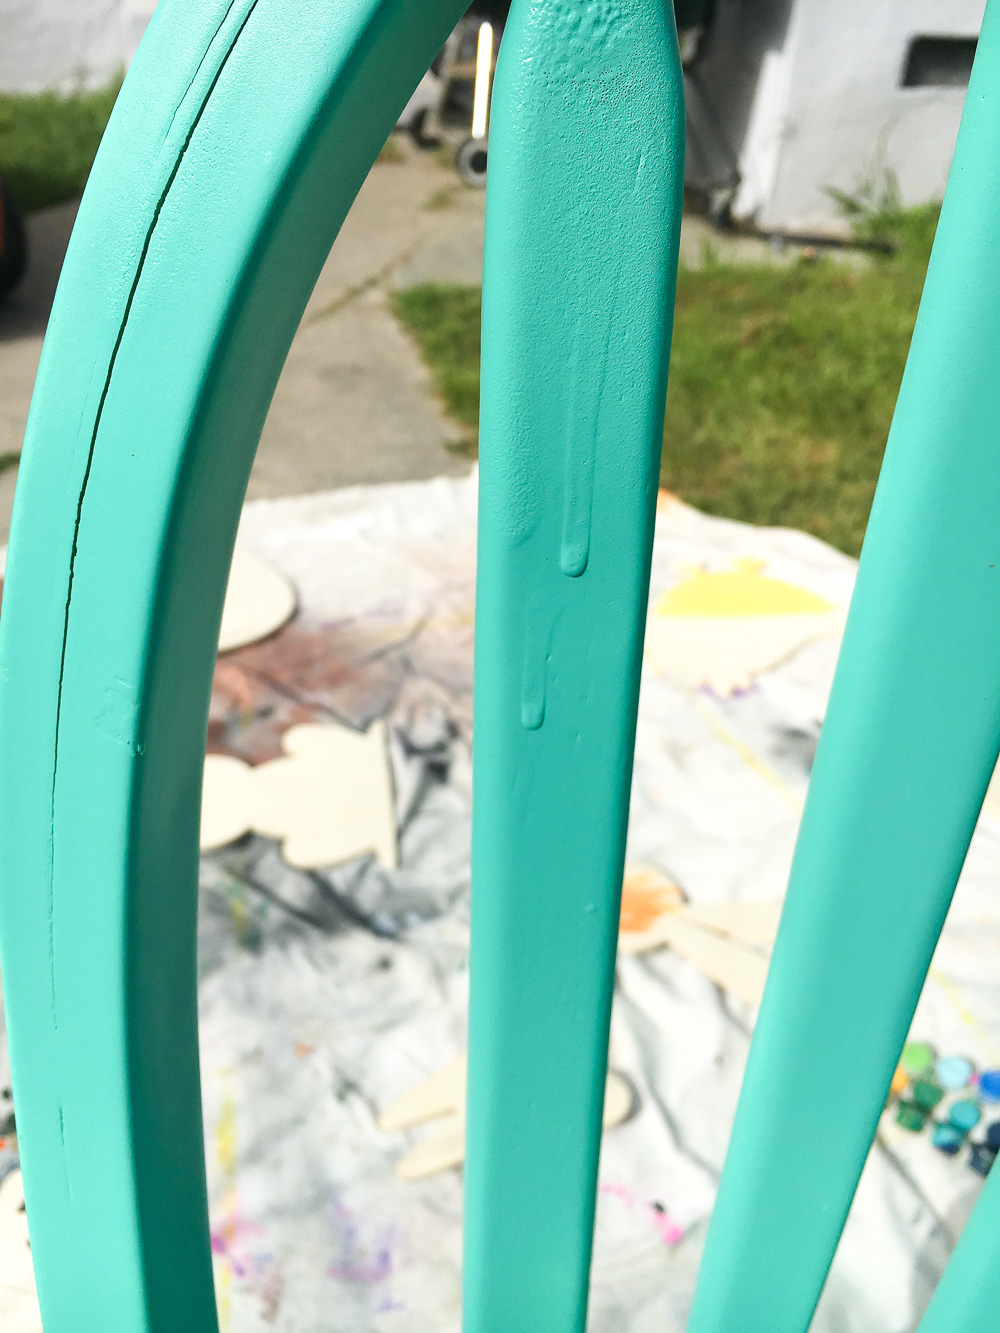 Because then you will have to sand down the imperfections all over again!
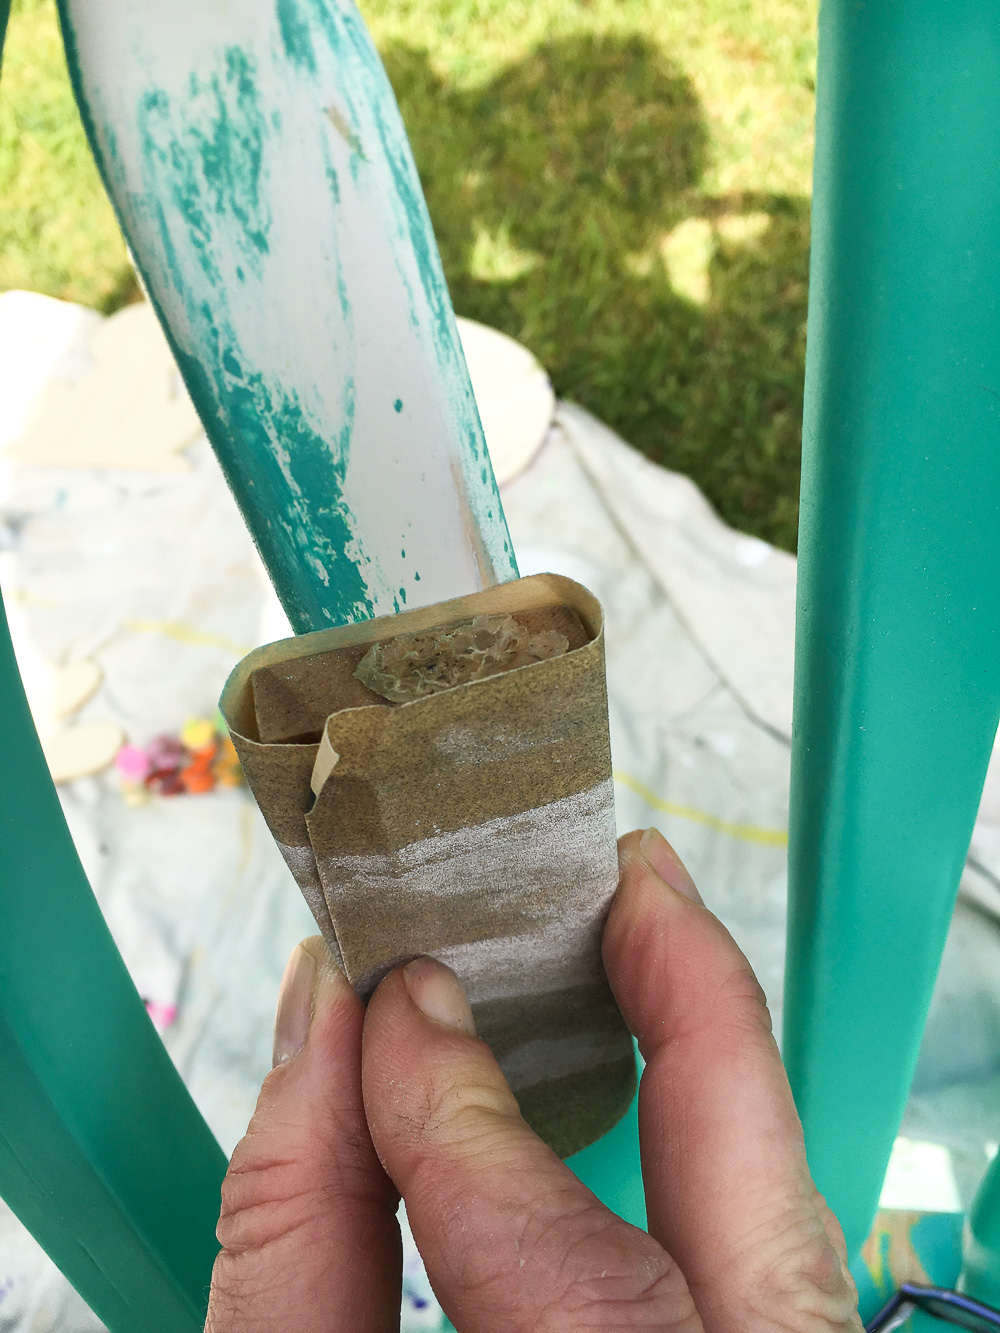
 Whatever imperfections show up, you will need to sand them down the day after you spray paint, otherwise the dust will settle on the damp paint.
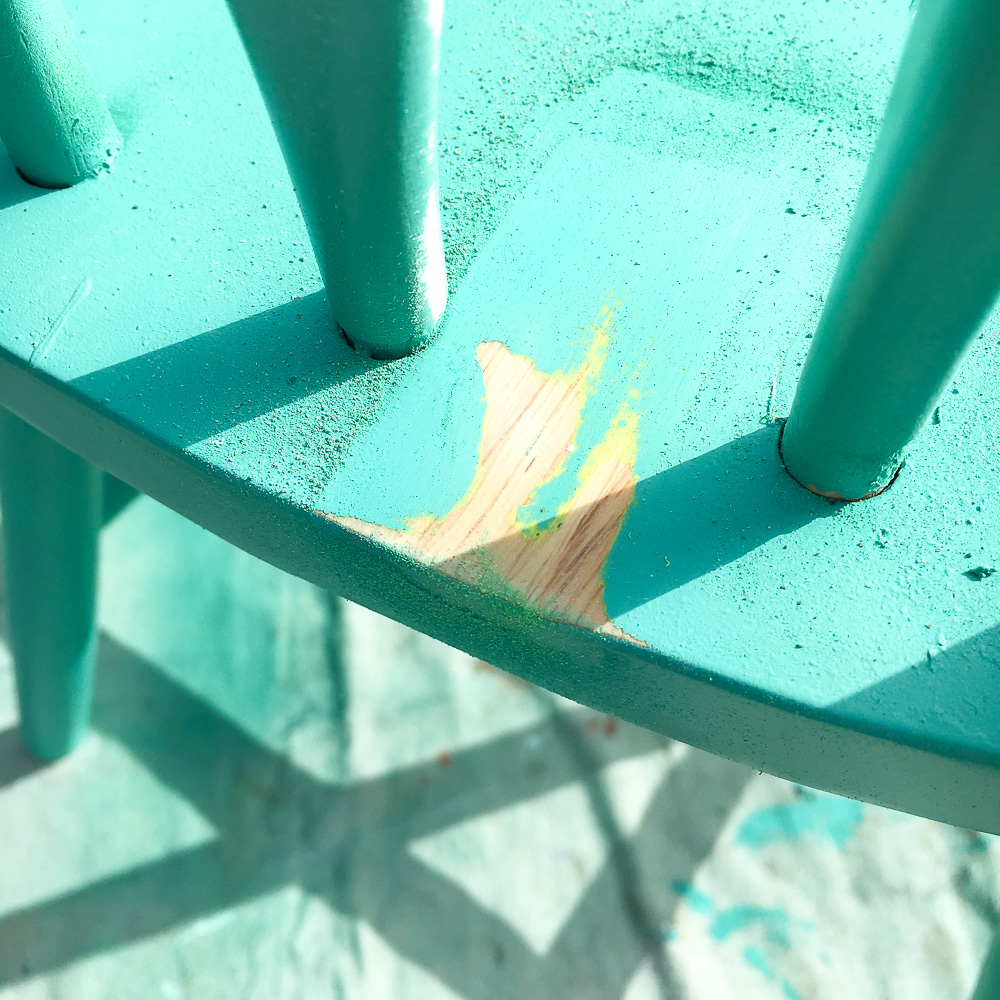
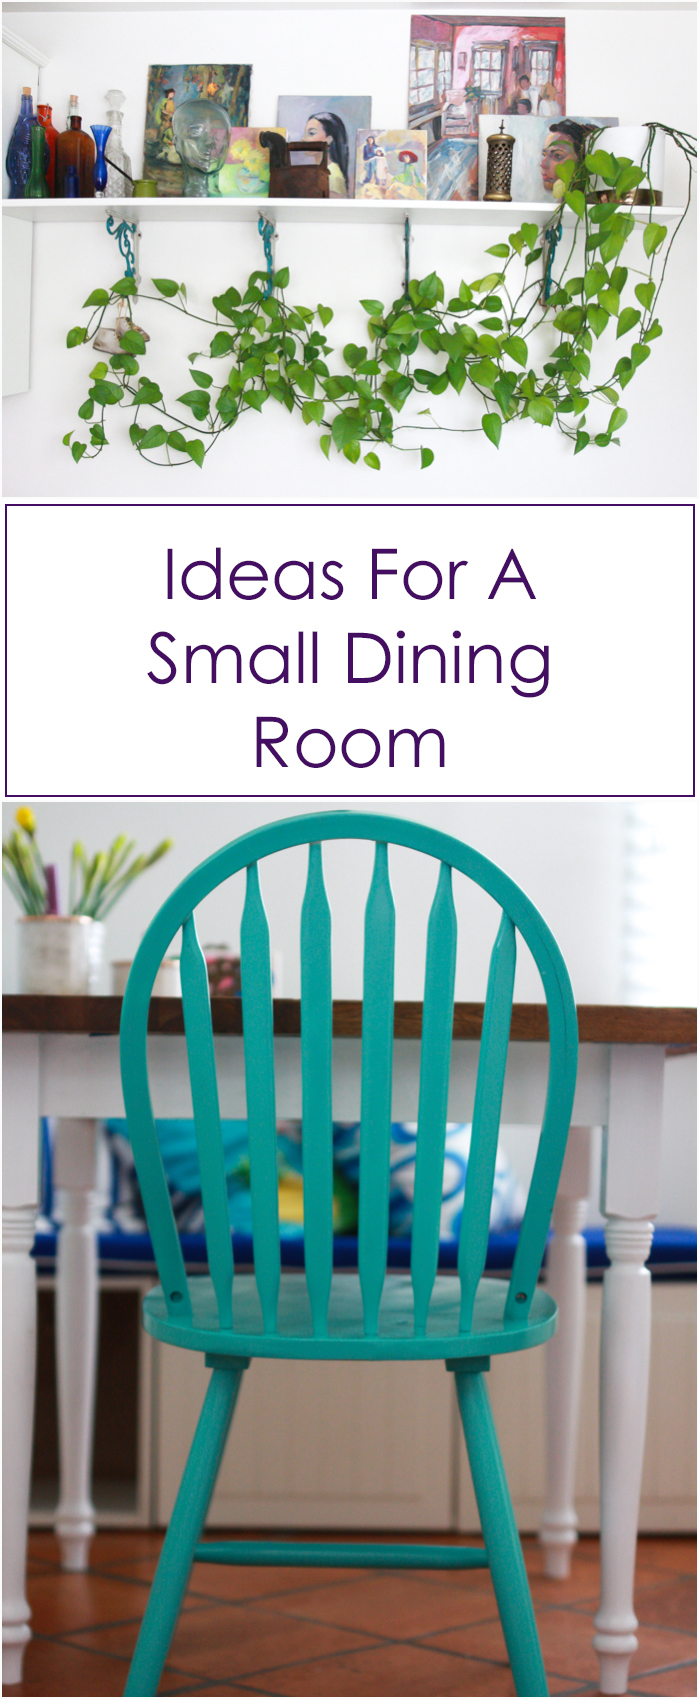
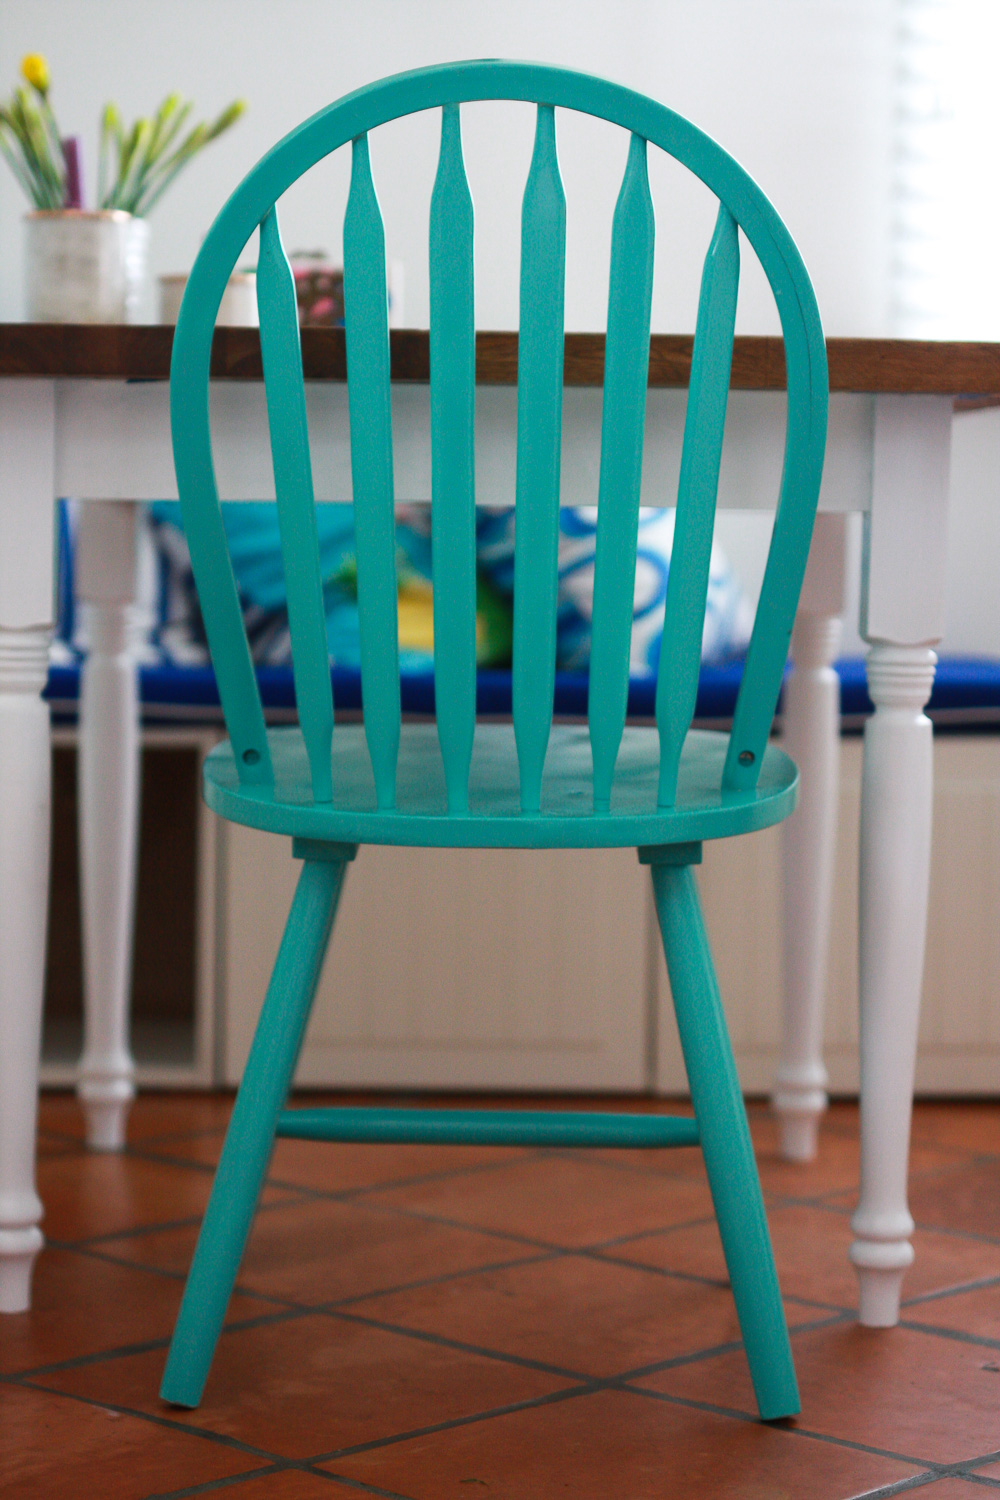
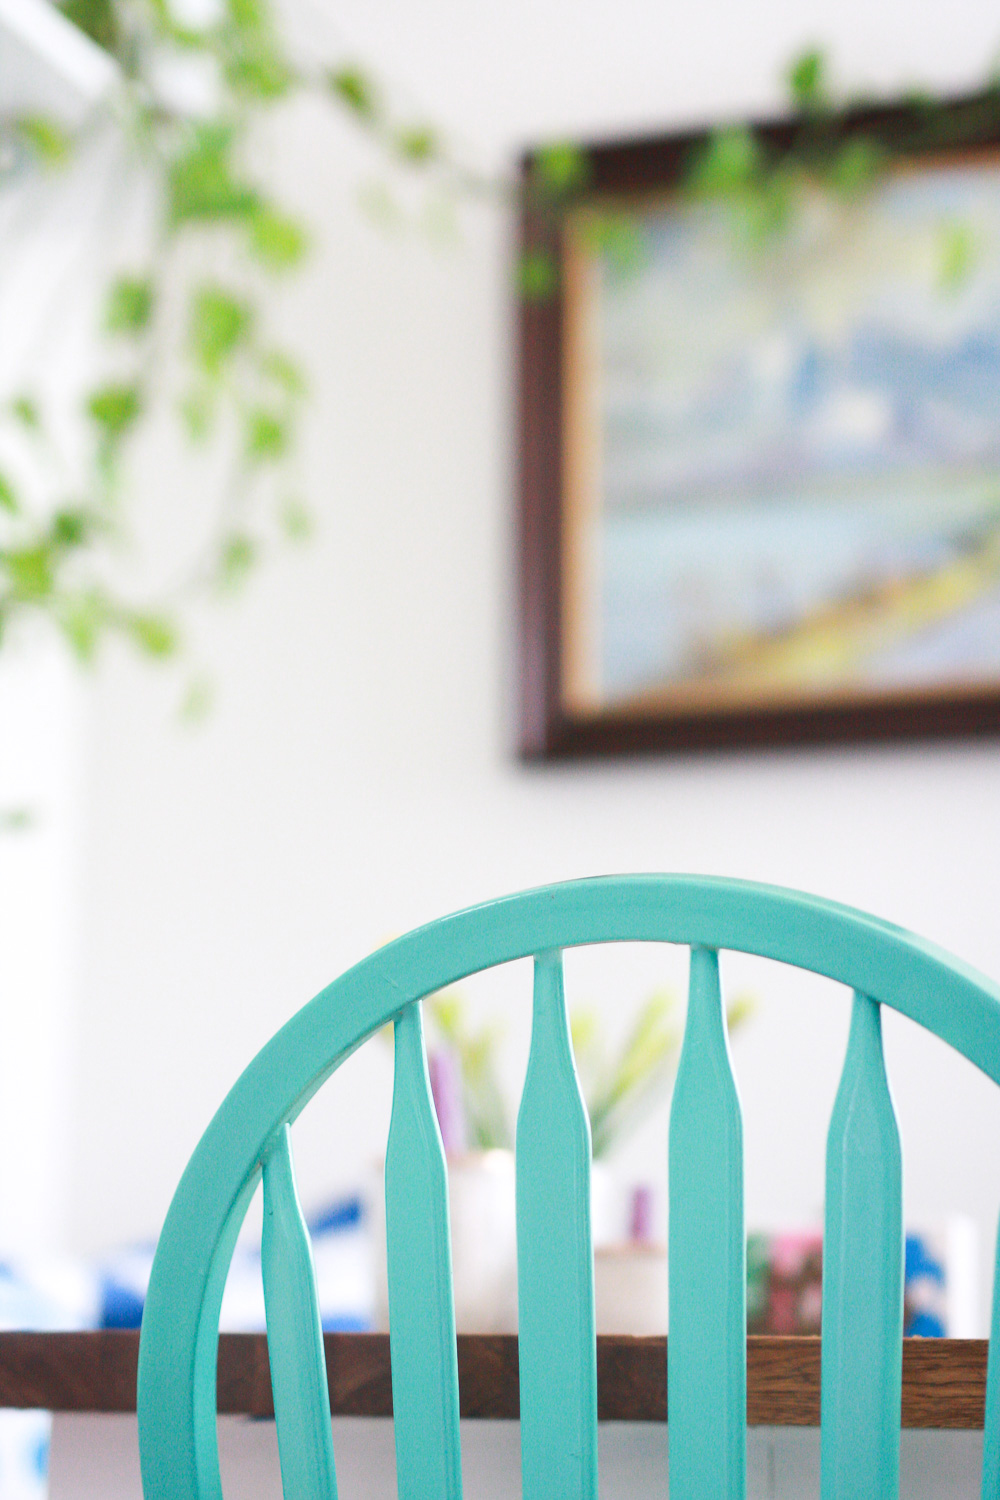
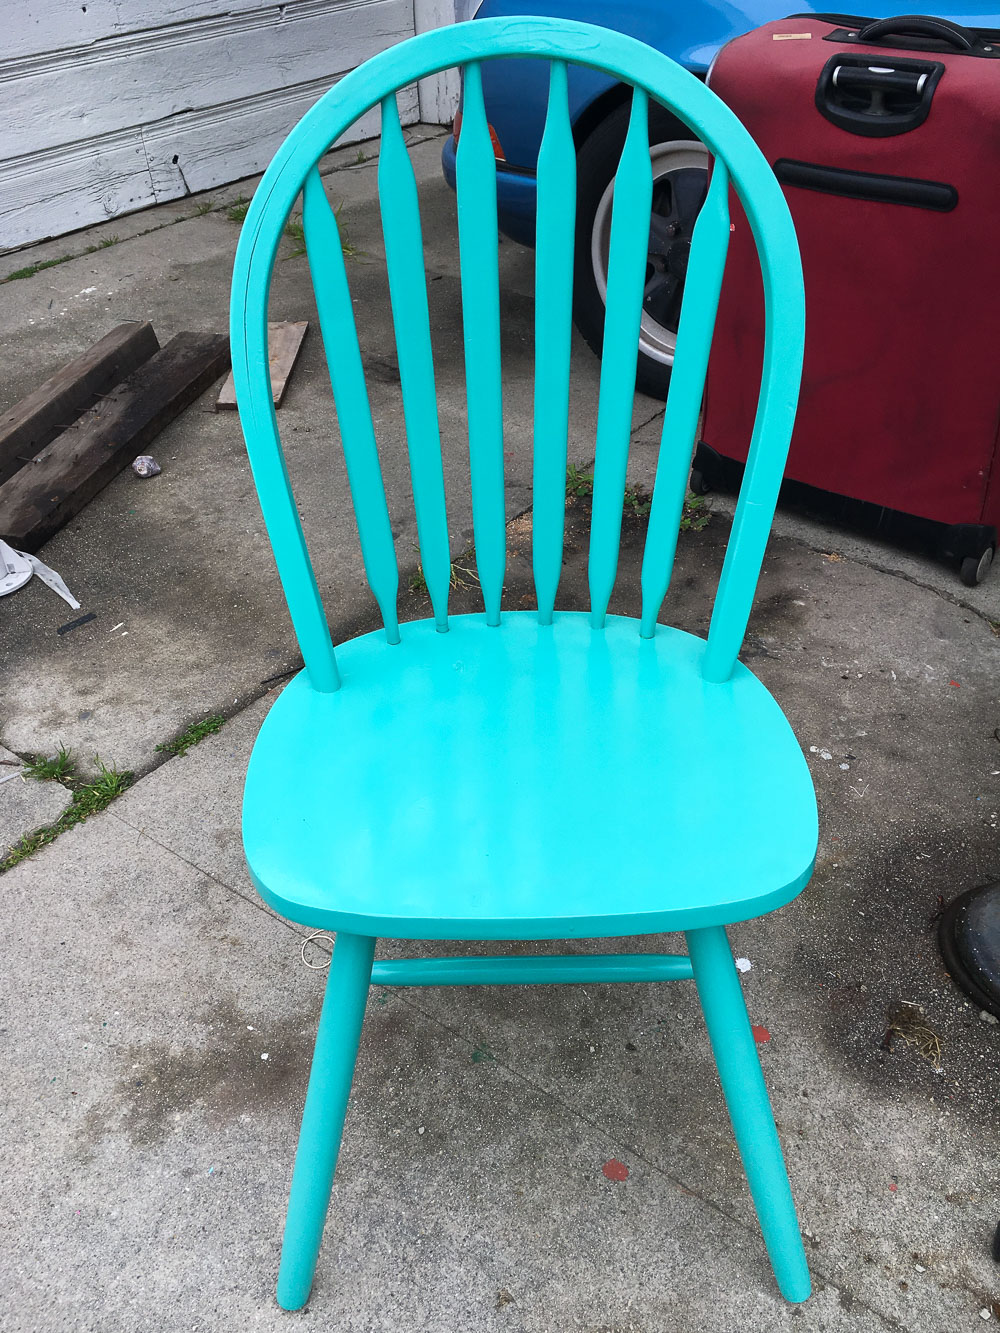 Here are photos of the chair in our dining room. By the way, I am taking this opportunity to introduce our little dining room to all of you! I have not shared photos of it before. You might already know that our
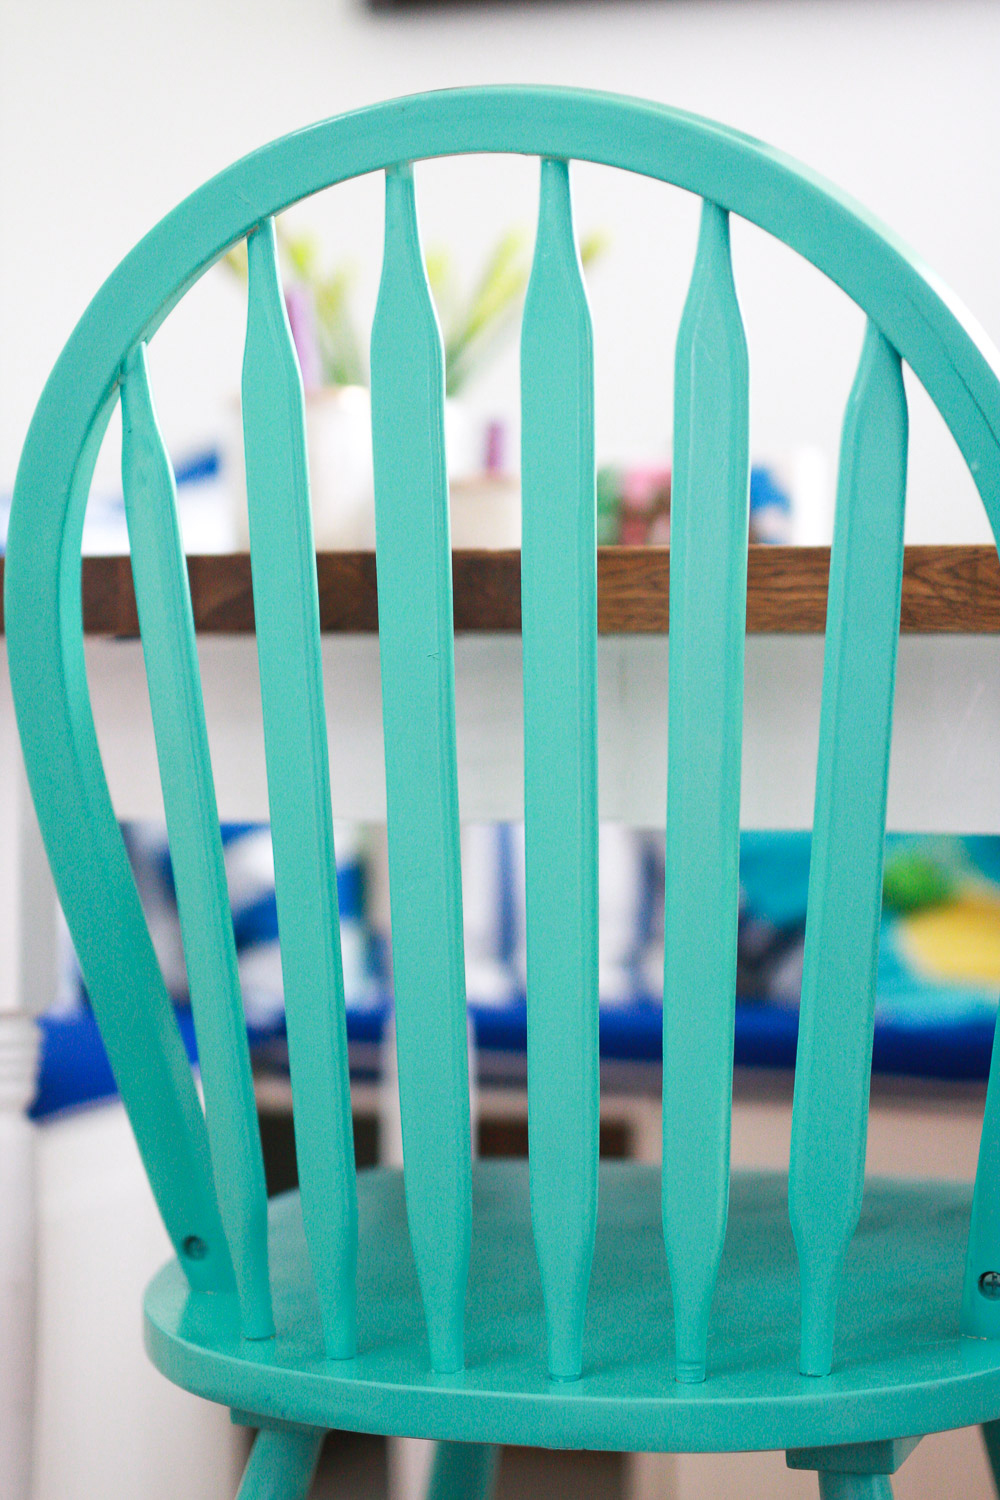
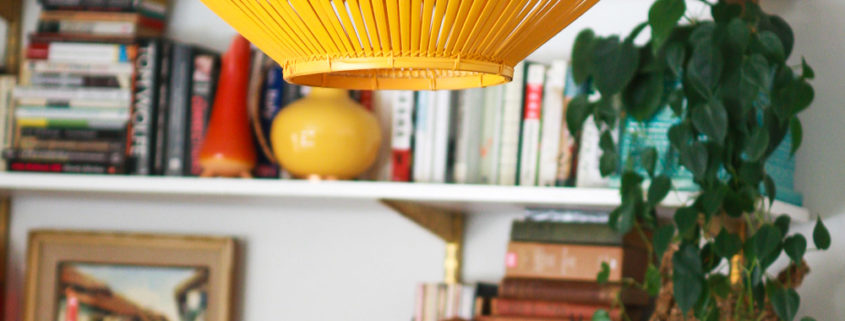
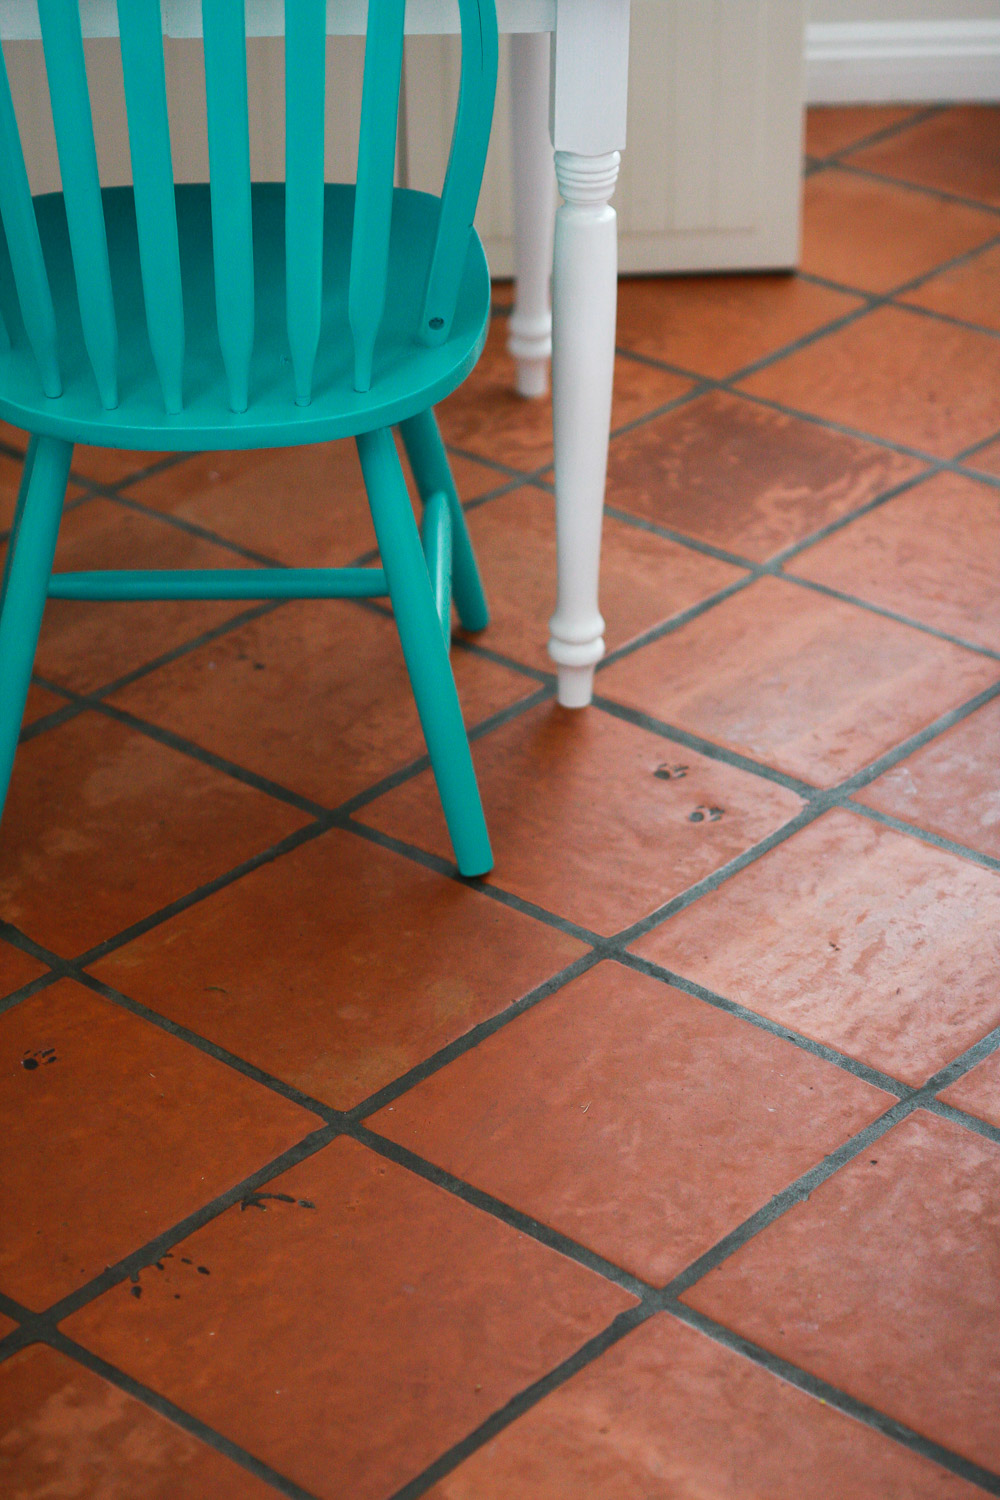 The Saltillo tile that George installed is pretty charming. It gives the kitchen a rustic look.
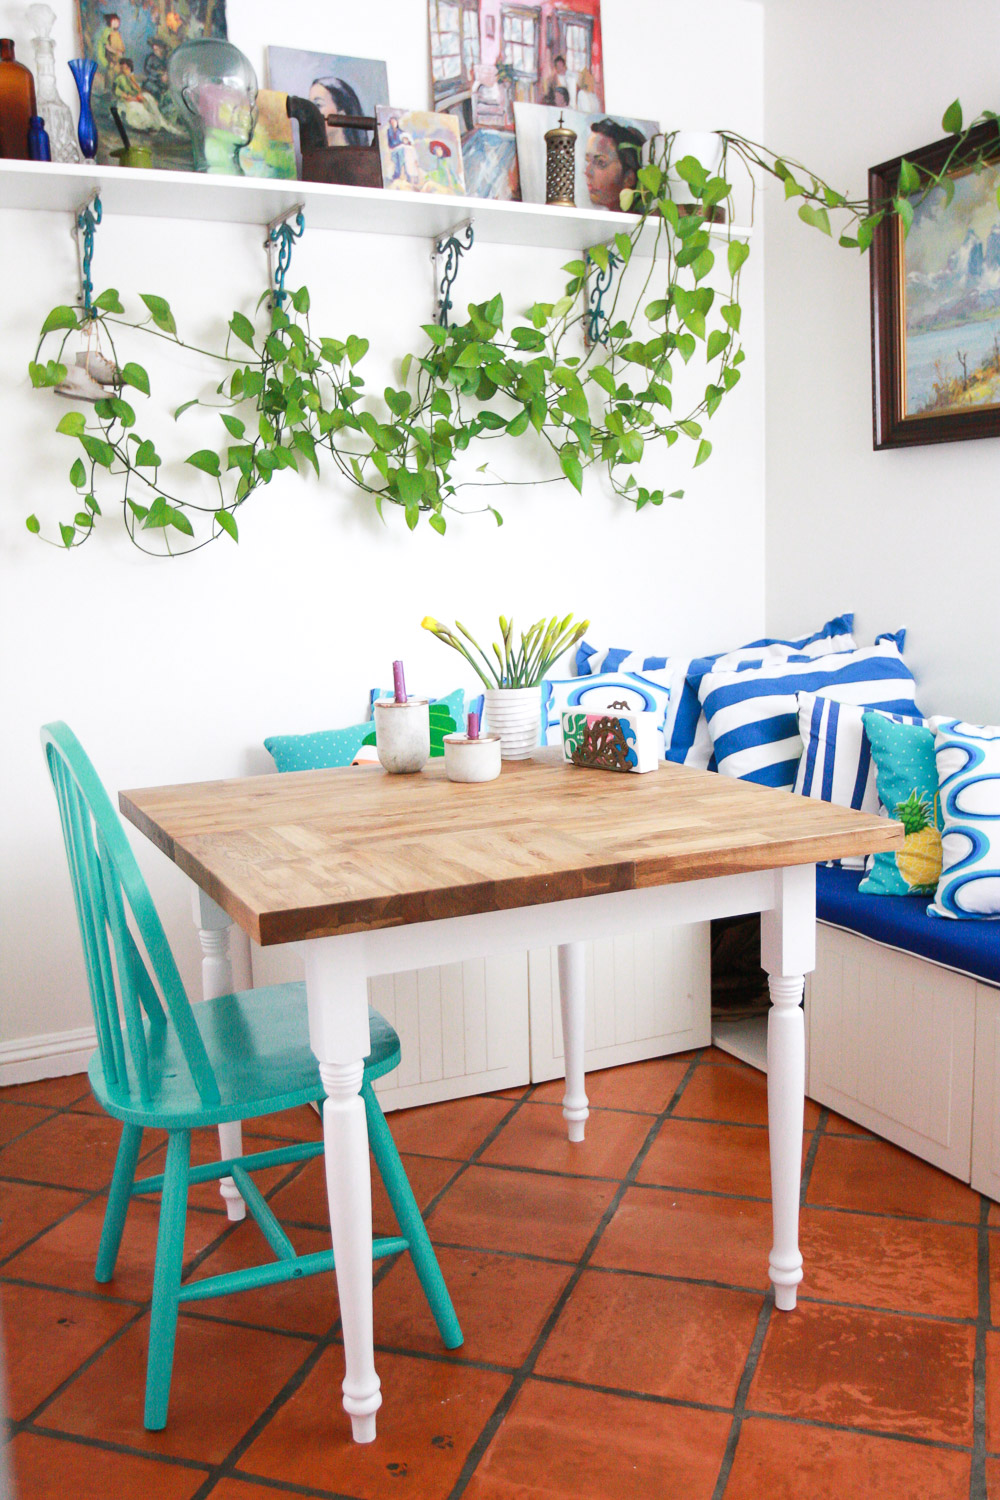 The seats work as drawers for storage, too.
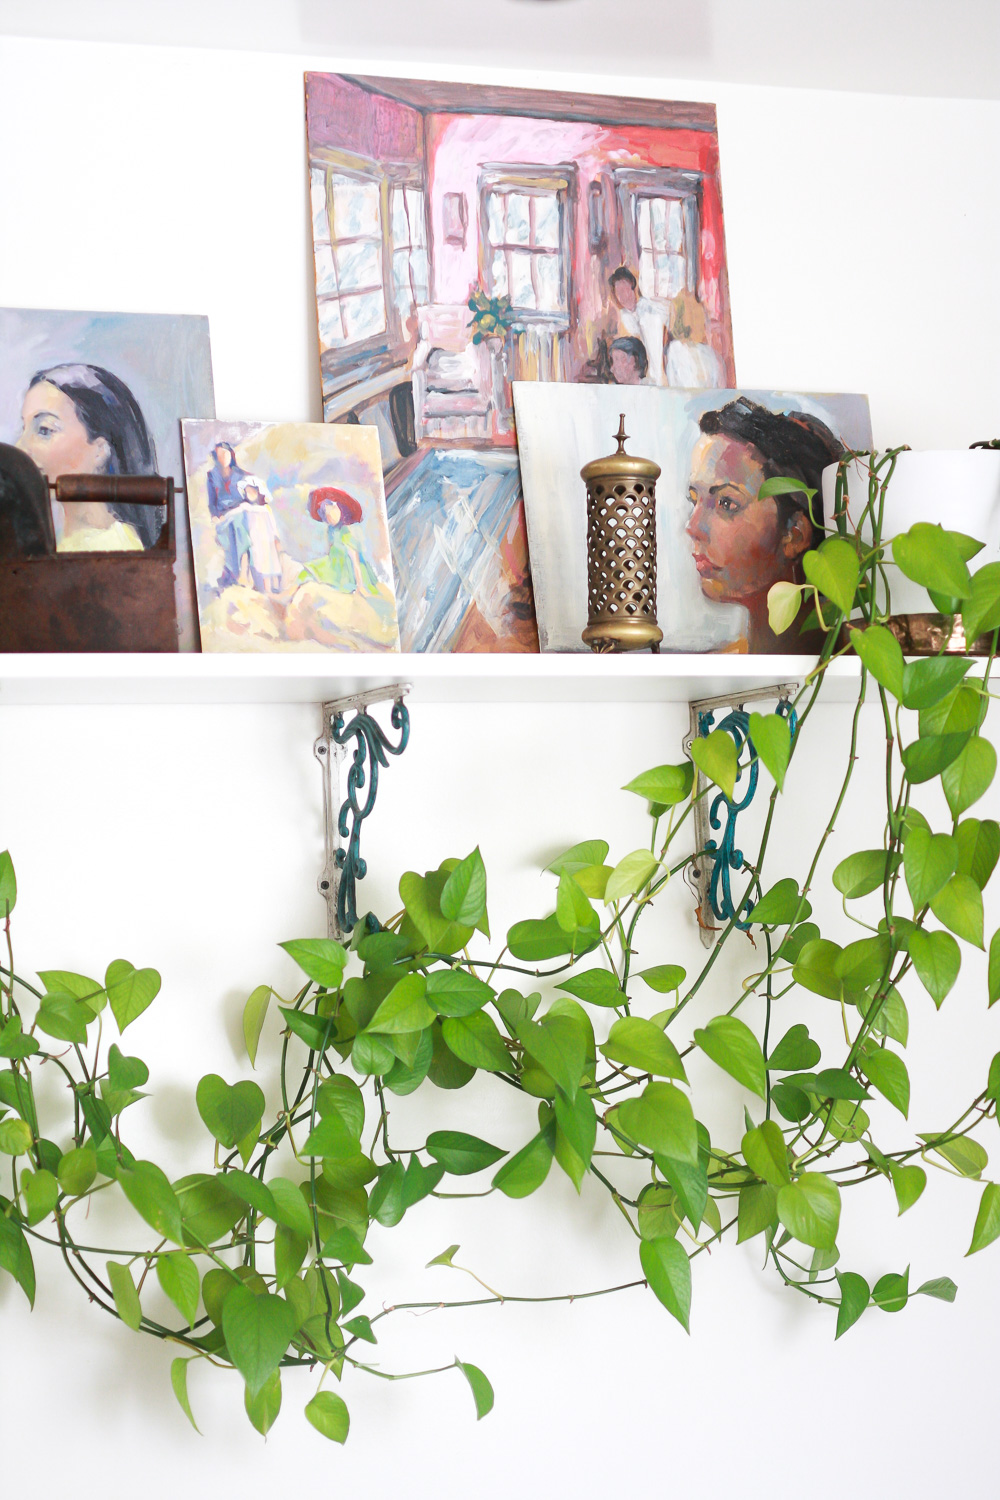
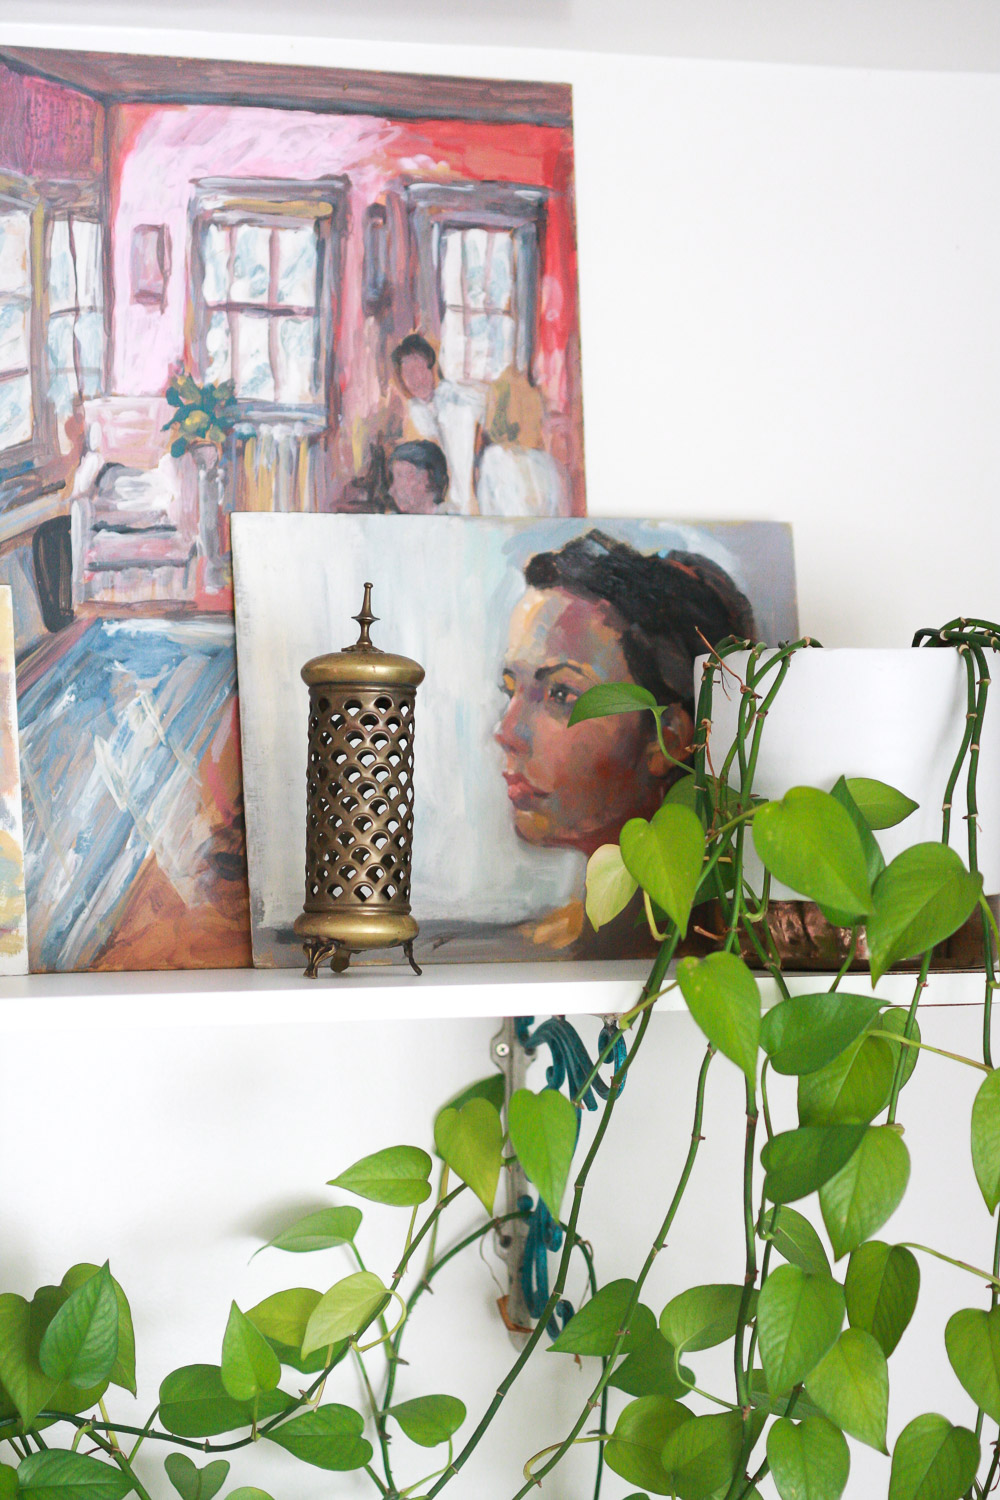
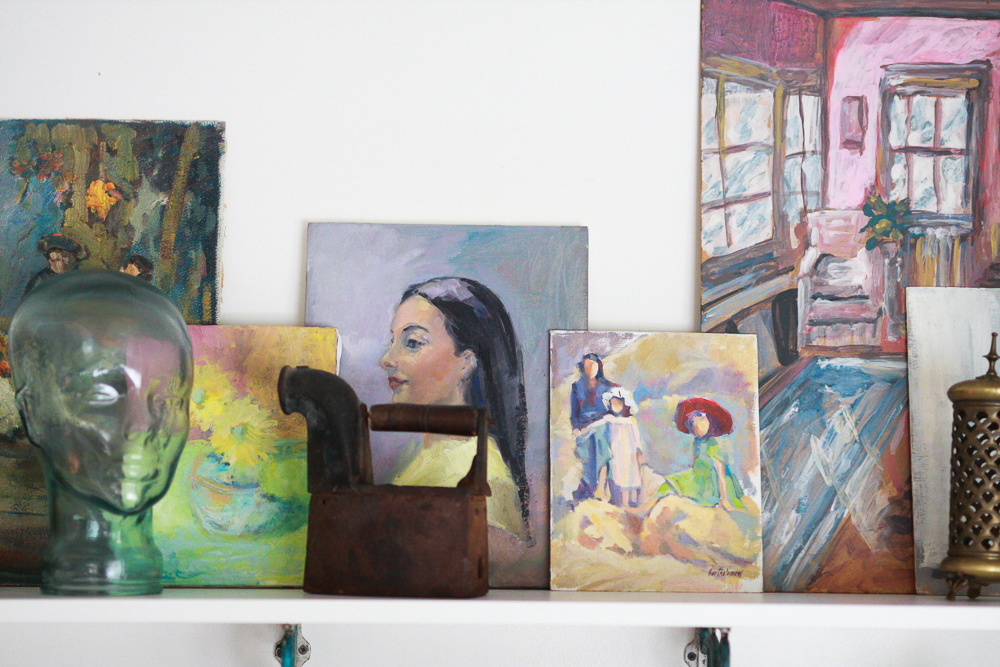
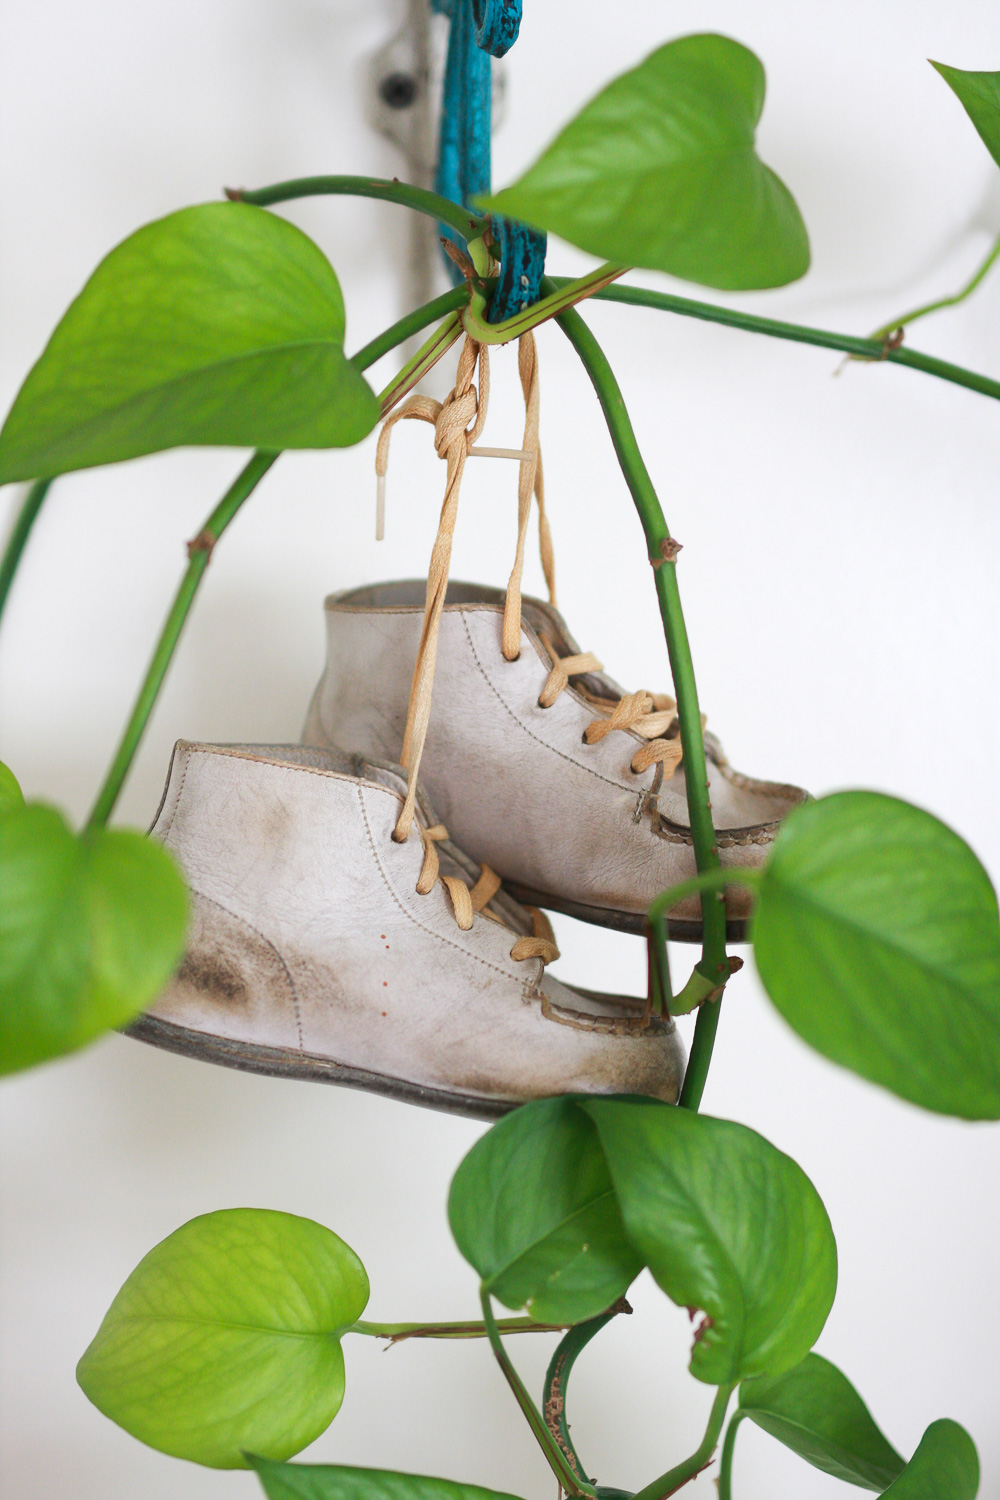
 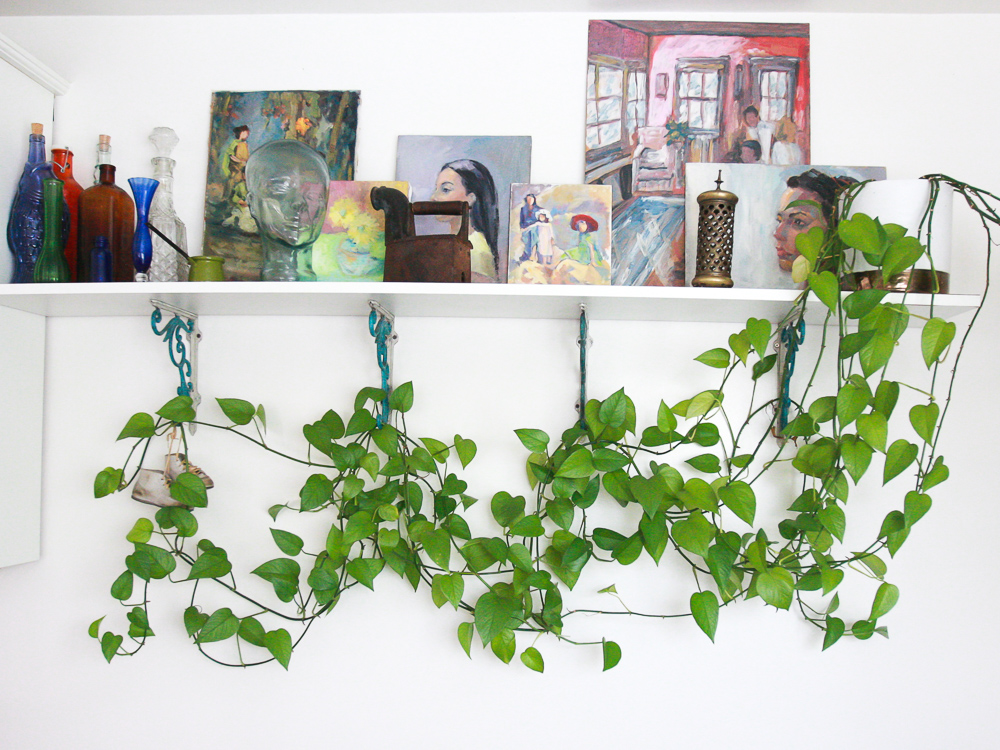 The shelf has vintage finds and a beautiful plant. Just how I like it.