
Glitter Easter Eggs

Glitter Easter Eggs! They are cute and easy to do, but there are a couple of challenges that you need to know about before getting started. They are related to the glitter you choose. Not all glitters attach to the eggs the same way. I will show you examples below, but before we get there, I want to clarify my thoughts on Easter eggs decorations, because I know you care A LOT!
OK, my belief is that, if you have kids, you need to involve them in Easter Eggs decorations. I am not a fun of young souls helping with DIY projects in general because they are filthy, messy, and disobedient (he!) but in the case of Easter Eggs, I differ.
In my encyclopedia, Easter is a Holiday made for kids. Before I had children, I never celebrated Easter because I am not a religious person, so, now that I have kiddos, I feel is required to have them participate in the egg decorating, don’t you think? These are the ones we did last year.
Of course, if you have your kids help you with this Glitter Eggs project, your eggs will look NOTHING like the final photos I am showing you, but they will still look cute. I have some examples below.
Glitter Easter Eggs
Difficulty (1-5): 1 Time: 1 hour Cost: $15-20 (depending on how many kinds of glitters you want)
Materials
- Hard boiled eggs
- Glitter
- Mod Podge
- Bowls (One per glitter container)
- Brush
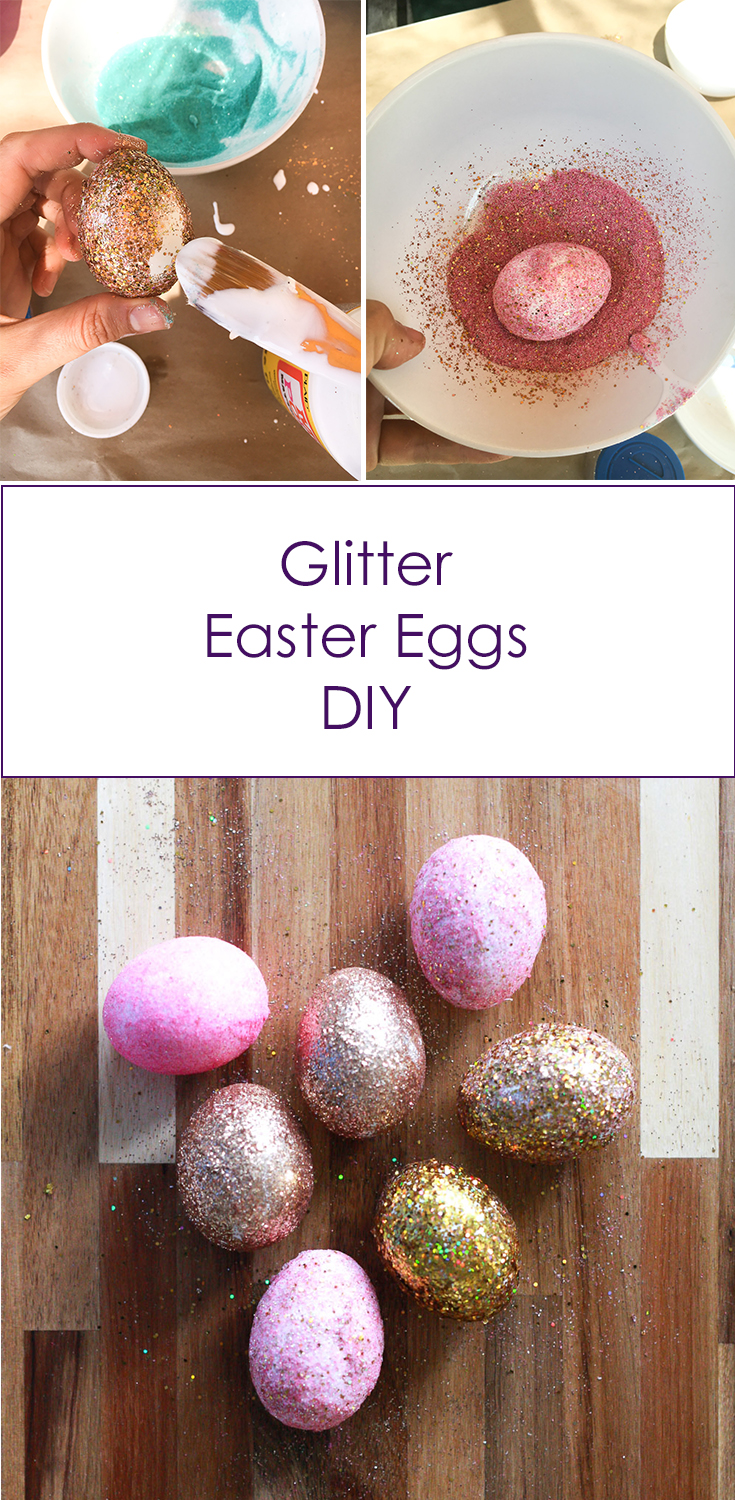
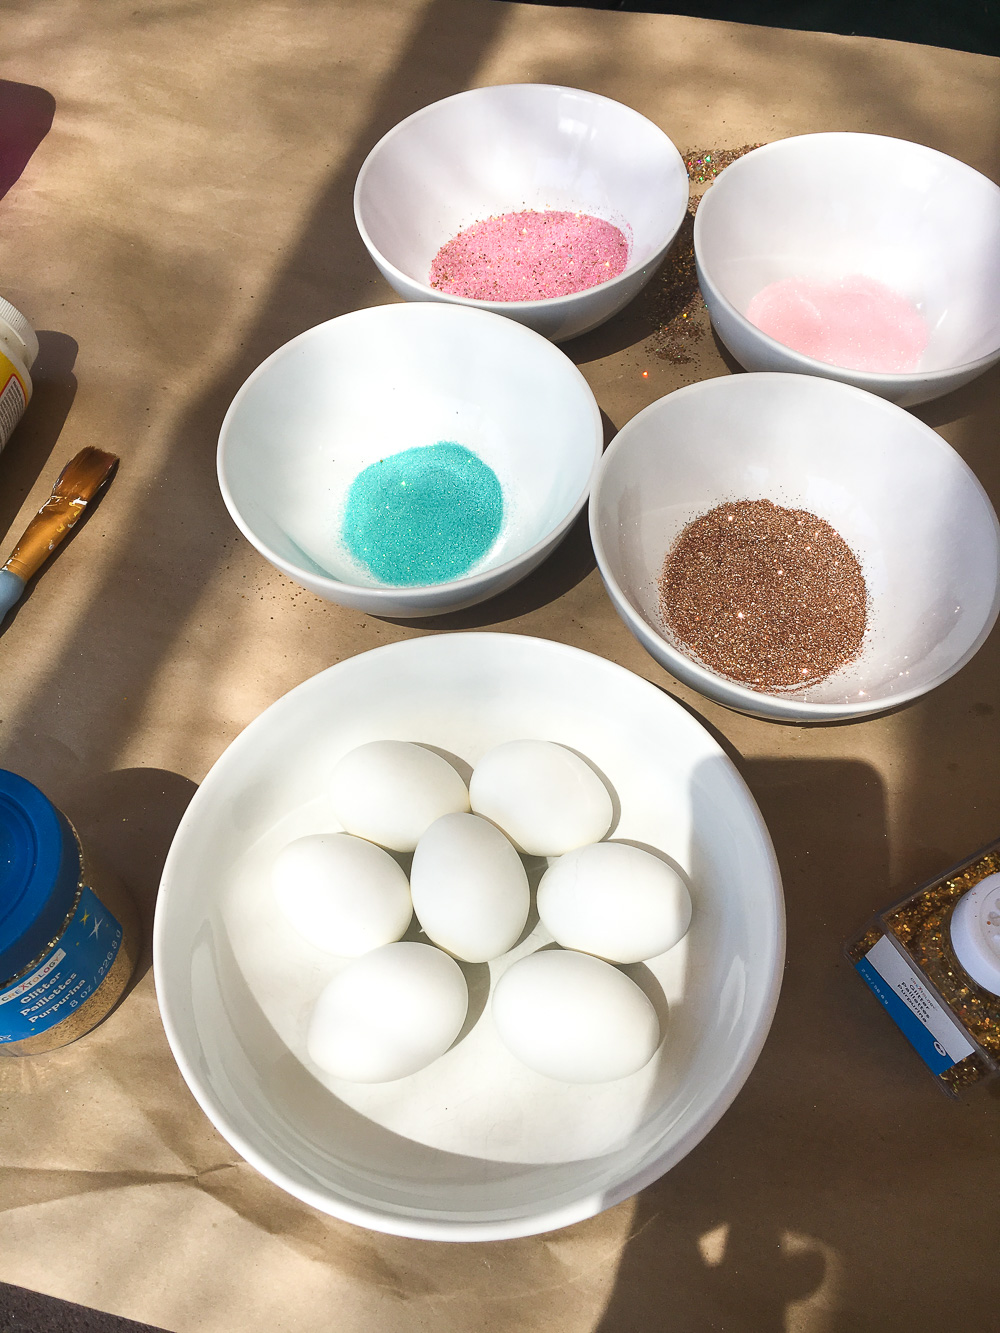 1) After you hard boil the eggs, let them dry. Place glitters in the bowls. One glitter per bowl. Be generous, what you don’t use can be placed back in the container.
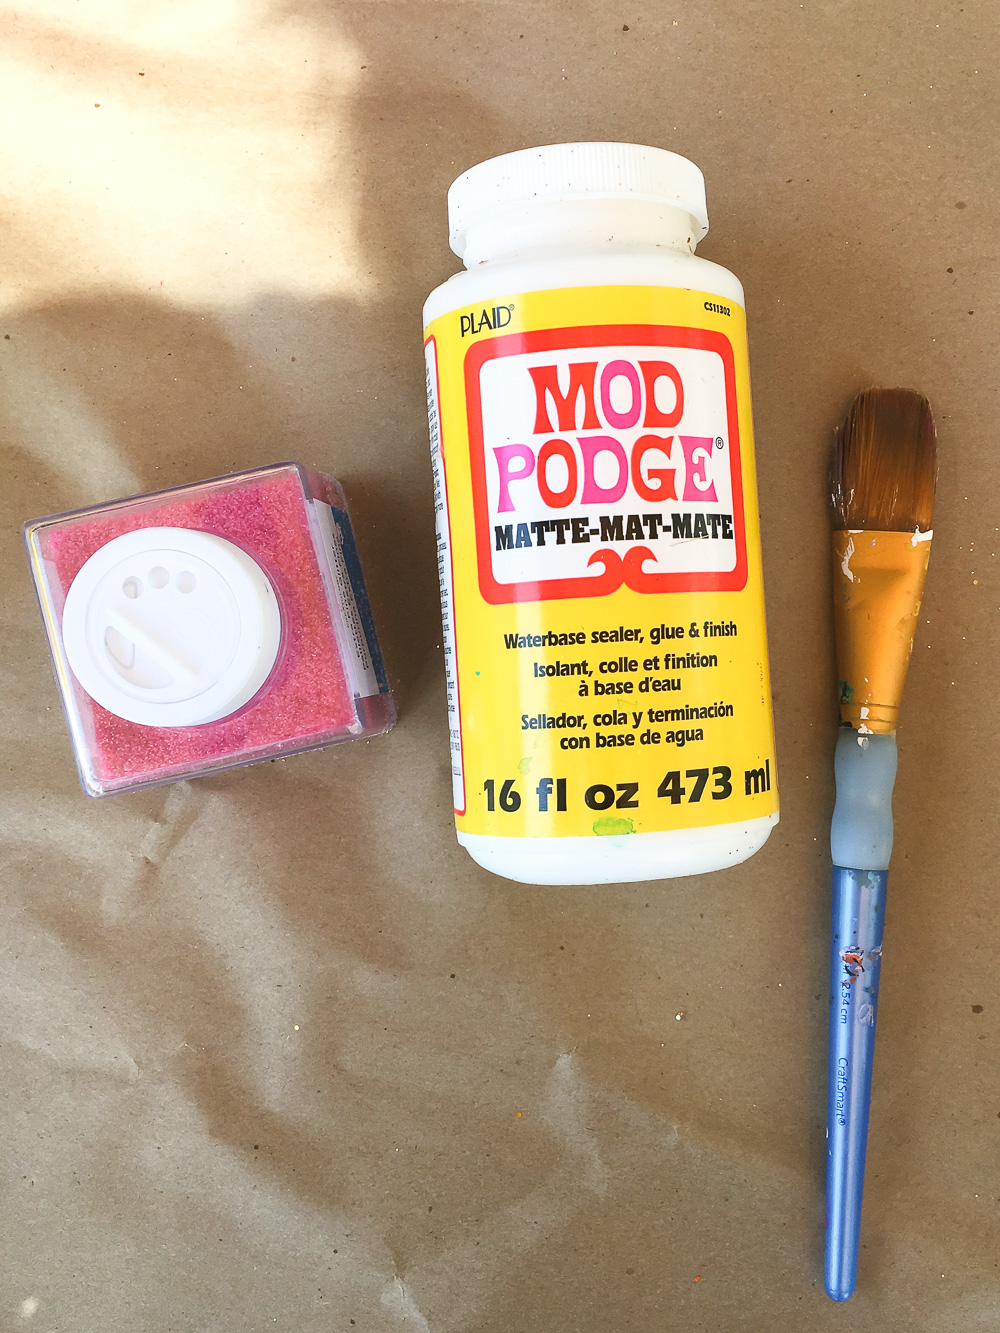 2) Apply Mod Podge to the Eggs with the brush.
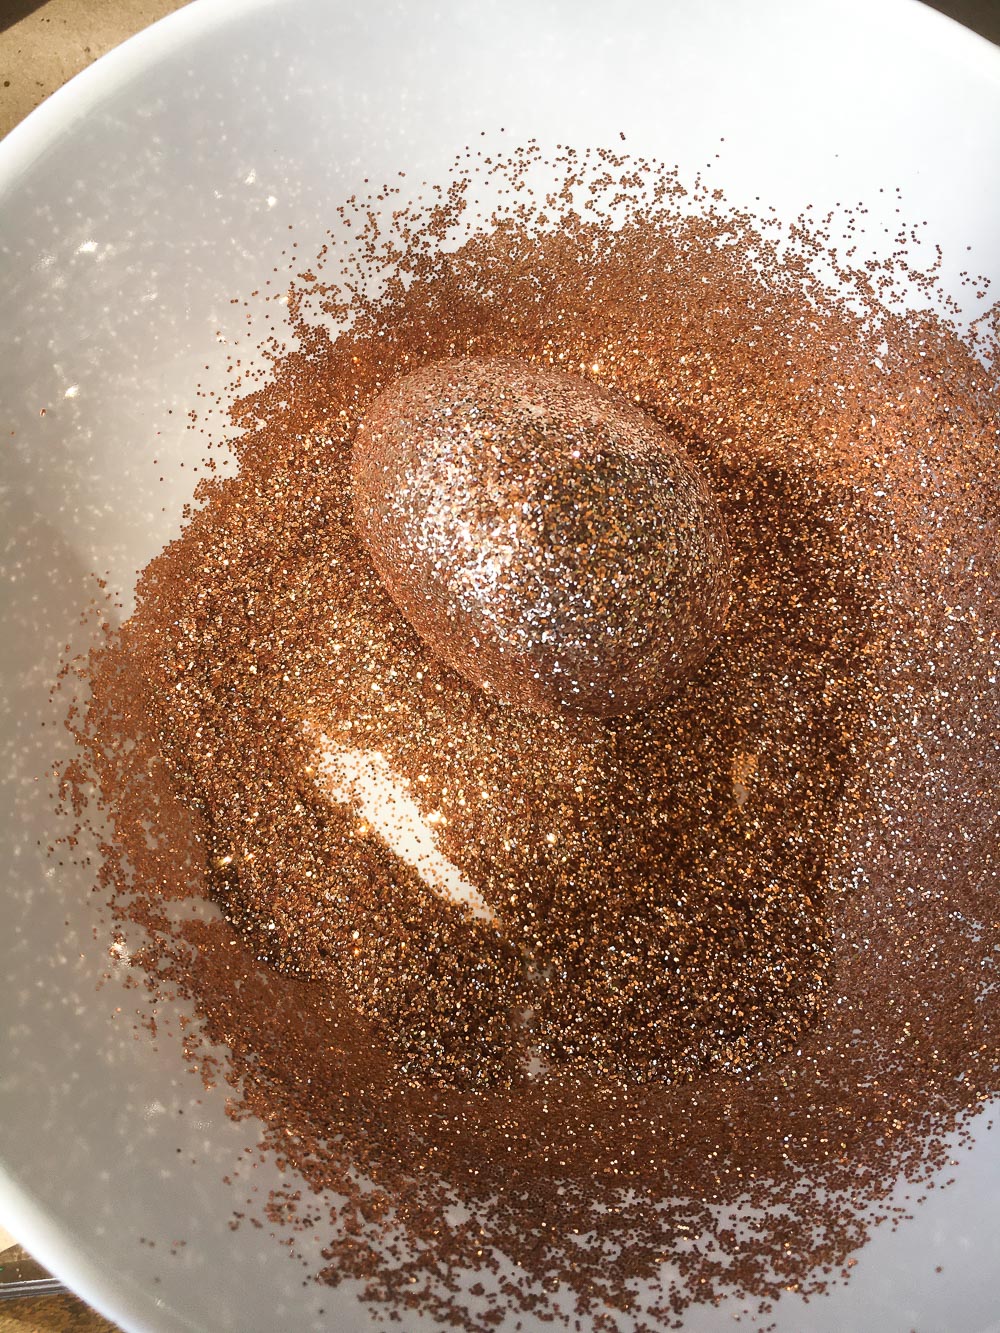 3) Roll the egg around inside the bowl with glitter to cover it completely.
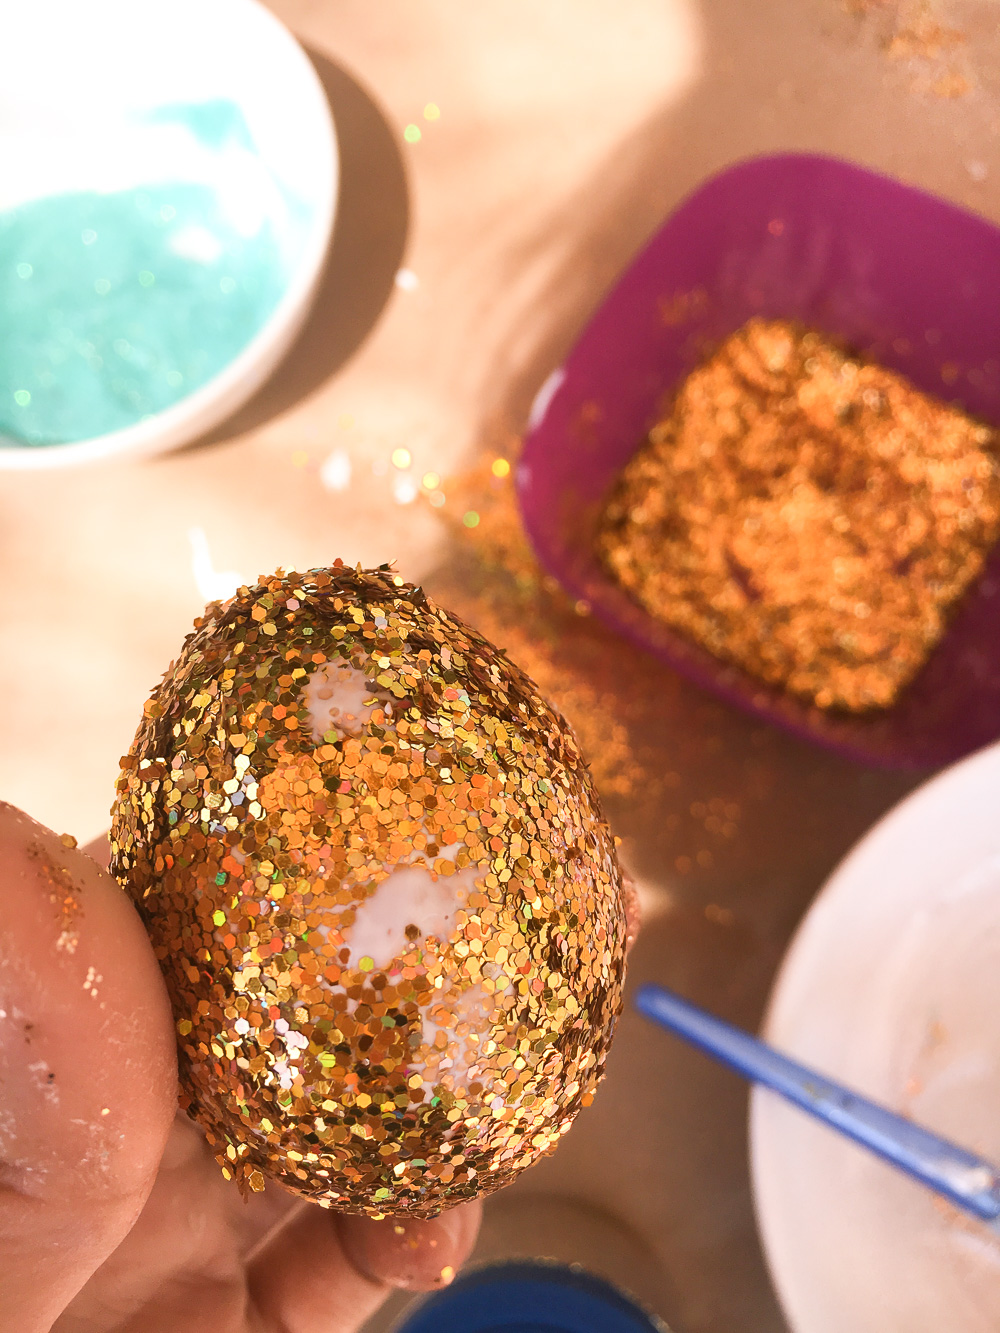
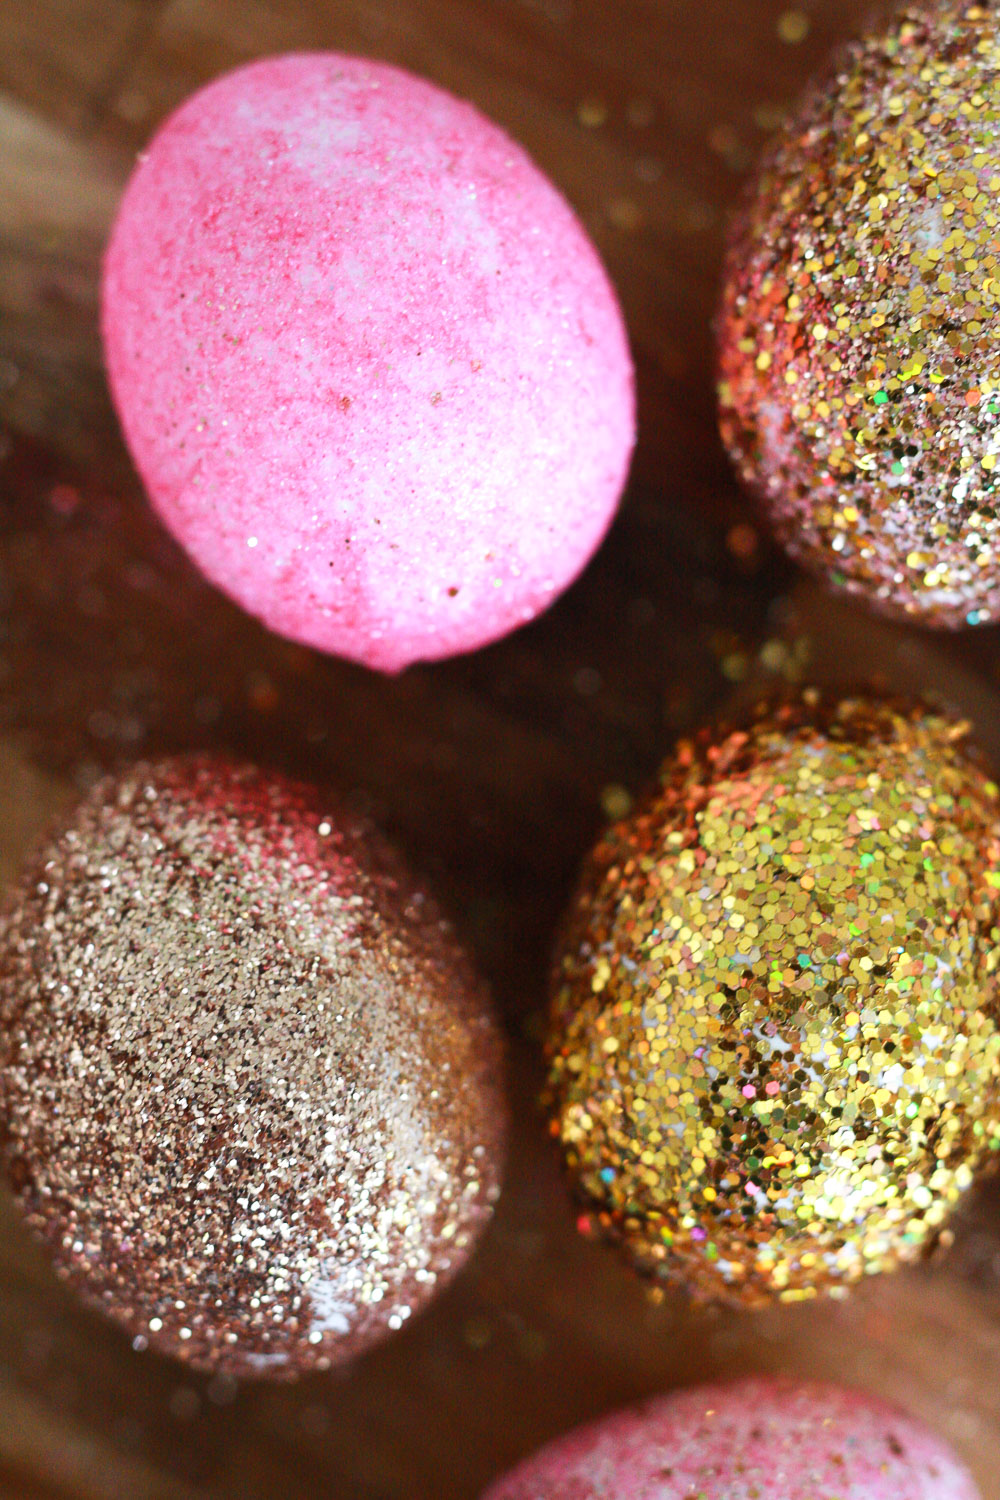
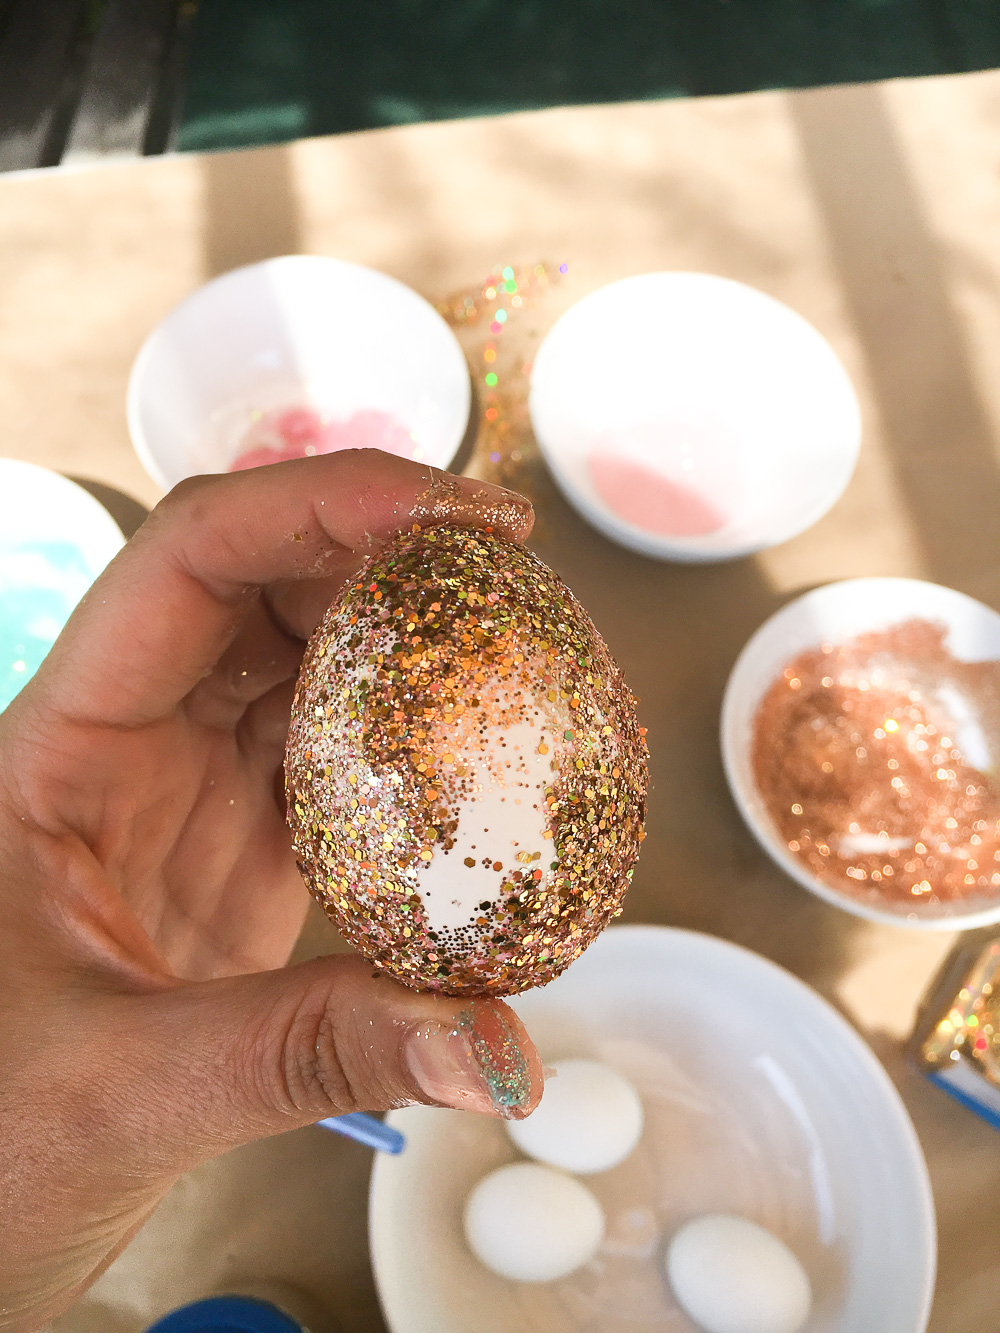 4) When you are done, the egg might not be 100% covered (see above). You will need to apply more Mod Podge to the places without glitter. Take a look at the photos below.
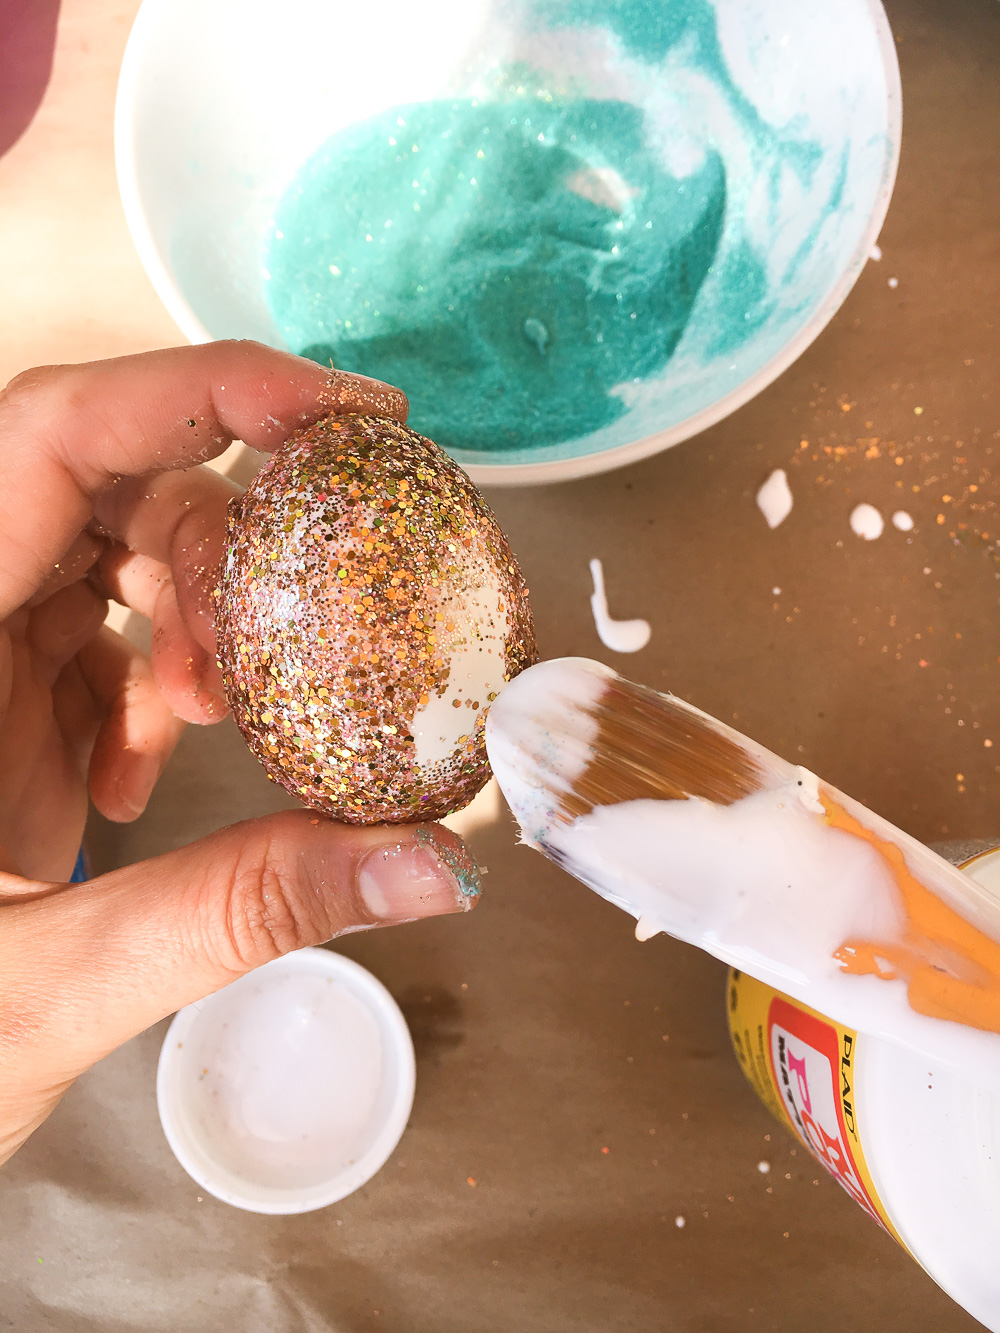
 5) Cover with glitter the empty spots.
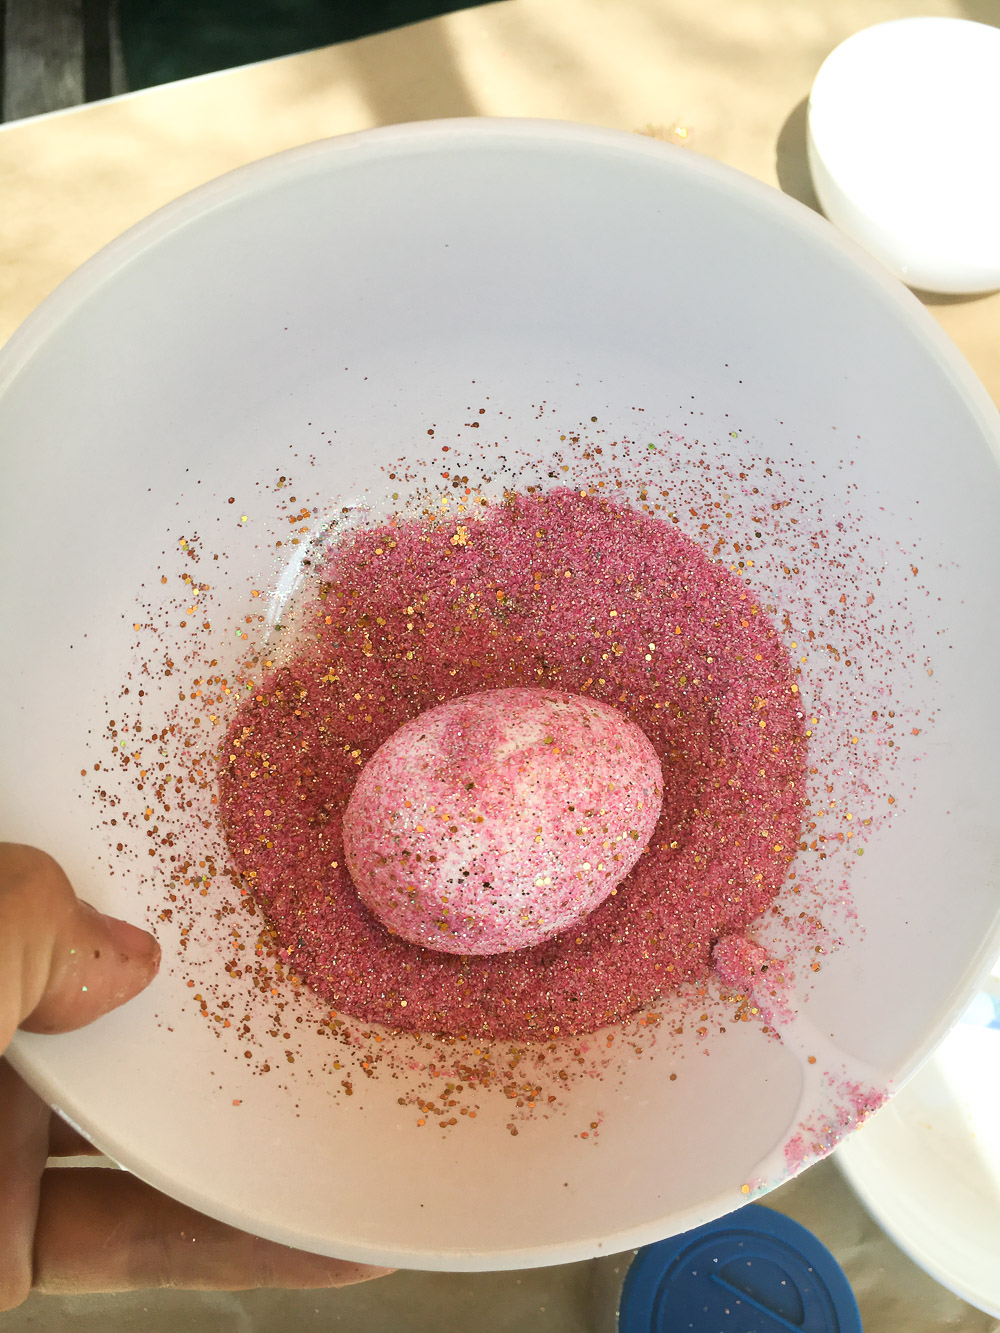
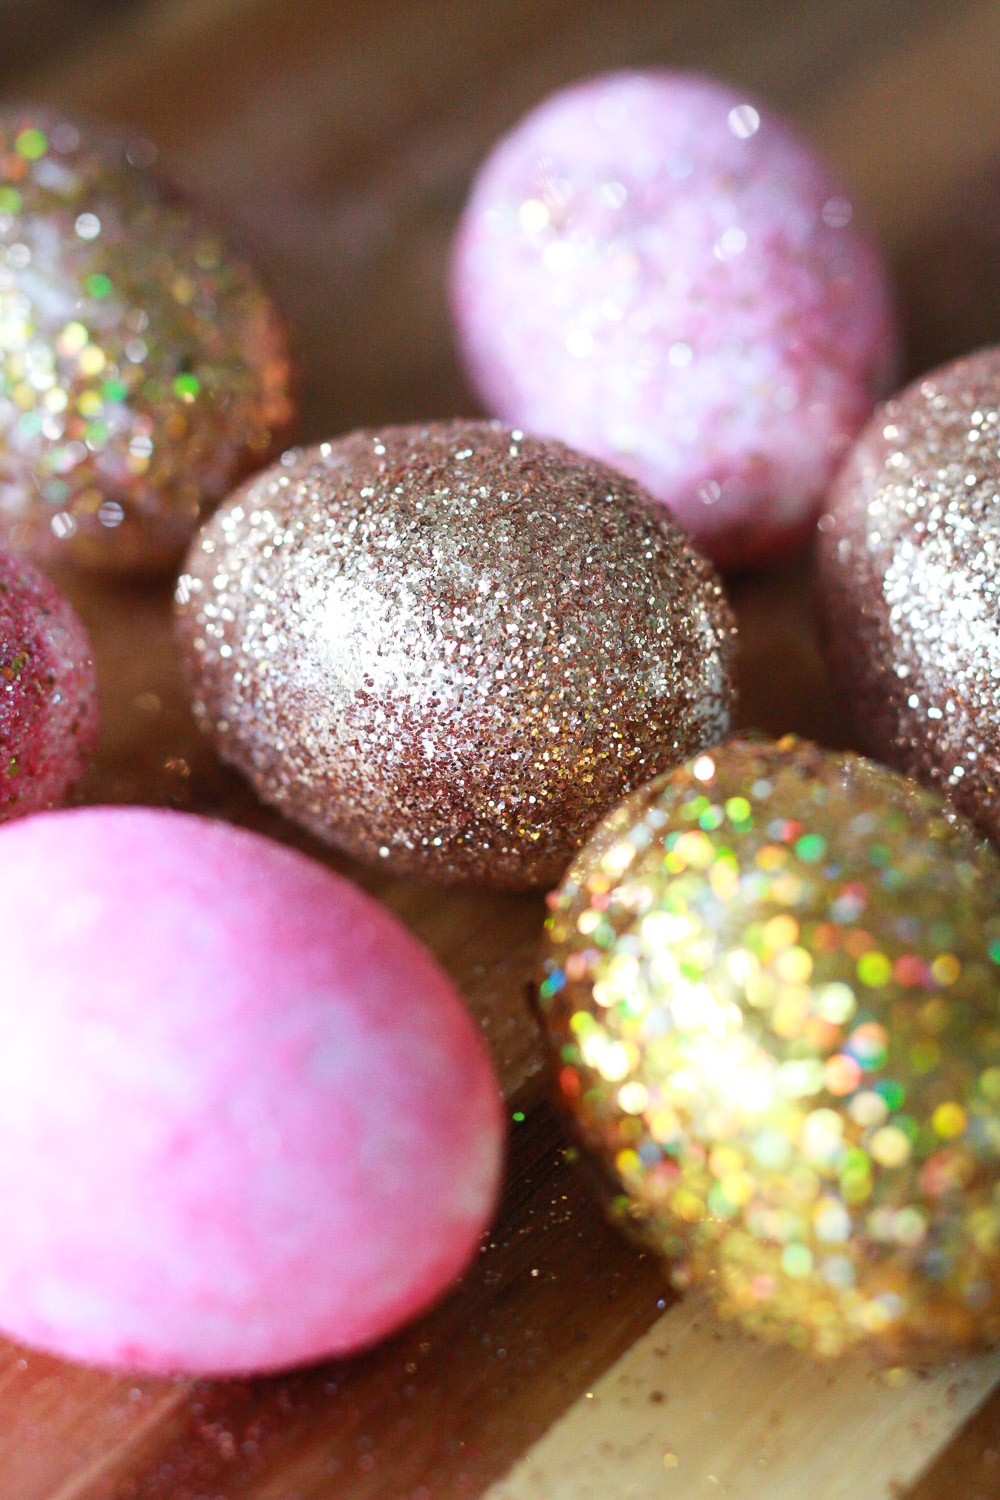
TIP: My kids mixed some of the glitters, but, when trying to cover the eggs with this mix, we realized they didn’t get covered as well. I am guessing this is because of the different kinds of thickness of the glitter. The result of this method looked like this: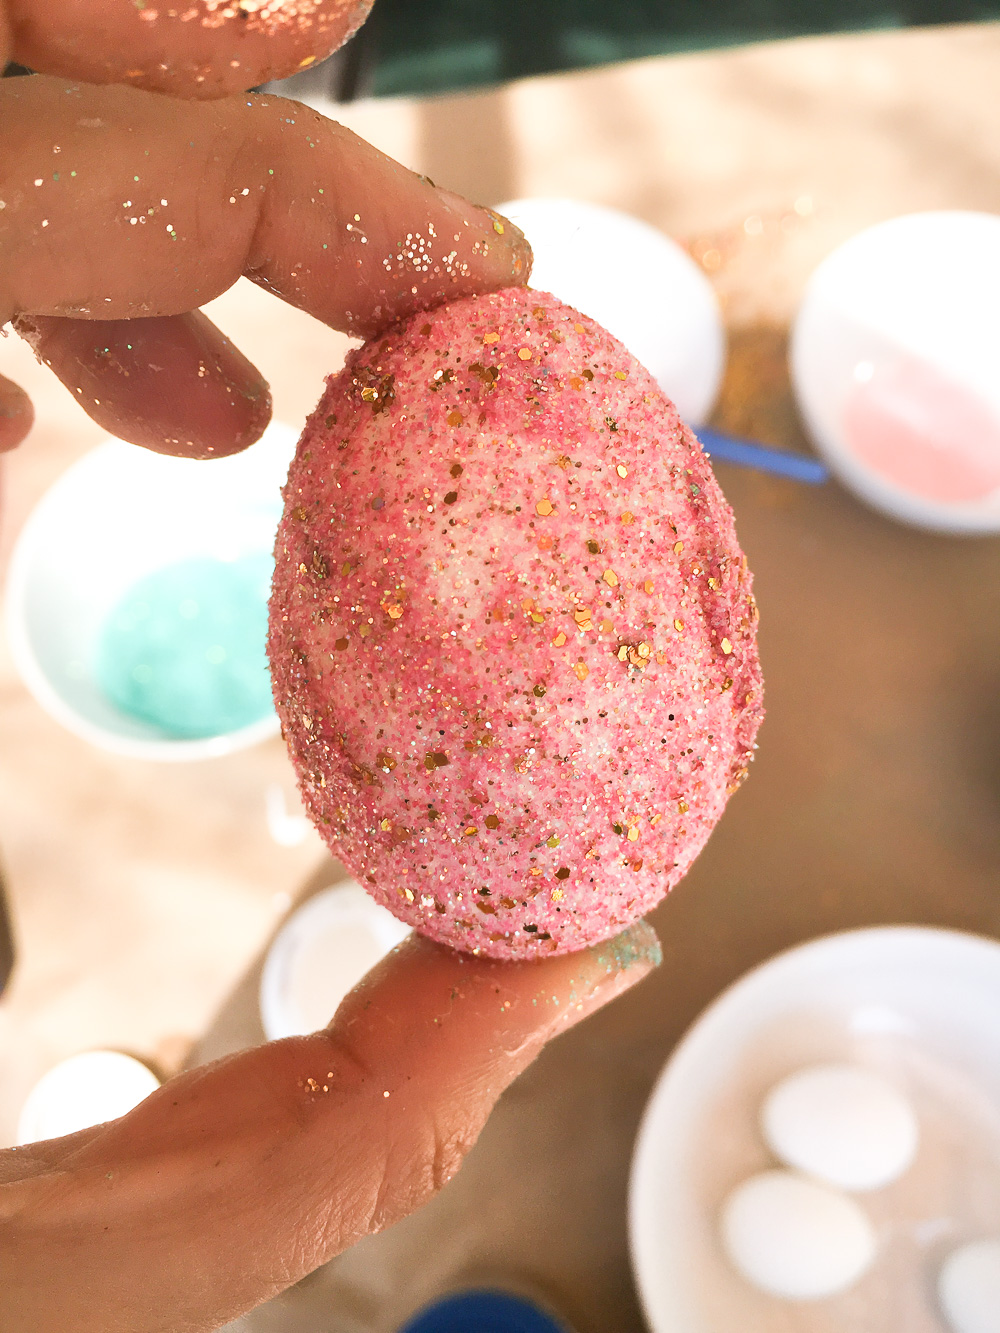 Instead of like this:
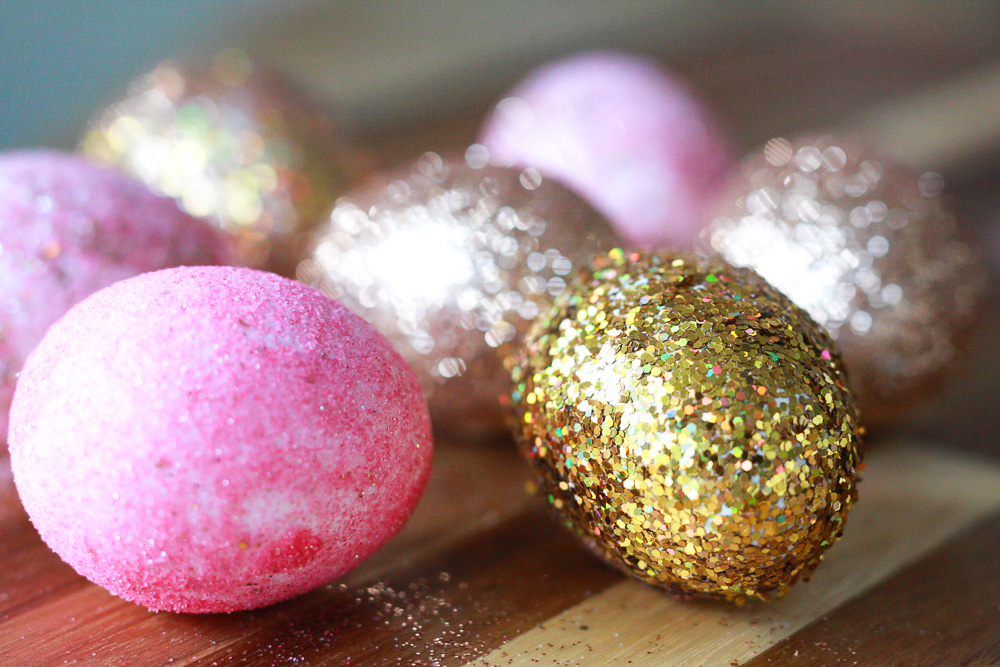
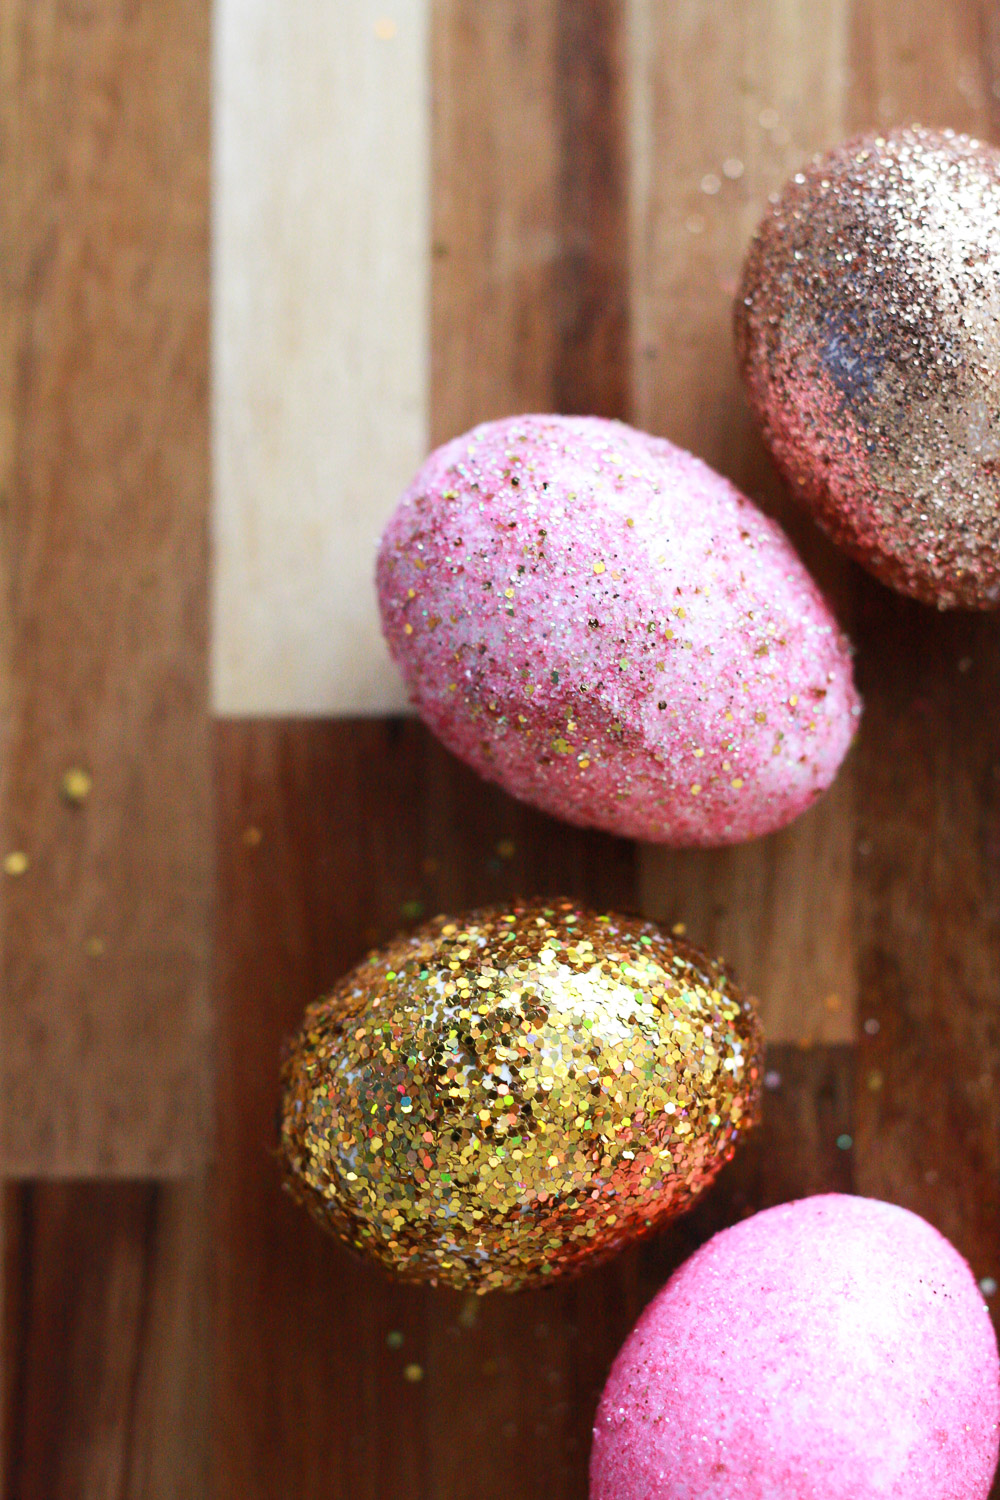
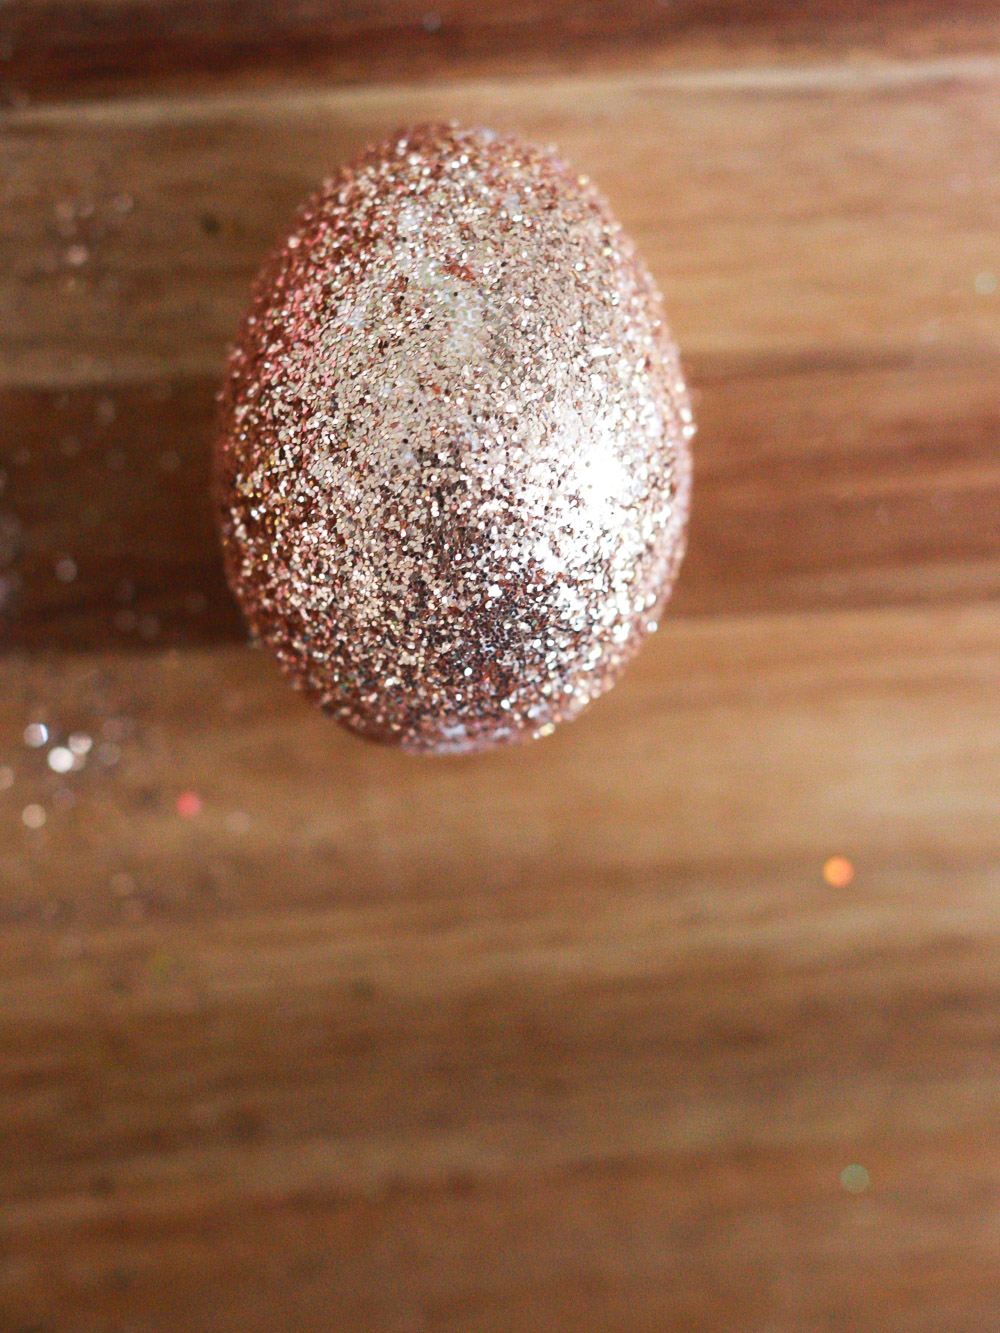 Metallic glitter stuck to the eggs easily and evenly.
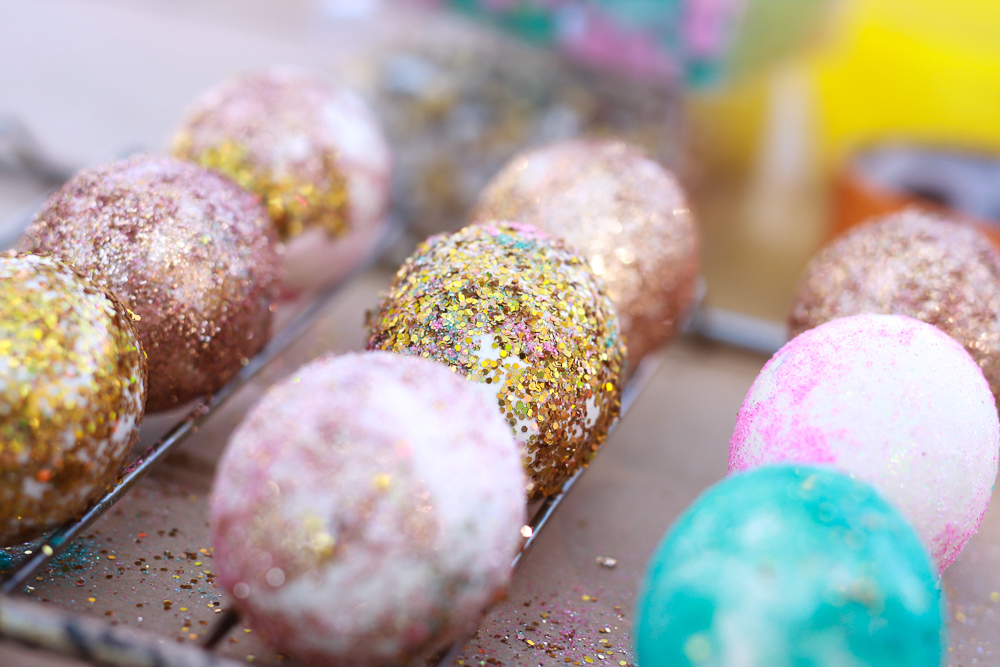
Here is how the eggs by children looked like in the end:
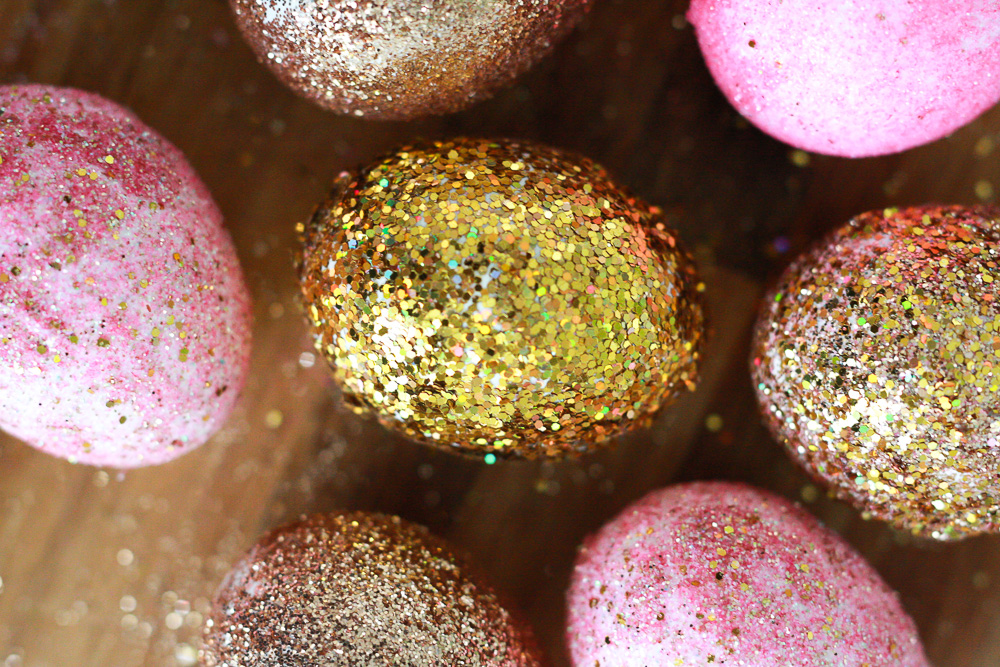
 Here is how my pro-DIY-expert eggs looked like:
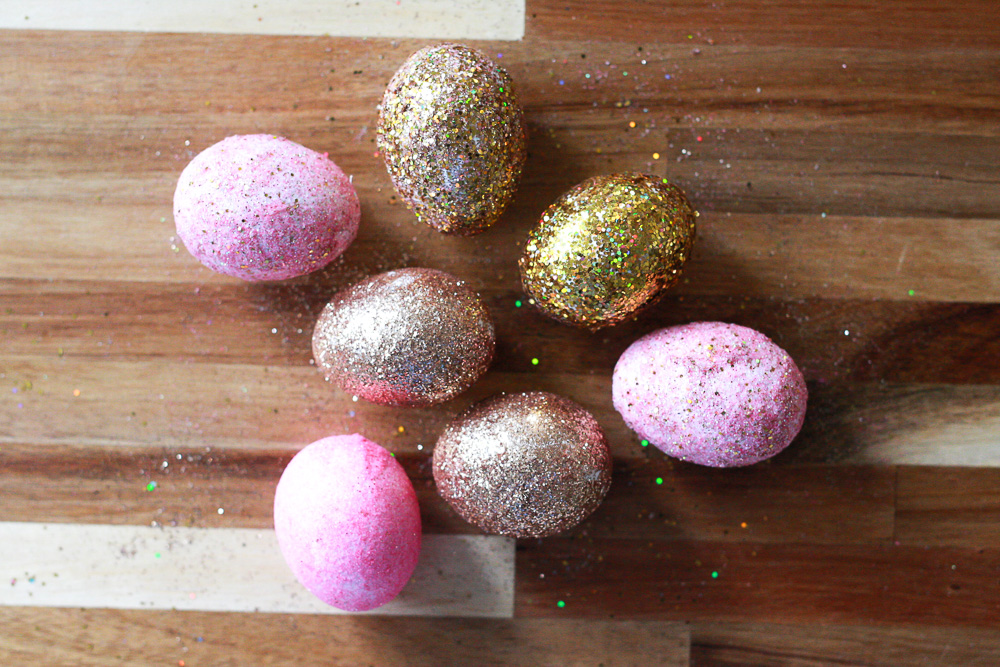

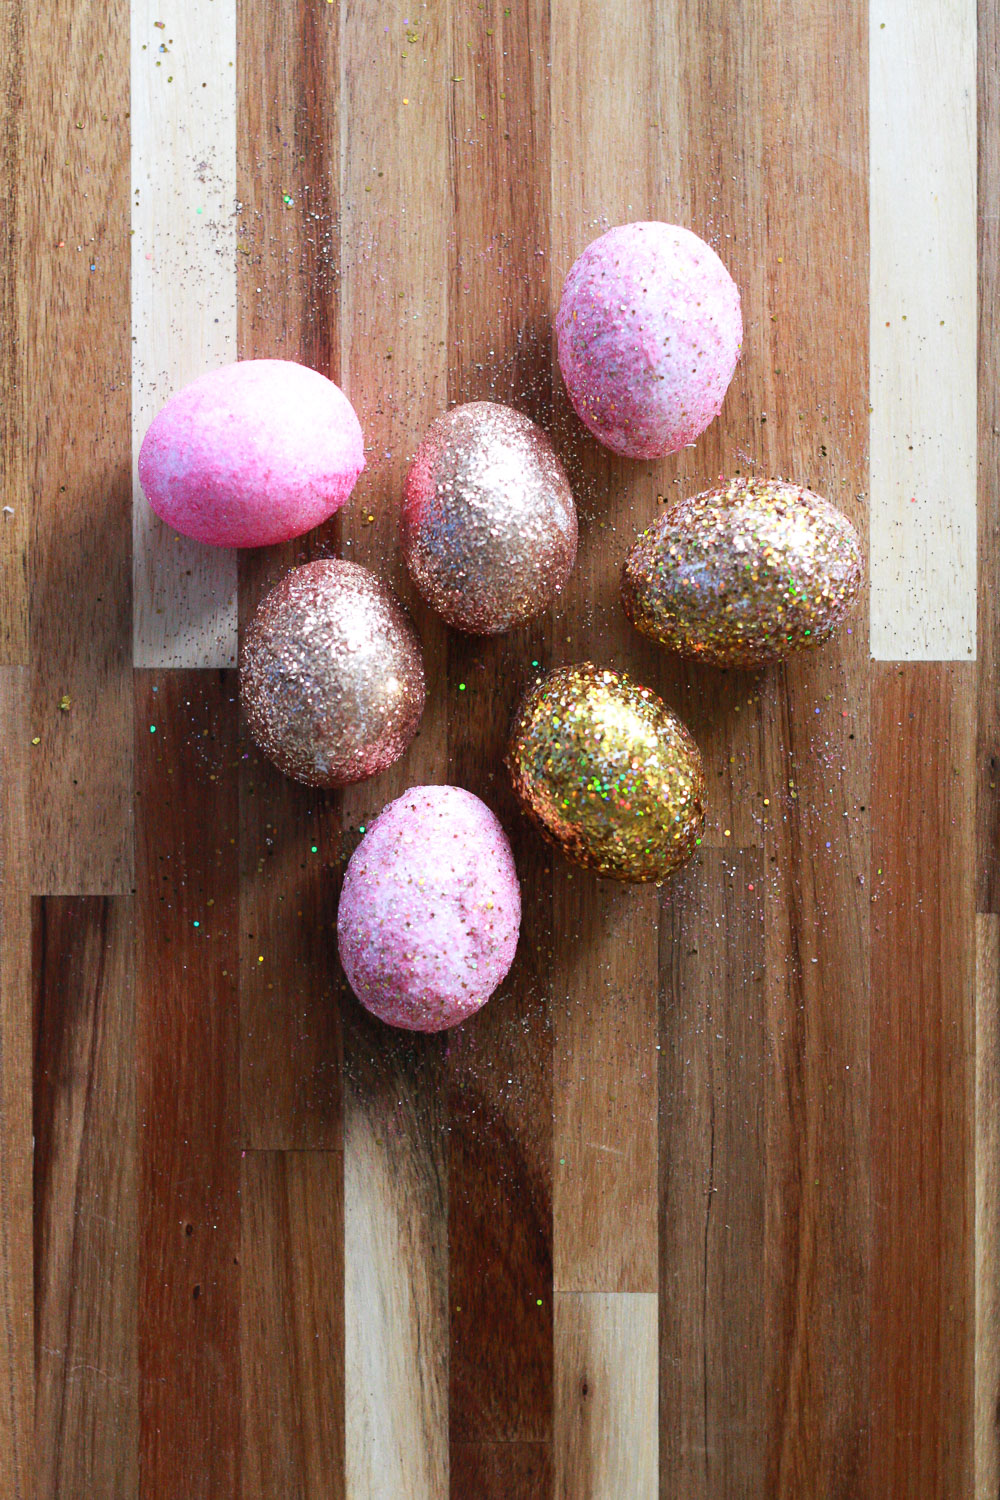
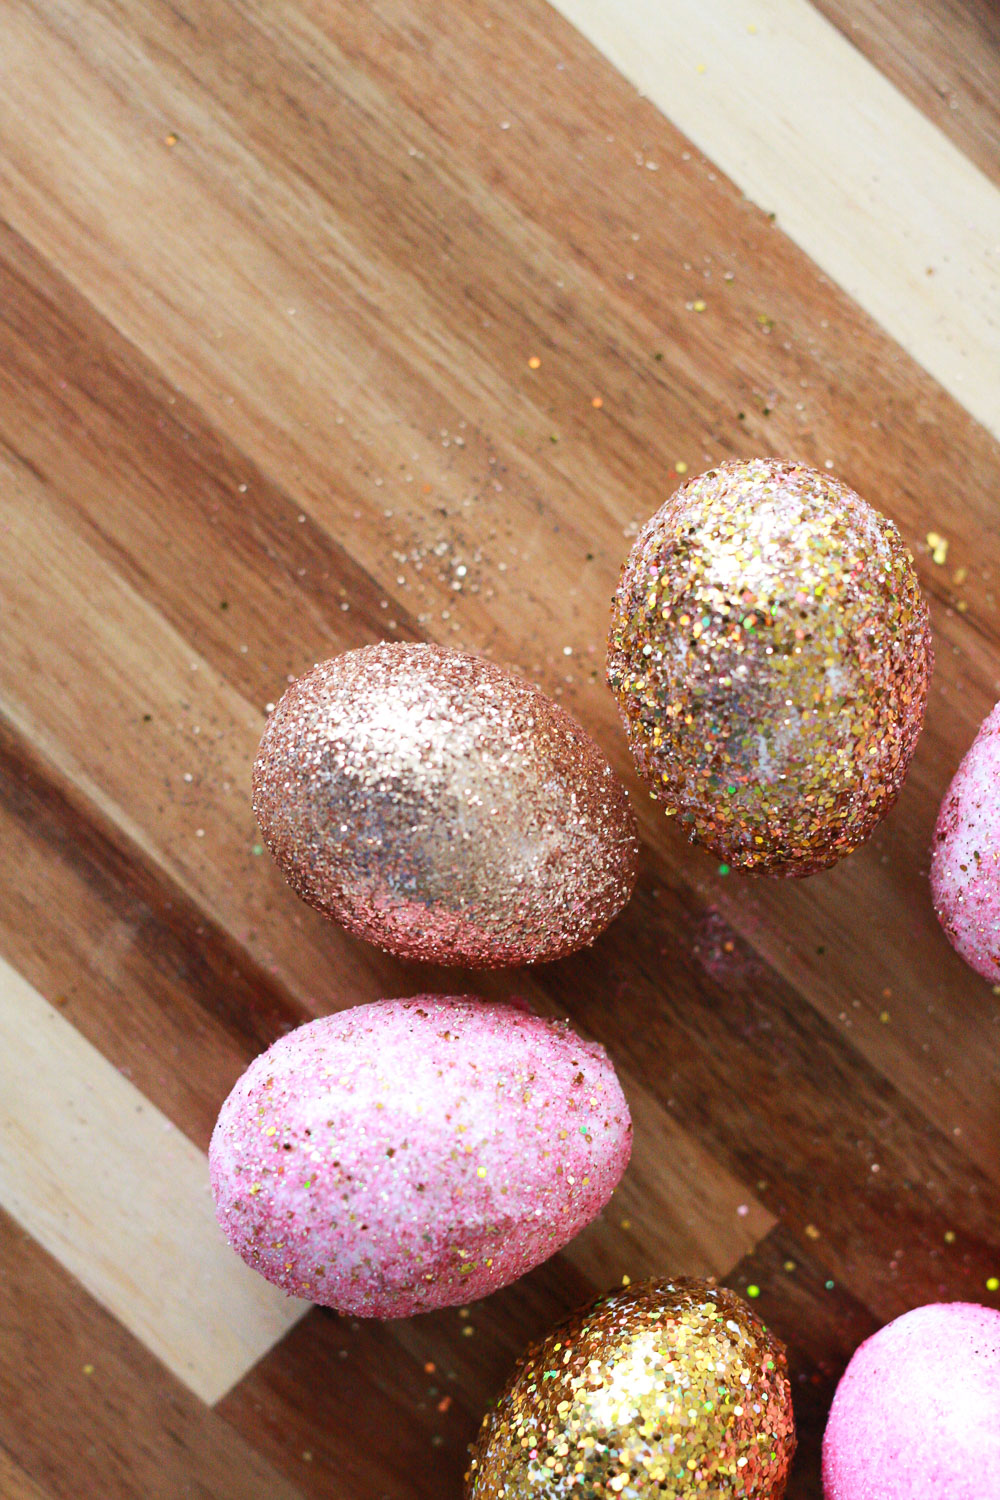
Not too shabby, but also not perfect. Just the way I like it.
Well, there you go! Glitter eggs DIY for all of you Easter fans. Hope you can make them. And, if you are wondering where to store all these eggs, here is an Easter basket DIY you might want to make, too.
Have a wonderful weekend!


Very cool, I might try this with the girls! Do you know how to do “ukrainian eggs”? This is what my friend’s mother called them when I was a kid… she poked a little hole in a raw egg and took out the yolk, and then (I think) sterilized…I’m thinking that would be cool to do with these glitter eggs so that I could keep them around longer.
Ukrainian eggs have such a complicated design. I would love to learn how to make them. They are beautiful. In Chile, when decorating Easter eggs, we always poked a little hole to let the raw egg out, but I don’t do it anymore because I am a LAZY human!!!! I truly am.
beautiful photos!
Thanks, Diane!